Introduction
This user guide will detail how to log a customer individually within your Joblogic account. For general details on customer, site and asset structure in Joblogic, see here.
Adding a Customer Individually
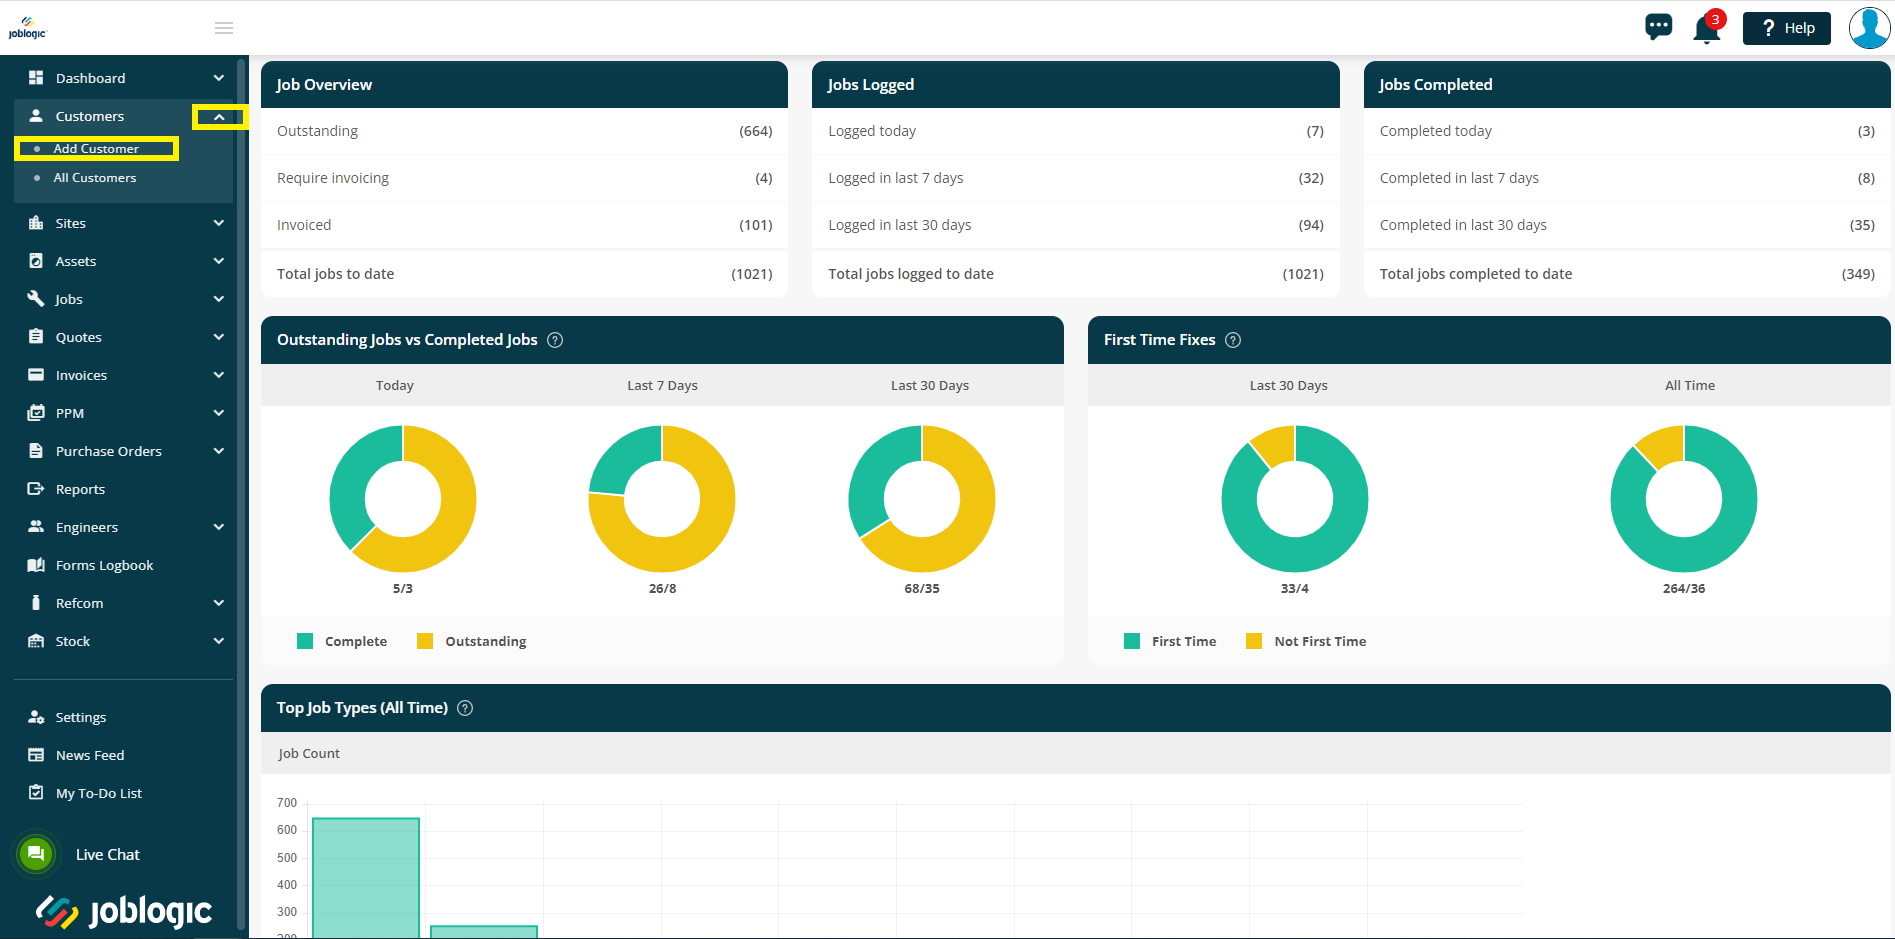
In order to add a customer in Joblogic, navigate to the customers area via the left side menu and select ‘Add Customer’(select the dropdown arrow to expand the customer options).
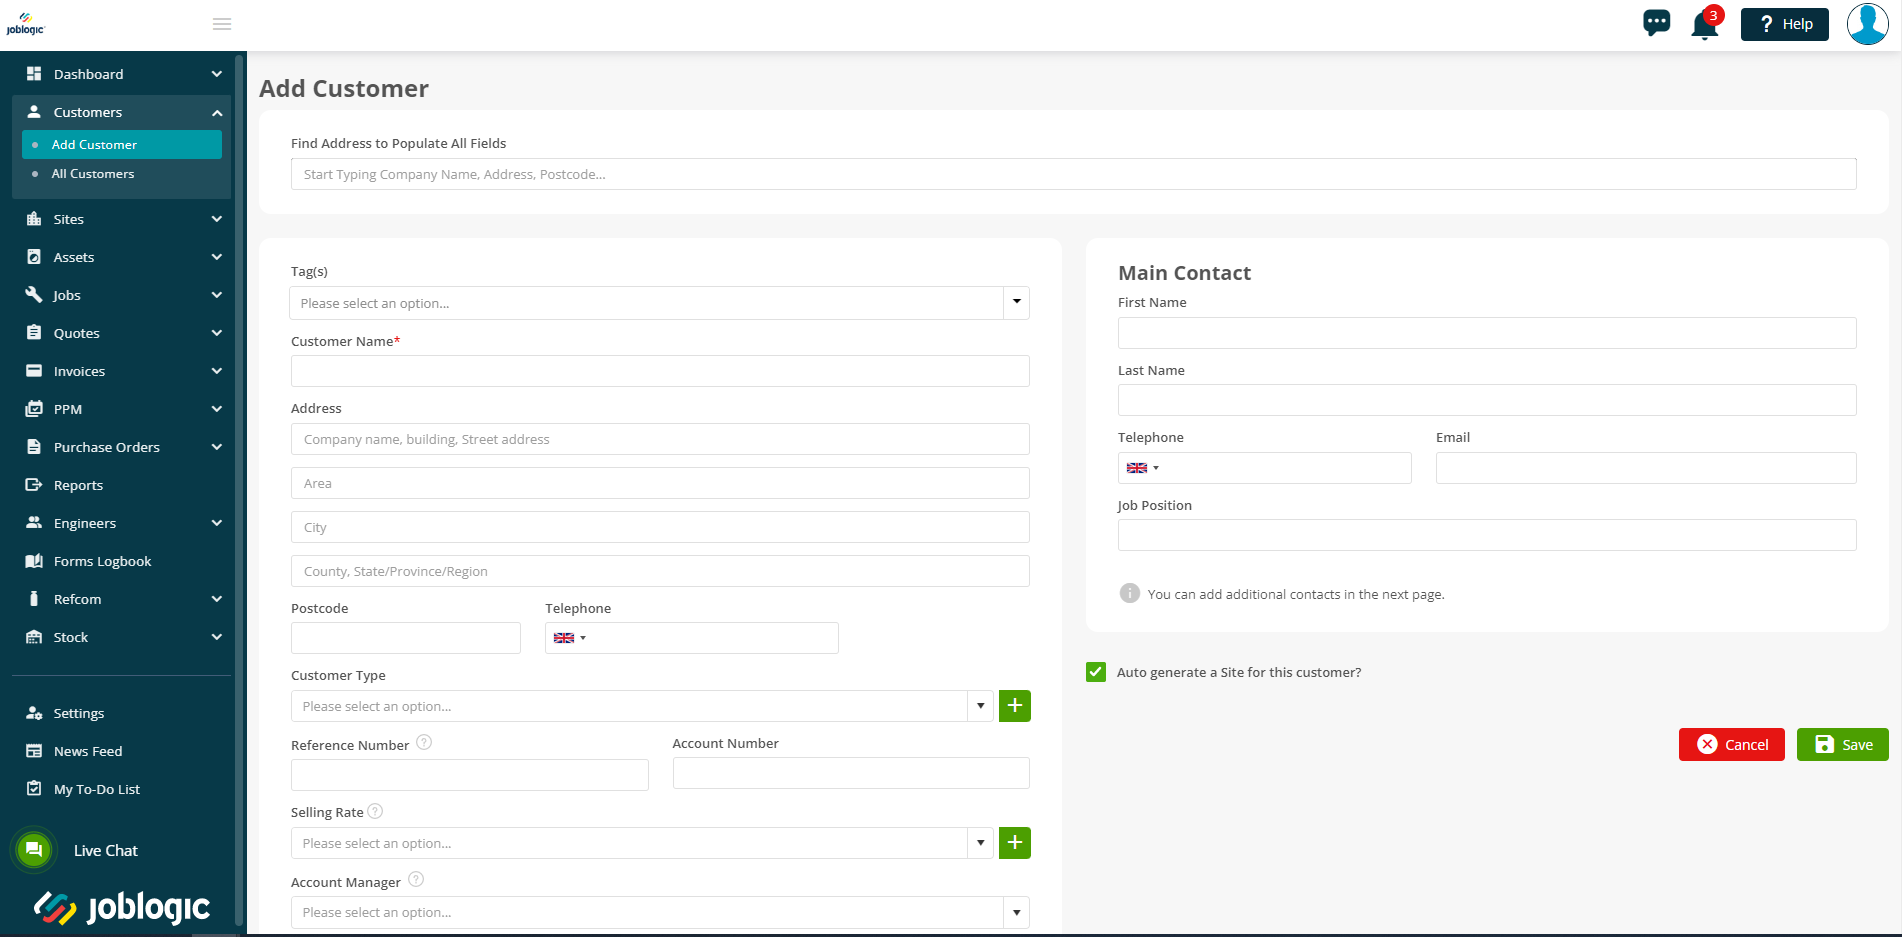
You will then be directed to the ‘Add Customer’ page whereby you can fill in your customer’s account details. This will typically be your customers head office details for commercial clients with multiple sites or the individual that requested the work/home owner’s details for domestic customers.
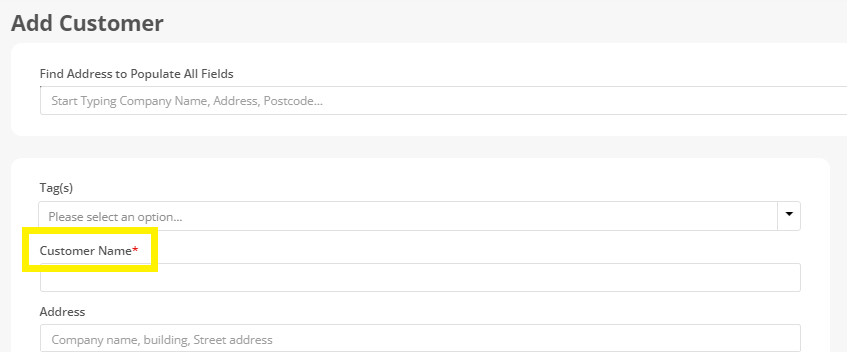
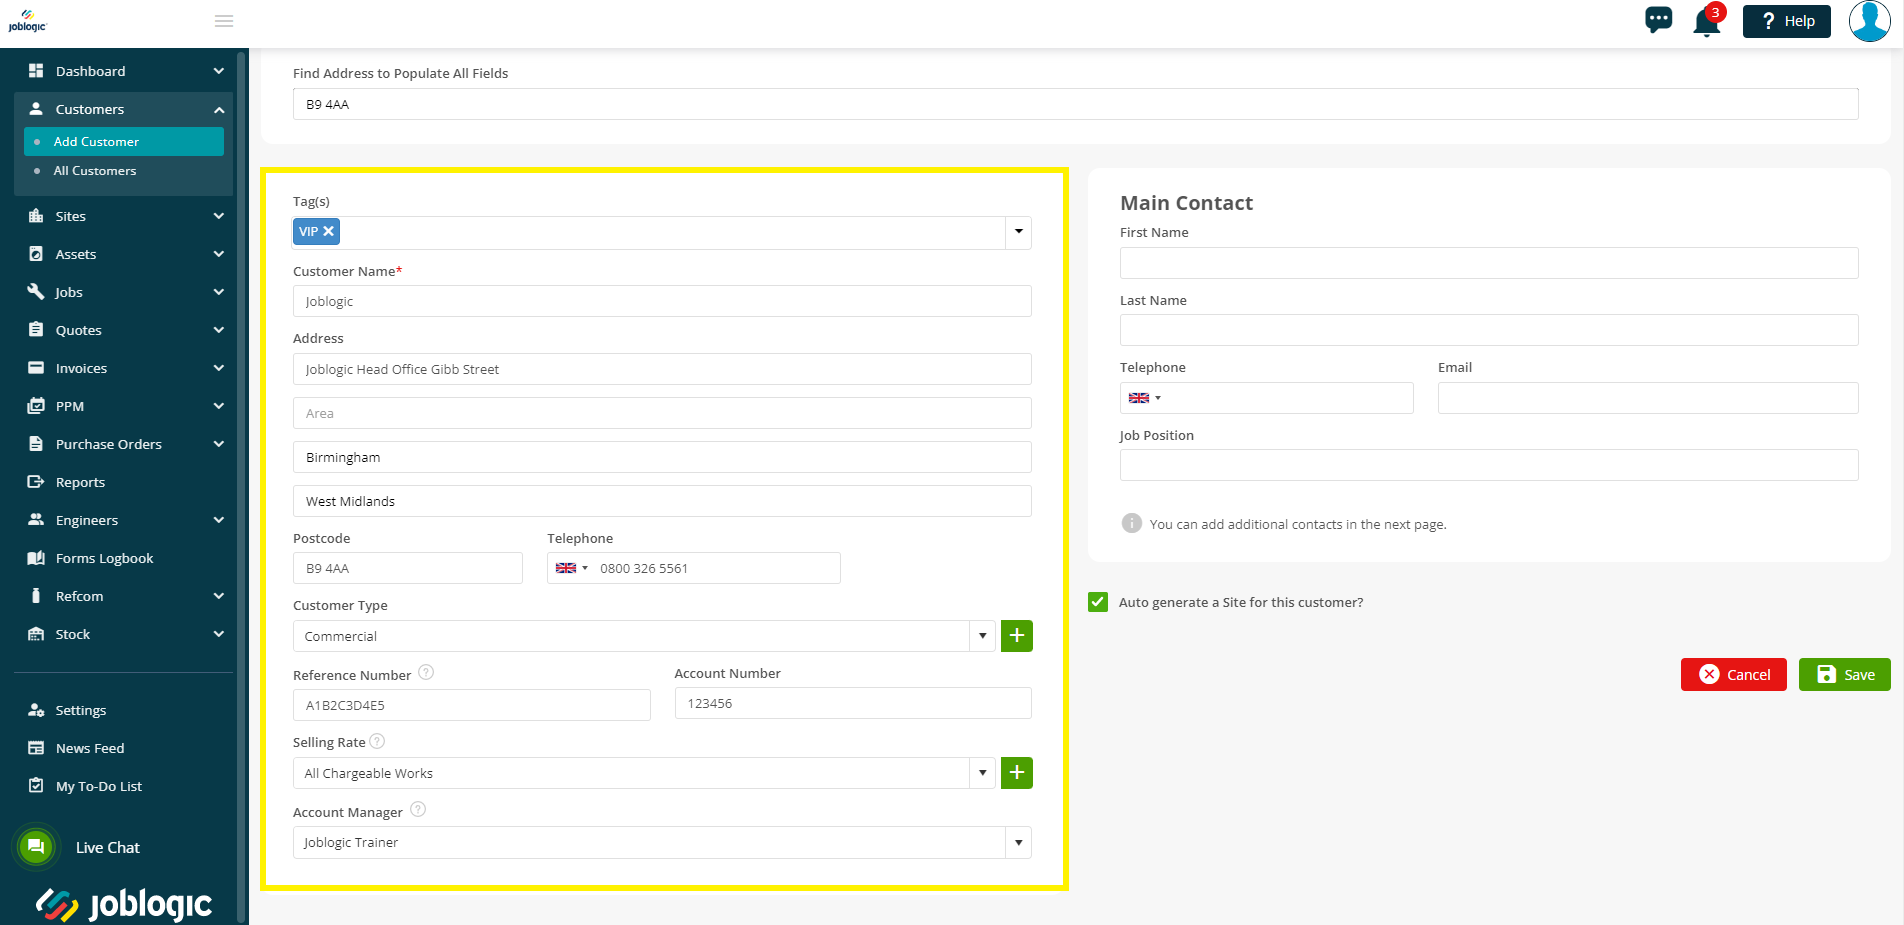
When adding a new customer, some fields will be mandatory. These are determined by the red asterisk against a field name.
In this case, just the Customer Name is mandatory.
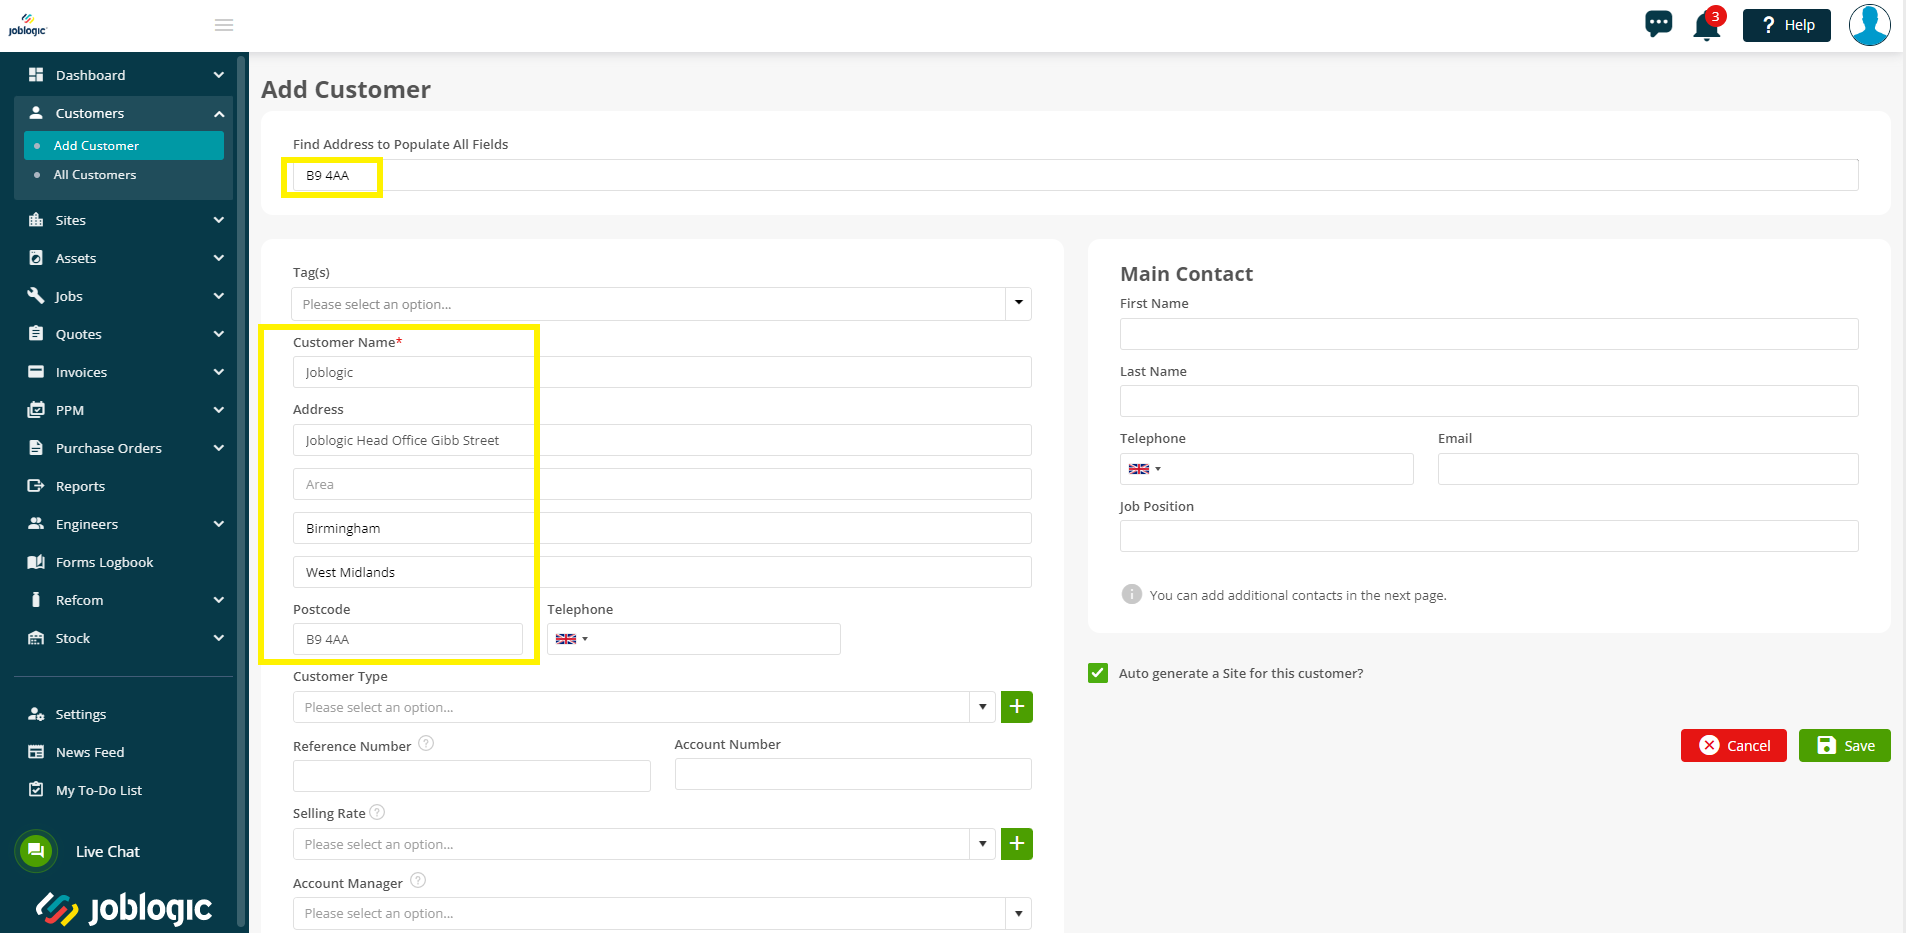
There is a ‘Find Address to Populate All Fields’ which is supported by Google maps to help find and auto populate the customer’s name and address. For example, typing the post code will provide options for the full address based on that post code. This data can also be free typed in if you’d prefer.
Further details such as tags, customer types and a default selling rate for the customer can be assigned by selecting the applicable options from the dropdowns. See here for details on populating the dropdown options in the settings library.
An account manager can also be assigned to the customer account by selecting a user from the dropdown (this dropdown list is based on the users set up in your system).
Free type fields can also be filled in, these being a main telephone number for your customer, their account number and a customer reference number (this might be an internal reference number or a unique identifier provided by your client, as some examples and can be used for searching and reporting purposes).
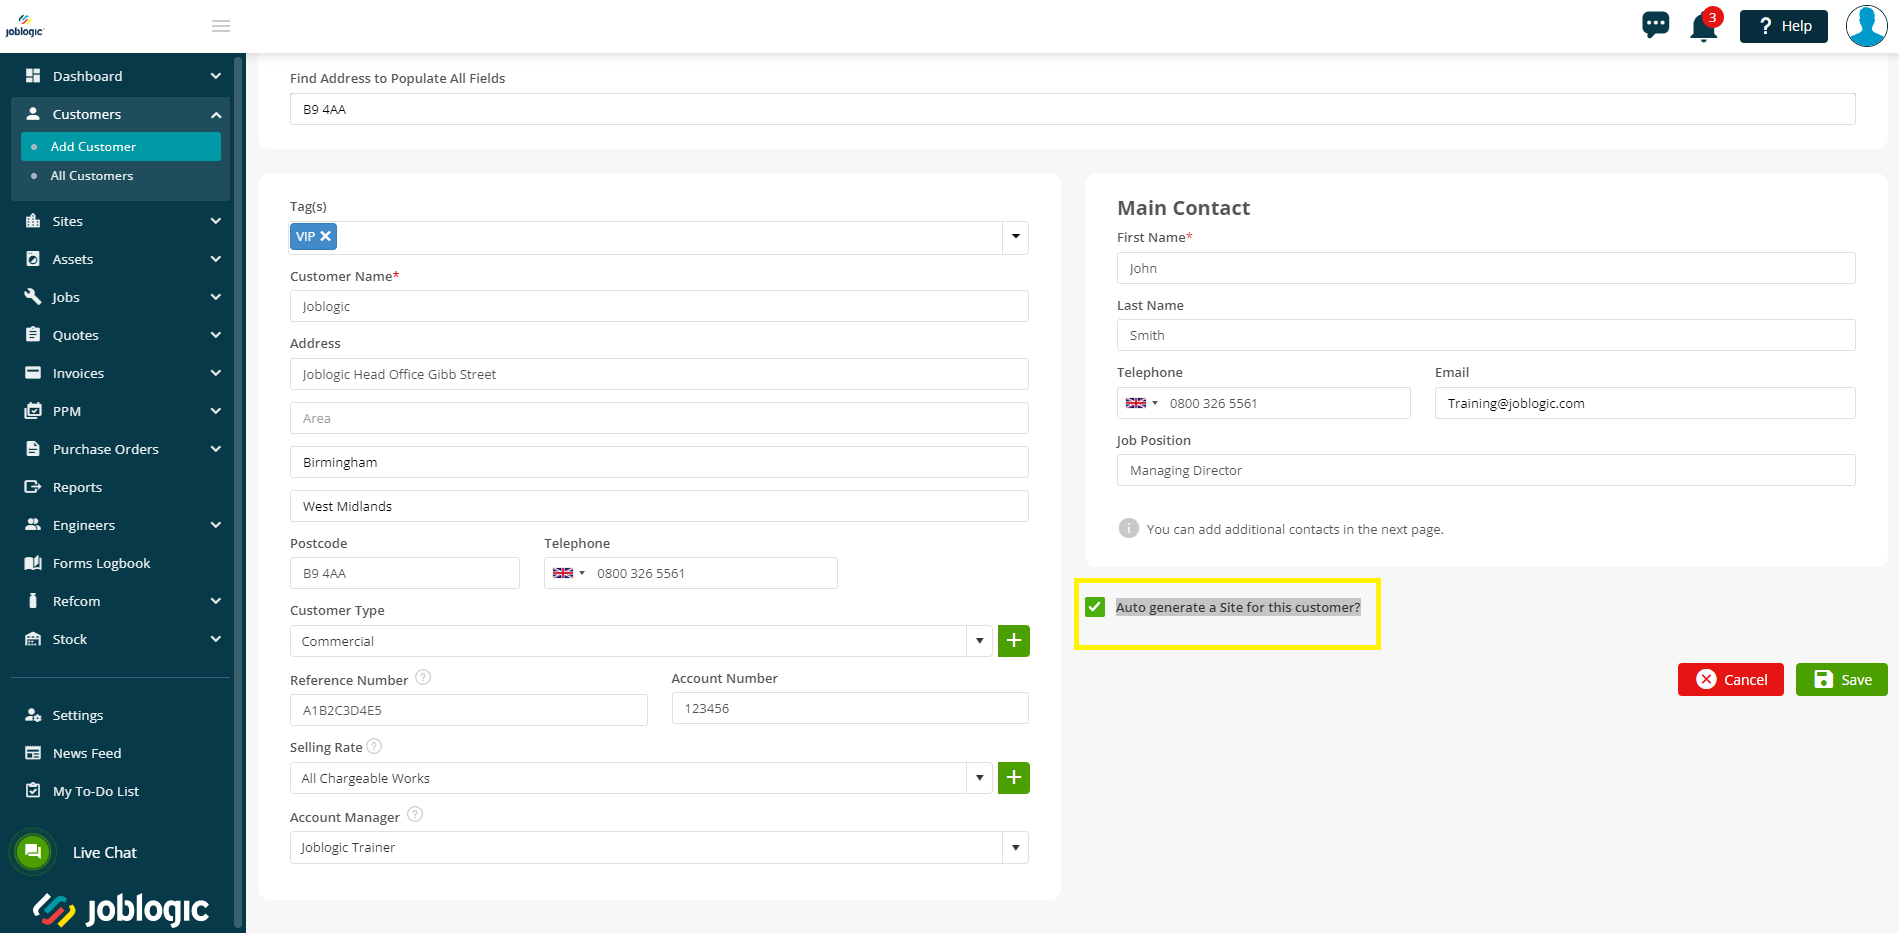
The ‘Main Contact’ area refers to entering the details of the primary contact for the customer. For example, it may be the managing director or service manager of the company who acts as your company's main point of contact for them. Further contacts can be added once the customer has been saved. The ‘First Name’ field will become mandatory if you start to enter a contact for the customer.

The ‘Auto generate a Site for this customer’ tick box means that when saving the customer, the system will also create an initial site under them based on the details already provided on this page. This is a useful tool in instances where the customer is a domestic one whereby the customer account and singular site details are the same (such as work for a homeowner) or if you do work at a commercial customer’s head office.
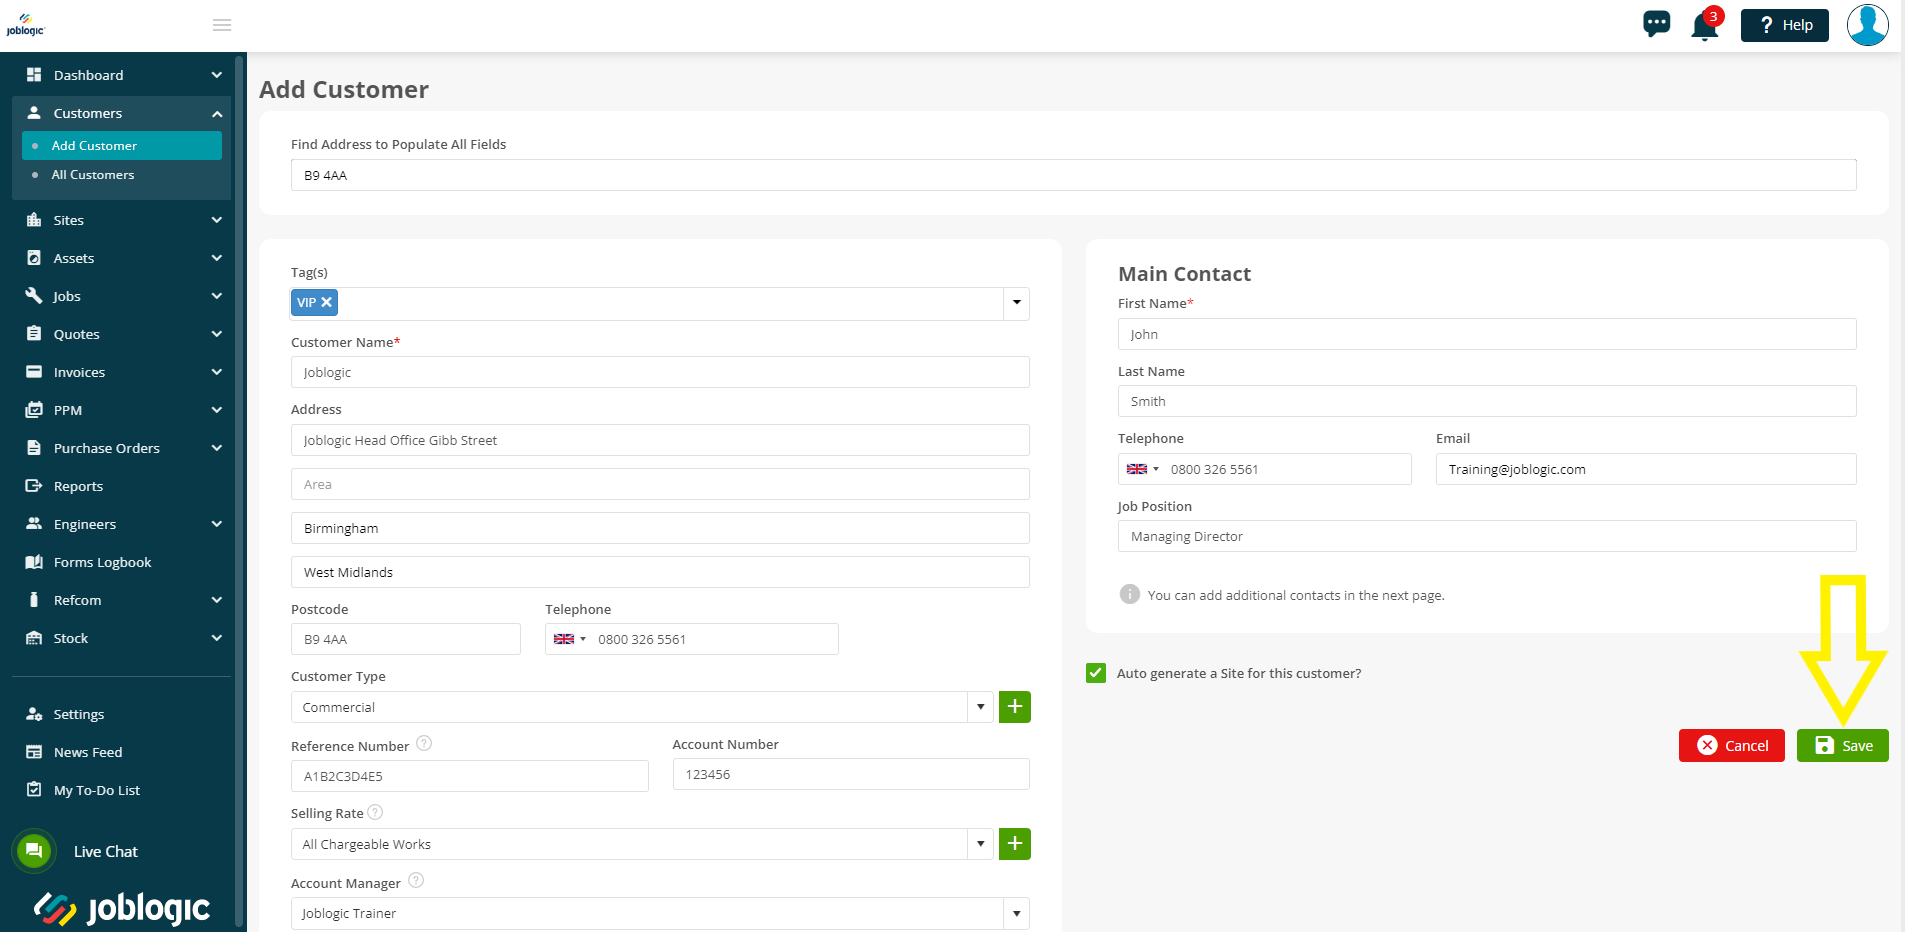
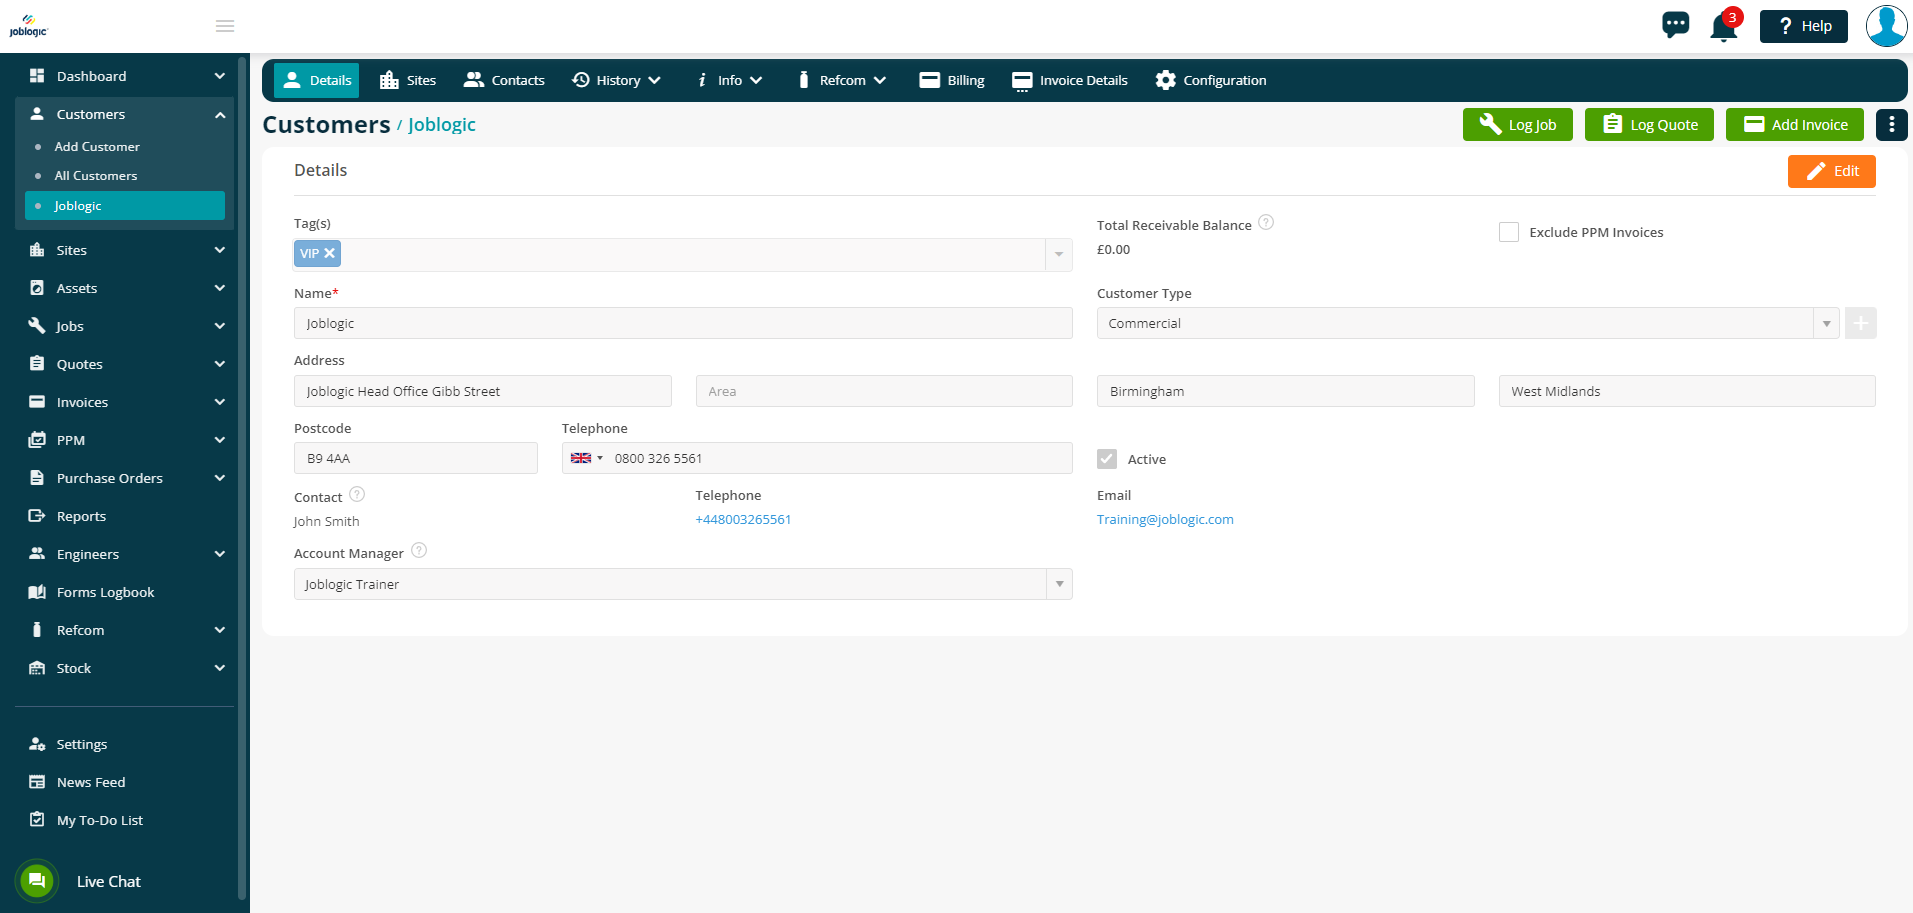
Once you are happy with the details that you have entered, select the ‘Save’ option and your customer will be added to your Joblogic system with the submitted details.
If you would like to bulk import your customers, please click here for more information.
Further Support
For further information or assistance with the above, contact our Support Team on 0800 326 5561 or email support@joblogic.com. Alternatively, our Customer Success Management team can be reached by emailing customersuccess@joblogic.com
Publishing Details
This document was written and produced by Joblogic’s Technical Writing team and was last updated on the date specified above. Be aware that the information provided may be subject to change following further updates on the matter becoming available or new releases within the system. Additionally, details within the guide may vary depending on your Joblogic account’s user permissions and settings or the electronic device being used.