Introduction
Joblogic provides the ability to create and list suppliers who provide goods or services. This user guide explains how to create a new supplier within the Joblogic system via the back office.
Adding a New Supplier
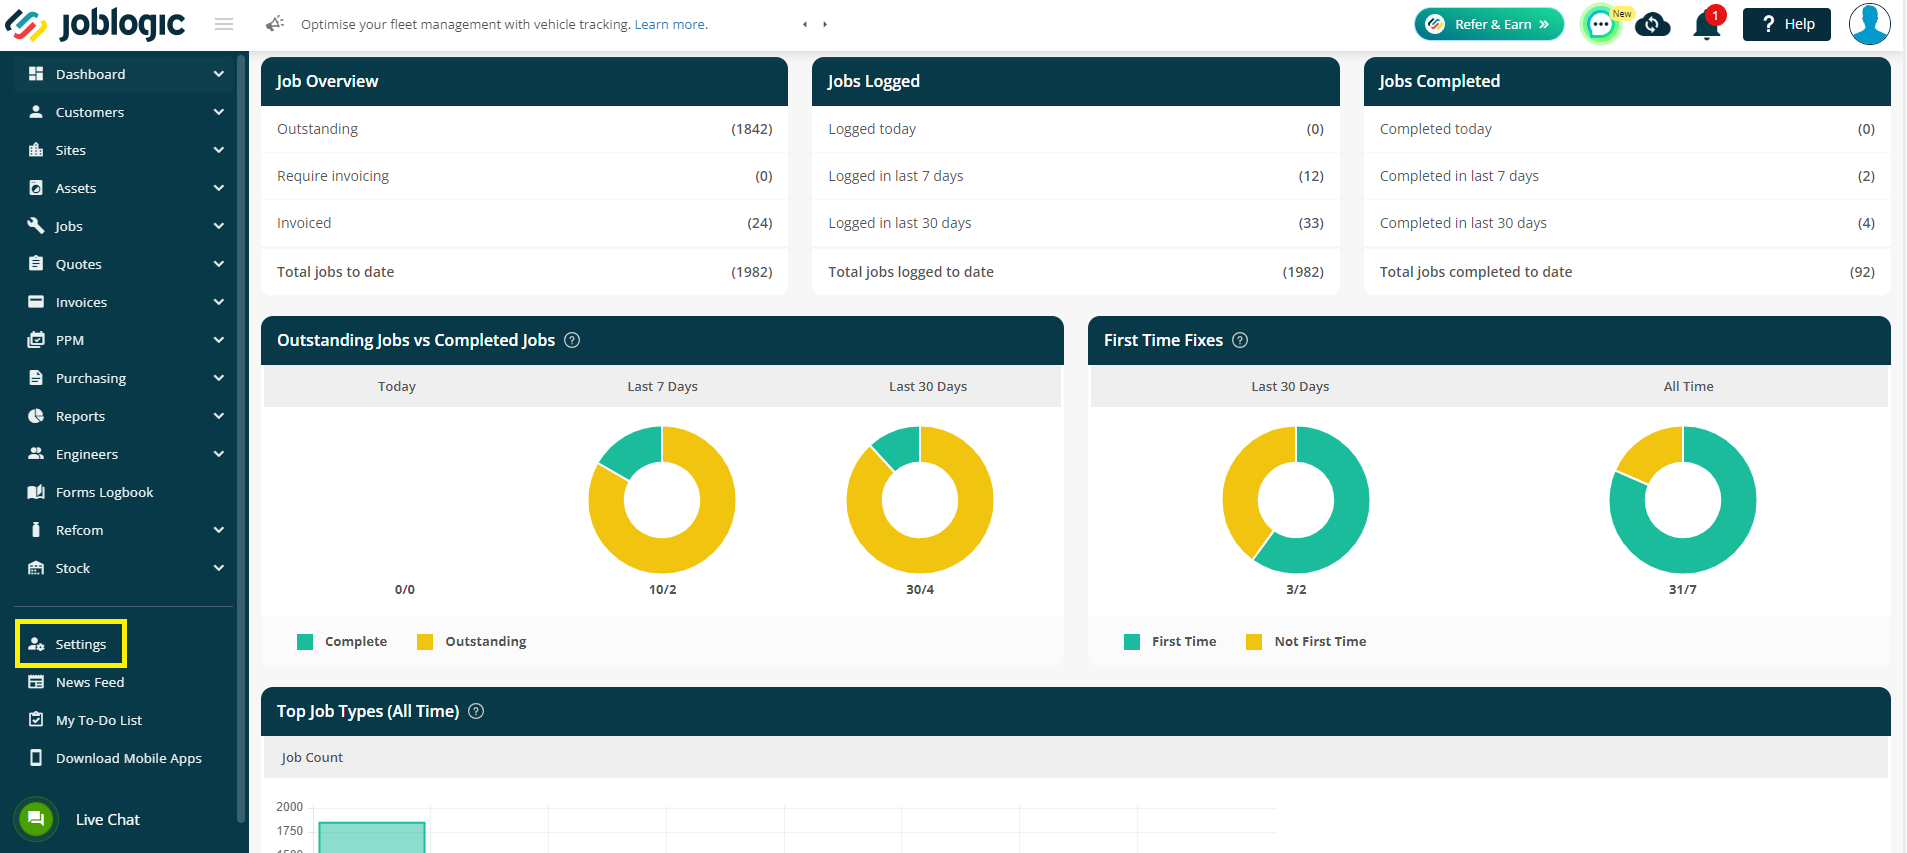
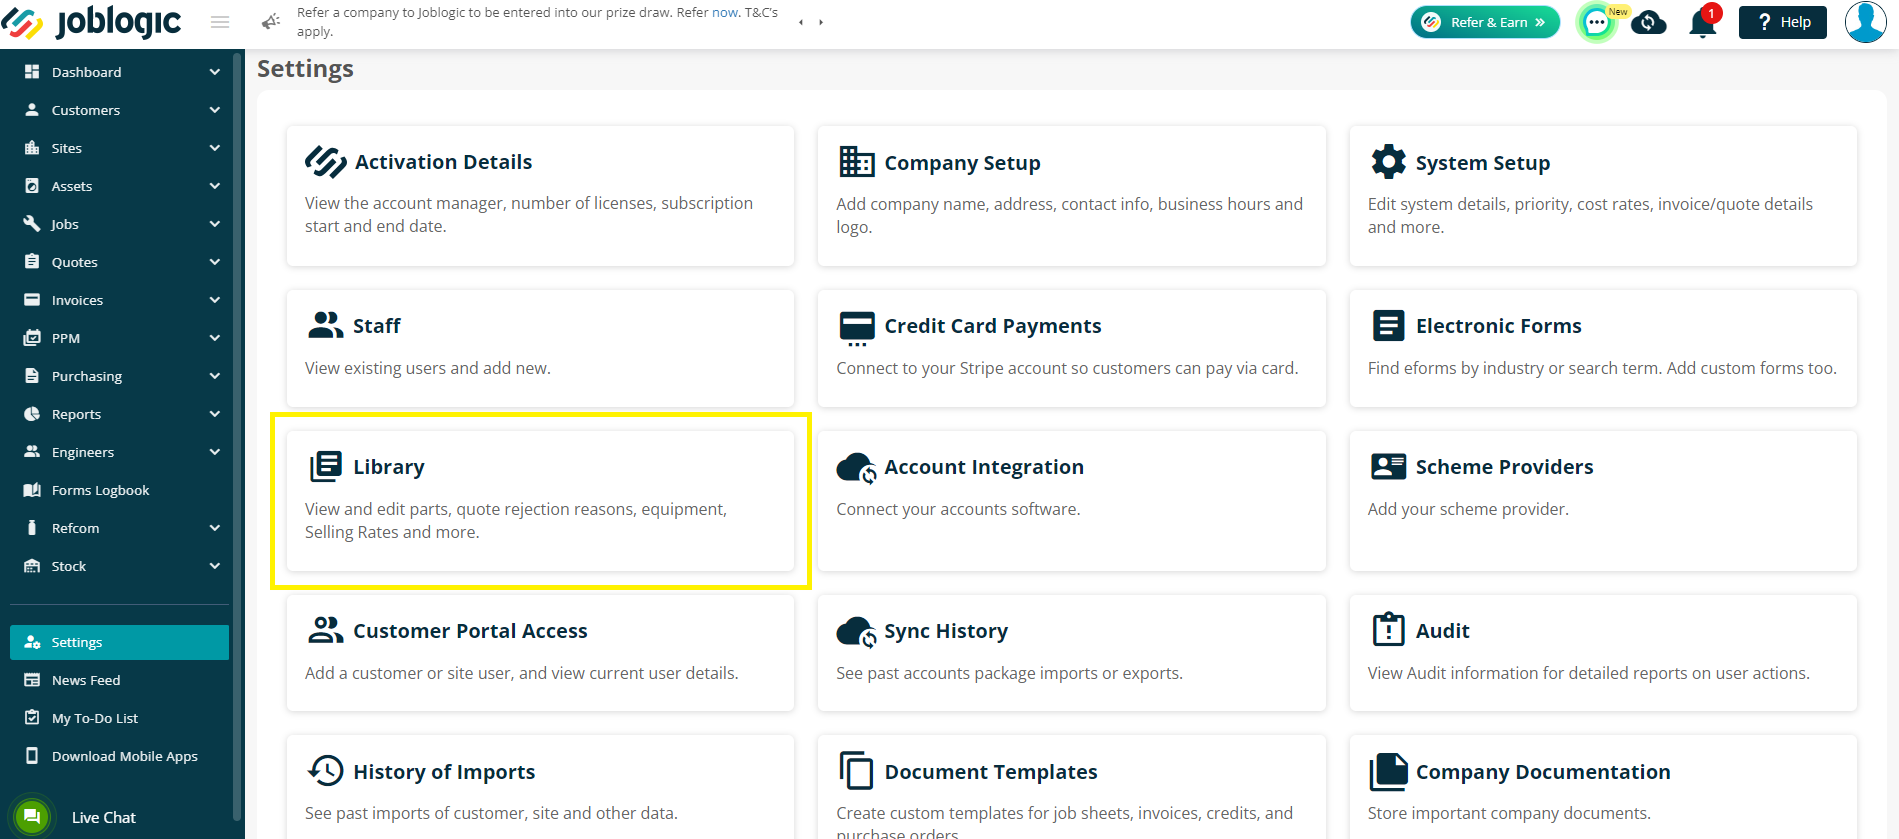
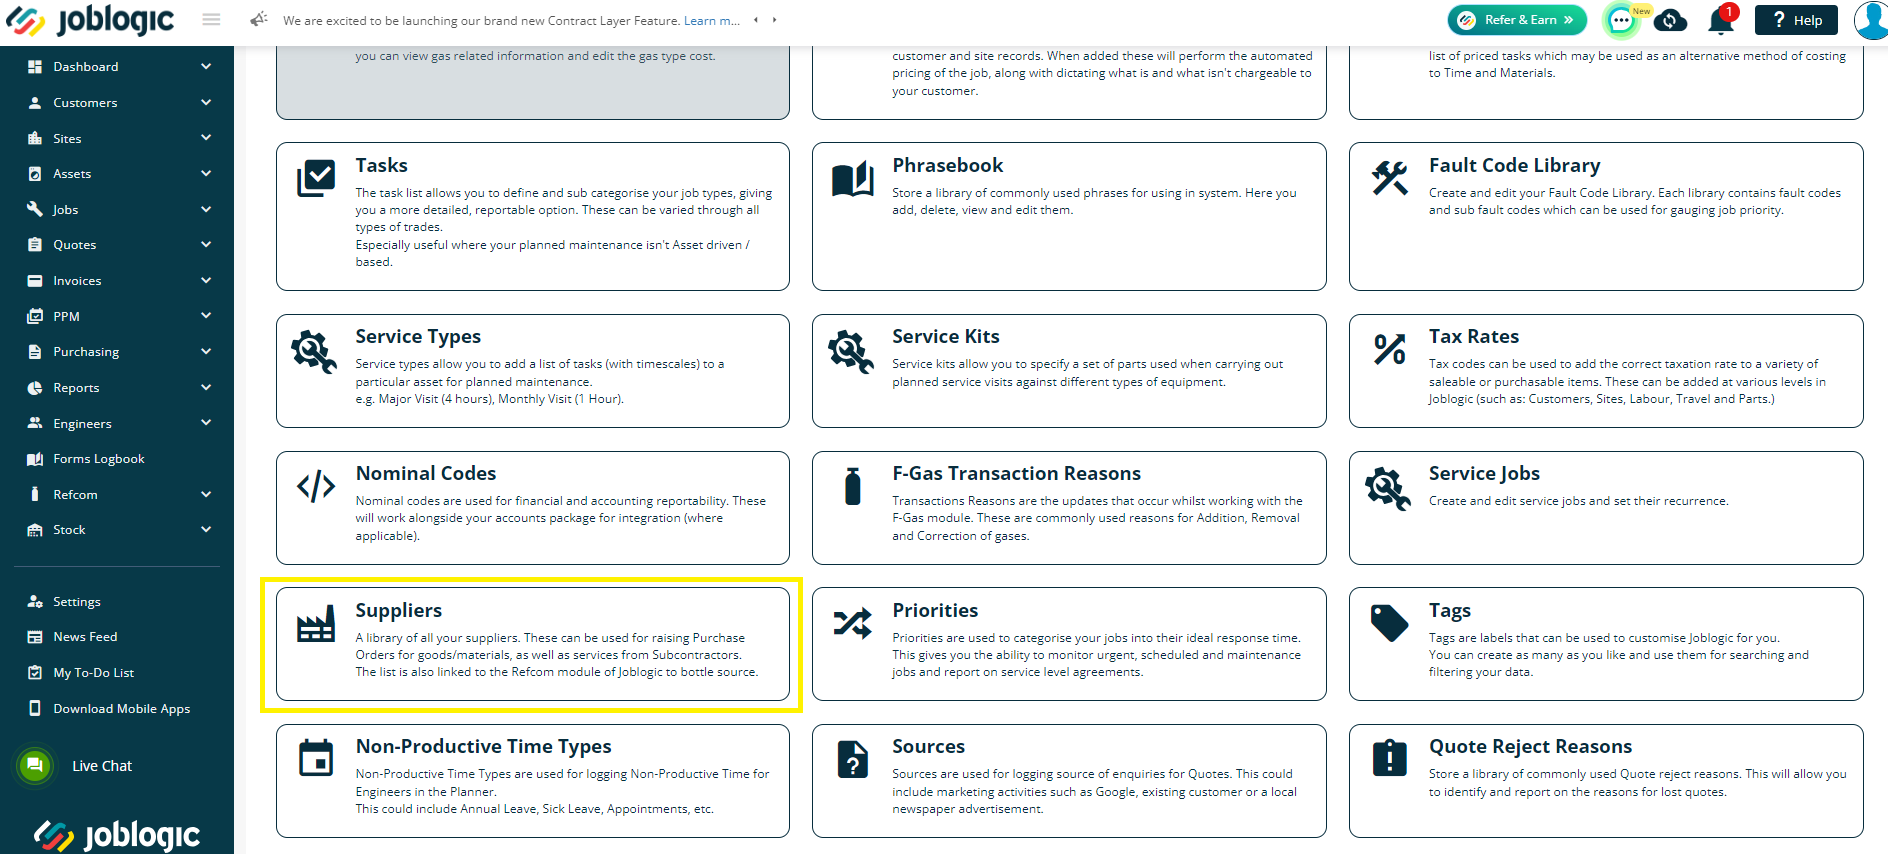
In order to create a new supplier, navigate to the Settings area > Library and select the Supplier option.

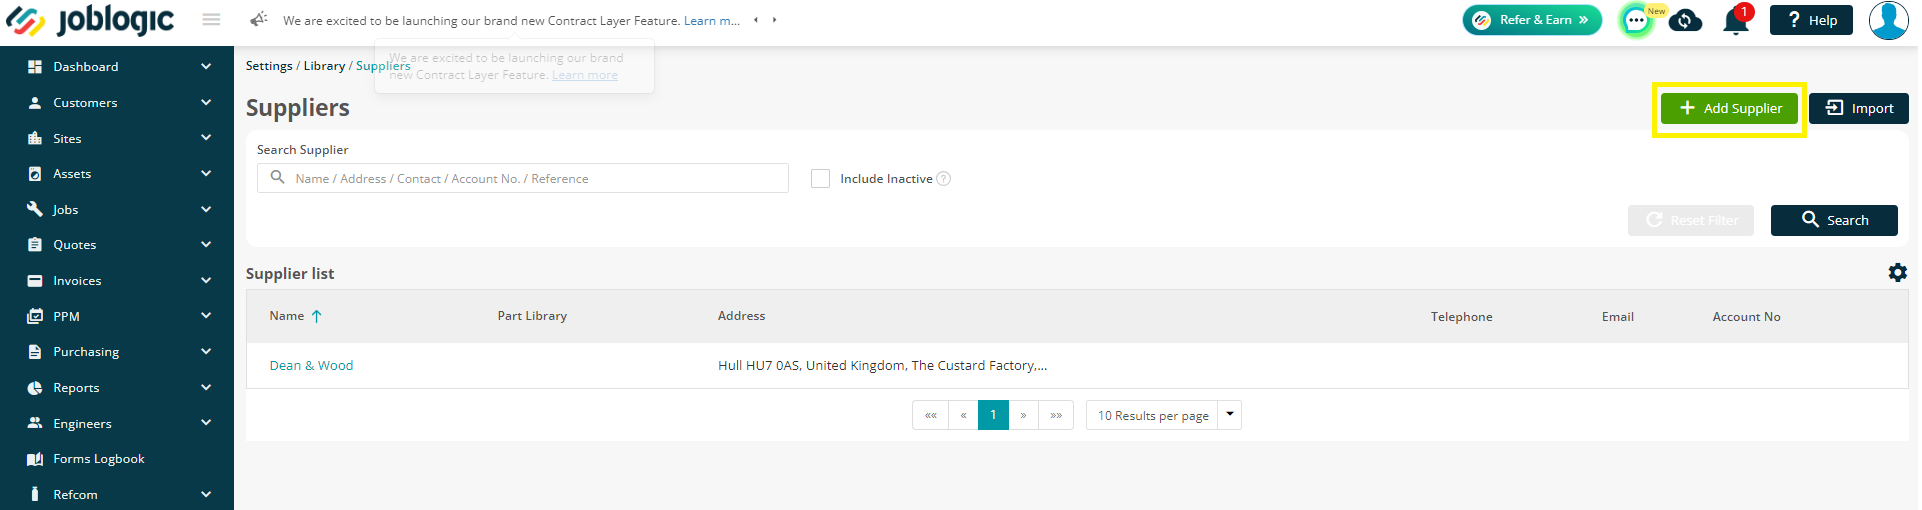
Select the ‘Add Supplier’ option towards the top right corner of the page.
Fill in the details of the Supplier and select ‘Save’.
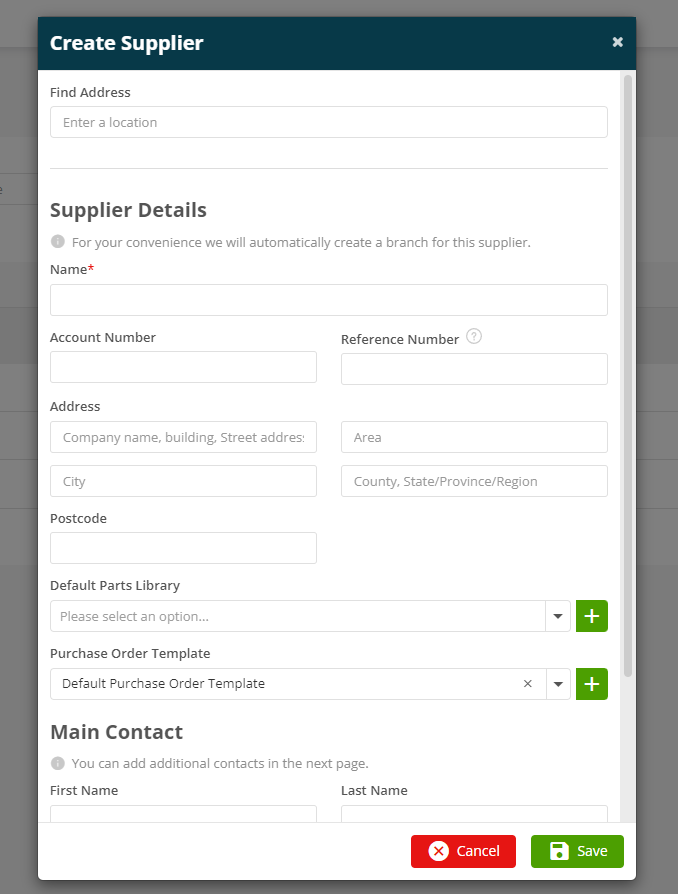
The supplier will then generate as per the details submitted.
Editing a Supplier
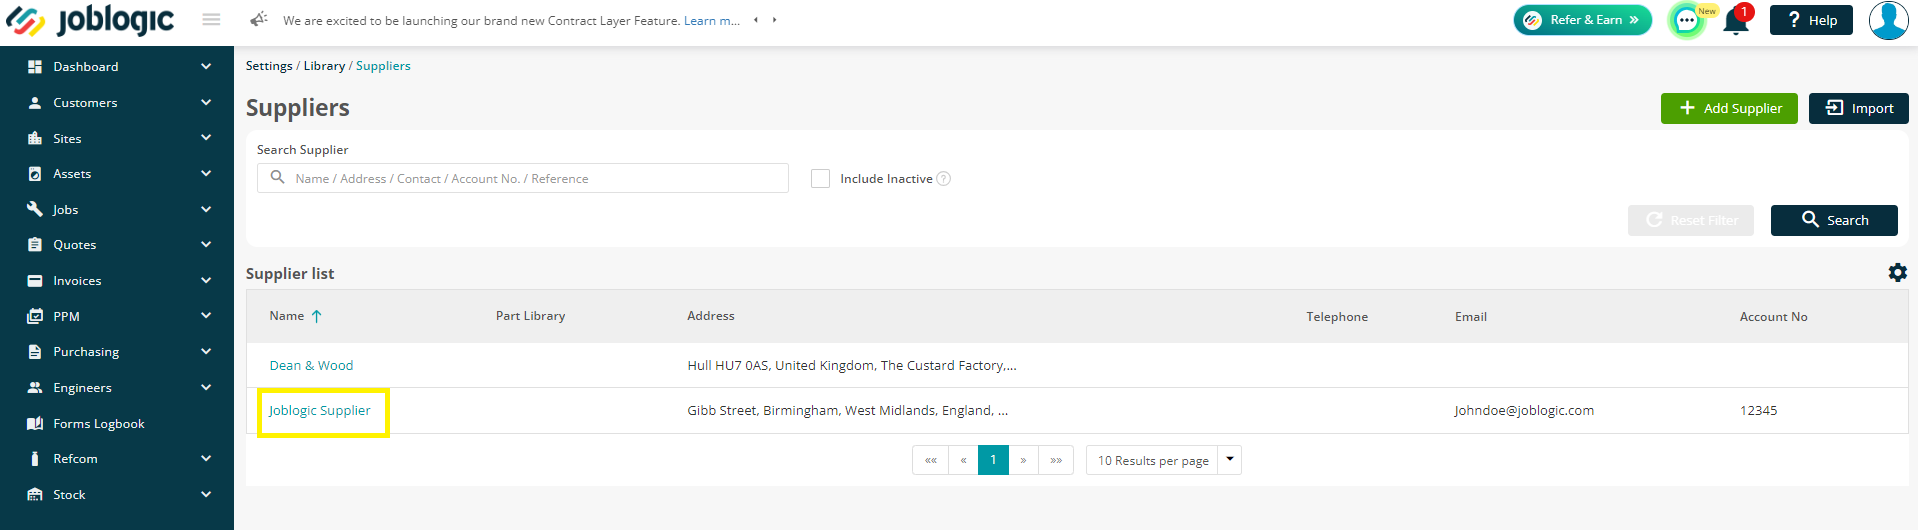
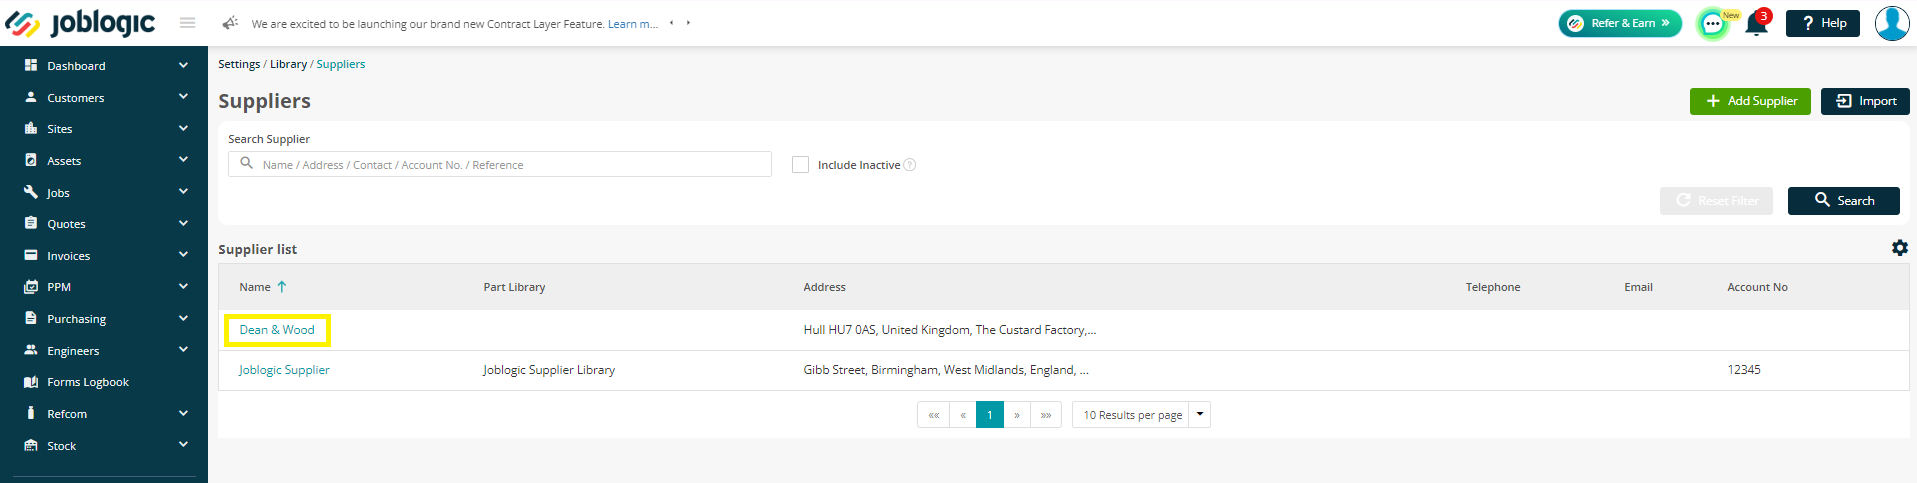
From the Suppliers screen (under Settings > Library > Suppliers)

Next, click onto the name of the Supplier that you want to edit.
Alternatively, use the Search filter at the top to find your chosen Supplier.
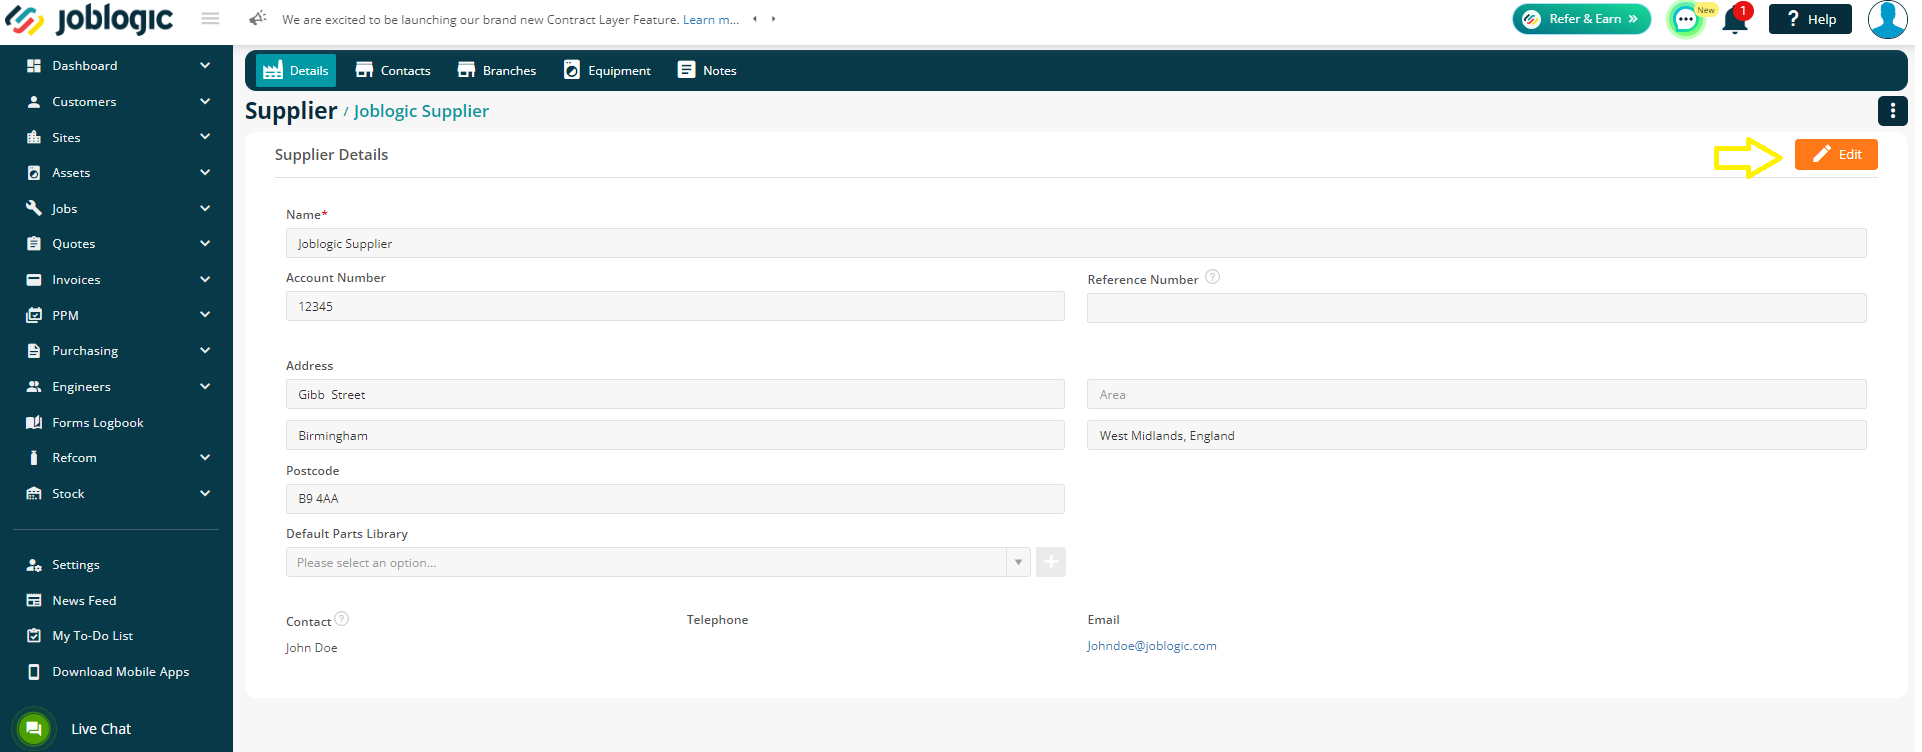
A new page will display the full details of the Supplier.
Click the 'Edit' button in the top right which will allow you to make changes to the data as needed.
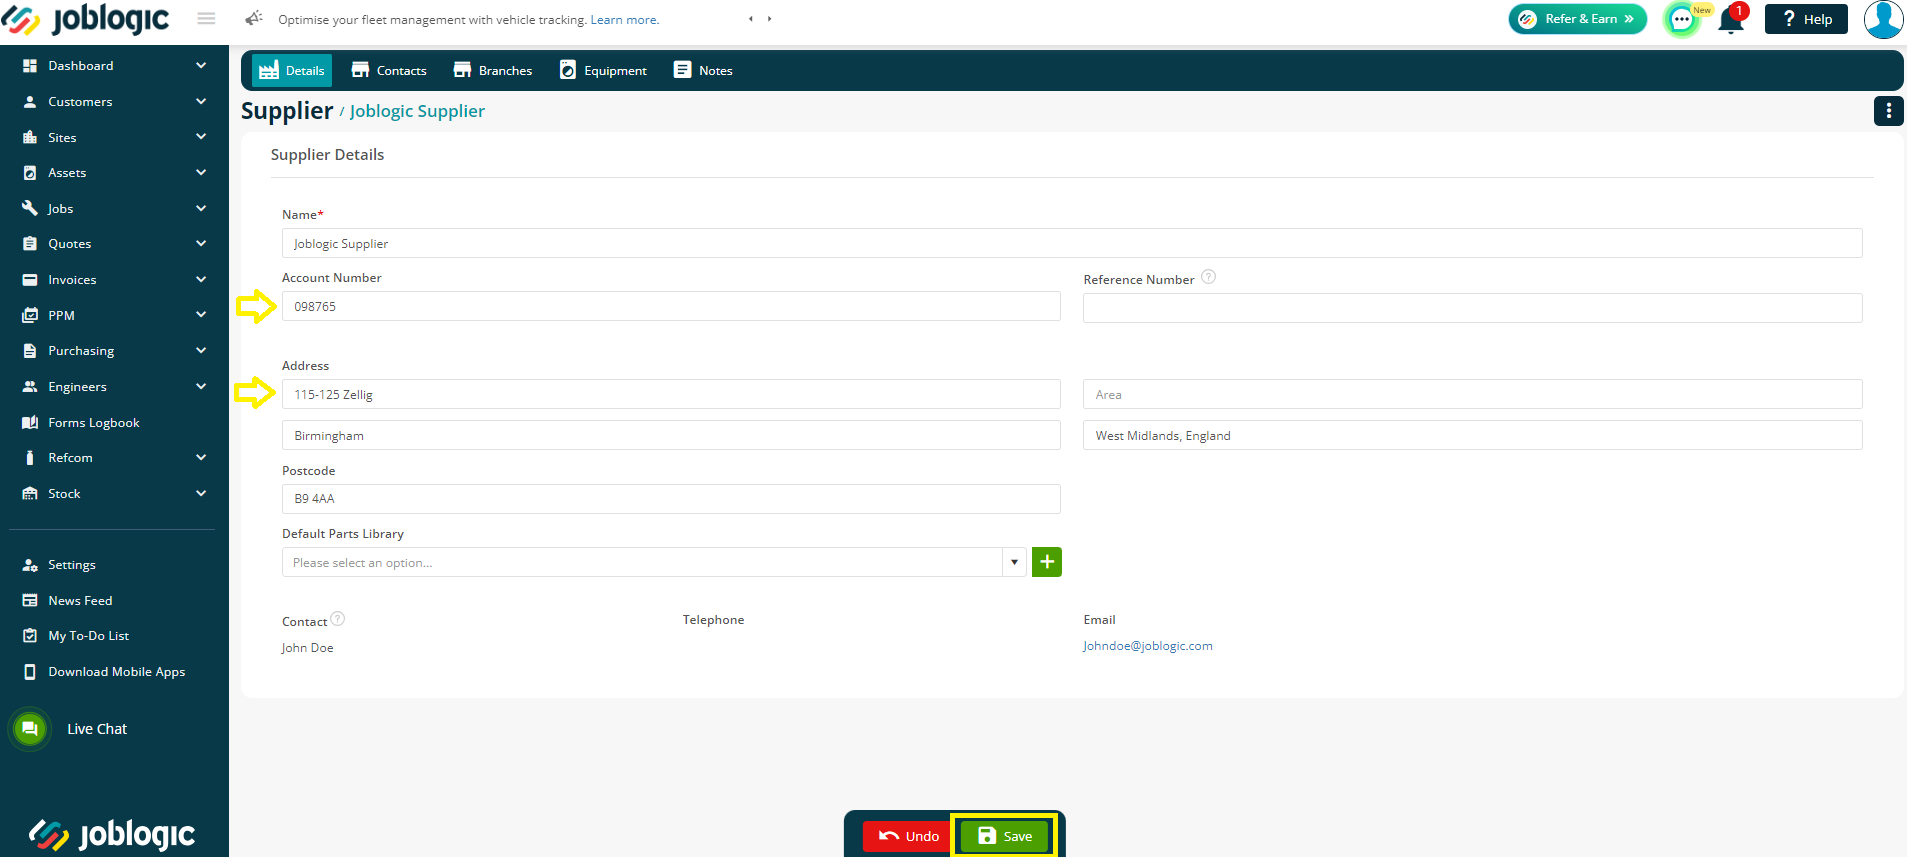
Once your changes have been made, click the 'Save' button to save your changes or the 'Undo' button to disregard your changes and revert to the previous information.
Deleting a Supplier
There may be occasions where you have set up a supplier incorrectly or created a duplicate and need to delete them from your system.
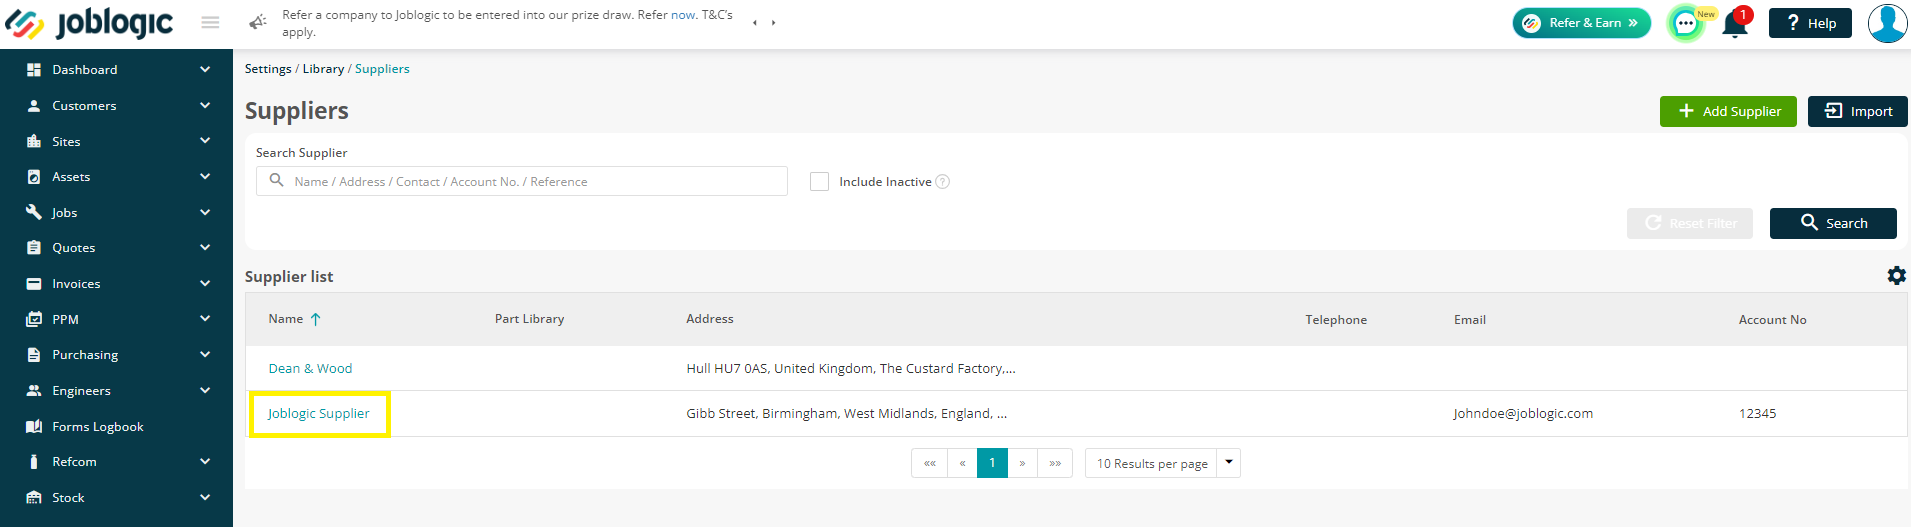
To delete a supplier, access the supplier area (under settings > library > suppliers)
Next, click onto the name of the supplier that you want to delete.
Alternatively, use the Search filter at the top to find your chosen Supplier.
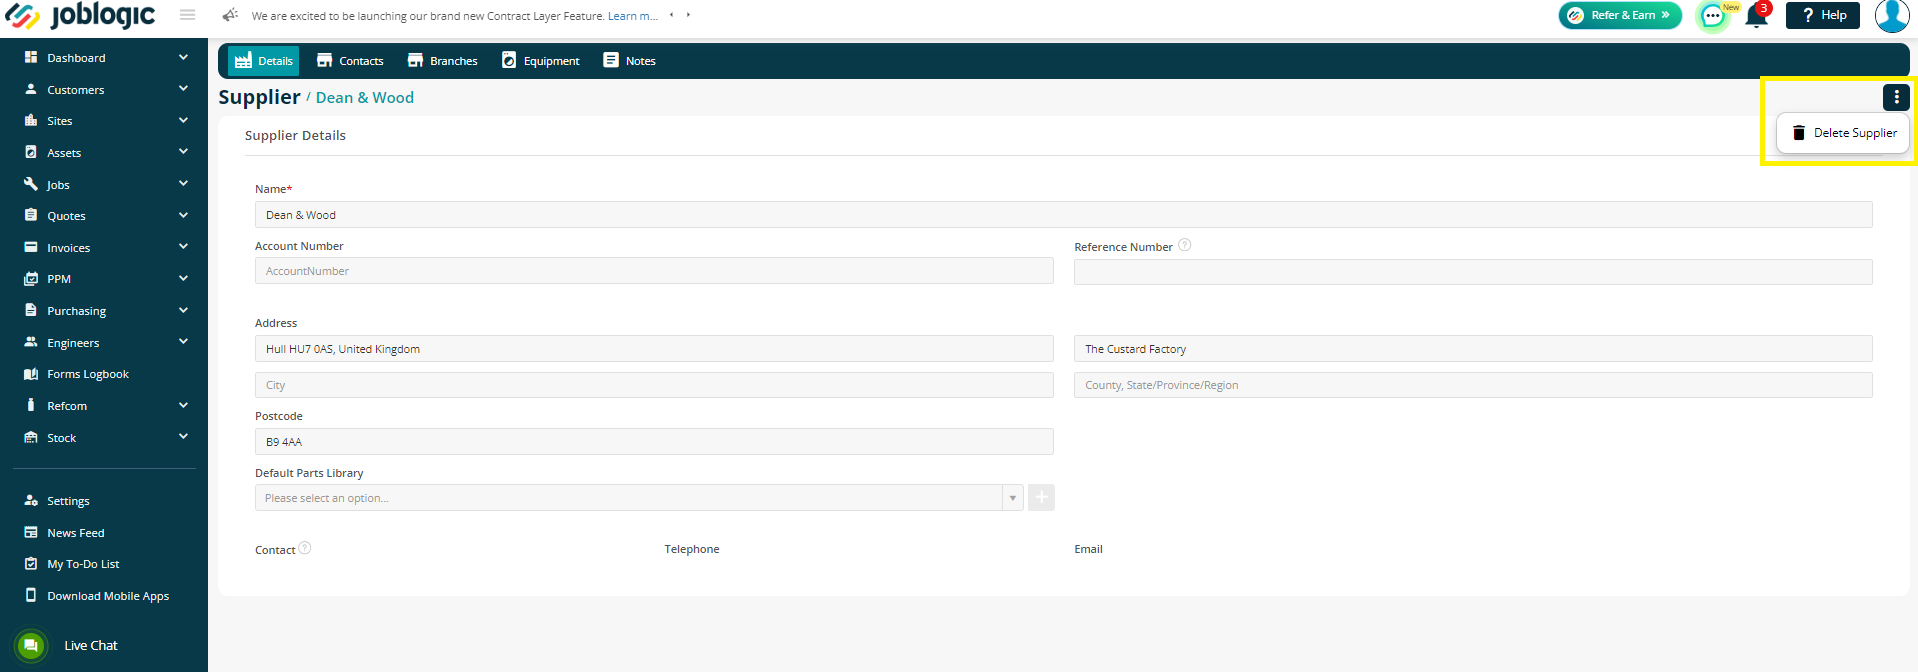
Click on to the '3 dots' icon in the top right and select the 'Delete Supplier' option.
Once selected, a confirmation screen will be displayed. The Yes button will not become active until you have checked the box to agree that you understand that this action is irreversible.
Deleting a supplier will remove both the item and its associated data permanently and this cannot be undone.

Further Support
For further information or assistance with the above, contact our Support Team on 0800 326 5561 or email support@joblogic.com. Alternatively, our Customer Success Management team can be reached by emailing customersuccess@joblogic.com
Publishing Details
This document was written and produced by Joblogic’s Technical Writing team and was last updated on the date specified above. Be aware that the information provided may be subject to change following further updates on the matter becoming available or new releases within the system. Additionally, details within the guide may vary depending on your Joblogic account’s user permissions and settings or the electronic device being used.