- 30 Apr 2024
- 2 Minutes to read
- Print
- PDF
Adding Notes and Attachments to Visits
- Updated on 30 Apr 2024
- 2 Minutes to read
- Print
- PDF
Introduction
This user guide will detail how to add notes and attachments to your job via the mobile app.
Permissions
The ability to add certain notes on the app is permission based, so you can choose who has access to each option.
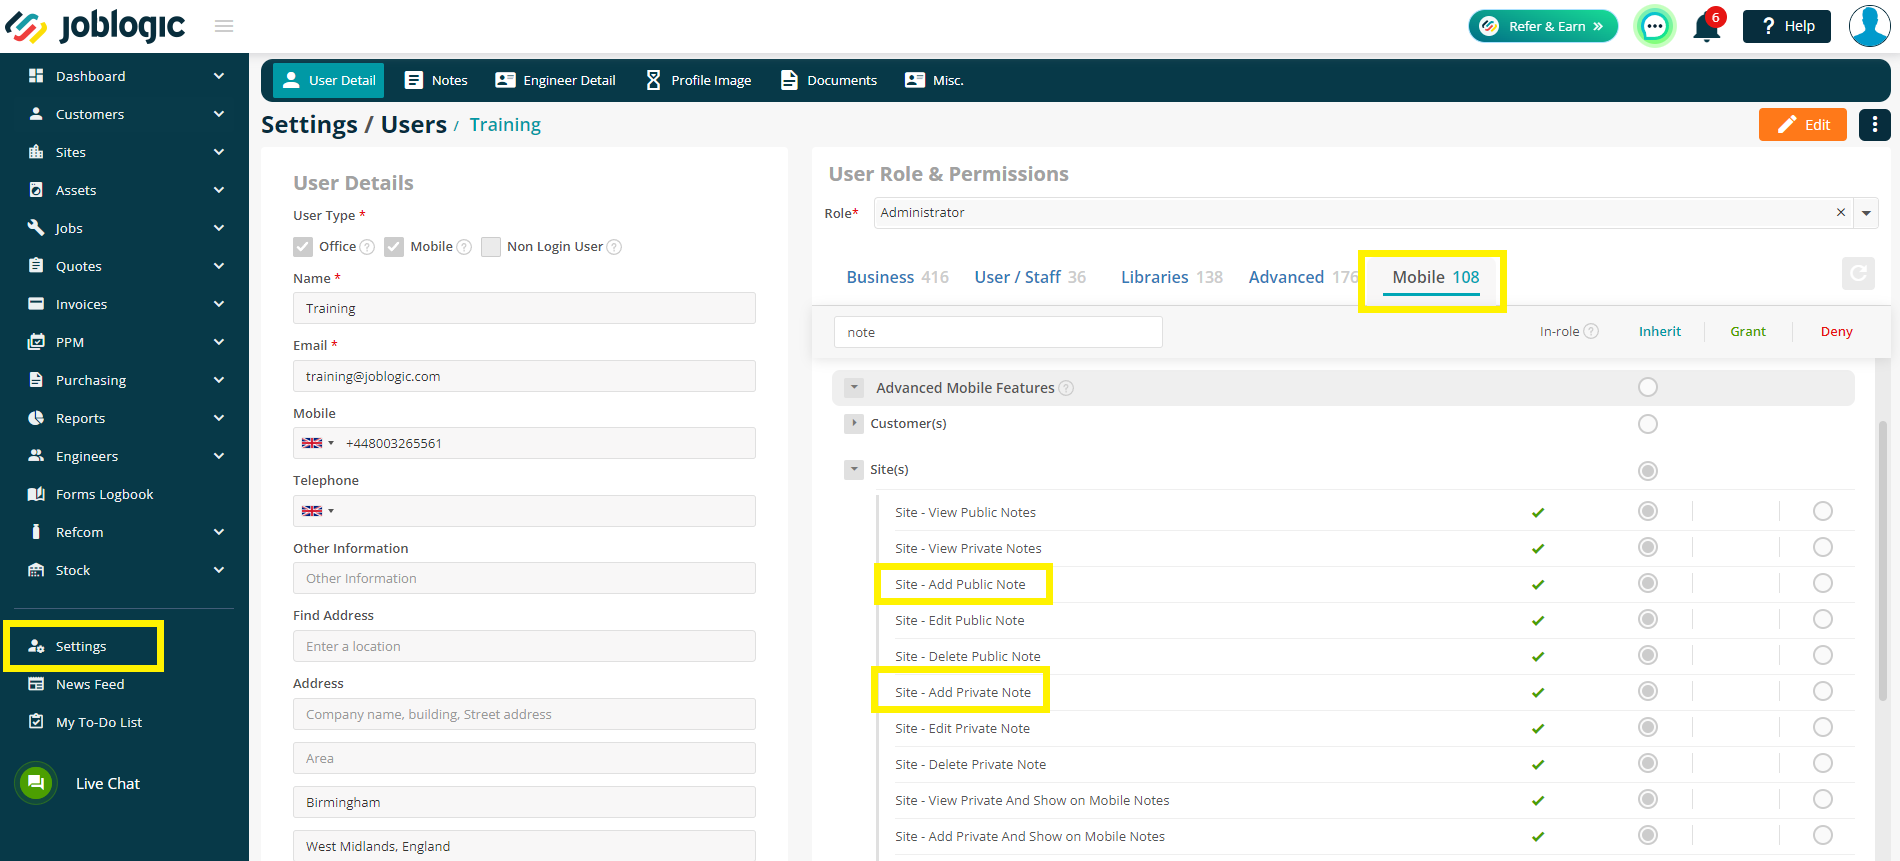
To do this, go to Settings > Staff > choose staff member > Edit (on your back office account)
Under the Mobile header locate the sub header ‘’Advanced Mobile Features’’ or search for 'notes' to filter down the list to find the relevant permissions.
Site(s)
Site - Add Public Note
Site - Add Private Note
There are further permissions for View, Edit and Delete too which can be amended as required
Adding a Visit Note / Attachment
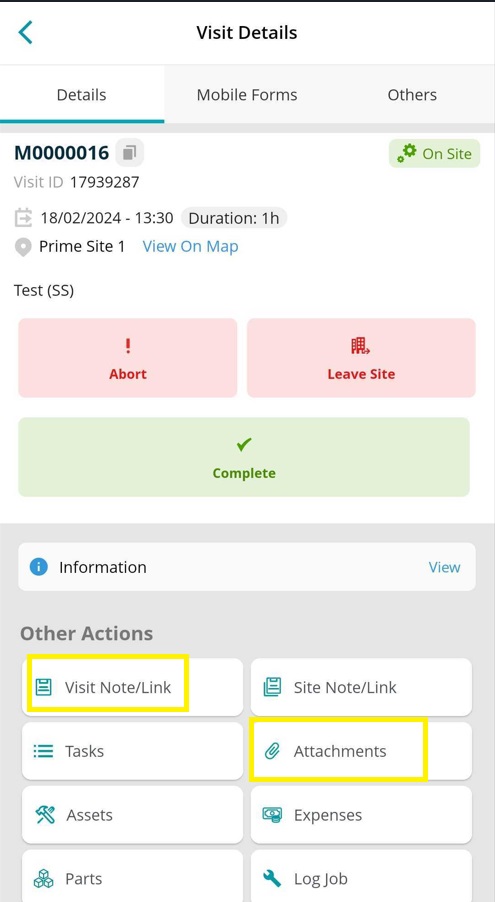
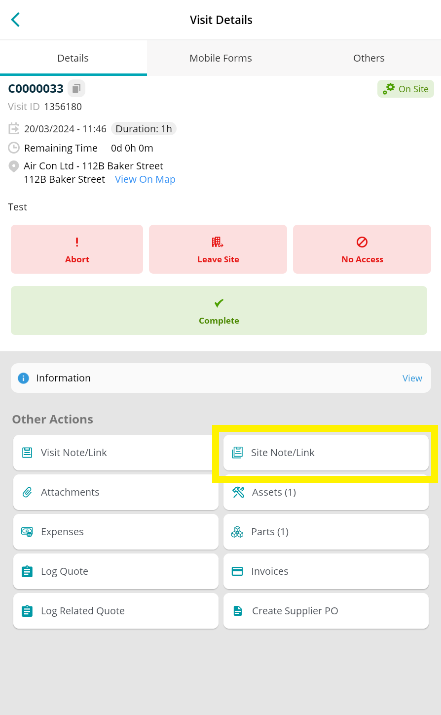
On the visit details page of the app, you’ll be able to see the Visit Note/Link and Attachments tabs under Other Actions.
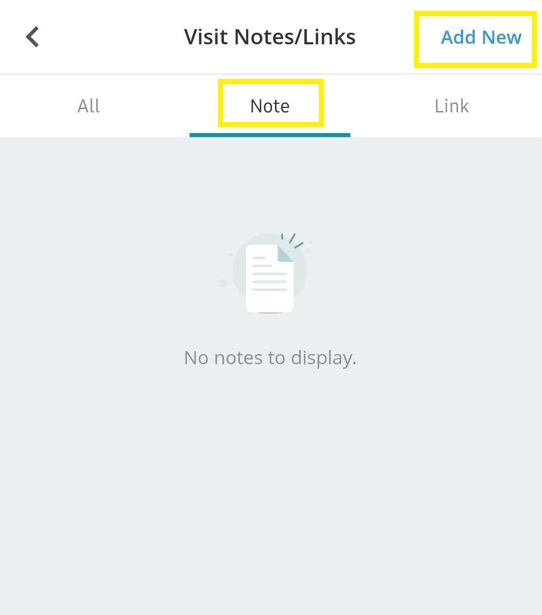
Click the Visit Note/Link option to navigate to the Note tab where you can view and Add New notes as required.
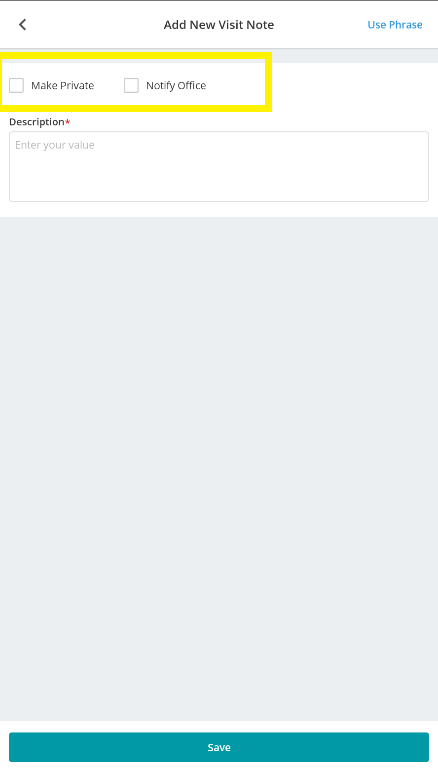
On the next page, you can type your notes. There are also two tick boxes; one to mark the note as Private and the other will Notify the office.
If the Private option is ticked, this note will only be visible to staff members and will not be shown to the customer.
If the Notify Office option is ticked, it will trigger a bell icon notification in the back office. This is useful for any important or urgent notes.
When you are done, click Save at the bottom of the page.
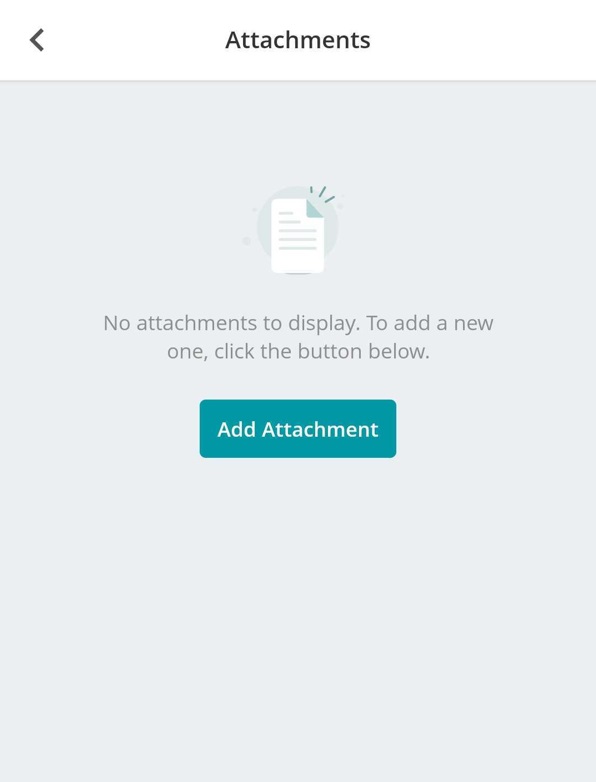
Similarly, if you navigate to the Attachment option you can view and add any attachments relevant to the visit.
Click Add Attachment to add a new file.
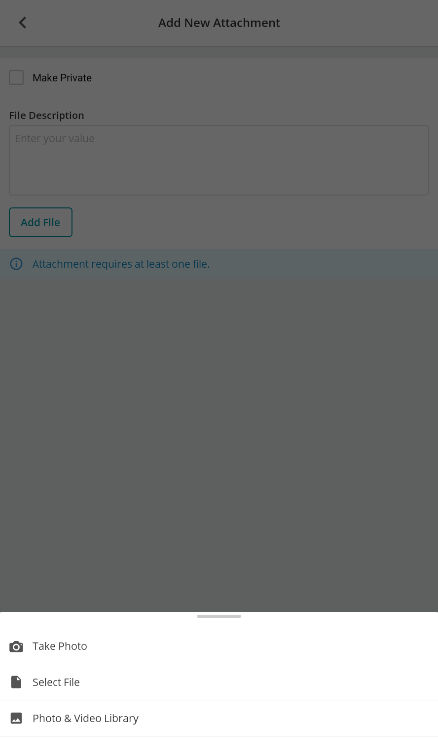
Add your description and then click Add File to search for your chosen document.
Here, you can choose to Take Photo, explore your Photo & Video Library or Select Files from your device.
You may also mark an attachment as Private by ticking the box. Again, this will mean the attachment is for back office viewing only and will not be shown to your customer.
Adding a Site Note
If the note you have is specific to the site, rather than the individual visit, you can add a Site Note/Link instead. This will mean the note stays visible against the site for further visits too.
Click this option under the Other Actions header to begin
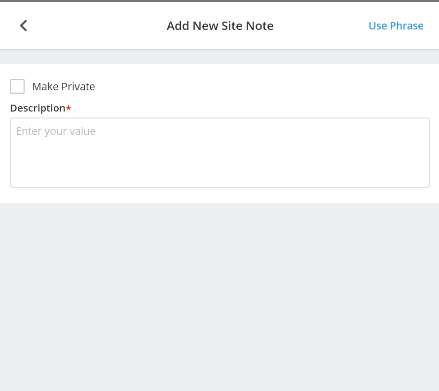
The process will then be the same as above. Click into the notes tab and then Add New.
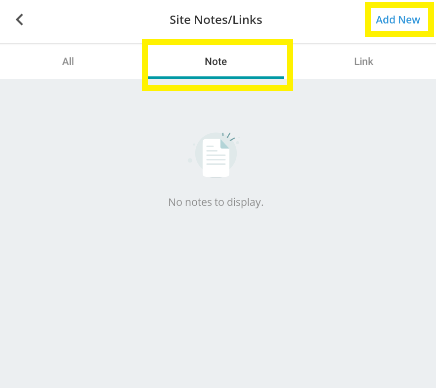
Add your note, tick Make Private if relevant, and then click Save.
Further Support
For further information or assistance with the above, contact our Support Team on 0800 326 5561 or email support@joblogic.com. Alternatively, our Customer Success Management team can be reached by emailing customersuccess@joblogic.com
Publishing Details
This document was written and produced by Joblogic’s Technical Writing team and was last updated on the date specified above. Be aware that the information provided may be subject to change following further updates on the matter becoming available. Additionally, details within the guide may vary depending on your Joblogic account’s user permissions.

