Introduction
The Projects module is designed to help you manage larger, multi-stage pieces of work within Joblogic. As this is a feature-rich module, the documentation has been divided into several guides covering different areas of functionality.
This guide focuses on the initial setup and configuration of Projects, including Project Settings, Project Types, and Project Statuses. Correctly configuring these areas will help ensure your projects are structured consistently and can be managed effectively throughout their lifecycle.
By the end of this guide, you'll understand how to configure the core project settings and create the types and statuses needed to support effective project management within Joblogic.
Project Settings
Before using the Projects module, it's recommended that you review the available configuration settings to ensure the module operates in line with your requirements.
Navigate to Settings > System Setup to begin configuring your Project settings.
.jpg)
Scroll to the bottom to find the following settings:
Committed Spend Calculation
- Select how the committed cost should be calculated for projects.
- Manual
- Calculated from Purchase Orders
.jpg)
Include Quote Estimated Costs in the Project Estimated Cost
- Enable this setting to include estimated costs from linked Job Quotes in the Project's Total Estimated Cost.
.jpg)
Split Quoted Value to Line Items on Project Invoices
- When enabled, individual quote line items are carried forward to Time & Material project invoices/applications. When disabled, the quoted value is added as a single line item.
.jpg)
Time & Material Project Invoicing Method
- Progressive Billing - Each invoice is raised independently based on the current claim amount
- Cumulative Billing - Each invoice reflects total progress to date, with previous invoices automatically deducted
.jpg)
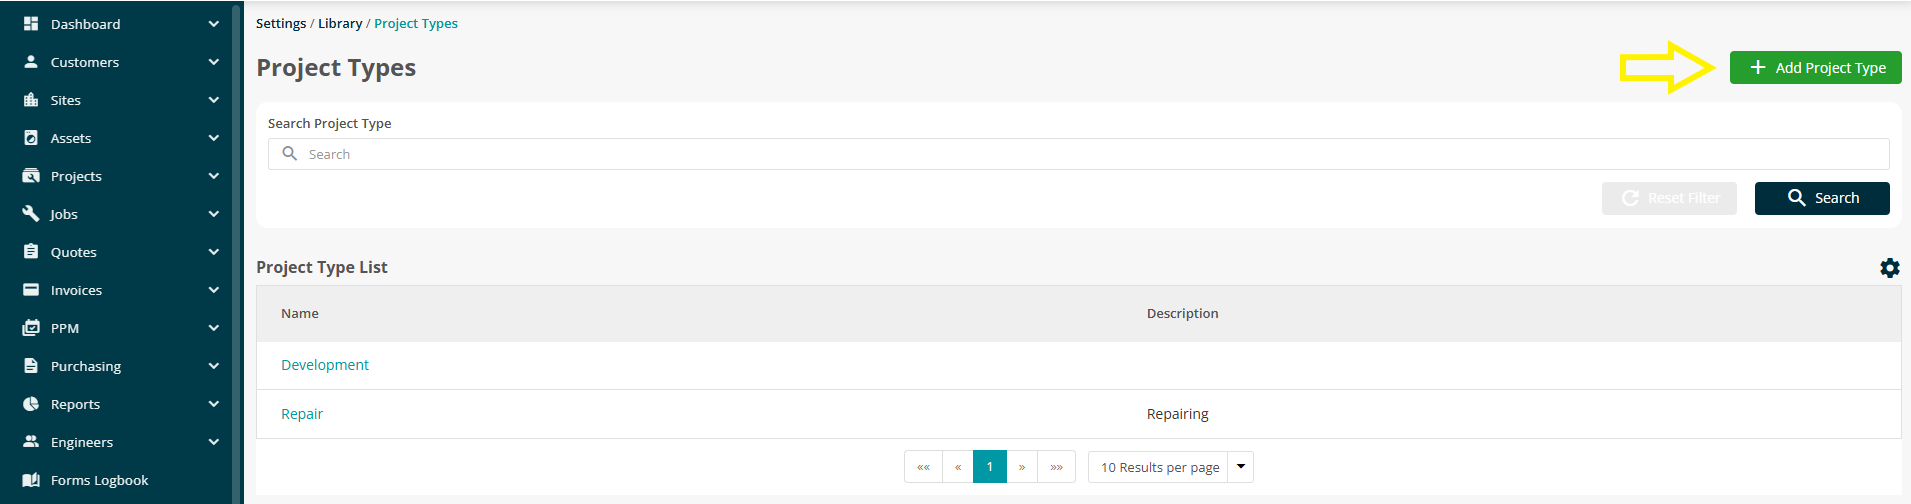
Project Types
Navigate to Settings > Library > Project Types
.jpg)
.jpg)
Adding a New Project Type
Within the project types library, select the green ‘+Add project type’ button.
An ‘Add Project Type’ box will appear where the ‘Project Type Name’ and a ‘Description’ can be added.
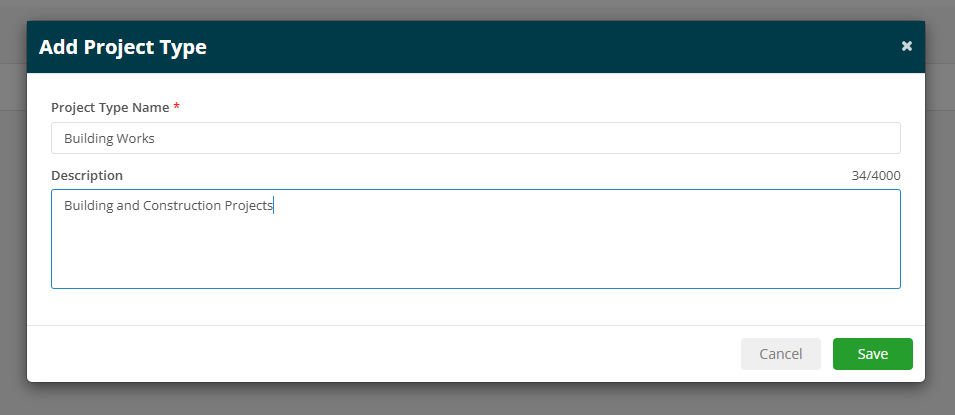
Select ‘Save’ and the project type will log within the project types library.

Any project types added will then populate within the ‘Project Types’ dropdown against any projects logged/on the ‘Add Project’ page, allowing you and colleagues to categorise your projects to certain characteristics and descriptions, making searching and reporting much easier.
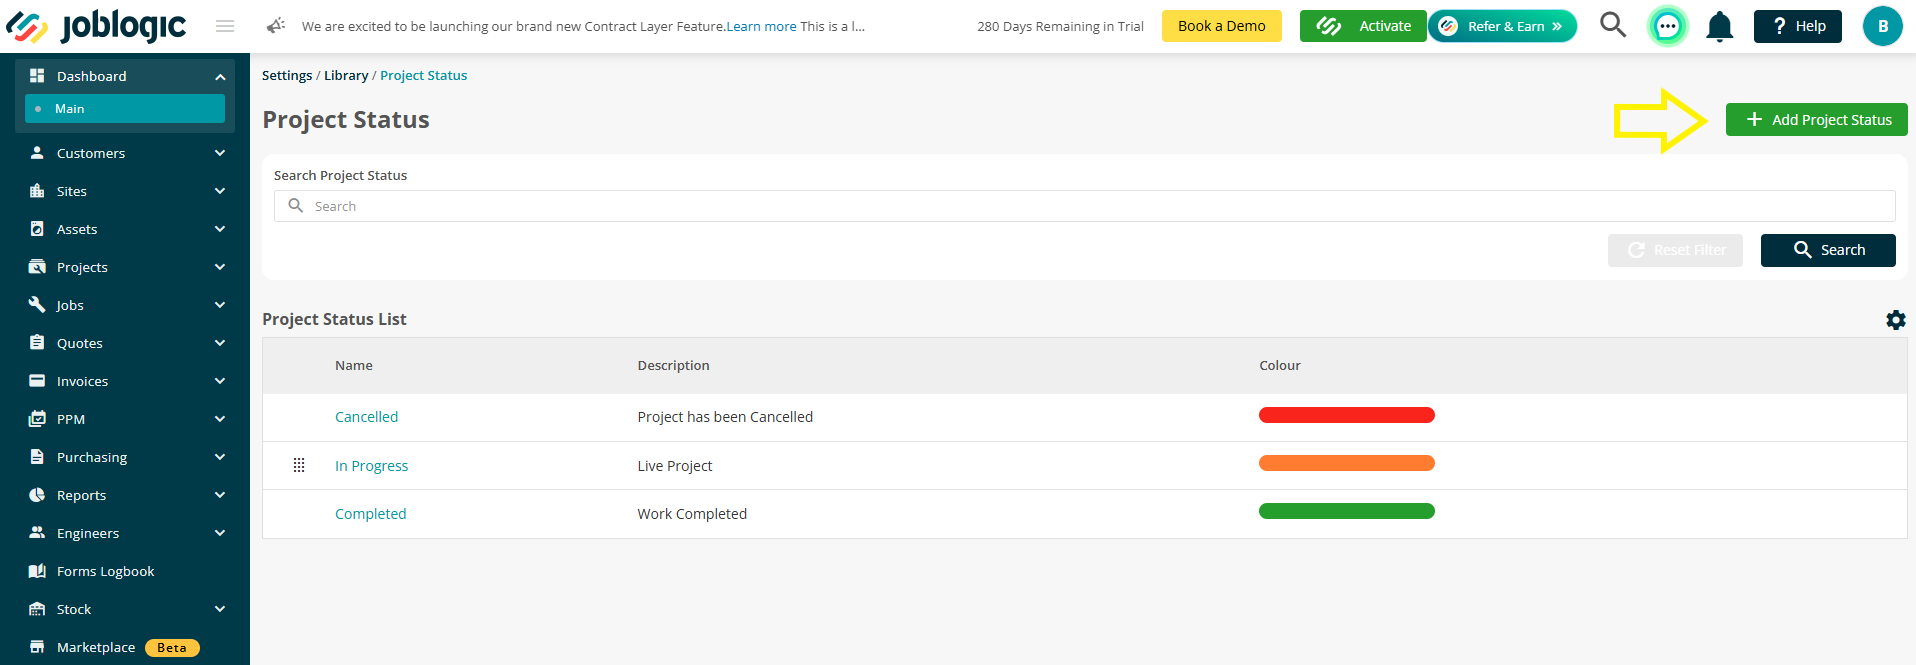
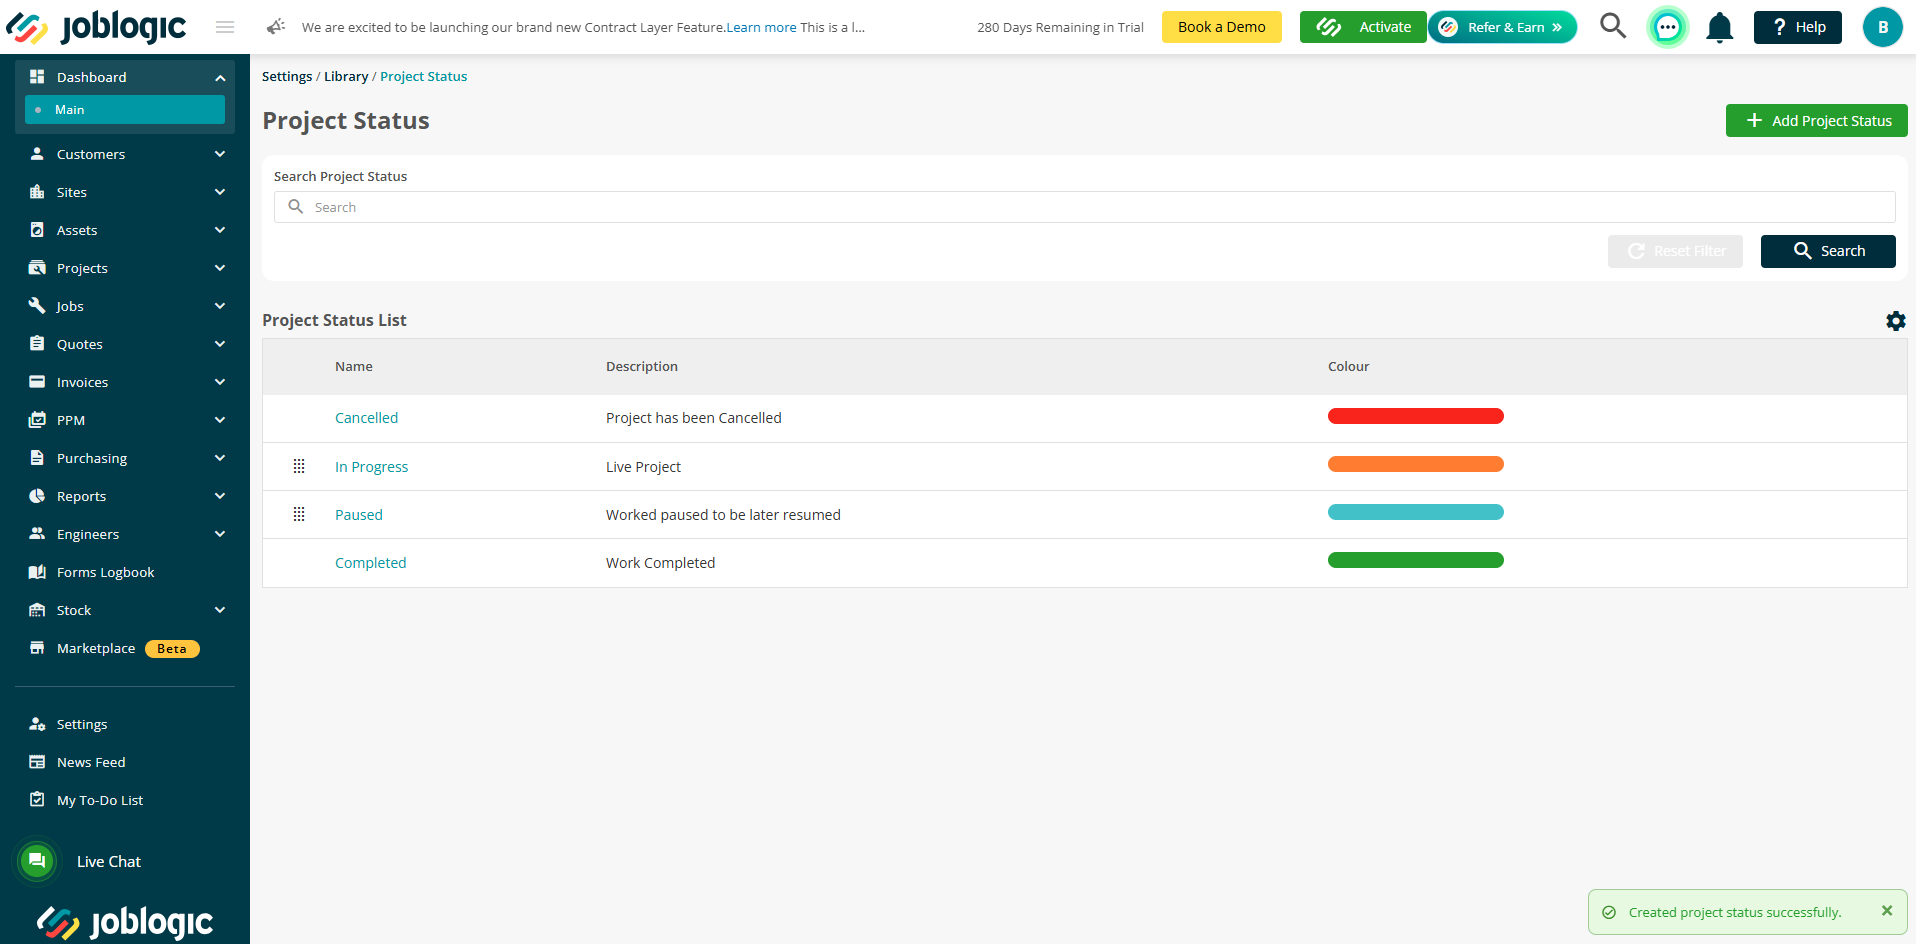
Project Statuses
Navigate to Settings > Library > Project Status
.jpg)
.jpg)
Adding a New Project Status
Within the project status library, select the green ‘+Add Project Status’ button.
Note: Some generic project statuses of cancelled, completed and in progress will already exist.
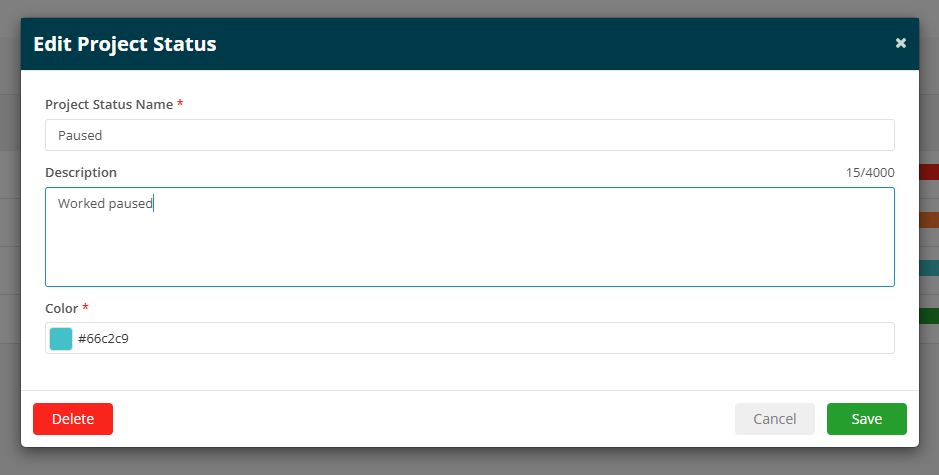
An ‘Add Project Status’ box will appear where the ‘Project Status Name’ and a ‘Description’ can be added.
There is also a ‘Colour’ option where you can assign a colour in order to colour code projects of a certain status. Select the ‘Colour’ field to open a colour pallet and select a colour.
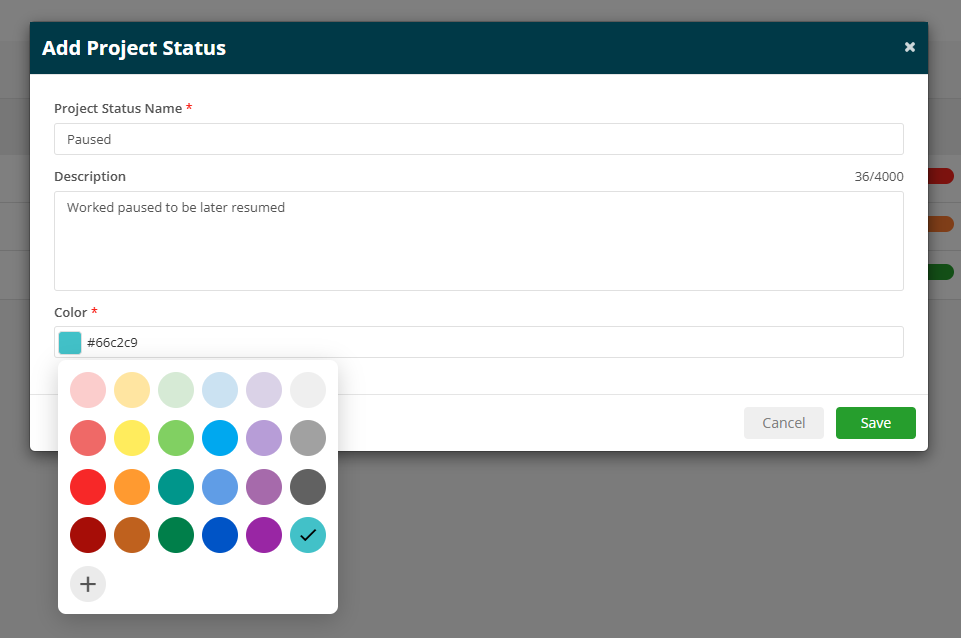
Select ‘Save’ and the project status will log within the project status library.
Any project statuses added will then populate within the ‘Project Status’ dropdown against any projects logged/on the ‘Add Project’ page, allowing you and colleagues to easily gauge your project’s progress and current standing at a glance.
Editing and Deleting Project Types and Statuses
If you need to amend any of the library item’s details or remove them from your dataset, access their relevant library and select the individual item via it’s blue name.

Within the item’s edit page, amend any details as applicable. It can also be deleted via the ‘Delete’ option if your user account has been granted the relevant delete permissions.
Note: The default/generic project statuses of cancelled, completed and in progress cannot be edited or deleted.
Further Support
For further information or assistance with the above, contact our Support Team on 0800 326 5561 or email support@joblogic.com. Alternatively, our Customer Success Management team can be reached by emailing customersuccess@joblogic.com
Publishing Details
This document was written and produced by Joblogic’s Technical Writing team and was last updated on the date stated above. Be aware that the information provided may be subject to change following further updates on the matter becoming available or new releases within the system. Additionally, details within the guide may vary depending on your Joblogic account’s user permissions and settings or the electronic device being used.