Introduction
Advance Reporting gives you greater control over how you view, filter, and extract your report data, making it easier to turn raw information into actionable insights. By allowing you to configure custom filters and apply them dynamically, it ensures you can quickly surface the data that matters most to your business.
Whether you're analysing operational performance or preparing data for accounting workflows, Advance Reporting helps you work more efficiently with flexible filtering options and simple export capabilities.
In this guide, we’ll walk you through how to access reports, configure and manage filters, and export your data using Advance Reporting.
Setting up your filters
Navigate to Reports > Advance Reporting.
On this page, you'll see a list of your available reports.
.jpg)
You can use the category filter or the search box at the top of the page to quickly find a report.
.jpg)
Click on any report to begin setting up your filters.
.jpg)
Click Generate Filters.
.jpg)
Select the fields you'd like to use as filters for this report, and then choose the relevant Filter Type.
.jpg)
There are several available Filter Types:
- Text Search
- Multi-Select
- Number Range
- Date Range
Note: Filter options are context-dependent and will only be available where relevant. For example, Number Range may be available for fields such as ID, but not for text-based fields such as Description.
.jpg)
Once you’re happy with your selections, click Save.
.jpg)
The system will then display the configured filters, ready for use.
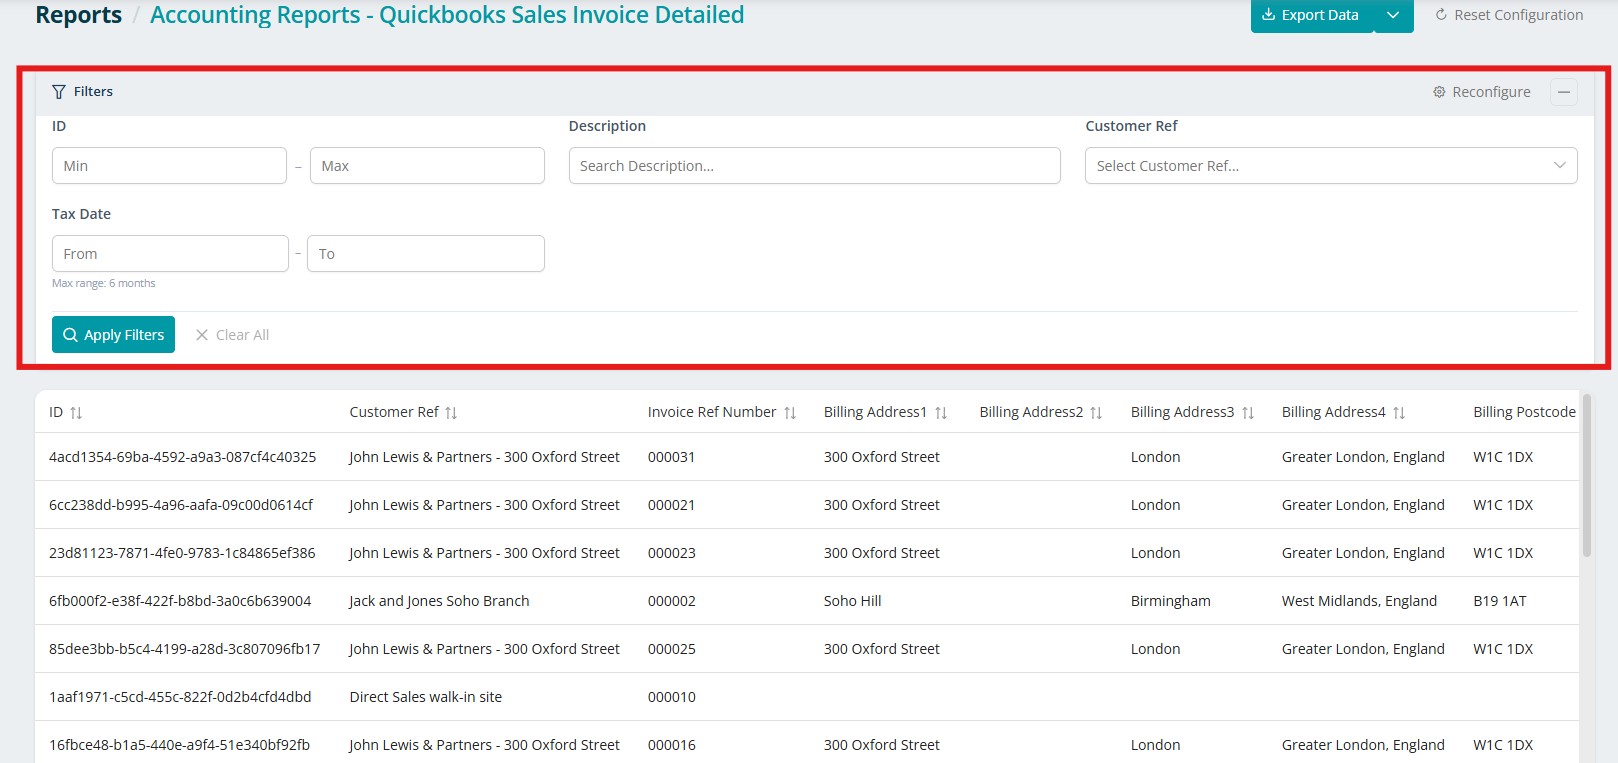
The filters
The Number Range & Date Range filters allow you to select a start and end value.
.jpg)
The Multi-Select filter allows you to select multiple options at the same time.
.jpg)
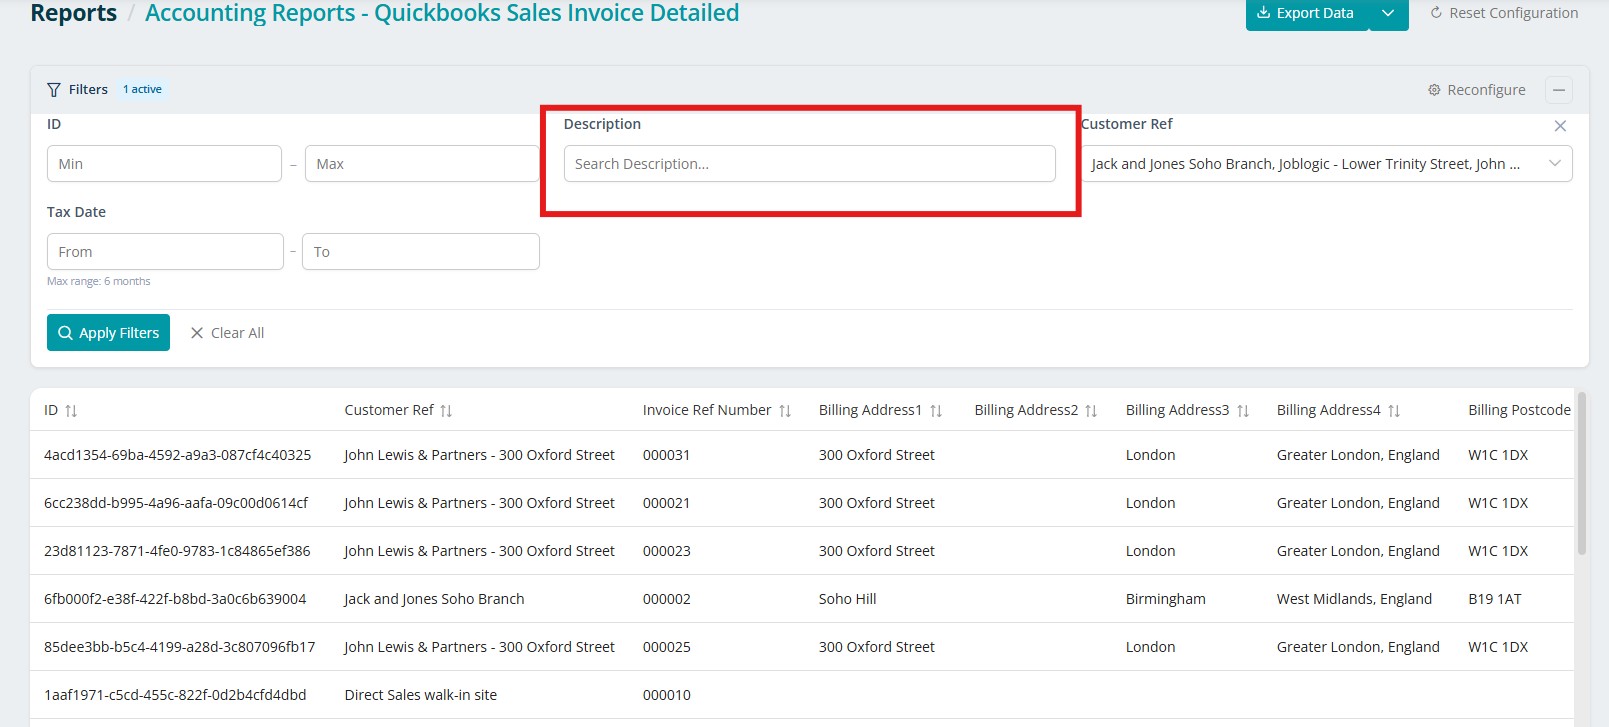
The Text Search filter allows you to freely type into the search field.
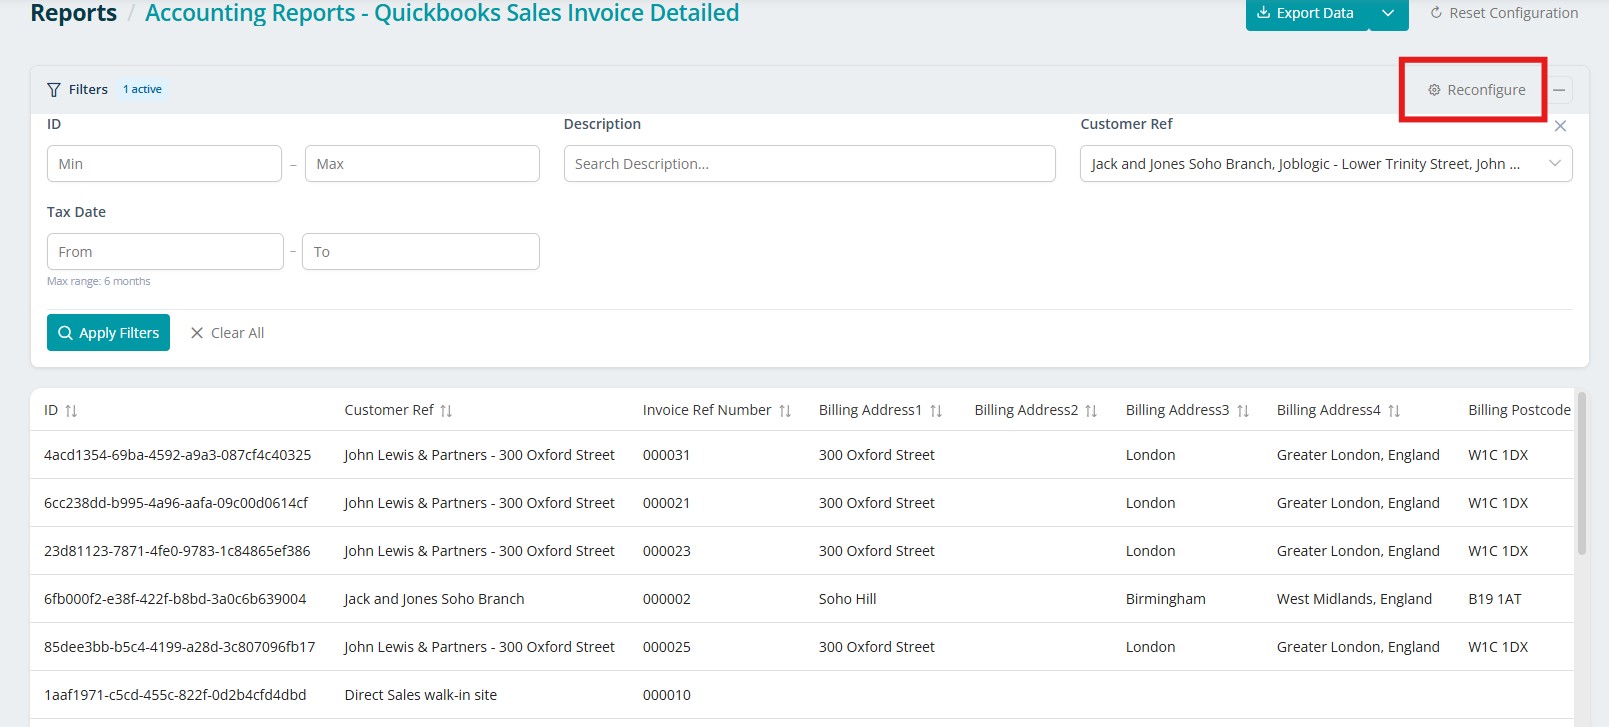
Reconfigure
To edit your filters, click Reconfigure, make your changes, then click Save Filter Configuration again.
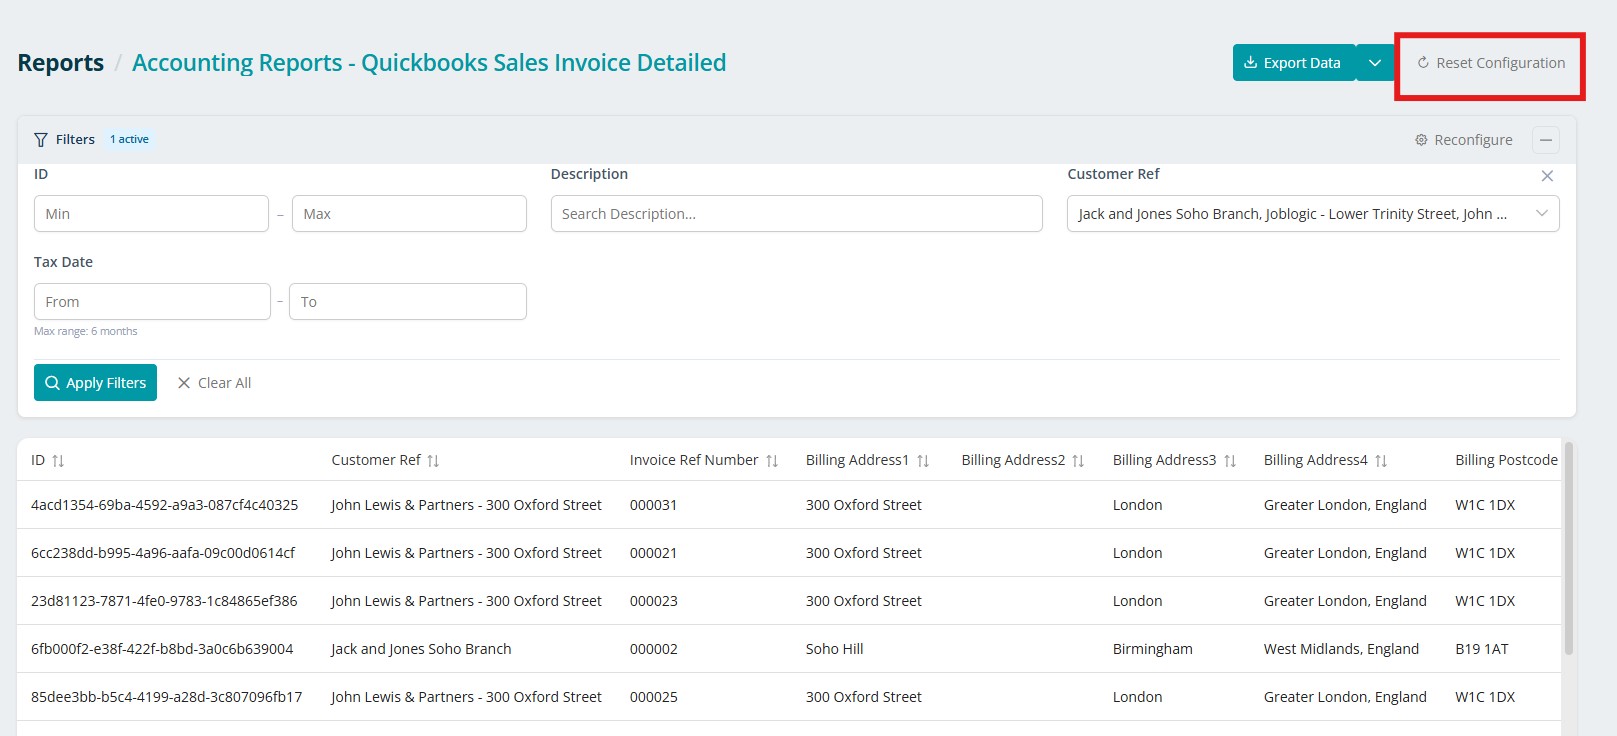
Reset Configuration
You can reset the report back to having no configured filters at any time by clicking Reset Configuration in the top-right corner.
Exporting Data
There are 2 available export options:
- Export CSV
- Export Excel
.jpg)
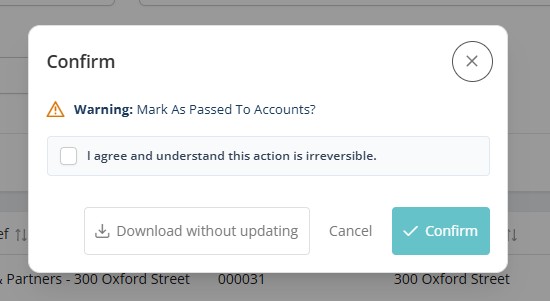
For accounting reports, you'll need to confirm to marking the invoices as Passed to Accounts.
Click Download without updating if you do not wish for this to happen at this stage.
Once marked, these items will no longer appear in the report, helping to prevent duplicate entries being passed into your accounting software.
Advance Reporting Data Sources
There is a third option available when exporting your data: Data Source. This option requires an additional app to be purchased and subscribed to.
Once you are subscribed to the Advance Reporting Data Sources app, you will also have the option to export your data as a Data Source.
This allows you to share your Joblogic data with external systems or tools that can connect to a Data Source, providing an alternative way to access and work with your data beyond the standard export options.
This provides greater control over shared report data, ensuring that external access is only available while you have an active Companion App subscription.
Further Support
For further information or assistance with the above, contact our Support Team on 0800 326 5561 or email support@joblogic.com. Alternatively, our Customer Success Management team can be reached by emailing customersuccess@joblogic.com
Publishing Details
This document was written and produced by Joblogic’s Technical Writing team and was last updated on the date stated above. Be aware that the information provided may be subject to change following further updates on the matter becoming available or new releases within the system. Additionally, details within the guide may vary depending on your Joblogic account’s user permissions and settings or the electronic device being used.