Introduction
Each job within Joblogic has an assets area. Here any assets on the job’s site can be assigned to the job, indicating that those assets are to be worked on during the job. This user guide details how to assign assets to jobs within the back office.
Assigning Assets to Jobs
In order to assign an asset(s) to a job, navigate to ‘Jobs’ > ‘All Jobs’ within the left side main menu and use the search and filter tool to locate the applicable job.
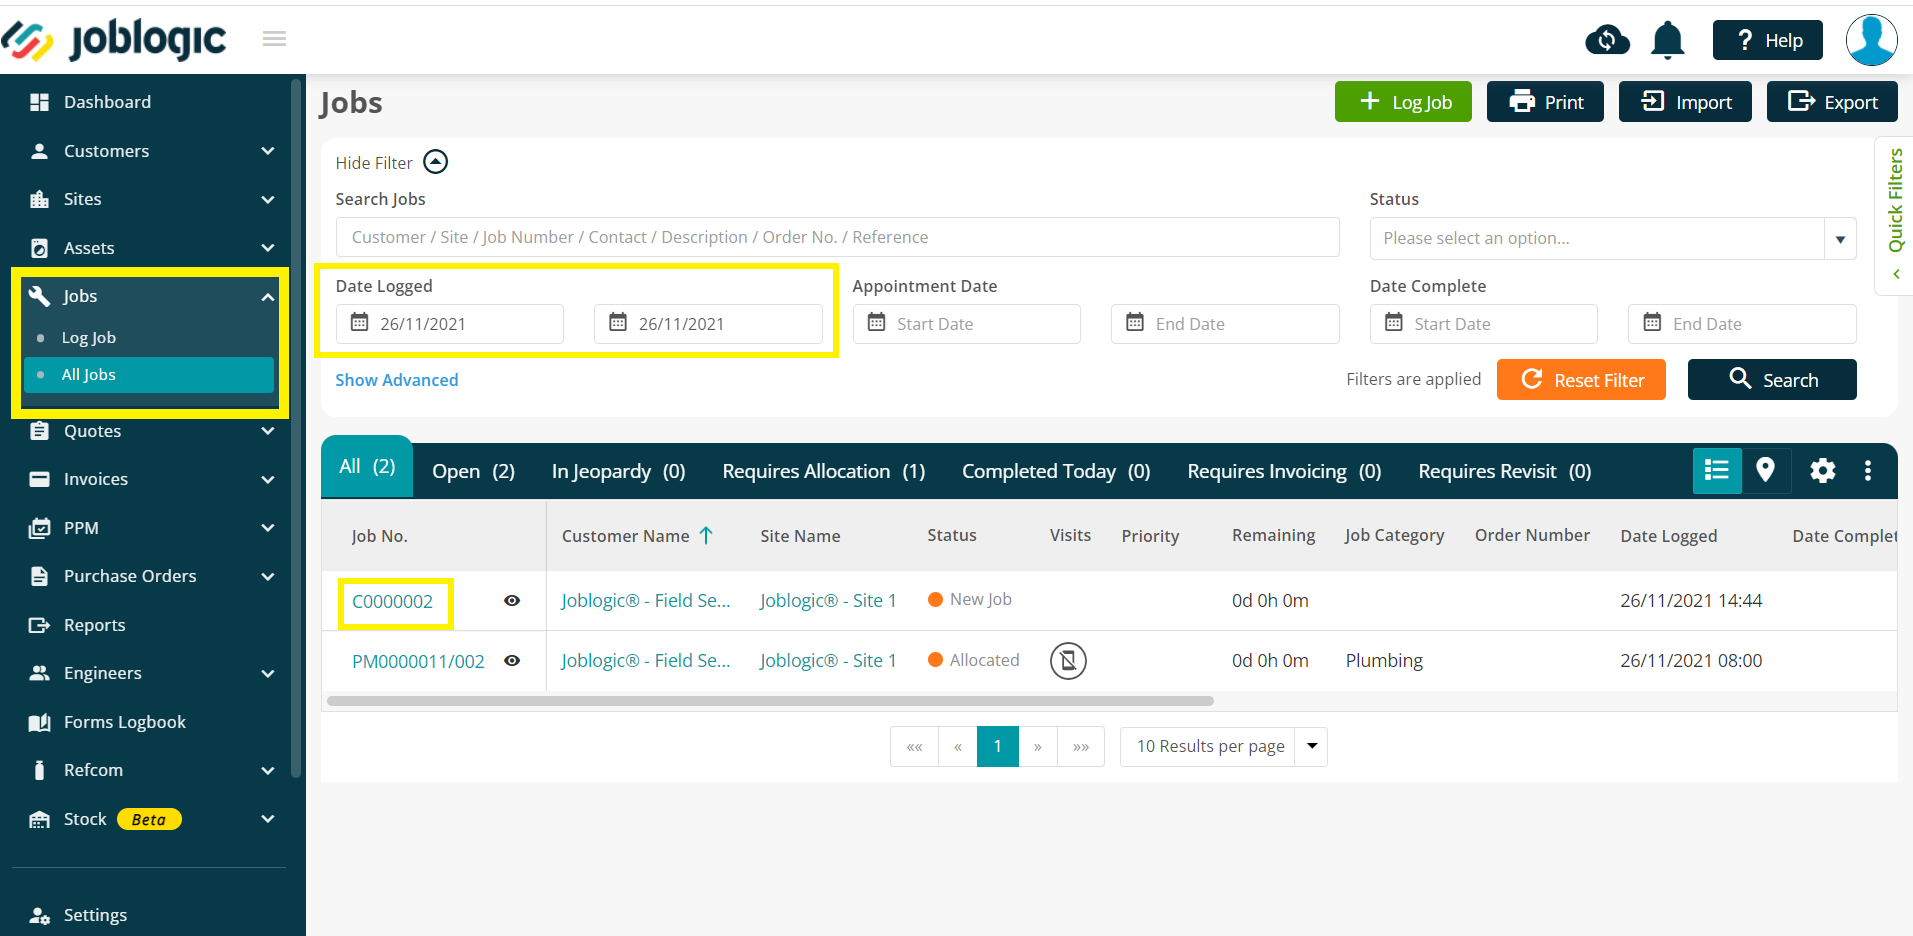
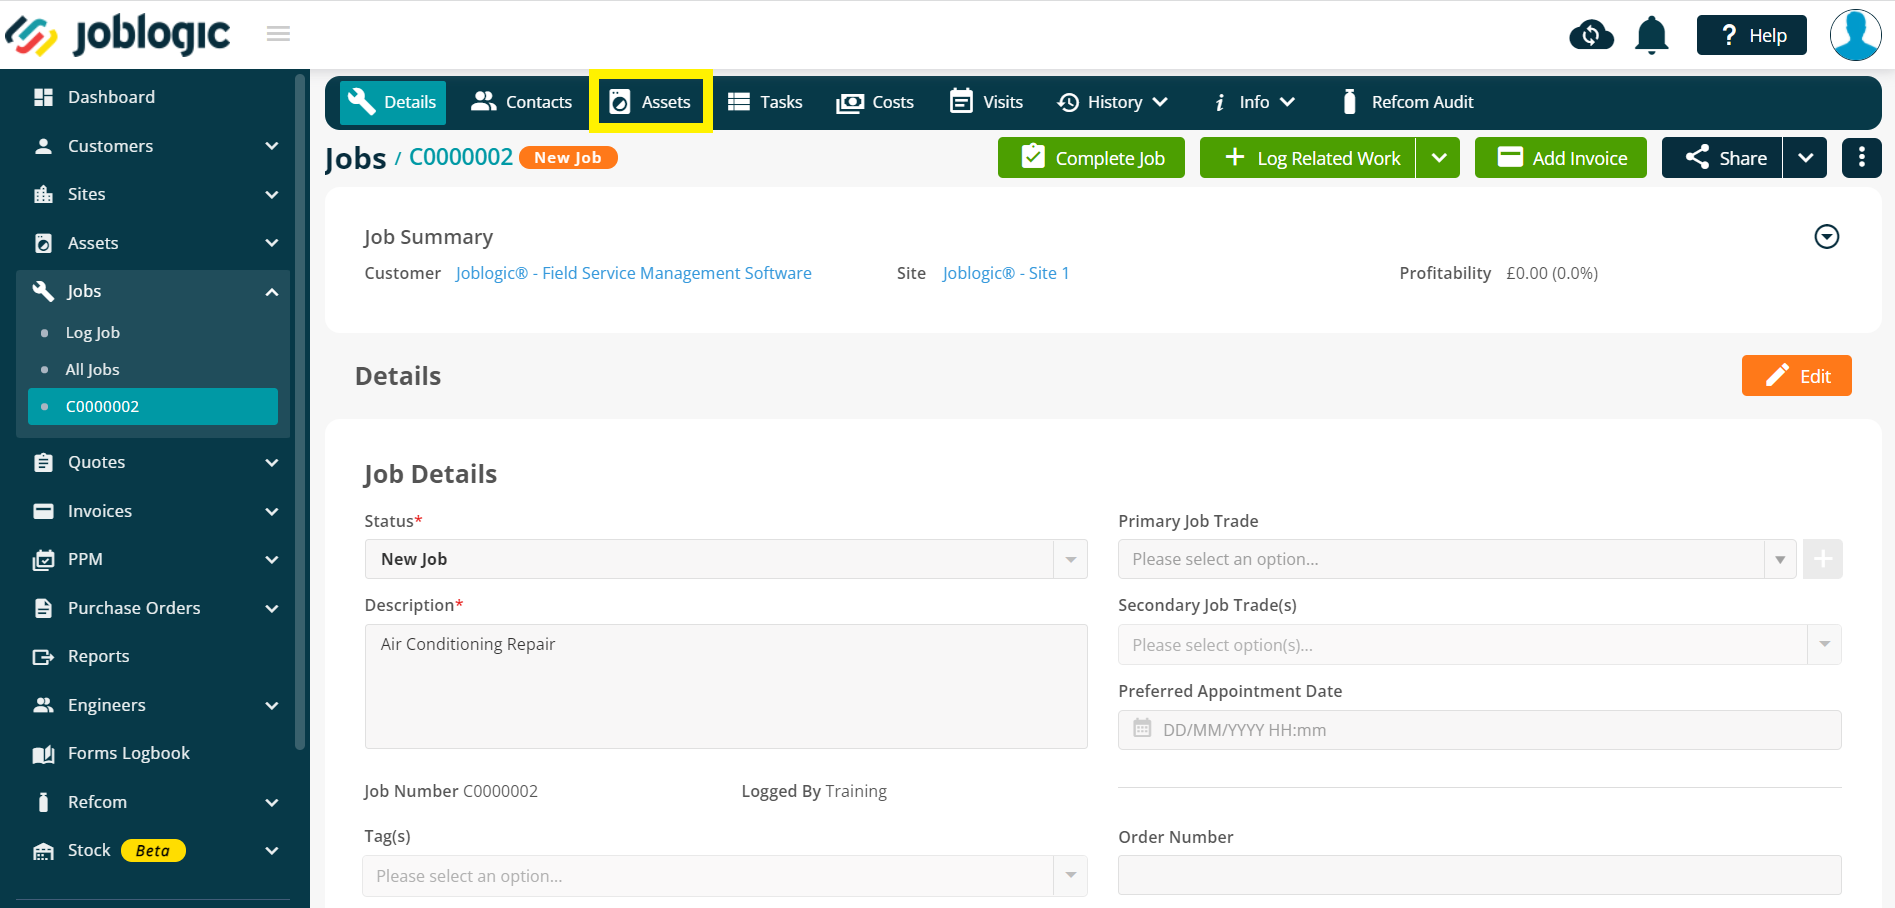
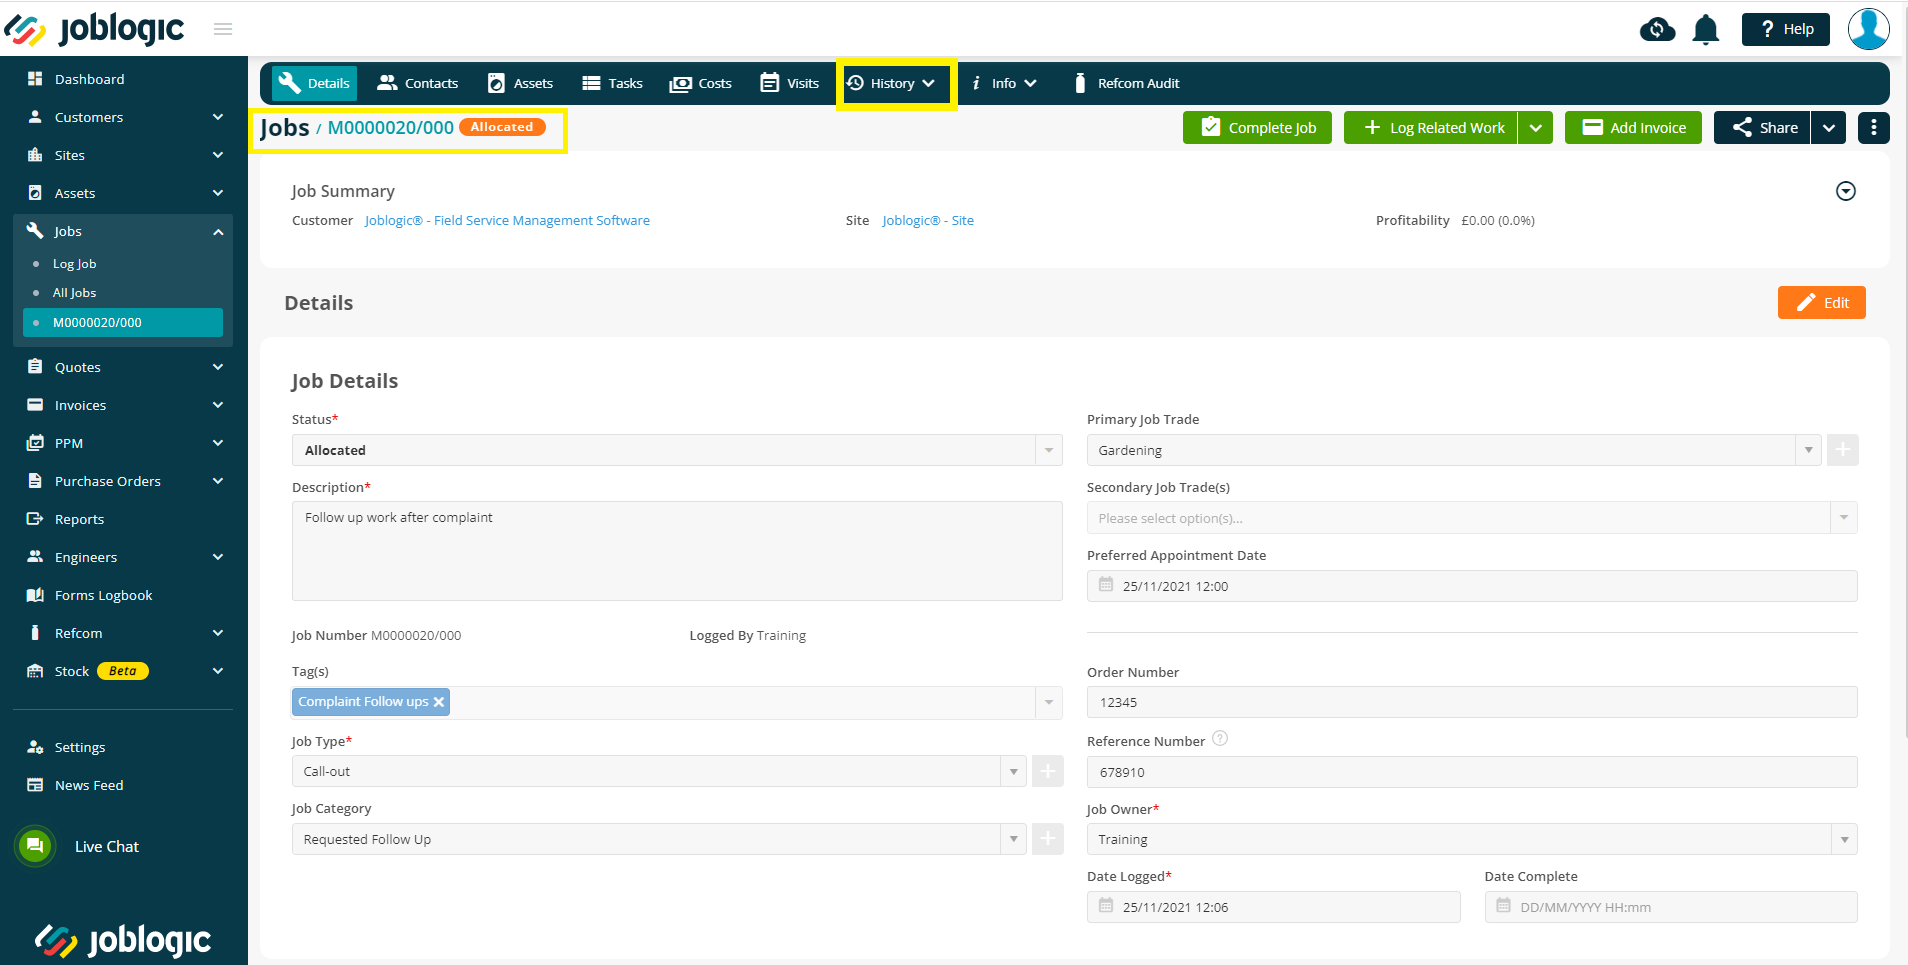
Select the job and select the ‘Assets’ tab from the tabs list towards the top of the page.
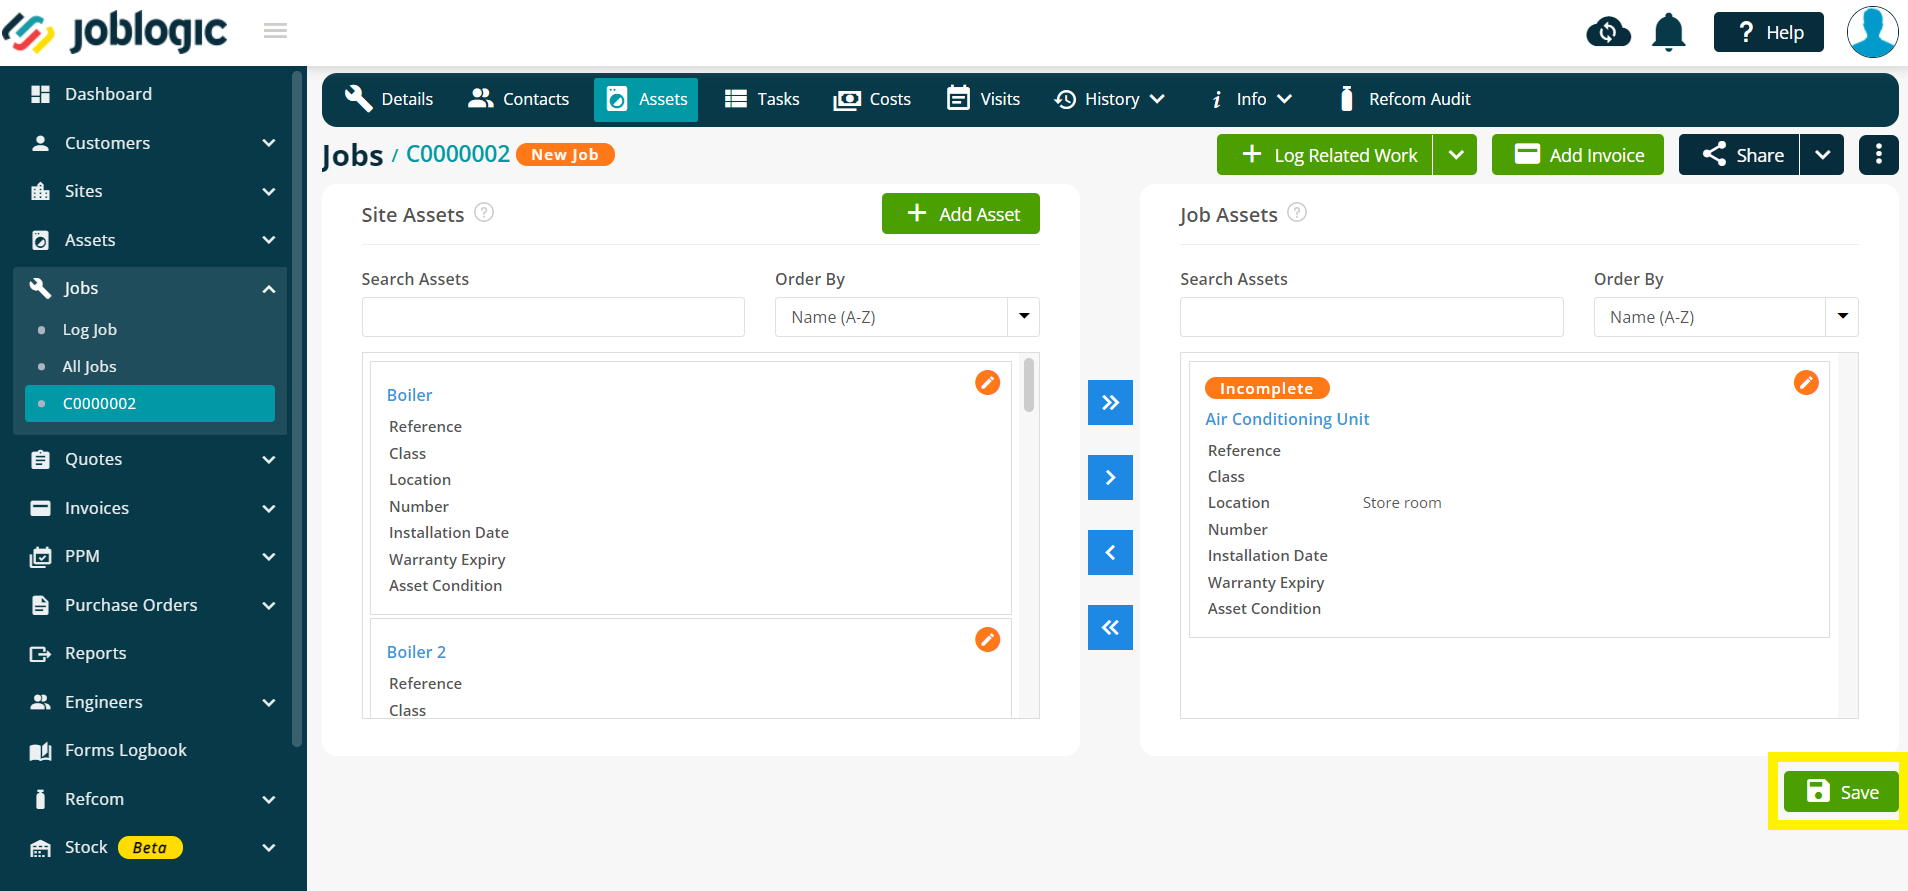
The ‘Assets’ area provides an overview of all assets recorded at the job’s site and allows for particular assets on the site to be assigned to the job. This indicates which ones are required to be worked on during that job.
The ‘Site Assets’ section refers to all of the assets currently recorded against the site of the job.
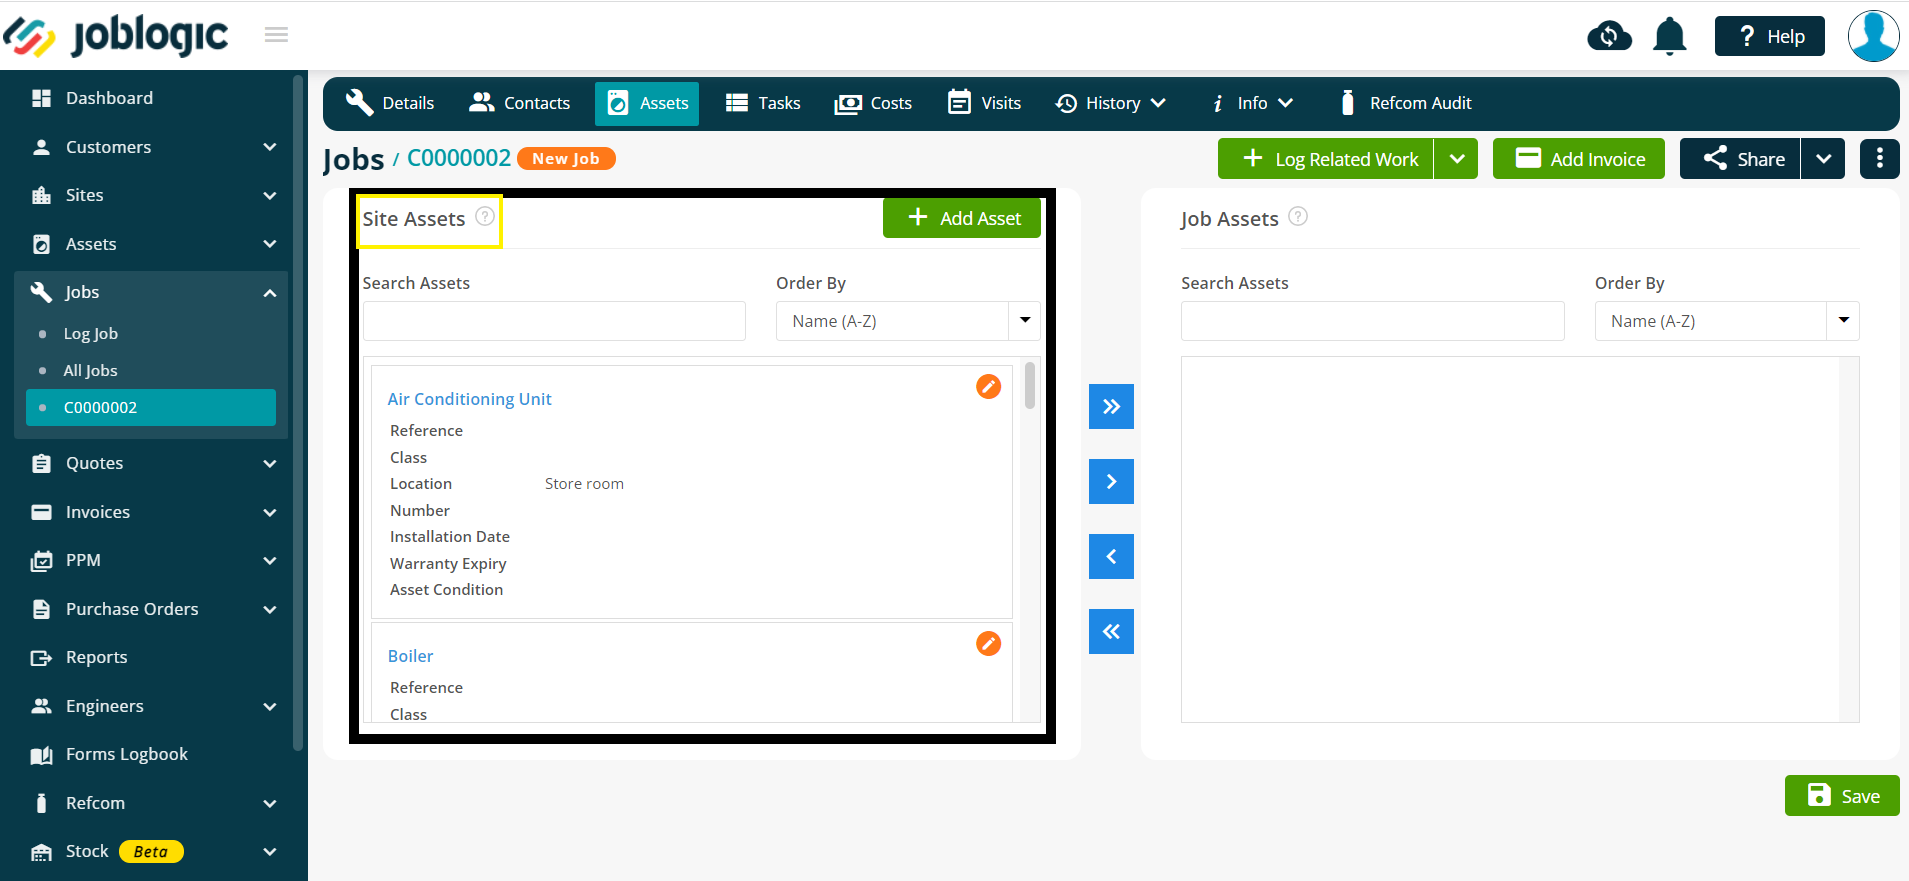
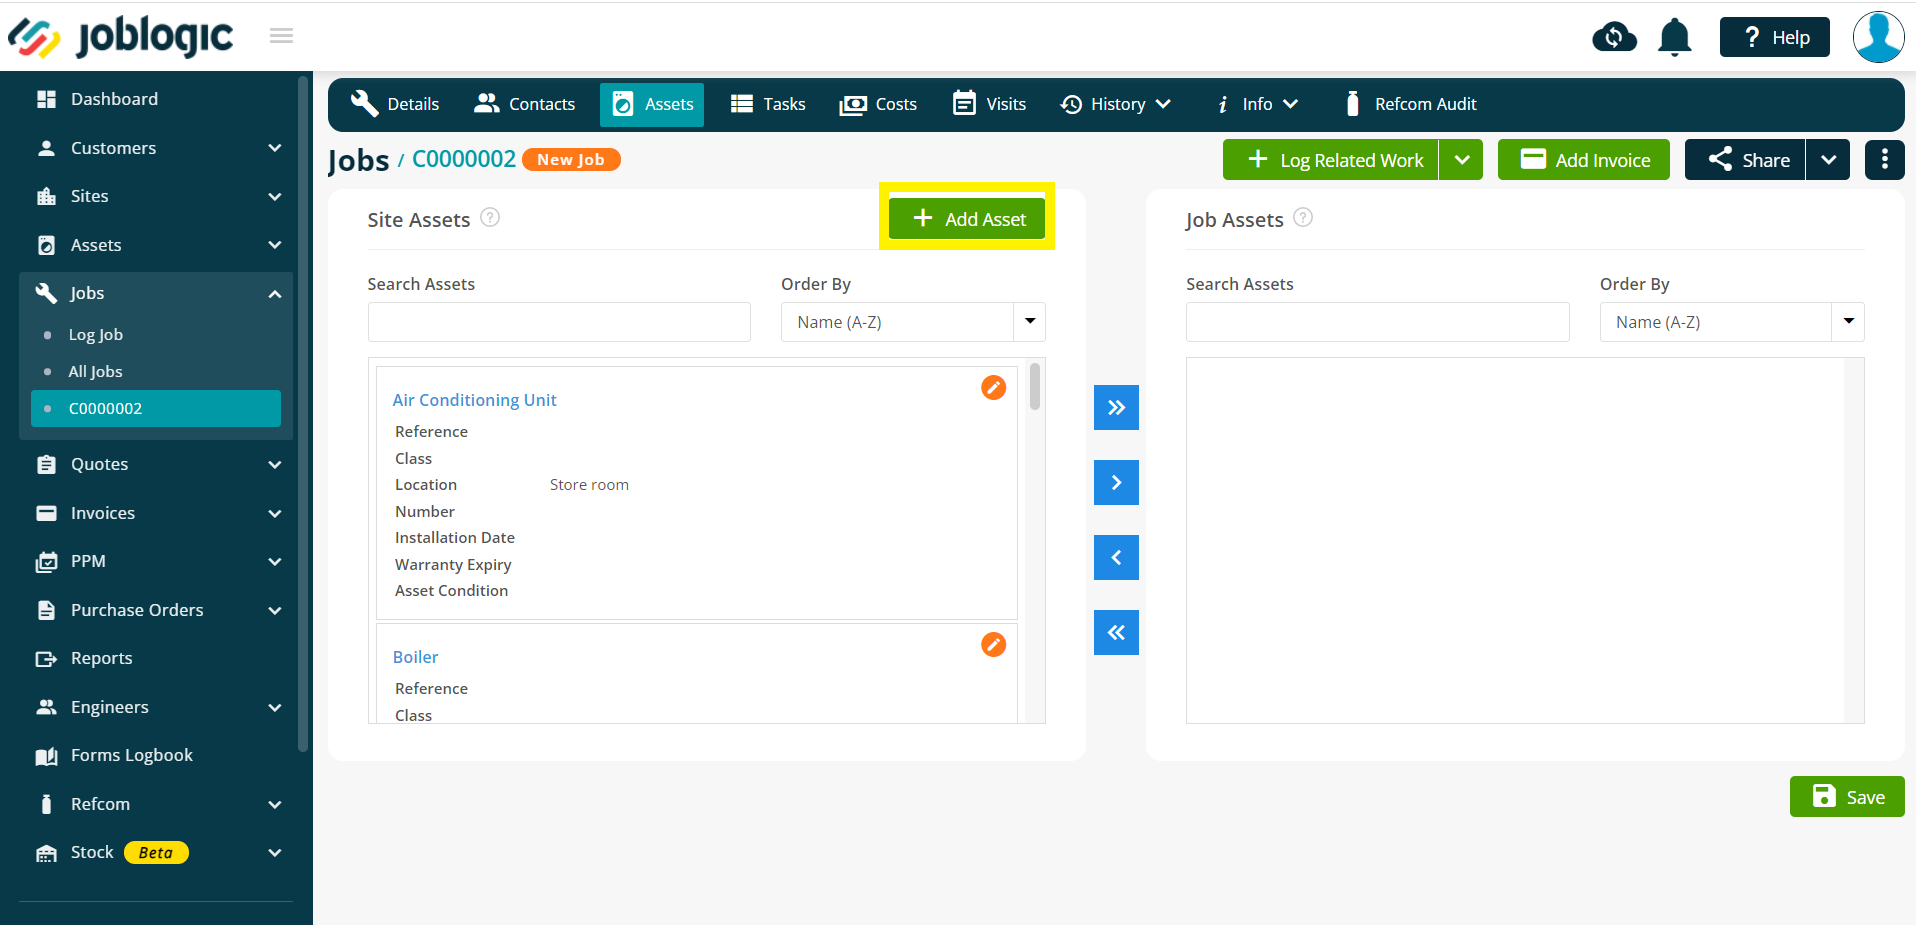
If an asset(s) does not yet exist in the system, it can be logged under the site assets area via the ‘+ Add Asset’ button.
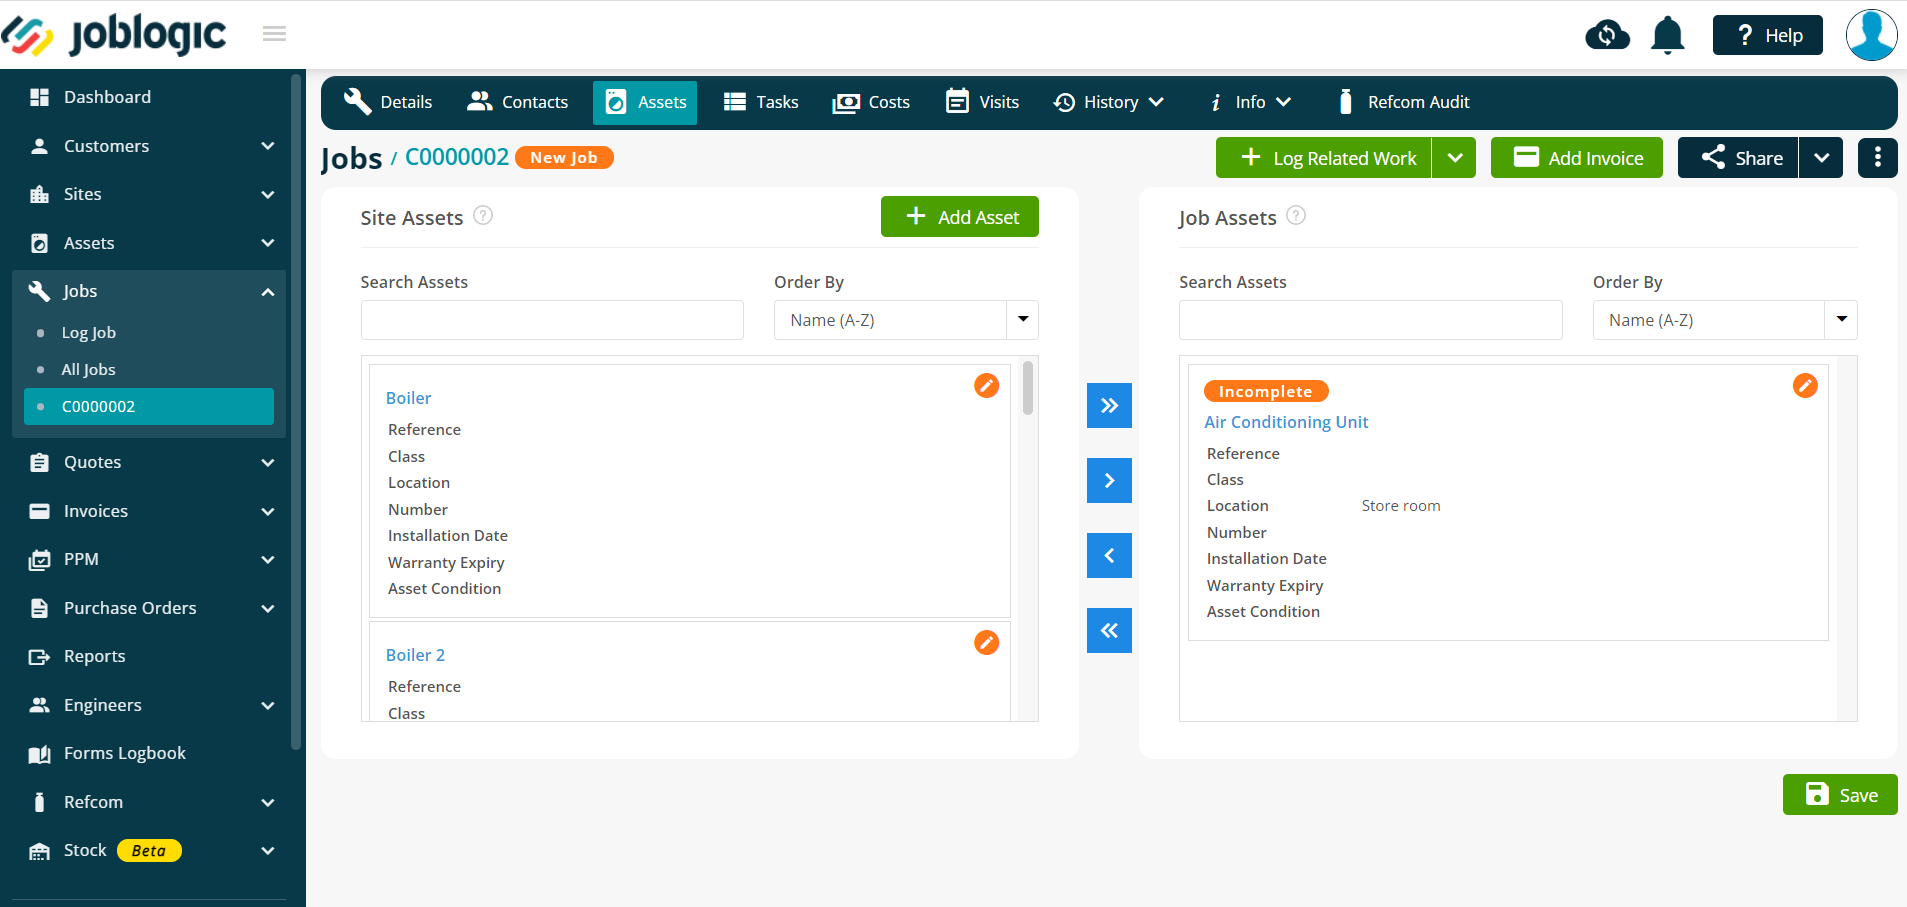
The ‘Job Assets’ section is used to indicate which assets on the site are to be worked on for the individual job.
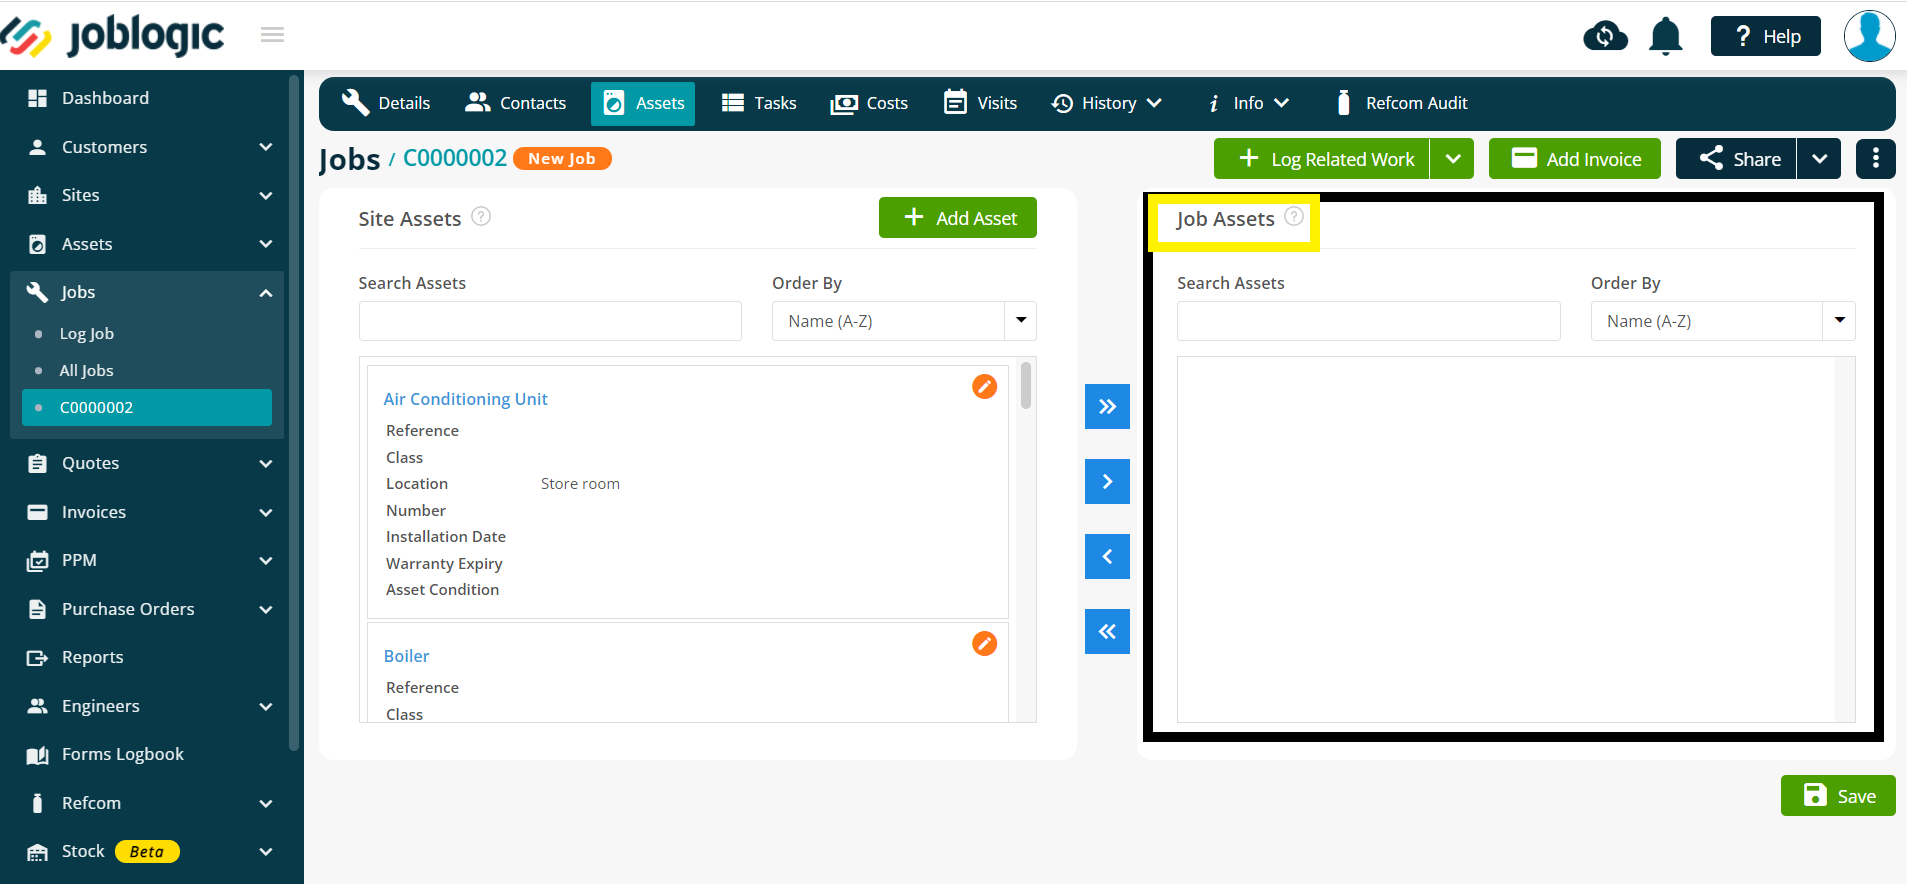
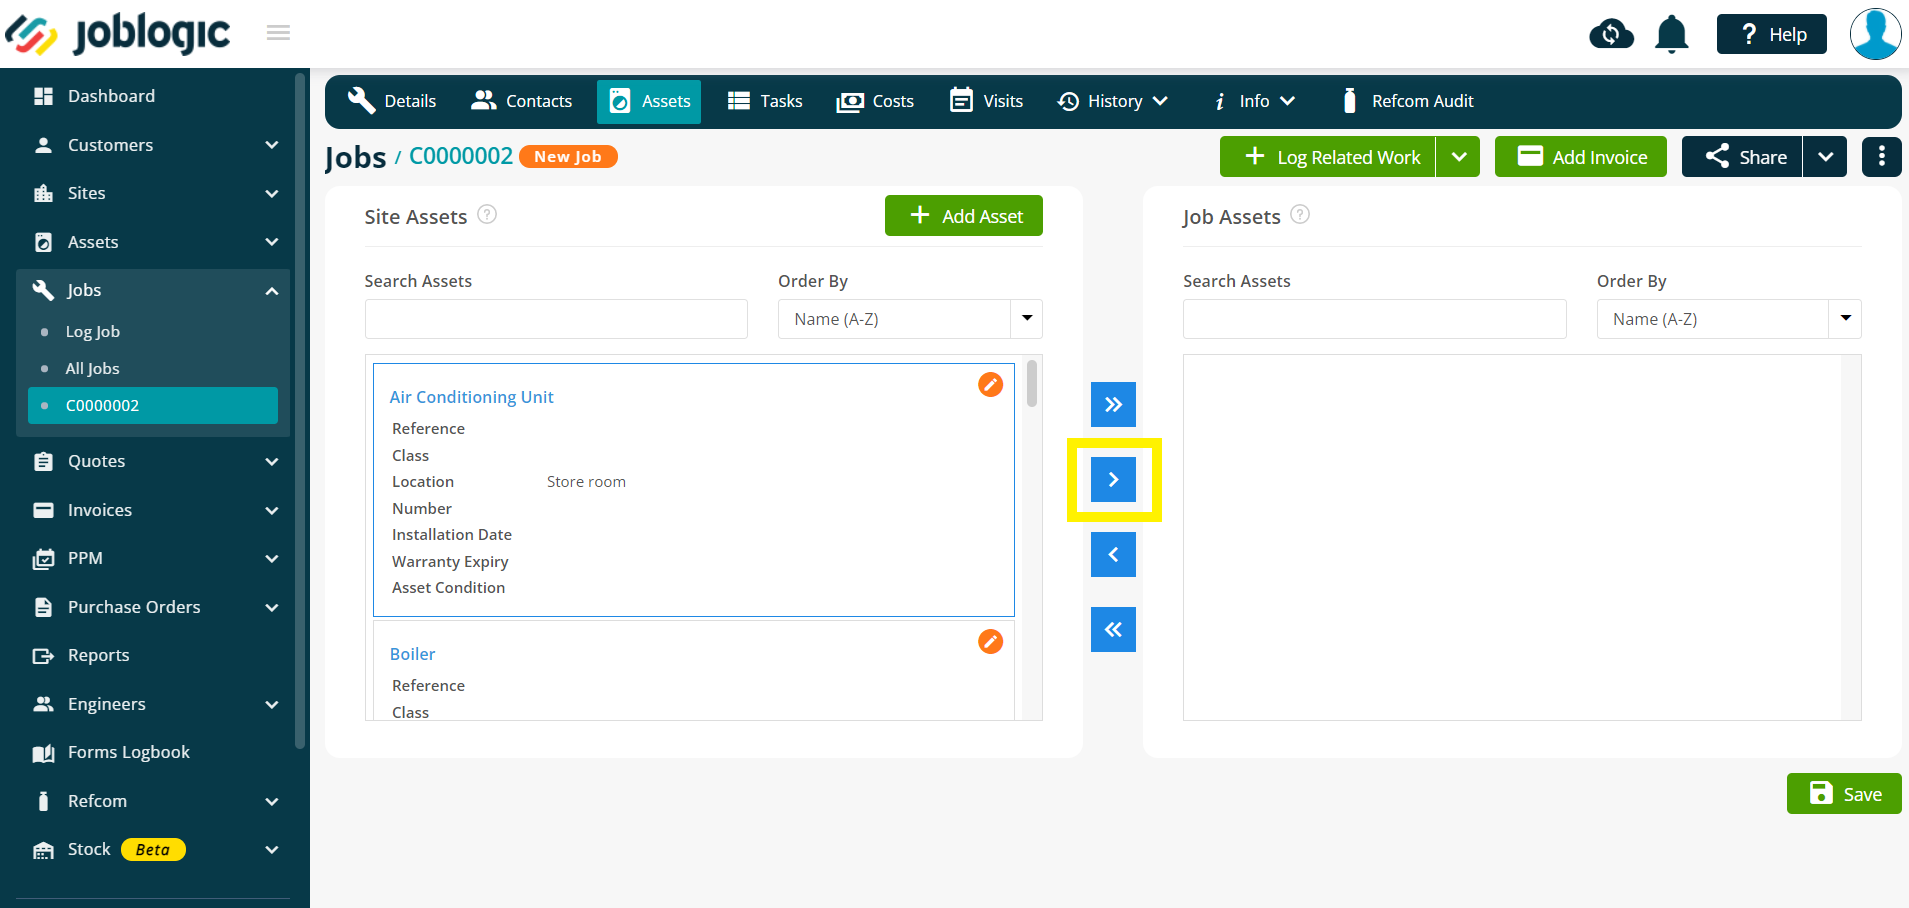
The blue arrow icons can be used to move a chosen site asset(s) to the job assets area.
Select an asset within the site assets area by left clicking it. The asset will outline in blue indicating that it has been selected.
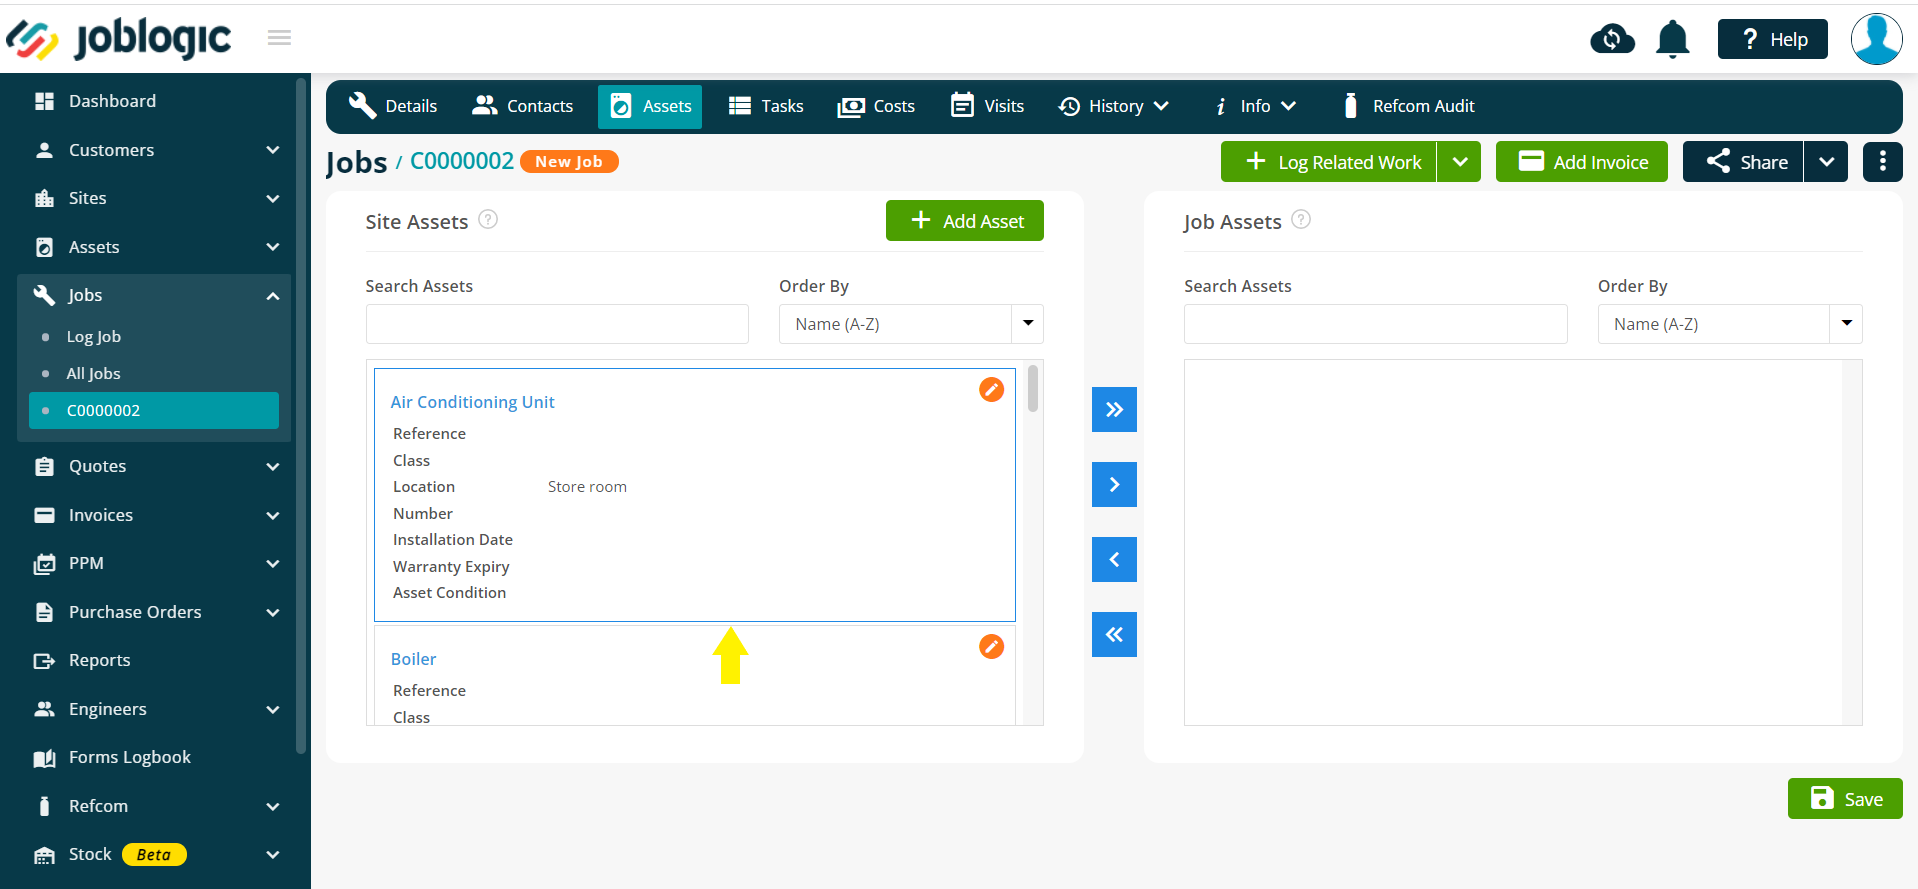
Multiple assets can be selected at once within the site assets area.
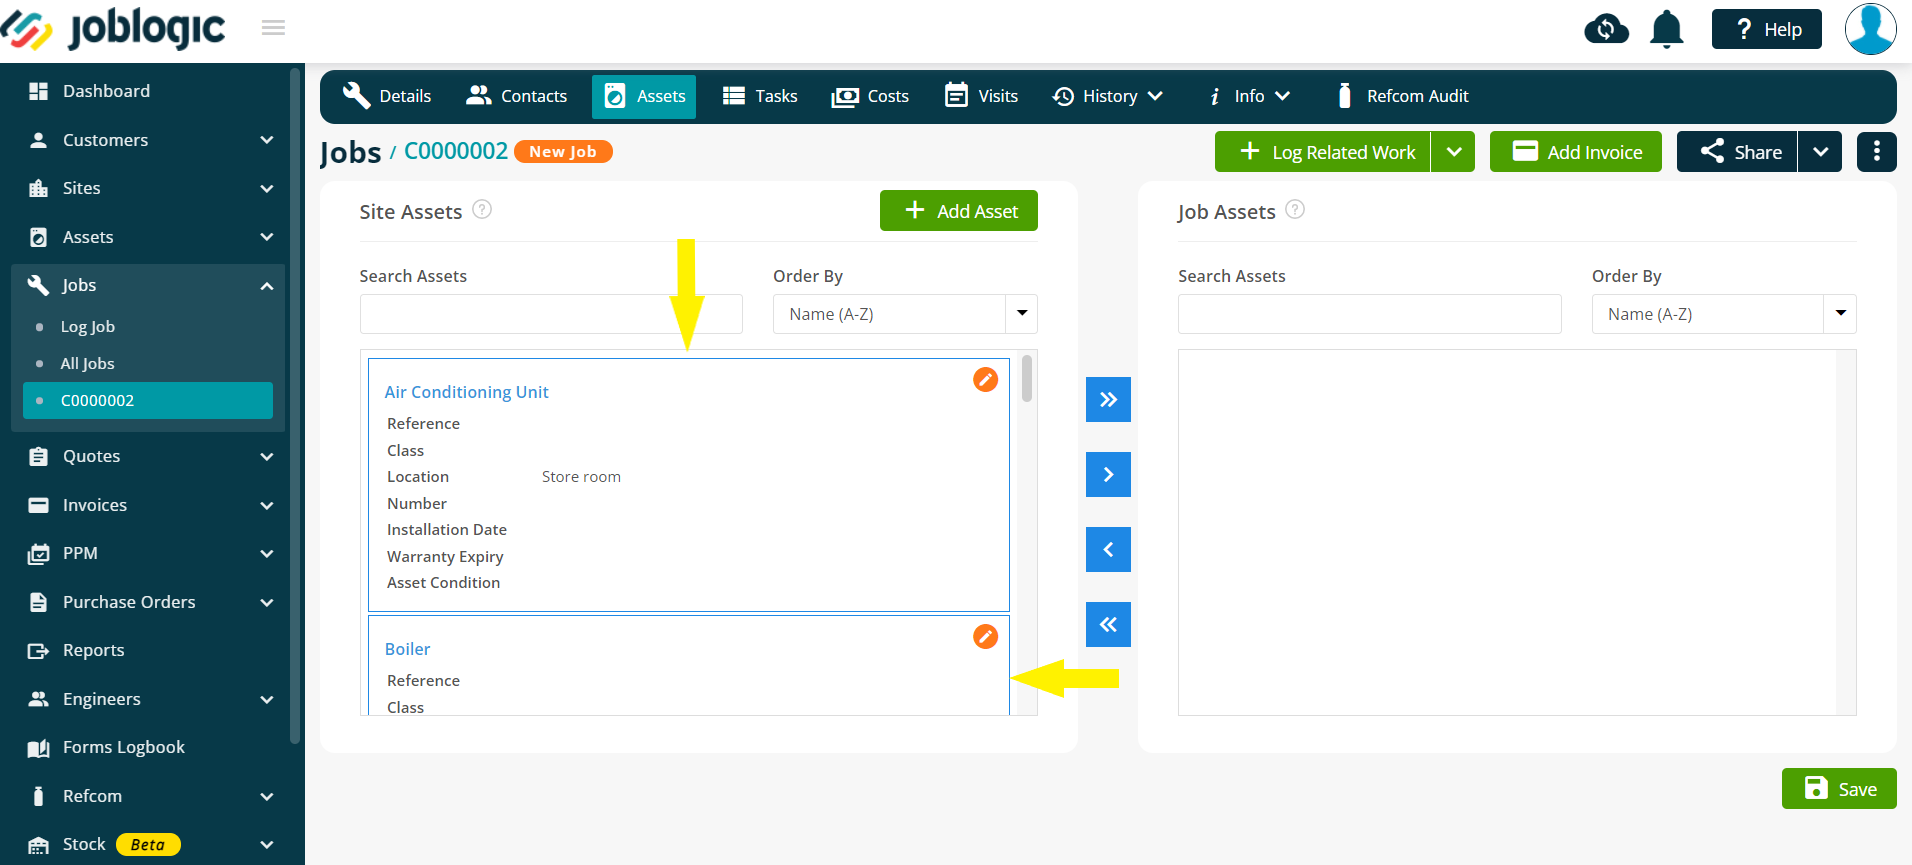
Once the required asset(s) have been selected, select the singular blue arrow icon in order to move the selected site assets to the job assets area.
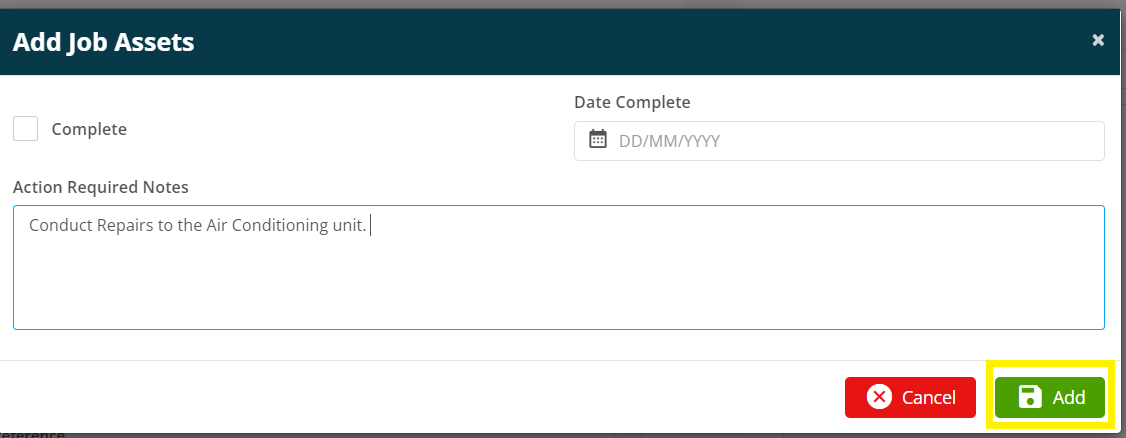
An ‘Add Job Assets’ window will appear whereby any action required notes can be added in order to indicate what work needs to be conducted on the asset. There is also a ‘Complete’ tick box and ‘Date Complete’ field which can be used to mark the work for the asset as completed, if the work is being logged retrospectively via the back office without intervention from the mobile application.
Select the ‘Add’ button and the asset(s) will move over to the job assets area.

All of the site assets can be assigned to the job in one instance by selecting the blue double arrow icon.

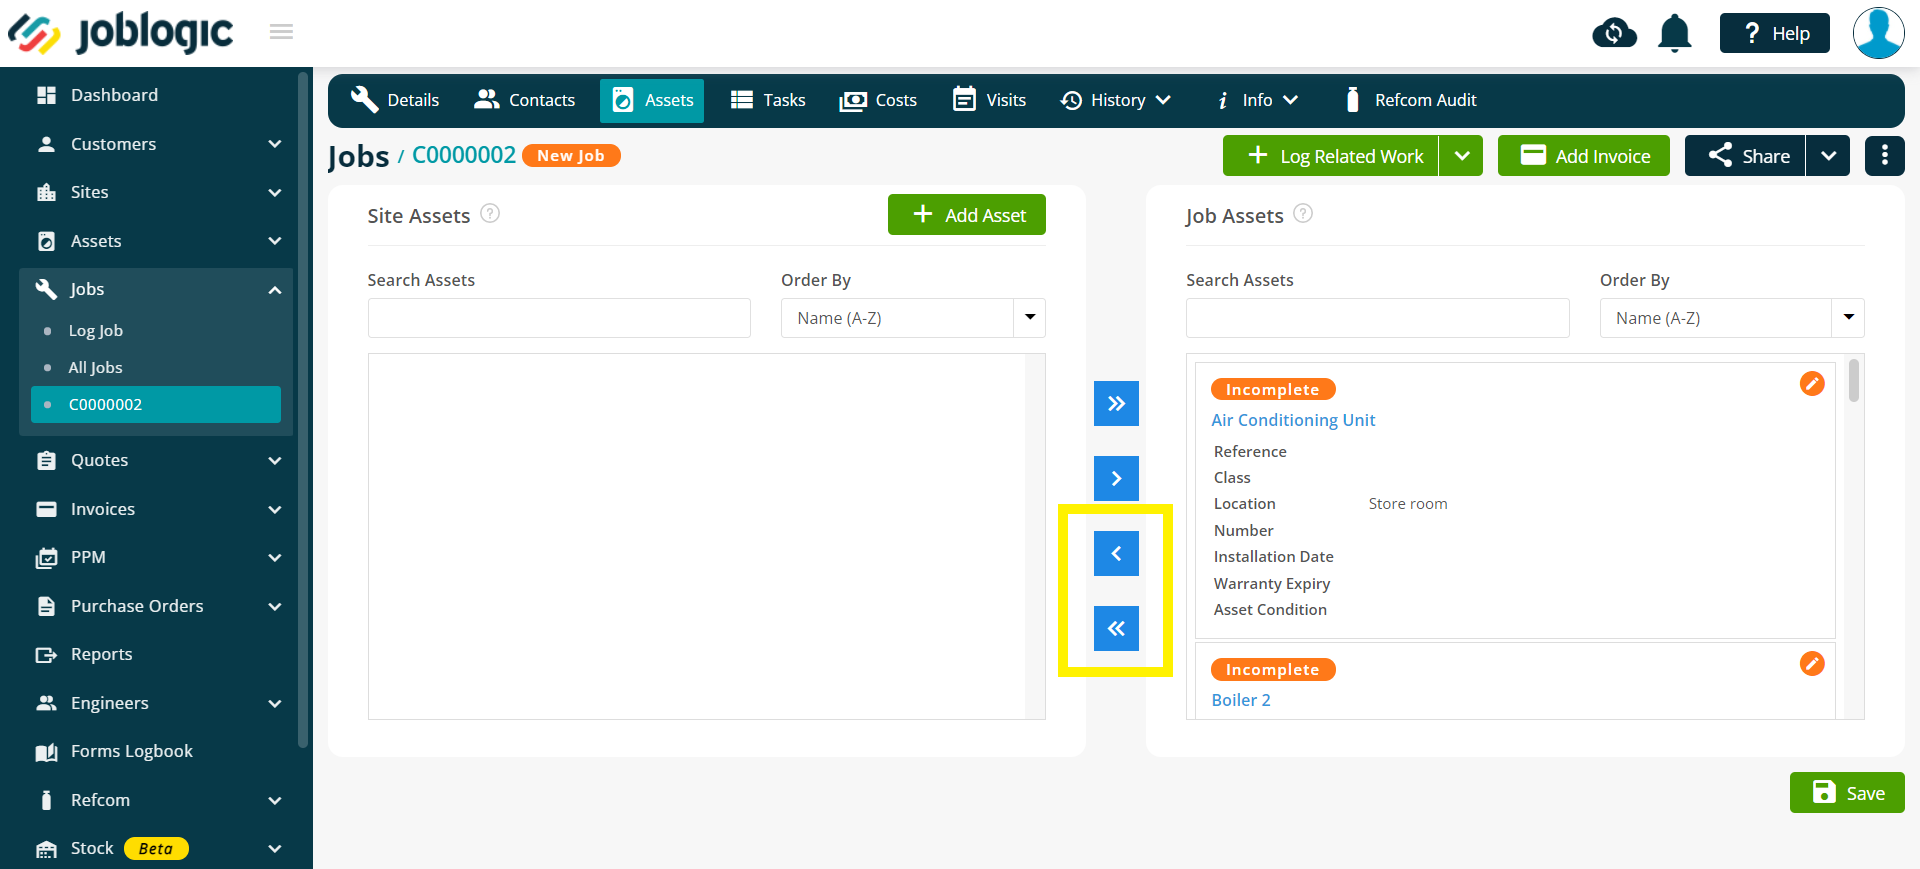
Items can be moved back from the job assets area to the site assets area via the singular selection and all asset arrow icons.
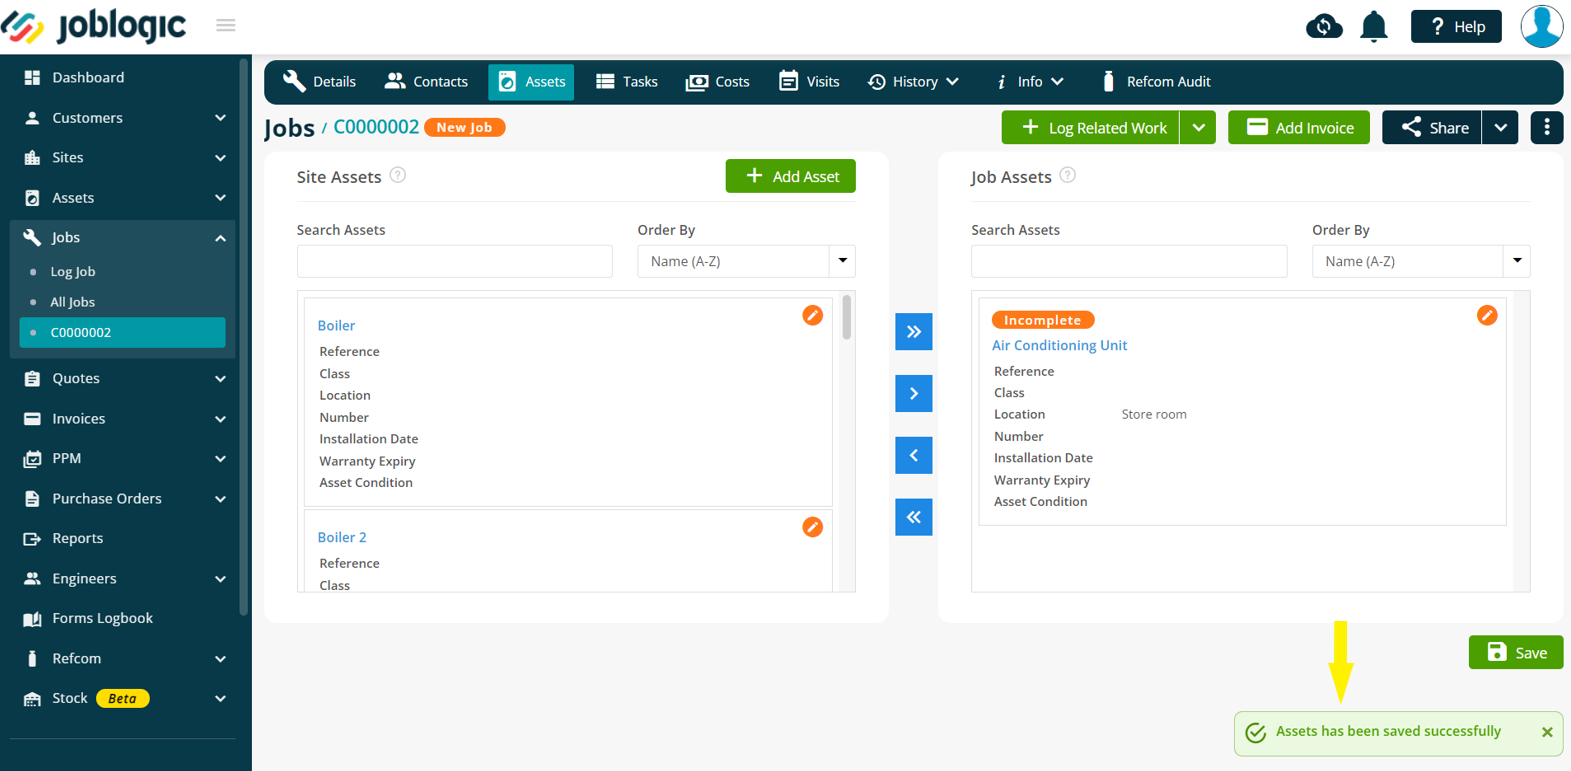
Once all of the required site assets have been moved to the job assets area, select the ‘Save’ button for the changes made to take effect. A confirmation popup message confirming this will be displayed.
Further Support
For further information or assistance with the above, contact our Support Team on 0800 326 5561 or email support@joblogic.com. Alternatively, our Customer Success Management team can be reached by emailing customersuccess@joblogic.com
Publishing Details
This document was written and produced by Joblogic’s Technical Writing team and was last updated on the date specified above. Be aware that the information provided may be subject to change following further updates on the matter becoming available or new releases within the system. Additionally, details within the guide may vary depending on your Joblogic account’s user permissions and settings or the electronic device being used.