Introduction
The Assisted Scheduling app is your go-to tool for faster, smarter, and more flexible scheduling. Designed to streamline resource management, it offers powerful features like assigning multiple default engineers per site, visual engineer attributes, and customizable quick filters to help you schedule with ease and confidence.
This user guide provides step-by-step instructions to help you make the most of these features, enhancing operational efficiency and service quality. Whether you’re managing complex schedules or looking for ways to save time, the Assisted Scheduling app has you covered. Let’s get started!
Set-up
Before diving into assisted scheduling, it’s helpful to have a couple of key things set up in advance.
Document Types
Document types are a great way to define which engineers are most certified or qualified for specific jobs. This will come in handy later!
To set them up, navigate to Settings > Library > Company Document Types.
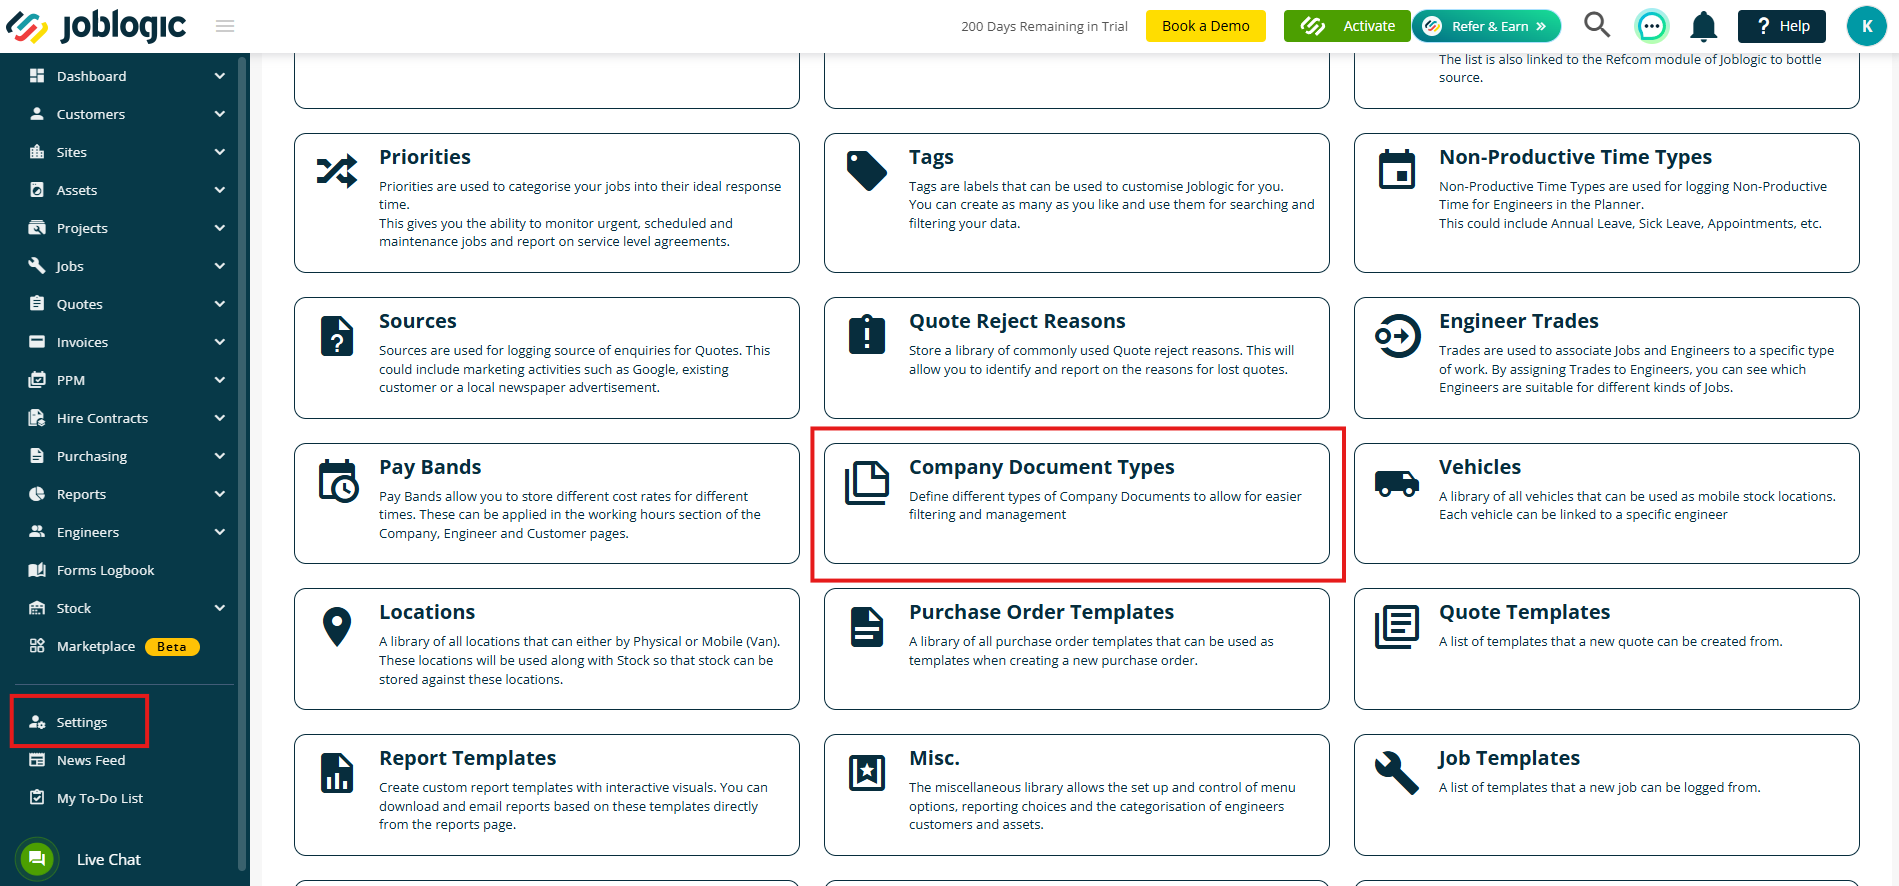
Click Add Document Type to create a new type.
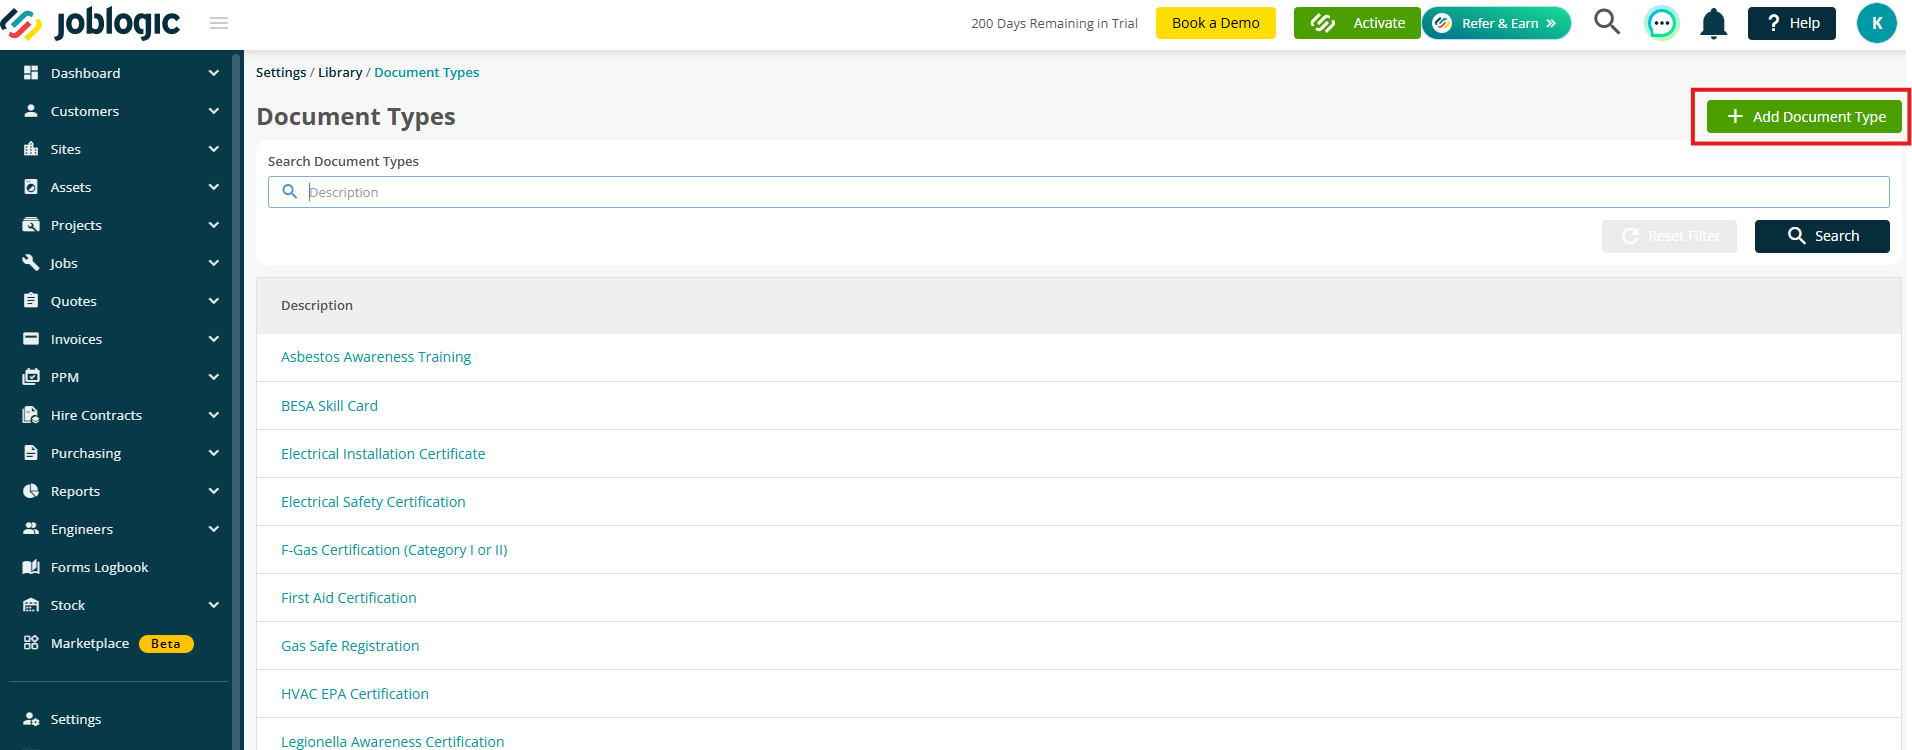
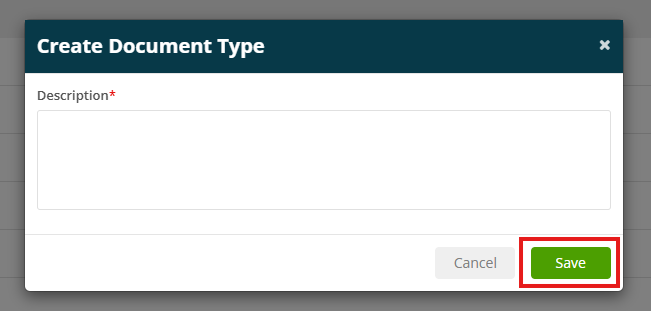
Enter your description and click Save to confirm your changes.
Engineer Documents
Now it’s time to set up documentation for each of your engineers.
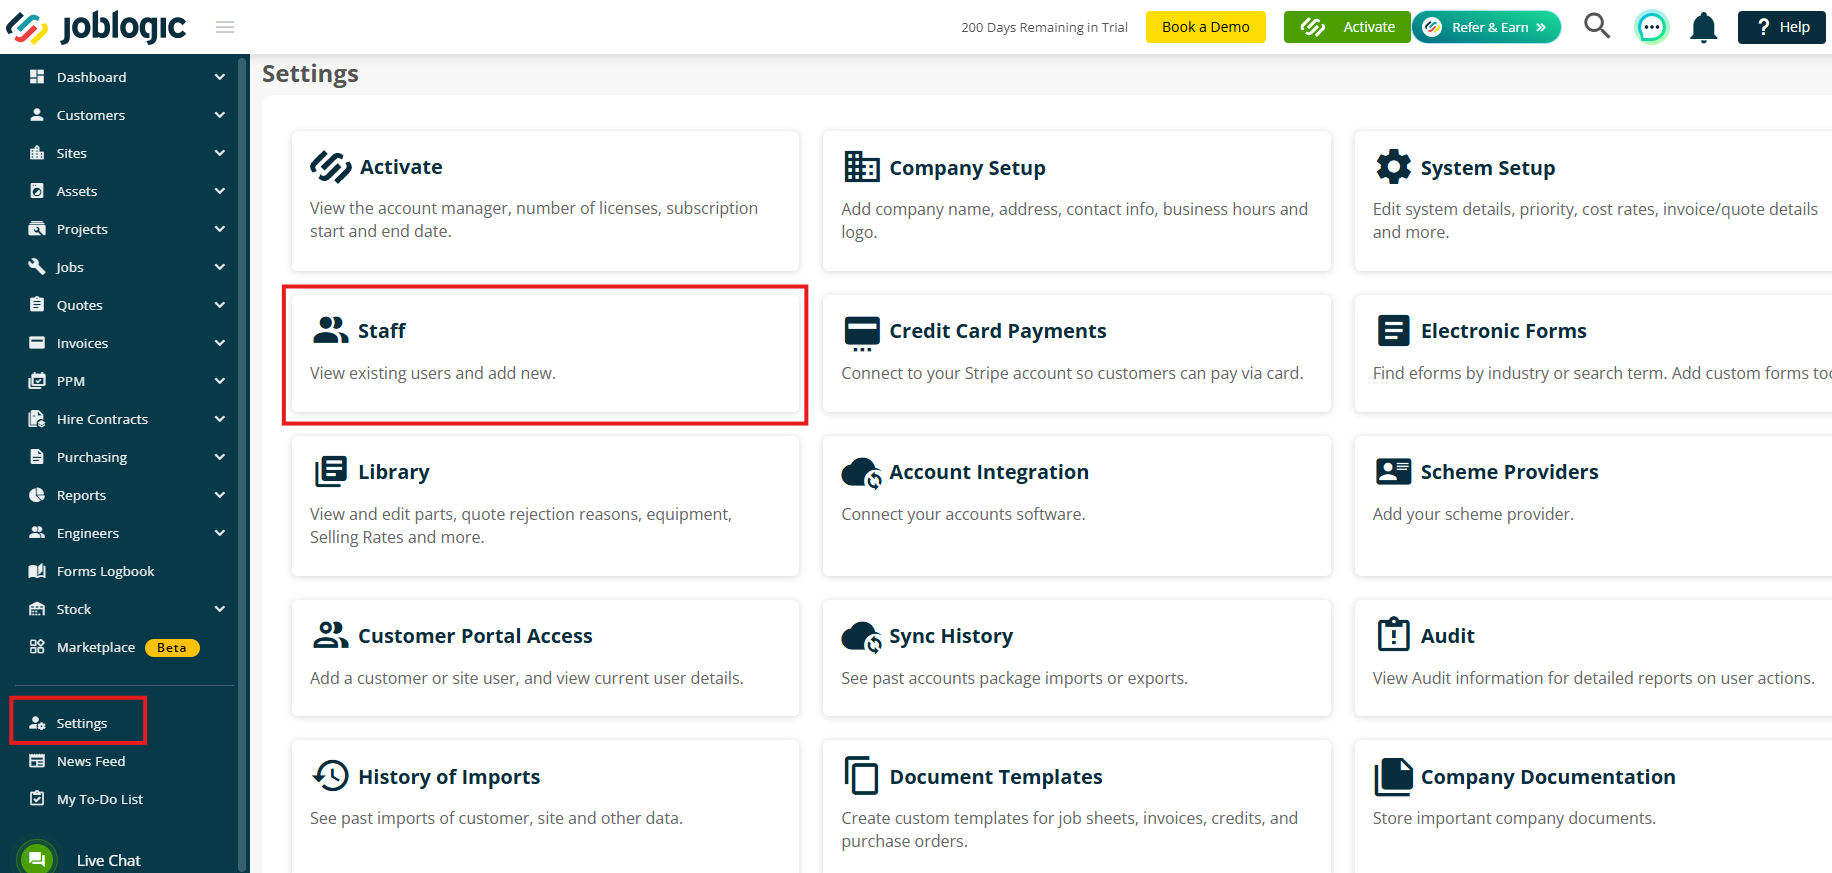
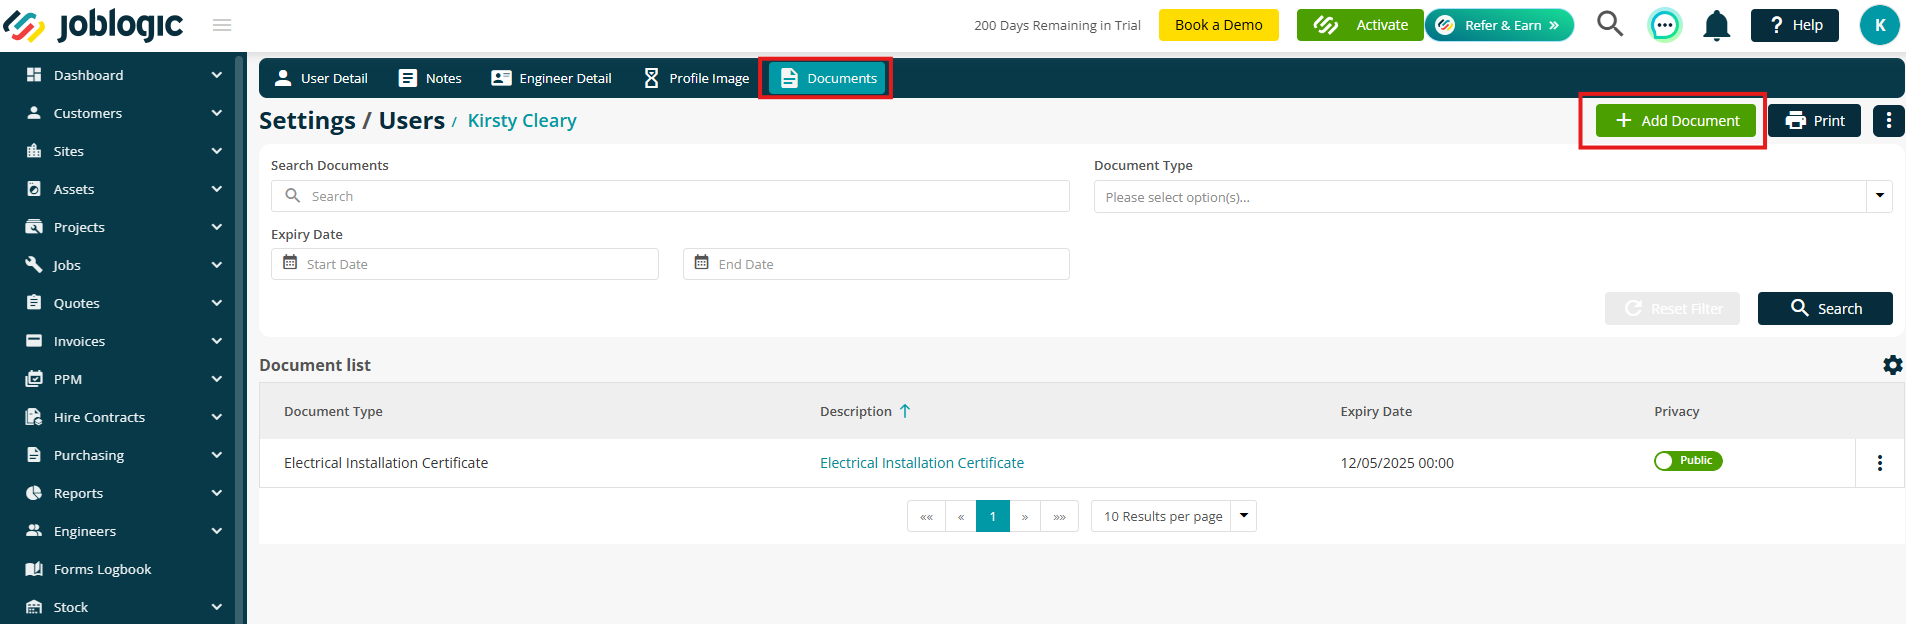
Navigate to Settings > Staff and select the engineer you’d like to update.
Click on the Documents tab and then click Add Document
Provide a Description, select a Document Type from the dropdown, and add any other relevant details.
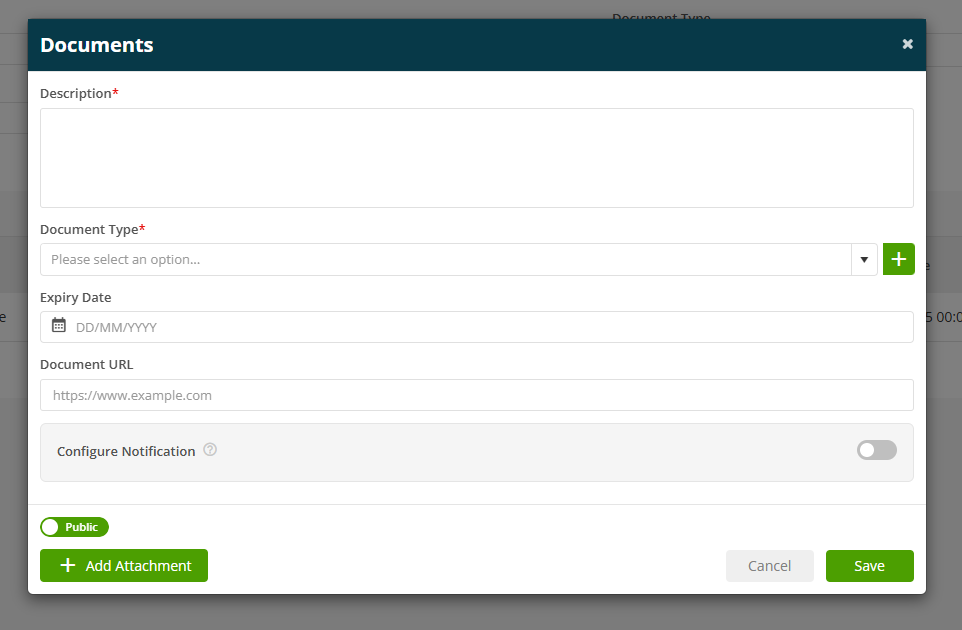
To learn more about adding engineer documents, click here.
Site Configuration
And now let's configure your site settings.
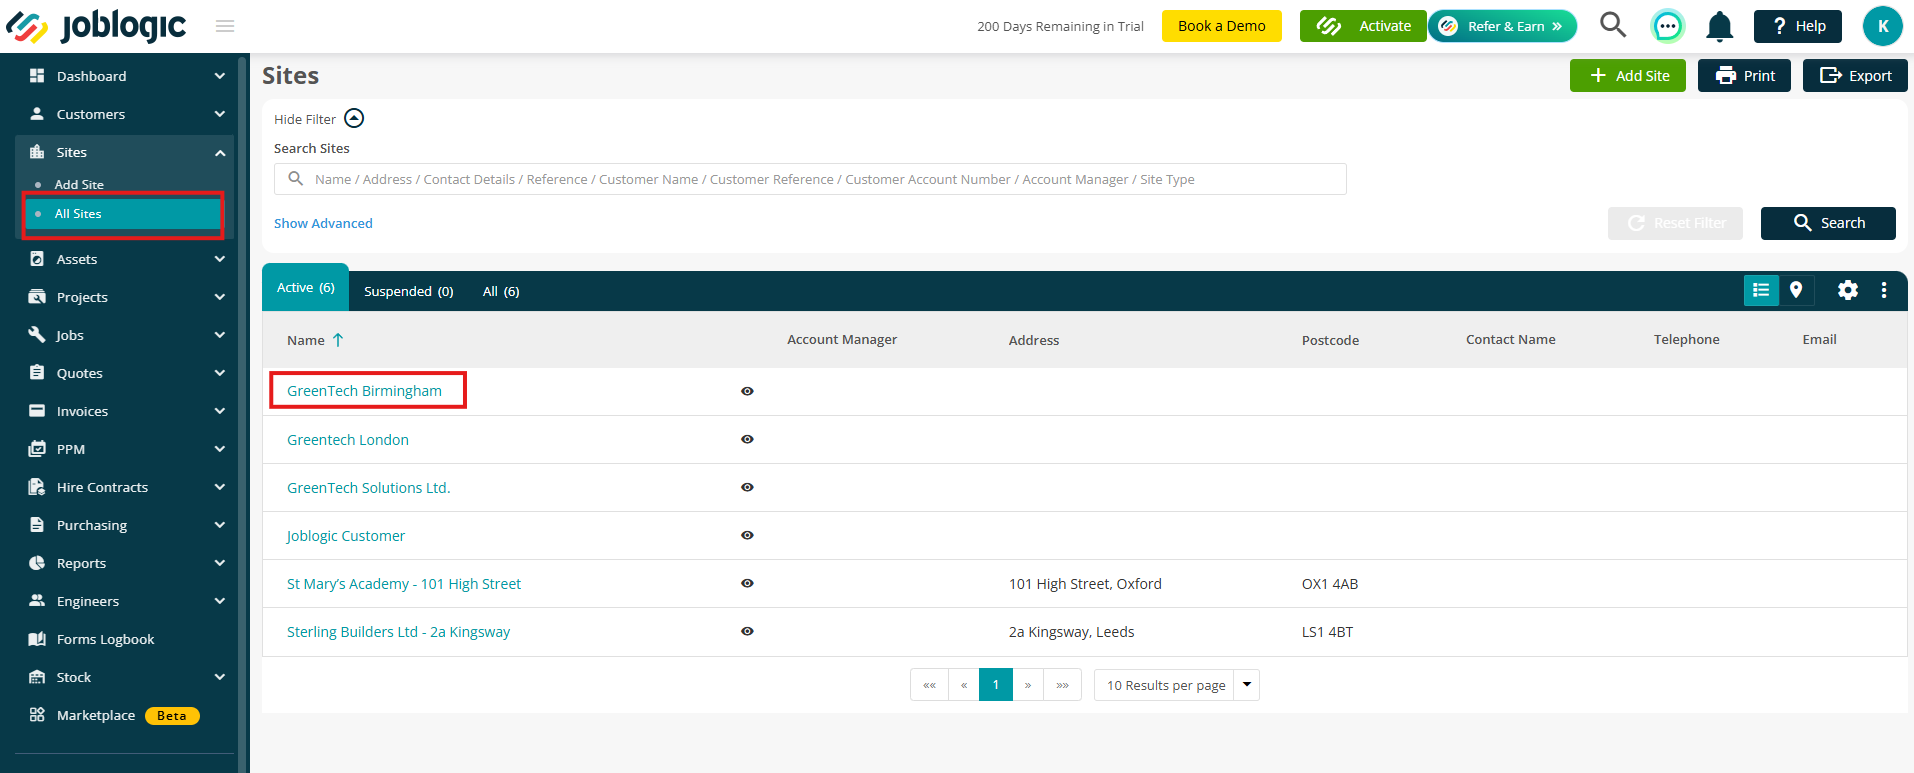
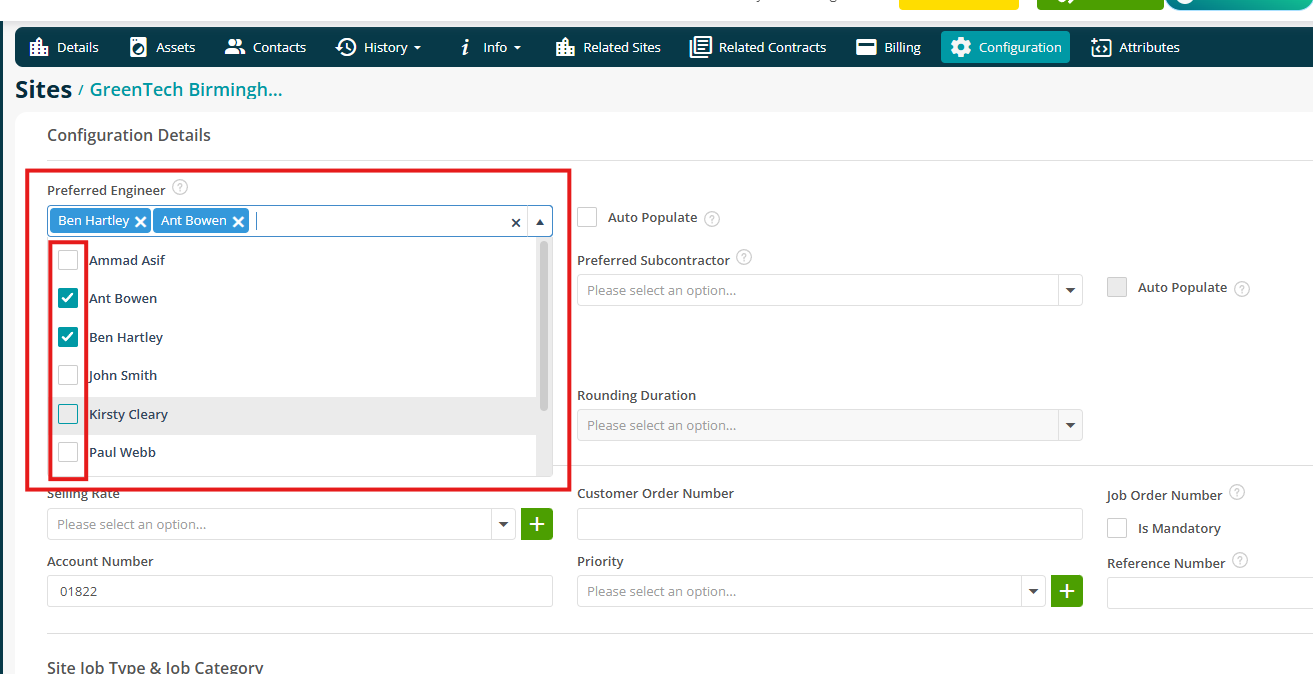
To set up Preferred Engineers and Document Types Needed for individual sites, go to Sites > All Sites and select the site you want to update.
Next, click the Configuration tab and then choose Edit.
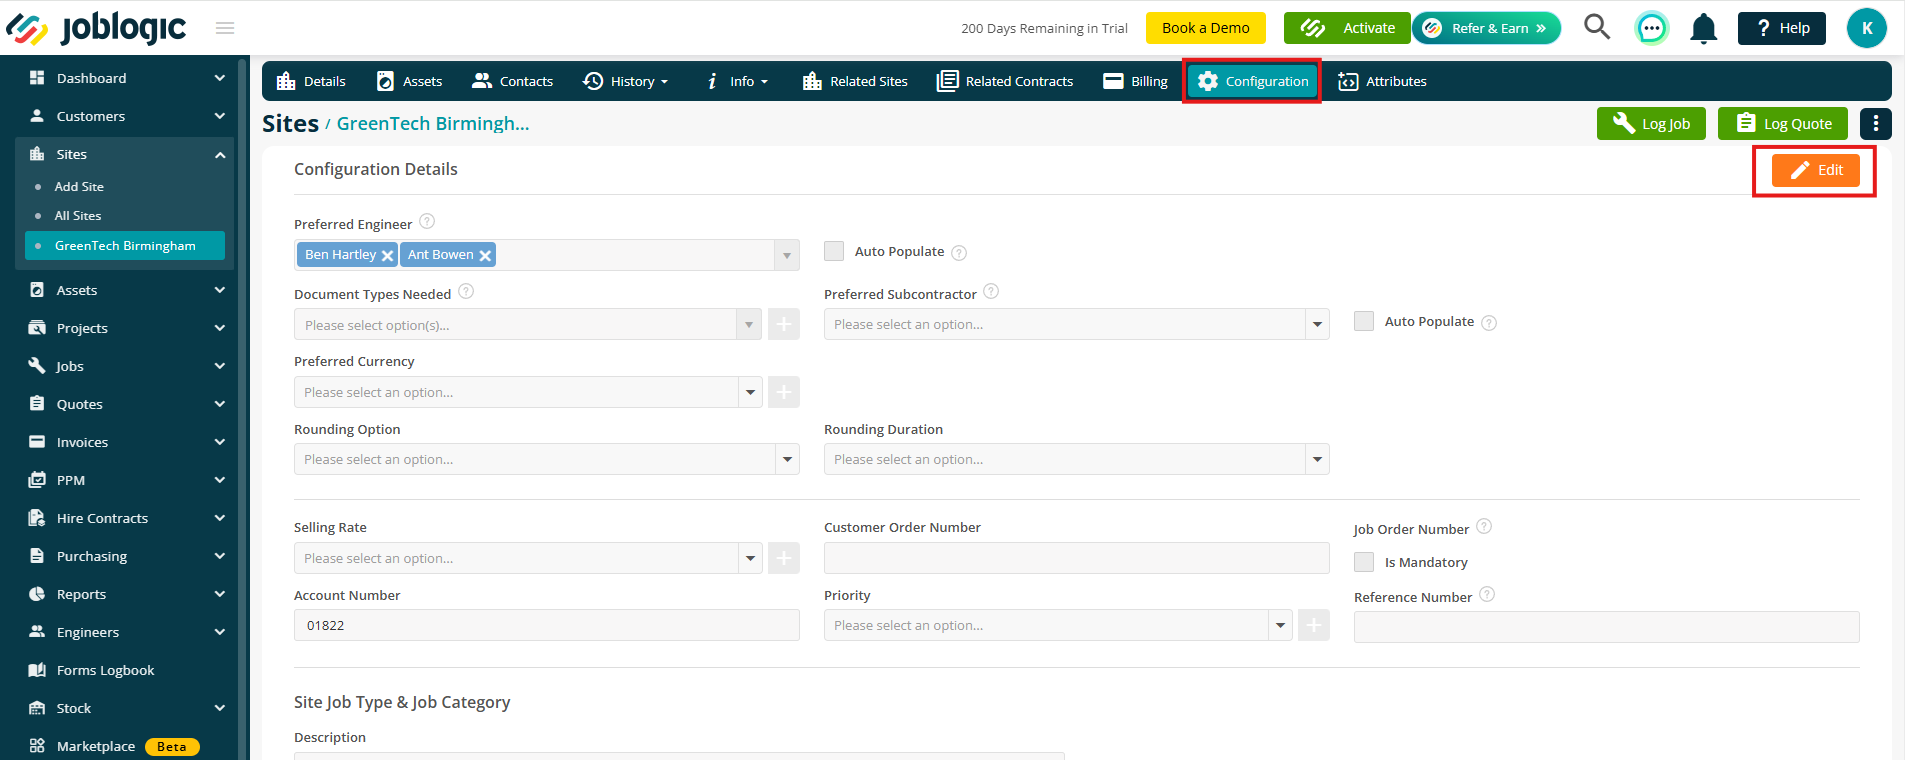
Under the Preferred Engineer dropdown, tick the engineers relevant to this site—you can select as many as you need.
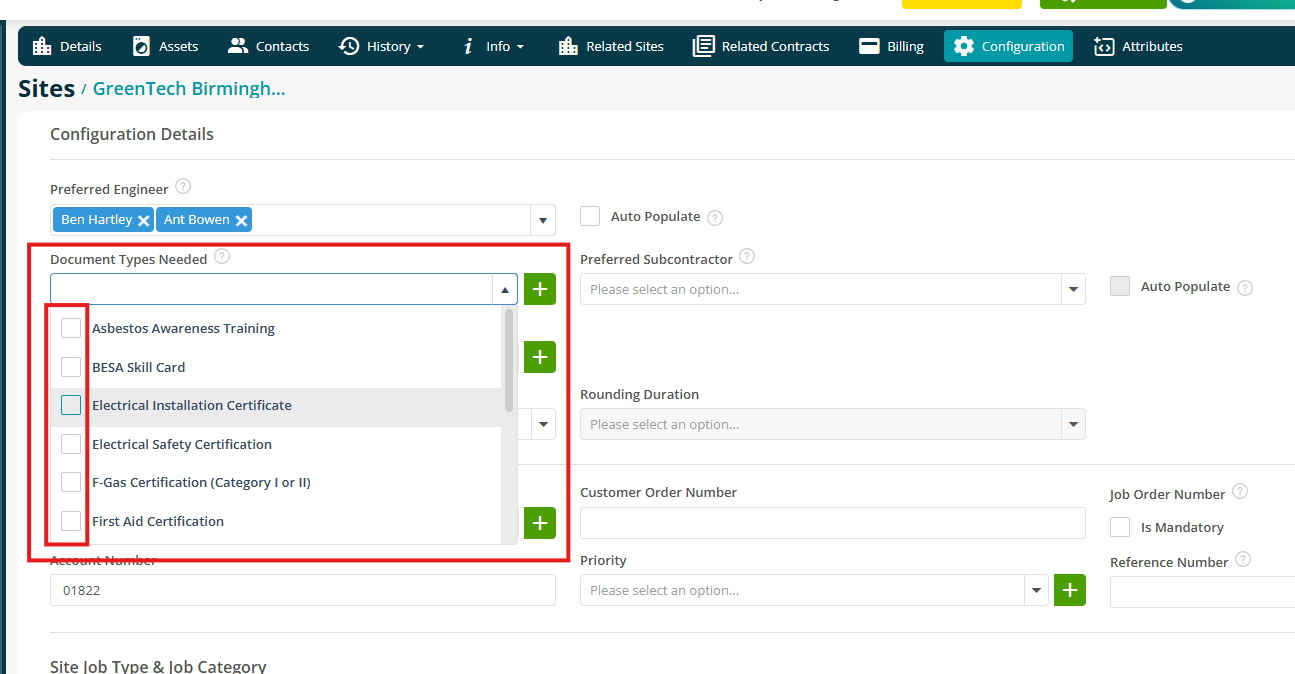
You can also specify any Document Types required by engineers for jobs at this site.
Note: If a site does not have any Document Type Needed assigned, then during the qualification check, no engineer will be marked as Qualified by default.
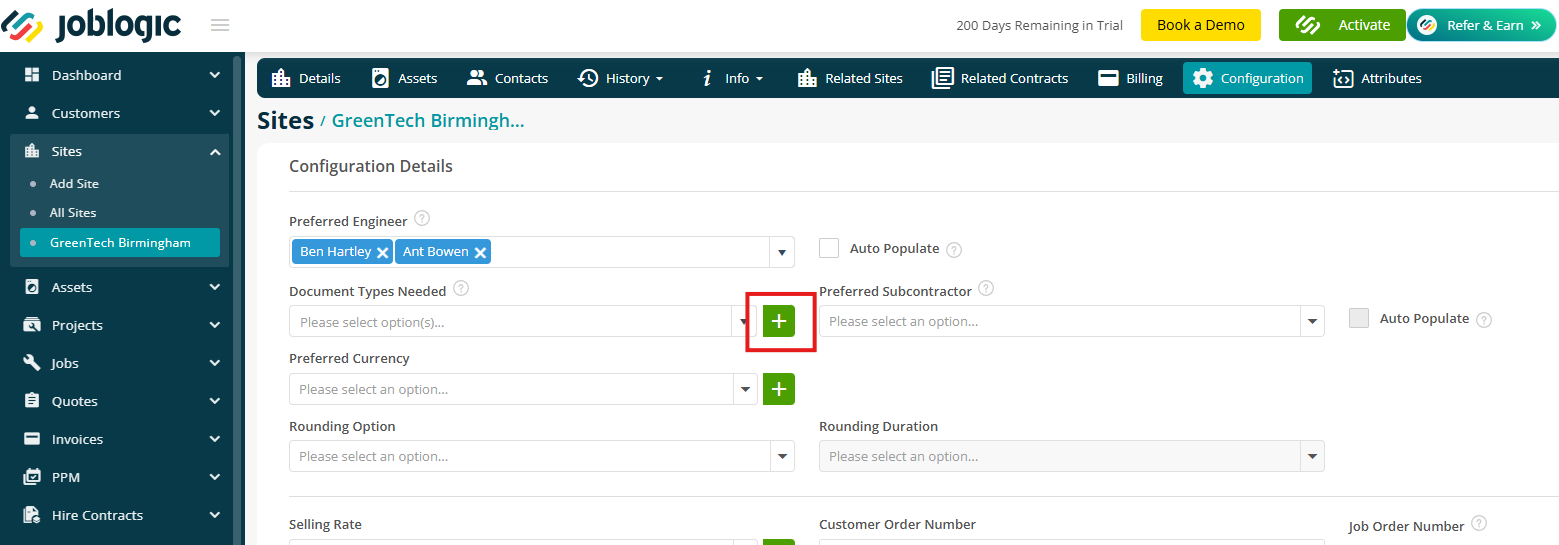
Click the green + button to add a new Document Type on the fly if required.
Planner
Ready to put it into action? Here’s how this new setup can streamline your job planning.
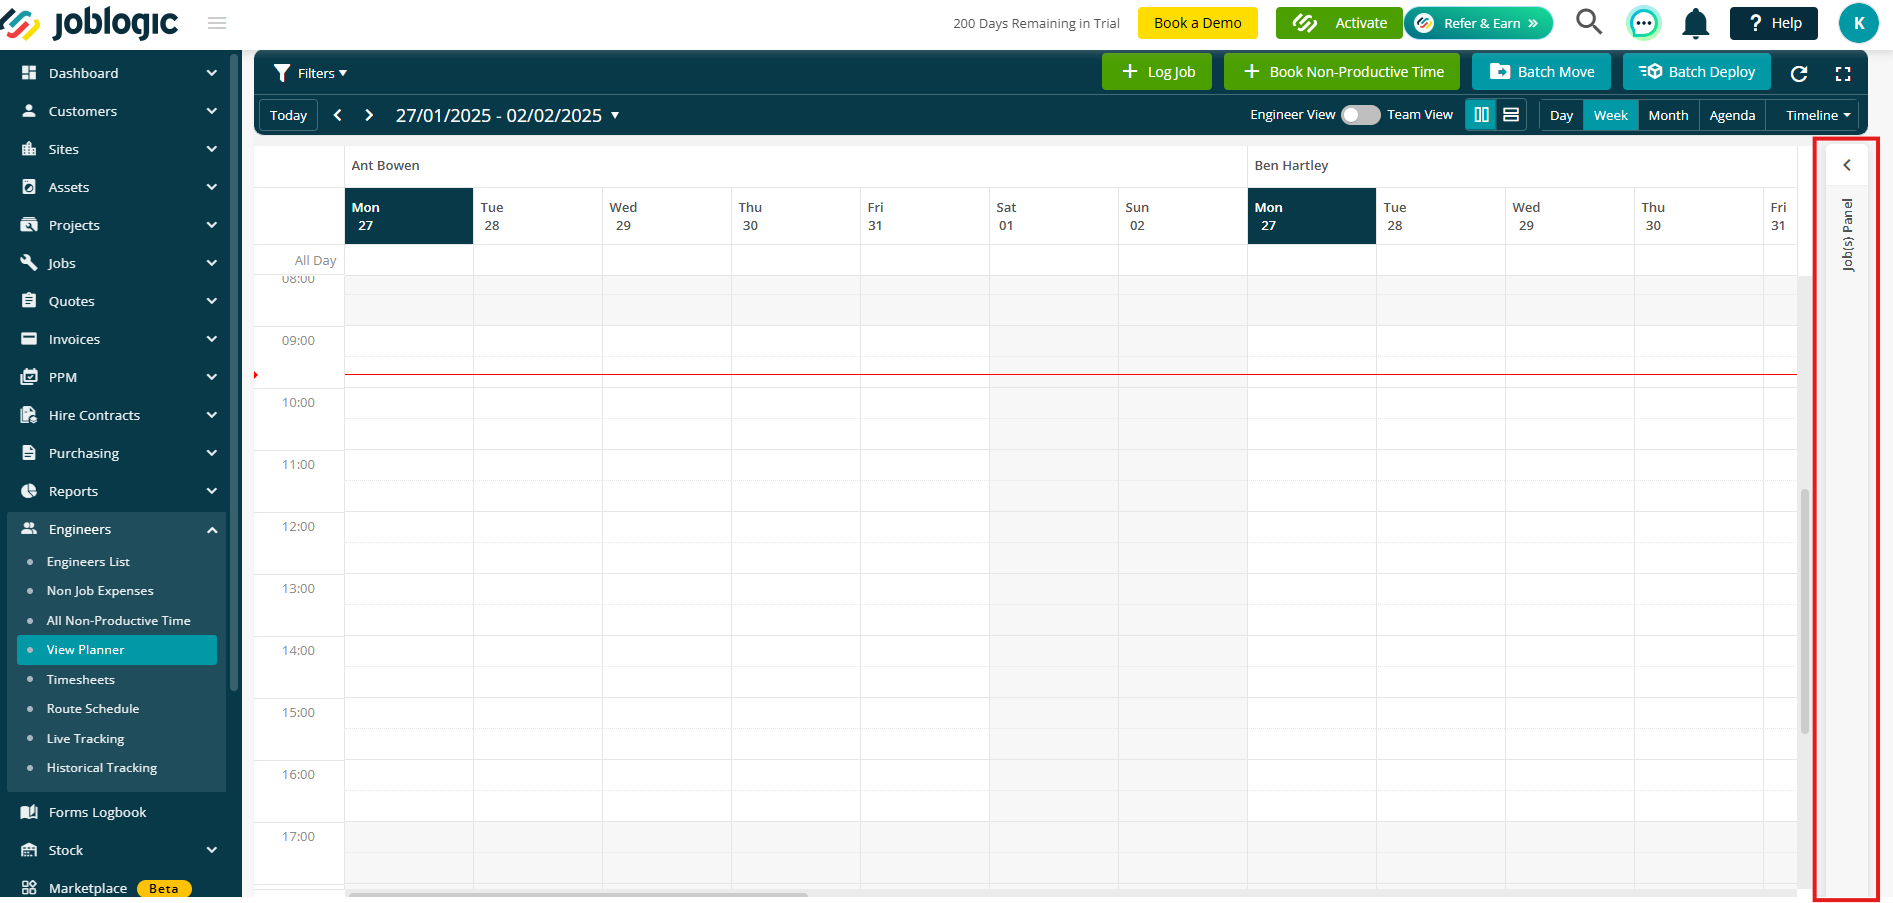
Navigate to Engineers > View Planner to get started.
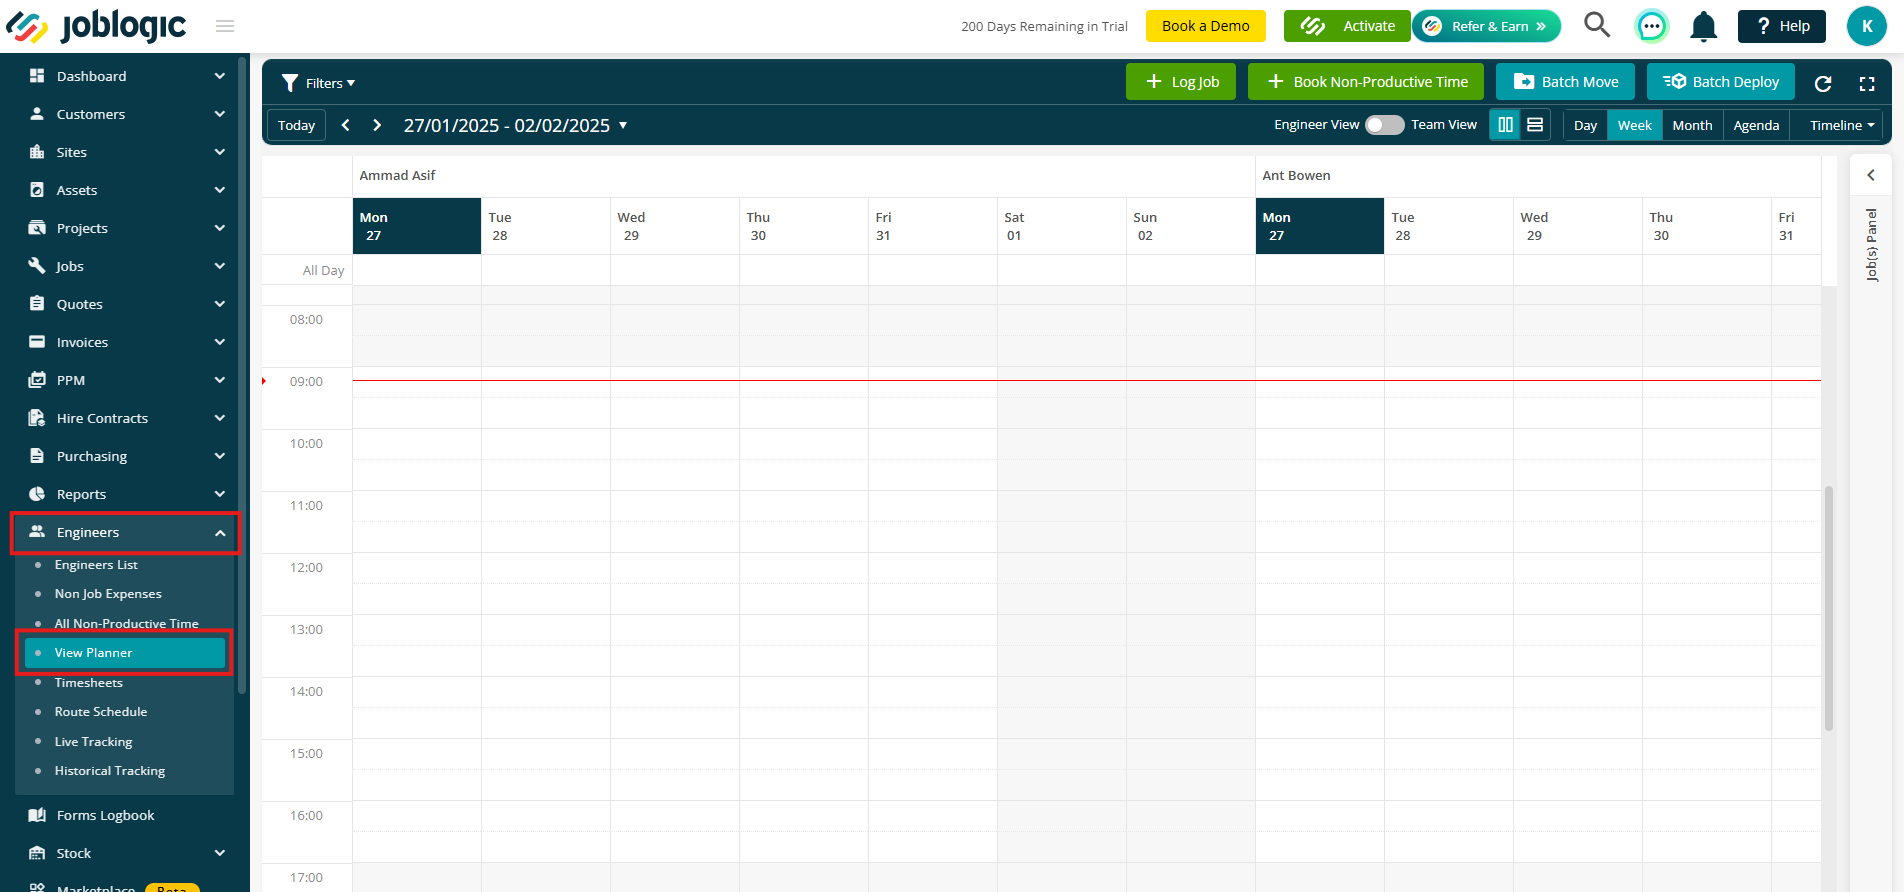
Click the Job Panel on the right to open your list of jobs.
Filters
Next, click Plan on any job to filter your engineer list to show only the relevant engineers.
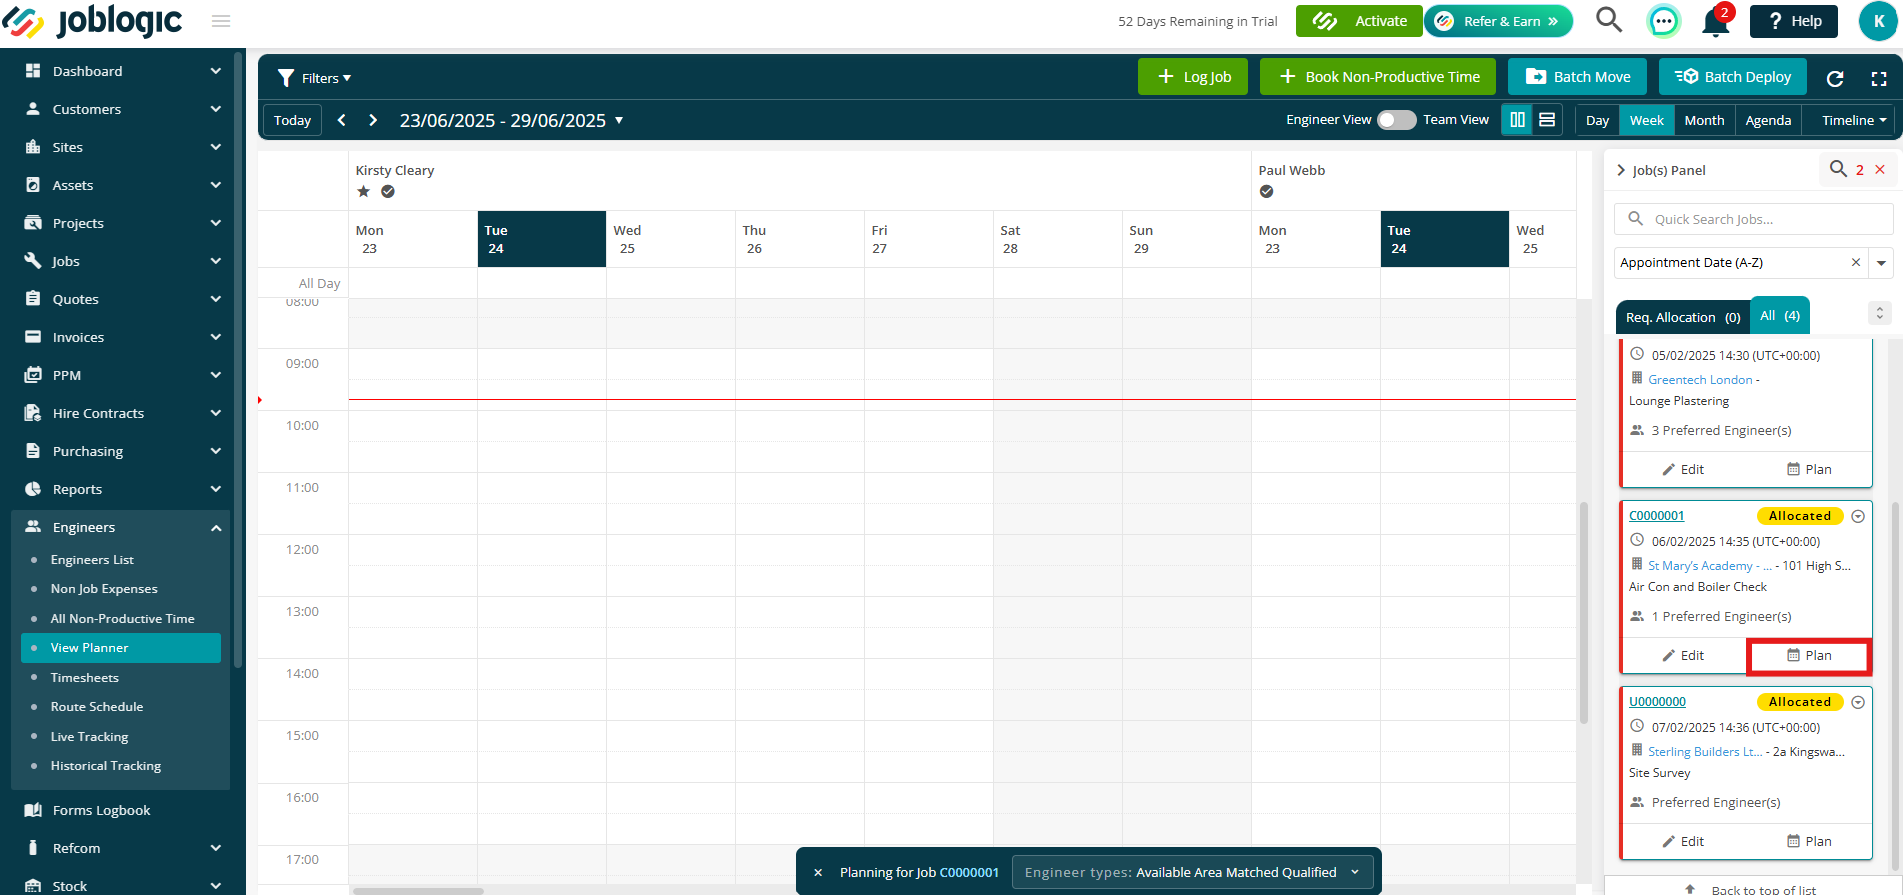
Engineers will be sorted by how many matching parameters they meet—so the most suitable ones appear first, making it quicker and easier to assign the right person to the job.
When planning jobs, the system automatically checks whether the site area matches the engineer’s branch area.
By default, only engineers whose branch area matches the site area will be displayed in the Planner. This ensures that the most geographically suitable engineers are shown first.
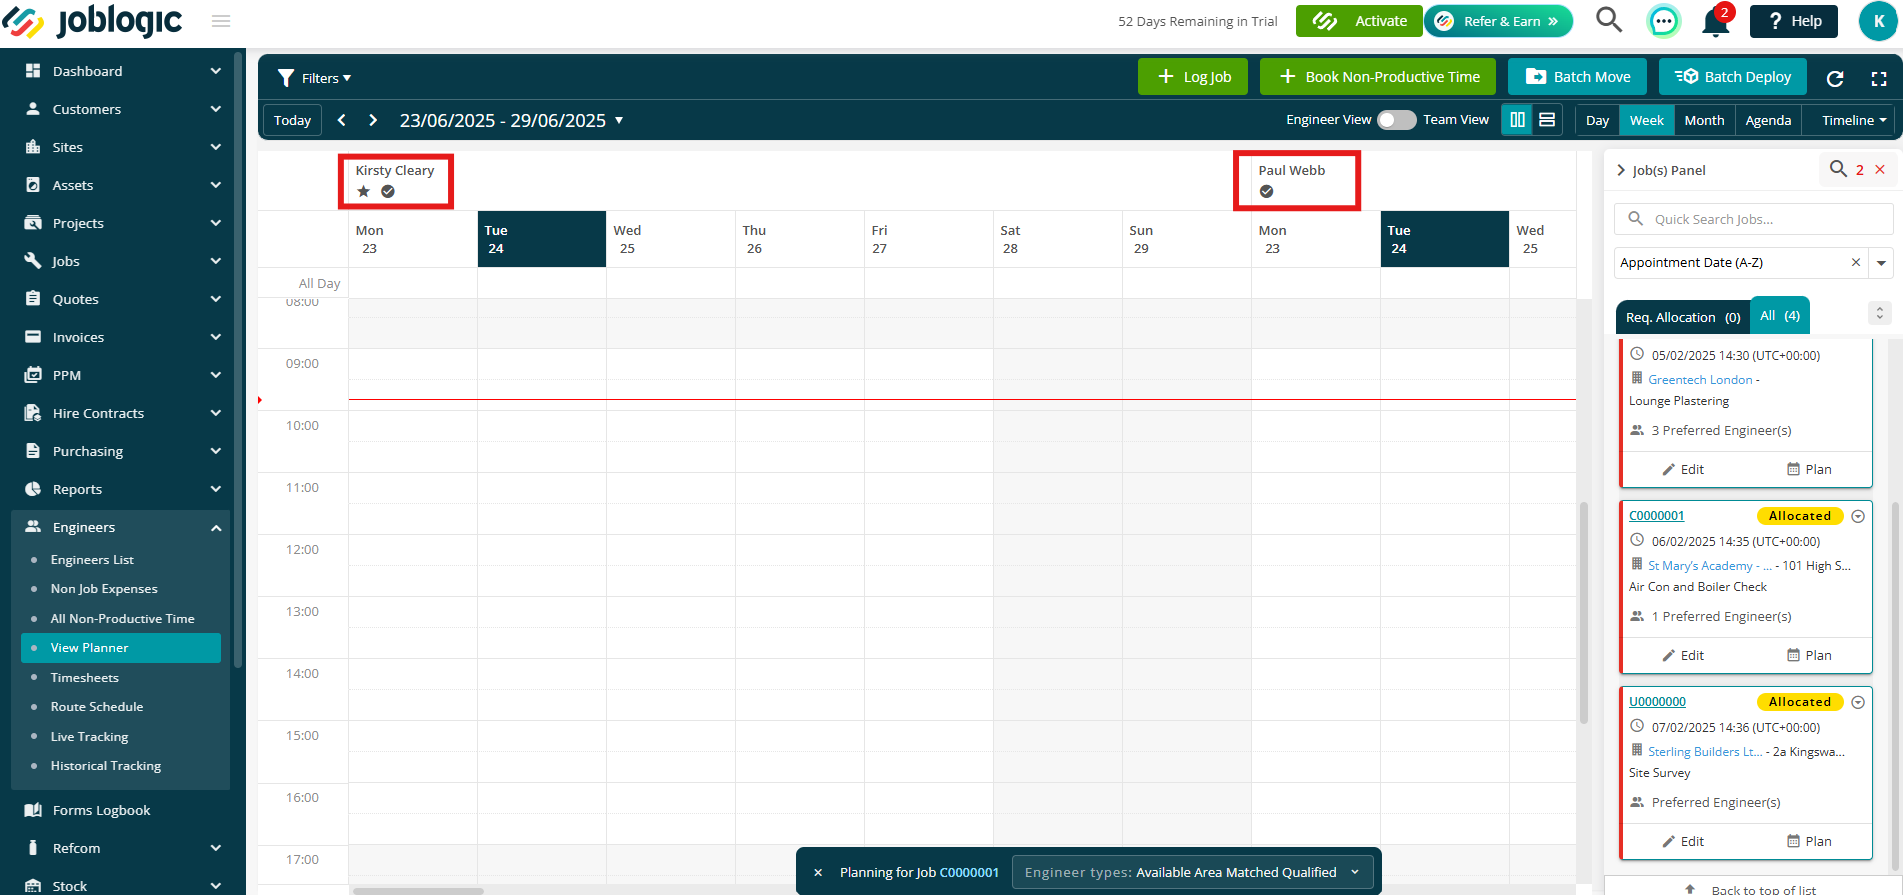
Icons make it easy to identify key details about each engineer, such as who is the preferred, closest, most qualified, cheapest, or SLA compliant and of course, who is available.
- Preferred Engineer: A star icon ⭐
- Most Qualified: A tick icon ✅
- Closest Engineer: A map pin 📍
- Cheapest Engineer: A currency icon 💷
- SLA Compliance: A clock icon 🕛
Qualified Filter Priority:
The 'Qualified' filter is applied first, showing only engineers who meet the job requirements based on:
- Qualified by Trade: Engineers with the appropriate trade skills.
- Qualified by Documents: Engineers with the required documents for the job.
- Both: Engineers meeting both criteria are displayed.
Cheapest Engineer:
The system calculates the cheapest engineer using a detailed cost formula:
Realtime Engineer Cost = (Labor Cost Rate + Travel Cost Rate + Mileage Cost Rate) + (Mileage Cost Rate × Travel Time in Miles). Travel time in miles is determined using Google API
Distance-Based Cost:
If the engineer is already deployed to a job, the system calculates travel costs from the current job site to the planned job site.
If the engineer has no current visits, the calculation is based on the engineer’s home address and the planned job site address
View-Based Parameters:
Filters for SLA compliance, proximity, and cost only function in the Day View. These parameters do not apply to other views in the planner.
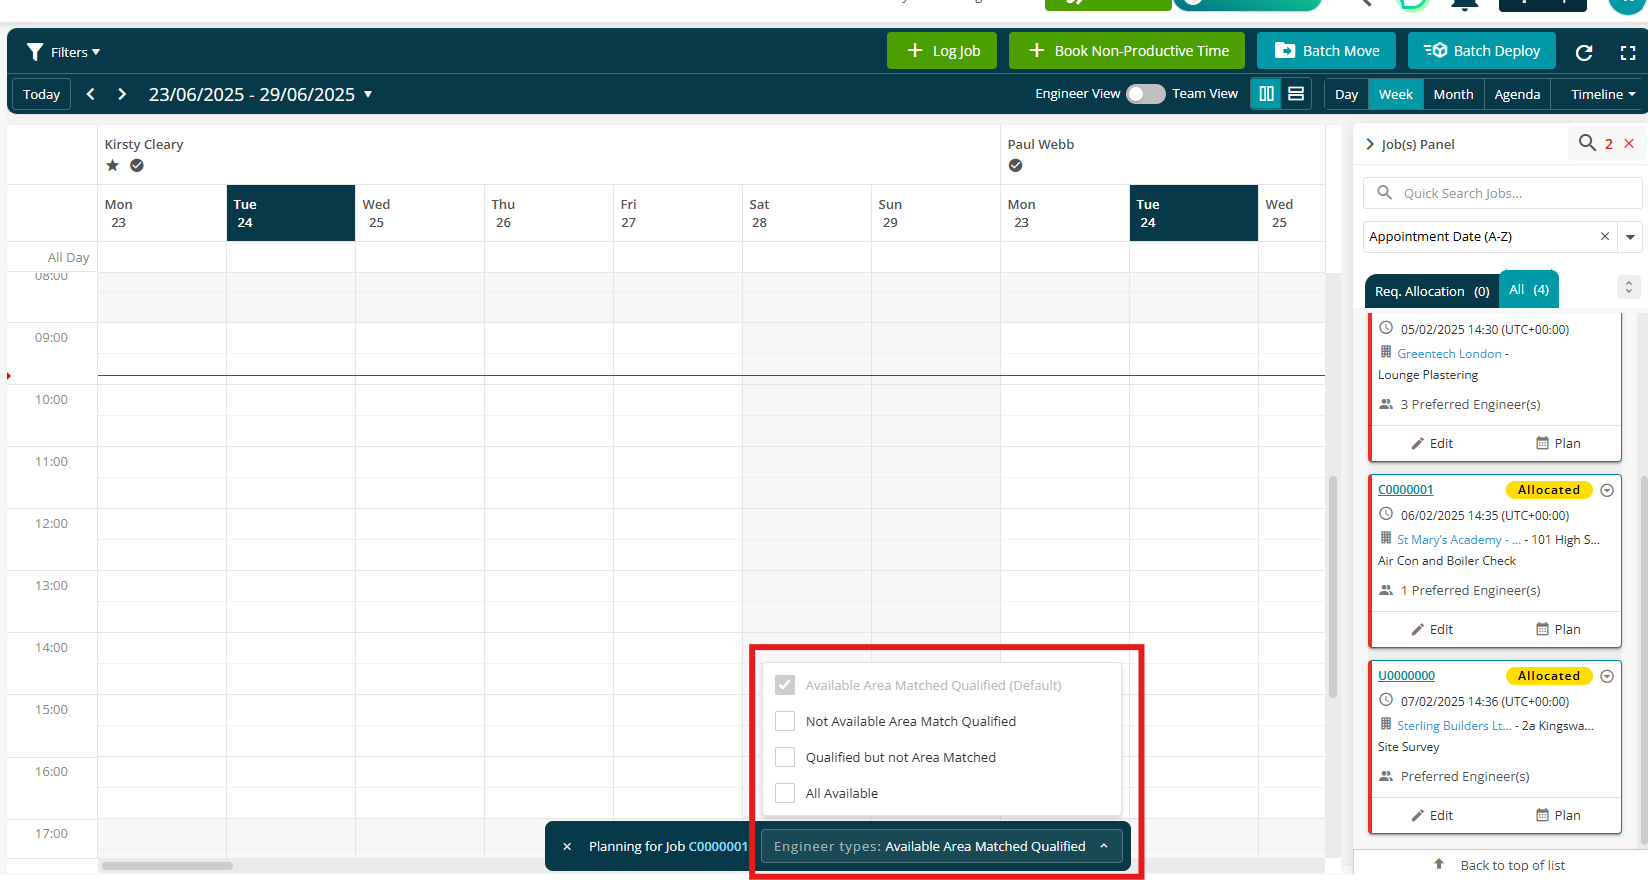
Availability filters
The Job Planning screen includes several filtering options to help refine the list of engineers based on availability, area matching, and qualification.
-
Available – Area Match & Qualified
This is the default setting and will show all available engineers who match area and qualification criteria. -
Not Available – Area Match & Qualified
Displays engineers who are currently unavailable but meet both area and qualification criteria. -
Qualified but Not Area Matched
Displays engineers who are available and qualified, even if they are not matched to the job’s area. -
All Available
When this filter is selected, the Planner displays all available engineers, regardless of area match. This allows broader visibility when area constraints are not a priority.
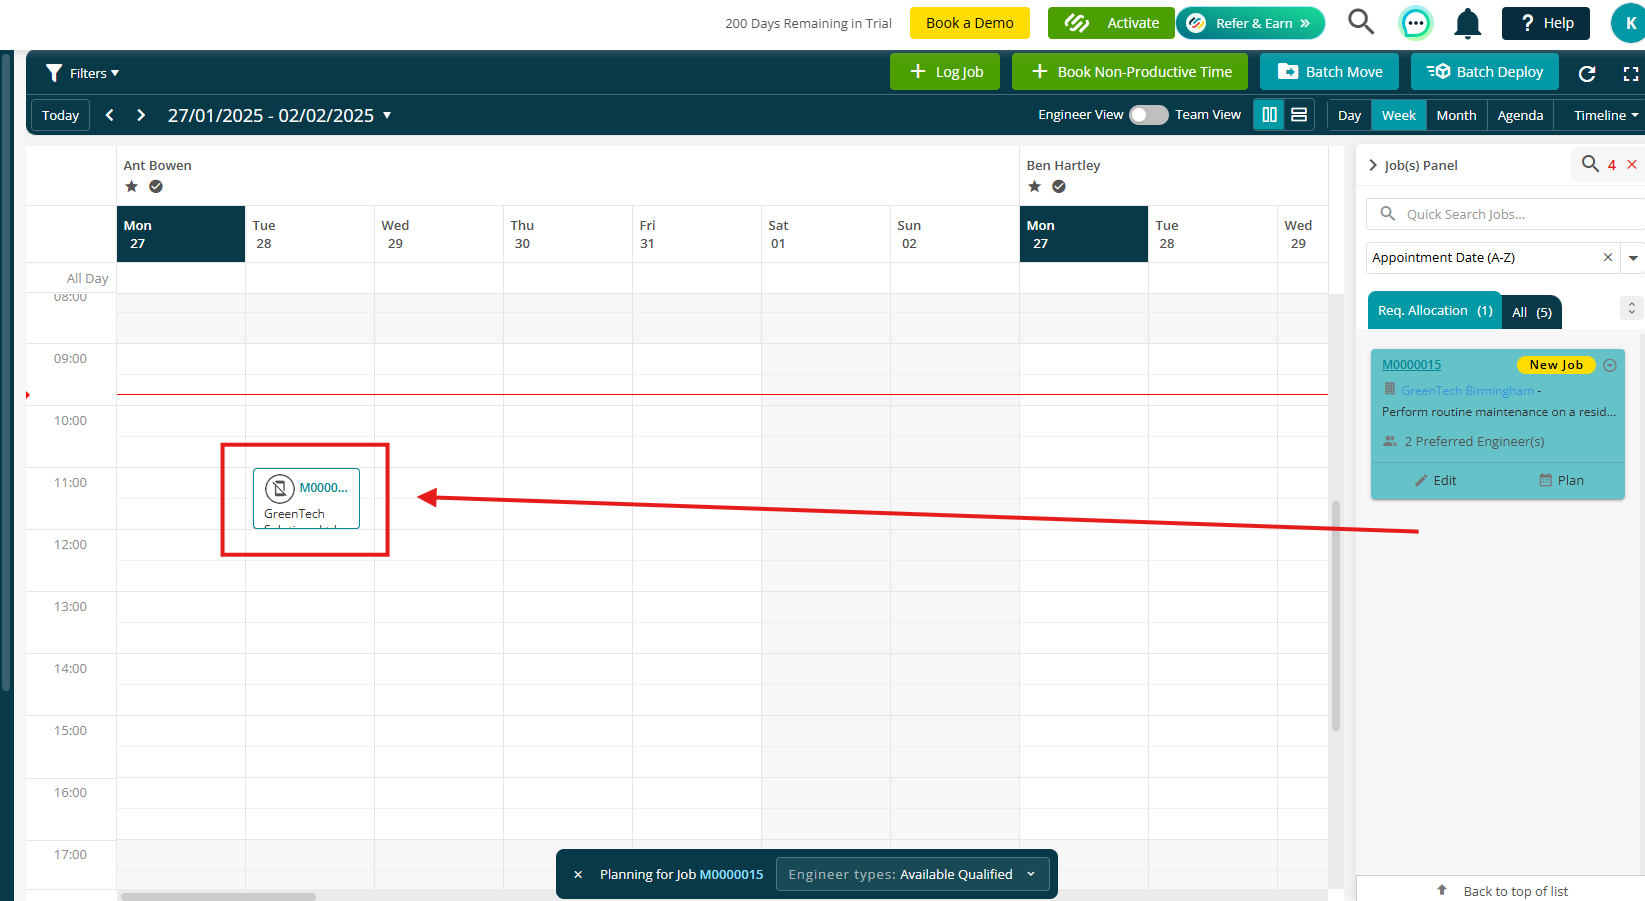
Allocating the job
You can then simply drag and drop your job to the relevant engineer and time slot as usual.
Further Support
For further information or assistance with the above, contact our Support Team on 0800 326 5561 or email support@joblogic.com. Alternatively, our Customer Success Management team can be reached by emailing customersuccess@joblogic.com
Publishing Details
This document was written and produced by Joblogic’s Technical Writing team and was last updated on the date specified above. Be aware that the information provided may be subject to change following further updates on the matter becoming available. Additionally, details within the guide may vary depending on your Joblogic account’s user permissions.