Introduction
Joblogic provides a bulk contact assignment tool allowing for customer and site contacts to be assigned to jobs in bulk. Not only can a single contact be assigned to multiple jobs at once but multiple contacts can also be assigned to the jobs in one instance. Any contact details and event settings already in place for the contacts are replicated for the contact against the job. This acts as a great efficiency and time-saving tool when it comes to setting up job contacts and ensuring that the right contacts get the correct details on the jobs applicable to them.
This user guide will detail how to assign customer contacts to jobs in bulk.
Assigning Customer Contacts to Jobs in Bulk
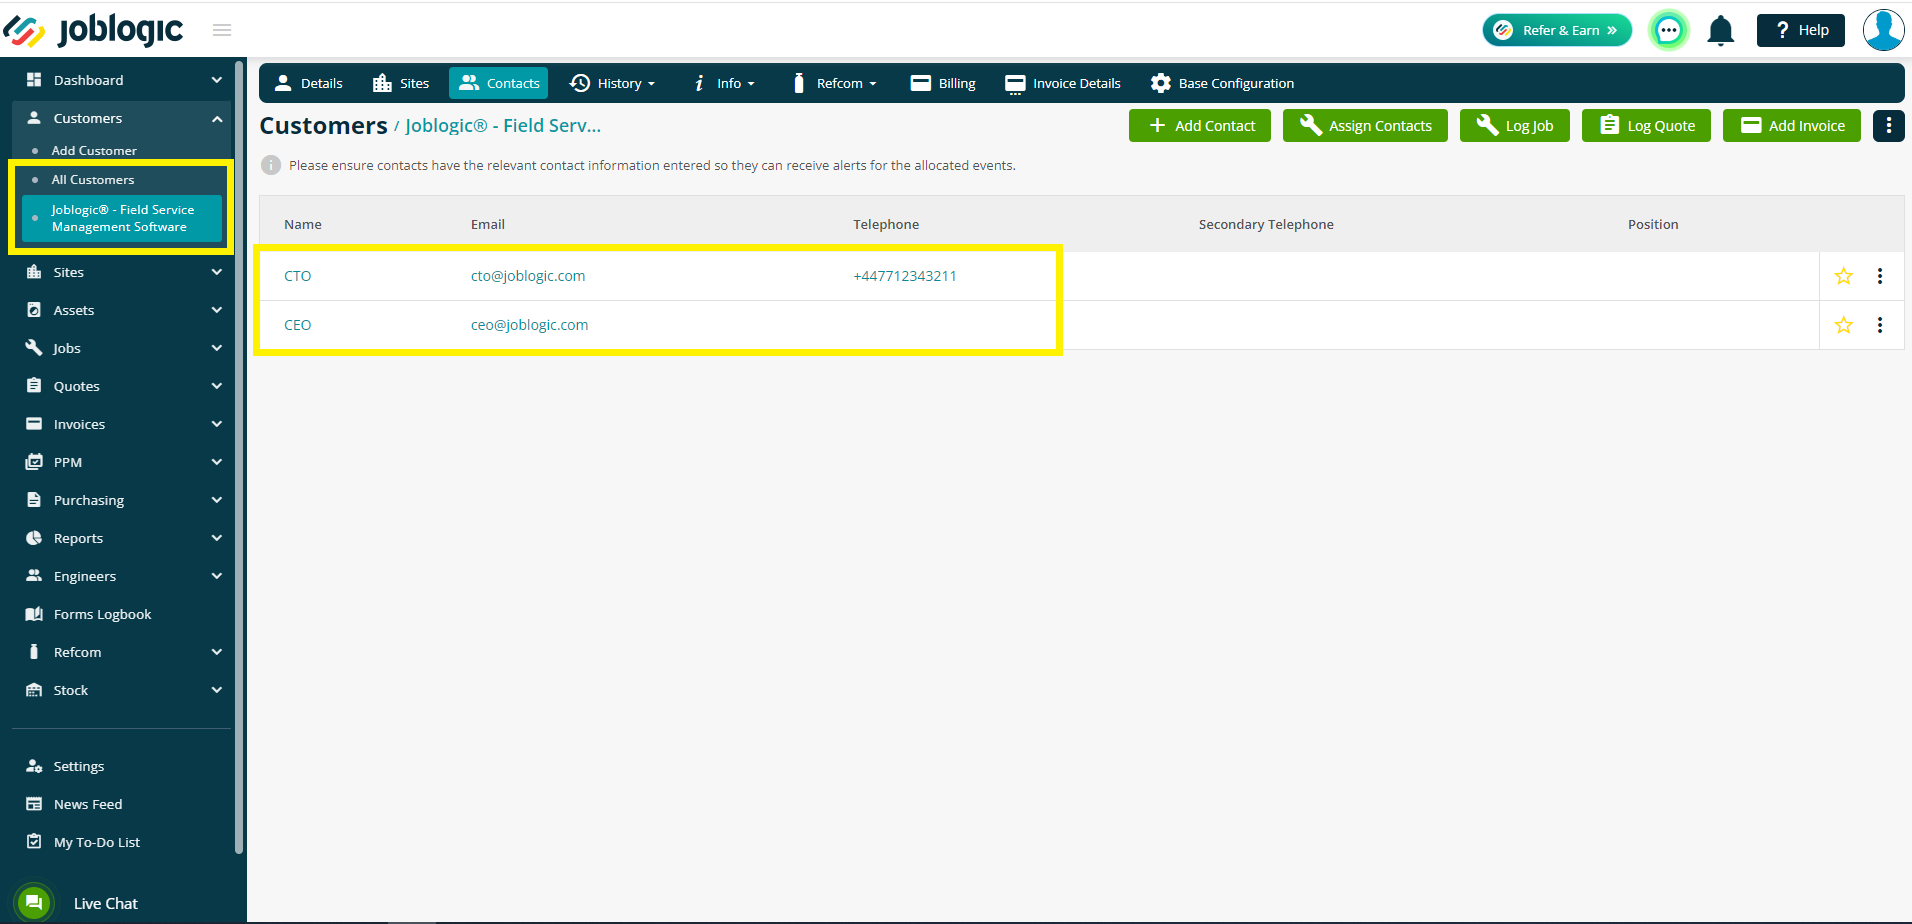
In order to assign customer contacts to jobs in bulk, navigate to the customers area within the left side navigation menu and select ‘All Customers’.
Select the customer applicable to the contacts to be assigned by selecting their name.

Navigate to the ‘Contacts’ area of the customer.
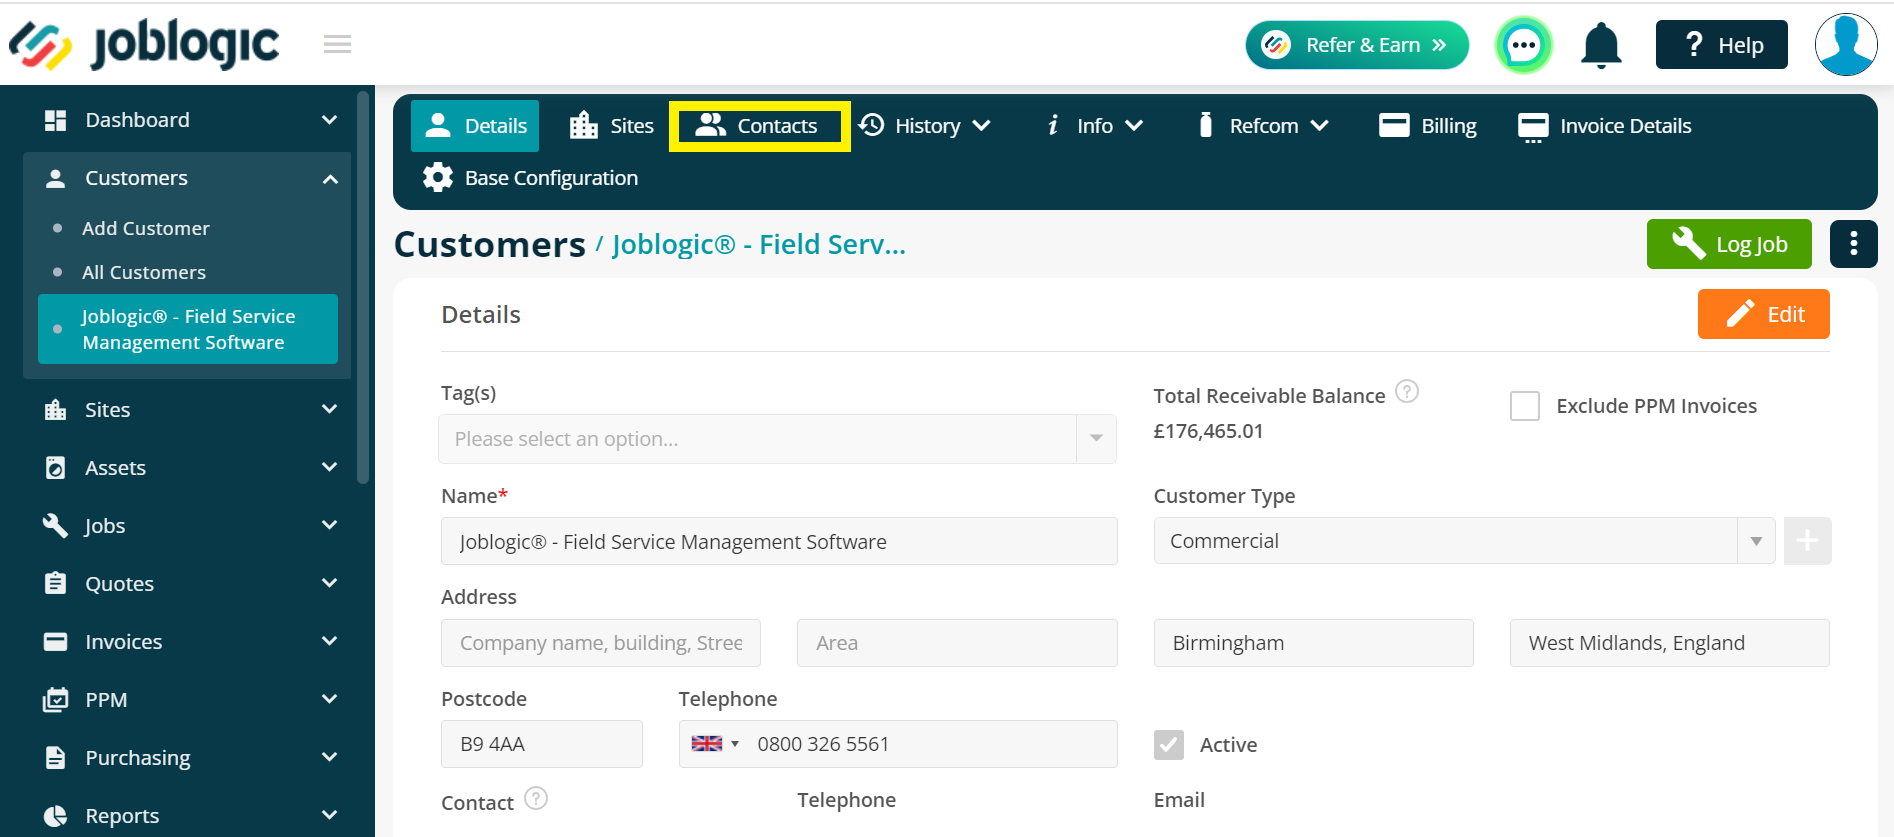
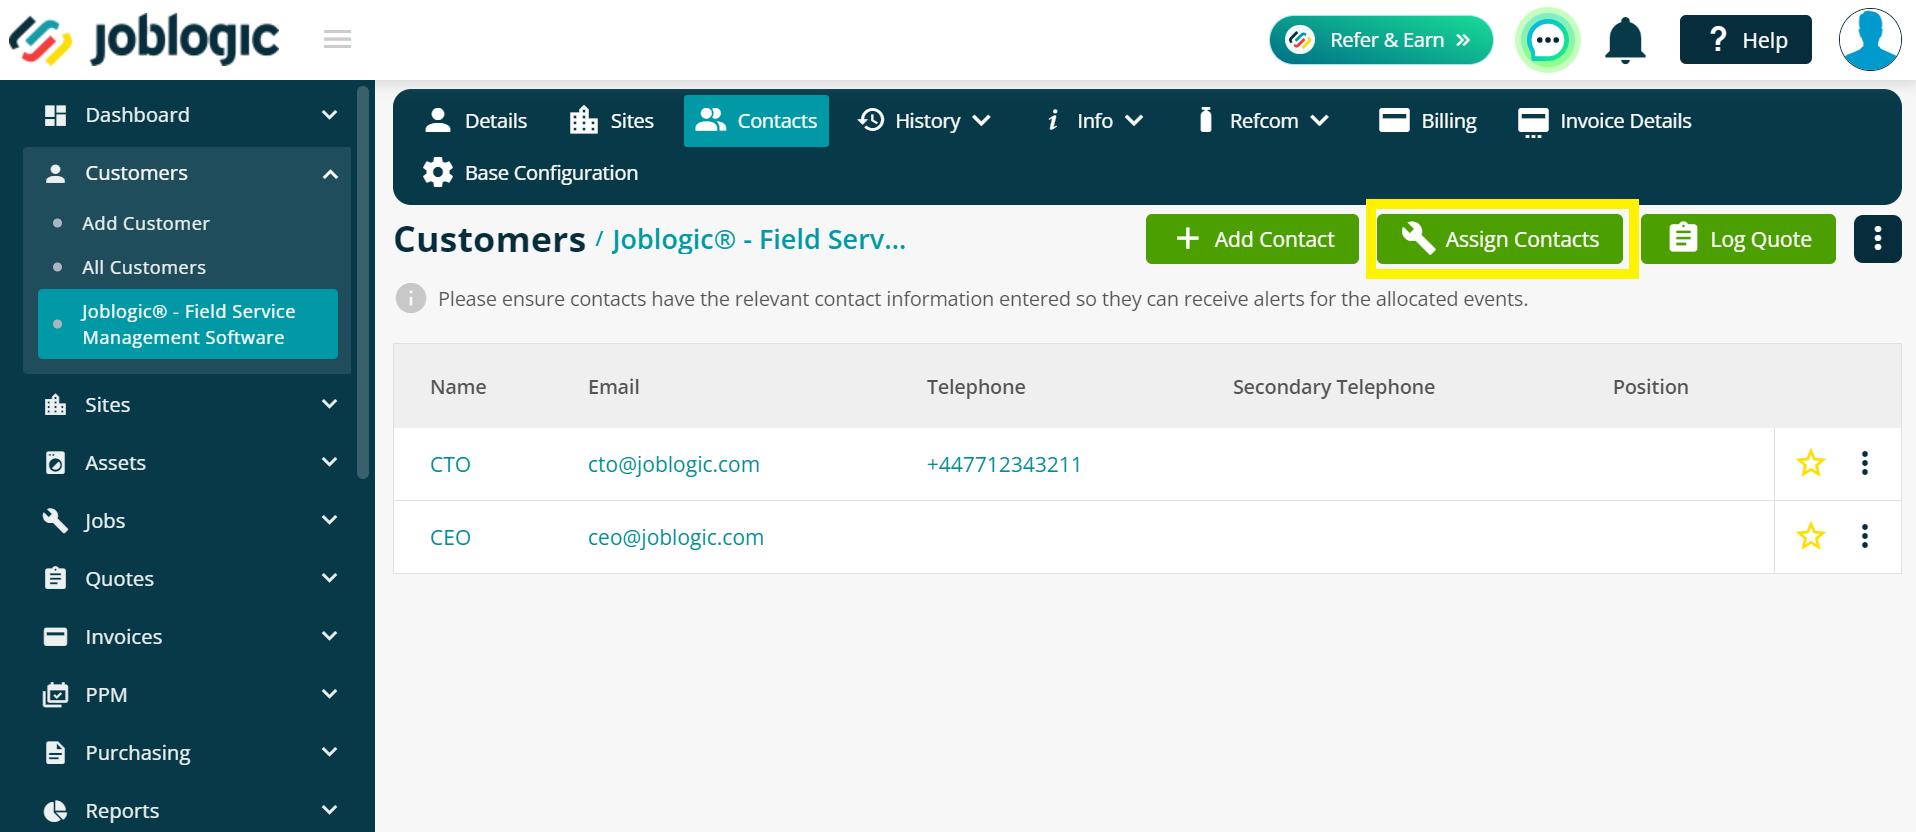
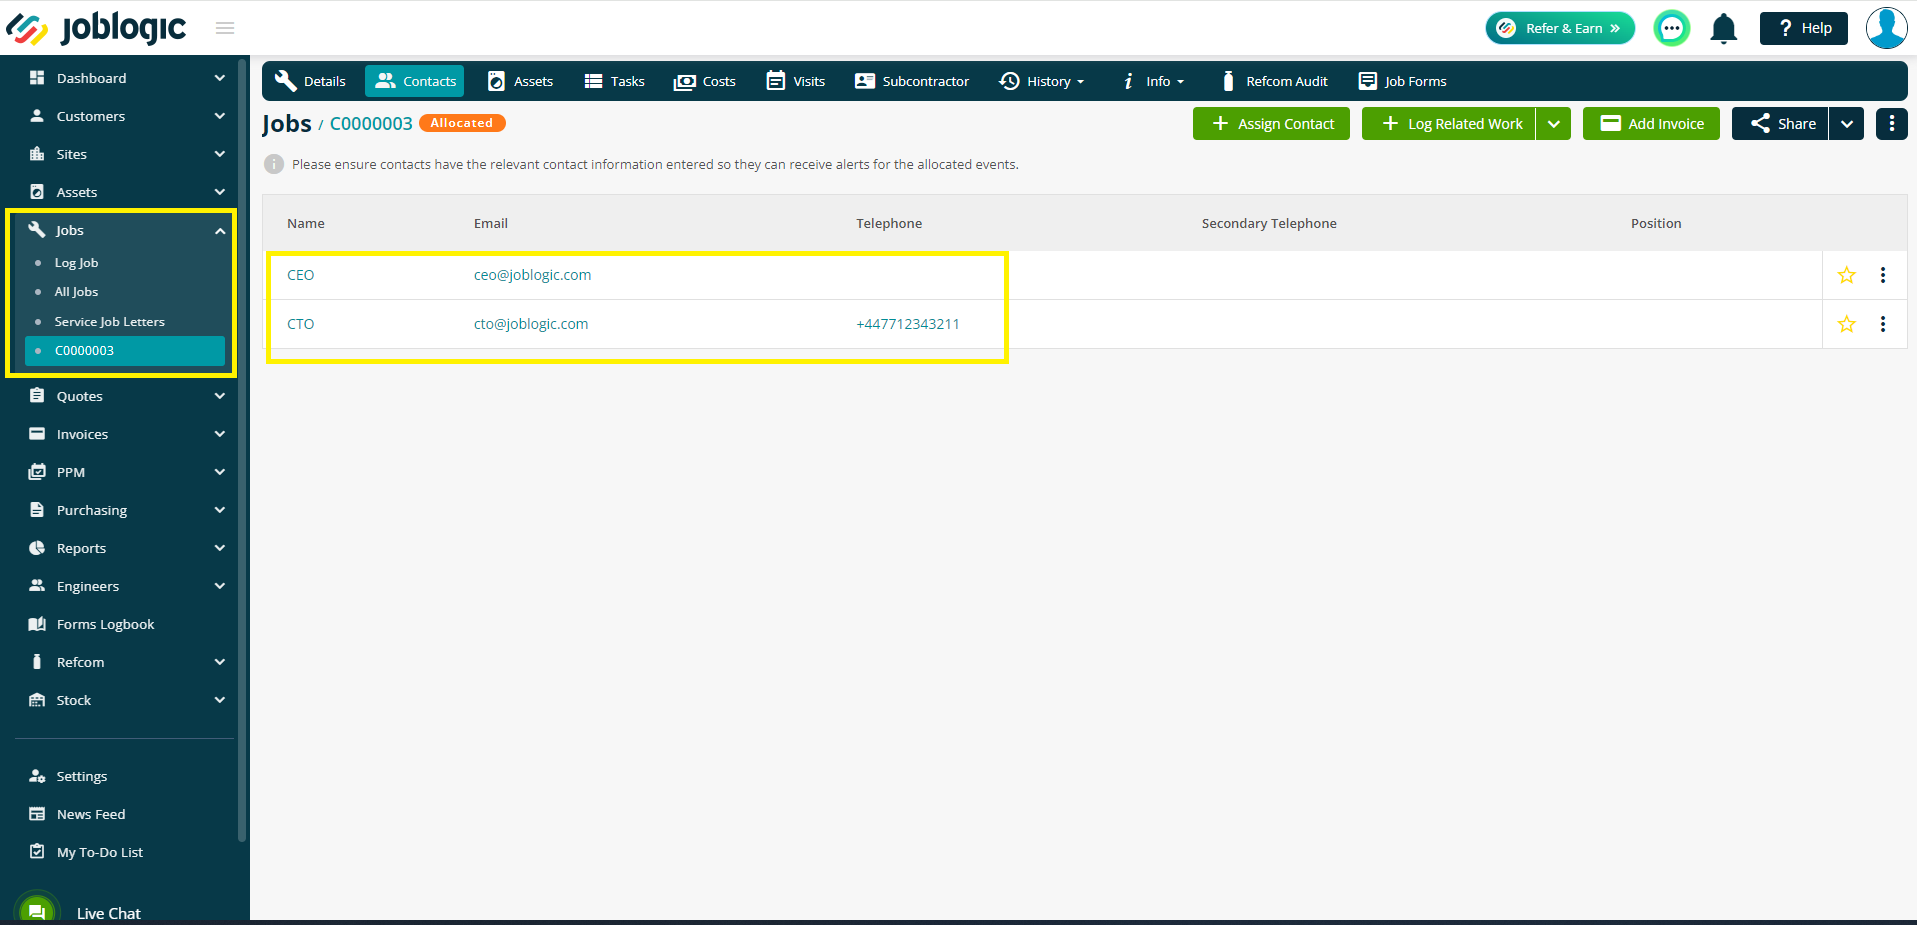
A list of contacts currently recorded against the customer will be displayed.

For more information on creating customer contacts, see here.
Select the ‘Assign Contacts’ button to assign any existing contacts to jobs.
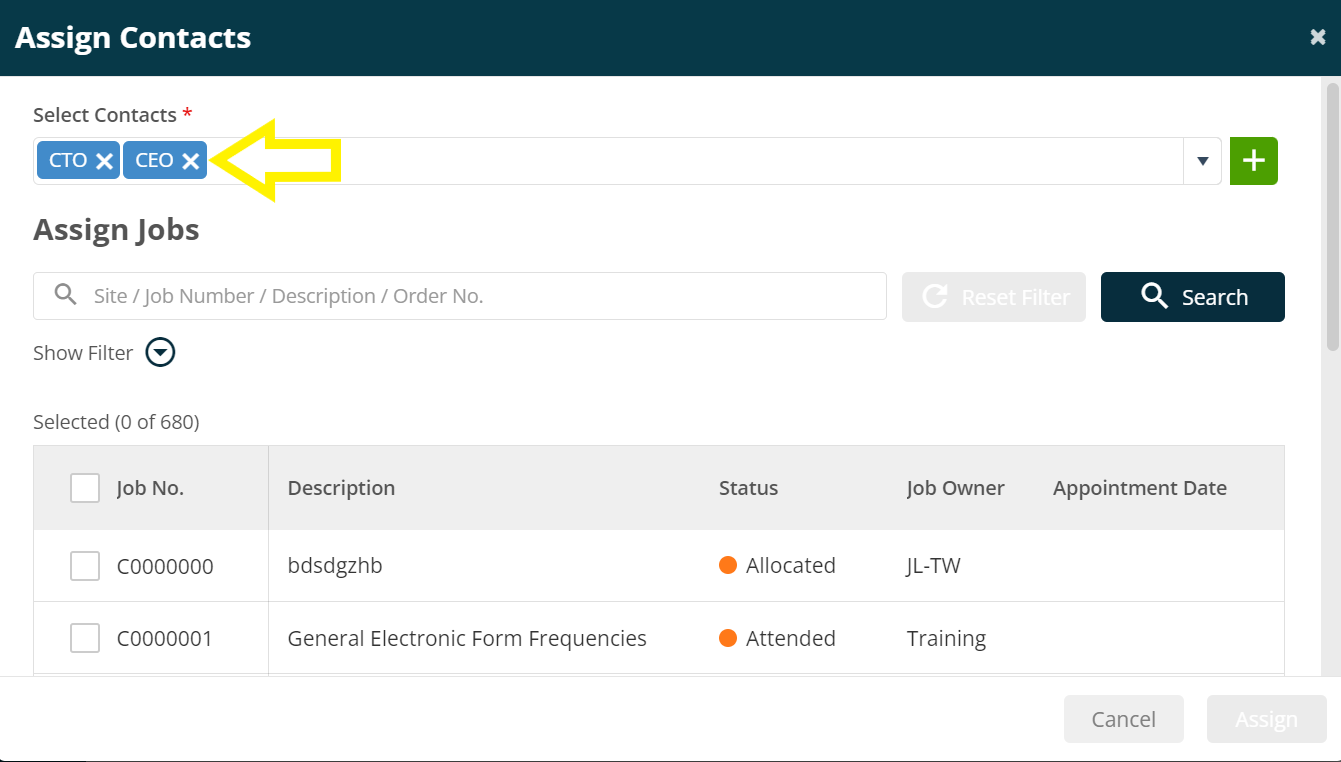
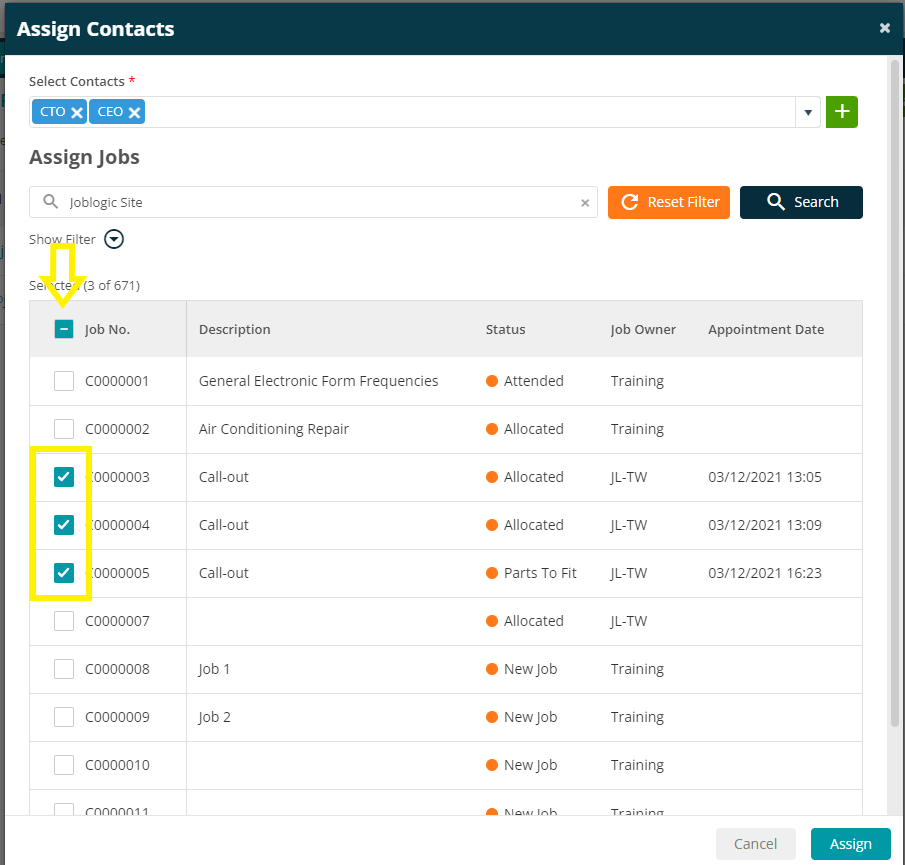
An ‘assign Contacts’ page displaying all contacts that currently exist against the customer will be presented. To remove contacts (to deselect them from the contacts that you wish to apply to the multiple jobs), select the ‘X’ icon against them.
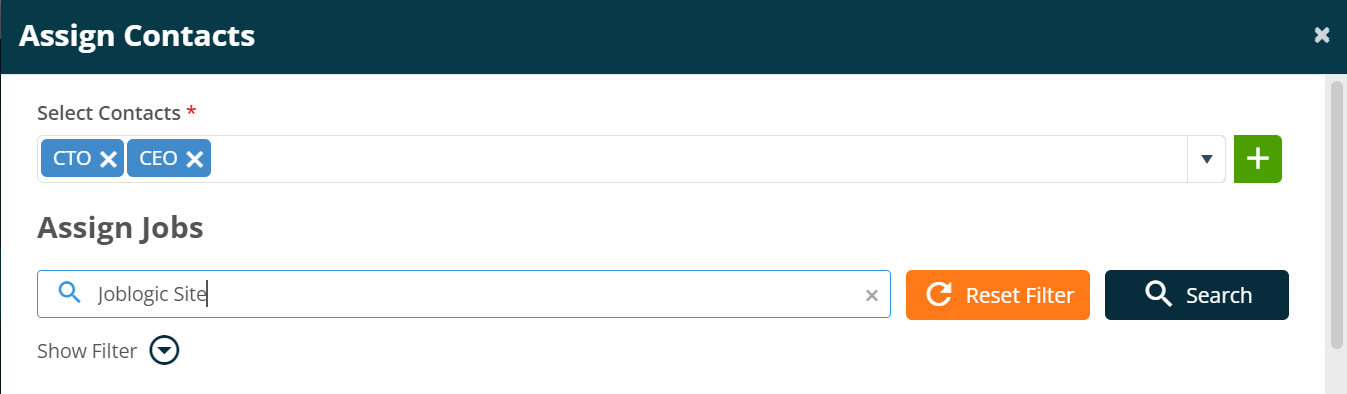
The search tool can be used to filter the list of available jobs to select for the bulk assignment. For example, all jobs for a certain site can be filtered by searching the site’s name.
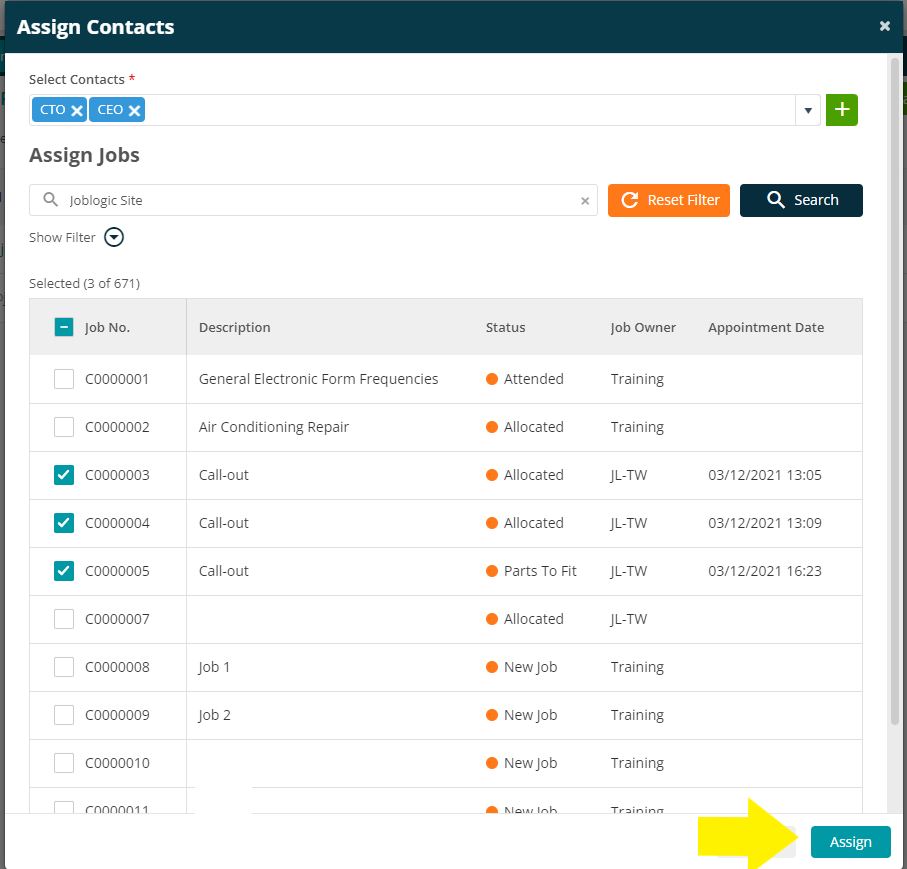
Once all contacts that you wish to apply to the jobs in bulk are displayed within the ‘Select Contacts’ area and any filters for the jobs to select from have been applied, select which jobs that the chosen contacts are to be assigned to by using the selection tick boxes. They can be selected individually or all jobs within the selection box can be selected in one instance via the ‘Job No.’ tick box.
Select the ‘Assign’ button.
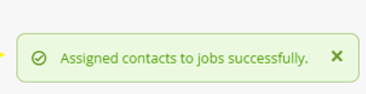
A toast message will appear in the bottom right corner, confirming that the contacts have been successfully assigned.
Each customer contact selected will then be applied to the contacts area of each job selected.
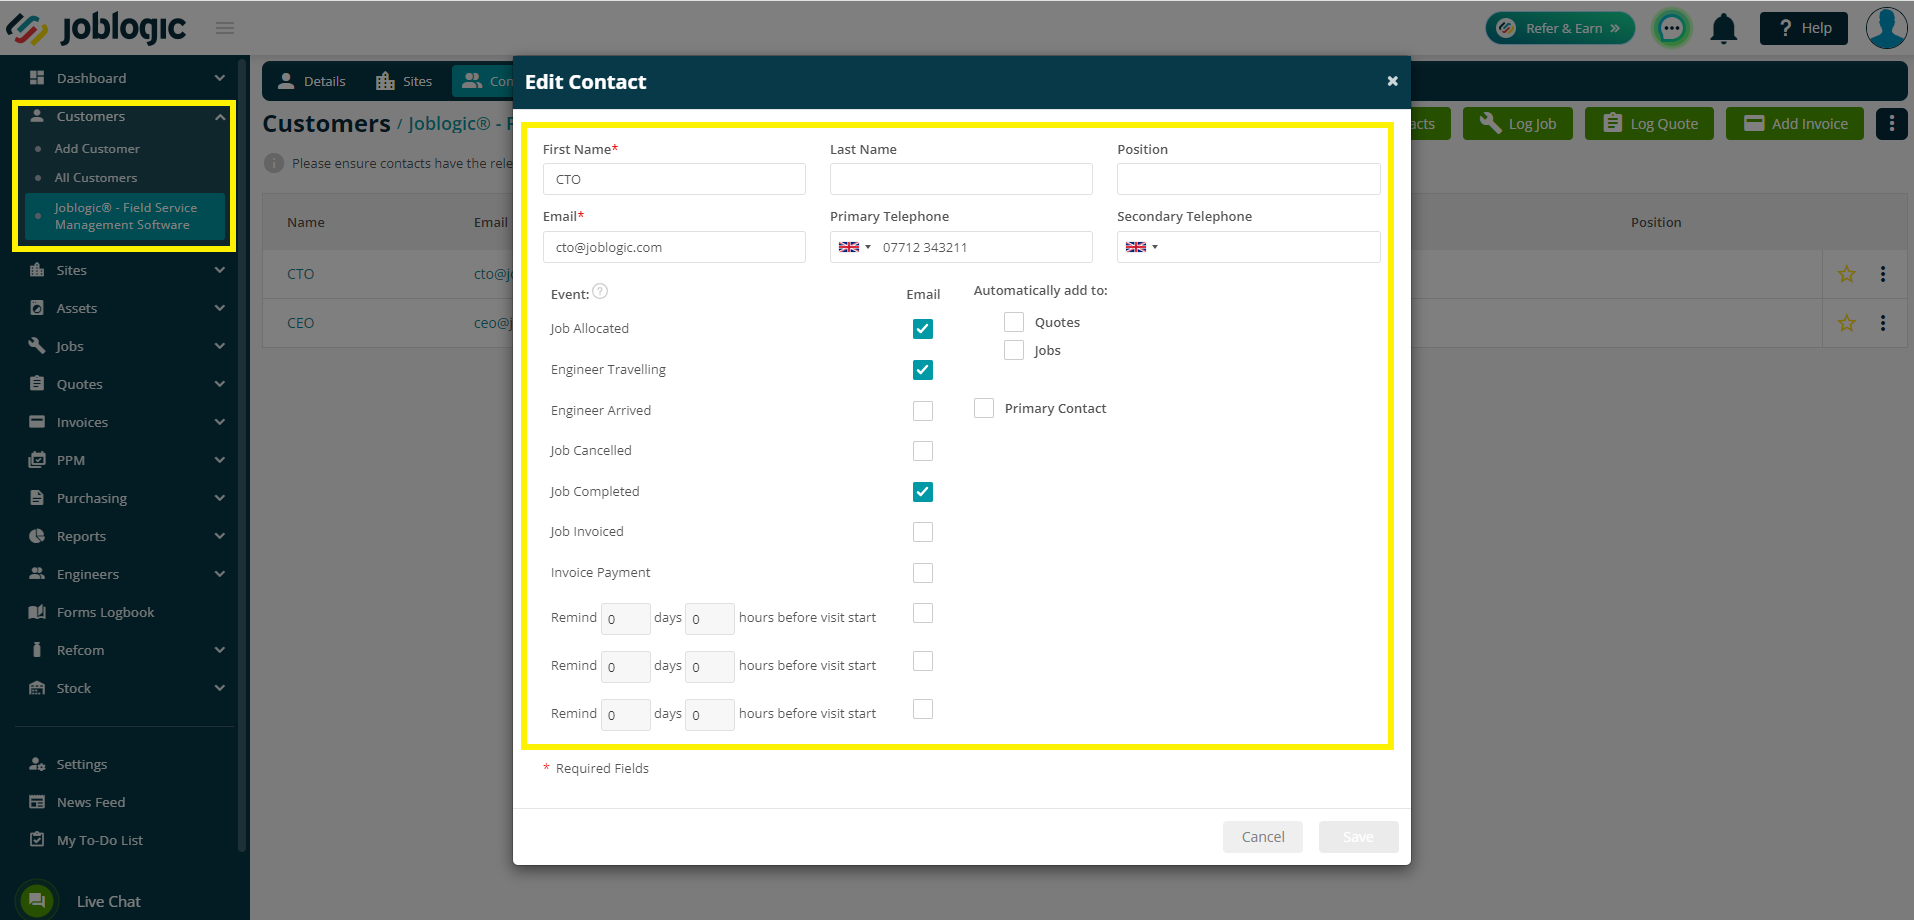
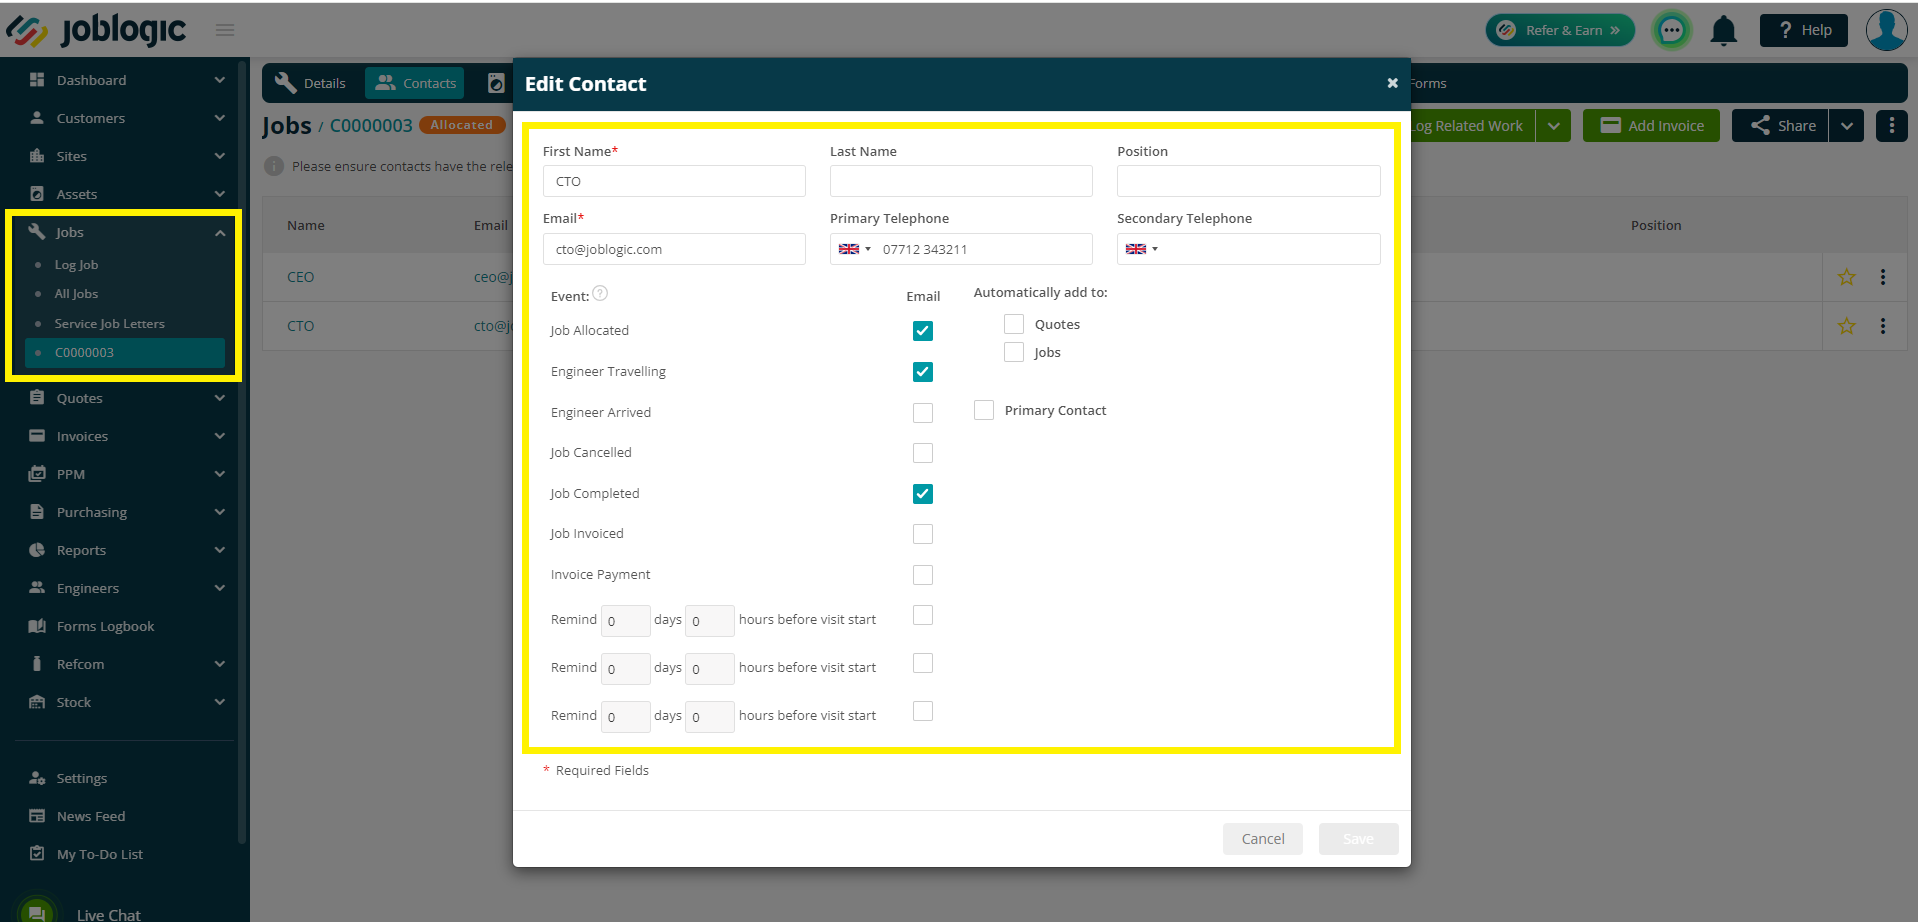
Any details and event settings already in place for the customer contact will also be replicated for the contact(s) against the job.
Further Support
For further information or assistance with the above, contact our Support Team on 0800 326 5561 or email support@joblogic.com. Alternatively, our Customer Success Management team can be reached by emailing customersuccess@joblogic.com
Publishing Details
This document was written and produced by Joblogic’s Technical Writing team and was last updated on the date specified above. Be aware that the information provided may be subject to change following further updates on the matter becoming available or new releases within the system. Additionally, details within the guide may vary depending on your Joblogic account’s user permissions and settings or the electronic device being used.