Introduction
Joblogic’s tags tool allows for customisable labels to be created and assigned to different items within the system such as jobs, assets, customers and invoices. These labels can then be used to assist with search and filtering, to group items within a particular category and/or assign customised statuses and markers to items. This user guide will explain how to create tags and assign them to items within the system.
Creating Tags
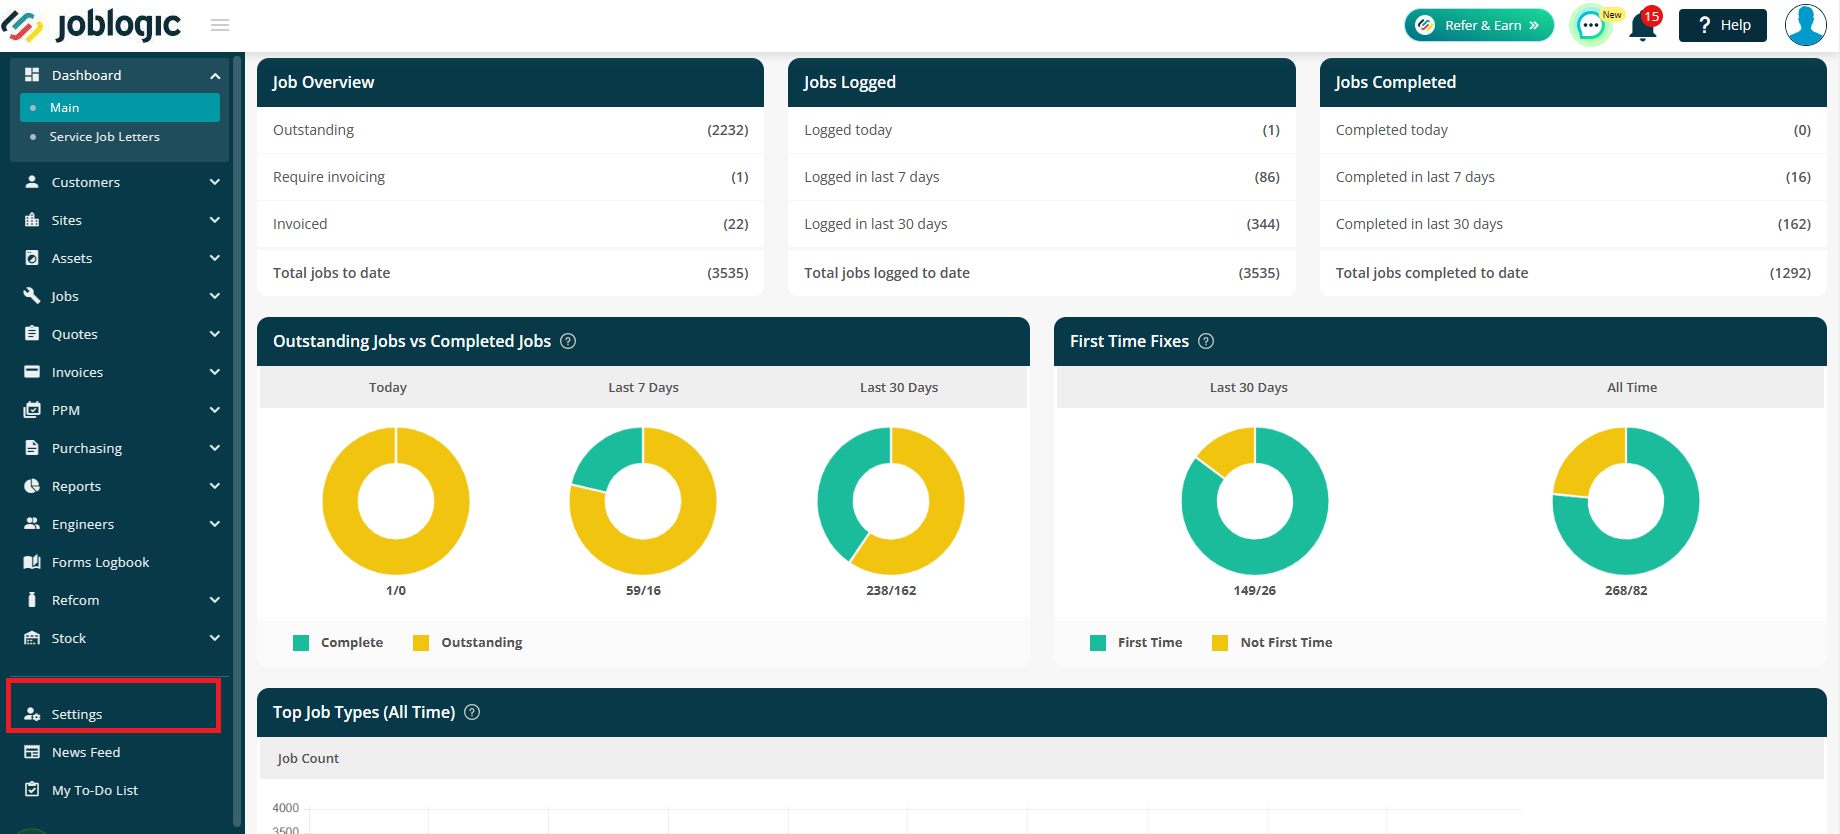
To create a new tag, navigate to ‘Settings’ from the left-hand side panel menu and then select the Library option.
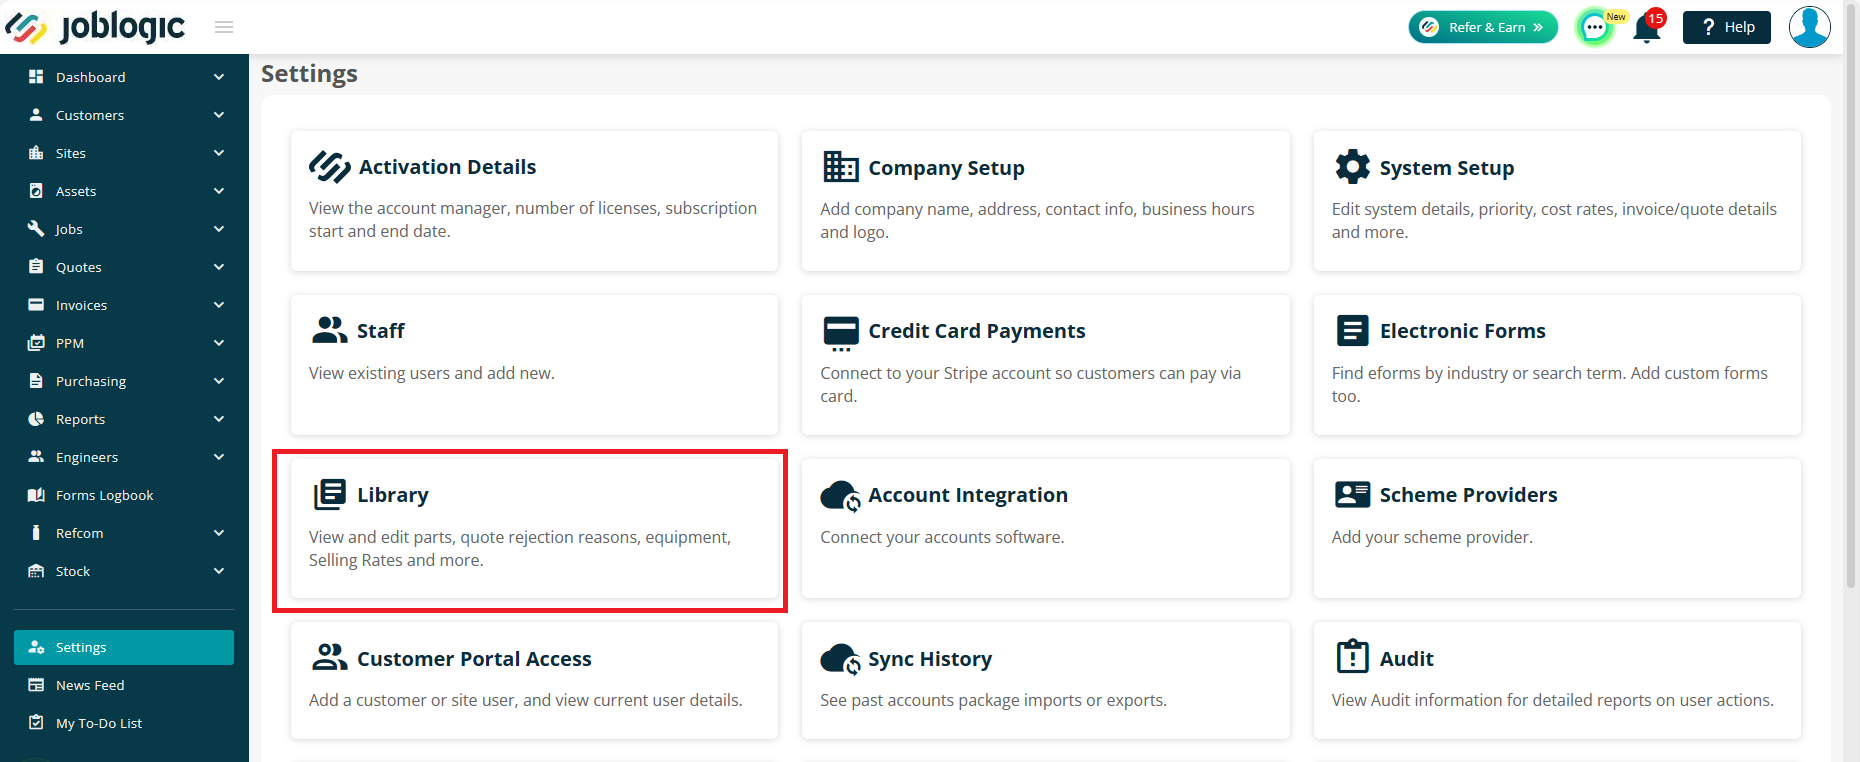
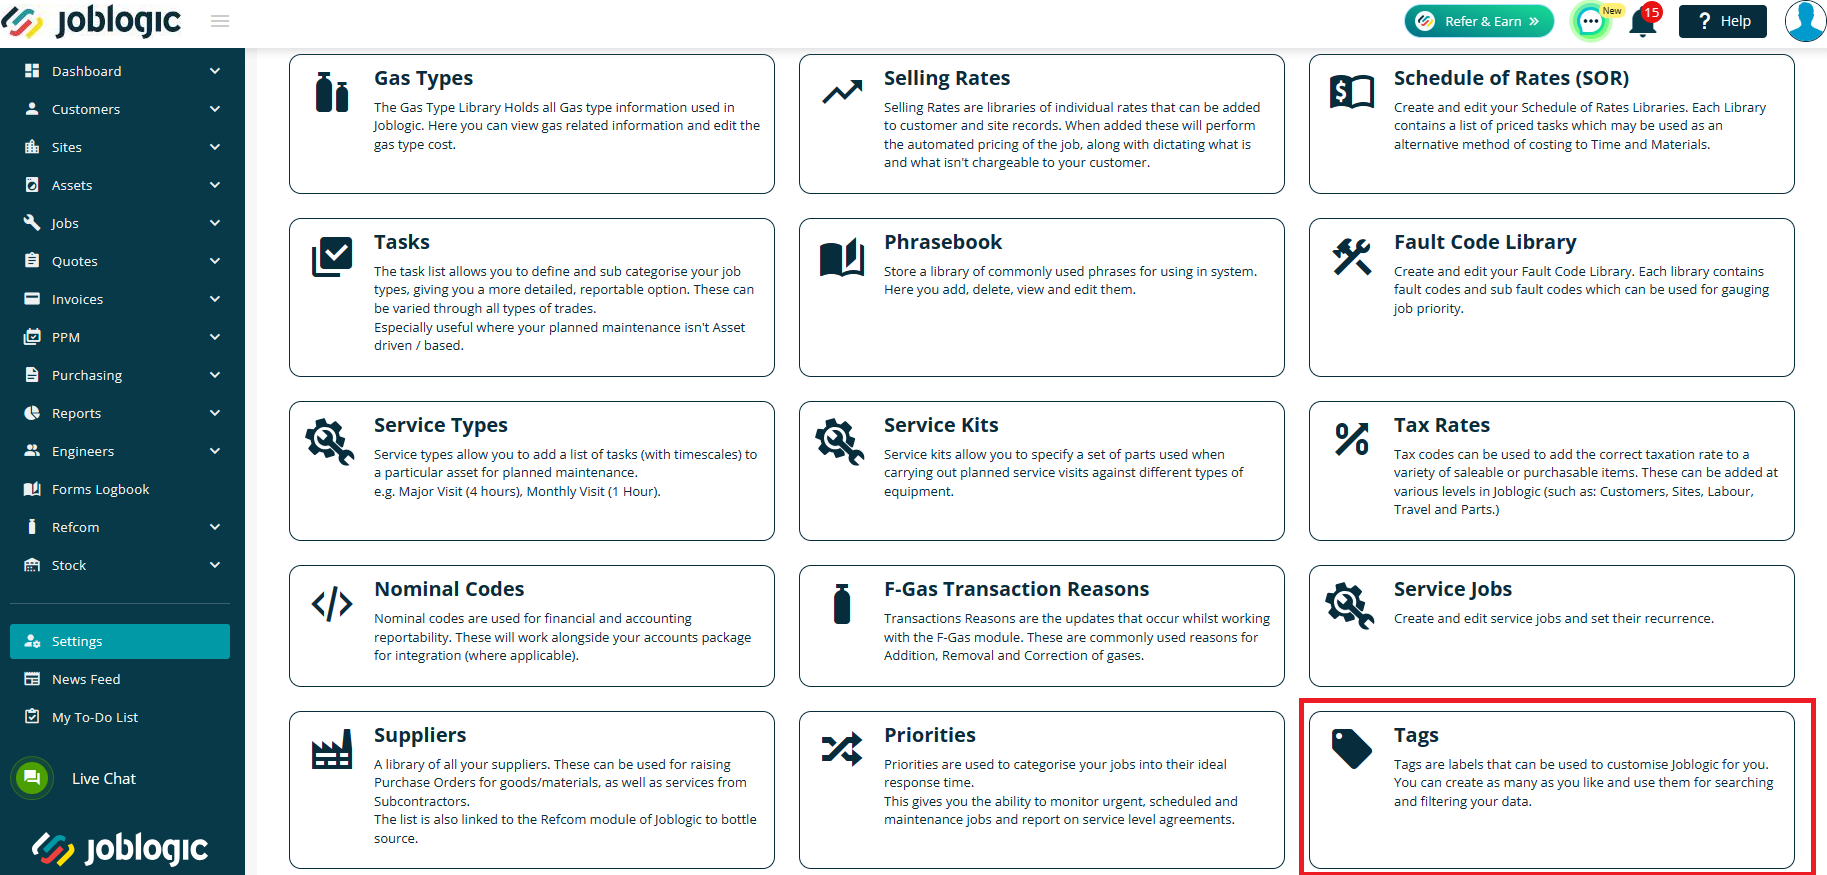
Open the Tags library.
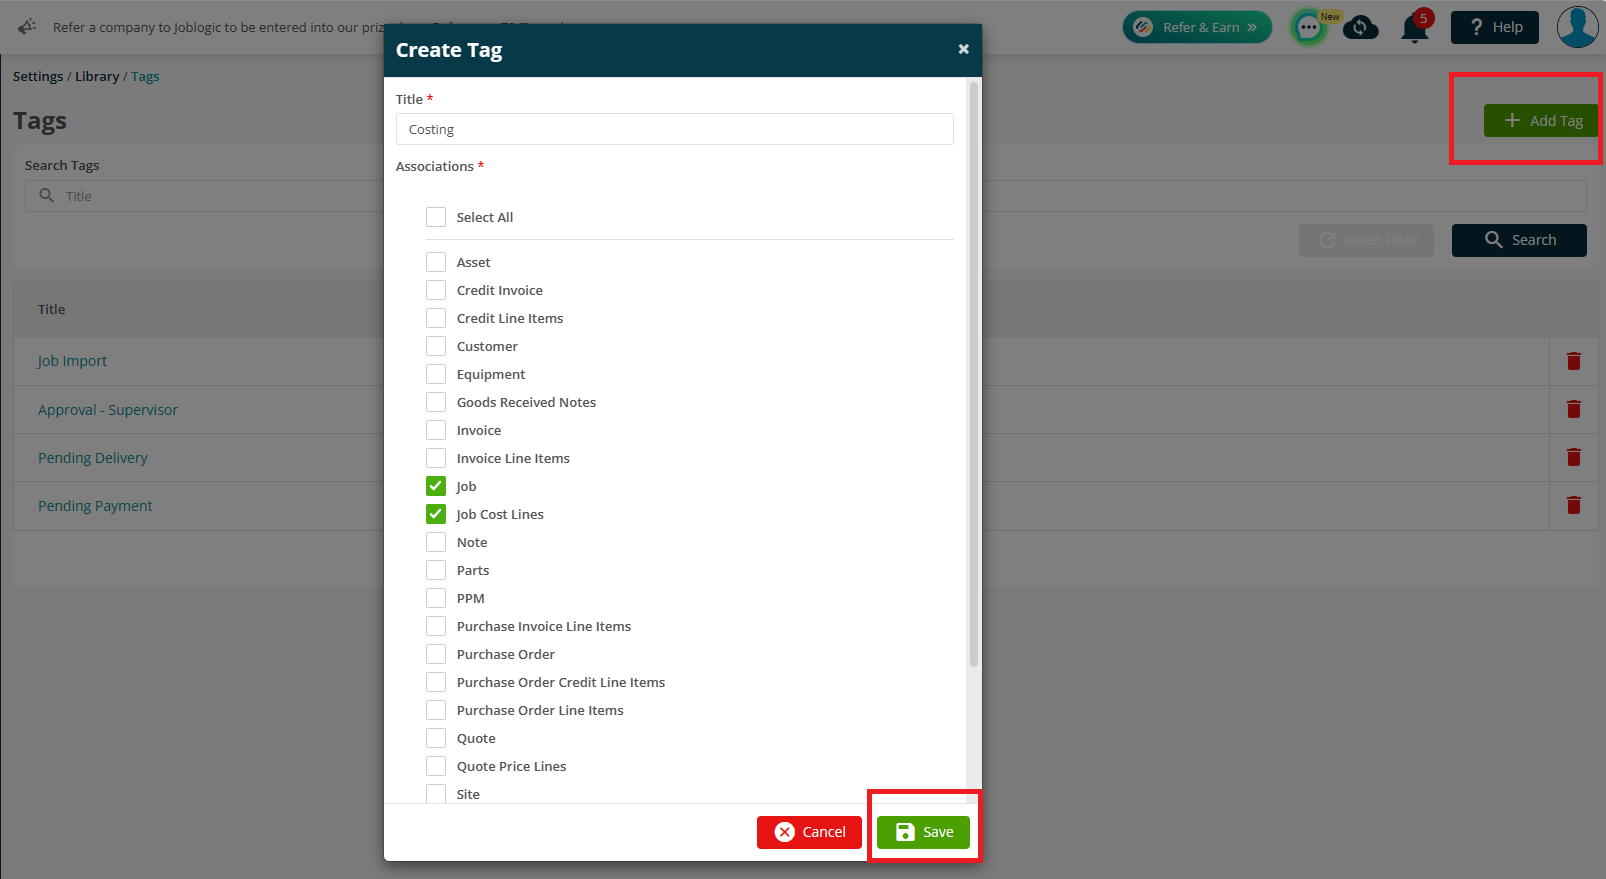
Select the ‘Add Tag’ option and fill out the ‘Create Tag’ page details.
Add a Title and select the desired modules for the tag to be used against. The “Select All” option can be used to apply the tag to all modules within your system.
Select ‘Save’.
Assigning Tags to an Item
Assigning a tag to a customer will be used as an example.
Navigate to the item that the tag is to be assigned to.
Select Customers > All Customers from the left-hand panel menu and select the applicable customer.
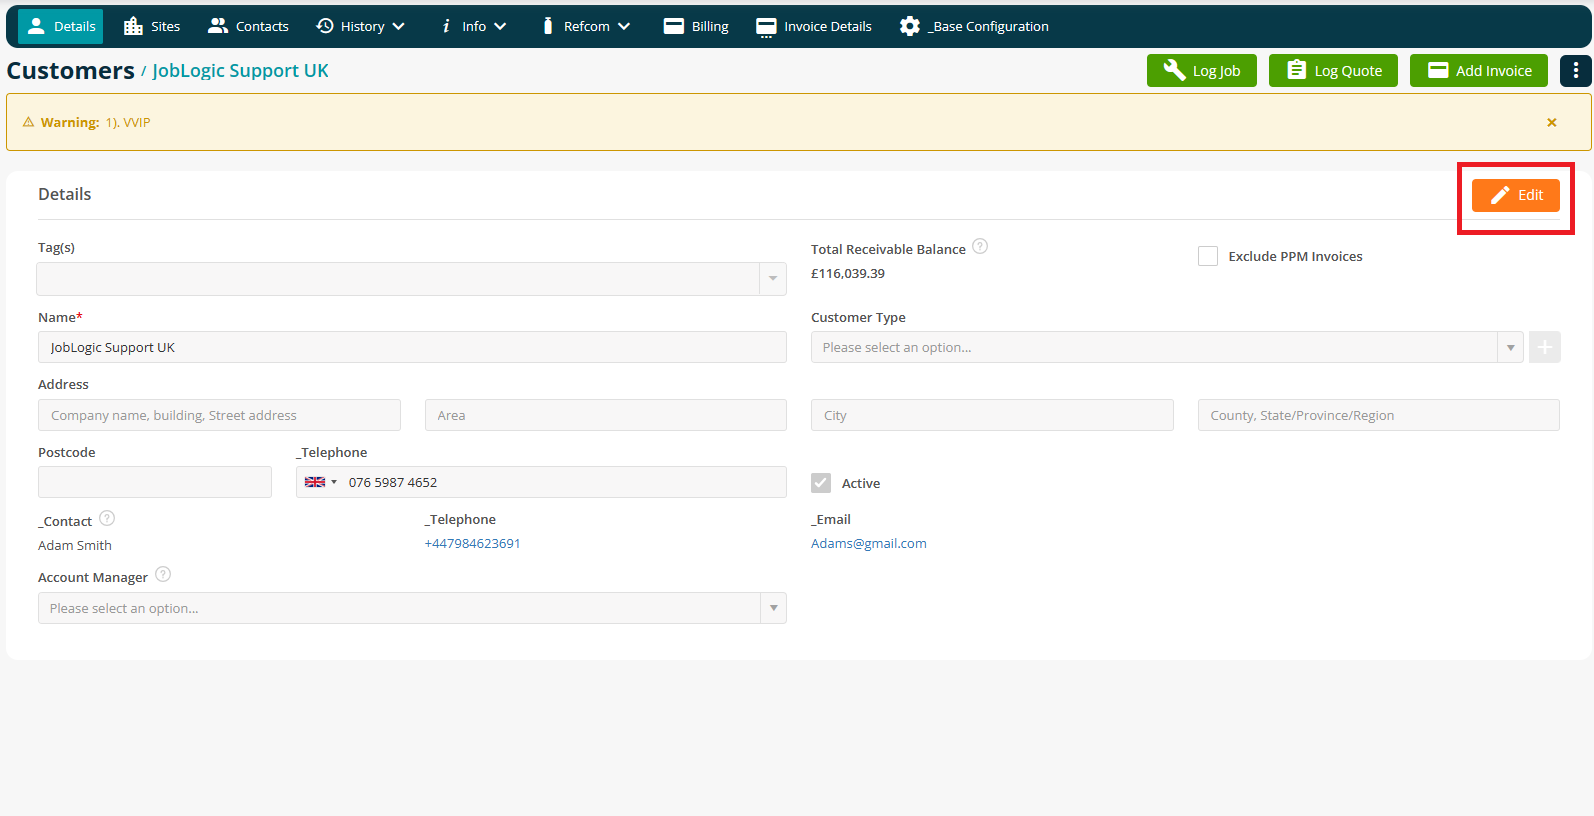
From the customer details page, click on ‘Edit’.
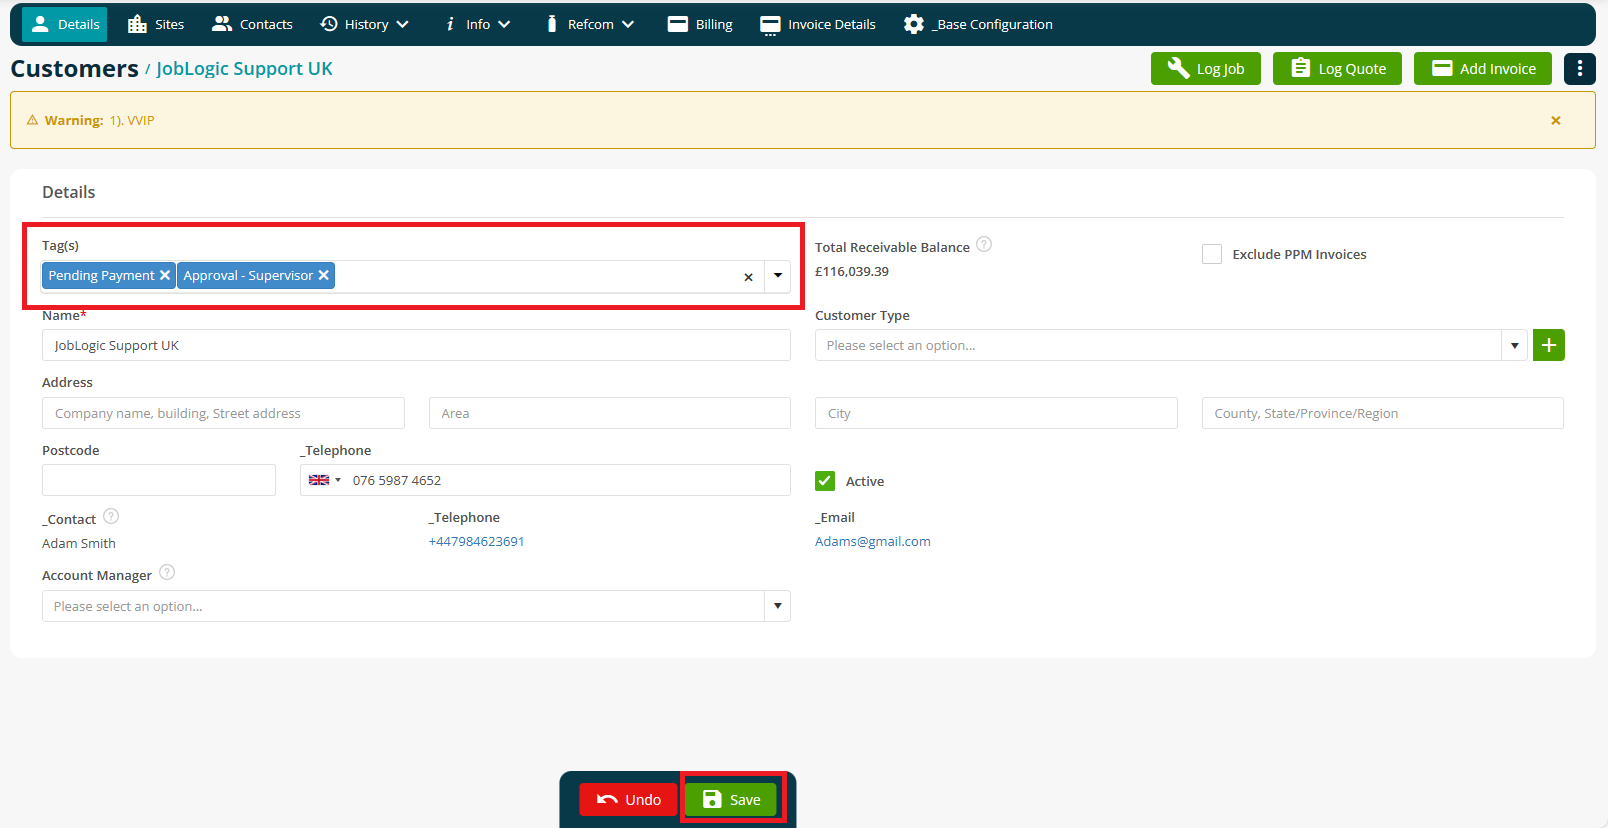
Select the tag(s) to be assigned and select ‘Save’ to save the tag against the item.
Further Support
For further information or assistance with the above, contact our Support Team on 0800 326 5561 or email support@joblogic.com. Alternatively, our Customer Success Management team can be reached by emailing customersuccess@joblogic.com
Publishing Details
This document was written and produced by Joblogic’s Technical Writing team and was last updated on the date specified above. Be aware that the information provided may be subject to change following further updates on the matter becoming available or new releases within the system. Additionally, details within the guide may vary depending on your Joblogic account’s user permissions and settings or the electronic device being used.