Introduction
Joblogic provides the ability to create and list subcontractors who may conduct work for you within a designated subcontractor area. If your subcontractors are also Joblogic users with their own Joblogic account, a subcontractor portal link can be made between the two accounts. This means that jobs logged within a contractor’s Joblogic account can be sent to the subcontractor's Joblogic. These jobs can be worked on, updated and then sent back to the contractor’s account detailing the work conducted. This user guide explains how to link a contractor Joblogic account to a subcontractor one and details how to manage what information is sent from the contractor to the subcontractor.
This user guide is written from the perspective of a contractor with it’s intended audience being the contractors involved in setting up the subcontractor portal link.
If you are a subcontractor who is brand new to Joblogic due to your contractor requesting that you also use the system, then your contractor will have already set your account up for you alongside Joblogic (providing that you have been emailed your password set up and login details). See a user guide here on how to access your Joblogic subcontractor area and use it.
Subcontractor Templates
The first aspect to be aware of when setting subcontractors up for the portal link within the contractor’s Joblogic account is subcontractor templates. These are a tool used to manage what information is sent from the contractor to the subcontractor’s Joblogic account. They can be set up under Settings > Subcontractors > Subcontractor Templates.
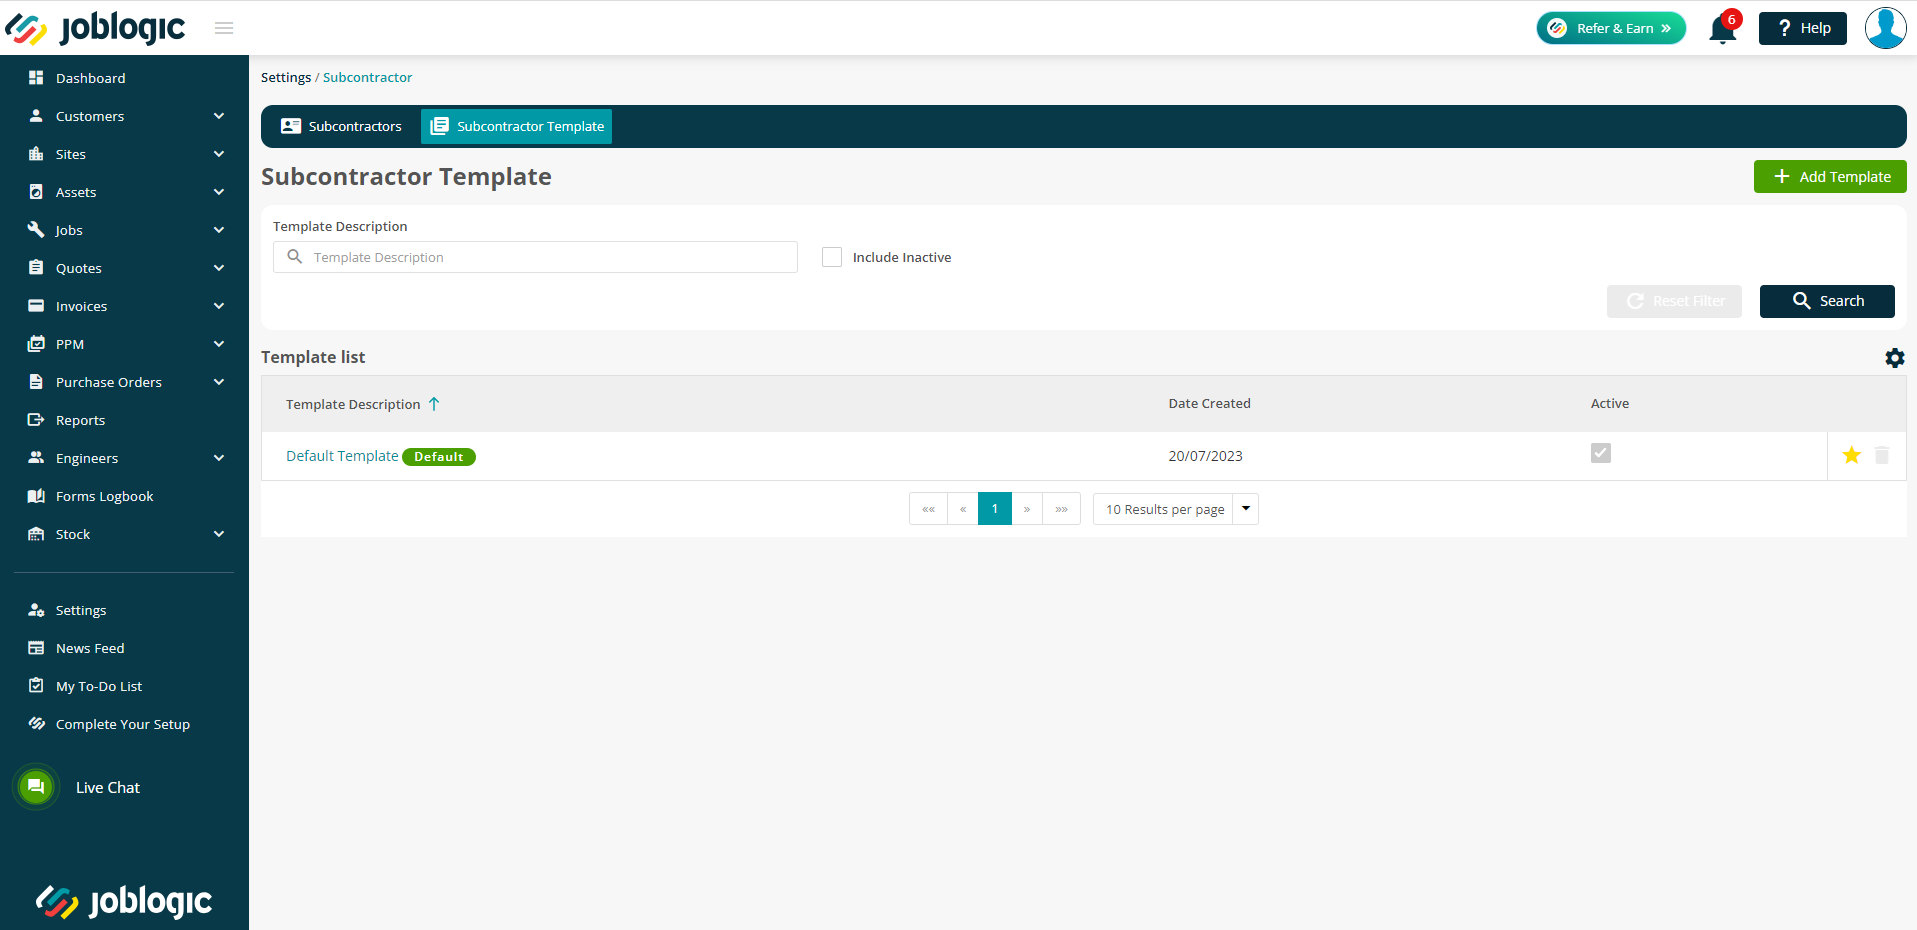
We have a default template already set up which consists of information that may typically need to be passed from a contractor to a subcontractor.
You can edit the settings of this default template or create multiple new ones if different subcontractors require differing amounts of information.
To review and/or amend the default template, select it’s settings by clicking the blue ‘Default Template’ option.

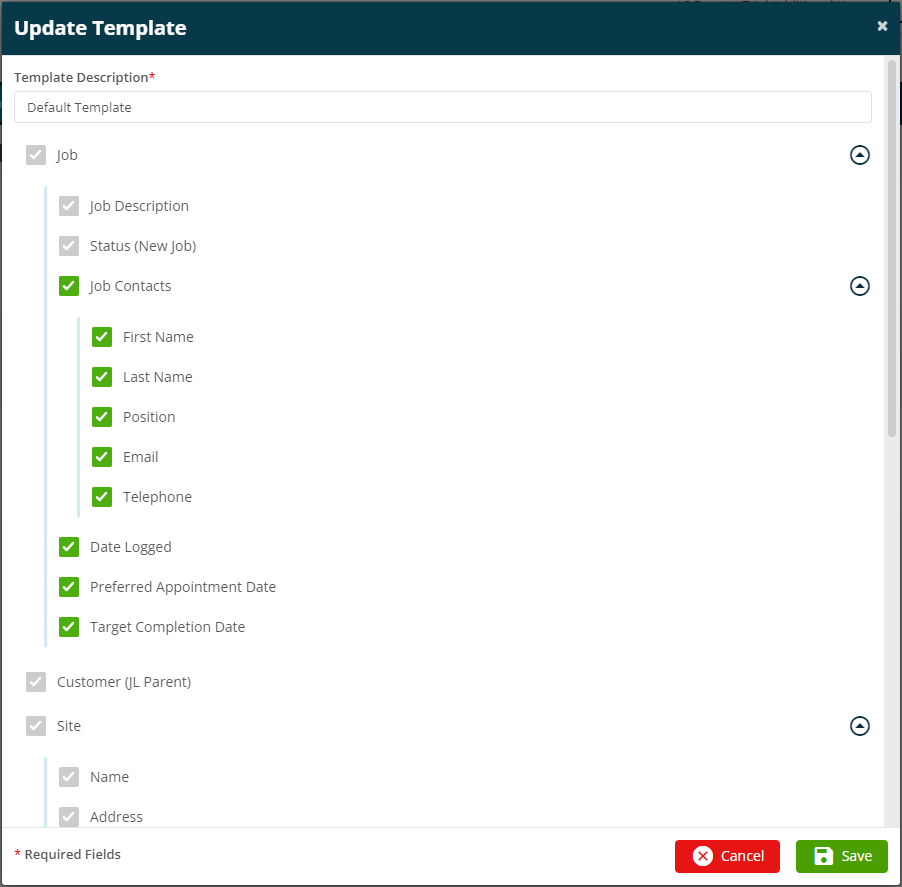
The information sent to the subcontractor can then be amended by ticking or unticking the applicable information boxes. Those greyed out are required information fields that cannot be turned off. Select the ‘Save’ option for changes to take effect.
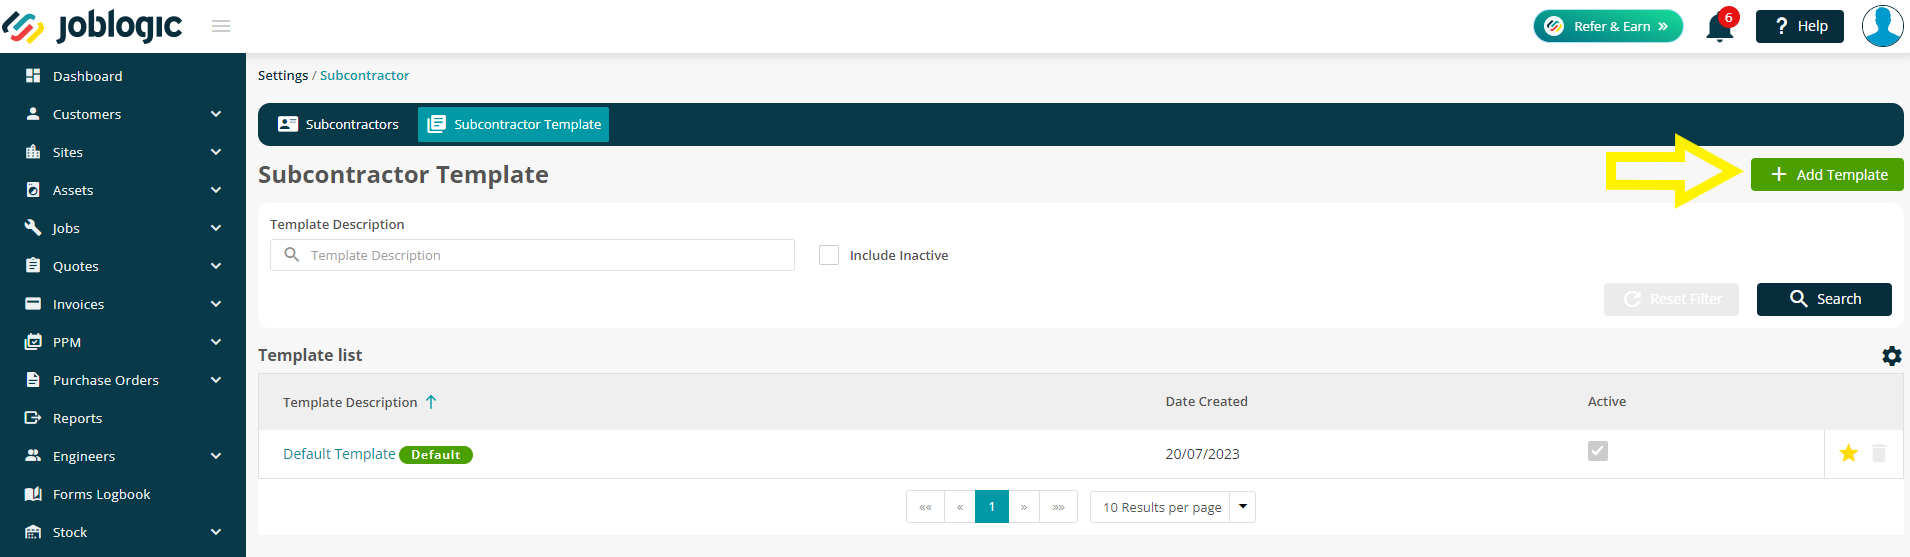
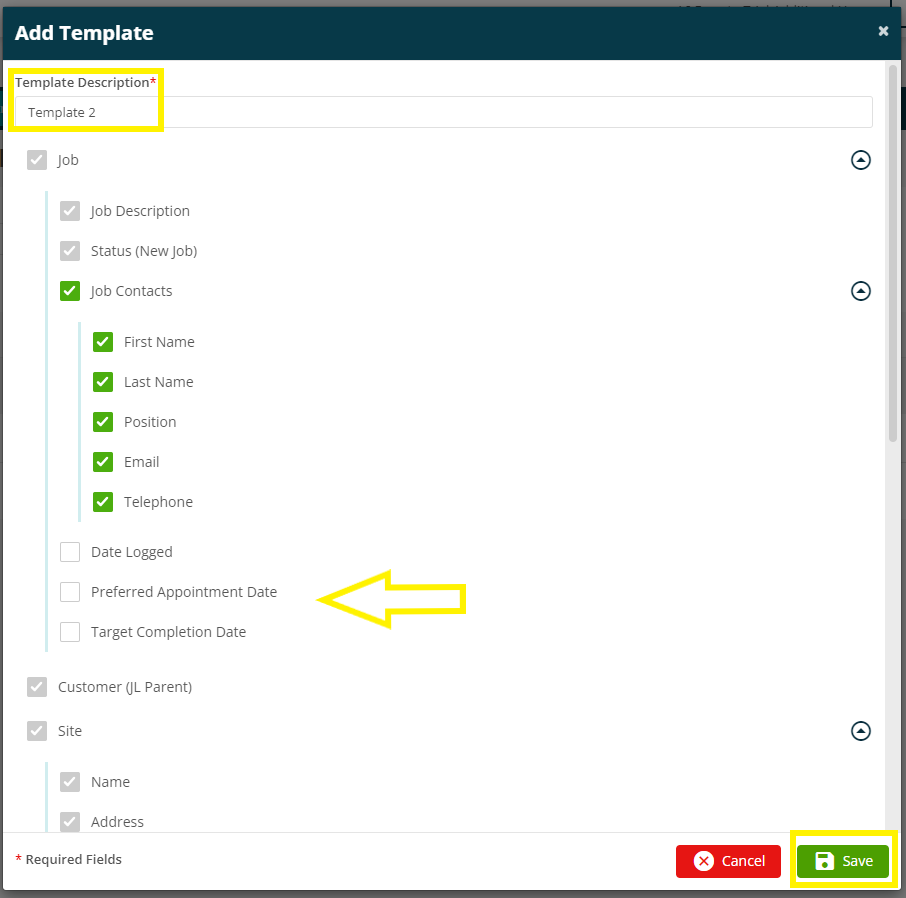
To create a new secondary template(s), select the ‘Add Template’ option where similarly to the above, the information sent to the subcontractor can be amended by ticking or unticking the applicable information boxes. Once the required settings have been set, select the ‘Save’ option to save the template. You’ll also need to enter a unique description to identify the new template.
Once set up, these templates can be assigned to the subcontractor. See below ‘Setting up the subcontractor in the contractor’s Joblogic account’ for details on how to achieve this.
Setting up a Subcontractor Portal Link
There are items which need to be in place and carried out in order to create a subcontractor portal link. These are:
-
Contractor and Subcontractor Joblogic accounts
-
Setting up the subcontractor in the contractor’s Joblogic account
-
Subcontractor Joblogic account settings
-
Provide details to Joblogic
See sections below for details on how to achieve each.
1. Contractor and Subcontractor Joblogic accounts
In order to create a subcontractor portal link, both the contractor and subcontractor are required to have their own Joblogic accounts set up. See here for information on subscribing to Joblogic.
2. Setting up the subcontractor in the contractor’s Joblogic account
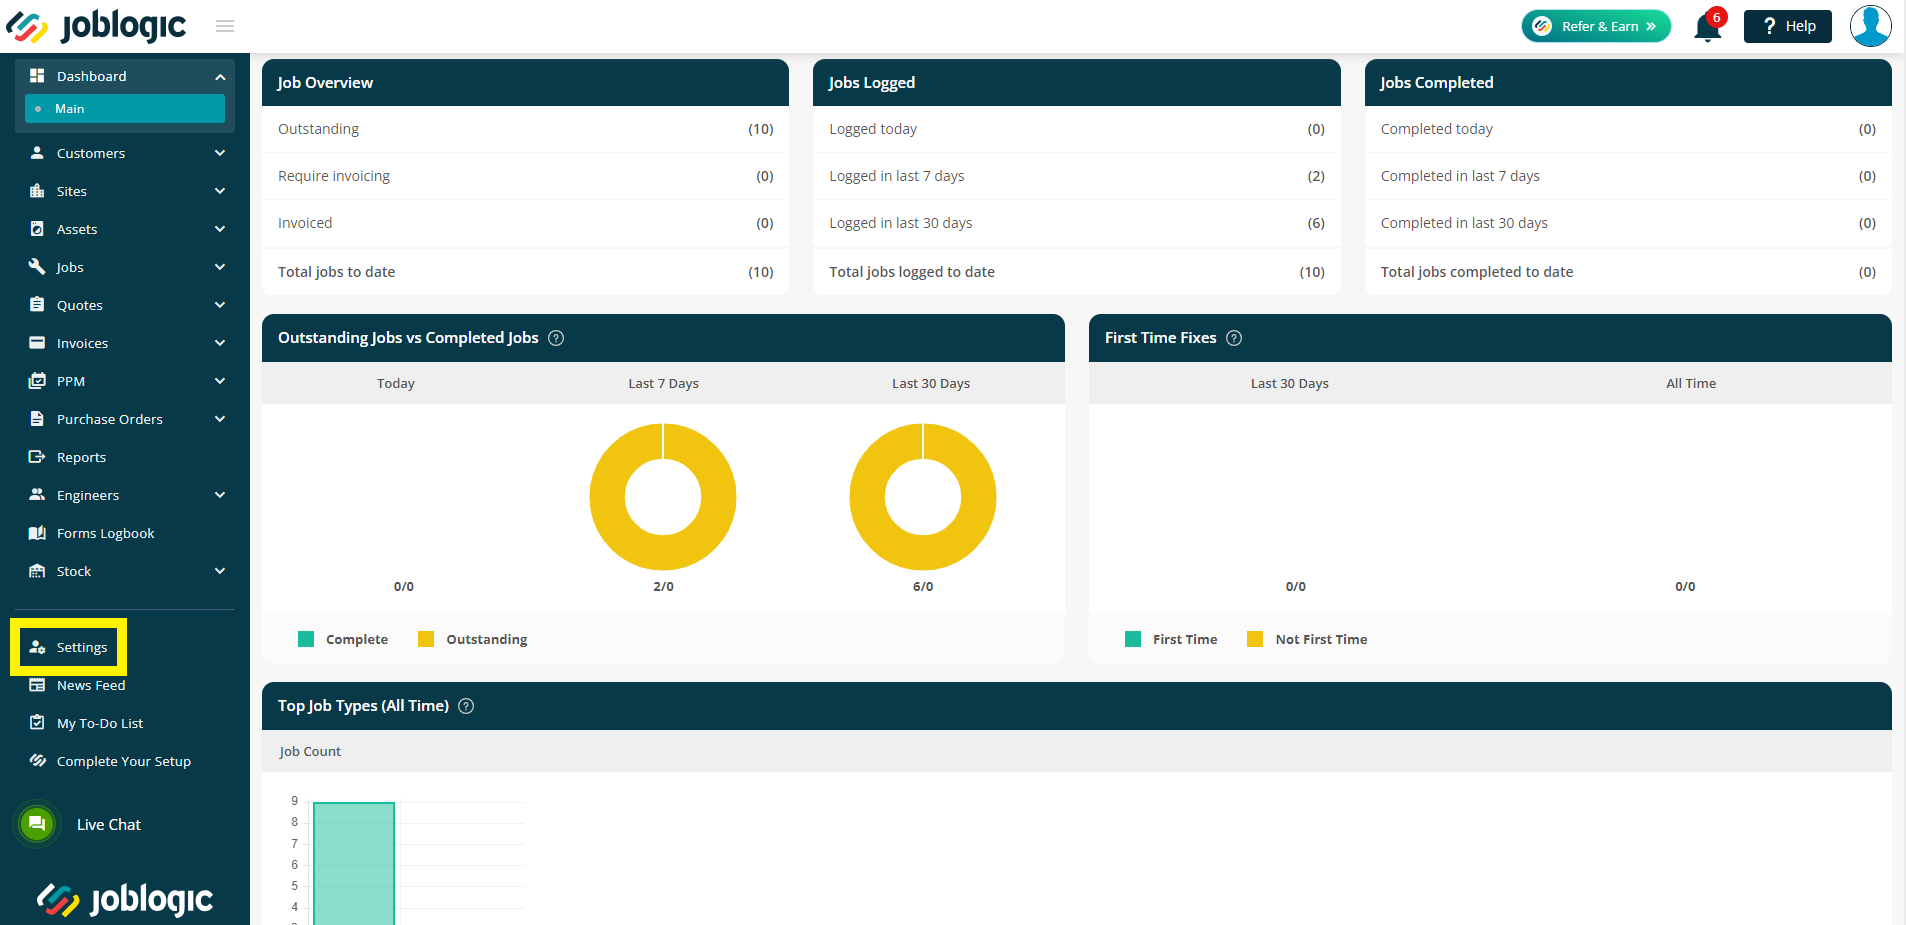
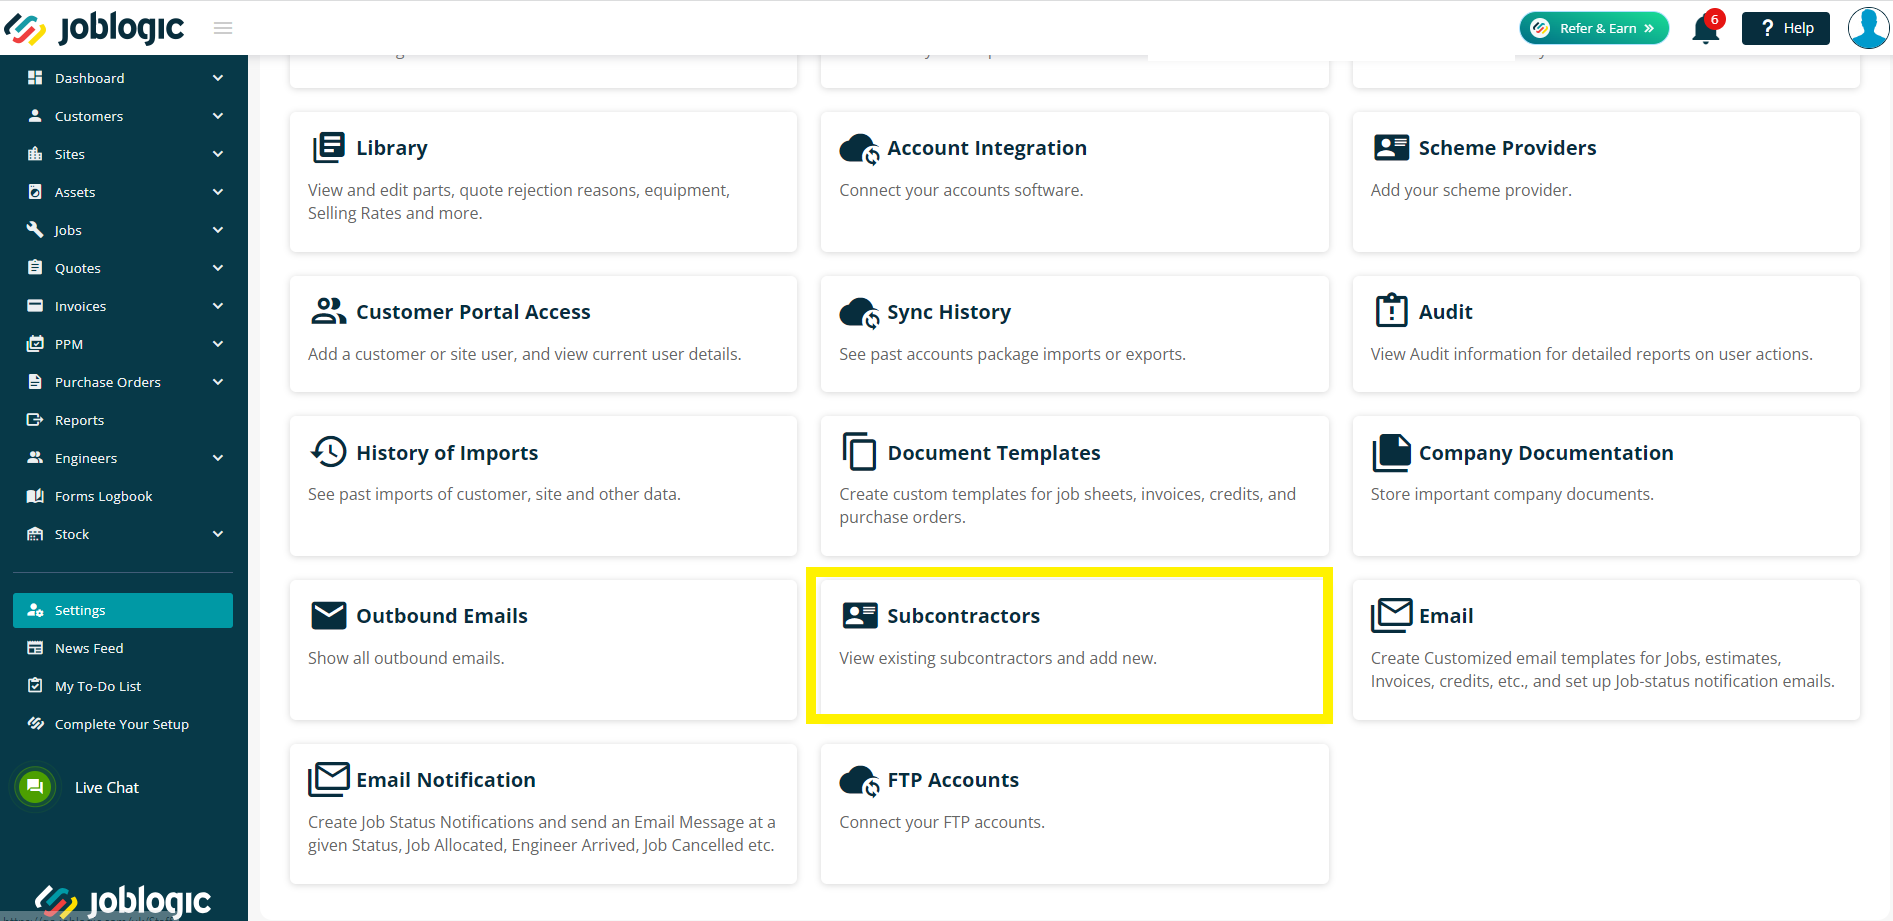
Once both the contractor and subcontractor Joblogic accounts have been established, the subcontractor needs be created within the contractor’s Joblogic account. This can be achieved by navigating to the settings area and selecting the subcontractor option.
Select the ‘Add Subcontractor’ option towards the top right corner of the page.

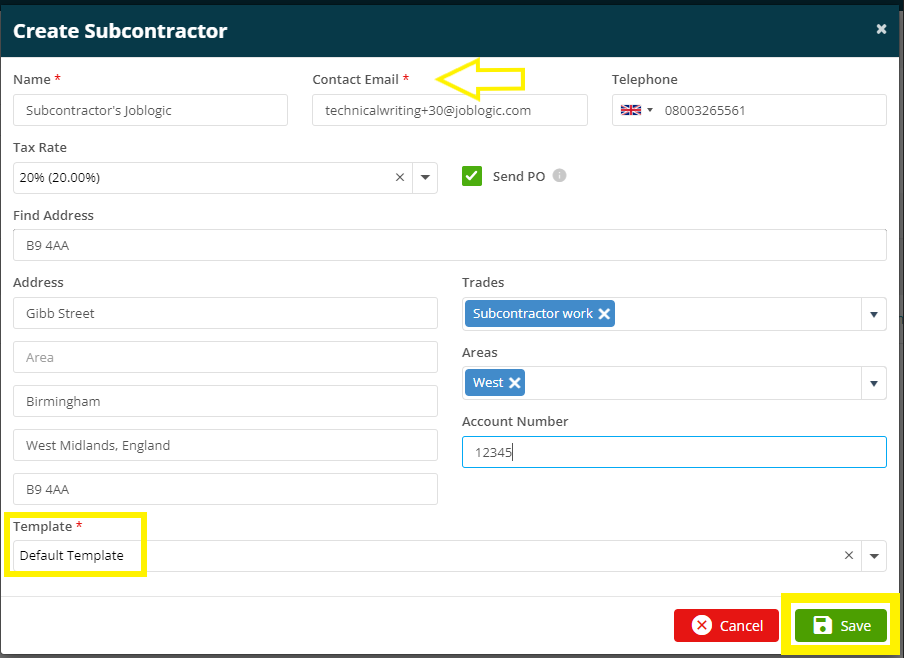
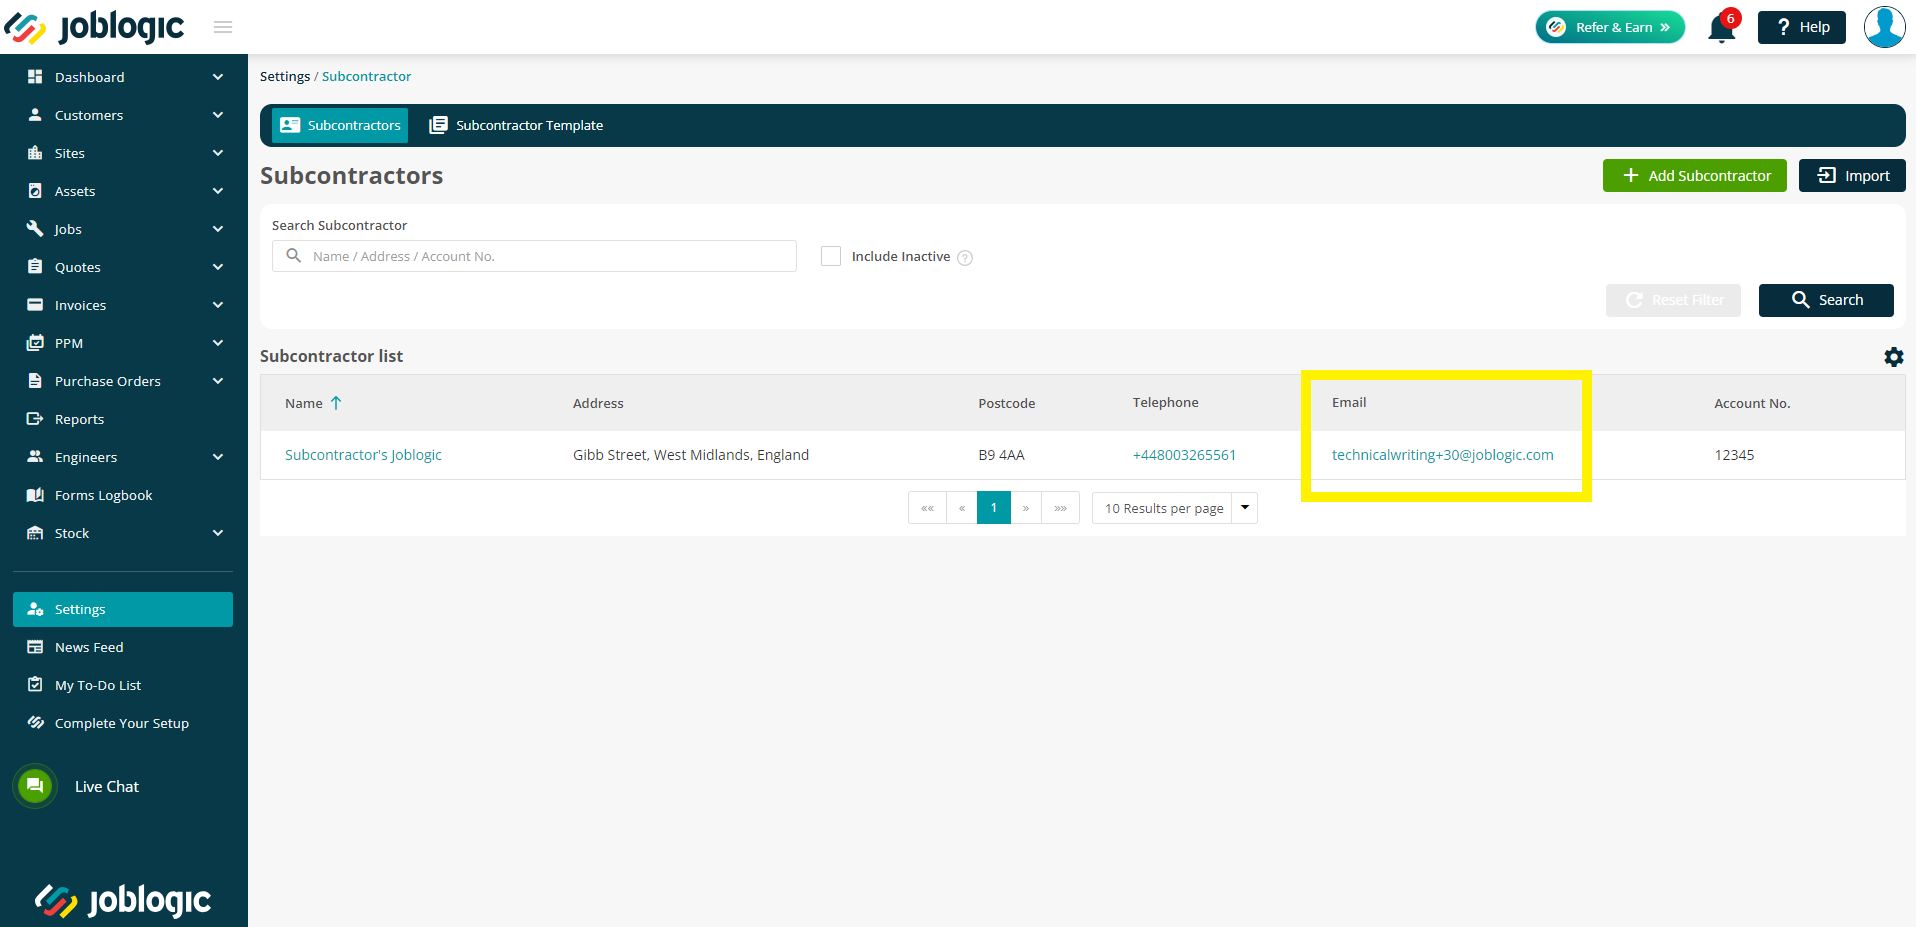
Fill in the details of the subcontractor, select the subcontractor template required for them and select ‘Save’. The contact email needs to be the email address of the primary user for the subcontractor’s Joblogic account.
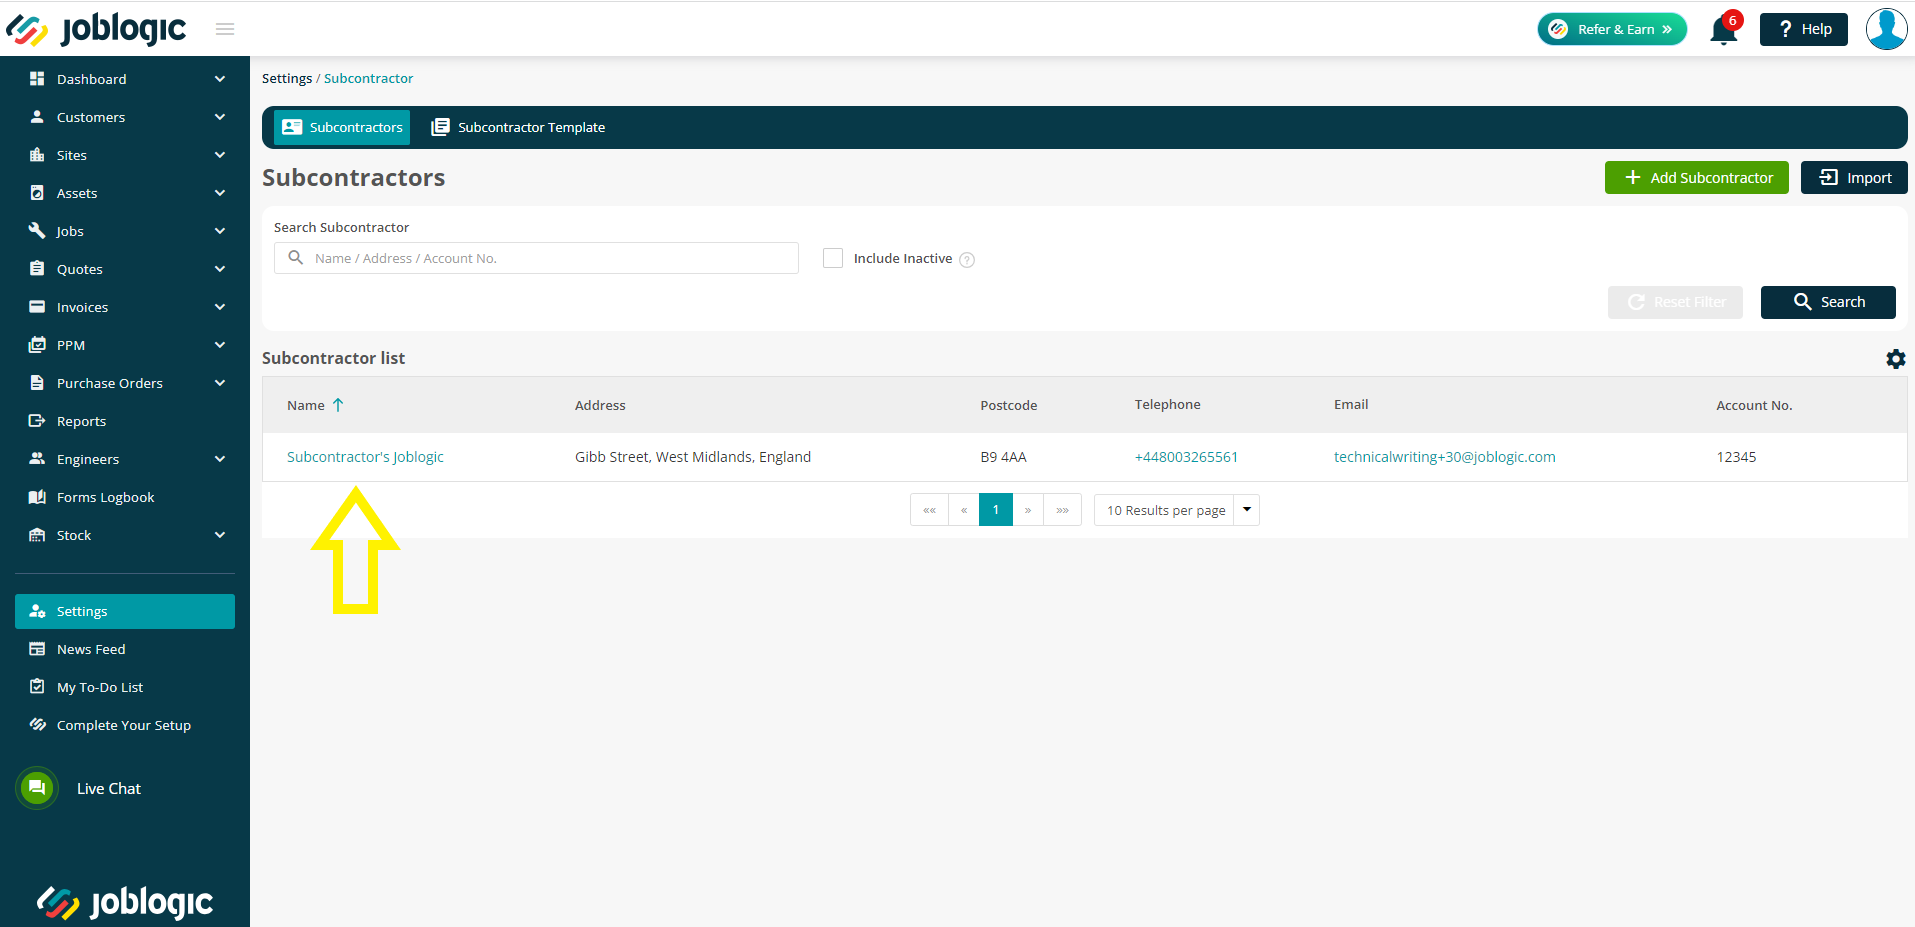
The subcontractor will then generate as per the details submitted within the subcontractor list.
3. Subcontractor Joblogic account settings
Once the subcontractor has been set up in the contractor’s account, there are some details which must also be set in the subcontractor's Joblogic account.
The below details what needs to be set up in the subcontractor’s account. As the contractor, you’ll need to contact the subcontractor and either talk them through or send them the remaining instructions within this section.
A job type for the jobs passed from the contractor needs to be set up in the subcontractor’s Joblogic account. This is used to categorise the jobs sent to the subcontractor with a label of their choosing.
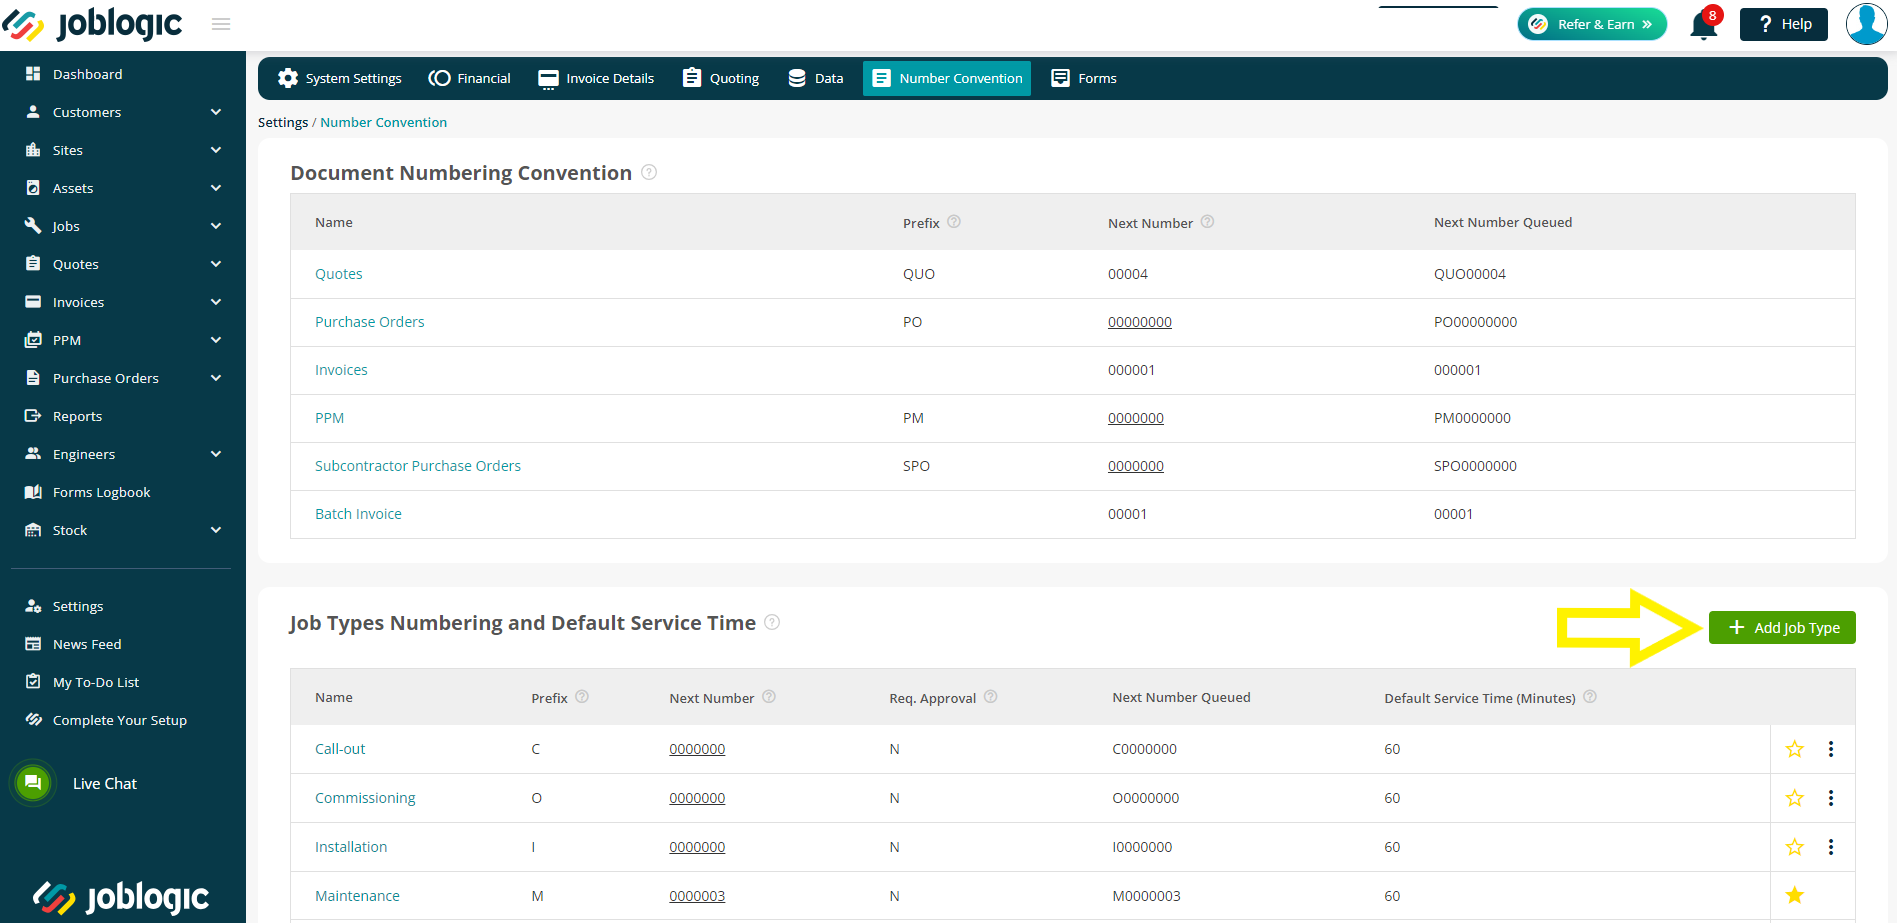
The job type can be set up within the subcontractor’s Joblogic account by selecting the green ‘Add Job Type’ option under Settings > System Set up > Number Convention.
Fill in the details for the job type and select ‘Save’. The description could be set as ‘subcontractor jobs’, for example or something more specific such as ‘jobs for “the name of the contractor who you subcontract for”’. The prefix should be set as a code that fits in within the subcontractor’s numbering system. For example, ‘SP’ for ‘Subcontractor Portal’ jobs.
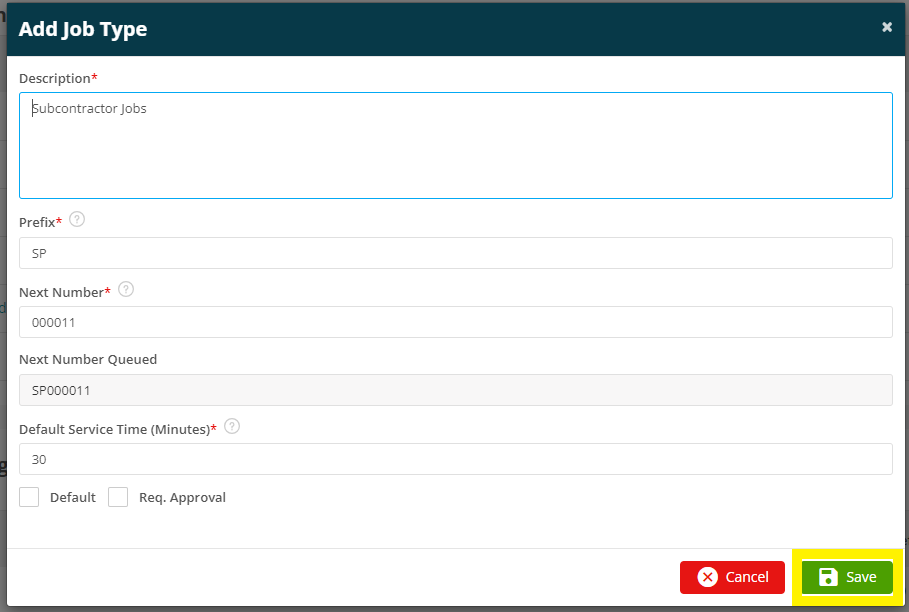
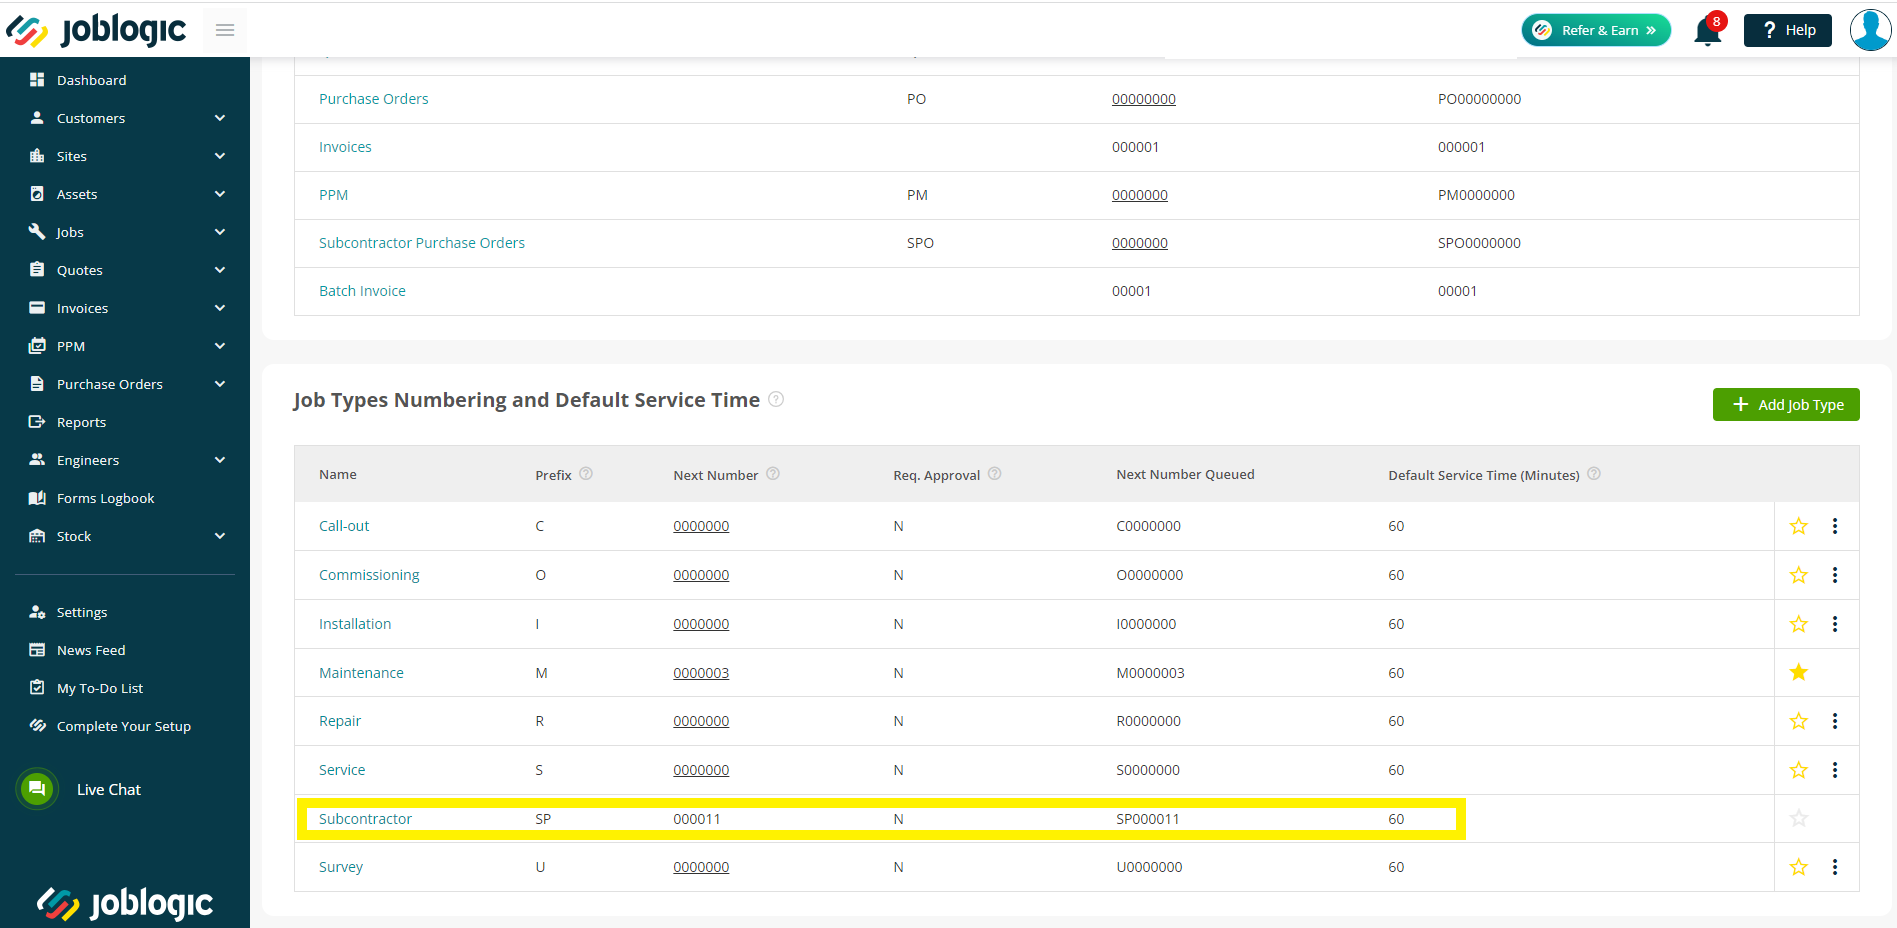
The job type will then be created after saving.
For more information on adding job types and number conventions within Joblogic, see here.
4. Provide details to Joblogic
Once the above details have been set up in the two Joblogic accounts you’ll need to contact Joblogic and provide those details. Our support team will then create the subcontractor portal link between the two accounts for you and notify you once completed.
Our support team can be contacted via 0800 326 5561 or support@joblogic.com. Alternatively, contact your customer success manger directly and they will be able to assist in sending the details to our support team. Our customer success management team can be reached by emailing accountmanager@joblogic.com if you do not have a direct contact.
The details which must be in place and provided in order for our support team to link the accounts are:
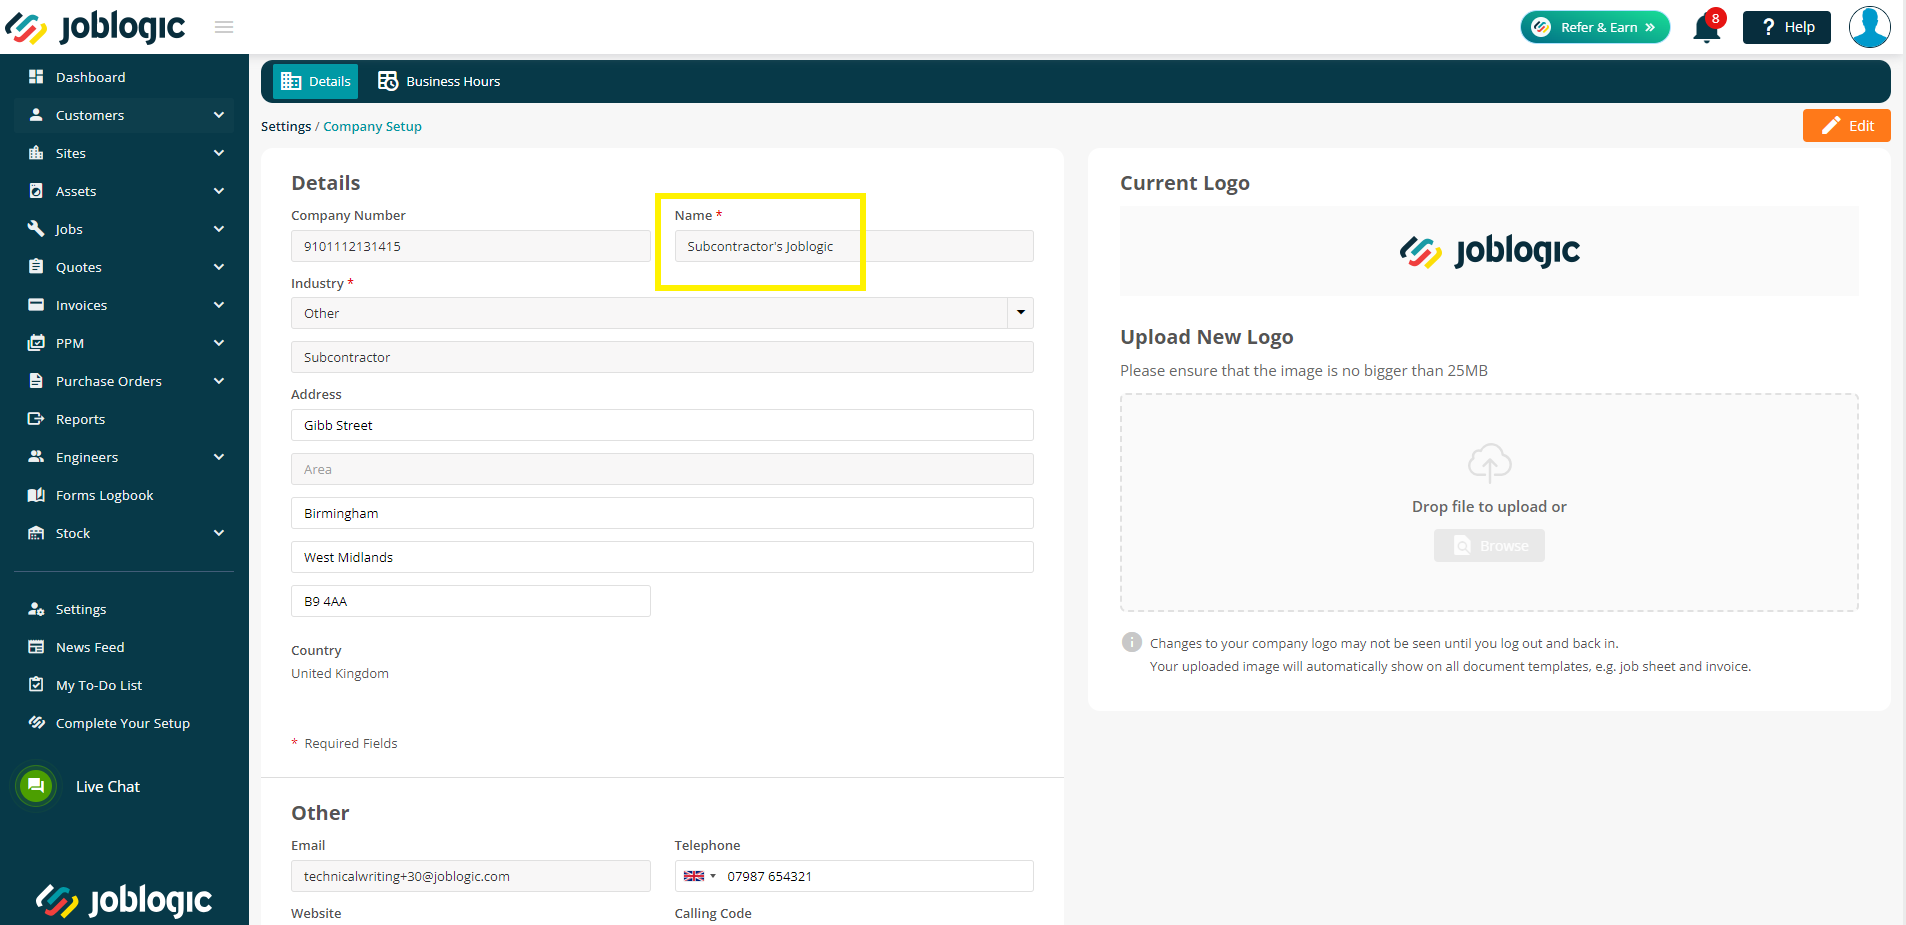
- The Contractor’s Joblogic account name. This is the name found under Settings > Company Set up > Details in the contractor's Joblogic account.
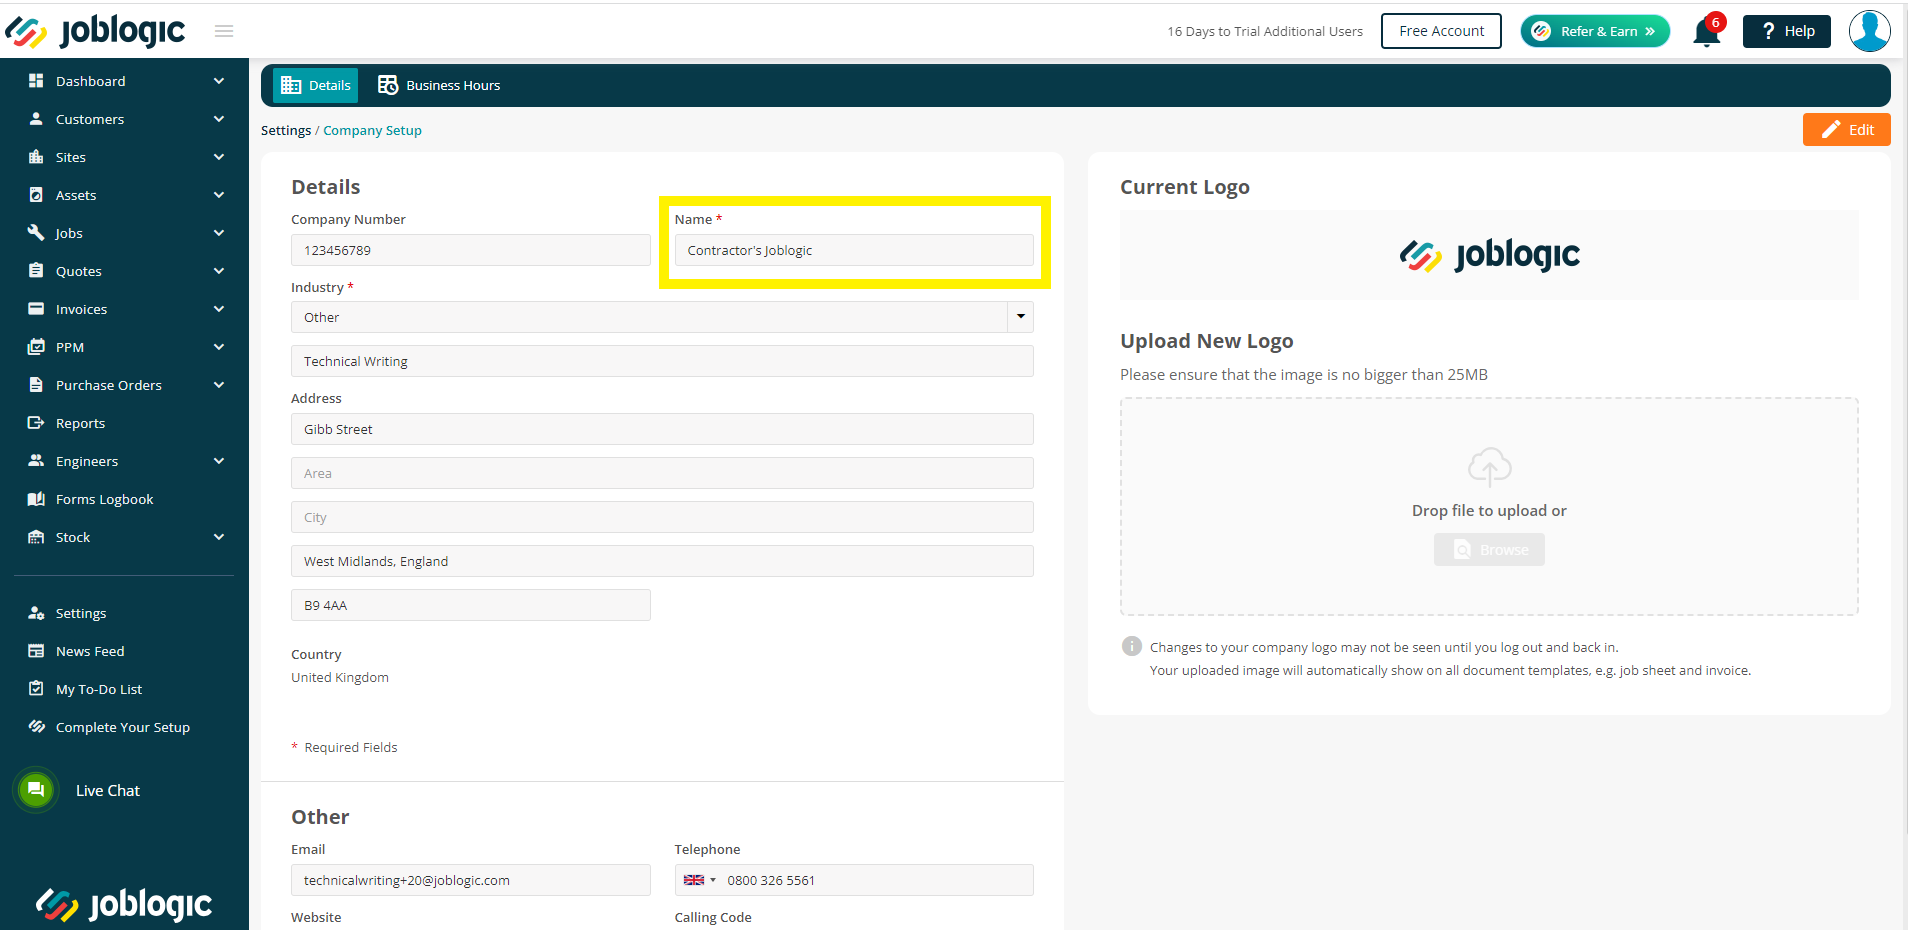
- The Subcontractor's Joblogic account name. The name found under Settings > Company Set up > Details in the subcontractor’s Joblogic account.
- Job type description. This is the subcontractor job type description set up in the subcontractor's Joblogic account

- Job Type Prefix. The prefix of the job type set up in the subcontractor's Joblogic account.

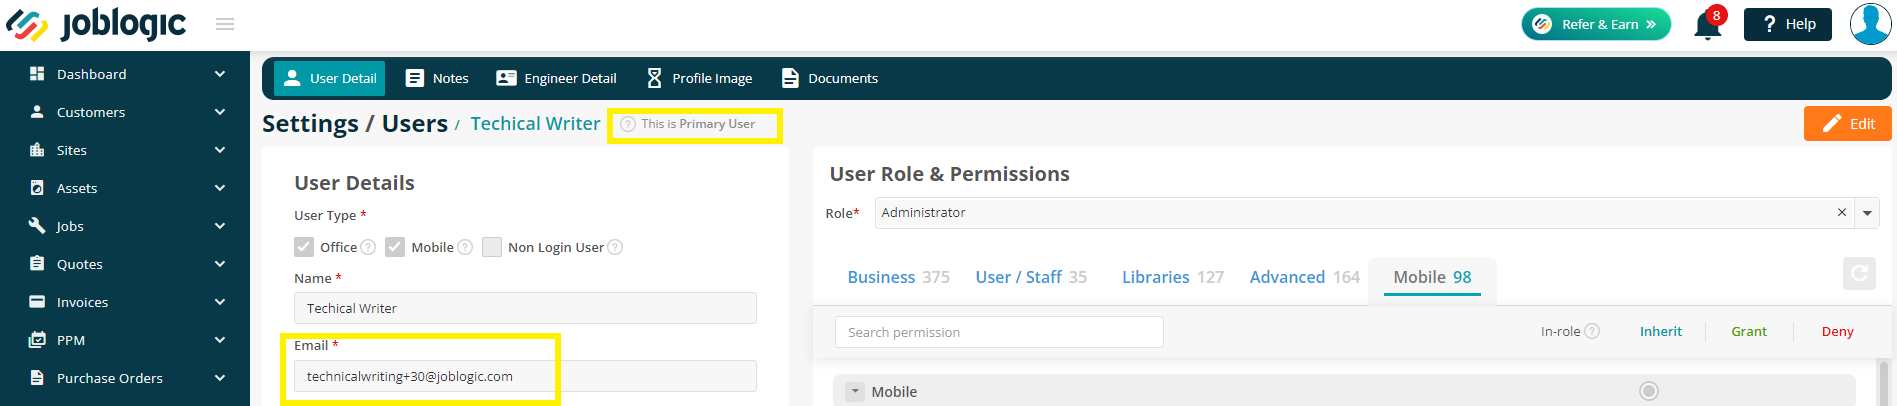
- Email address. The email address of the subcontractor set up in the contractor’s Joblogic account’s subcontractor area. This needs to be the primary user’s email address for the subcontractor’s Joblogic account.
Further Support
For further information or assistance with the above, contact our Support Team on 0800 326 5561 or email support@joblogic.com. Alternatively, our Customer Success Management team can be reached by emailing customersuccess@joblogic.com
Publishing Details
This document was written and produced by Joblogic’s Technical Writing team and was last updated on the date specified above. Be aware that the information provided may be subject to change following further updates on the matter becoming available or new releases within the system. Additionally, details within the guide may vary depending on your Joblogic account’s user permissions and settings or the electronic device being used.