Introduction
Joblogic enables users to group a batch of outstanding job costs for a customer and merge these into a singular customer grouped invoice.
This user guide details how this can be actioned within Joblogic’s back office system.
Grouping Outstanding Job Costs
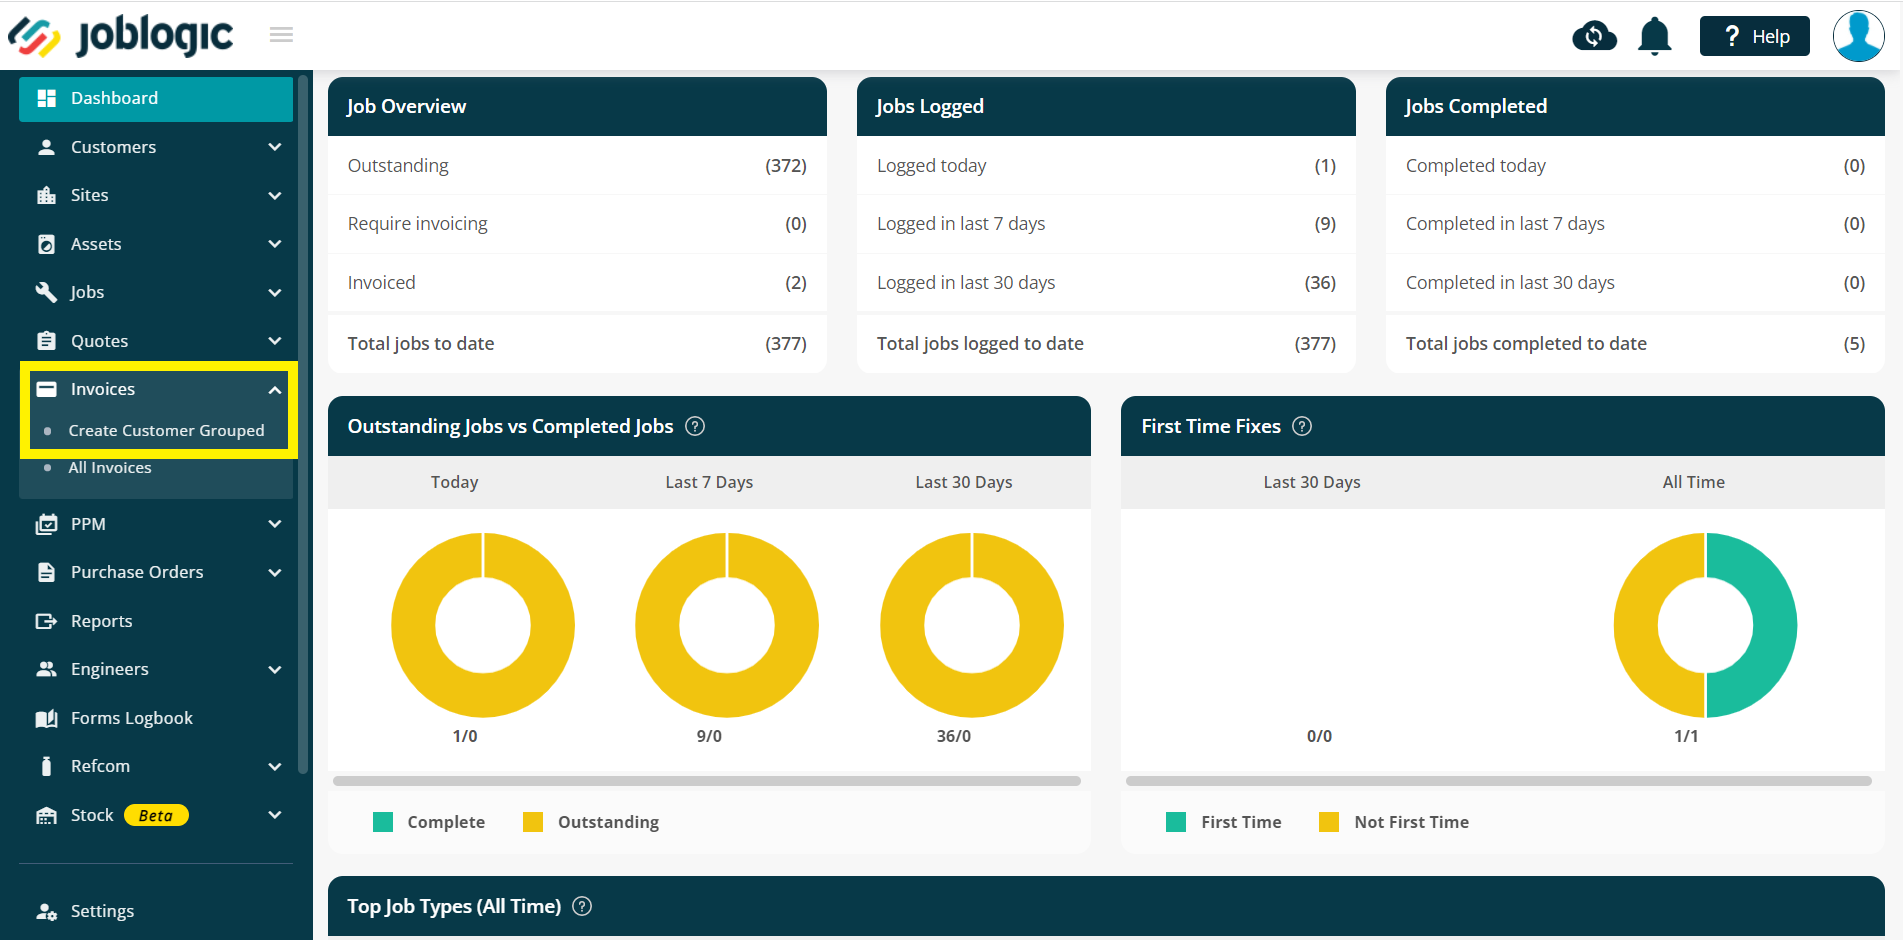
In order to create a customer grouped invoice for your outstanding job costs, navigate to the create customer grouped invoice area via ‘Invoices’ > ‘Create Customer Grouped’.
Within the ‘Create Customer Grouped Invoice’ page, you should default to the Job tab, however check this and click if required.
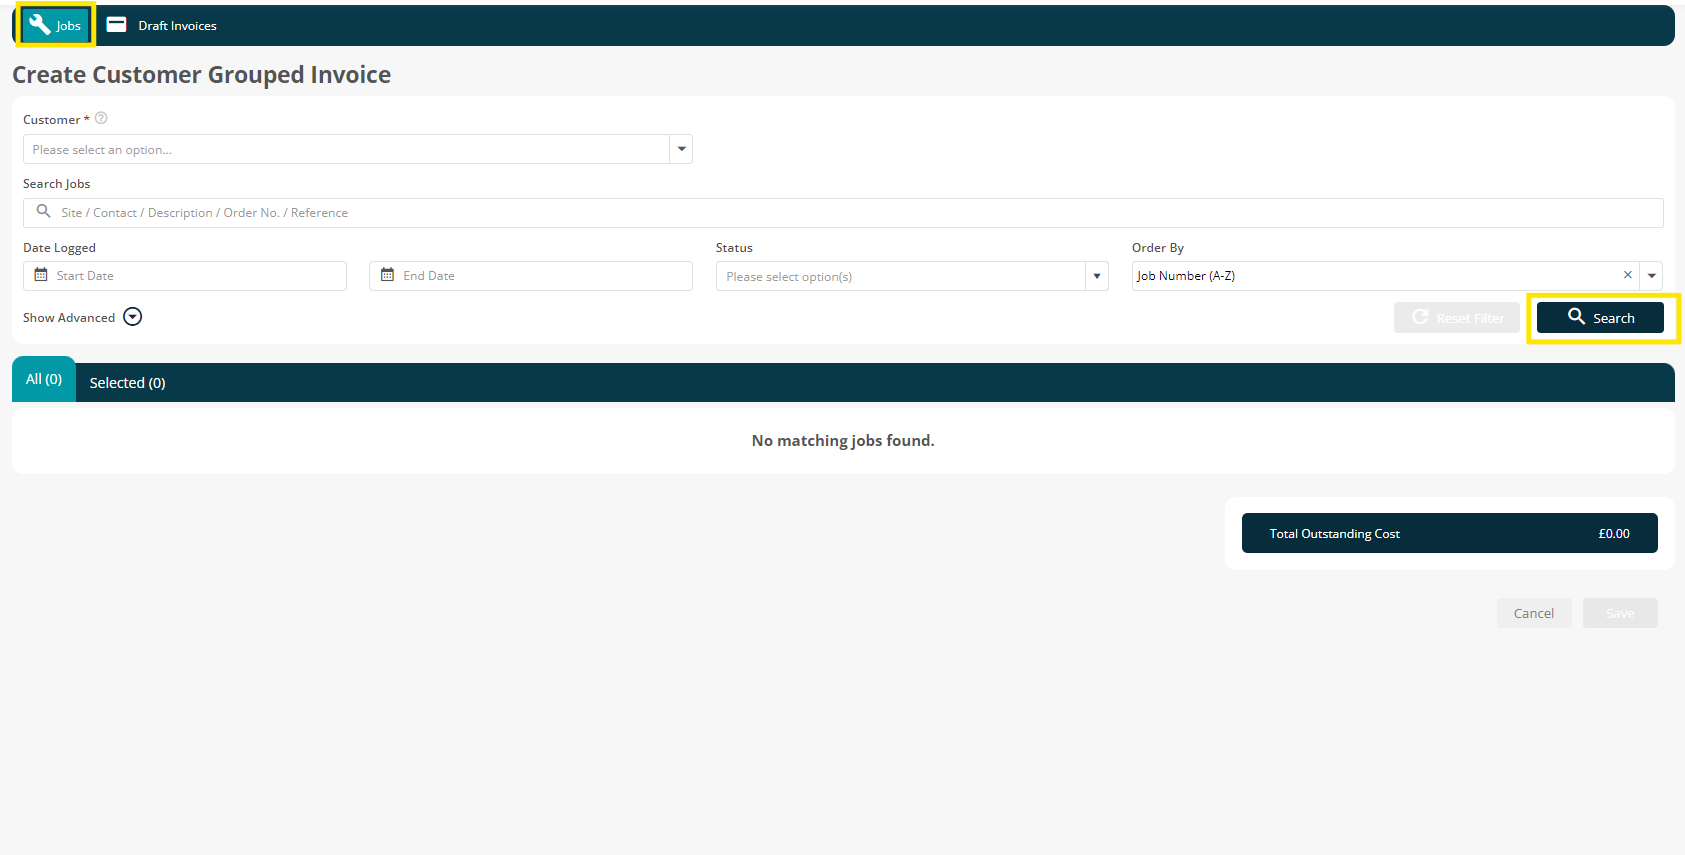
Select the customer that the grouped invoice will be for from the ‘Customer’ dropdown box and click search.
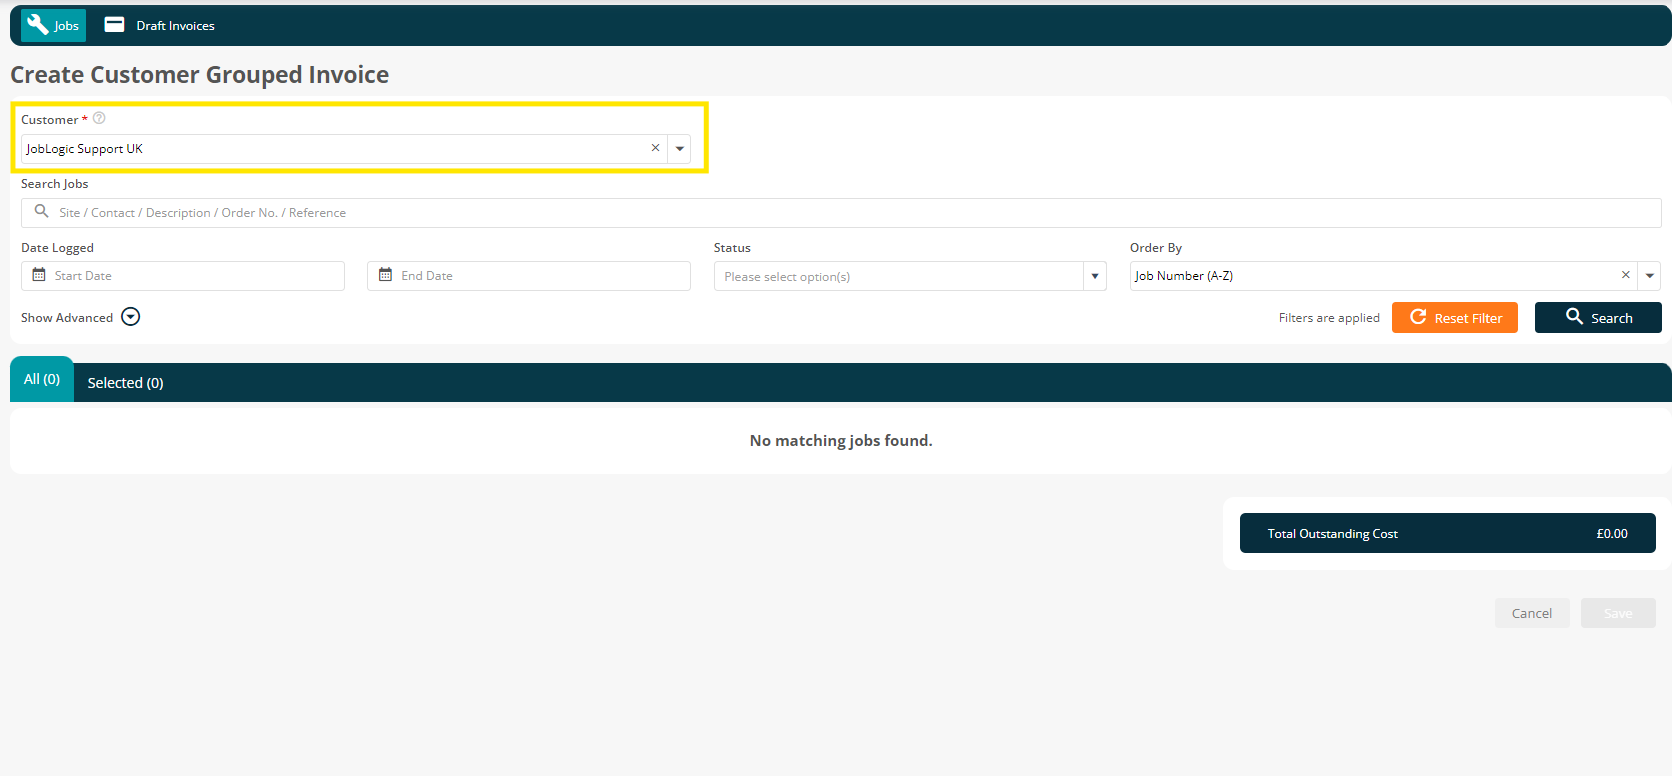
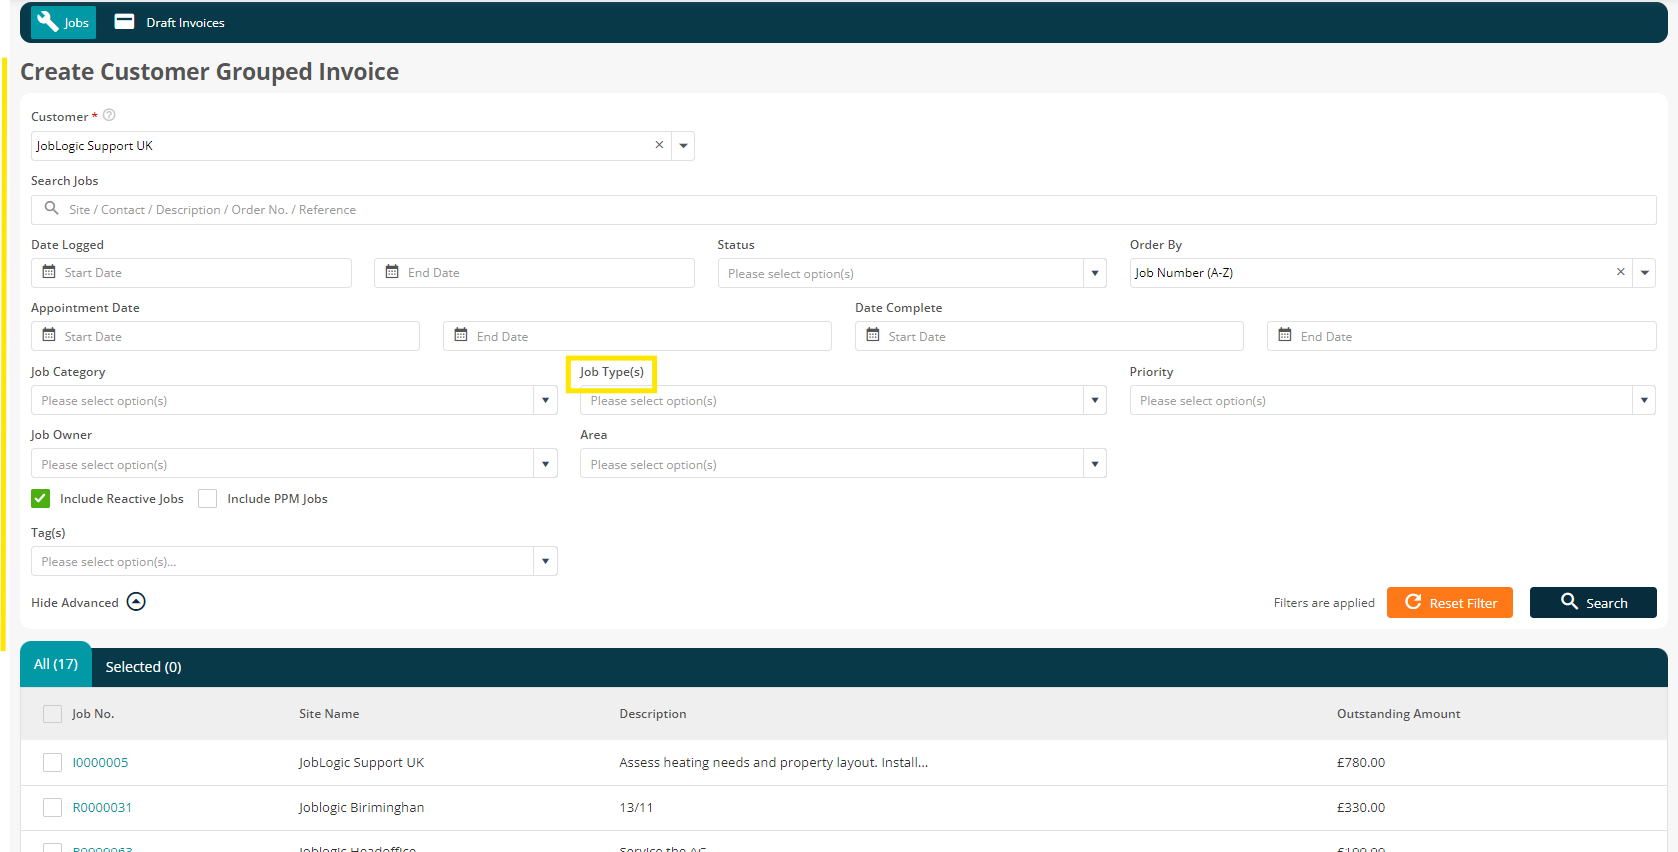
All outstanding costs for the customer will be presented but the search tools can be used to filter and search for specific job costs which are to be grouped.
Click Show Advanced to view more filter options.
Select the outstanding costs that are required to be grouped by ticking the applicable boxes. The accumulated amount for the job costs selected will be displayed within the ‘Total Amount Cost’ area in the bottom right of the page.
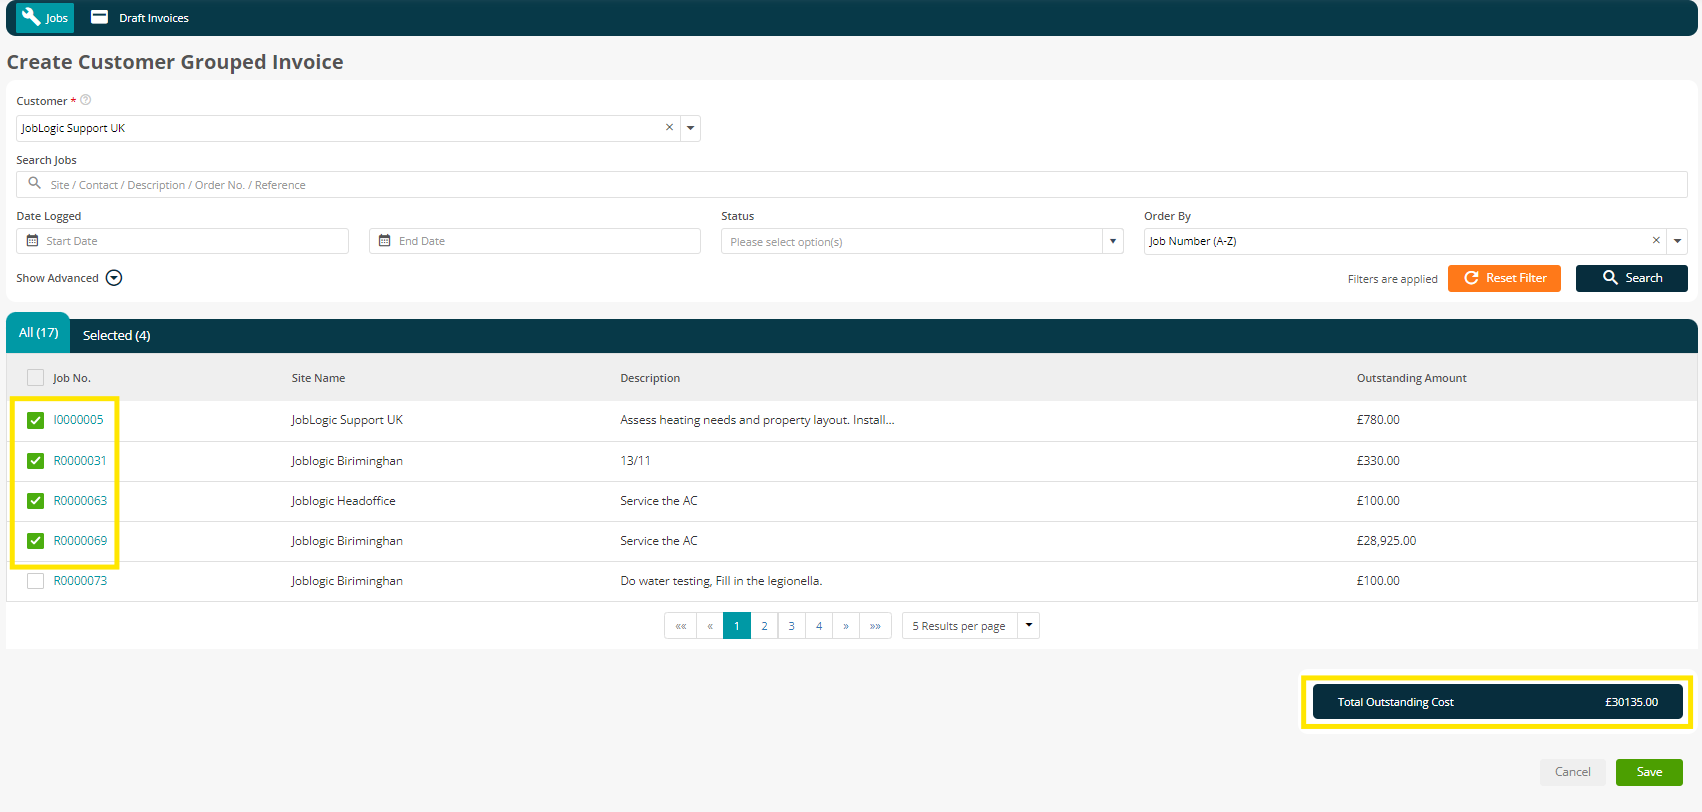
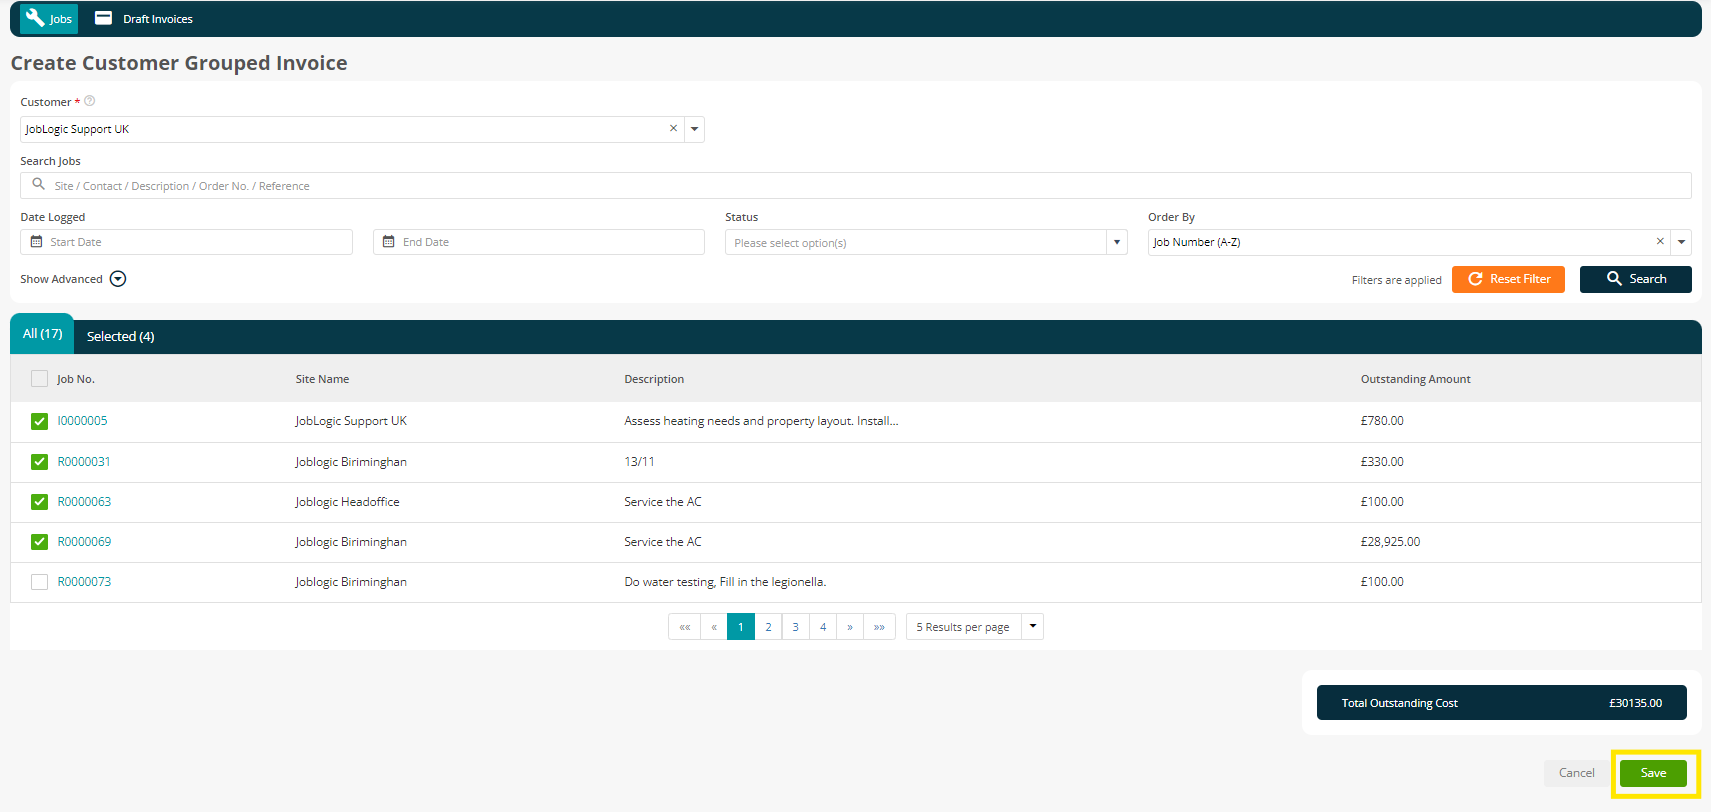
Once you have selected the required costs, click the ‘Save’ button.
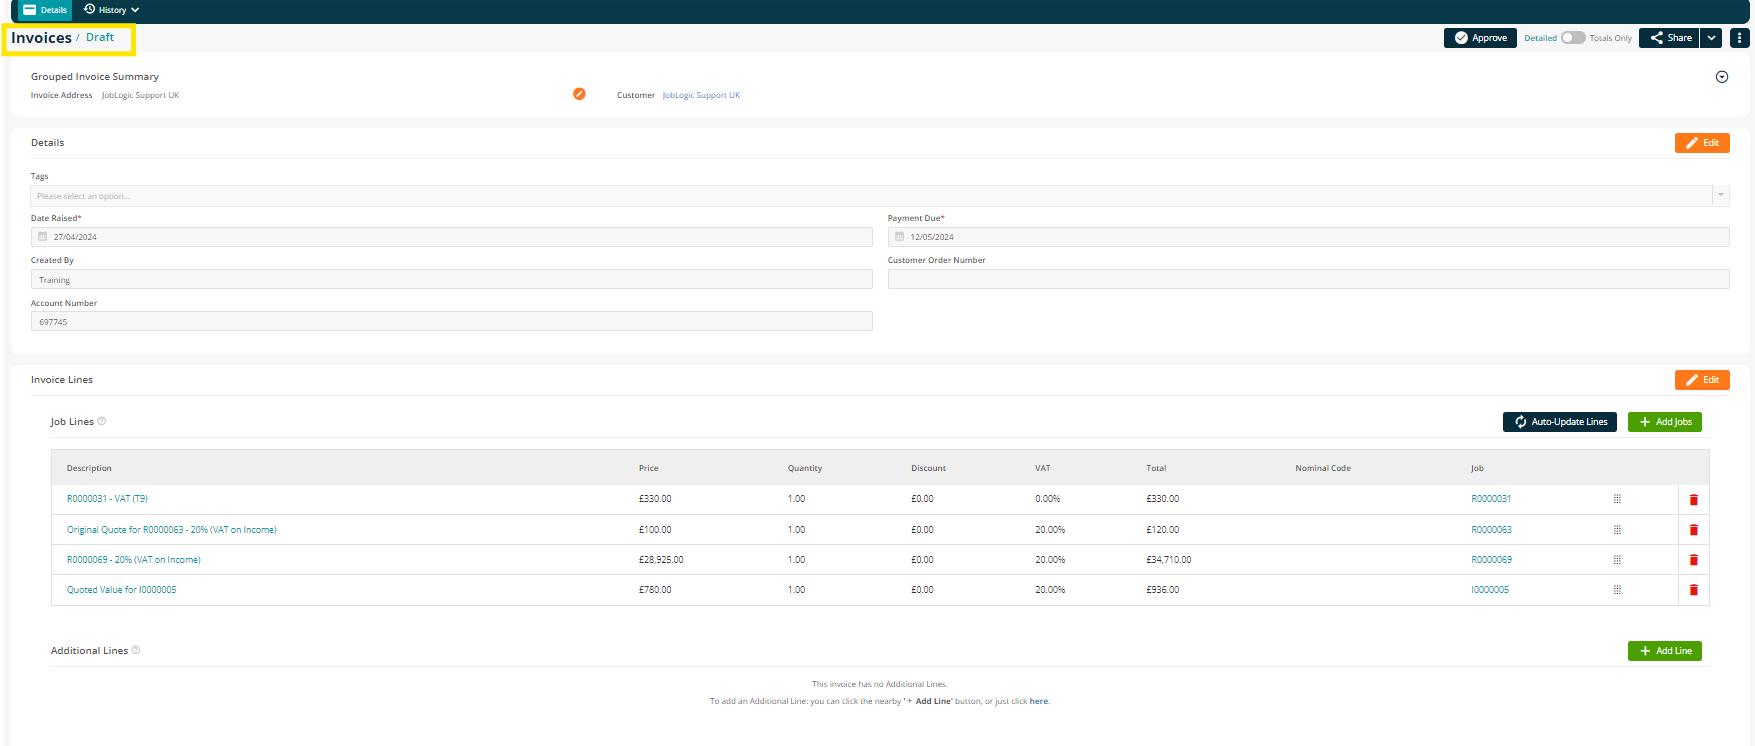
A draft invoice will be generated for all the costs.
Please note these costs will no longer be available for individual invoices.
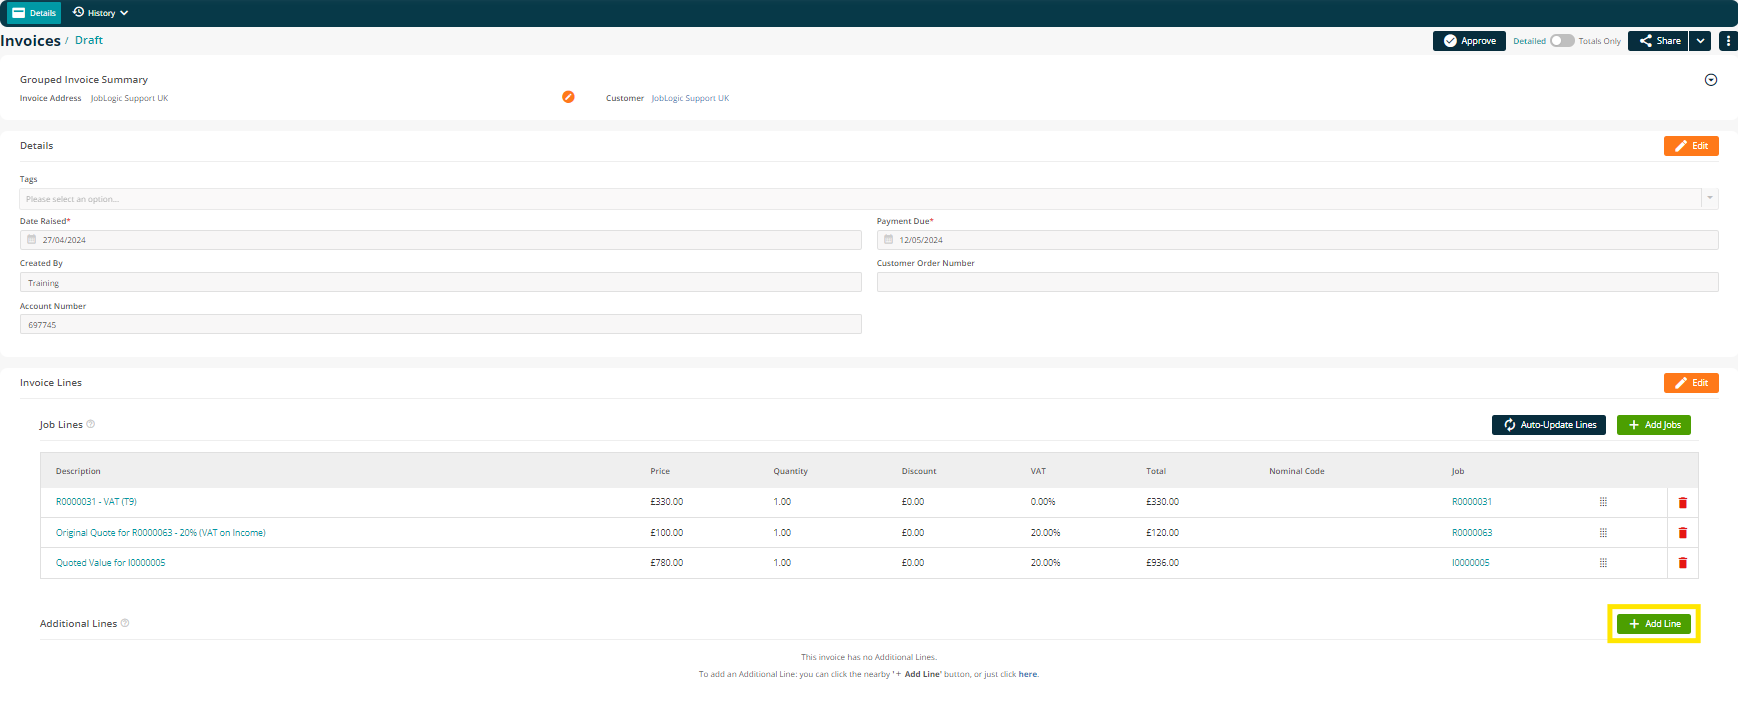
Each individual jobs costs will be allocated as a line, including the quotes value where applicable within the draft customer grouped invoice.
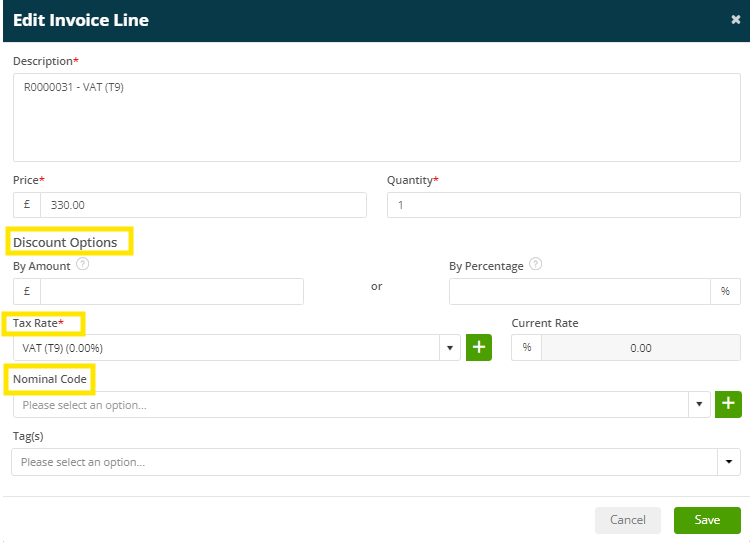
Whilst still in draft, the details of the invoice lines can be amended by selecting the ‘Description’ of the line and filing in the details as required.
A discount amount/percentage can also be assigned here, which will affect the overall cost
Further lines can be added manually to the grouped invoice by selecting the ‘+ Add Line’ button.

Fill in the details here as needed and then click Save
Additional job costs yet to have been invoiced can also be added to the grouped invoice via the ‘Auto Update Lines’ and ‘+ Add Jobs’ options.
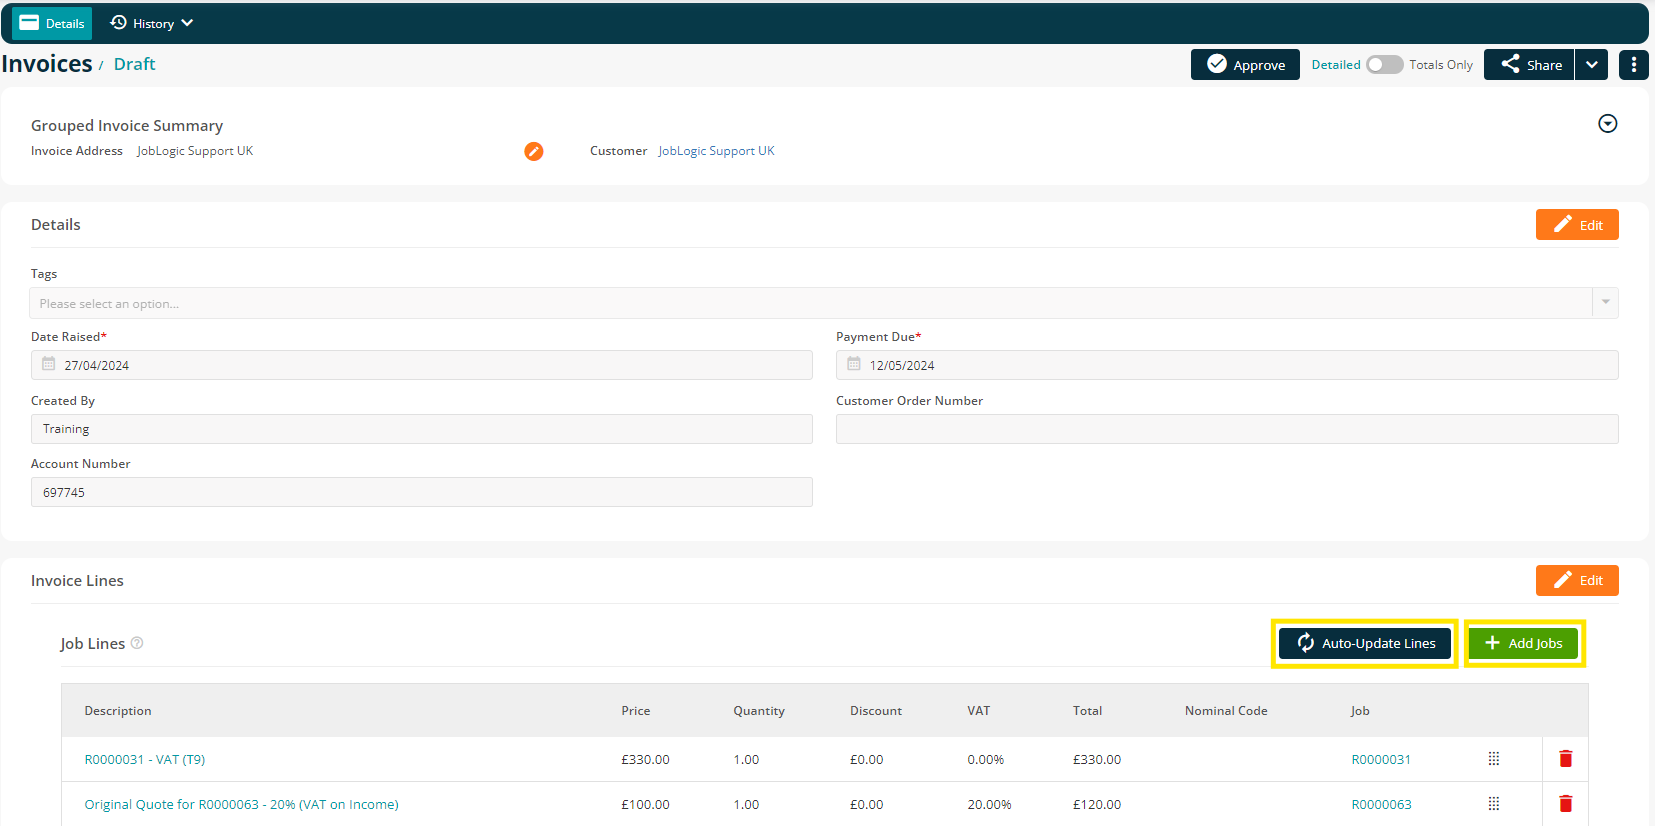
Adding further job costs (Auto Updates Lines):
A pop-up will appear to inform you that auto-updating will regenerate all invoice lines to show any changes made to the original Job/Quote lines. This overwrites all the manual changes. Outstanding new lines will also be invoiced.

Once you click ‘Confirm’ the system will make the changes and update the draft invoice.
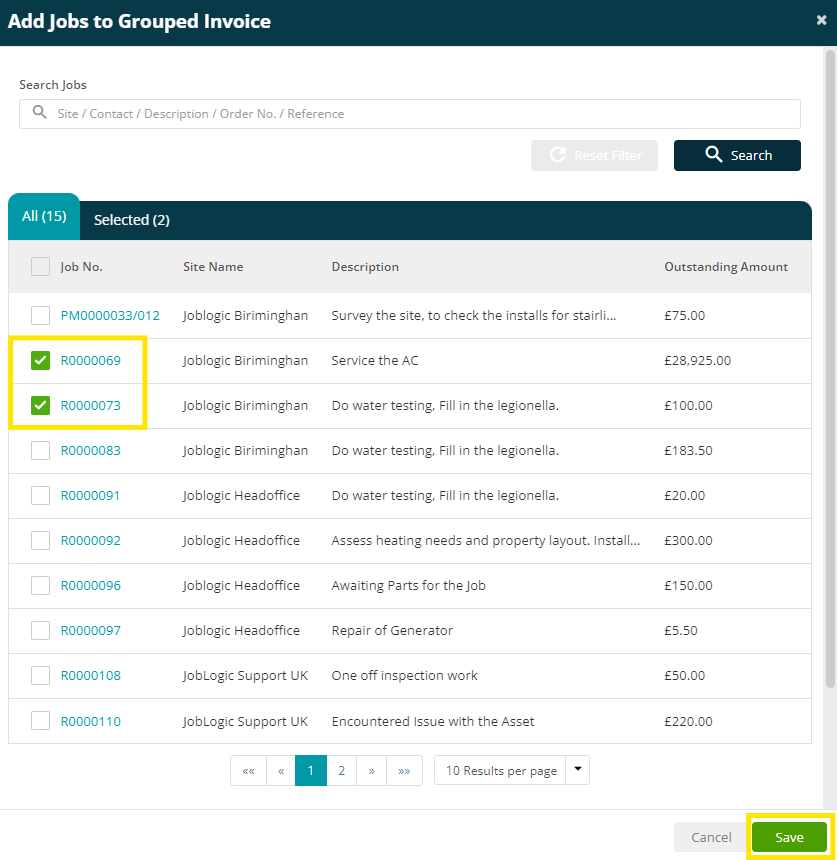
Adding further job costs (Add Jobs):
Once Add Jobs is clicked, a pop up window will appear allowing you to select the the jobs you wish to add to the draft invoice in progress.
Once the checkboxes are ticked for the relevant jobs, select the ‘Save’ button.
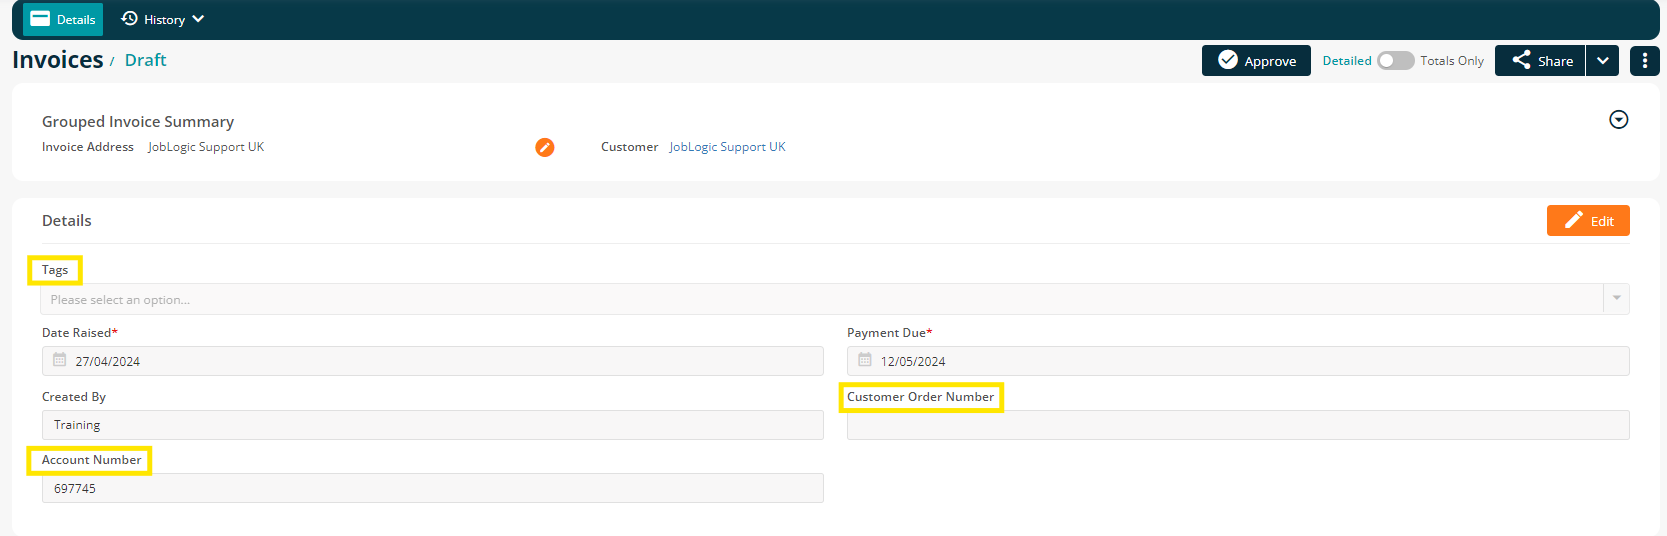
Any further details such as tags (customized system labels used for searching and reporting), an order number and account number can be added to the draft grouped invoice via the ‘Details’ area, selecting the ‘Edit’ icon, filling in the details and selecting ‘Save’.
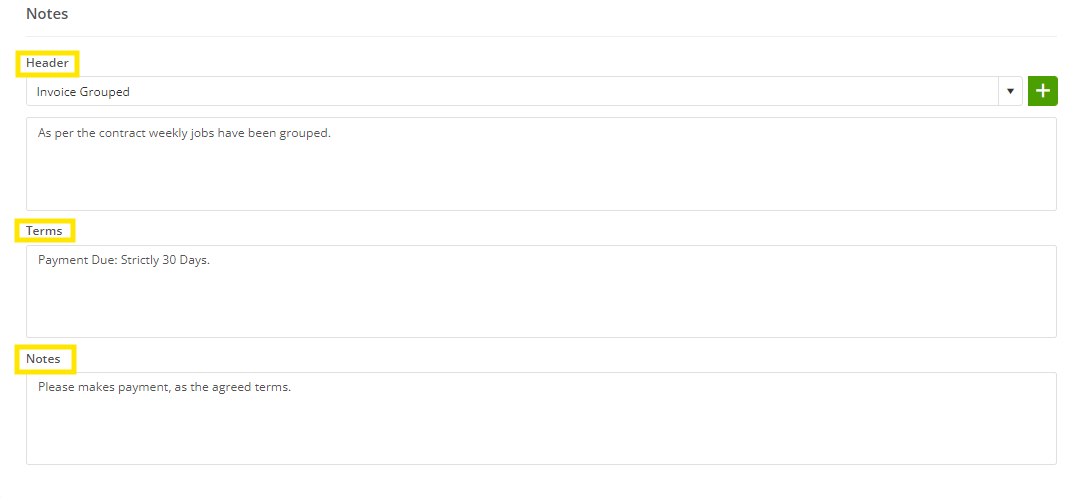
Any notes, a header and the invoice’s terms can be added to the draft grouped invoice via the ‘Notes’ area at the bottom of the page, again selecting the ‘Edit’ icon, filling in the details and selecting ‘Save’.
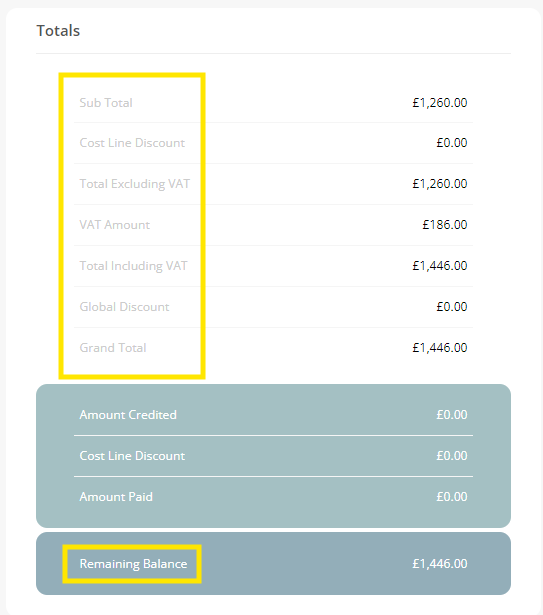
The ‘Totals’ area in the bottom right of the screen automatically populates as per the details entered, and presents the invoice’s accumulated total, breaking down the VAT, the remaining balance and the discounted amount, if applicable.
Once the required details have been assigned to the invoice and the lines have been satisfactorily entered, select the ‘Approve’ Button at the top of your page.
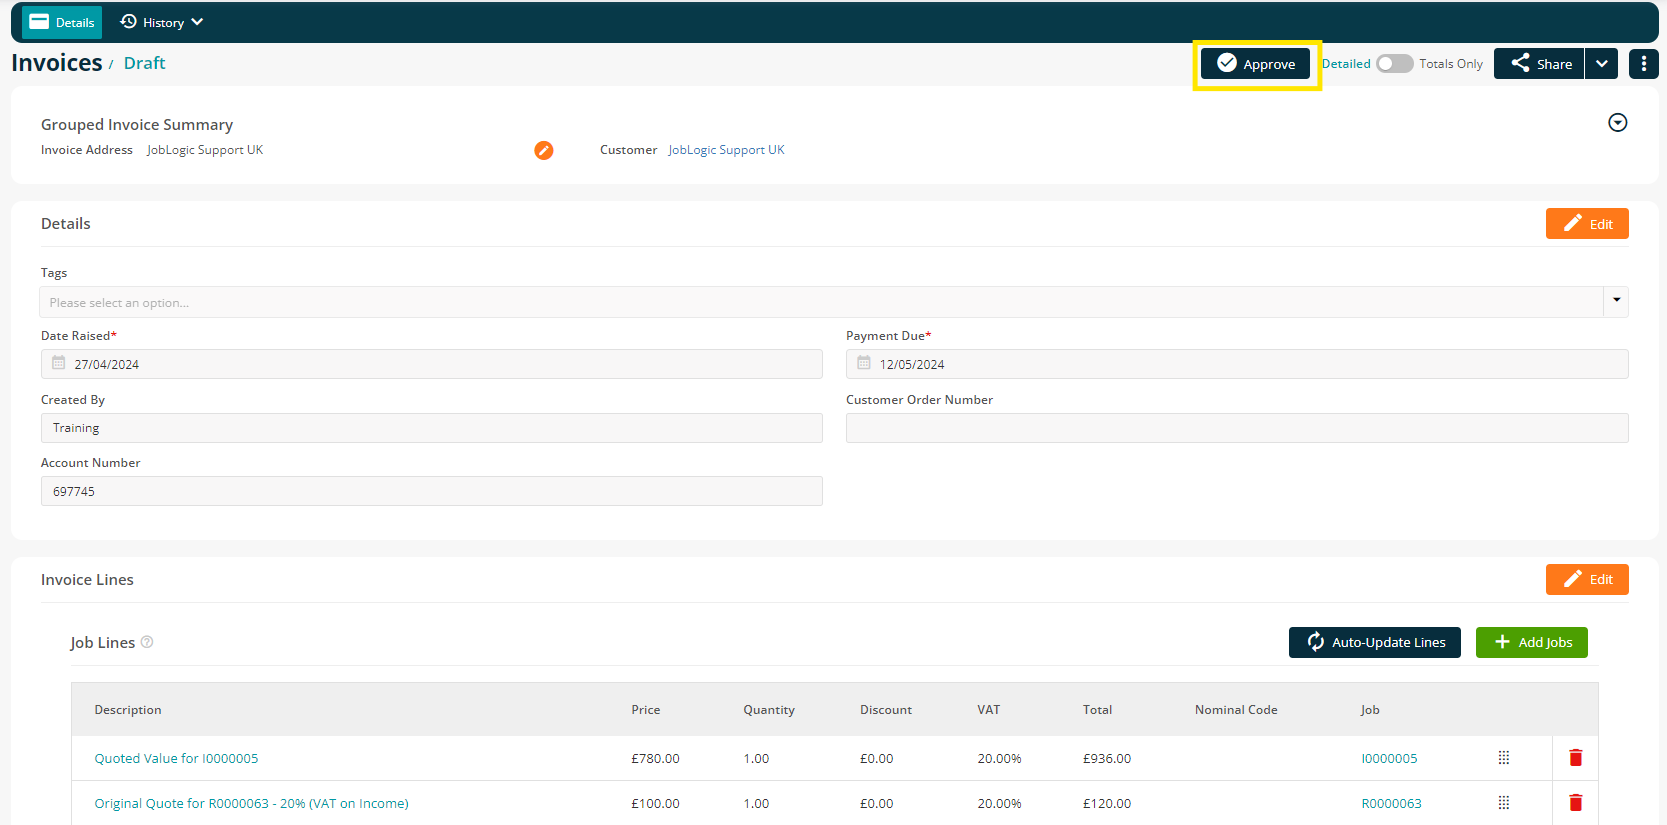
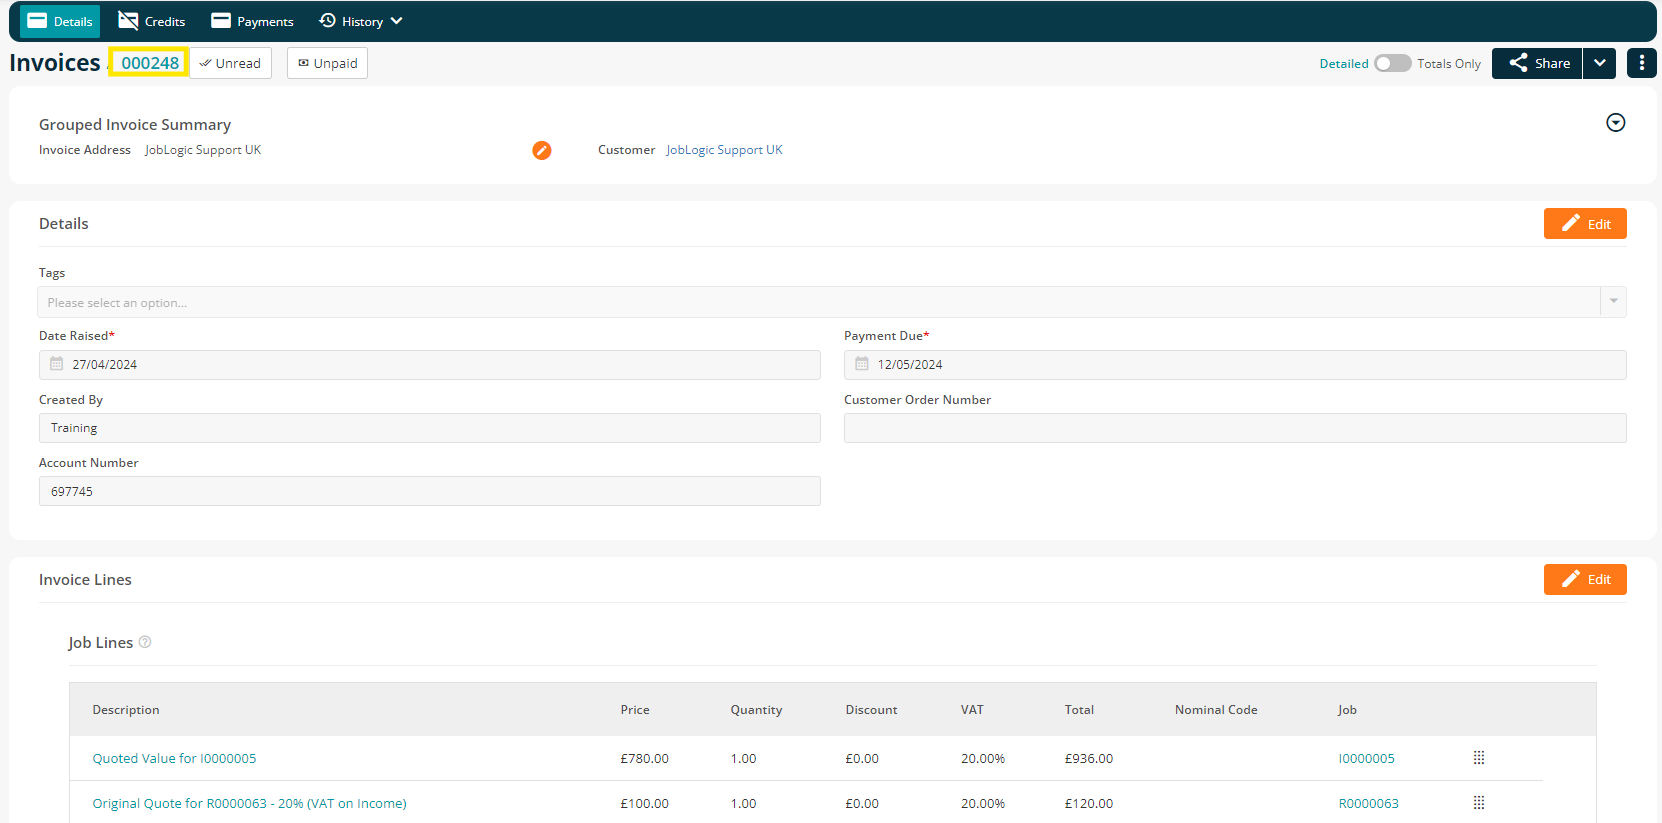
The customer grouped invoice will then generate as per the details, lines and amounts entered with a unique system generated invoice number.
Further Support
For further information or assistance with the above, contact our Support Team on 0800 326 5561 or email support@joblogic.com. Alternatively, our Customer Success Management team can be reached by emailing customersuccess@joblogic.com
Publishing Details
This document was written and produced by Joblogic’s Technical Writing team and was last updated on the date specified above. Be aware that the information provided may be subject to change following further updates on the matter becoming available or new releases within the system. Additionally, details within the guide may vary depending on your Joblogic account’s user permissions and settings or the electronic device being used.