Introduction
Dynamic Reports is a great way for you to export the data you’ve captured in your system into a .csv format. You can use reports to find insights into your business, such as number of jobs by type, percentage of jobs completed within your KPI/Priorities, or anything else you think you may want to report on or investigate. This is also where you will do any exports for your accounts packages that you may need.
This guide will show you how to view our standard reports and request new reports, how to schedule these reports to be ran automatically and sent out, and how to use report templates.
Dynamic Reports
Navigating to the Reports list
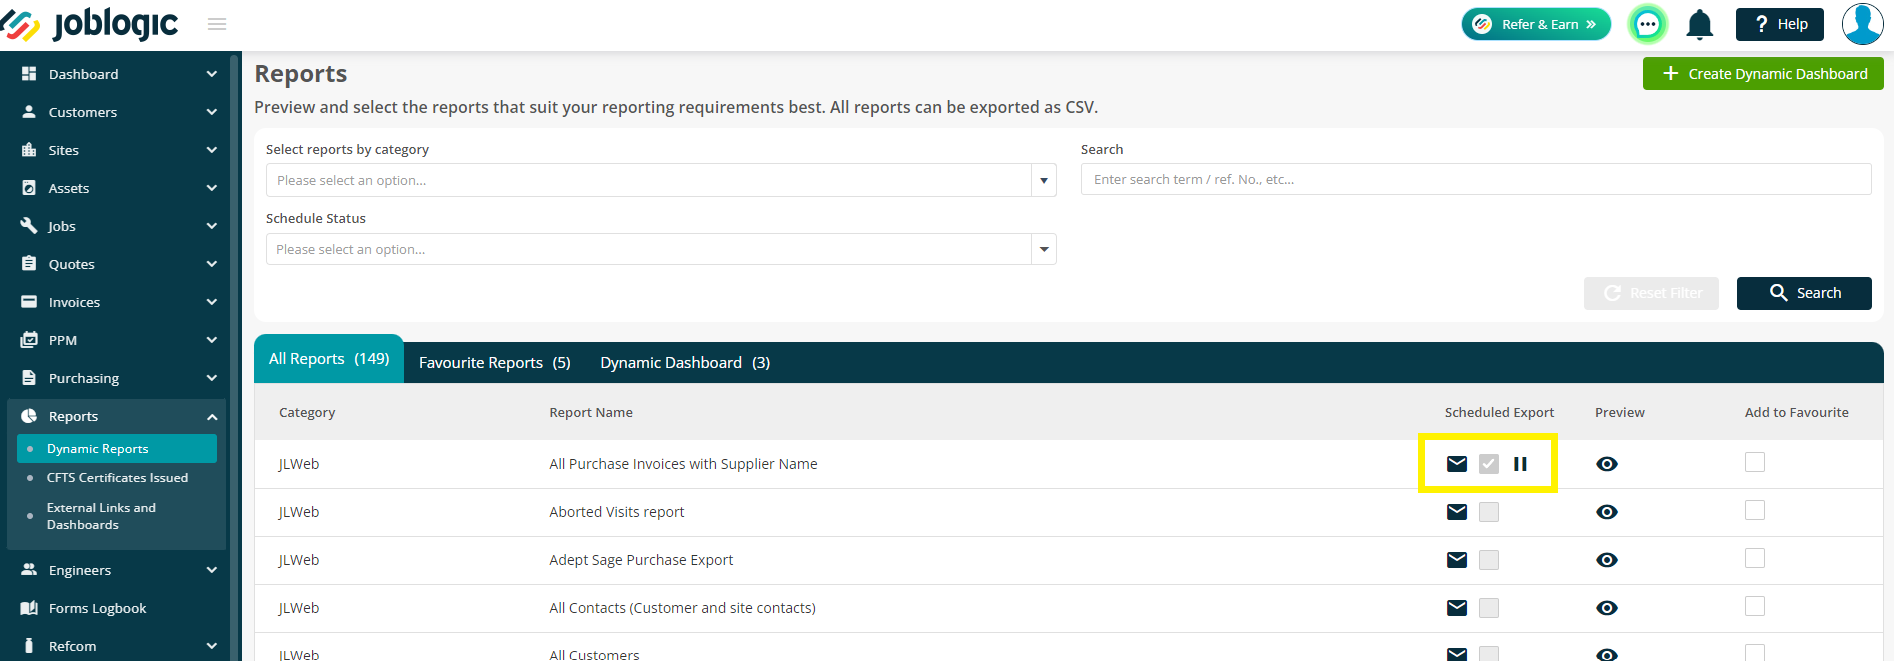
From the navigational menu on the left select Reports and then Dynamic Reports.
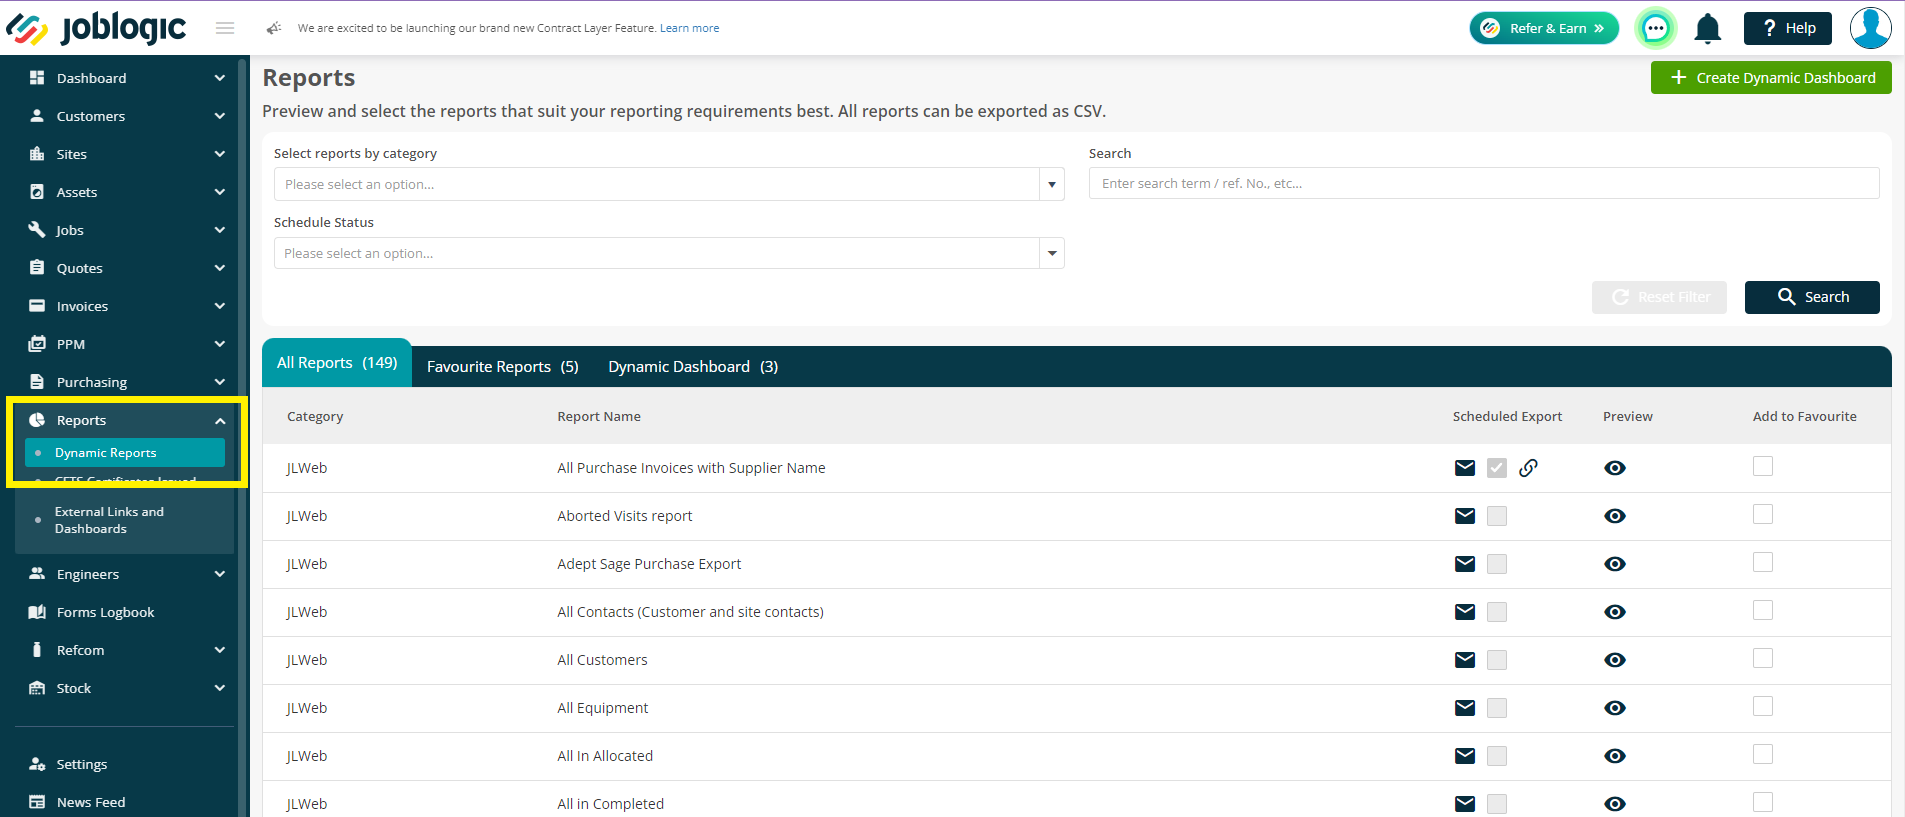
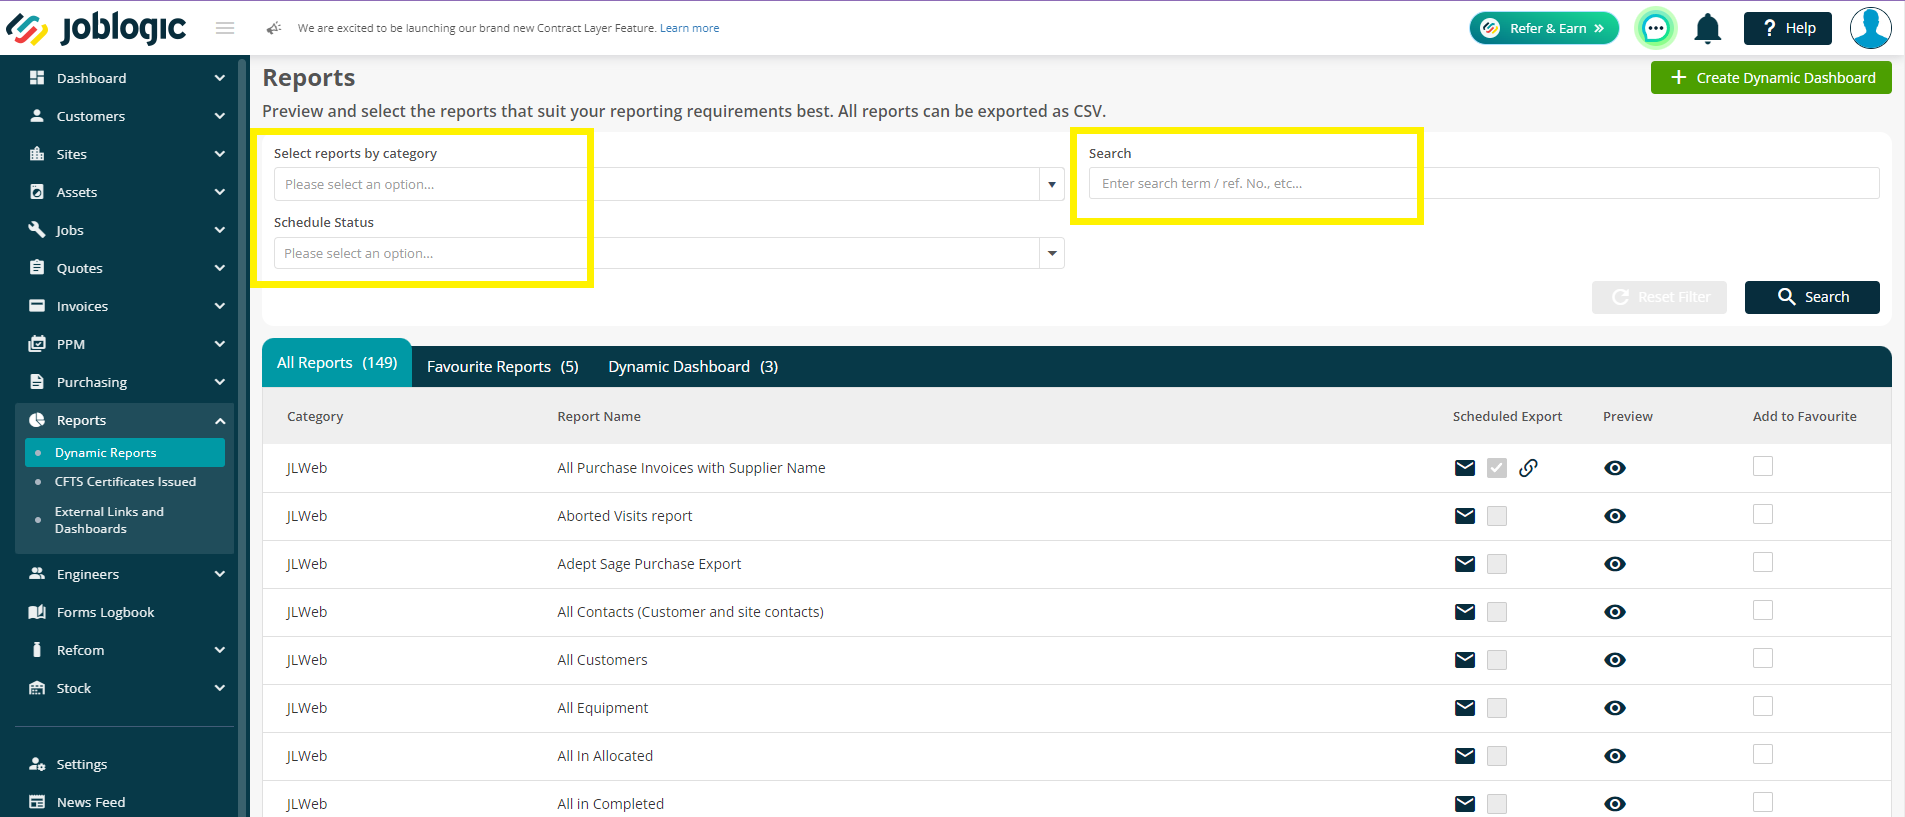
This will take you to the main Reports screen where you are able to filter by category, search directly for a report by typing, or view your currently scheduled reports.
You will have access to 200+ standard reports that we have already created in the system for you to make use of, ranging across a wide variety of topics. Use the search bar to see if we have any relevant to what you are looking for.
Favourite Reports
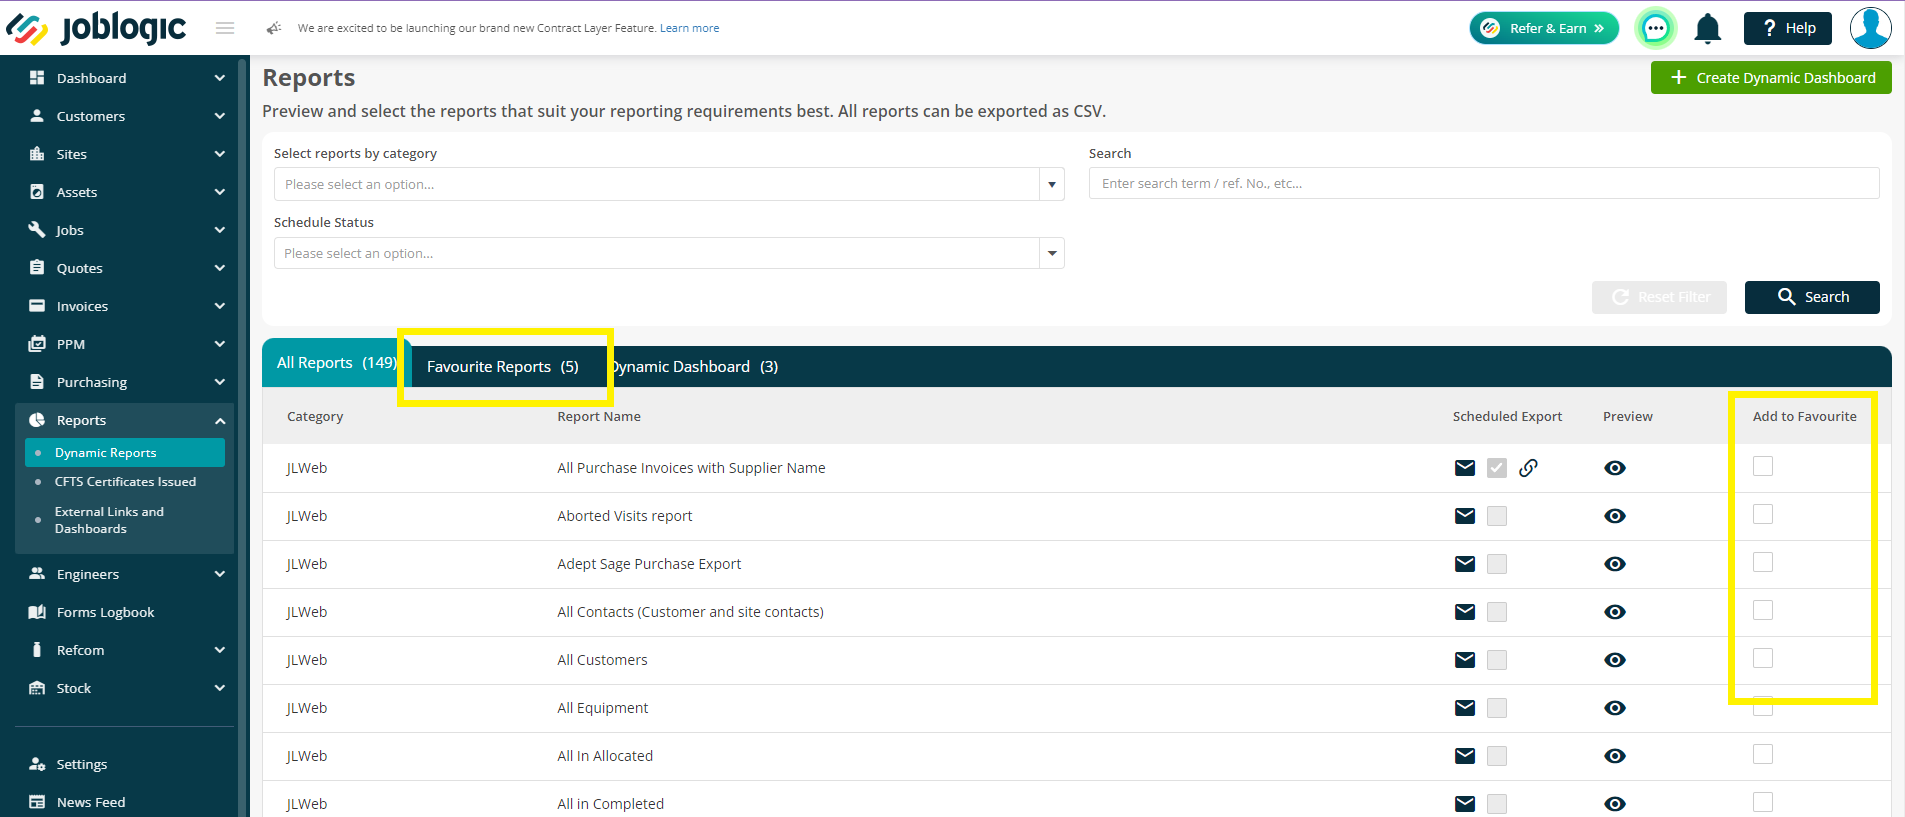
If there are reports you use frequently, you can tick the Add to Favourites option to include them in the Favourite Reports tab.
This shared tab provides quick access to commonly used reports, making it easier for teams to find and run key reports without needing to search each time.
Running a Report
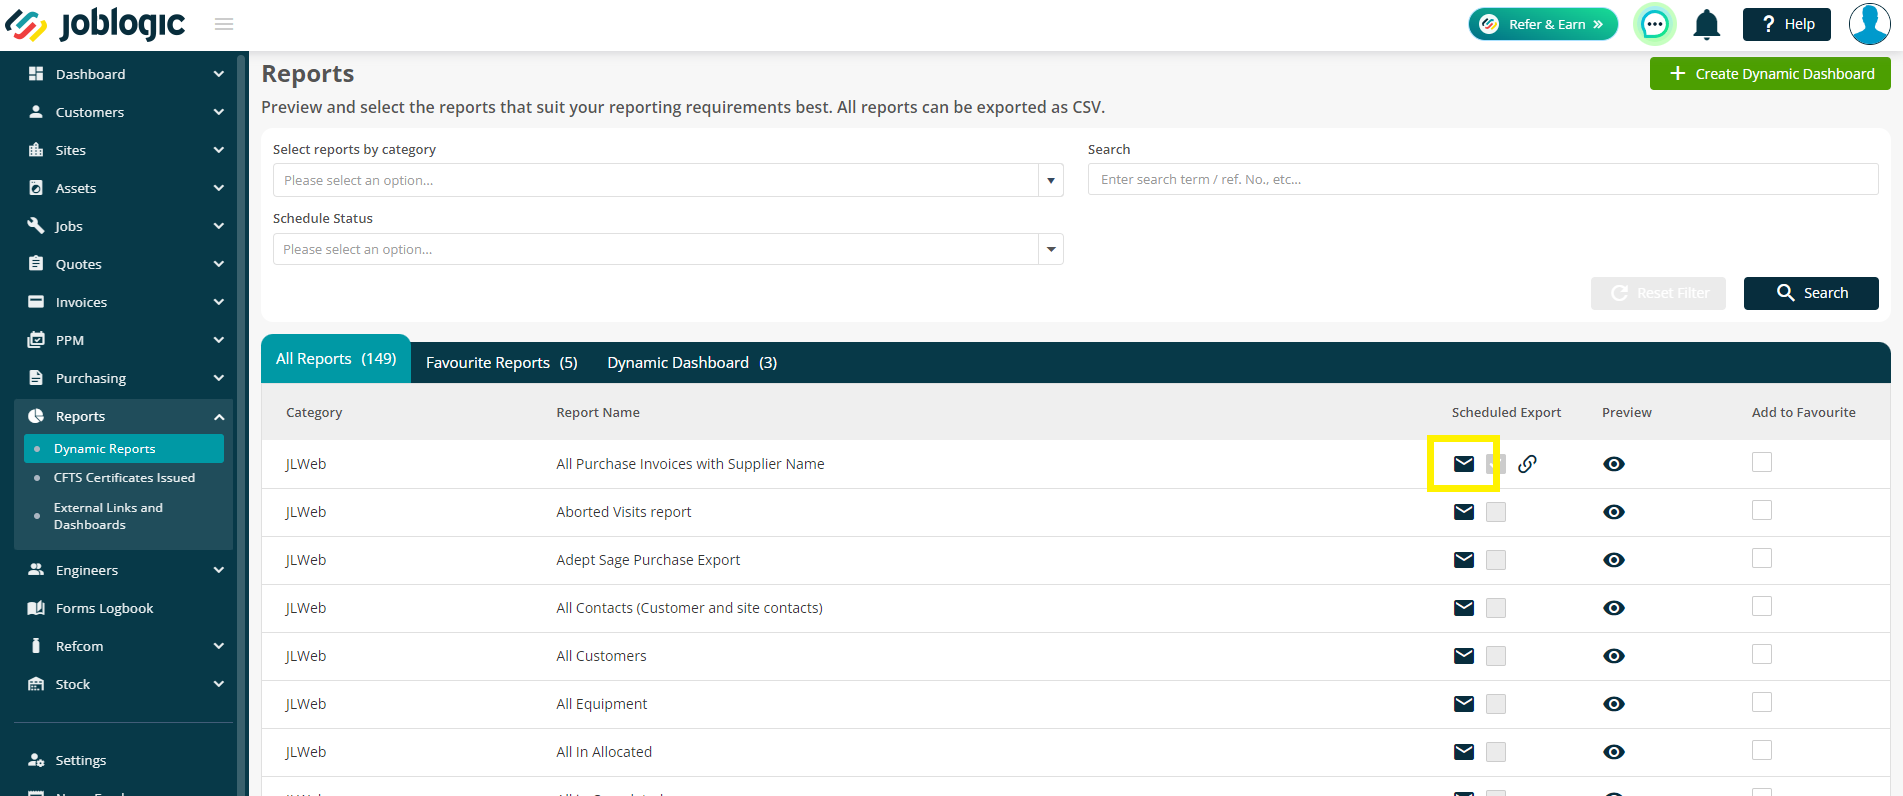
To run one of the reports, all you need to do is select the eye icon under the Preview column. This will run the report based on all current data available within your joblogic account.
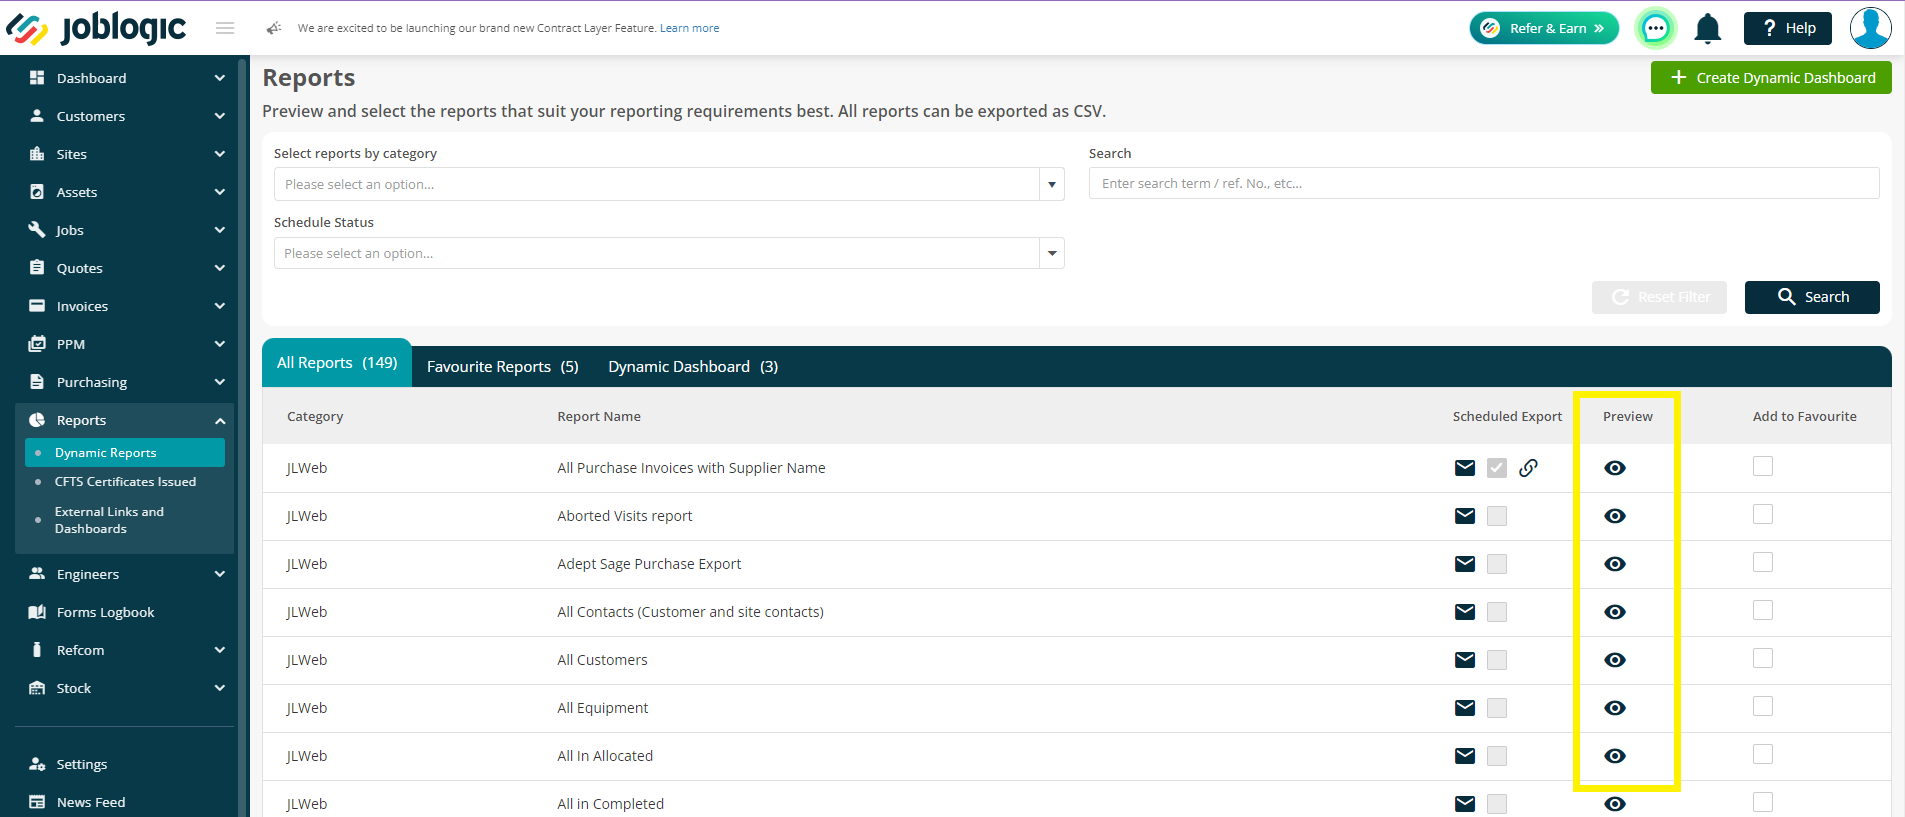
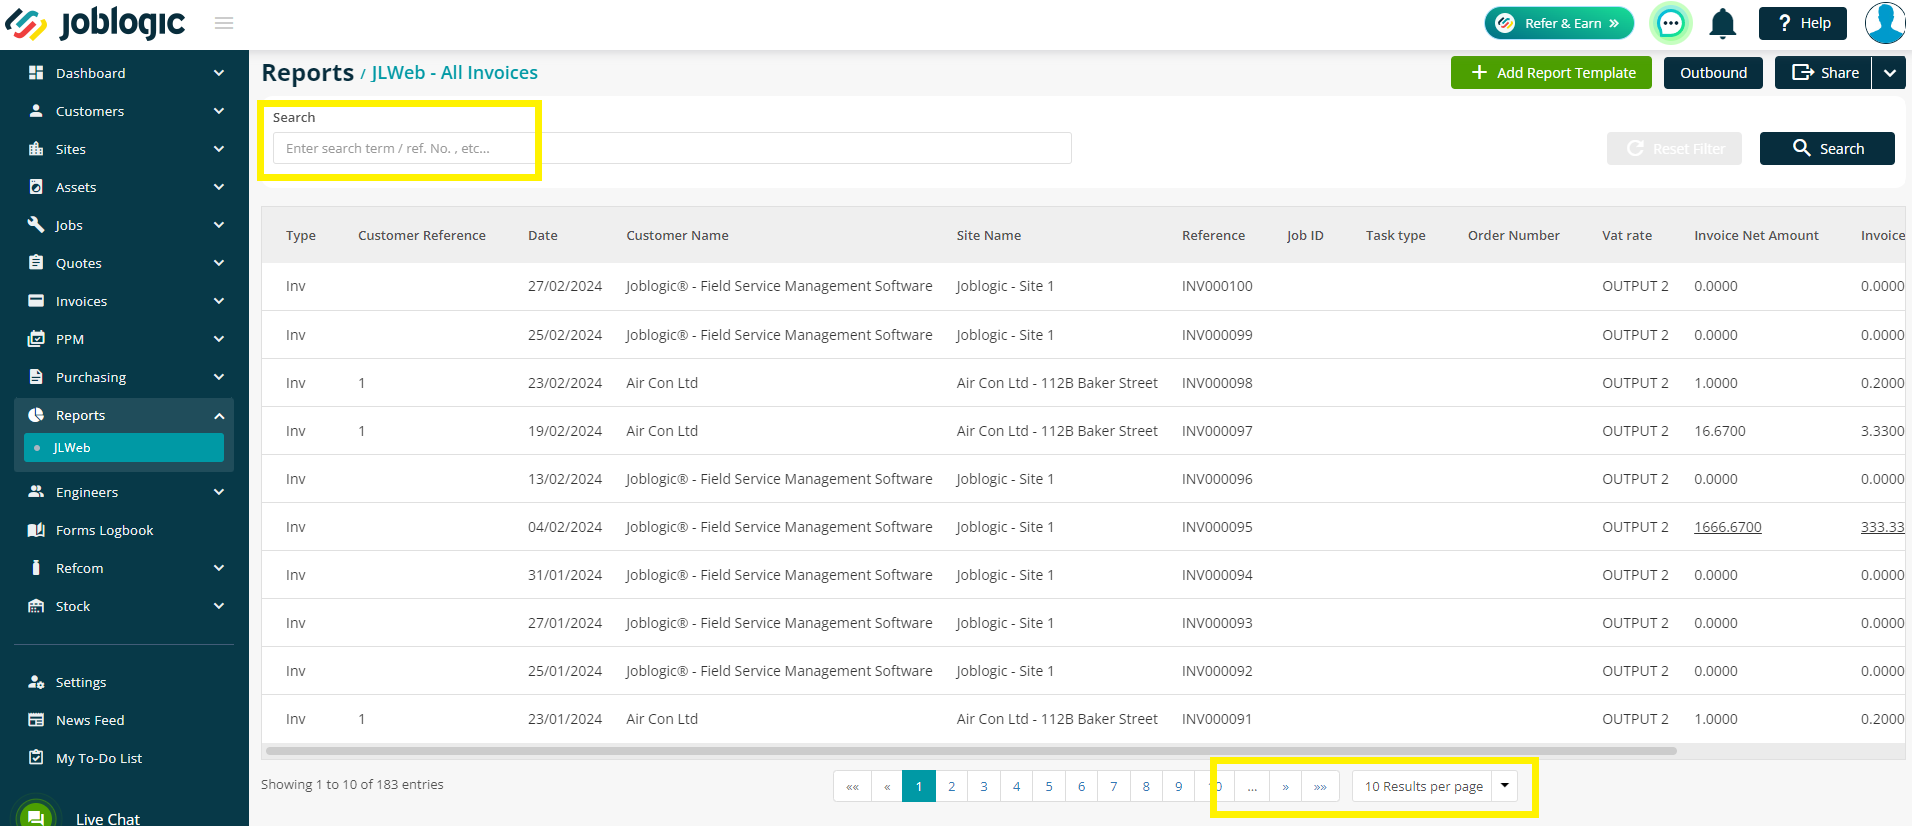
The report will be laid out for you in a table where you can view all information without having to export it. You can change the number of results displayed per page or move between pages at the bottom of the report table. You can also filter the report by using the search bar at the top of the page.
Exporting a Report
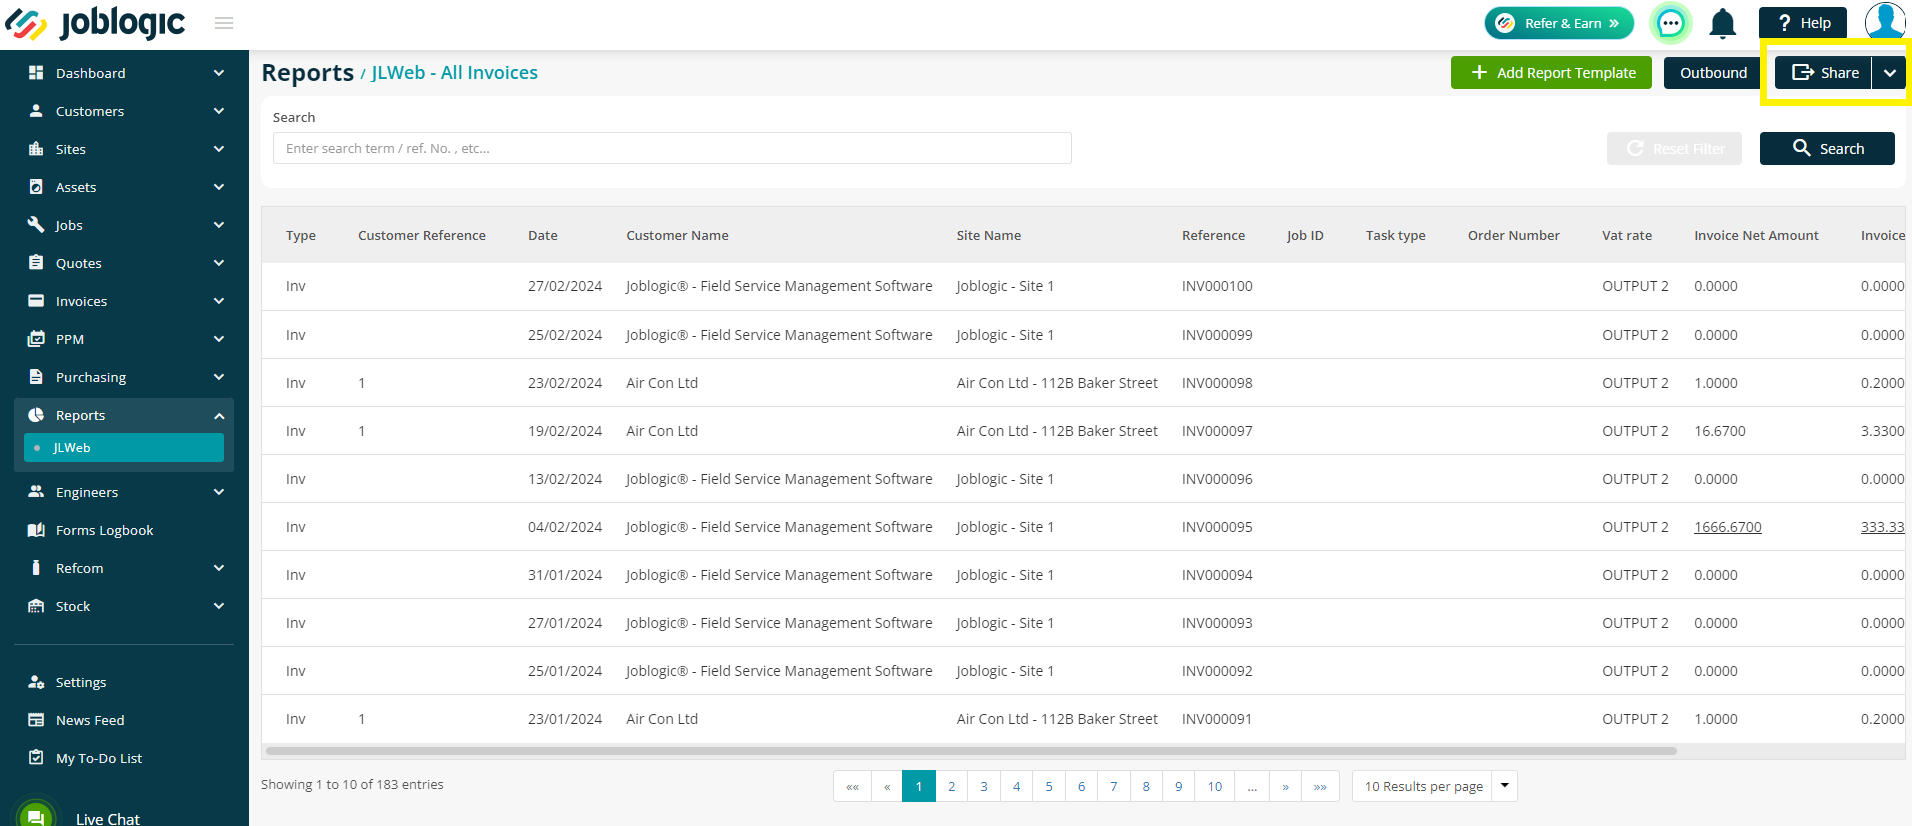
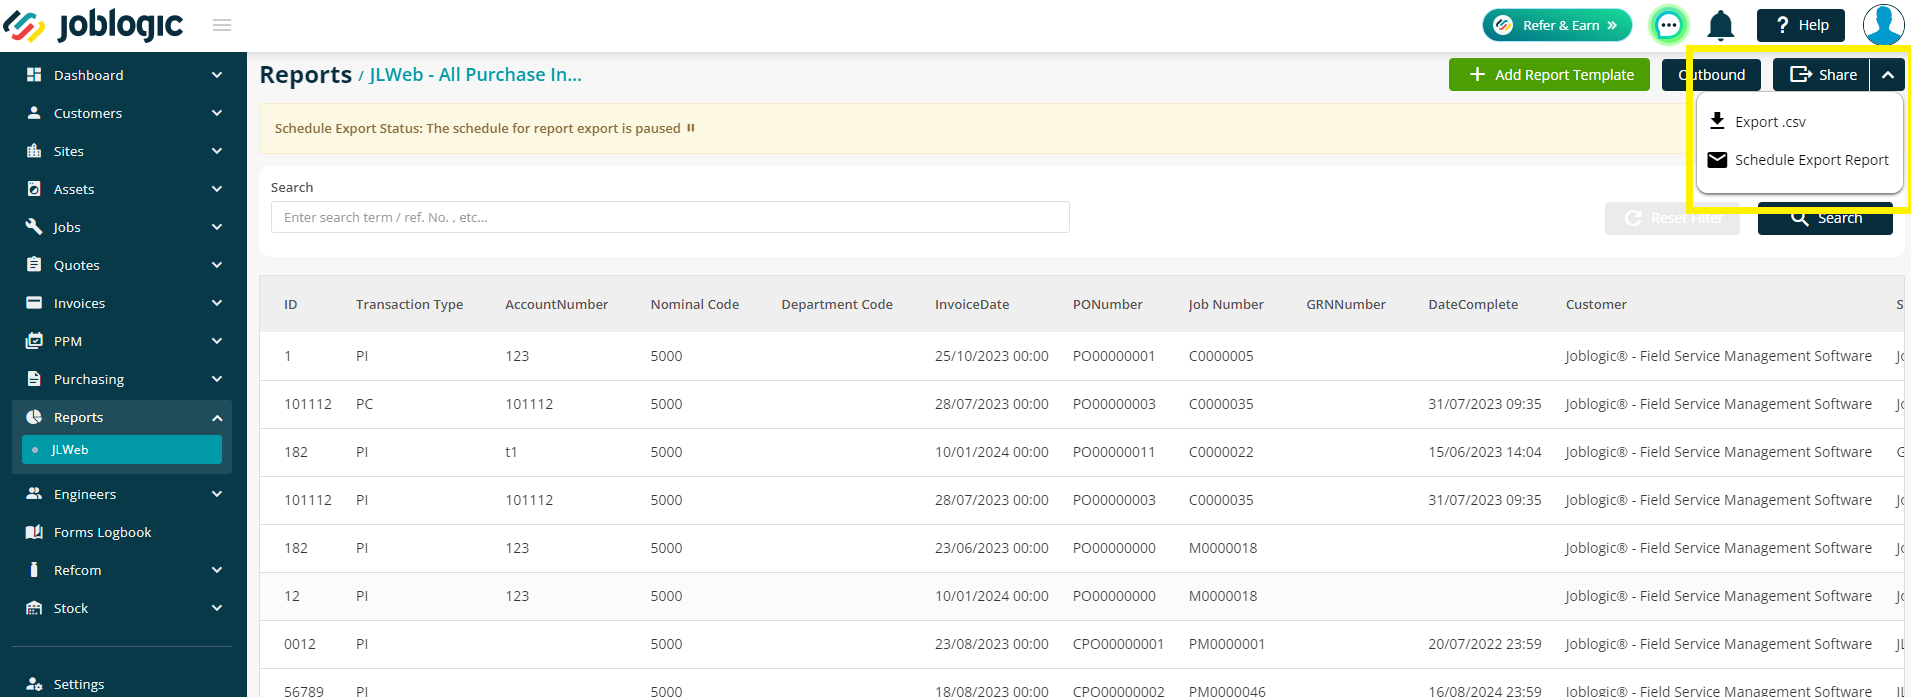
If you want to export the report into .csv format so that you can share with others or do your own manipulation within excel, simply click the Share button in the top right corner and this will download it to your computer. If you have filtered the report, the export will only show the filtered results.
Scheduling Reports
If you have a report that you want to send out on a regular basis, this can be done automatically using the ‘Scheduled Export’ feature.
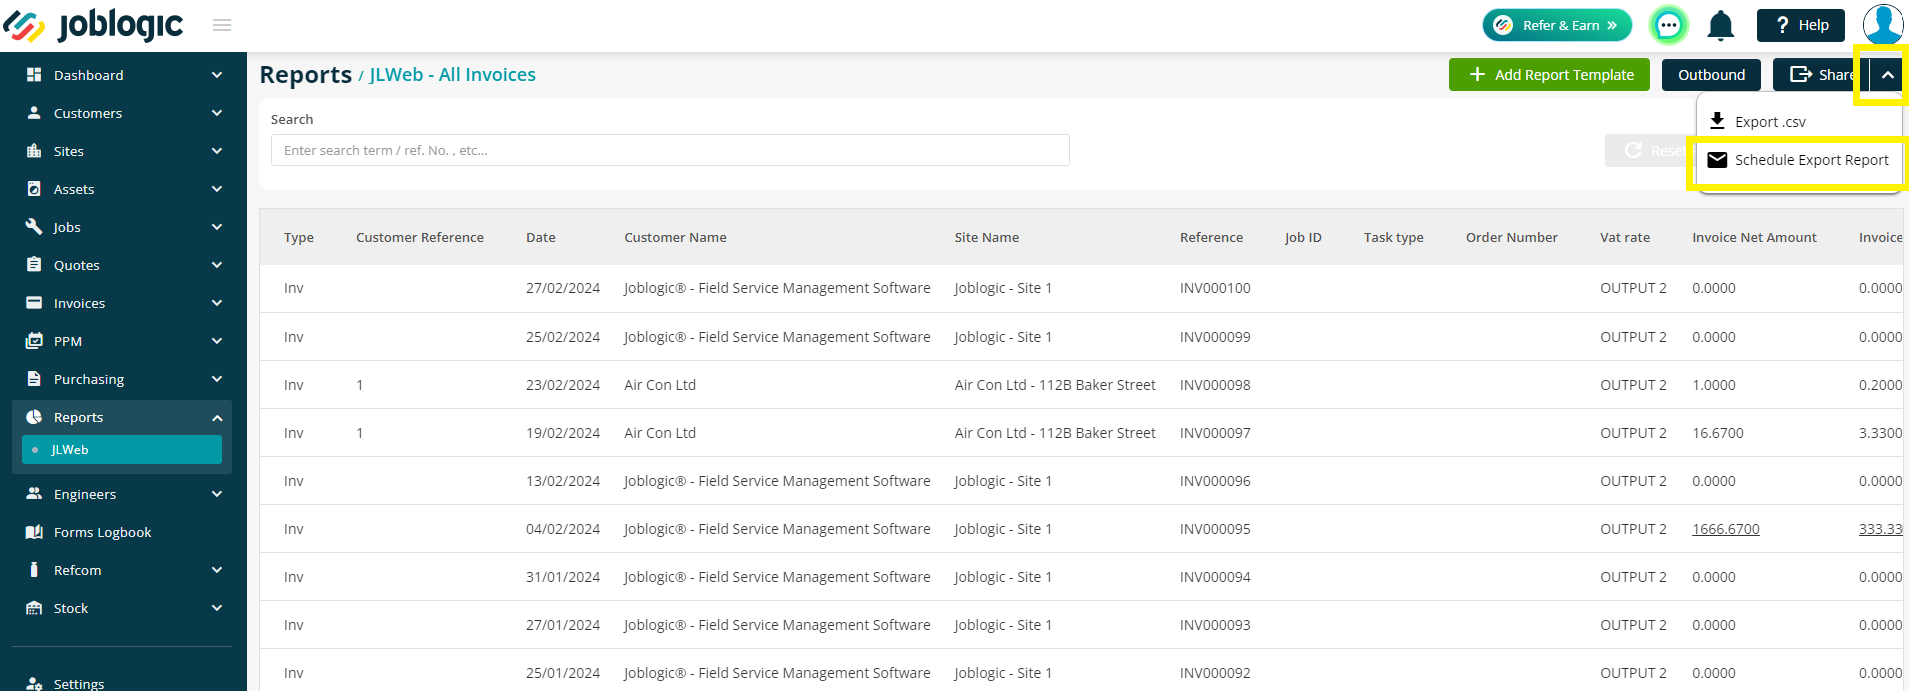
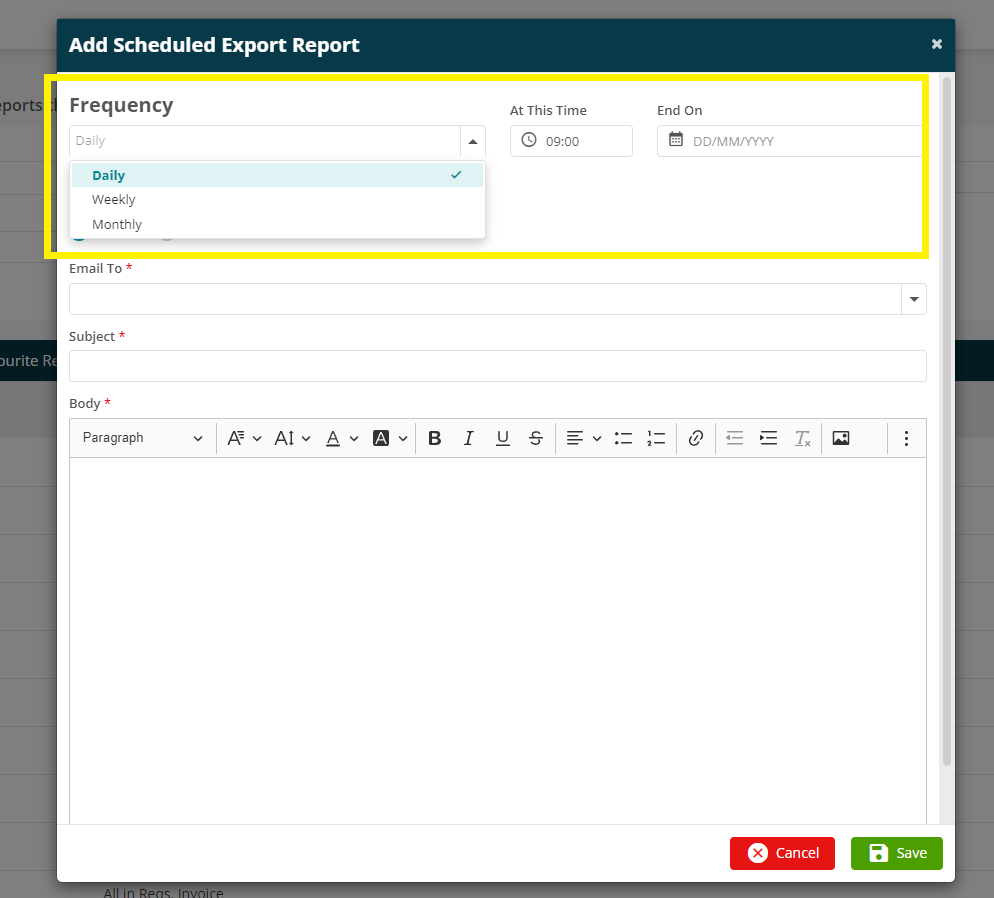
Firstly, either select the email icon from the Scheduled Export column or run the report as per the above, and then select the drop-down arrow next to Share and select Schedule Export Report.
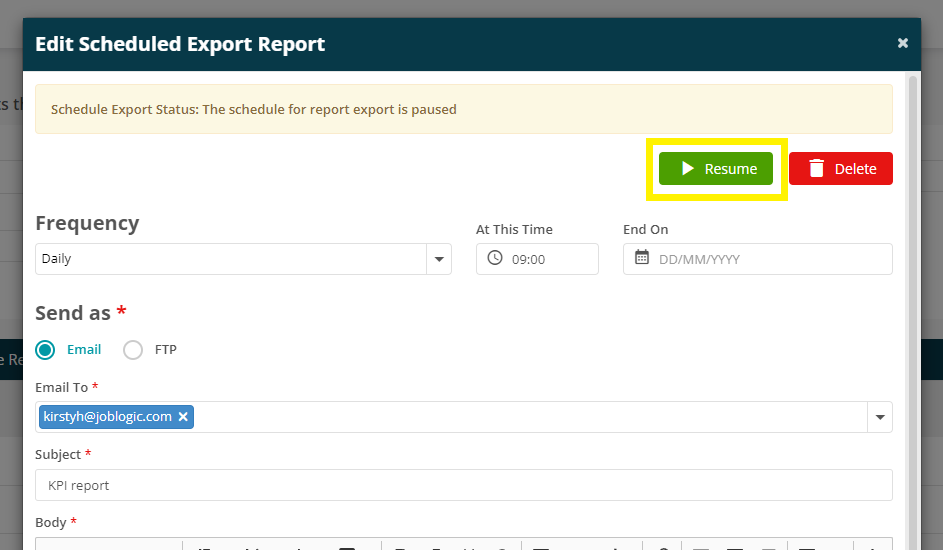
Once here you can select how often you want the report to run (Daily, Weekly or Monthly), at what time you want this to be generated and sent, and an end date if you only want this to run for a certain period.
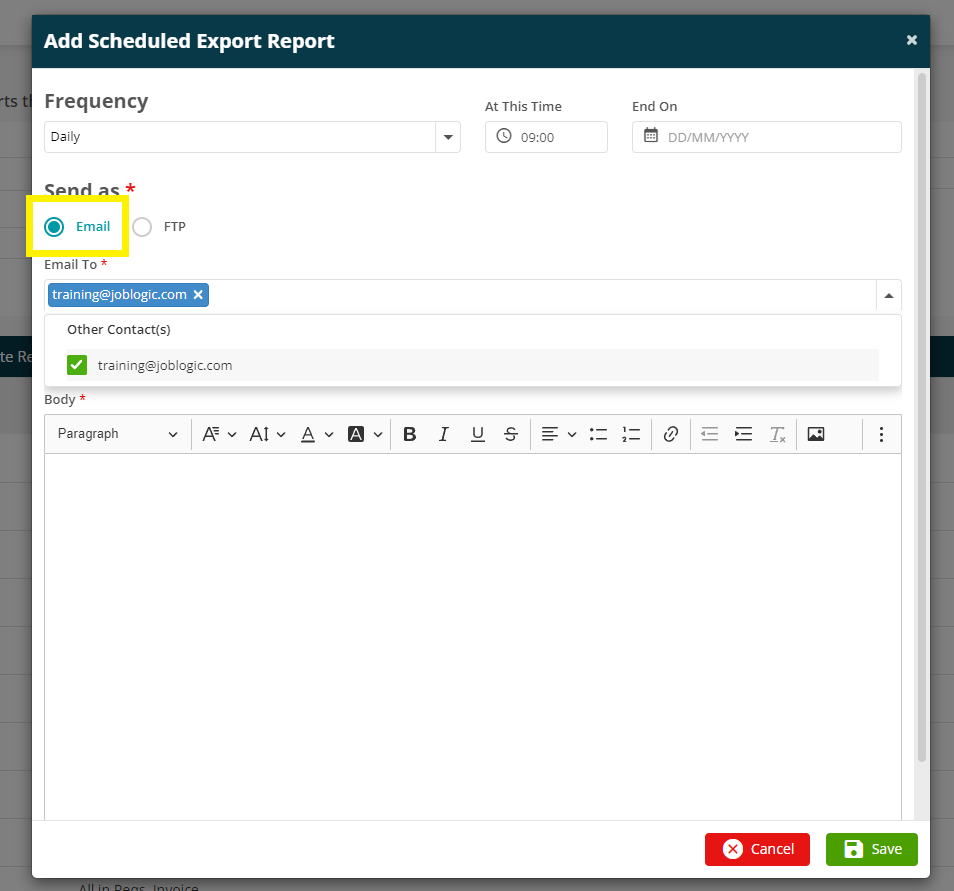
There are two options to Send As: Email or FTP. We’ll discuss both options below.
You can then add email addresses by typing them into the ‘Email To’ bar, and checking the tick box to make sure they are selected. Finally, fill out the Subject and Body of your email however you like so the recipient knows what it is they are receiving, and then click Save.
This can be set up to be sent internally to yourself or colleagues and also externally to customers etc.
FTP
In order to be able to send to an FTP, you’ll firstly need to set up your FTP account(s).
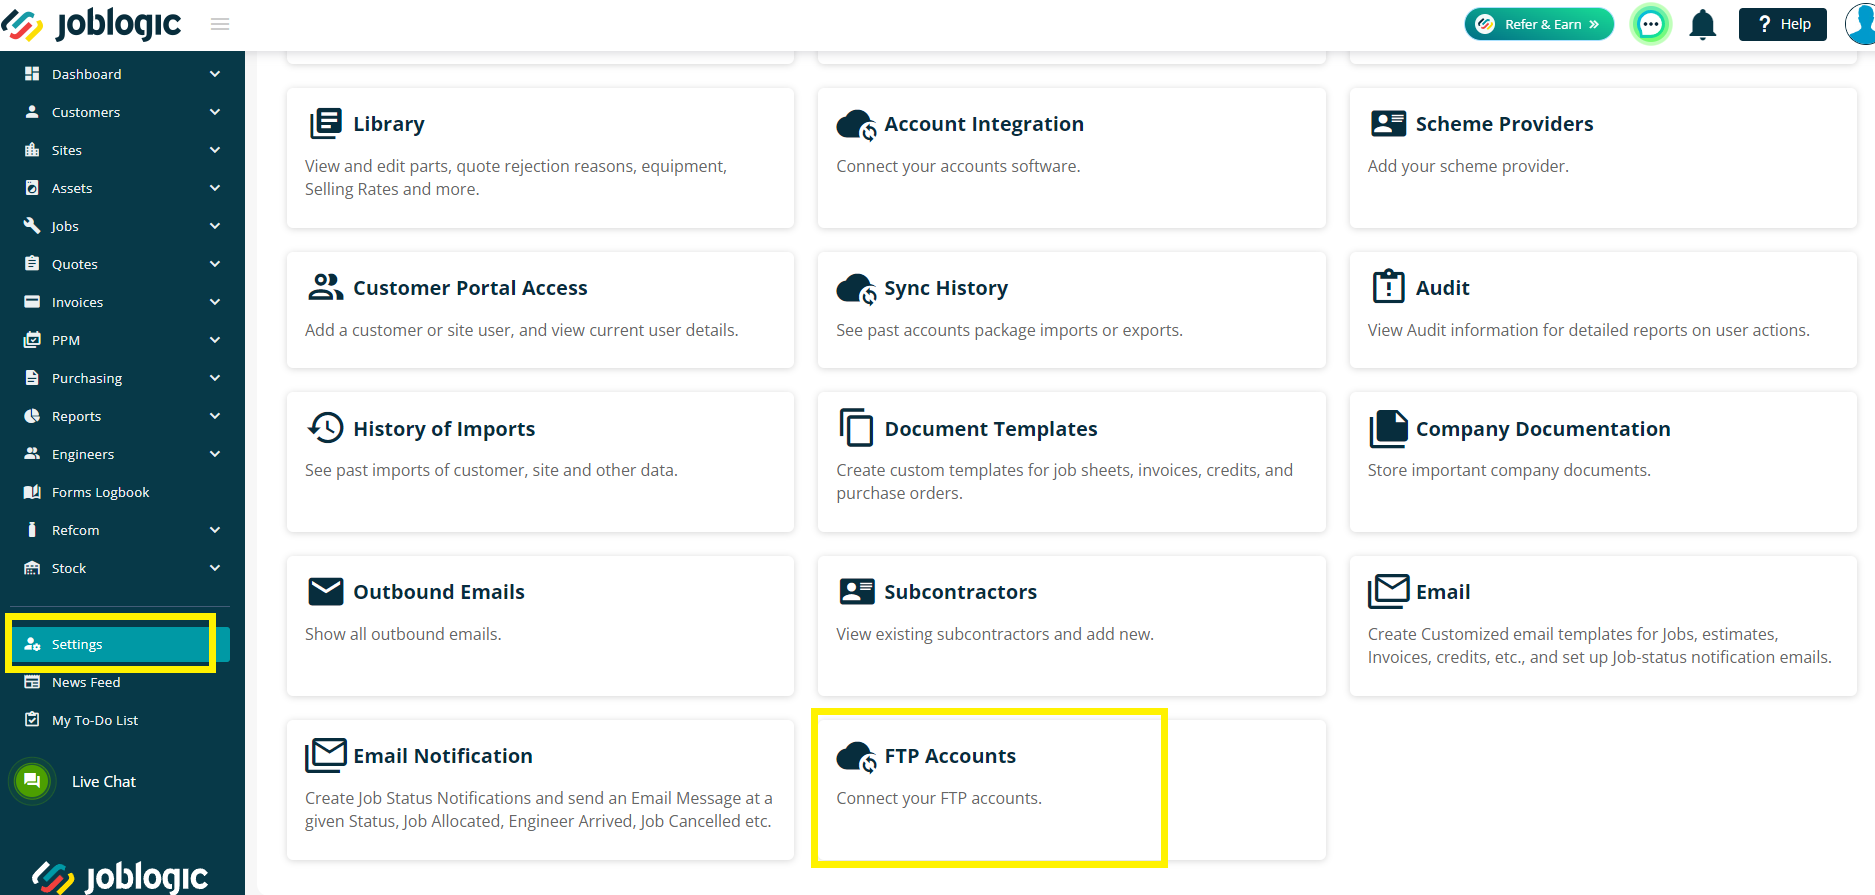
To do this, go to Settings > FTP Accounts
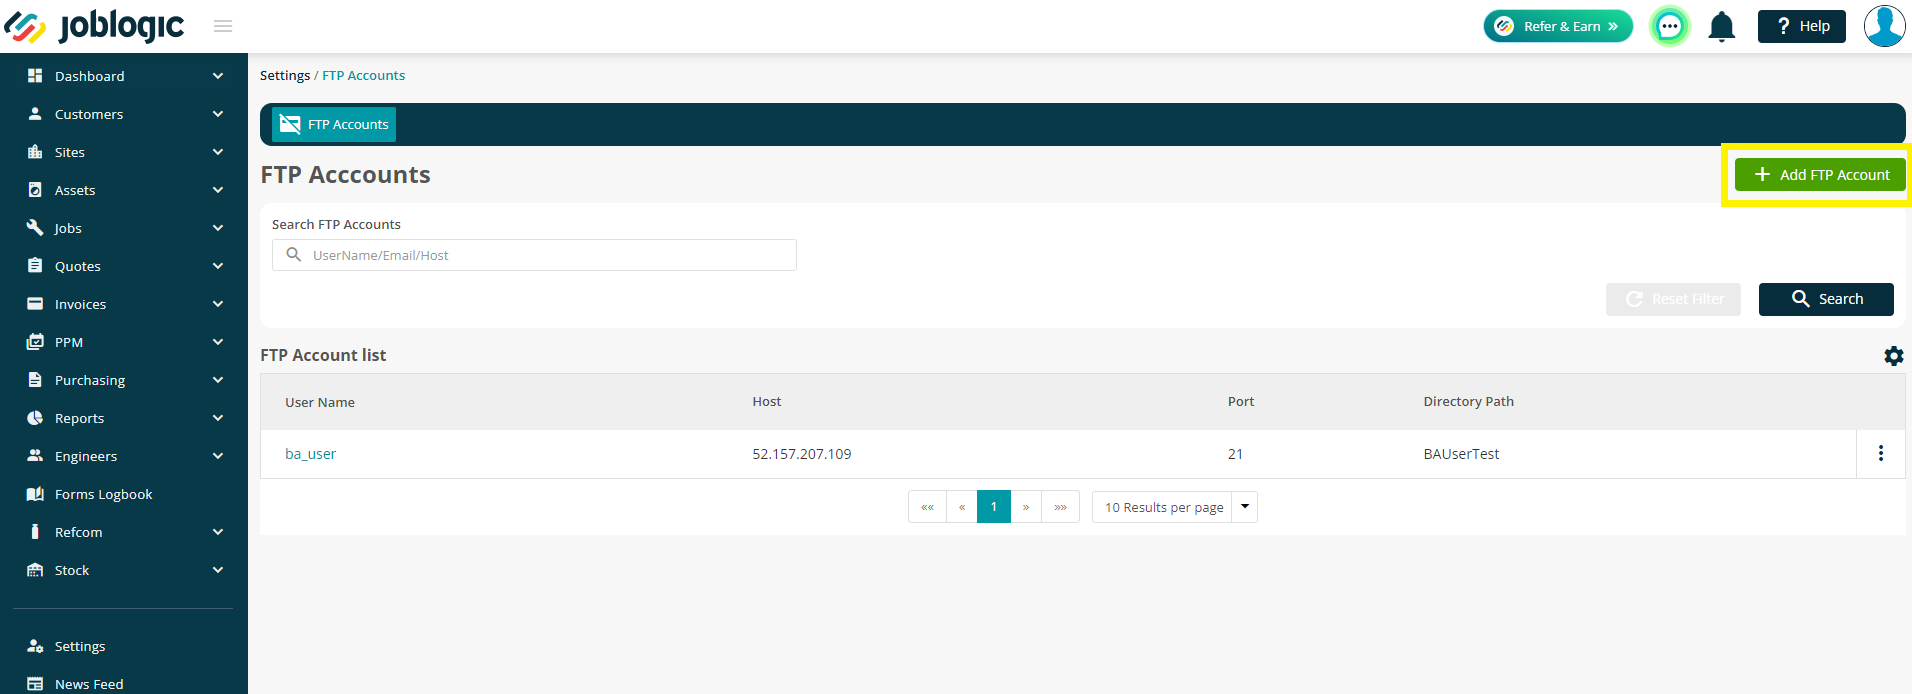
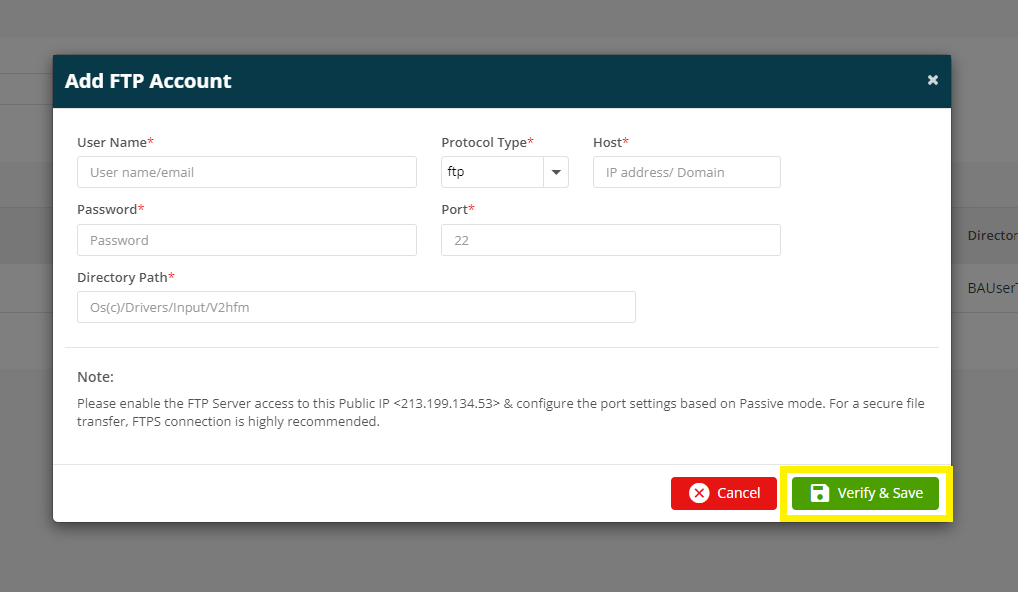
Next, click the Add FTP Account button in the top right, and enter your relevant details before clicking Verify & Save.
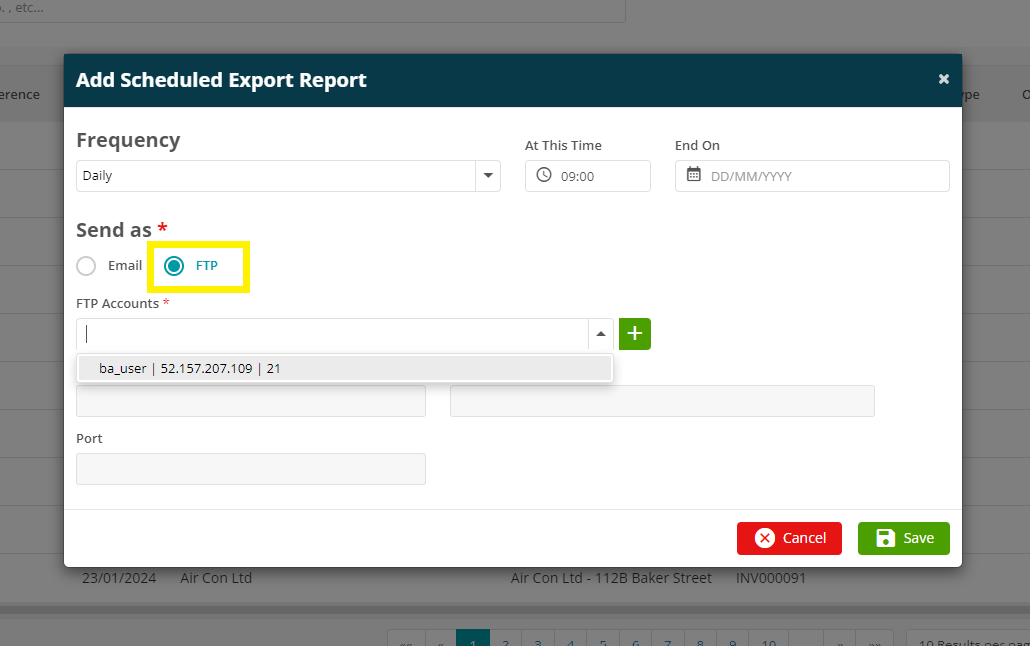
You can now navigate back to Reports > Dynamic Reports to schedule an export. This time, choose your Frequency and then tick FTP.
You’ll just need to choose the relevant FTP from the dropdown. Joblogic will fill in the rest of the details automatically based on your initial Set up. Click Save.
Schedule updates
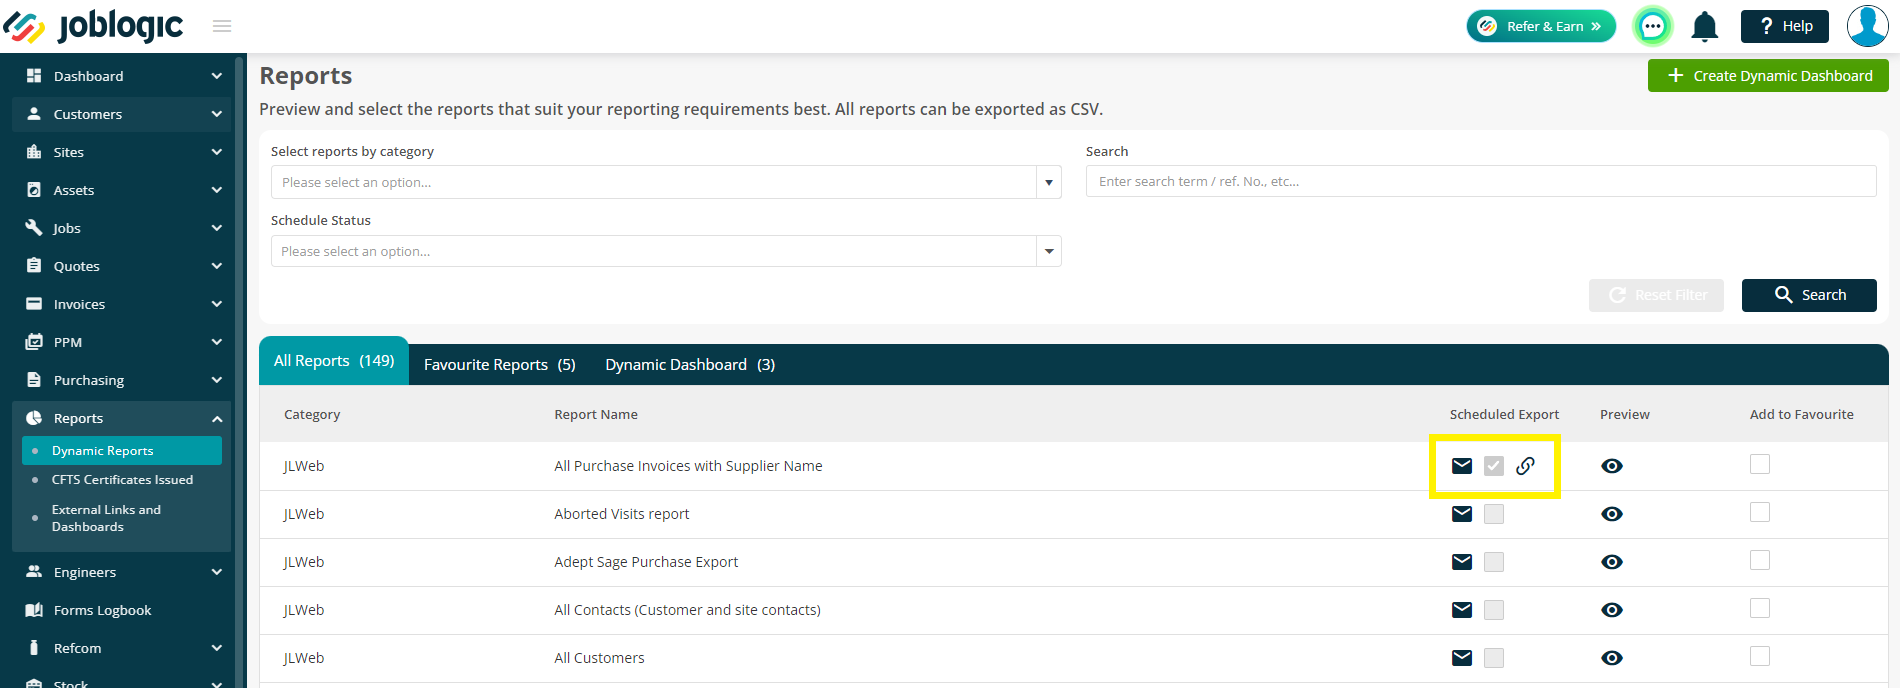
You’ll now see the Scheduled Export option is ticked, and there is a new icon next to this. This link icon simply means there is a schedule set up against this report.
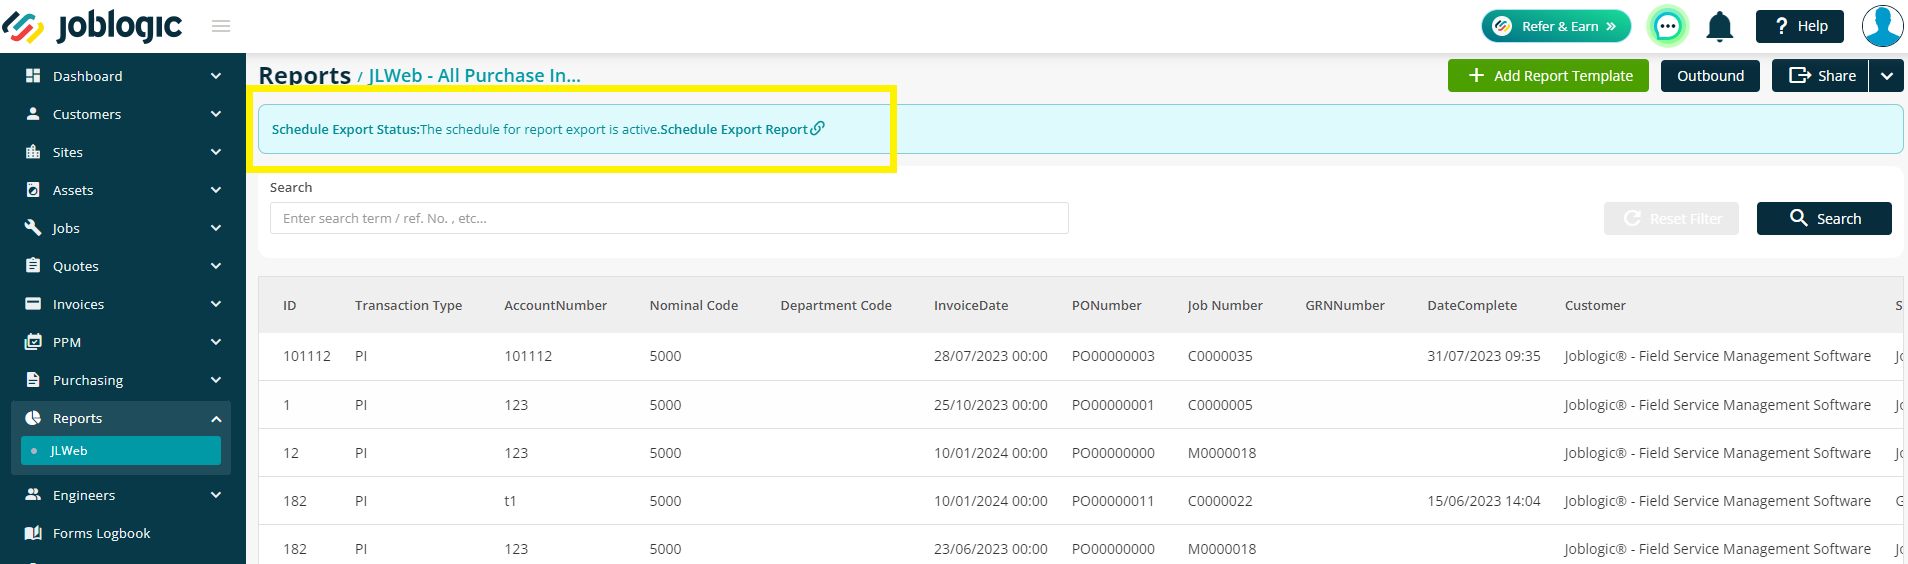
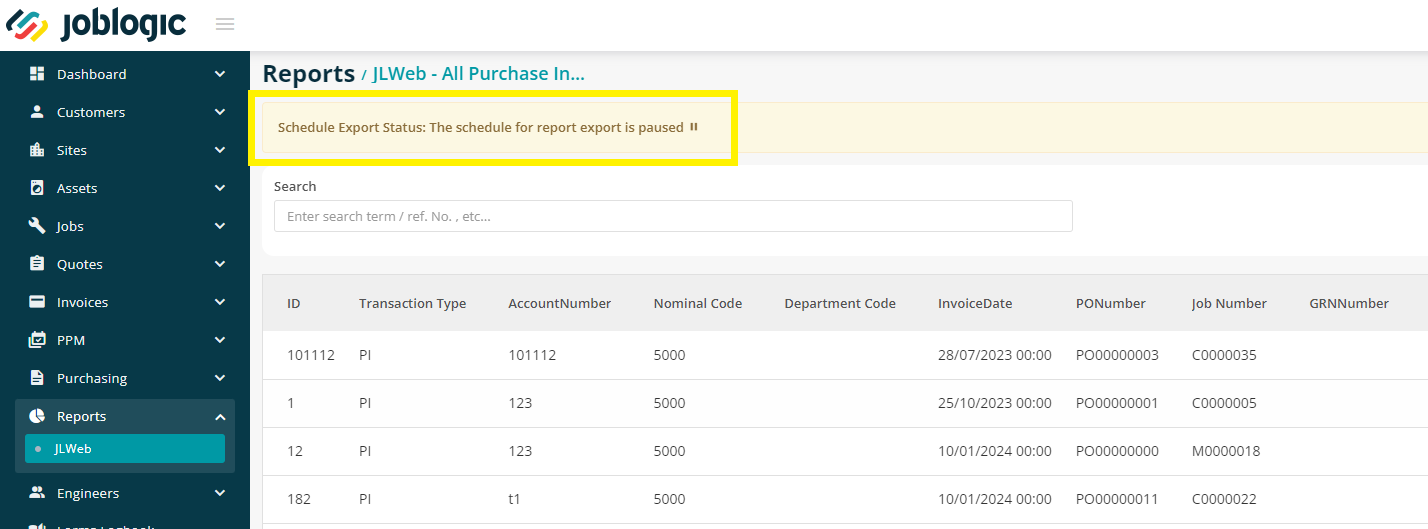
If you click into the report, there is now a banner along the top to again confirm that a scheduled export is in place.
If you want to make changes, or to pause or delete the scheduled export, click the envelope icon or click into the report and click on the banner at the top.

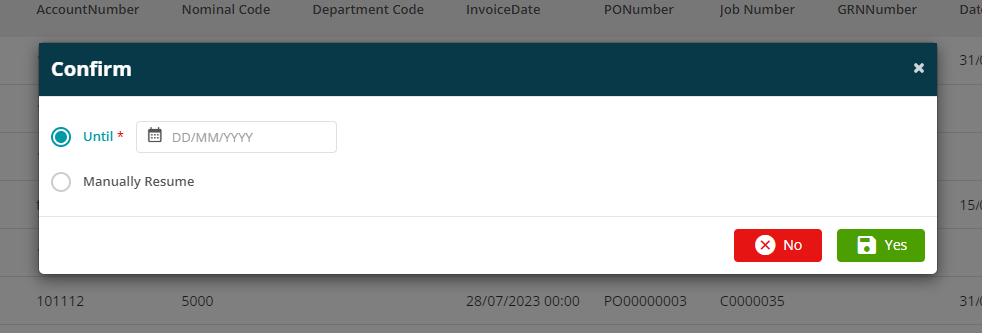
If you do decide to Pause the export, you’ll need to confirm when you want this to resume, either a specific date, or by choosing to manually resume at your preferred time.
Your icon and banner will change accordingly too.
To resume manually, simply click the email icon again, choose ‘Resume’ and then confirm.
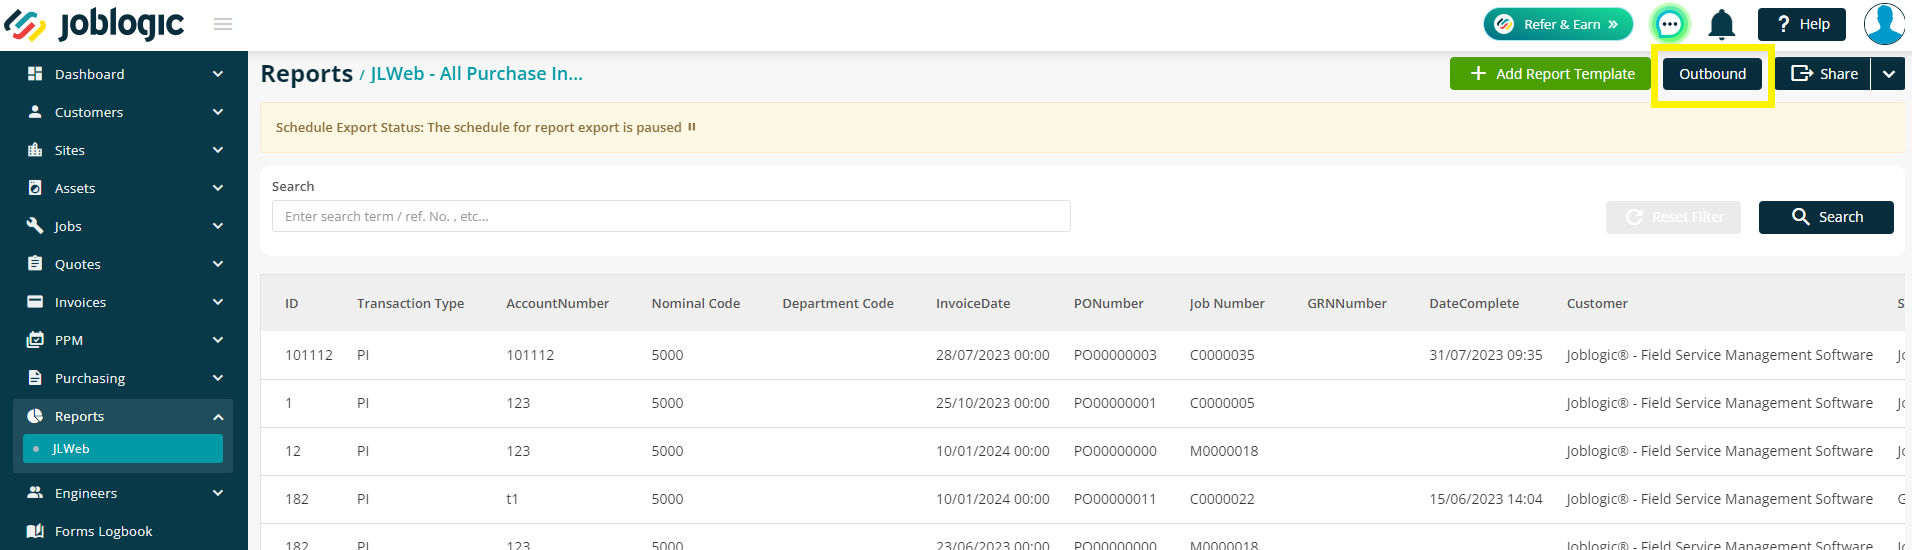
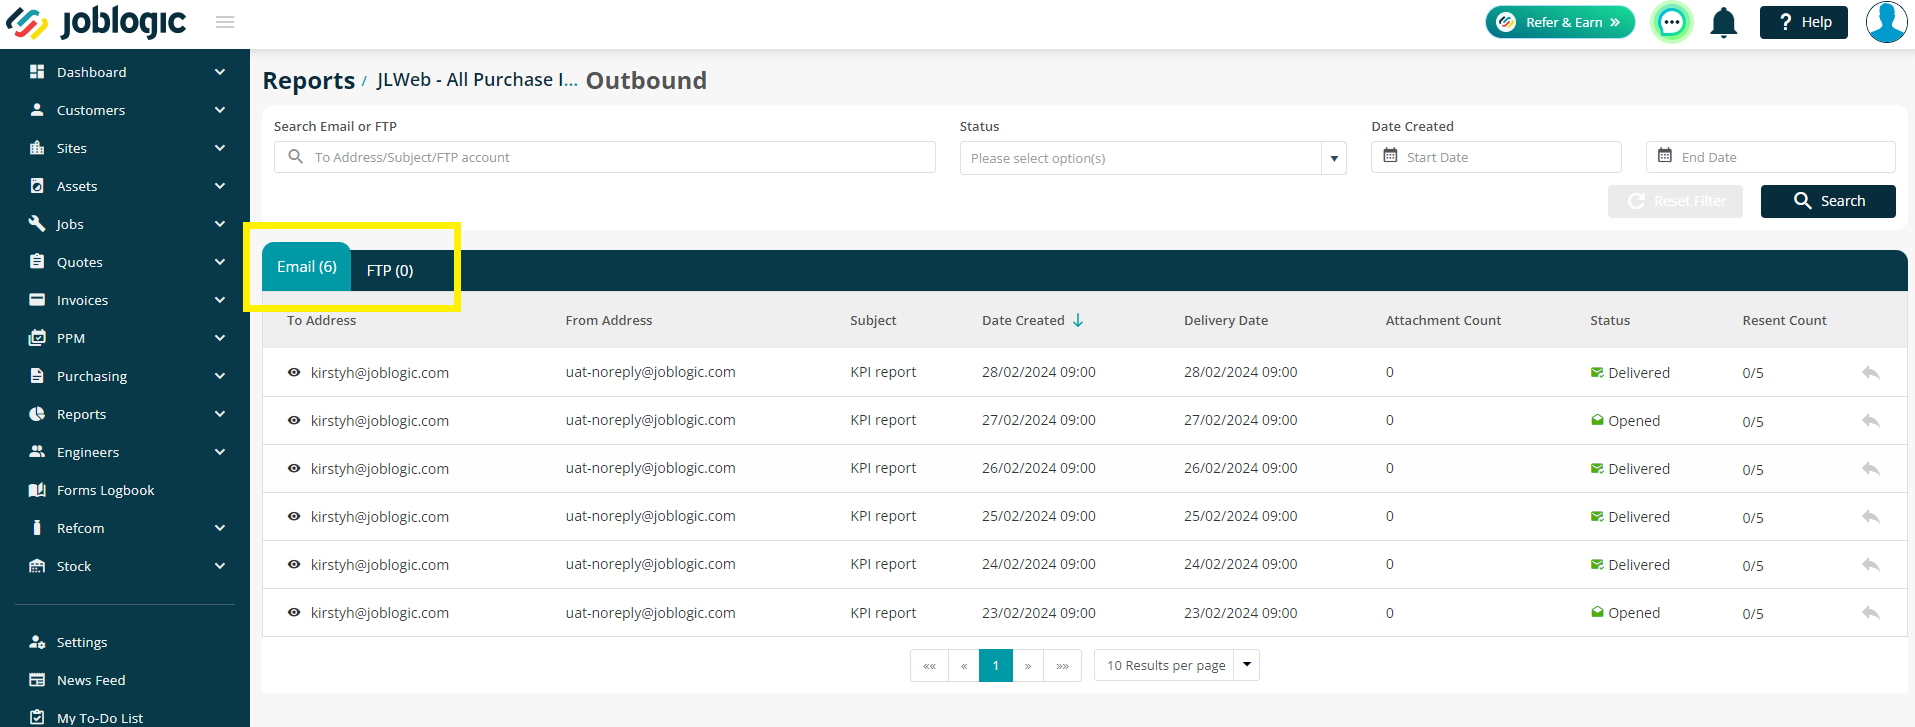
To view any history on the scheduled exports, click into a report, and then choose the Outbound button at the top of your page. The data will be split between Email and FTP tabs.
Report Templates
As well as exporting your Reports into .csv format, you can also use Report Templates to create customised graphical/chart designs for those reports.
Firstly, export the report you wish to use as a data source for your pivot tables/charts.
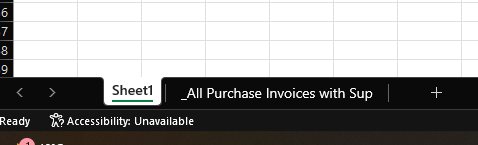
Add a blank sheet to the beginning of the file, this is where future report data will be downloaded into.
Use your current data to build out pivot tables/graphs/charts on a new sheet. Remember you need to point your table at the data
Clear the original data, point the tables and charts at the whole sheet so that it doesn’t only calculate based on the original number of records, and then Save as .xlsx or .xlsm.
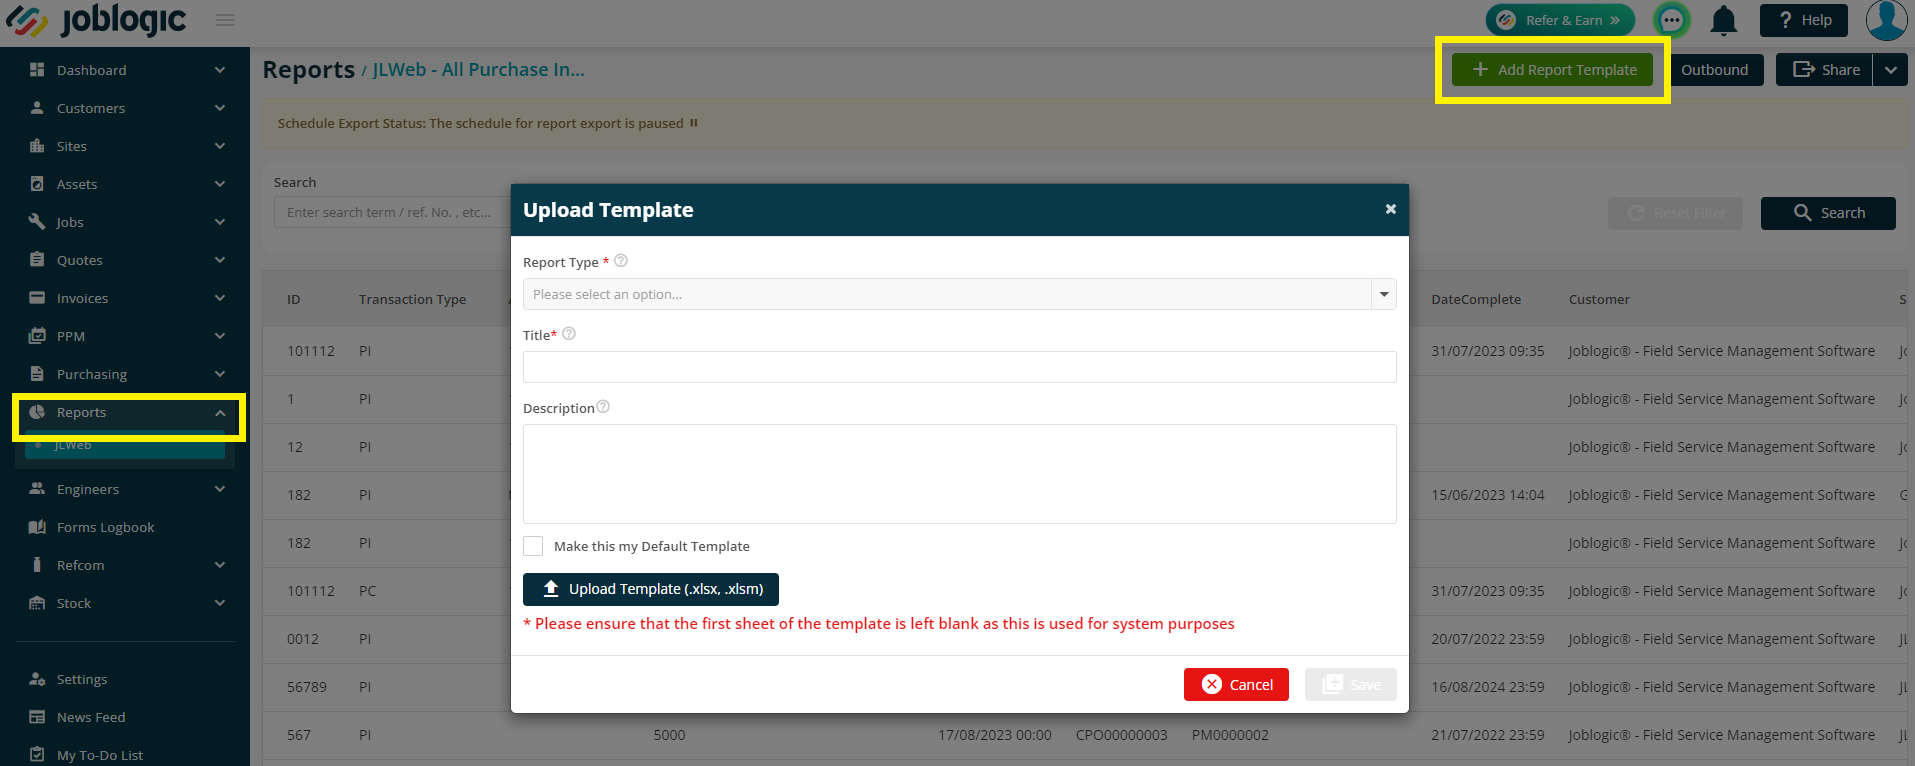
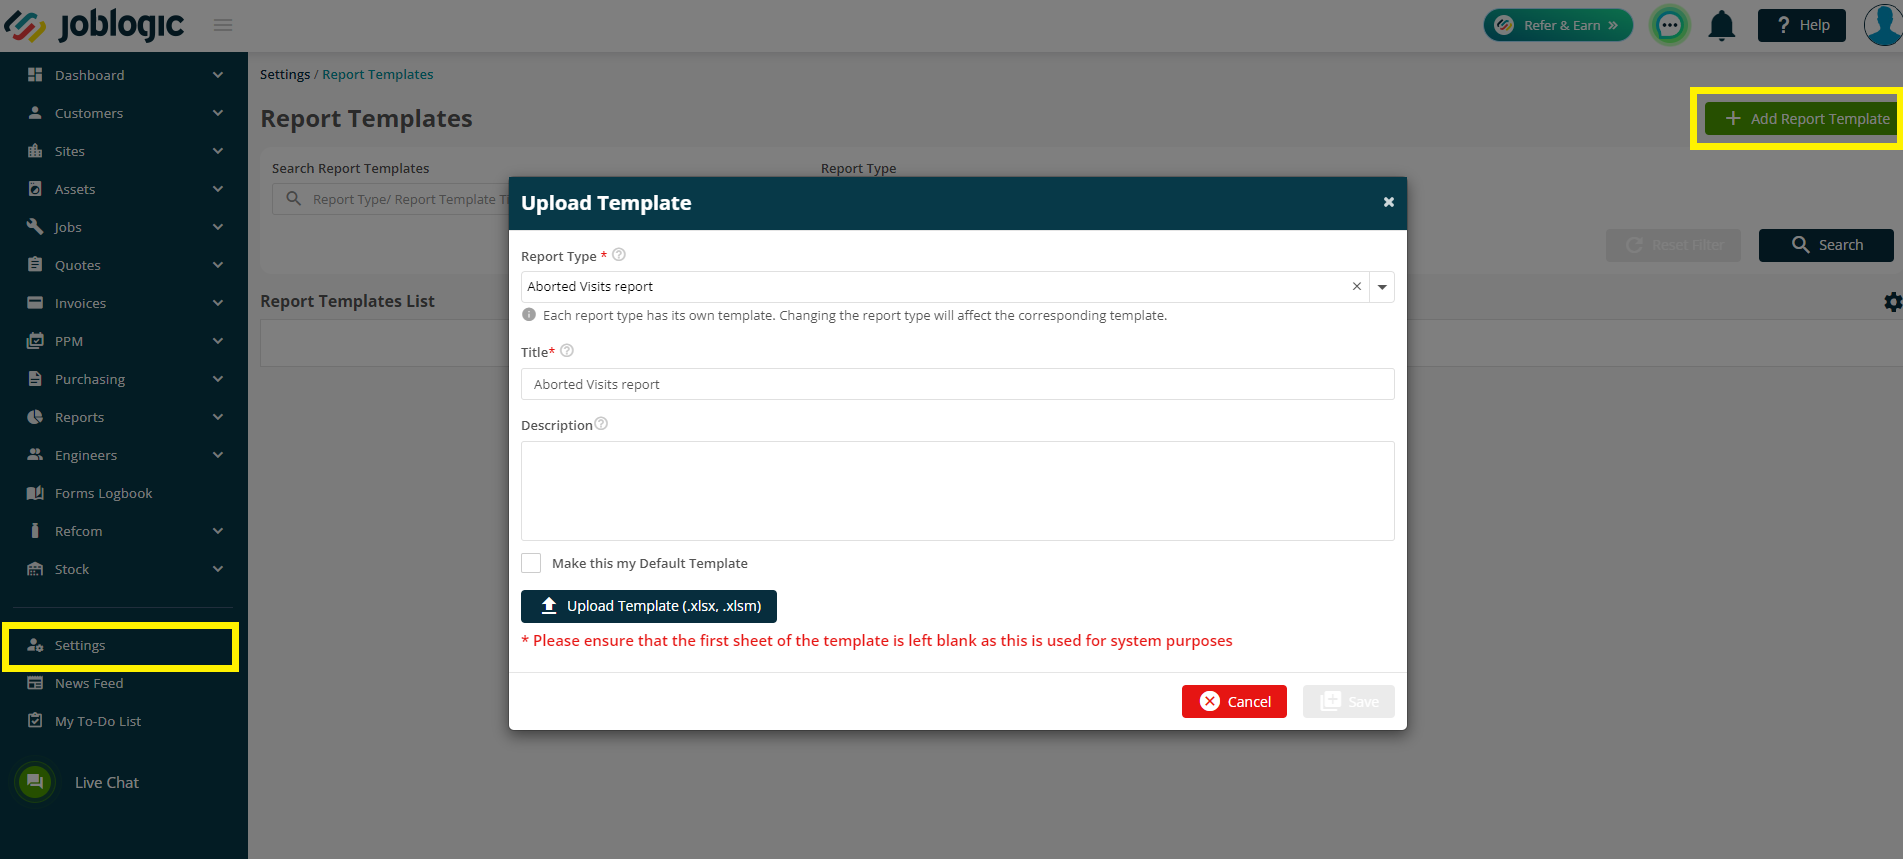
To upload your template, you can either click into the relevant report via Dynamic Reports > Reports > Preview icon > Add Report Template OR you can upload them via Settings > Library > Report Templates.
If you do upload using the second option, remember to make sure to select the right report under Report Type.
Next, enter a Description, if you wish, then upload your template and click Save.
Now, next time you export your report, you’ll see your graphs etc populated with the data that was downloaded.

Requesting New Reports
While we offer a large number of standard reports, you may want a custom report made for a particular area of interest for you or your company. To do this, all you need to do is reach out to the Support team via the Live Chat, Email or Phone, who will spec out the report with you and give you an ETA on when you can expect that to be completed.
Further Support
For further information or assistance with the above, contact our Support Team on 0800 326 5561 or email support@joblogic.com. Alternatively, our Customer Success Management team can be reached by emailing customersuccess@joblogic.com
Publishing Details
This document was written and produced by Joblogic’s Technical Writing team and was last updated on the date specified above. Be aware that the information provided may be subject to change following further updates on the matter becoming available. Additionally, details within the guide may vary depending on your Joblogic account’s user permissions.