Introduction
Email Templates is a powerful tool designed to streamline your communication processes. With Email Templates, you can create customised templates for various sections such as Job, Quote, Invoice, Purchase Order, and more. This feature not only saves you time but also ensures consistency in your communication, presenting a professional image to your clients.
In this guide, we will take you through the step-by-step process of setting up email templates and utilising them effectively within the context of a job.
Setting Up Email Templates
Step 1: Accessing the Email Templates Section
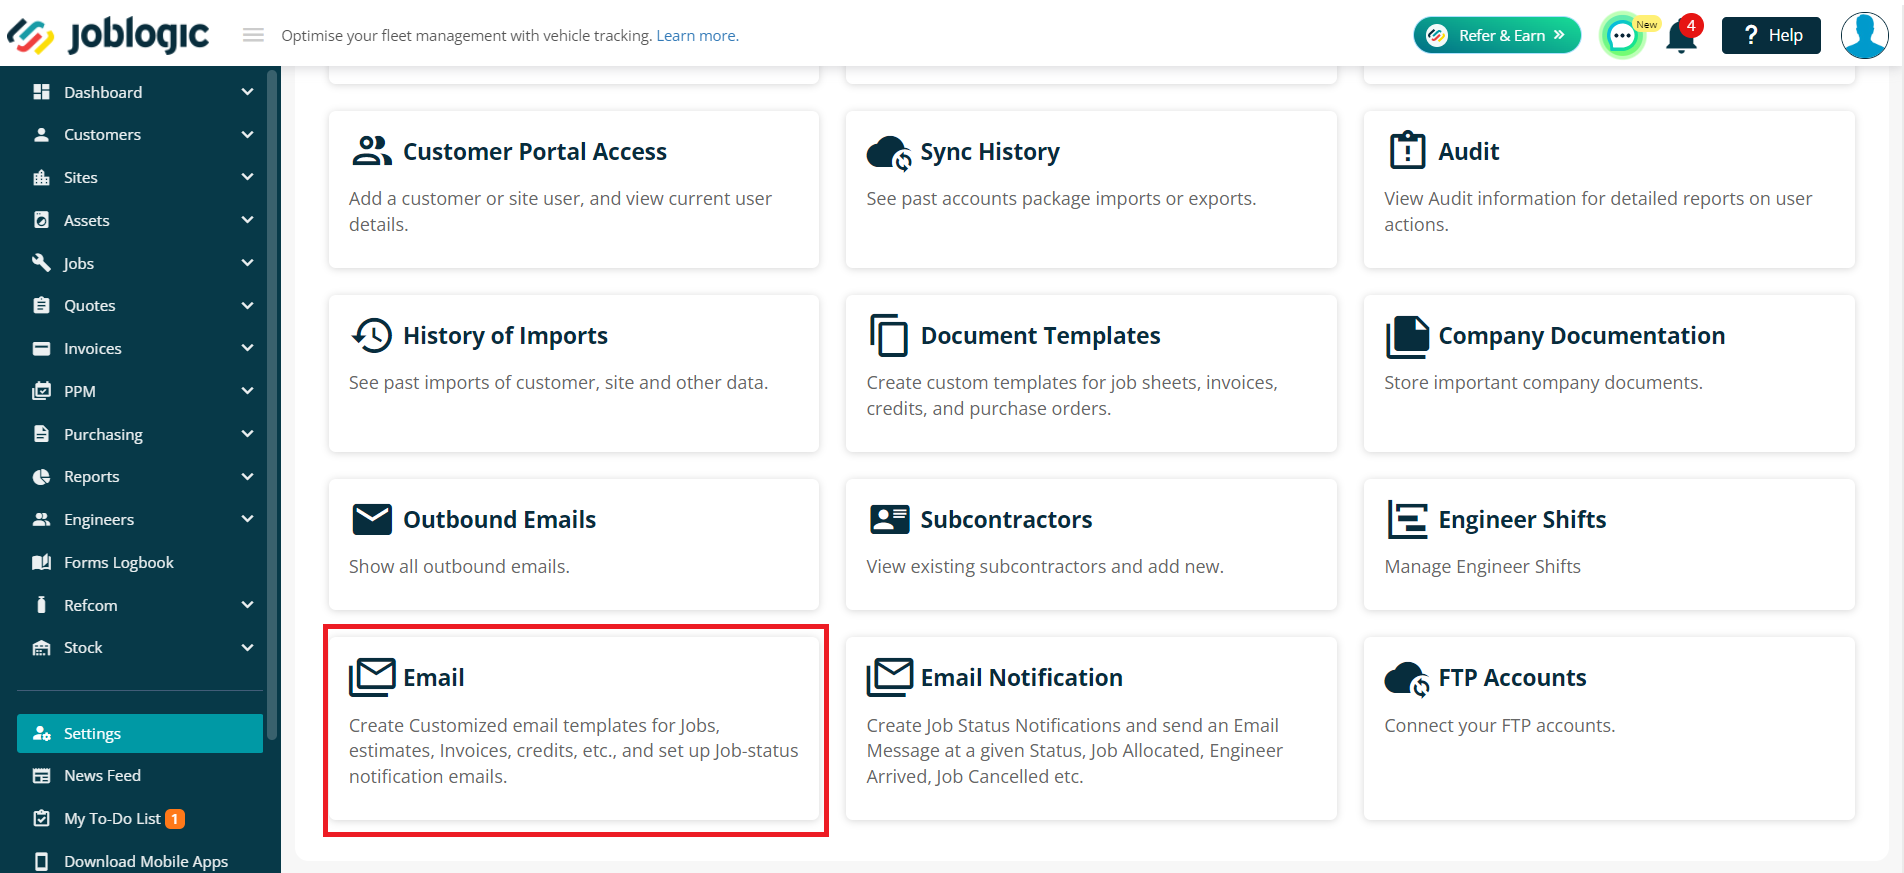
Begin by logging into your JobLogic account and navigating to the "Settings" option on the menu. Look for the "Email" option and click on it to access the Email Templates section.
Step 2: Selecting Template Sections
Once in the Email Templates section, you'll see tabs/dropdowns for Jobs, Quotes, Invoices, PPMs, Purchase Orders, Service Letters and Documents.
We have a separate guide for the Documents email templates, if you'd like to take a look here.
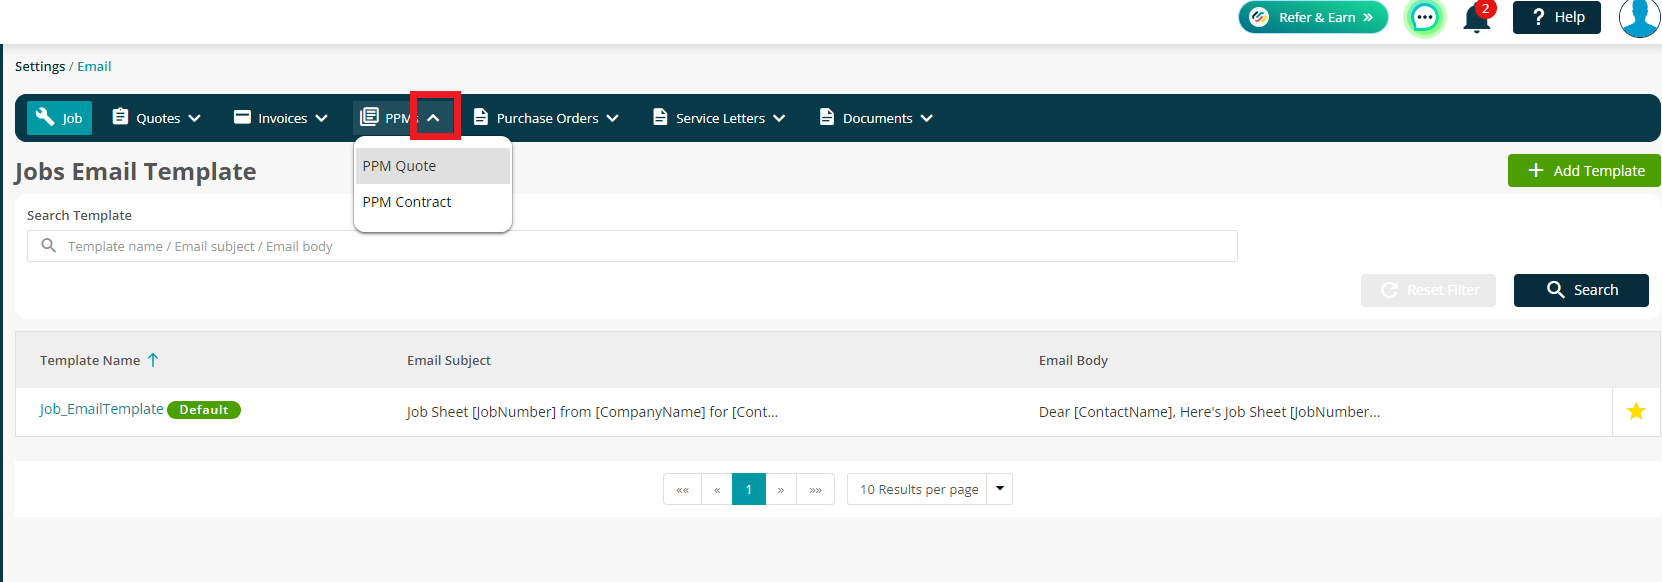
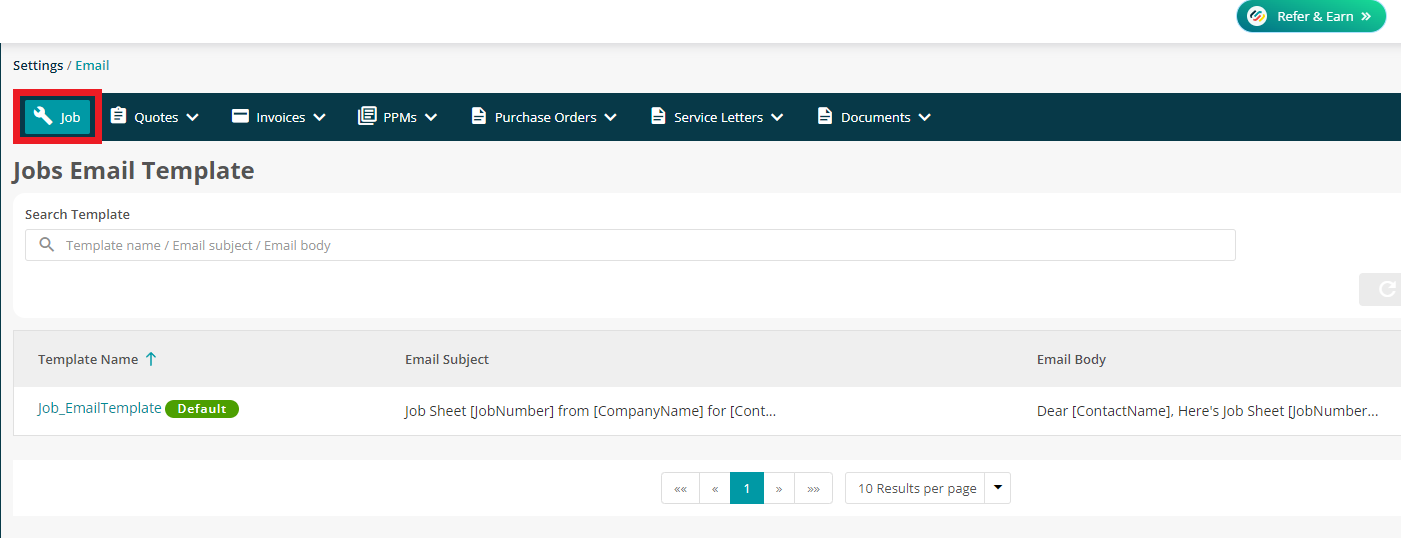
Select the section for which you want to create or modify a template. This guide will focus on the Job section as an example.
Step 3: Creating a New Template
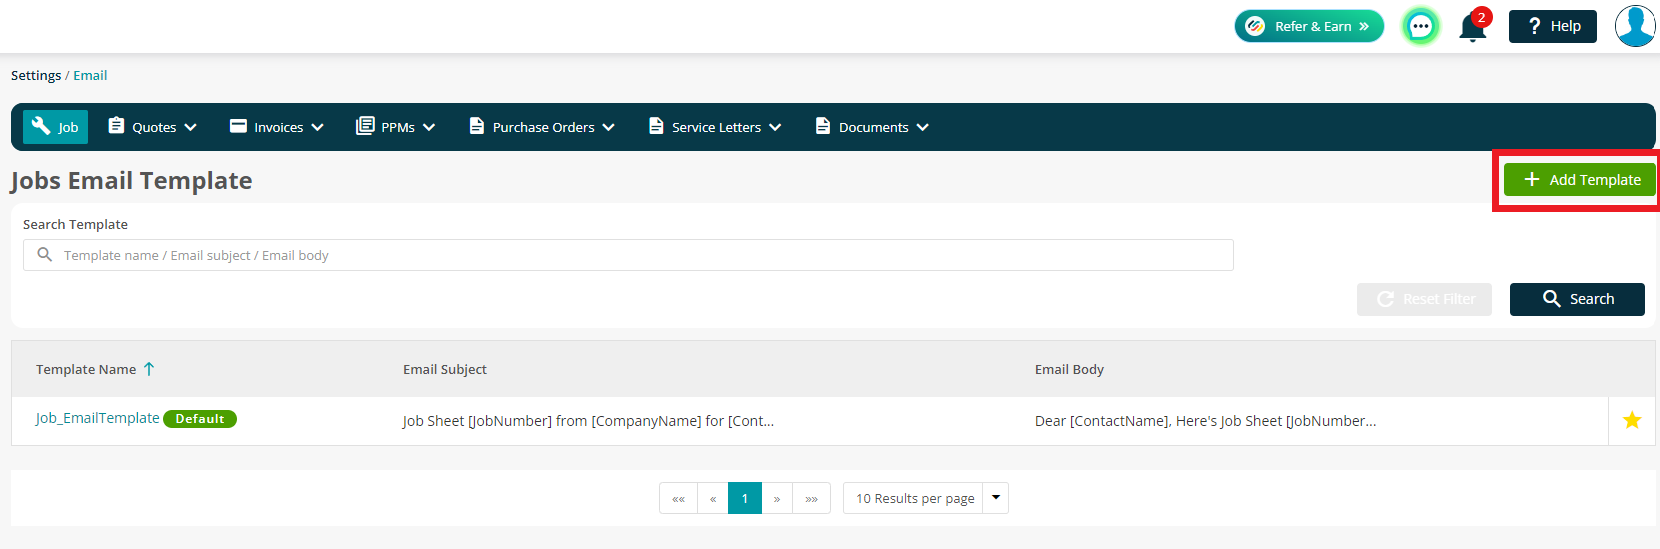
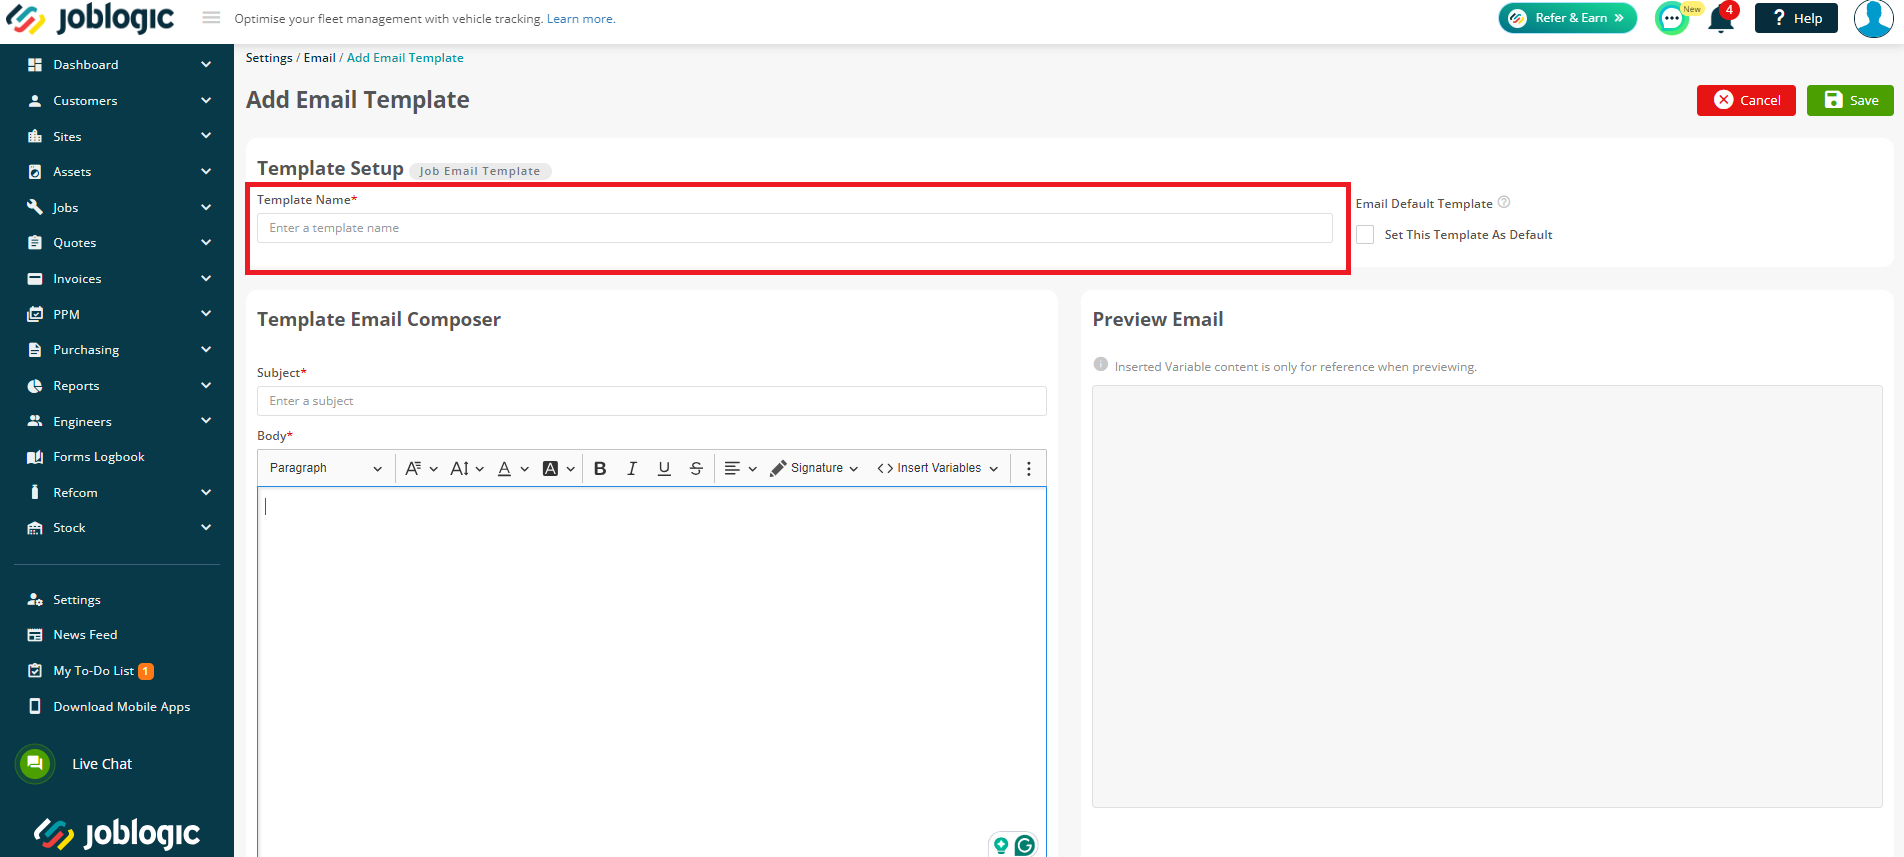
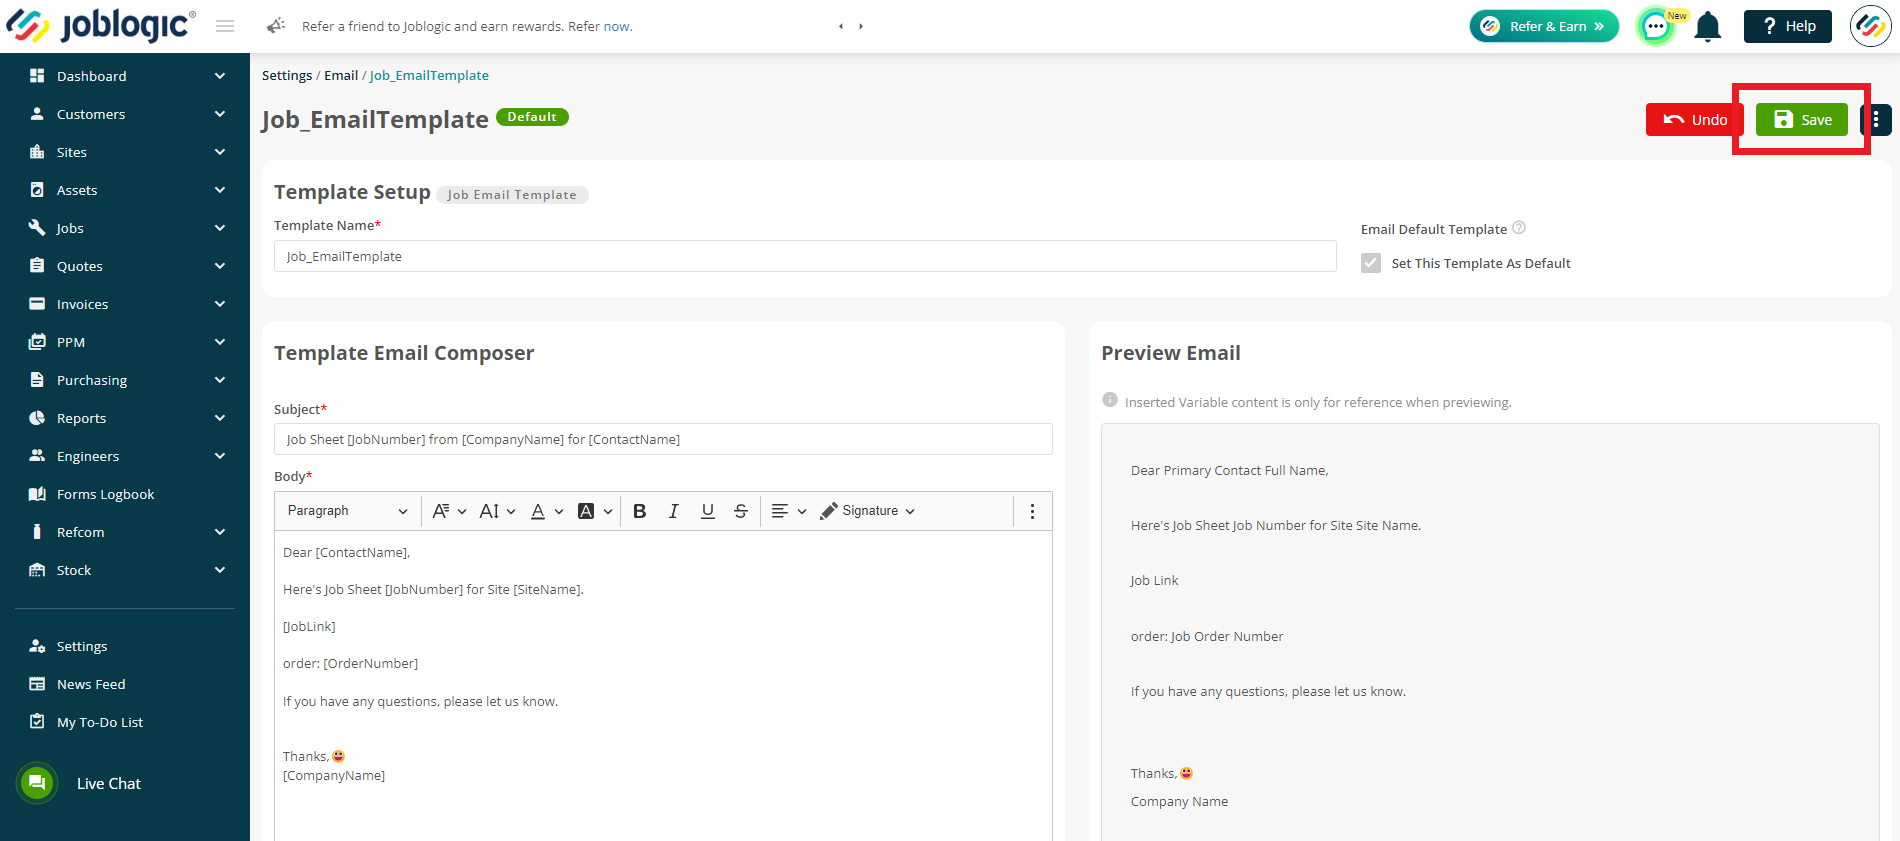
Each section has a pre-designed default template which you can review and use if it meets your requirement. Alternatively, click on the "Add Template" button in the top right to start crafting your email masterpiece. Give your template a descriptive name so that it's easily identifiable. You can also mark the email template as default if you wish this one to be your main template.
Step 4: Designing Your Template
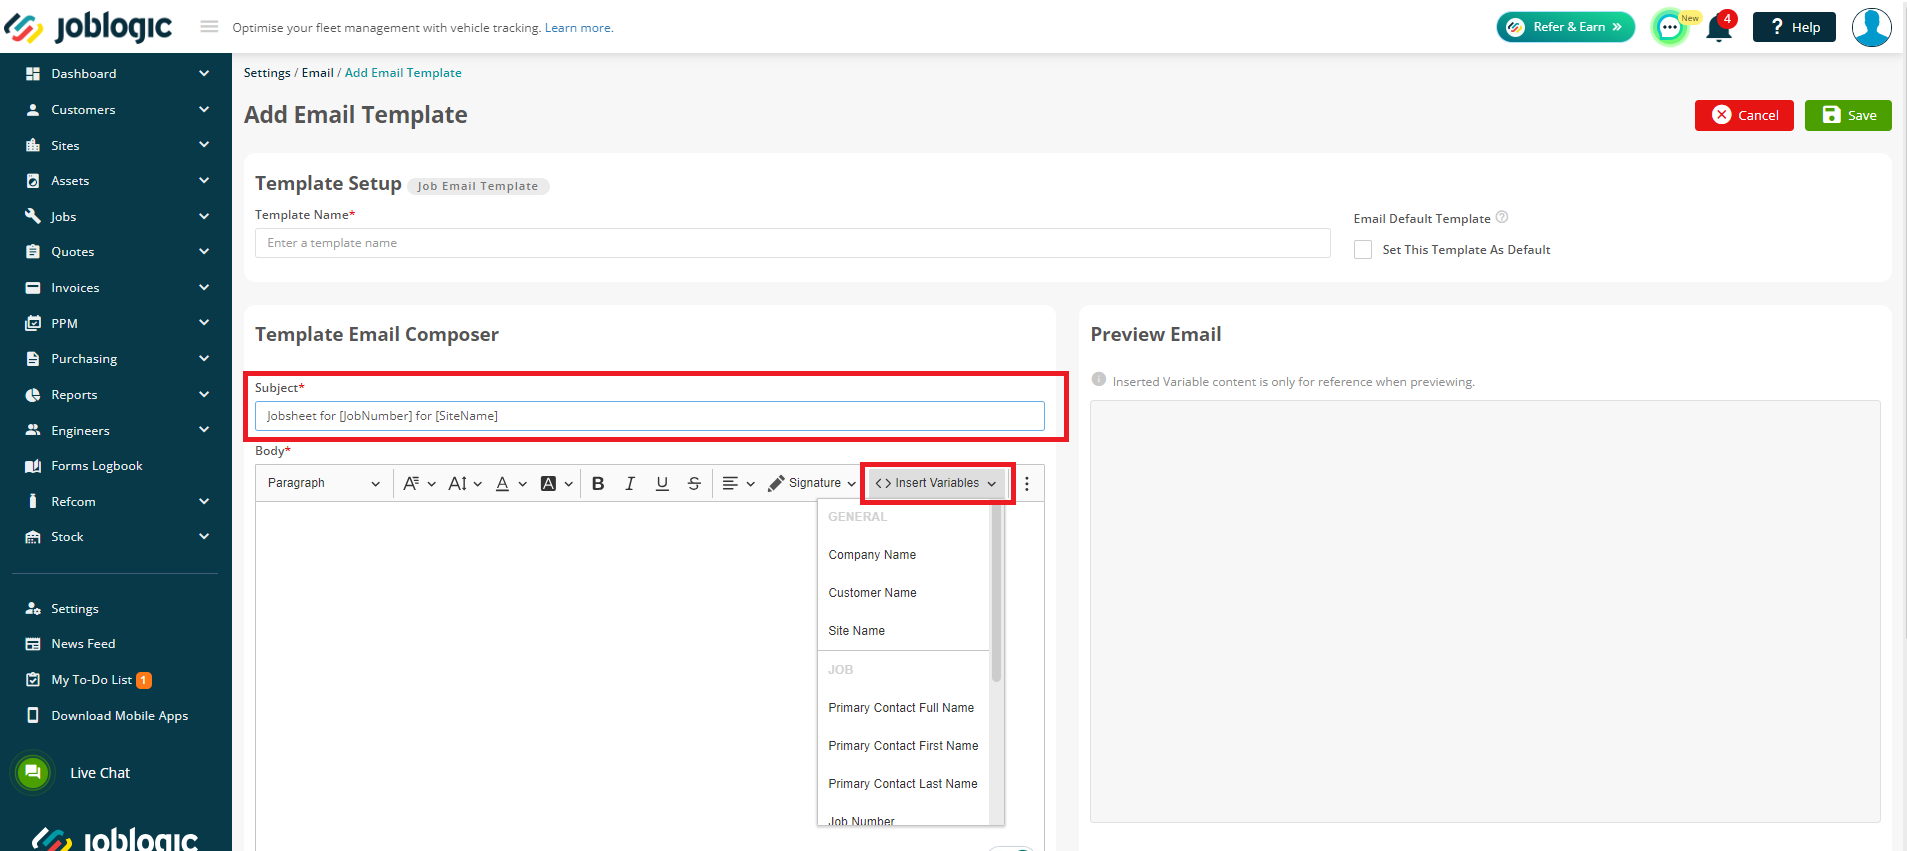
Compose the Subject and Body of your email template, utilising dynamic tags to include specific details relevant to the job. These tags automatically pull information from JobLogic, ensuring that each email is personalised.
To add ‘dynamic tags’, click the three dots to the right of the Email Body > Insert Variables > Click the relevant tag
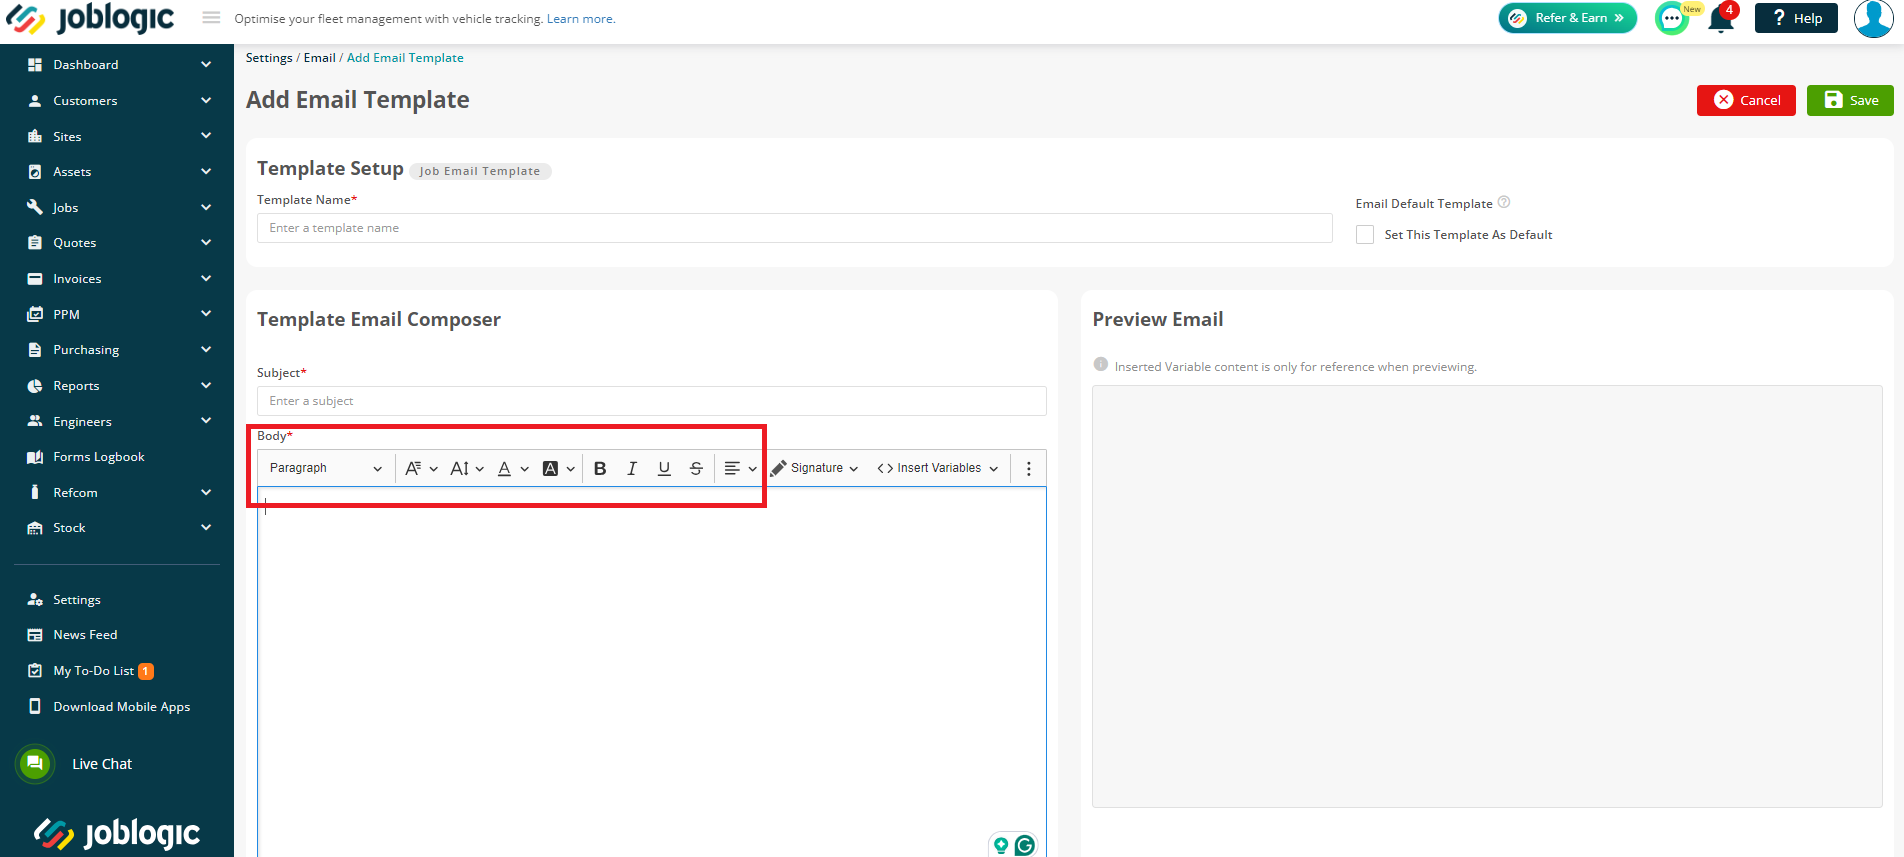
There are different formatting options available to help you design your email content professionally. This will be similar to other programs such as Word, where you can choose your own font style, colours and size.
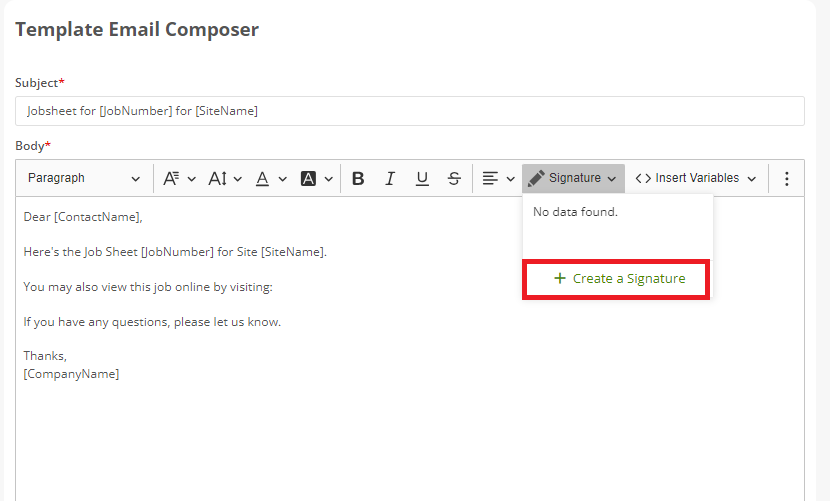
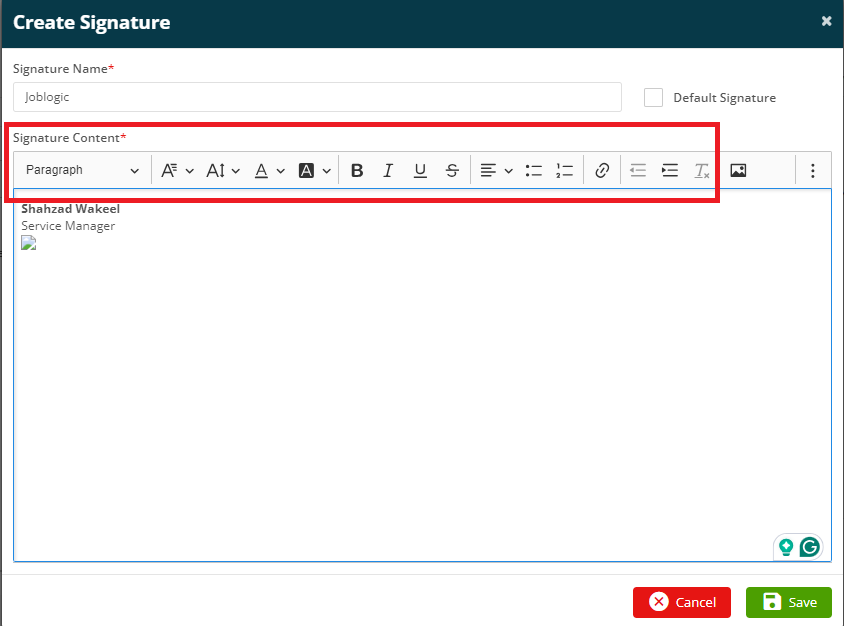
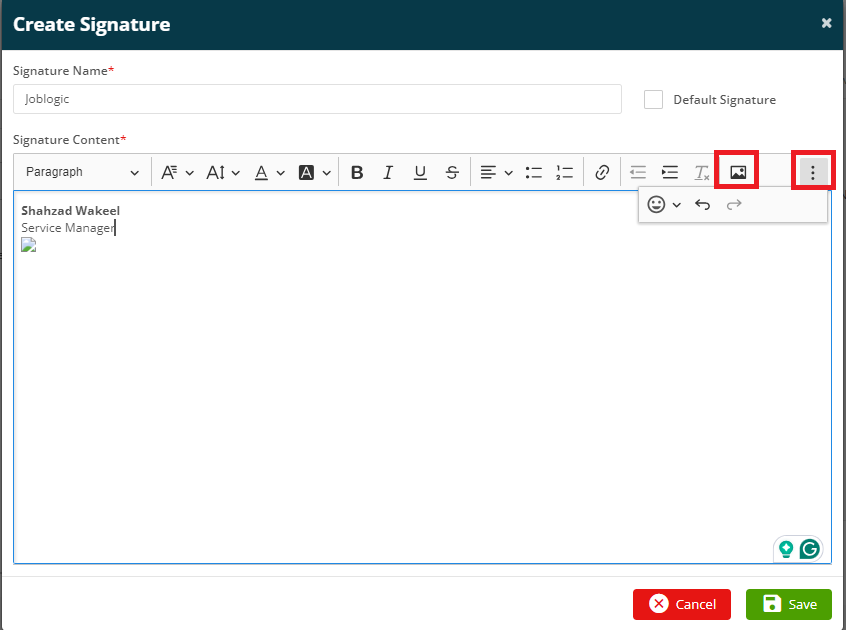
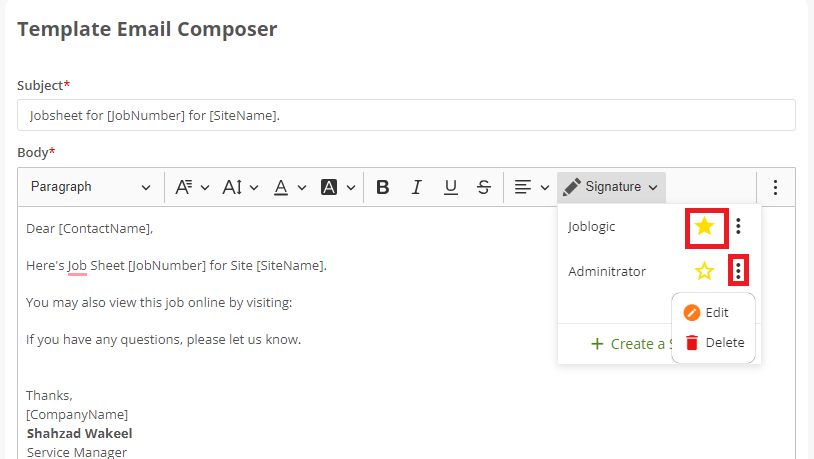
You may also create your own signature to improve the professionalism of each email. To create a new signature, click on “Signature” and “Create a Signature”. Here, you can create your own email signature, including images/logos.
Once the signatures are created, you can choose the desired one from the signature dropdown by clicking on “Star” icon or click on ellipsis/3 vertical dots to Edit/Delete the signature.
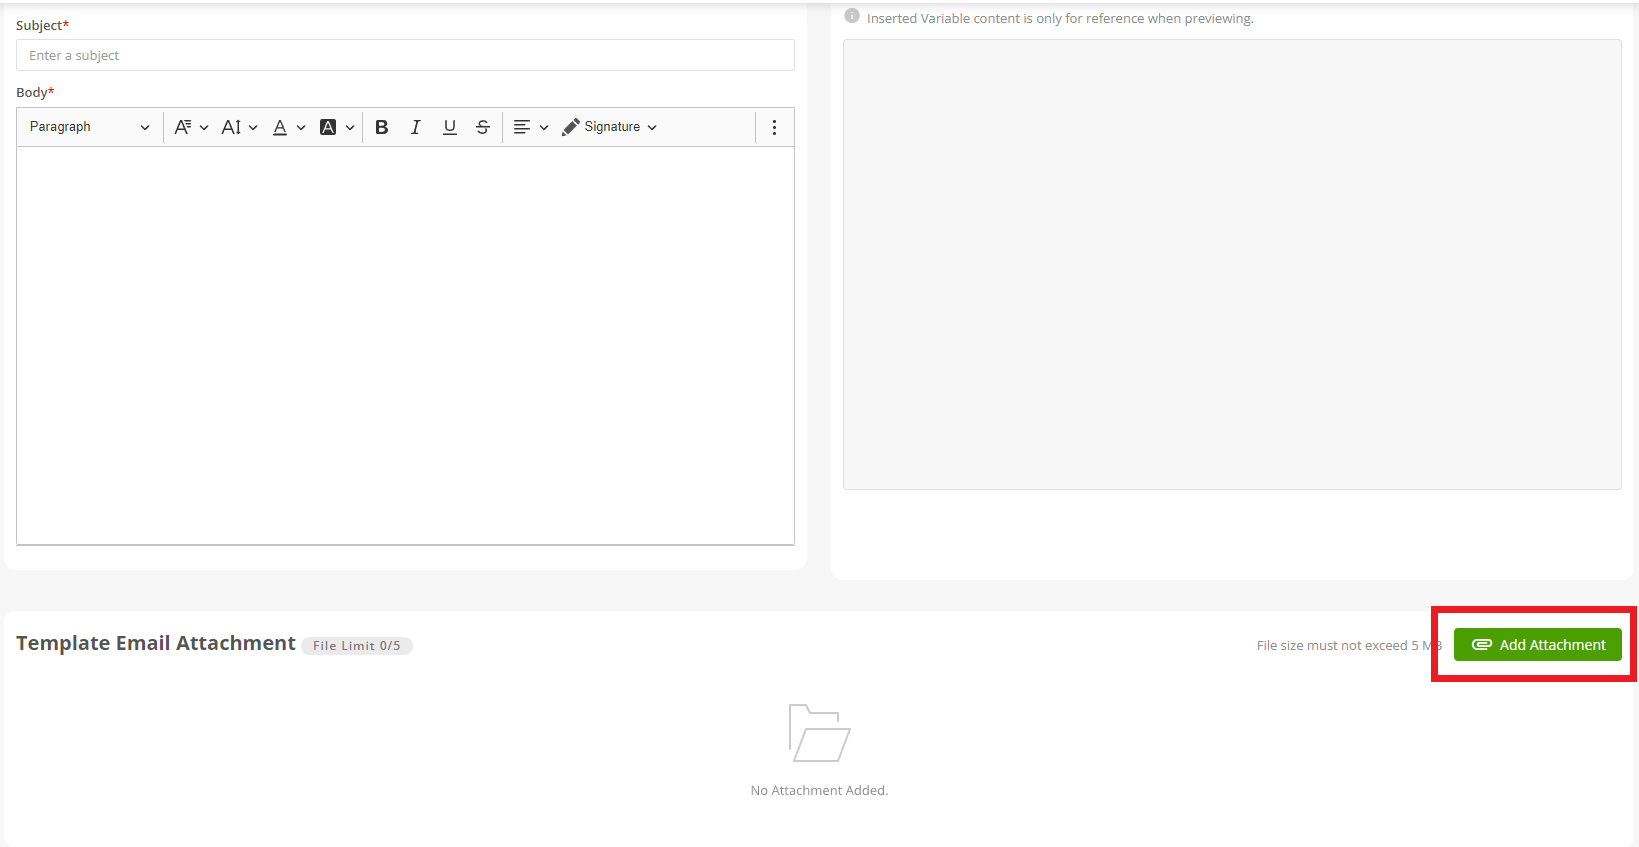
Finally, click Add Attachment at the bottom of the page to add any relevant images/documents you want to be included with all emails by default.
Remember this is just the template and any job specific attachments can be sent with the email on a job by job basis.
Click Save at the top of the page and your template will be ready to use.
Using Email Templates in a Job
Step 1: Navigating to the Job
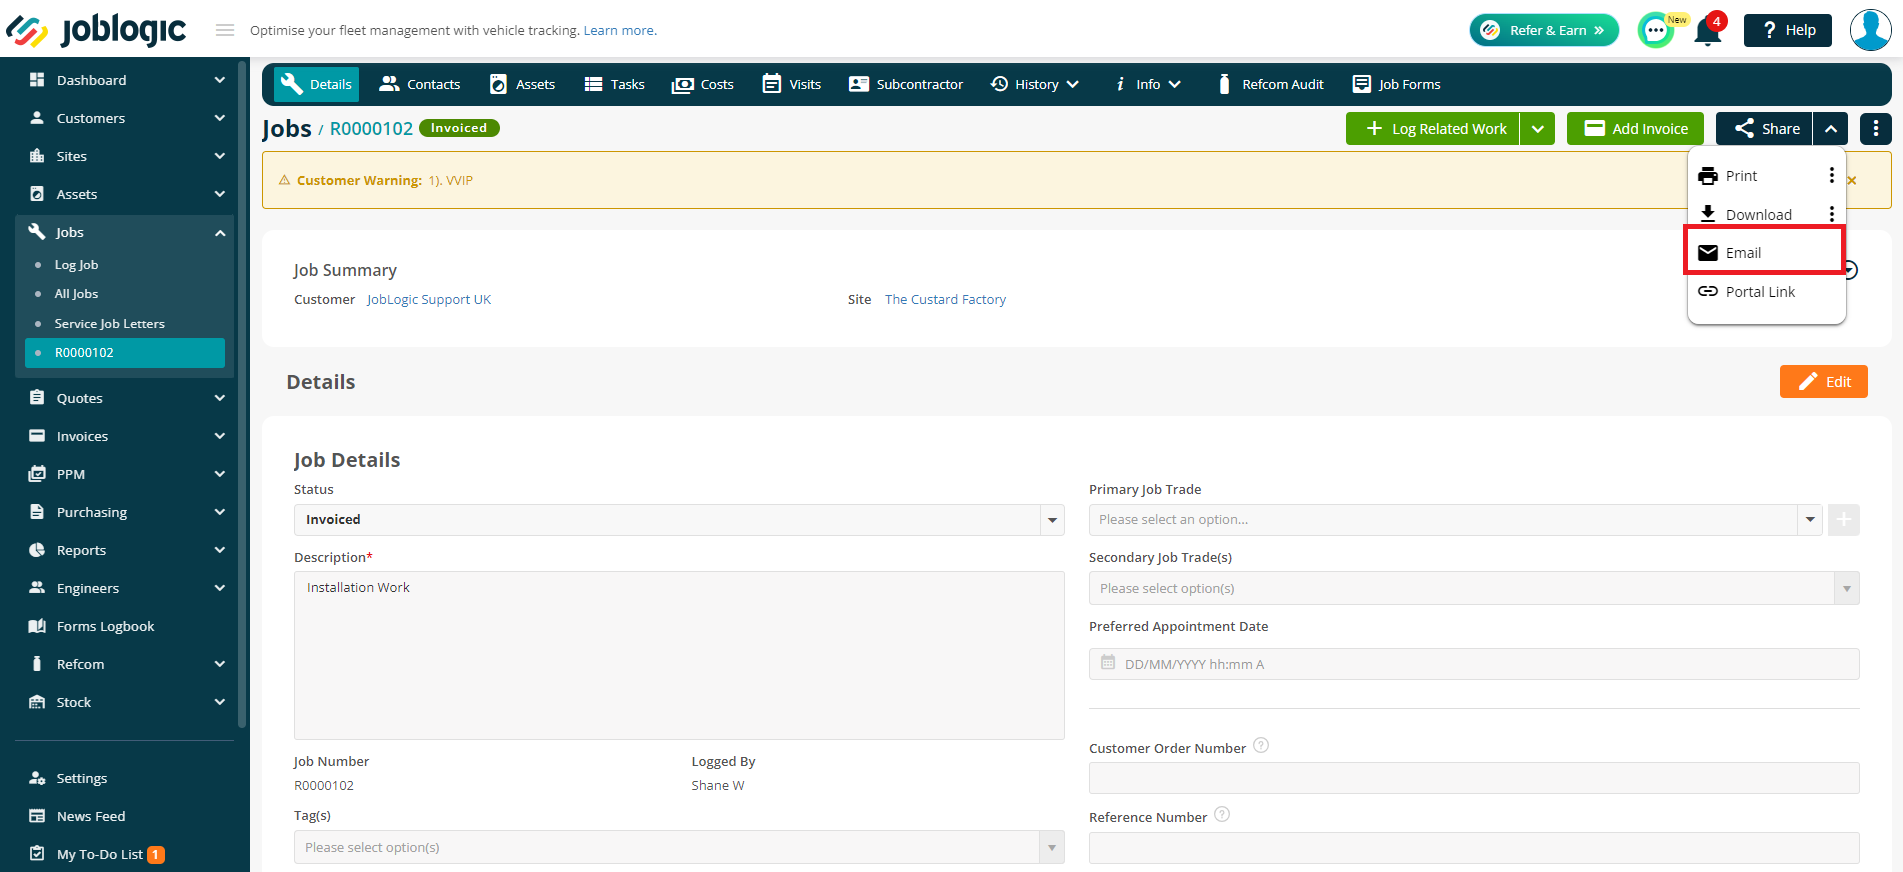
On the menu list, click Jobs > All Jobs.
Next, locate the specific job for which you want to send an email by using the search filters or finding it in your list.
Open the job details page by clicking on the Job Number and click on the Share dropdown arrow > Email
Step 2: Choosing a Template
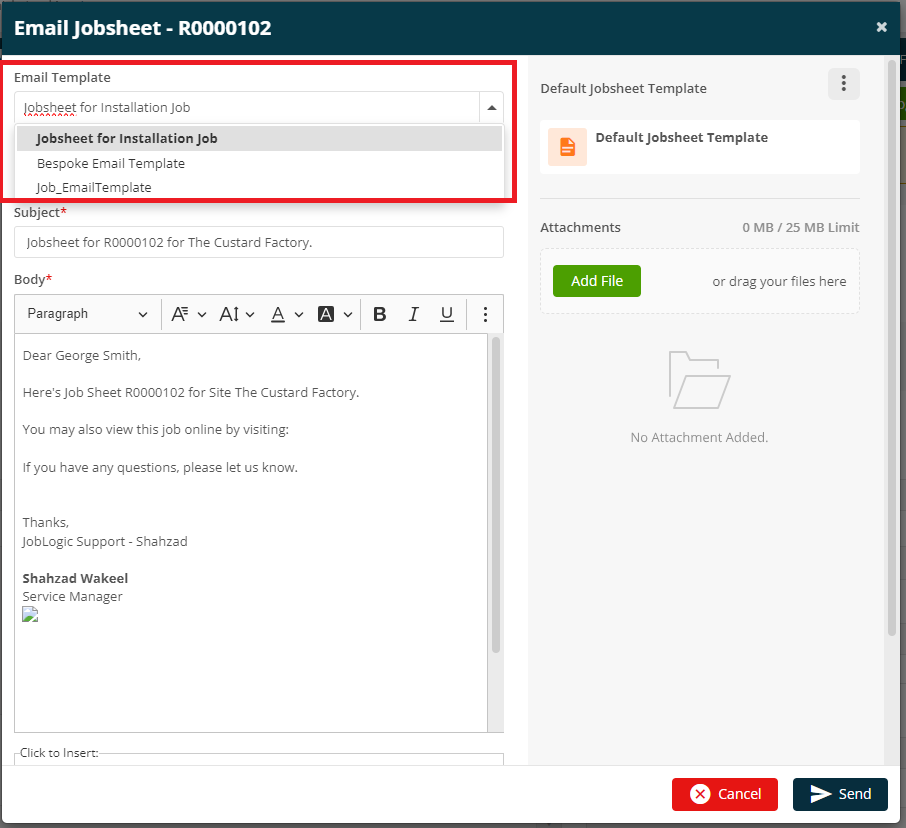
You will now see your Email Template window. It will automatically choose the template you've marked as default. However, an Email Template dropdown menu will display your available templates in case you want to choose a different one for a specific Job.
Step 3: Customizing if Necessary
Review the pre-filled email content and make any necessary adjustments. You can personalise the message further or add specific details related to the job if required.
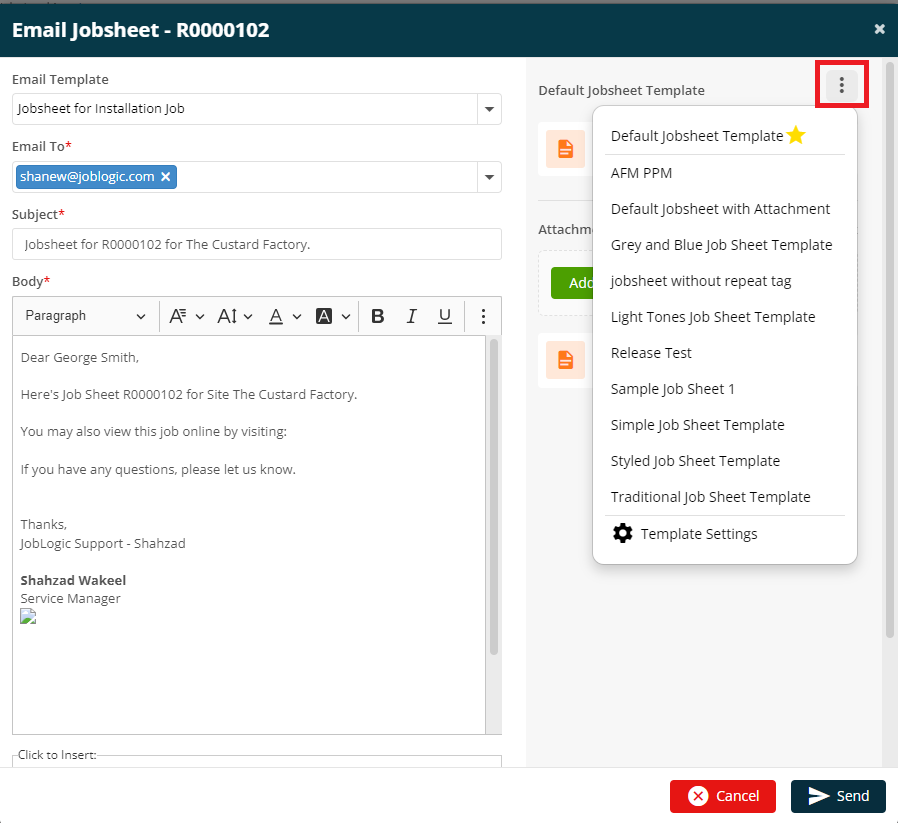
Step 4: Choosing the Document Template
It will automatically attach the default document template, but you may choose a different one by clicking on ellipsis/3 vertical dots and selecting the relevant sheet.
Step 5: Add an Attachment
Any attachments that were added to the Email Template in Settings will pull through automatically here, however you can also add more specific ones by clicking Add File and selecting the relevant documents.
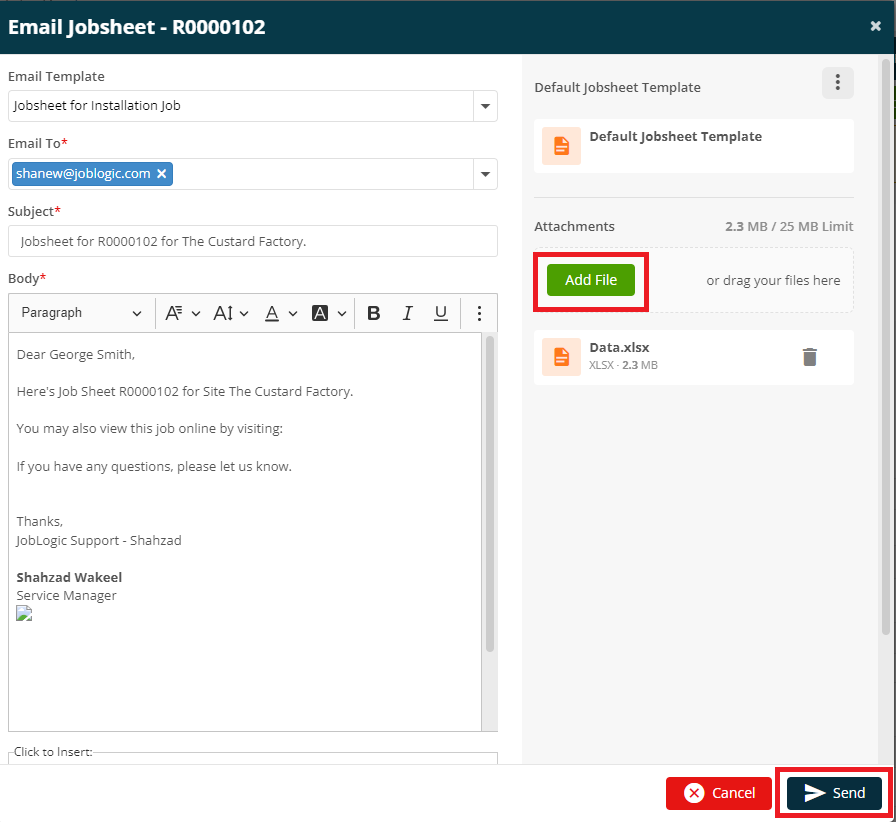
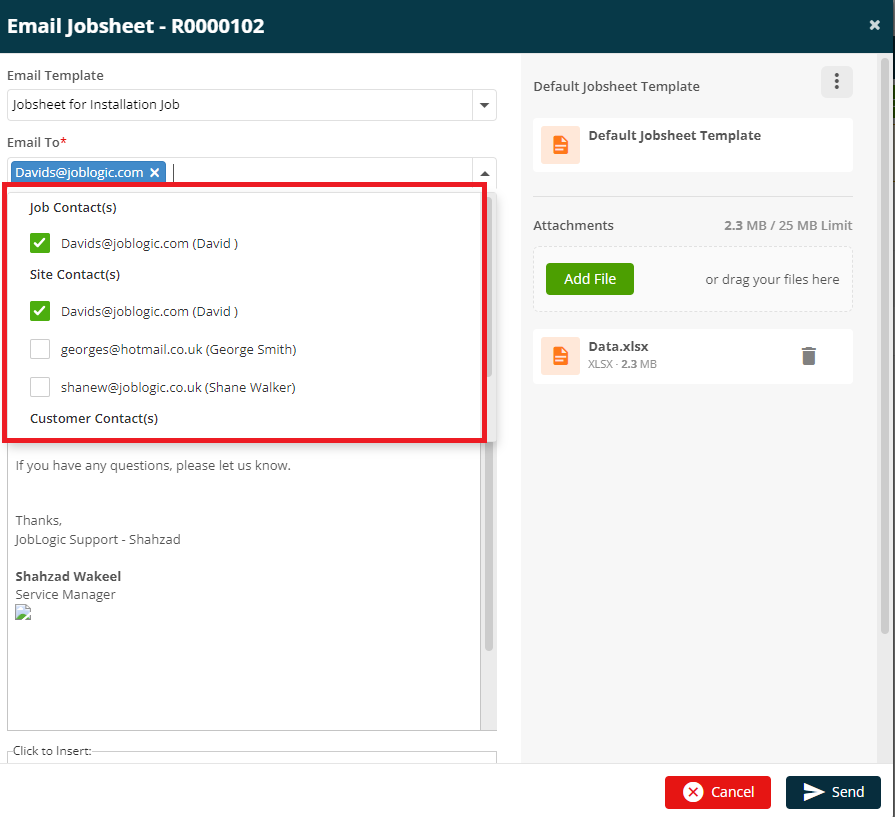
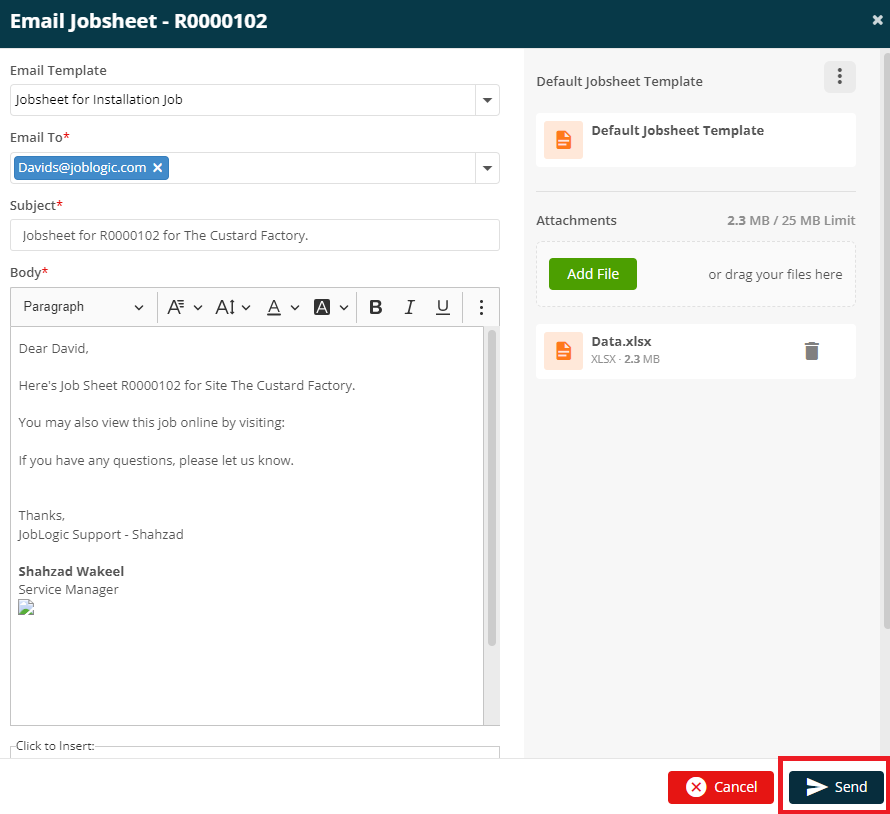
Step 6: Choose the Contact/s and Send the Email
Once satisfied with the email, choose the relevant contact from the “Email to” dropdown. This will pre-populate with the contacts added against Customer/Site and Job but you can still type one manually, if required.
Hit the "Send" button in the bottom right once you're satisfied with the email template. Your carefully crafted, professional email is now on its way to the intended recipient.
Further Support
For further information or assistance with the above, contact our Support Team on 0800 326 5561 or email support@joblogic.com. Alternatively, our Customer Success Management team can be reached by emailing customersuccess@joblogic.com
Publishing Details
This document was written and produced by Joblogic’s Technical Writing team and was last updated on the date specified above. Be aware that the information provided may be subject to change following further updates on the matter becoming available. Additionally, details within the guide may vary depending on your Joblogic account’s user permissions.