Introduction
The contacts option against jobs allows users to set up contact details and assign them to a job. This user guide details how to assign contacts to jobs within the back office.
Adding Contacts to Jobs
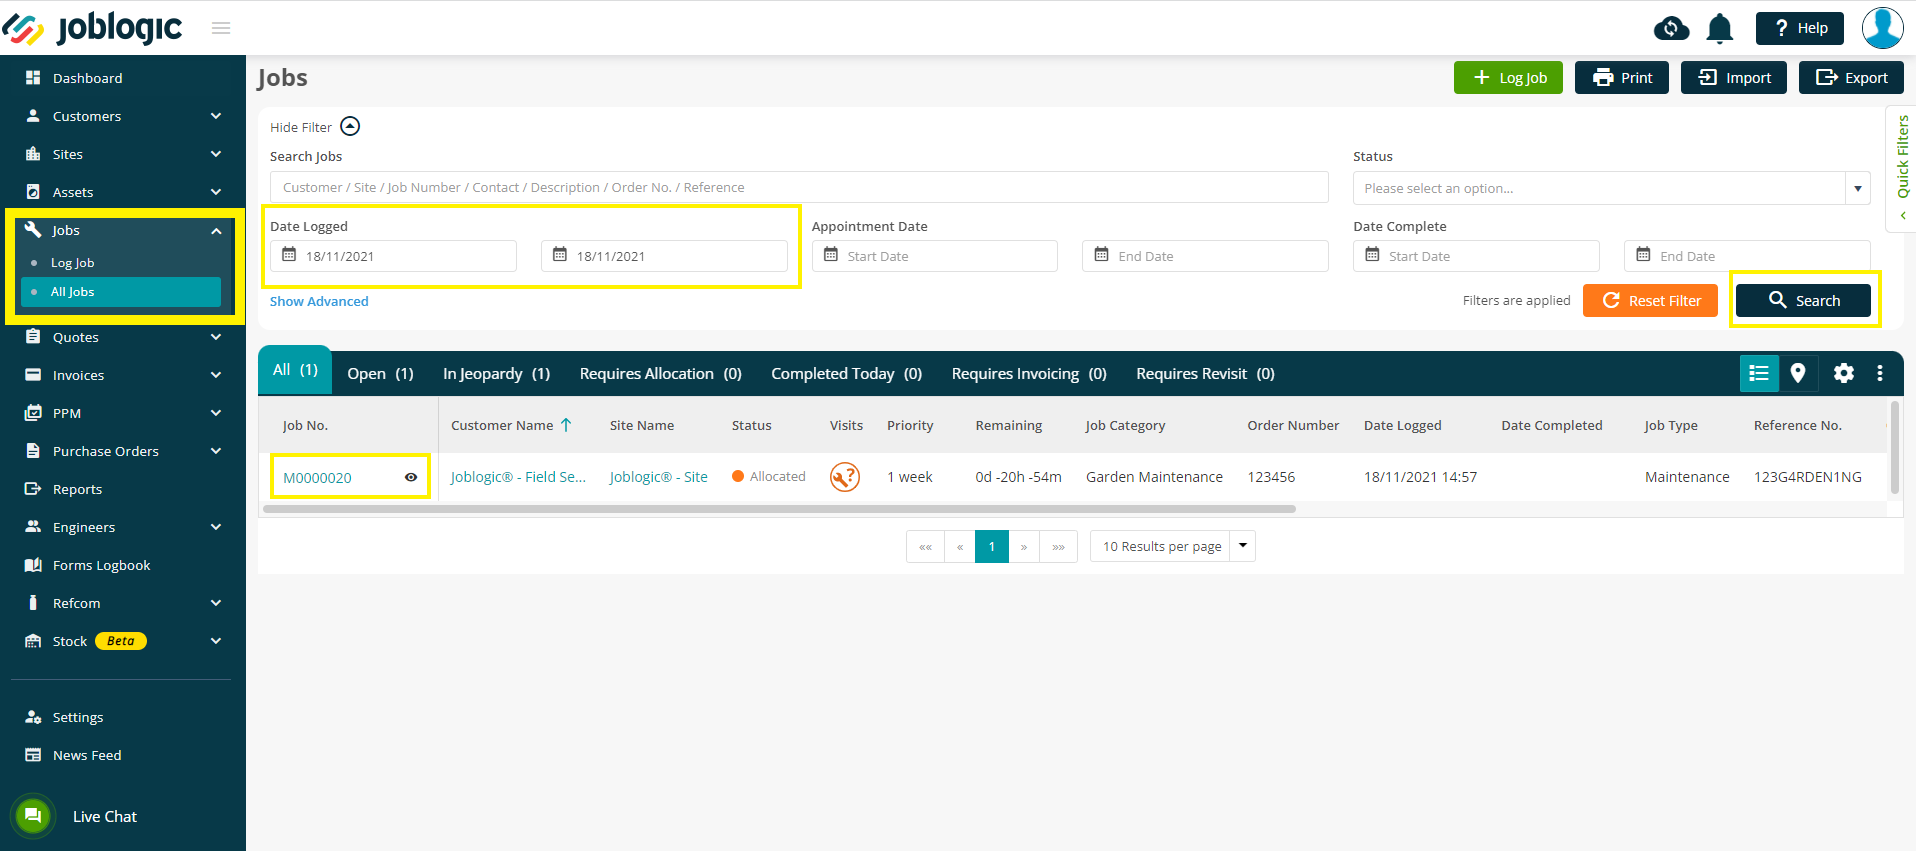
In order to assign a contact to a job, navigate to ‘Jobs’ > ‘All Jobs’ within the left side main menu and use the search and filter tool to locate the applicable job.
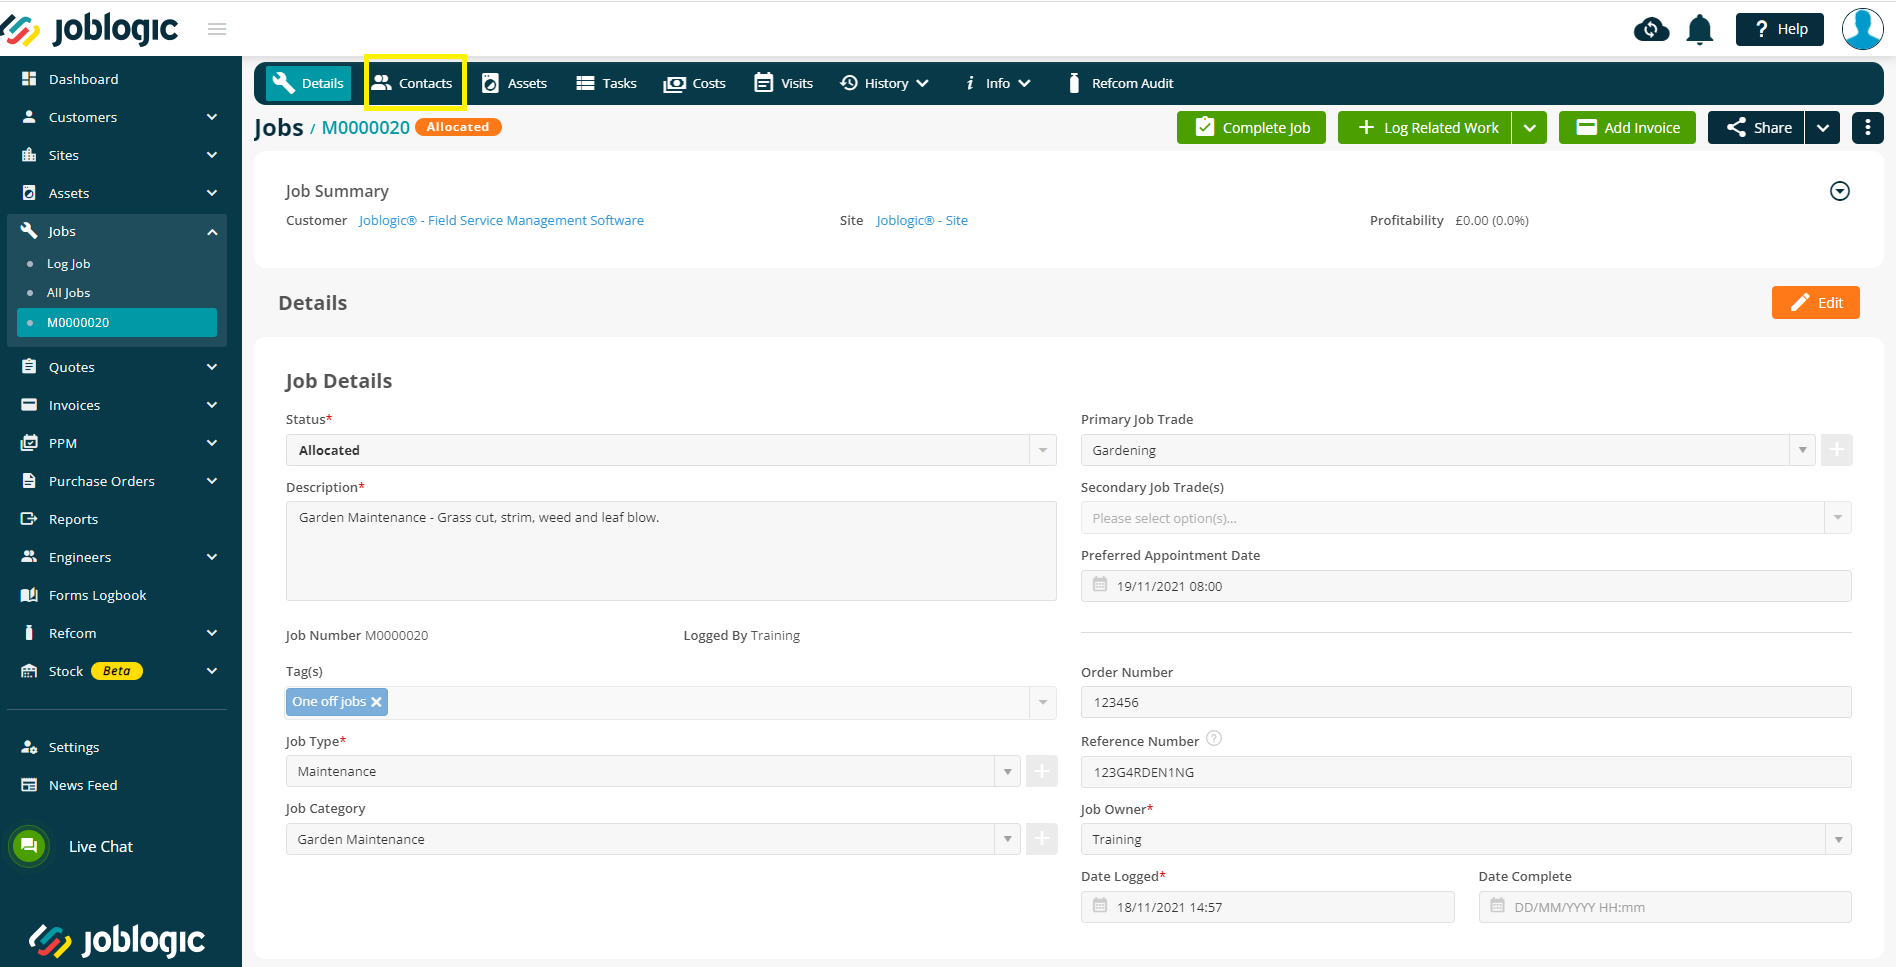
Select the job and select the ‘Contacts’ tab from the tabs list towards the top of the page.
Select the ‘Assign Contact’ option.
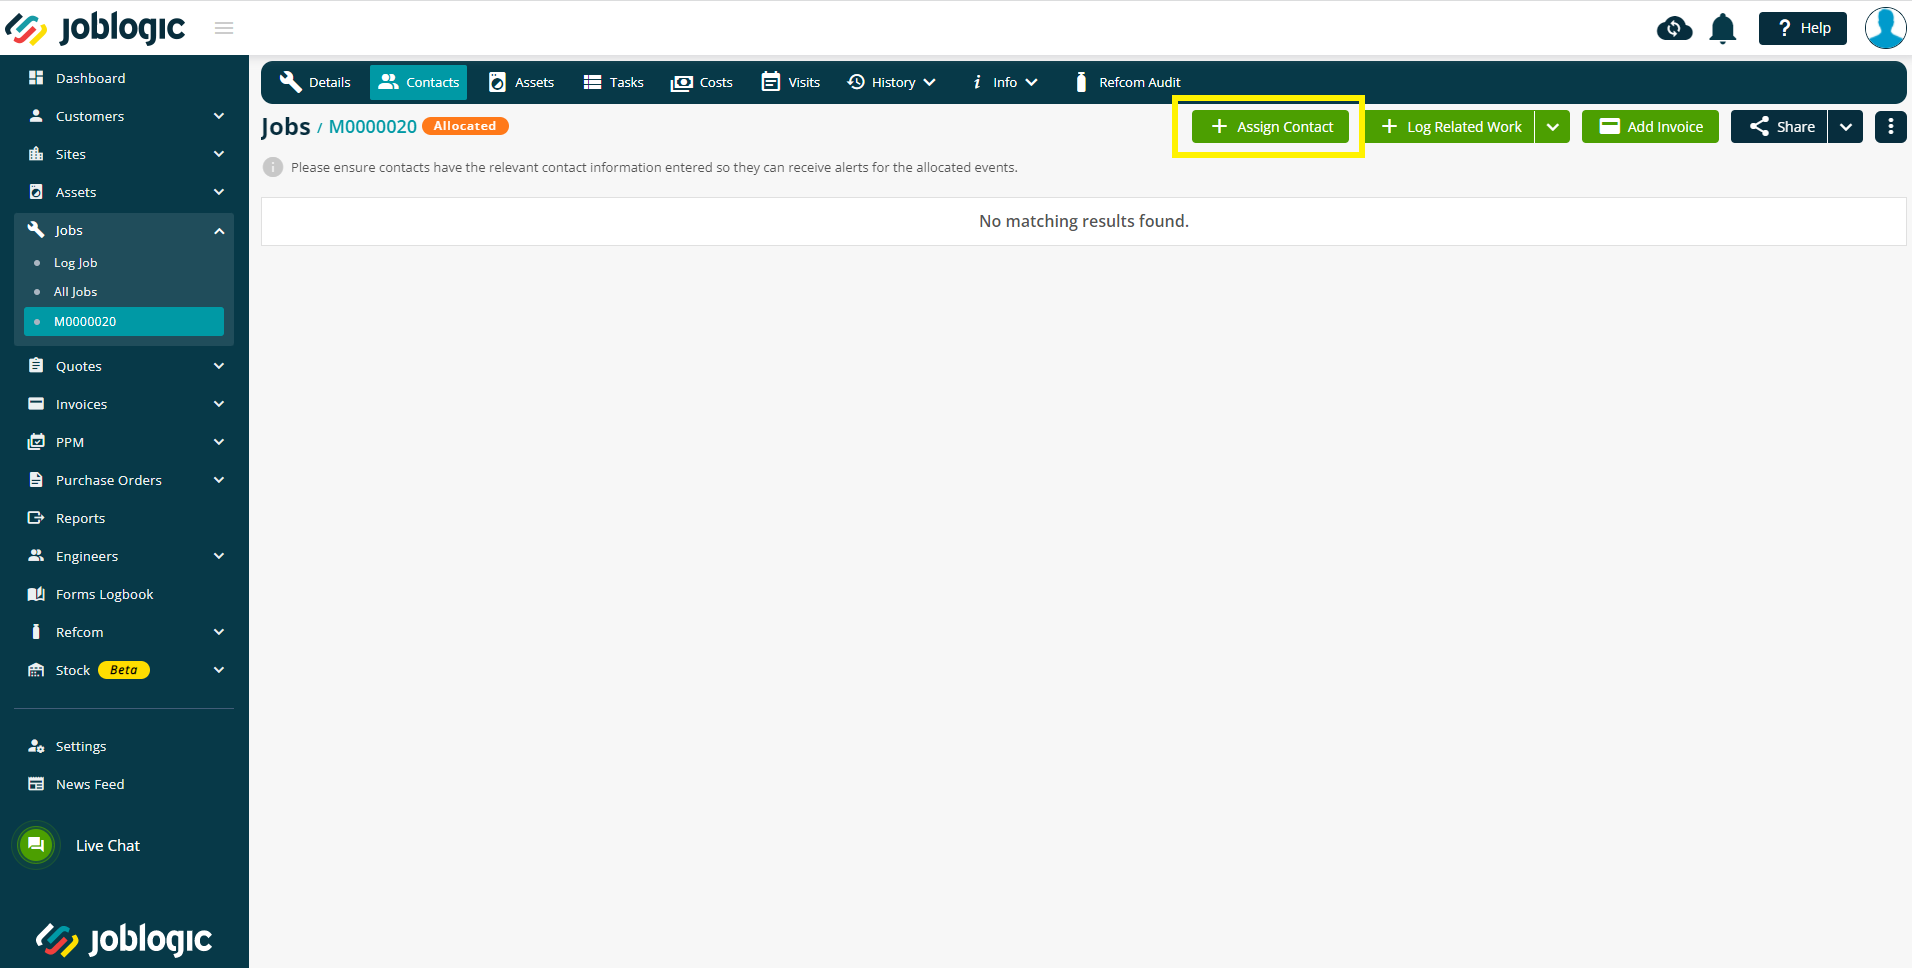
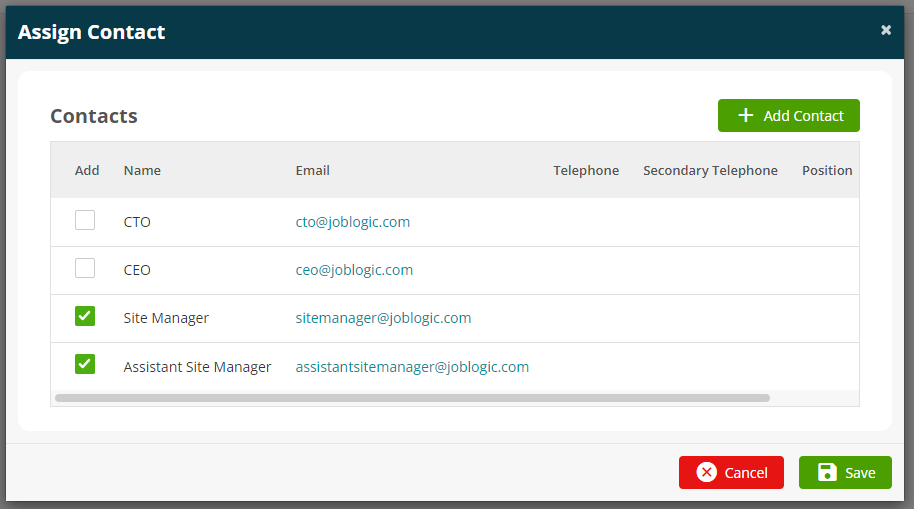
Any contacts set against the customer and site for the job will be displayed within the ‘Assign Contact’ window and are available to assign to the individual job.
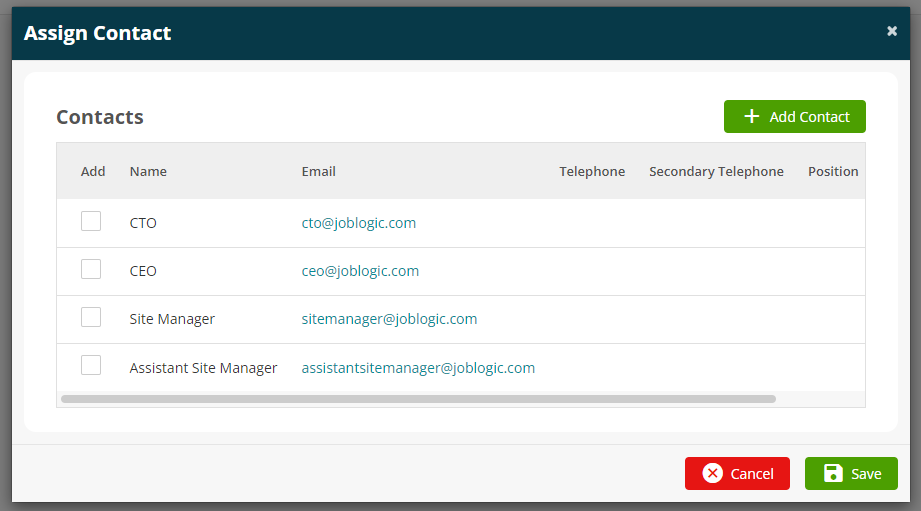
In order to assign a customer or site contact to the job, tick the applicable ‘Add’ tick box against them.
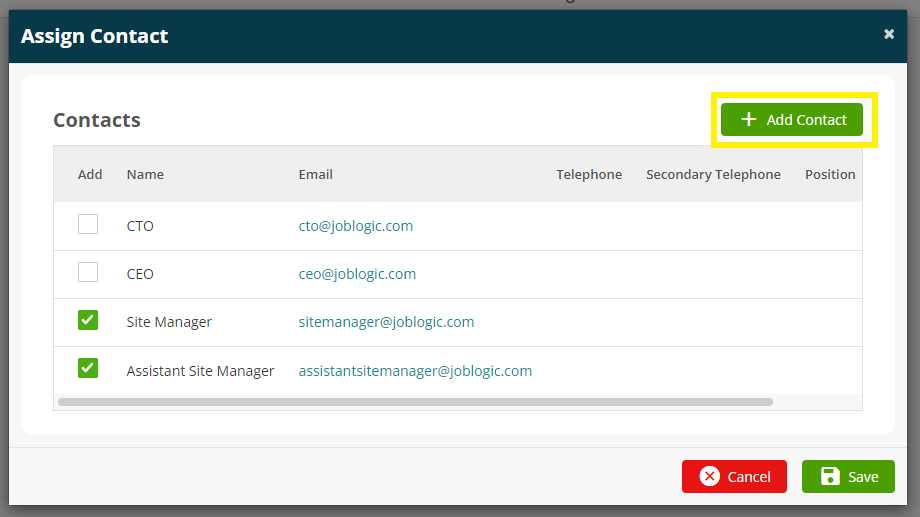
If a new contact, which does not exist as a customer or site contact needs to be added, they can be via the ‘+ Add Contact’ button.
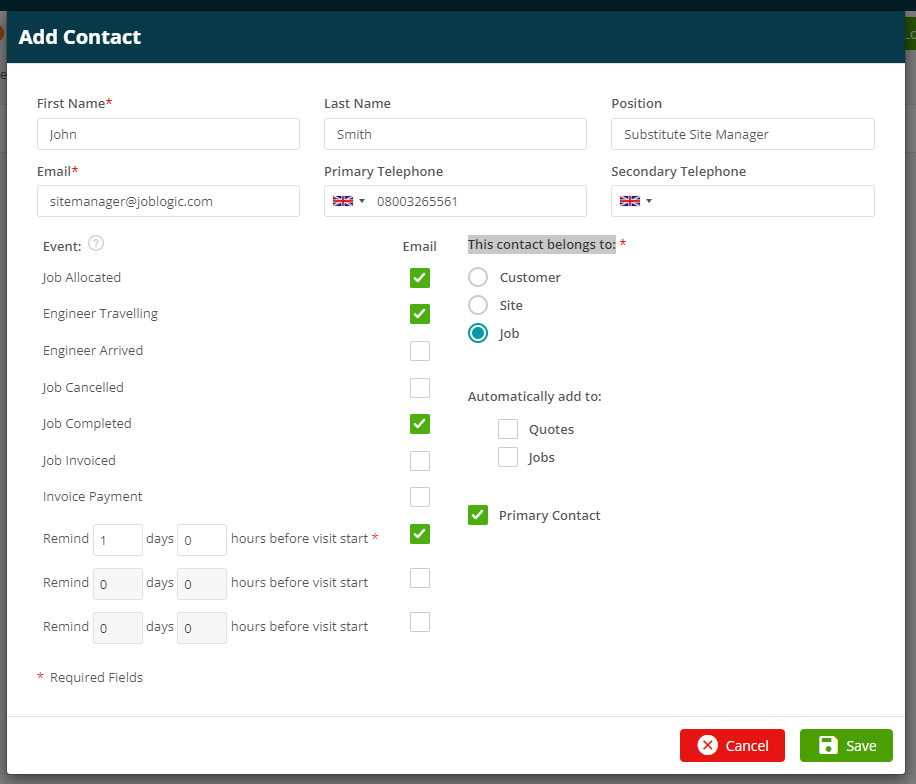
Fill in the details of the ‘Add Contact page’
The ‘This contact belongs to’ buttons can be used to also set this contact as a customer/site contact or set them as a contact specifically for the individual job.
The ‘Event’ section can be used to set any automatic email/sms notifications which you may have set up to send to the contact at the applicable stages of the job.
The contact can be marked as the primary contact for the job and can be set to automatically add to any quotes or other jobs for the job’s site via the appropriate tick boxes.
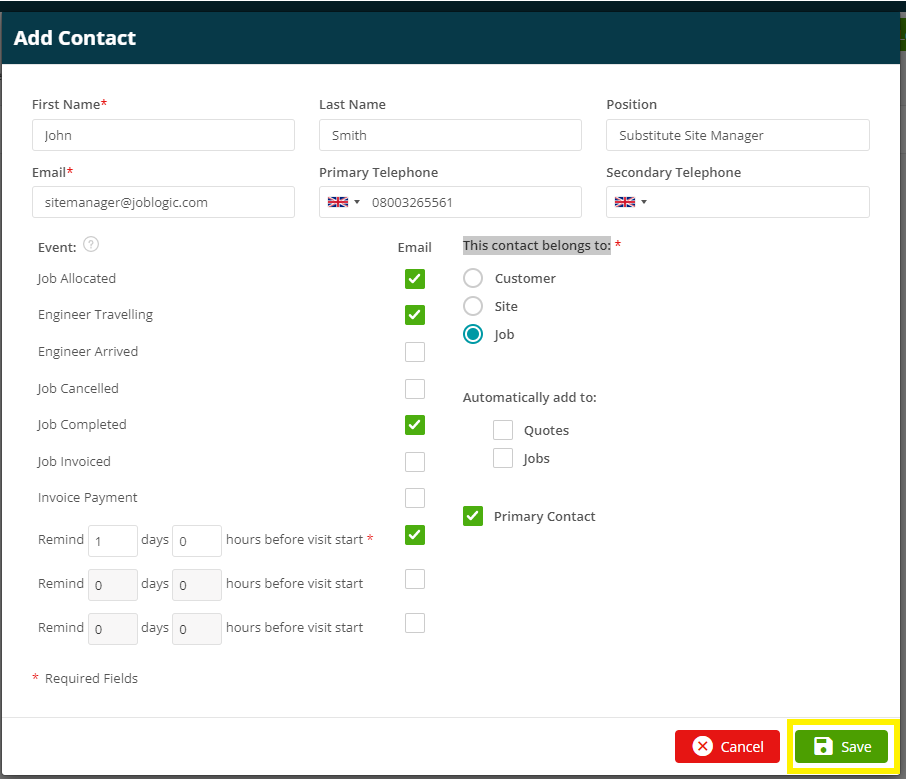
Once you are satisfied with the contact details and settings, select the ‘Save’ option and the contact will be added to the ‘Assign Contact’ area.
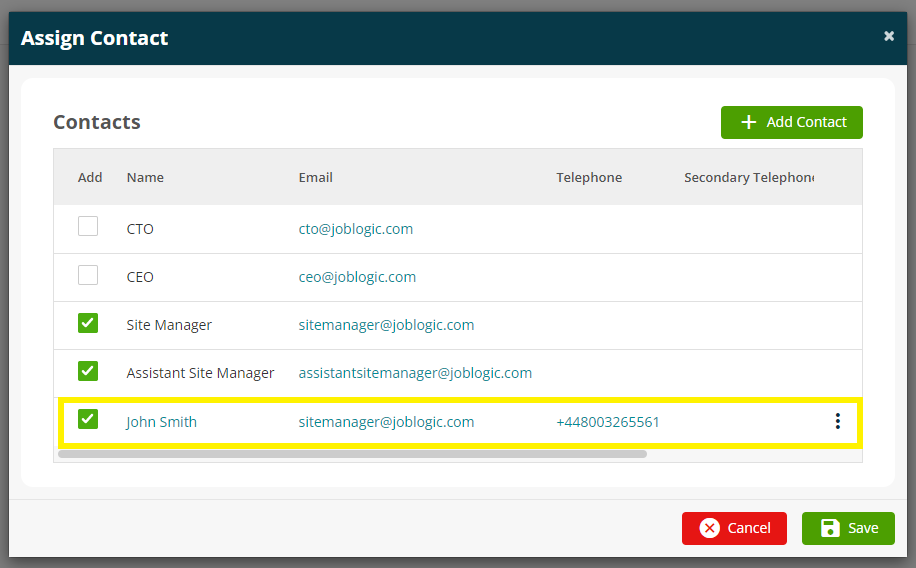
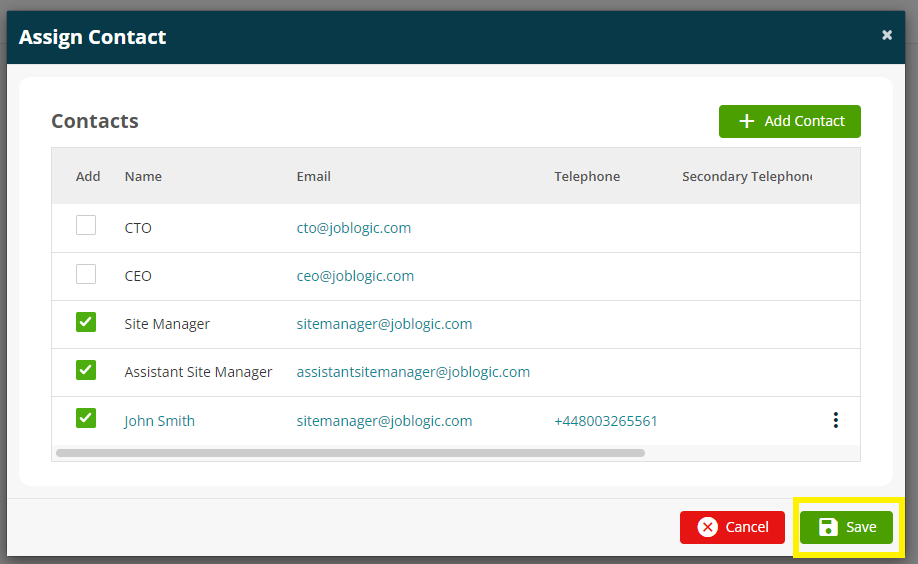
Once you are satisfied with all of the contacts to be assigned to the job (indicated by the tick box against each), select the ‘Save’ option within the ‘Assign Contact’ window.
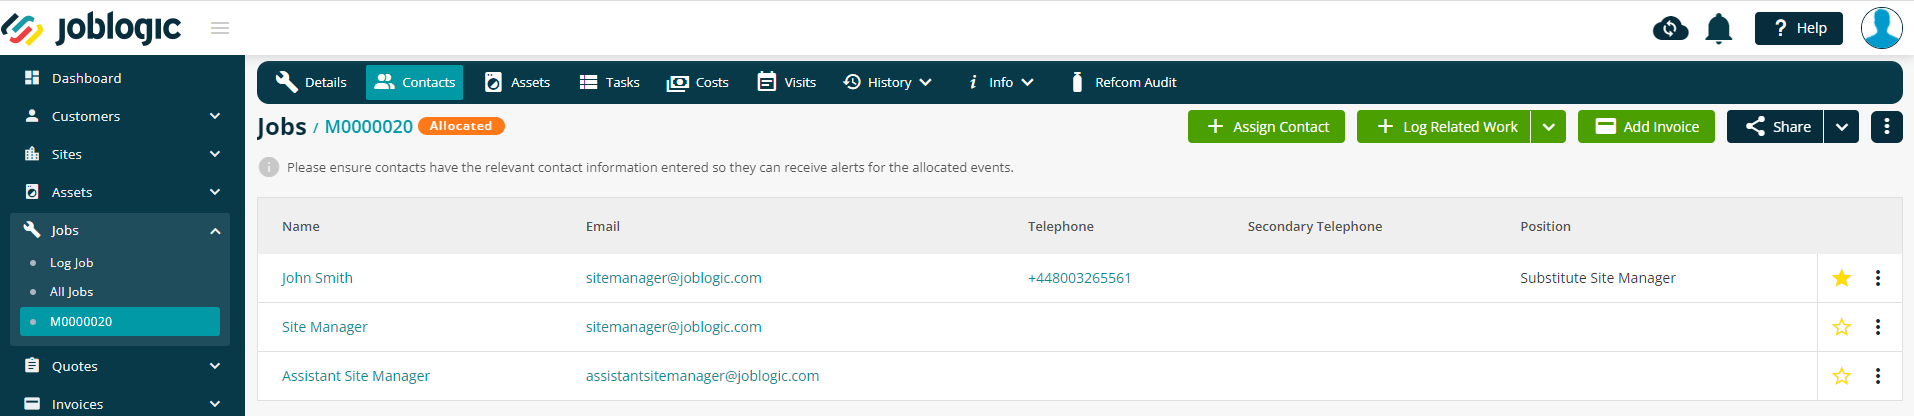
Any assigned contacts for this job and their details will then display under the ‘Contacts’ area of the job.
Amending Job Contact Details
When assigning a customer or site contact to a job, it is important to be aware that the details set against them at customer/site level will pull through to that contact against the job. However, these contact details and notification settings against the job can be amended to suit the individual job if the contact’s notification settings and details differ from their usual details set up against the contact at customer or site level. Additionally, if a job contact is entered in error or needs amending within the system due to the details changing, these can also be updated.
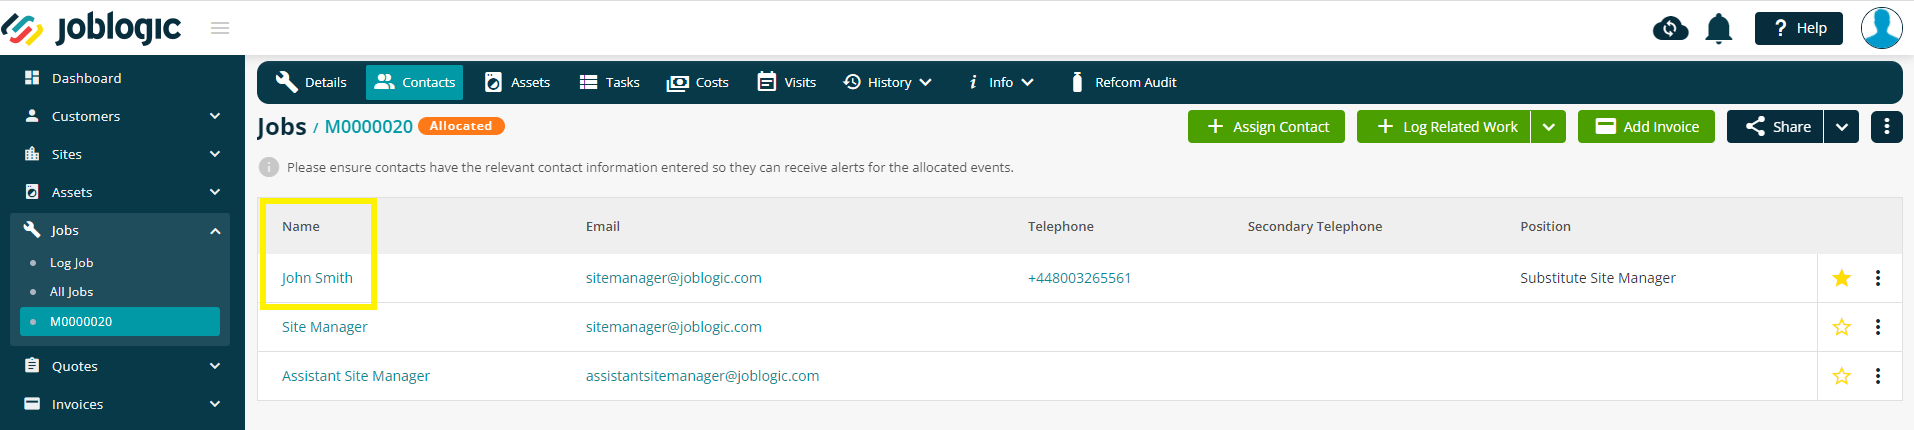
In order to amend job contact details, navigate to the ‘Contacts’ area against the job and select the hyperlinked name of the contact.
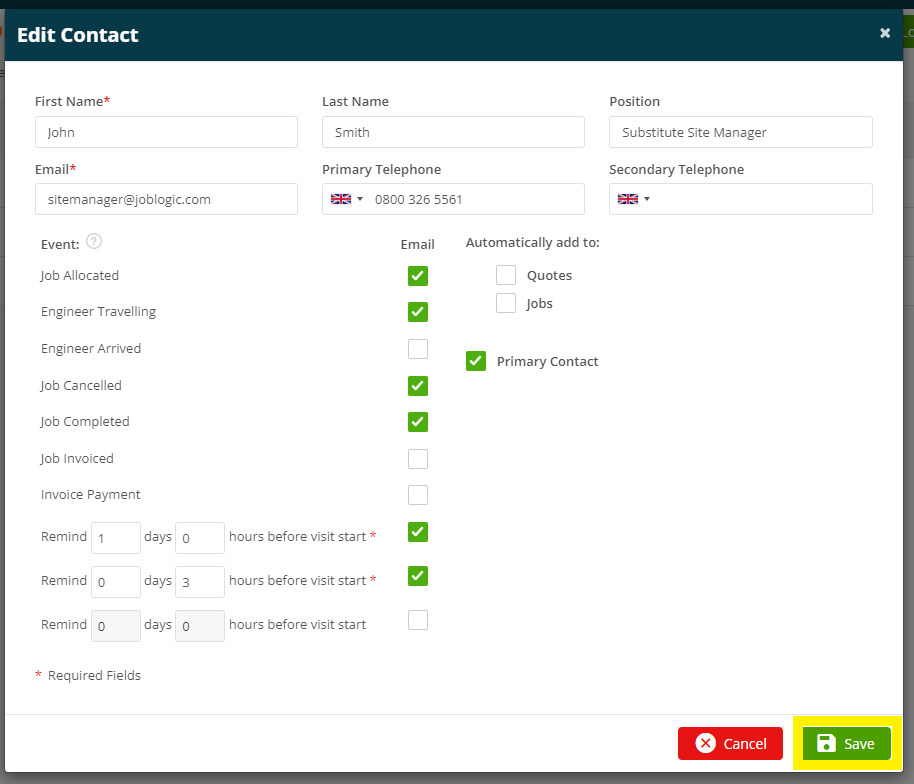
Amend the contact details and notification settings as applicable within the ‘Edit Contact’ window.
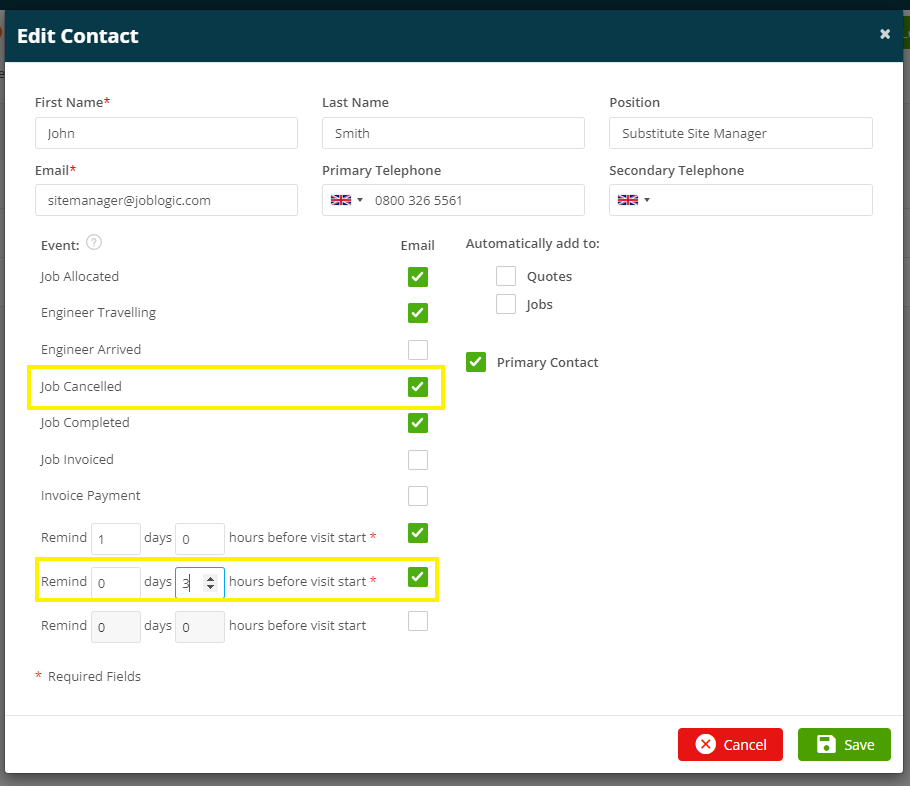
Select the ‘Save’ button for the changes to take effect.
Removing Job Contacts and Reassigning the Primary Job Contact
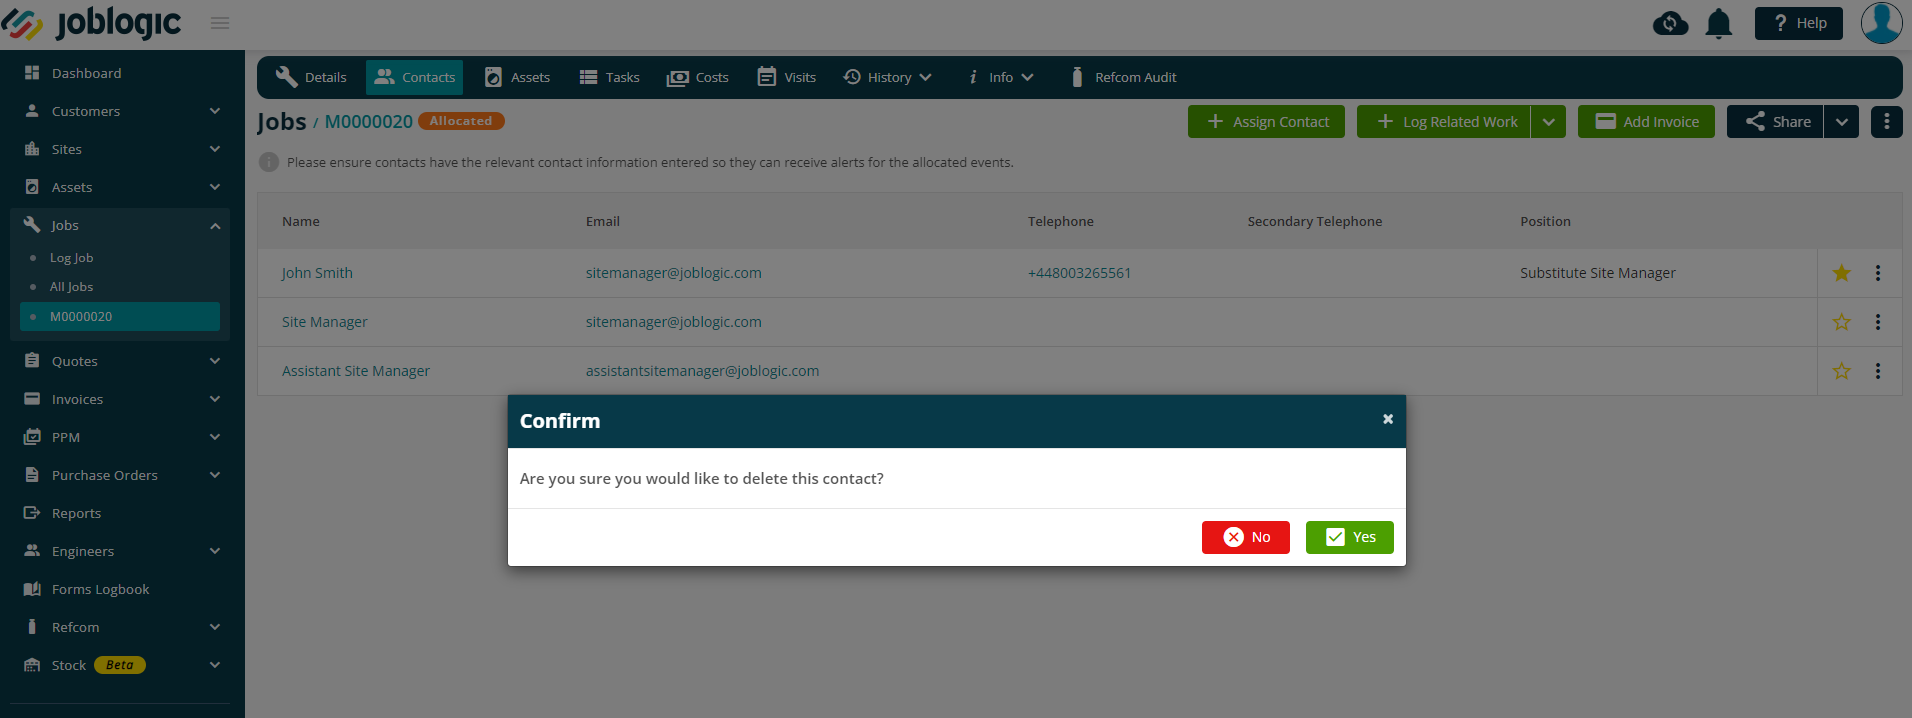
In order to remove a contact from a job navigate to the ‘Contacts’ area against the job and select the ‘3 dots’ icon against the contact which needs to be removed. Select the ‘Delete’ option and ‘Yes’ to the confirmation box. The contact will then be removed from the job. If deleting a job contact which was a customer or site contact assigned to the job, deleting this entry against the job will not delete it at customer or site level.
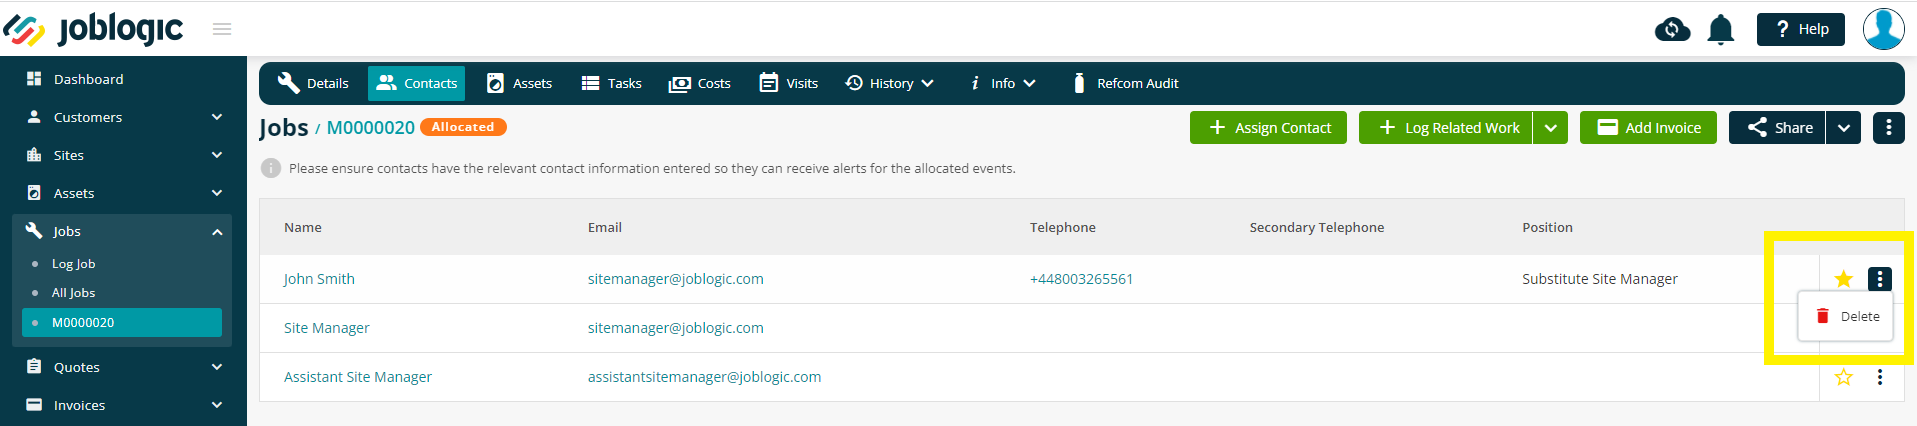
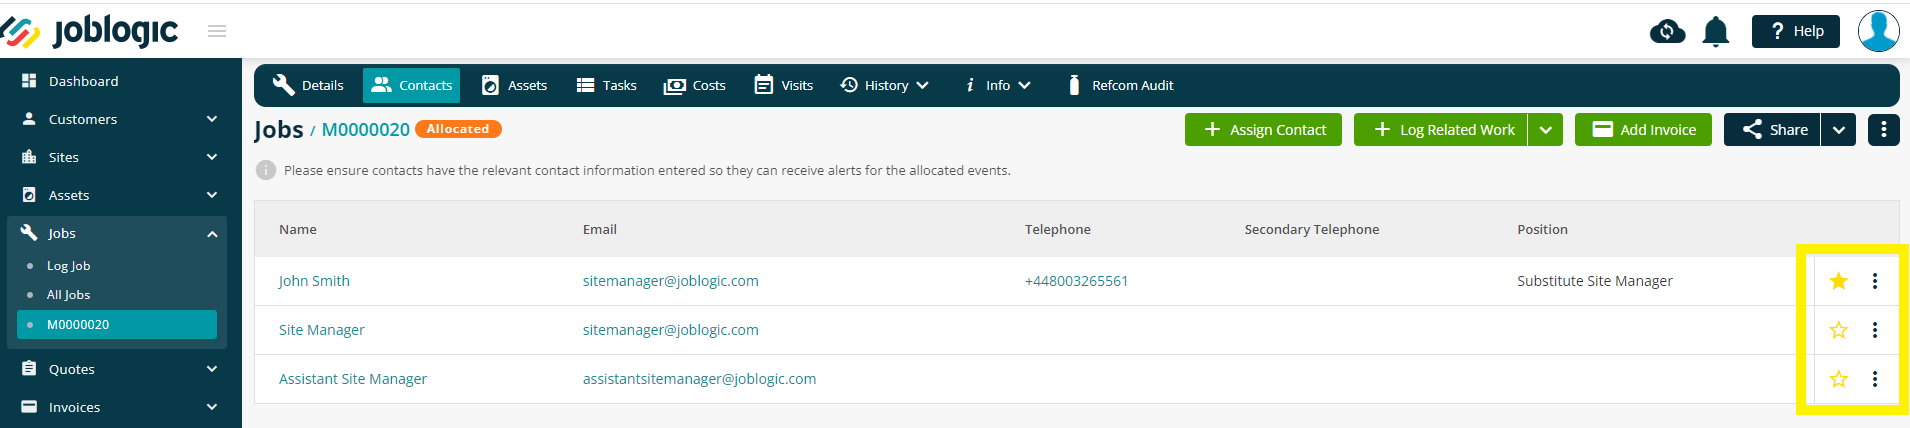
The star icons against each contact represent the job’s primary contact with the filled in yellow star indicating which contact is currently set as the primary. A new primary contact can be amended by selecting an unfilled white star icon against the contact which needs to be changed to the primary one. Additionally, the current primary contact can be deselected by clicking it’s filled in yellow star icon.
Further Support
For further information or assistance with the above, contact our Support Team on 0800 326 5561 or email support@joblogic.com. Alternatively, our Customer Success Management team can be reached by emailing customersuccess@joblogic.com
Publishing Details
This document was written and produced by Joblogic’s Technical Writing team and was last updated on the date specified above. Be aware that the information provided may be subject to change following further updates on the matter becoming available or new releases within the system. Additionally, details within the guide may vary depending on your Joblogic account’s user permissions and settings.