Introduction
Joblogic provides the ability to create various bespoke templates for documents such as Jobsheets, Invoices, Quotes and Purchase Orders within the back office. Using a Quote template as an example, this guide will detail how to edit an existing template in order to create your own bespoke version of a template.
Steps for creating bespoke document templates
- Access the 'Document Templates' area by selecting ‘Settings’ in the left hand navigation panel. Then select ‘Document
Templates’.
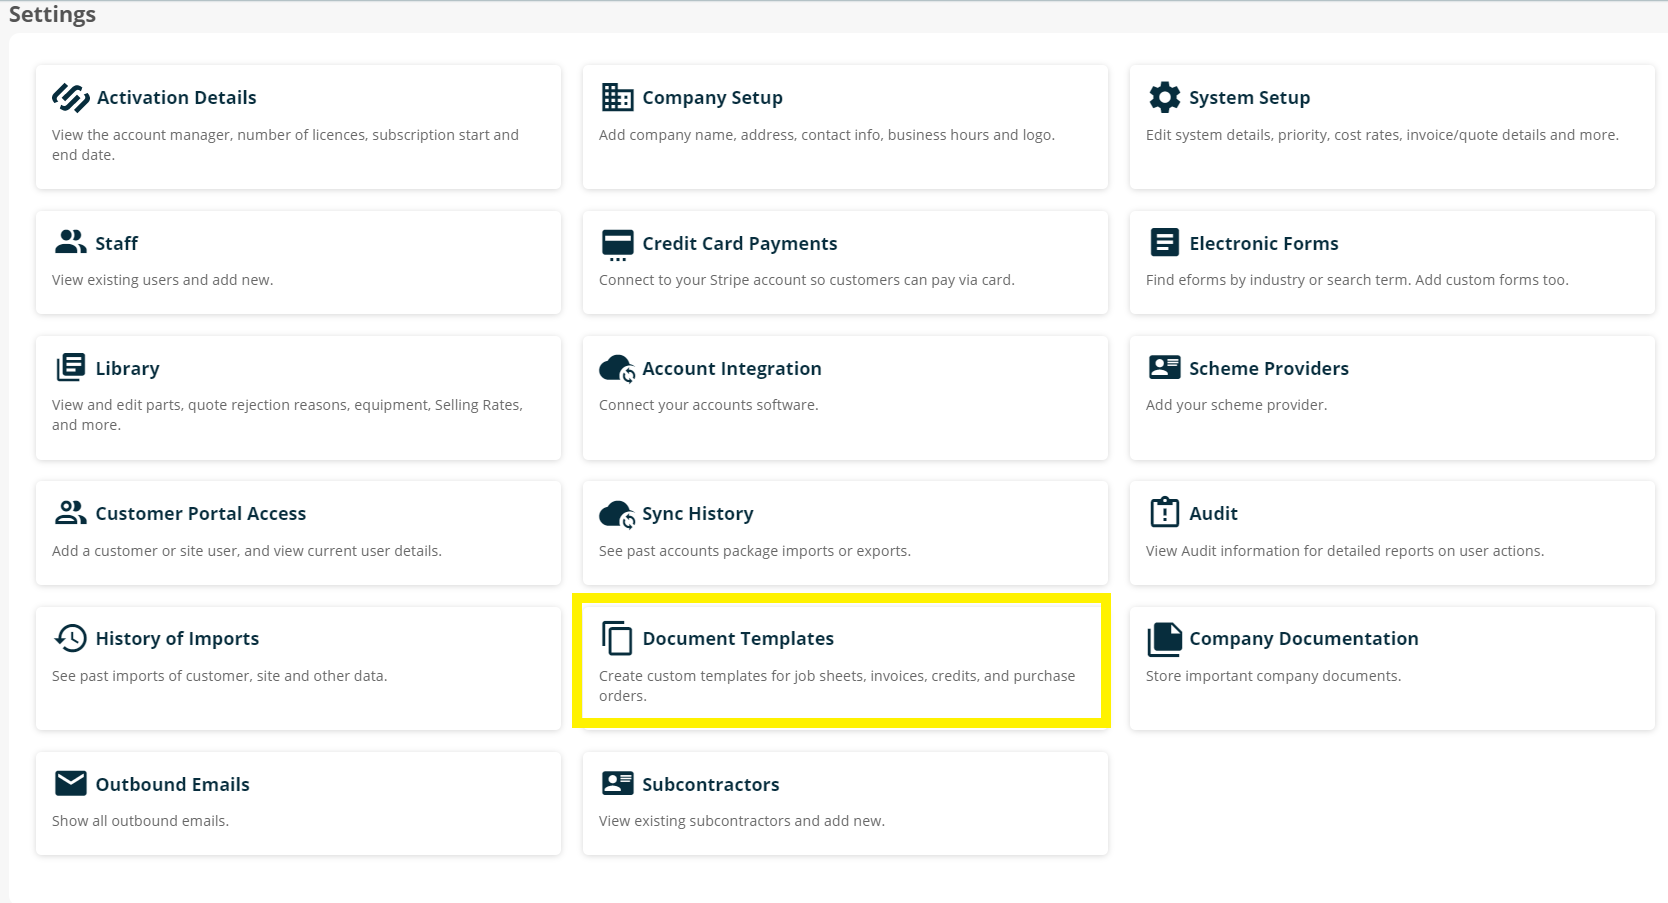
- The ‘Document Templates’ screen will display a page consisting of various tabs and dropdowns to indicate the documents that can be amended.
Within each section, there is a 'download guideline' button in the top right corner.
Use these for guidance on what changes can be made on each template.
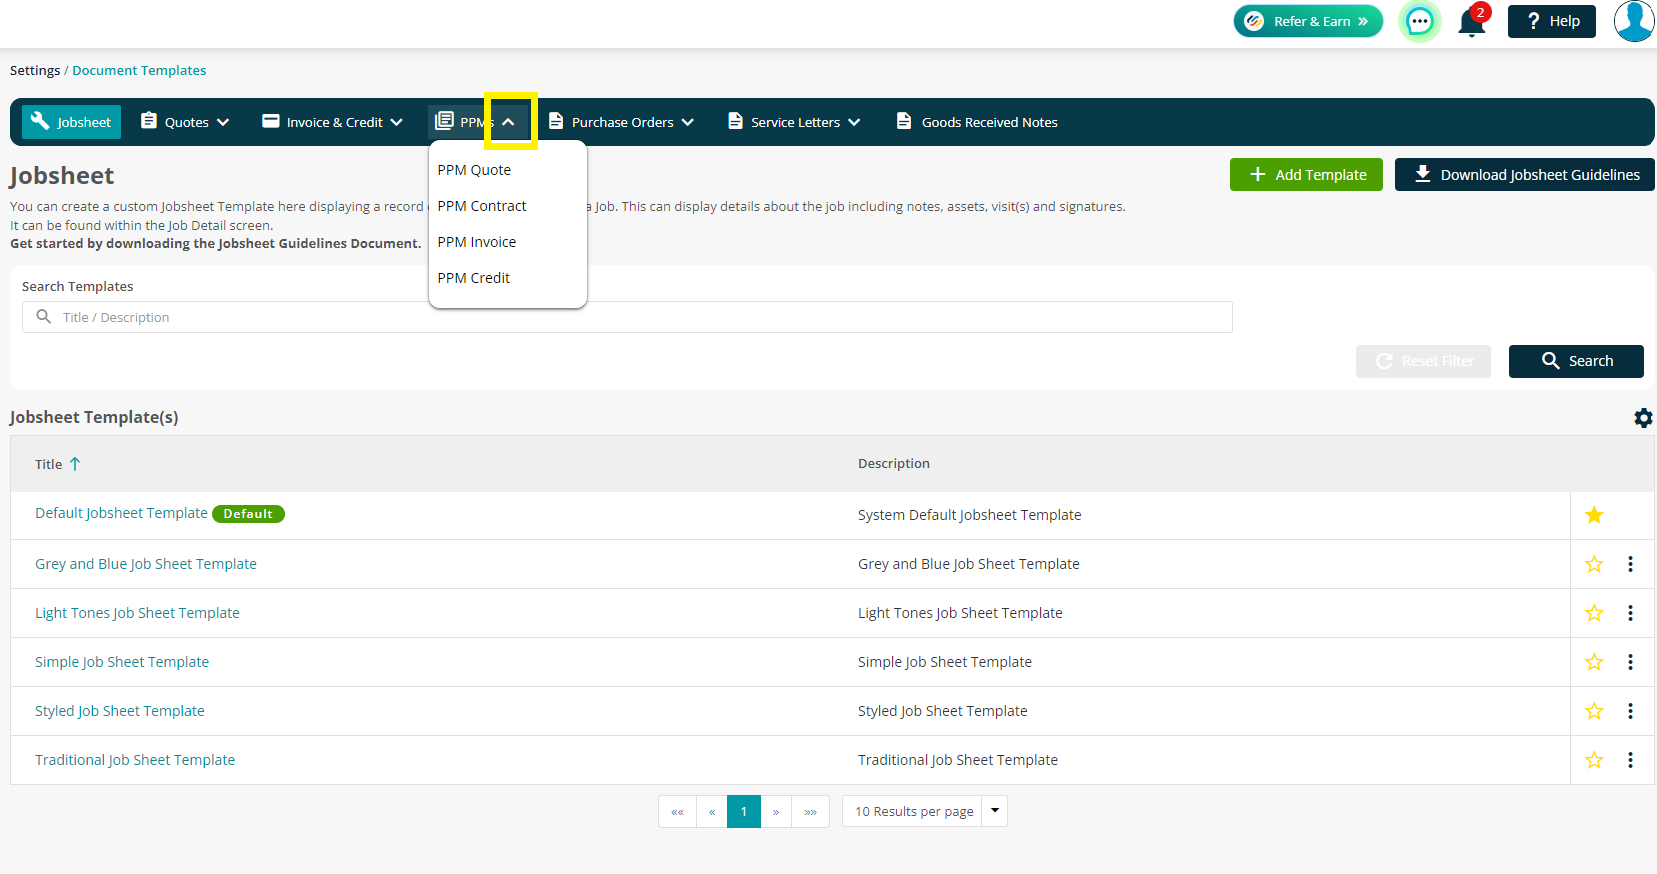
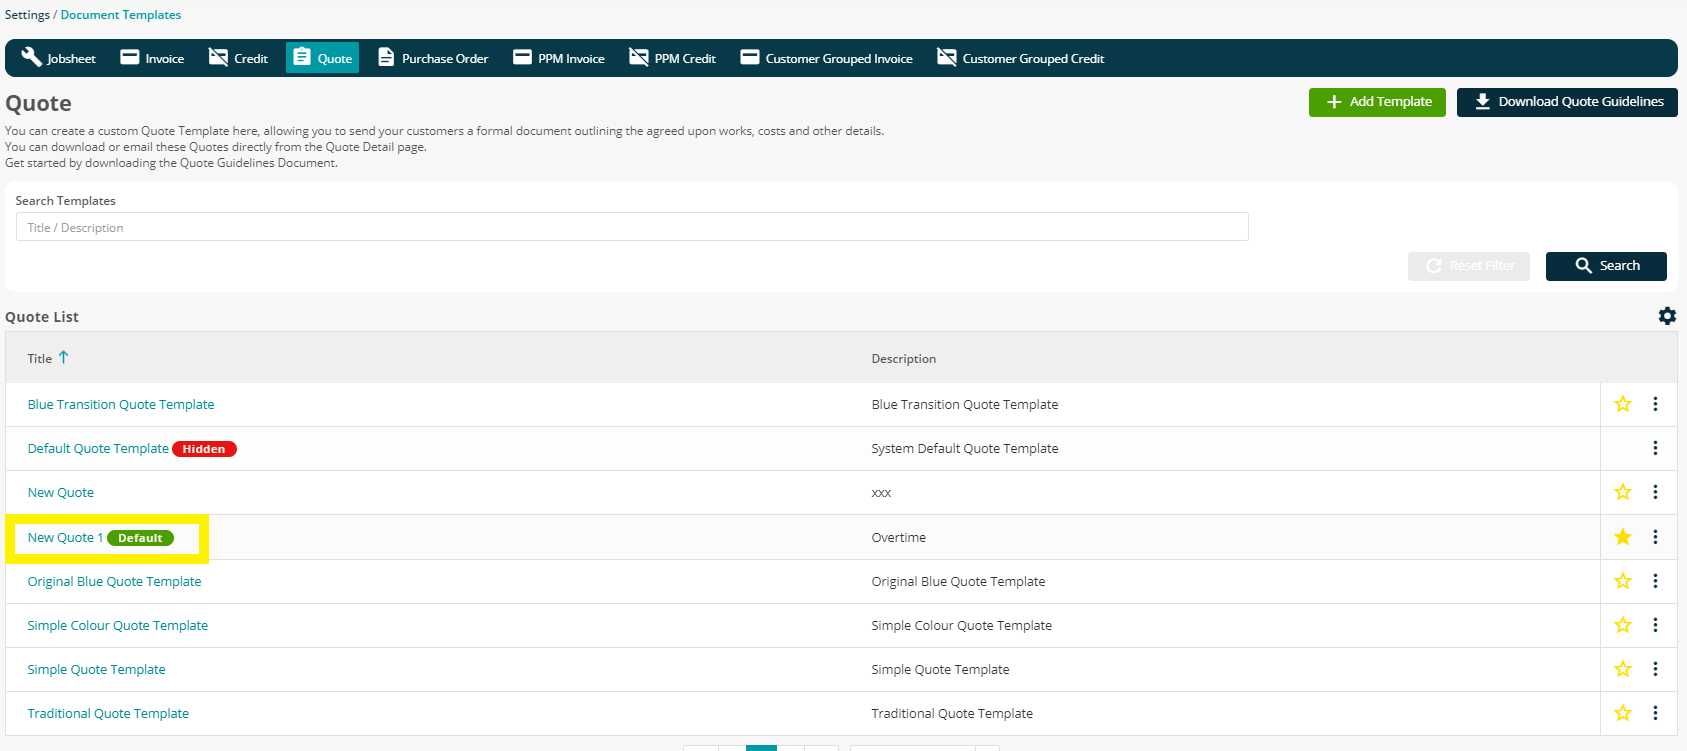
- Select the category of template you would like to create, ‘Quote’ in this example. You will then be presented with a list of existing templates to choose from within that category. Download a template which you would like to use as a basis to work from for your new template. This can be done by clicking on the title of the template.
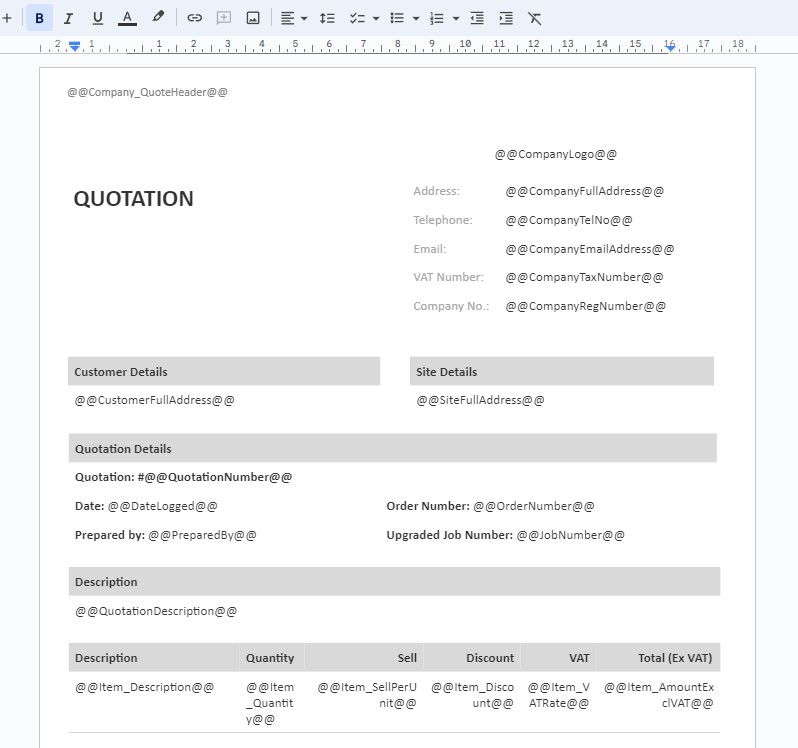
This will then download the template on to your local machine in an editable docx format (such as a Microsoft Word or Google Documents).
Text within the @@ symbols refer to the data that will pull from joblogic.
-
Using the instructions from the guidelines document, make any changes to the original template in order to customise it to your bespoke needs via the docx document (Microsoft Word, Google Docs). Save the updated template to your local machine once you are satisfied with the changes.
-
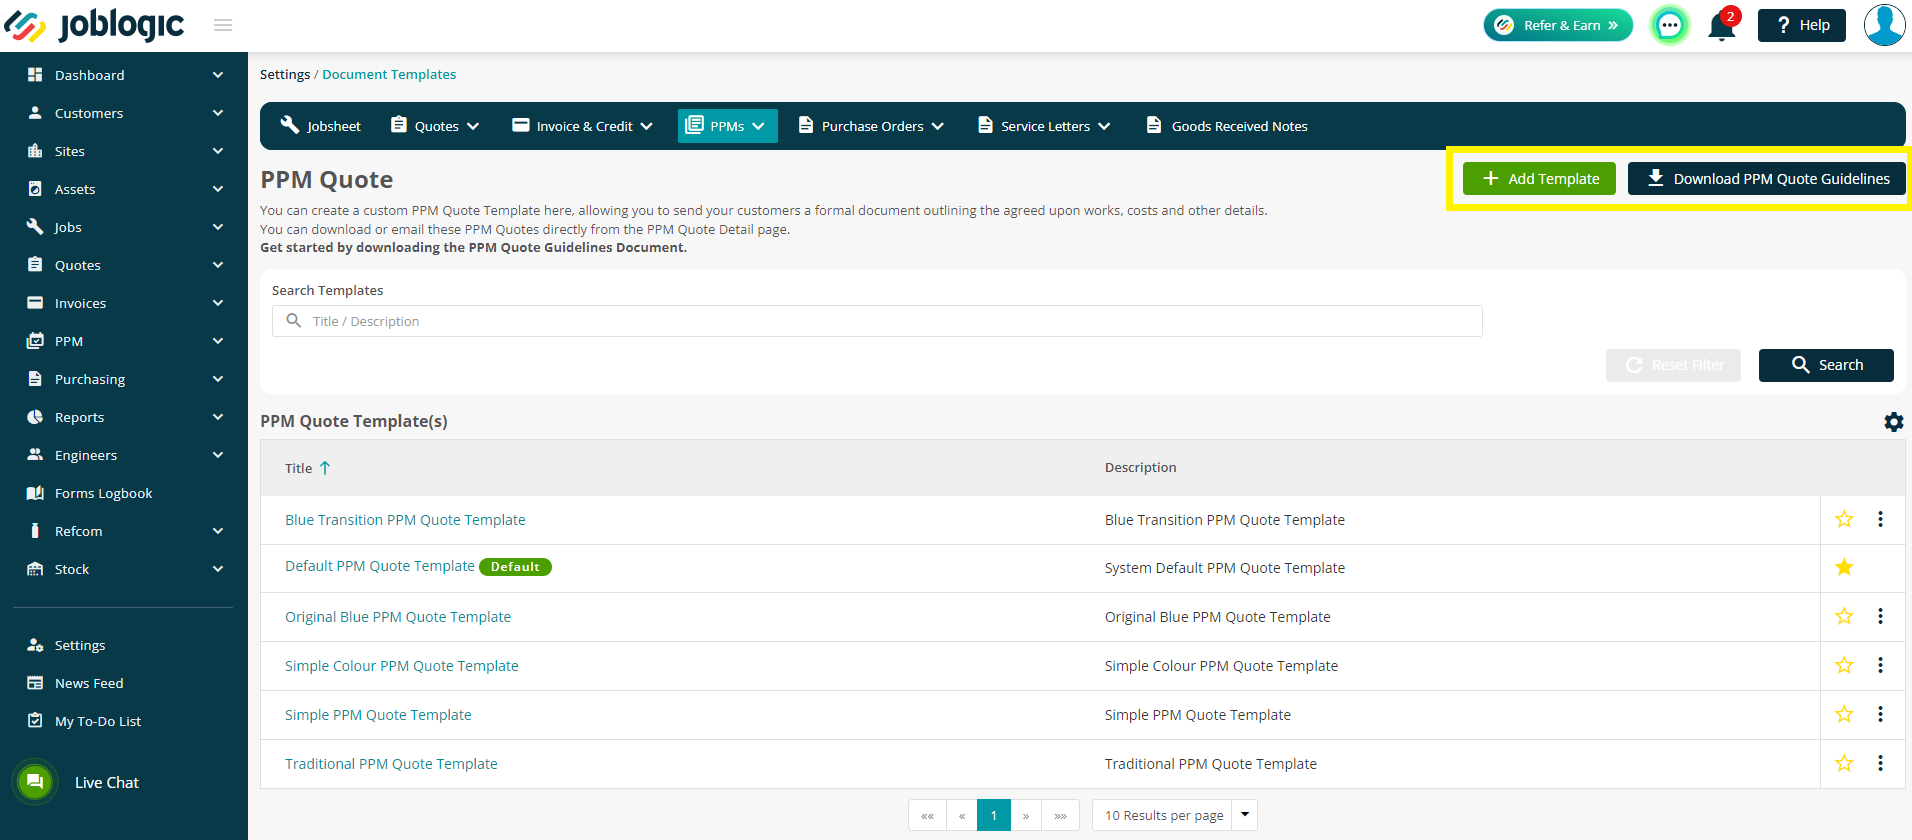
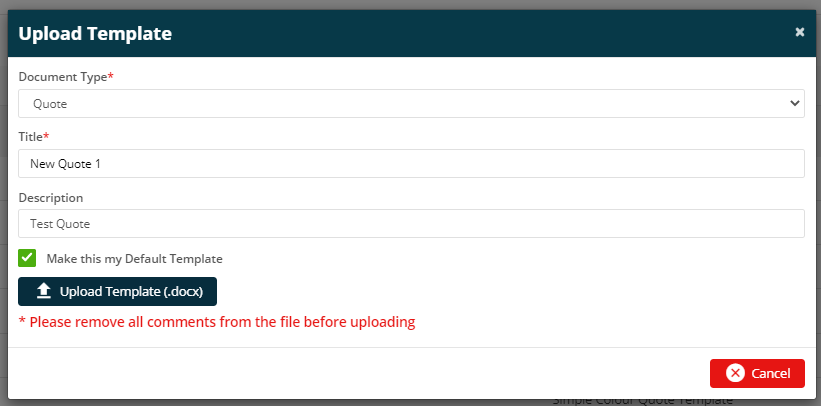
Navigate back to your Joblogic account and select the ‘Add Template’ option within the template category page that you wish to upload (‘Quote’ in this example). Within the opened window, add a title for your new template and an optional description. You can also mark your new template as your default template for that category by ticking the “Make this my Default Template” box.

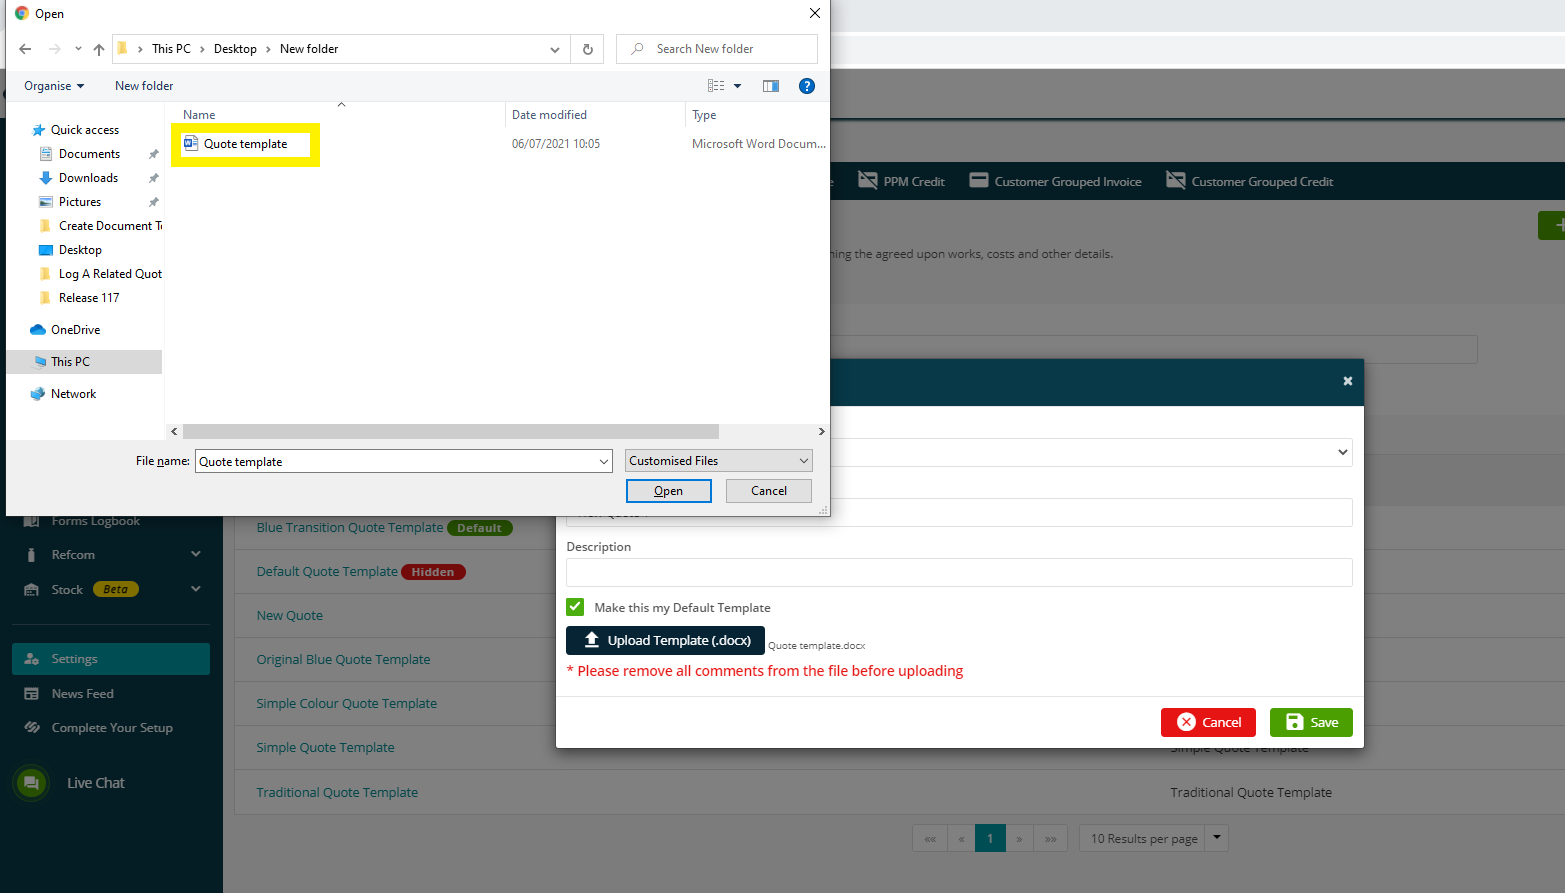
- Click the ‘Upload Template’ button to open the file browser window of your local machine and navigate to the file of the template you have made. Double click on it to select the file for uploading to Joblogic.
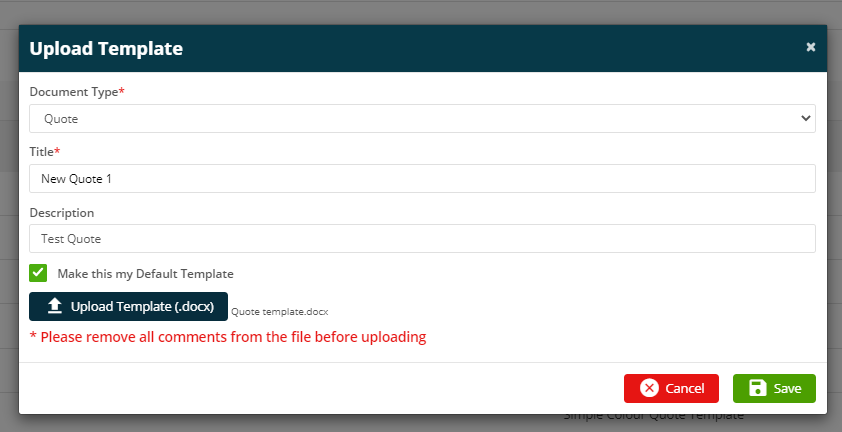
- Select the save button to complete the upload process.
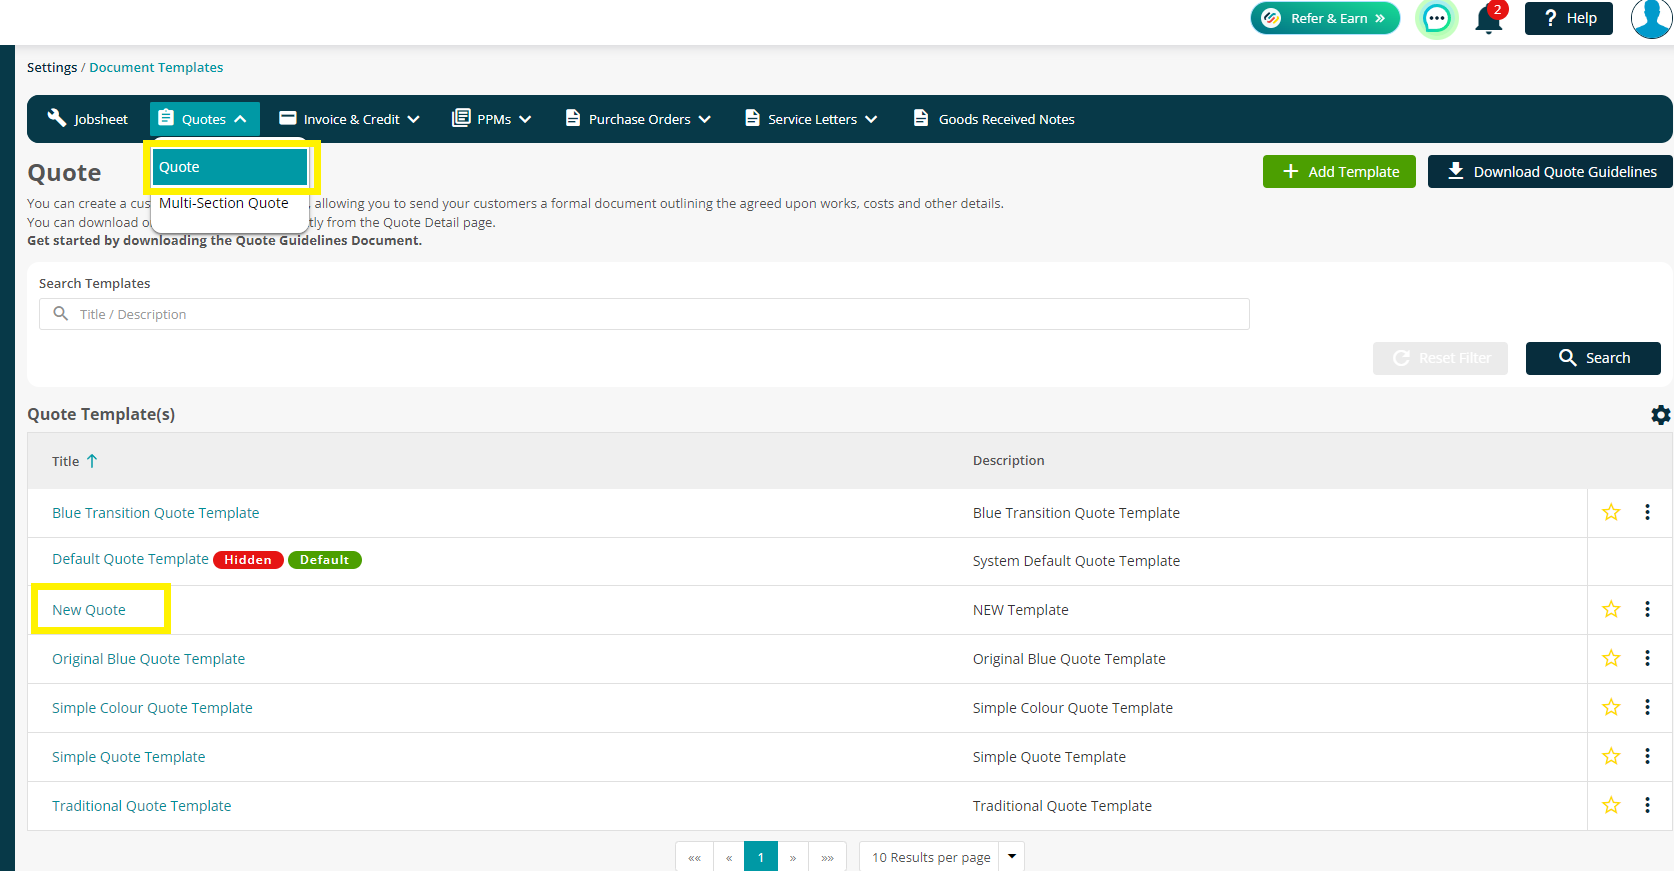
- Your default template is indicated by the yellow star icon next to it and you can change this to whichever template you like by selecting the applicable star icon for that template. You can also delete and edit the details of any bespoke templates by selecting the 3 dots icon and selecting the appropriate action. Any system default templates can also be hidden throughout the rest of the system via this ‘3 dots’ icon if you do not wish for them to be used.
Further Support
For further information or assistance with the above, contact our Support Team on 0800 326 5561 or email support@joblogic.com. Alternatively, our Customer Success Management team can be reached by emailing customersuccess@joblogic.com
Publishing Details
This document was written and produced by Joblogic’s Technical Writing team and was last updated on the date specified above. Be aware that the information provided may be subject to change following further updates on the matter becoming available. Additionally, details within the guide may vary depending on your Joblogic account’s user permissions.