Introduction
Joblogic provides the ability to create and save jobs which can then be assigned a variety of labels and details used for searching, categorising, reporting and detailing the work. This user guide details how to log a job (via the jobs area) within the back office system.
Accessing the 'Log Job' Area
In order to Log a Job within the back office (via the jobs area), navigate to the ‘Jobs’ dropdown within the left side main menu and select ‘Log Job’.
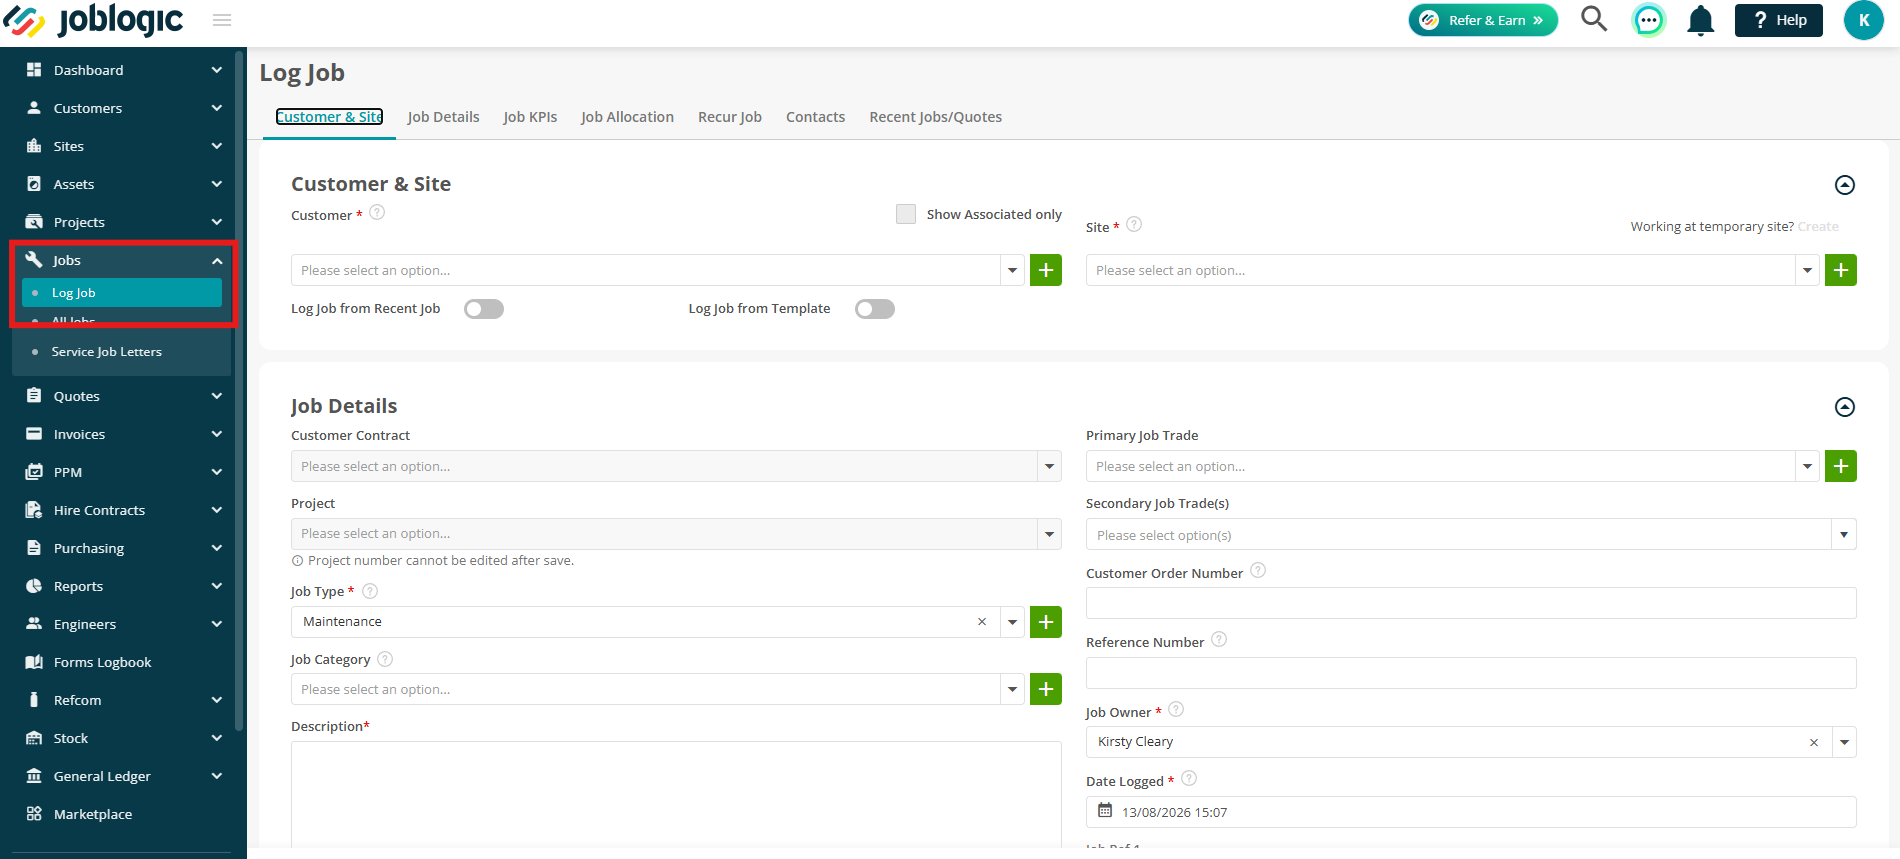
You can then click through the headers at the top of the page, or simply scroll as you work through logging the job.
Logging a Job
On the Log Job page, select the Customer and Site you want to create the quote for.
If you are creating a quote for a new customer or site, you can add these using the green + buttons next to the relevant fields.
.png)
If you have associated customers configured, you can select the site first and then enable Show Associated Only above Customers.
The Customer dropdown will then display only the customers associated with the selected site.
.png)
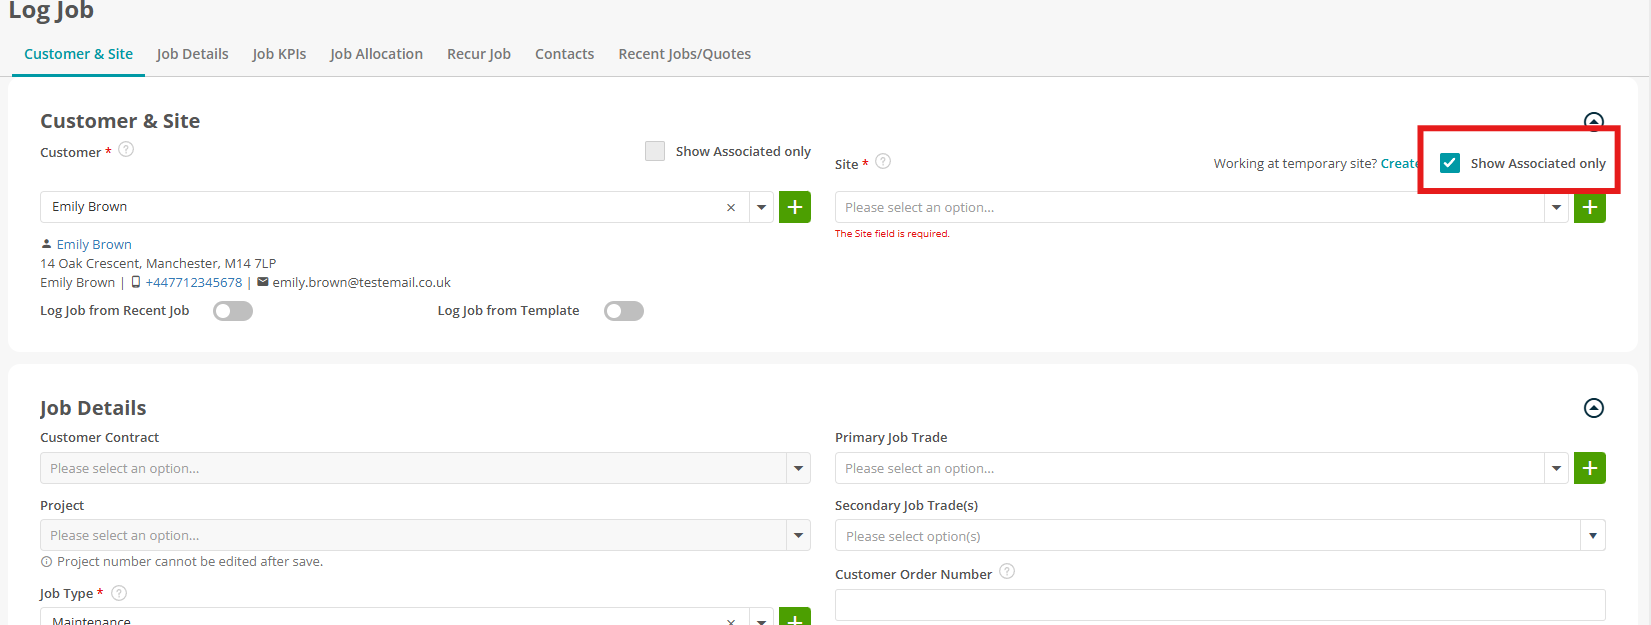
If you have associated sites configured, you can select the customer first and then enable Show Associated Only above Sites.
The Site dropdown will then display only the sites associated with the selected customer.
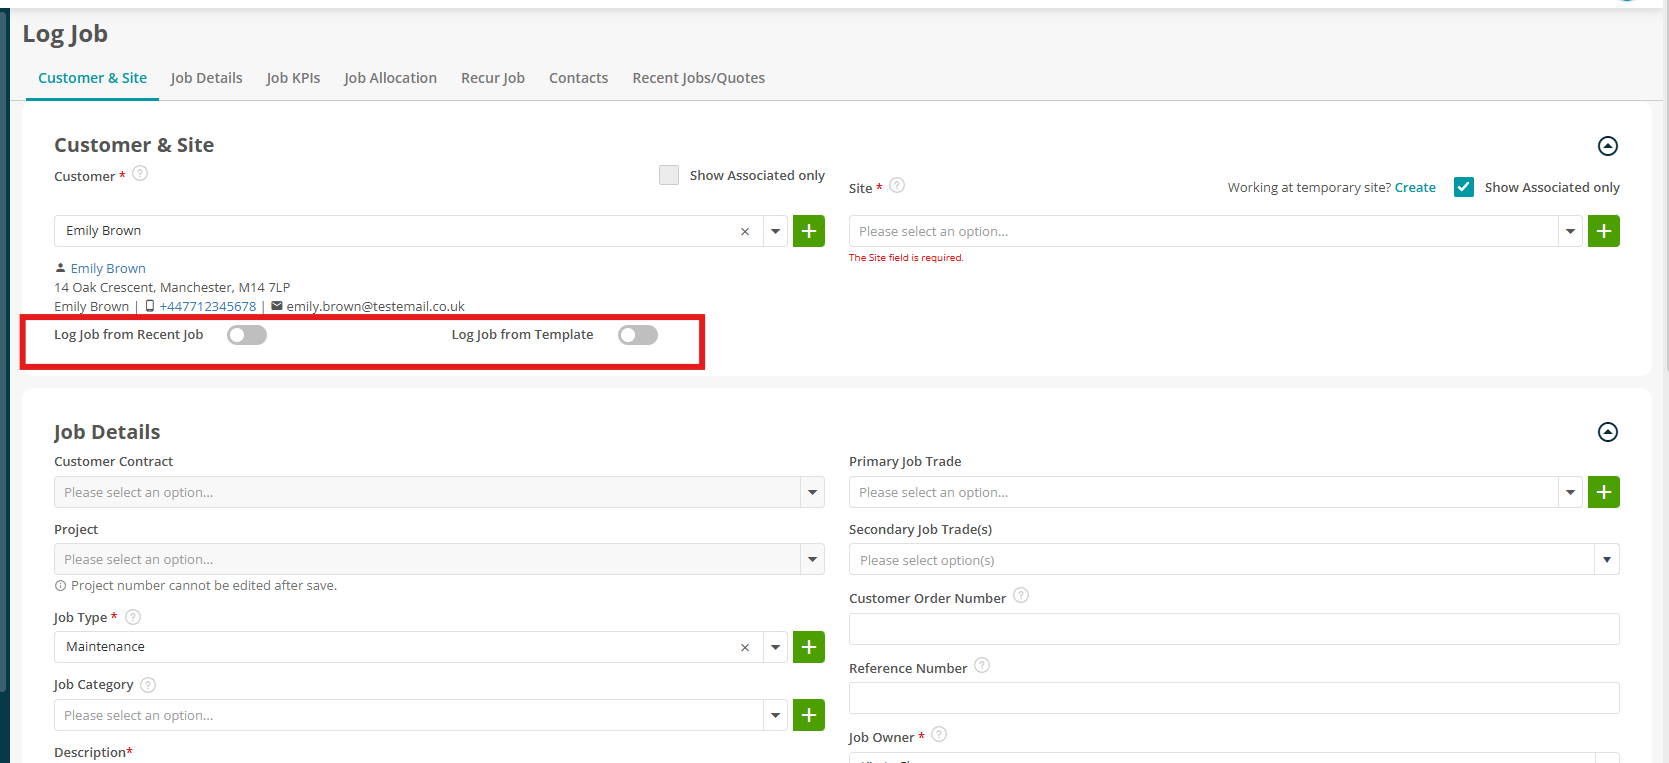
Alternatively, you can log the job from a template, or log from a recent job. There are further guides on these options if required.
Additional Fields For Logging a Job
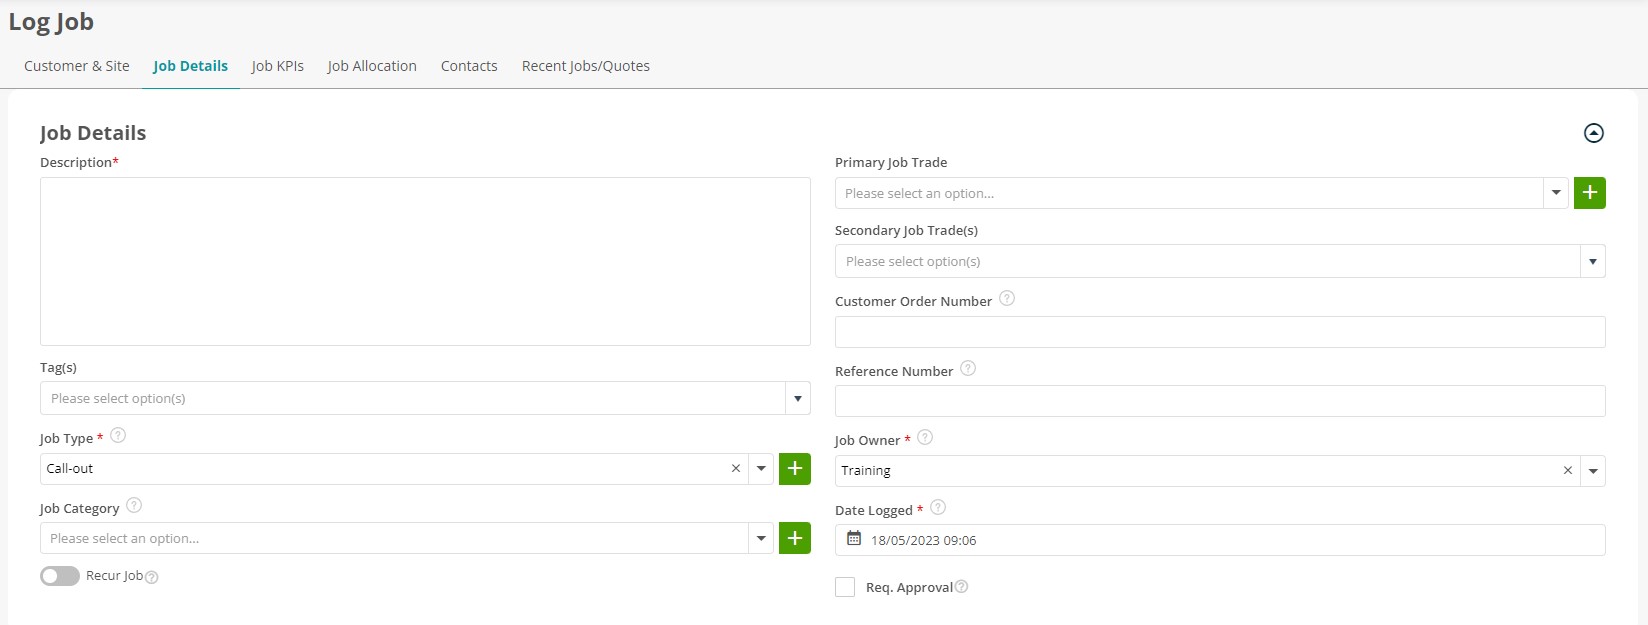
There are a number of additional fields available to fill in when logging a job. These can be used to provide extra information about the job, to further categorise it and to aid with searching or reporting.
These fields can be either free typed or will need to be set up in the settings area and selected from the dropdowns where applicable.
Non mandatory fields within the ‘Job Details’ area are defined below:
Tags - Customised labels which can be applied to jobs to search with and report on. Typically used when a label which does not exist in the system's existing fields is required.
Job Category - A further level of job categorisation to job types. For example, a job with a ‘maintenance’ job type may then be assigned a ‘garden maintenance’ category for companies who provide differing types of maintenance work.
Primary and Secondary Job Trades - These are used to assist in assigning applicable engineers to the job by matching those of a certain trade to it.
Order and Reference Number - Non system generated numbers such as your customer's or company's reference and purchase numbers or codes.
The ‘Job KPIs’area refers to setting a target response or attendence time against the job such as an emergency or 1 week response.

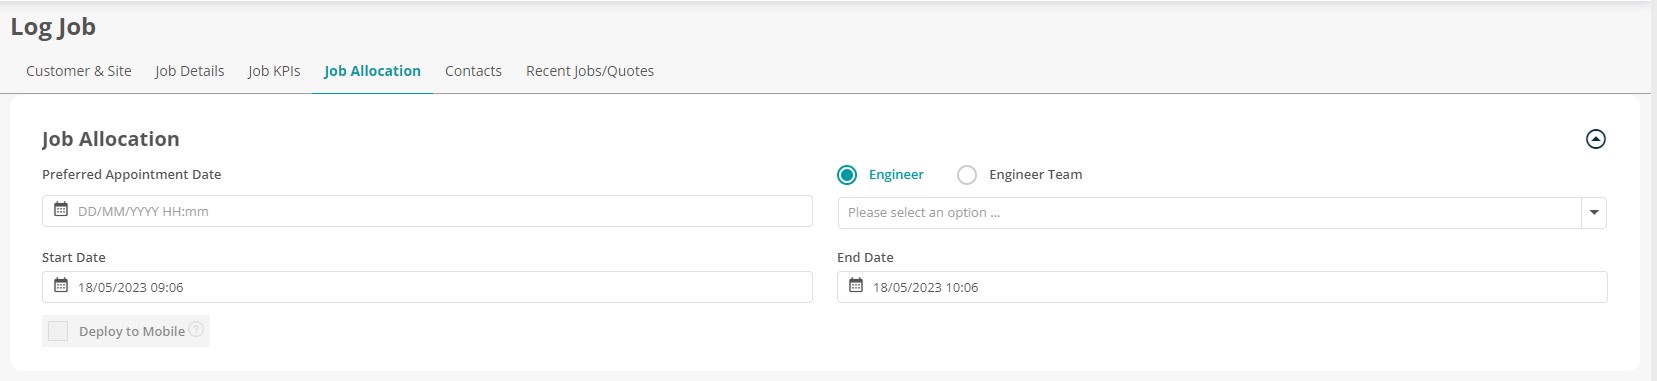
The ‘Job Allocation’ area refers to allocating an Engineer or an Engineer Team to a visit to the job (this can be left and allocated at a later point if not yet decided or confirmed).
The ‘Preferred Appointment Date’ refers to the desired time and date discussed with or asked for by the customer.
The start and end date fields refer to the actual time that the visit is scheduled to take place.
The ‘Engineer’ field refers to the engineer assigned that visit to the job.
There is also a ‘Deploy to Mobile’ tick box. Ticking this will deploy the visit to the job to the allocated engineer’s mobile device upon logging the job.
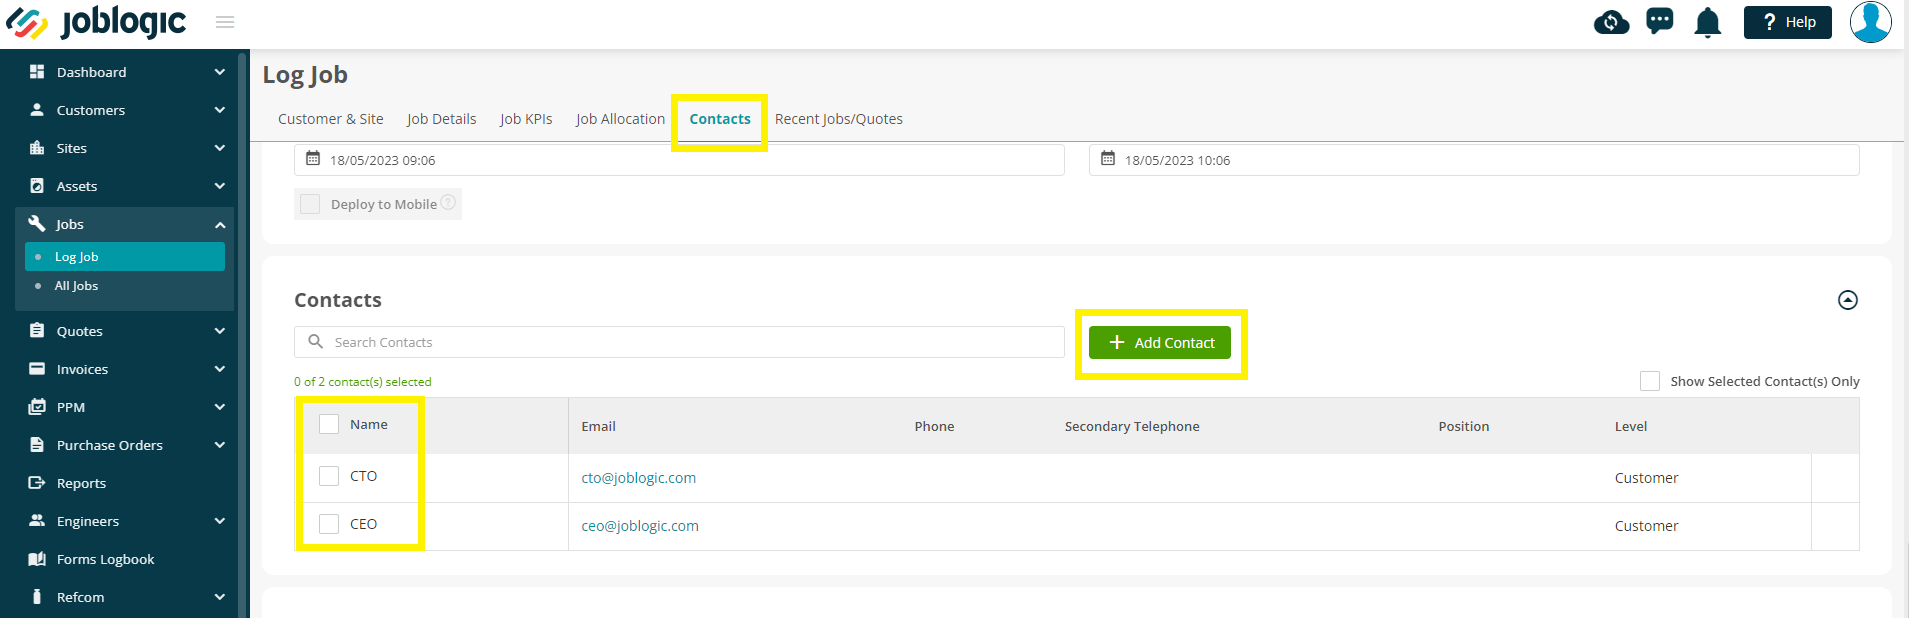
The ‘Contacts’ area allows you to assign already set up customer and site contacts to the job by ticking their appropriate tick box. Additionally, an entirely new job contact can be added via the ‘Add Contact’ button.
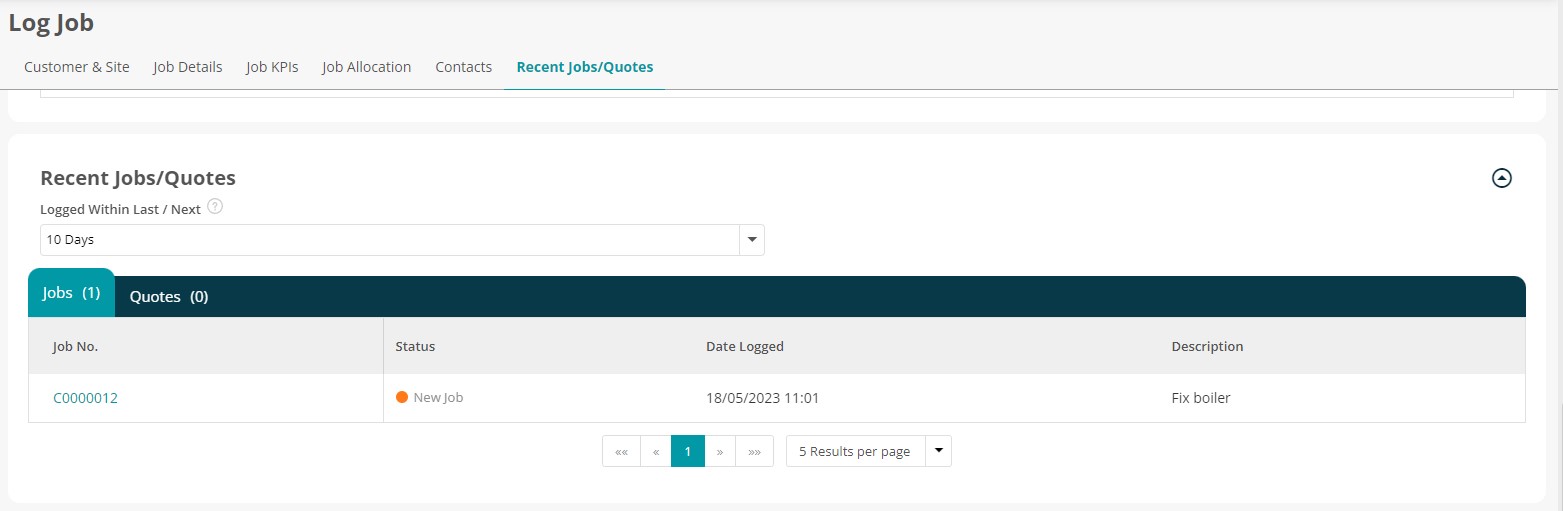
The ‘Recent Jobs/Quotes’ area allows you to see any previously logged jobs or quotes within a certain timeframe for reference. The time frame can be amended via the drop down arrow.
Once all of the required data has been entered for the job, select the ‘Save’ button. The job will be allocated a unique system-generated job number which can be searched in addition to the data just entered.
Further Support
For further information or assistance with the above, contact our Support Team on 0800 326 5561 or email support@joblogic.com. Alternatively, our Customer Success Management team can be reached by emailing customersuccess@joblogic.com
Publishing Details
This document was written and produced by Joblogic’s Technical Writing team and was last updated on the date specified above. Be aware that the information provided may be subject to change following further updates on the matter becoming available or new releases within the system. Additionally, details within the guide may vary depending on your Joblogic account’s user permissions and settings.