Introduction
Welcome to Joblogic!
This guide will help you to get started with accessing your Joblogic account, receiving jobs, completing them and then transferring them back to your main contractor.
Logging in
Once your subcontractor portal account has been confirmed with your contractor and Joblogic, they will set your account up for you. Your contractor will also send each of your staff who are to use the portal an email with their username and a link to set the password up for their individual portal user account.
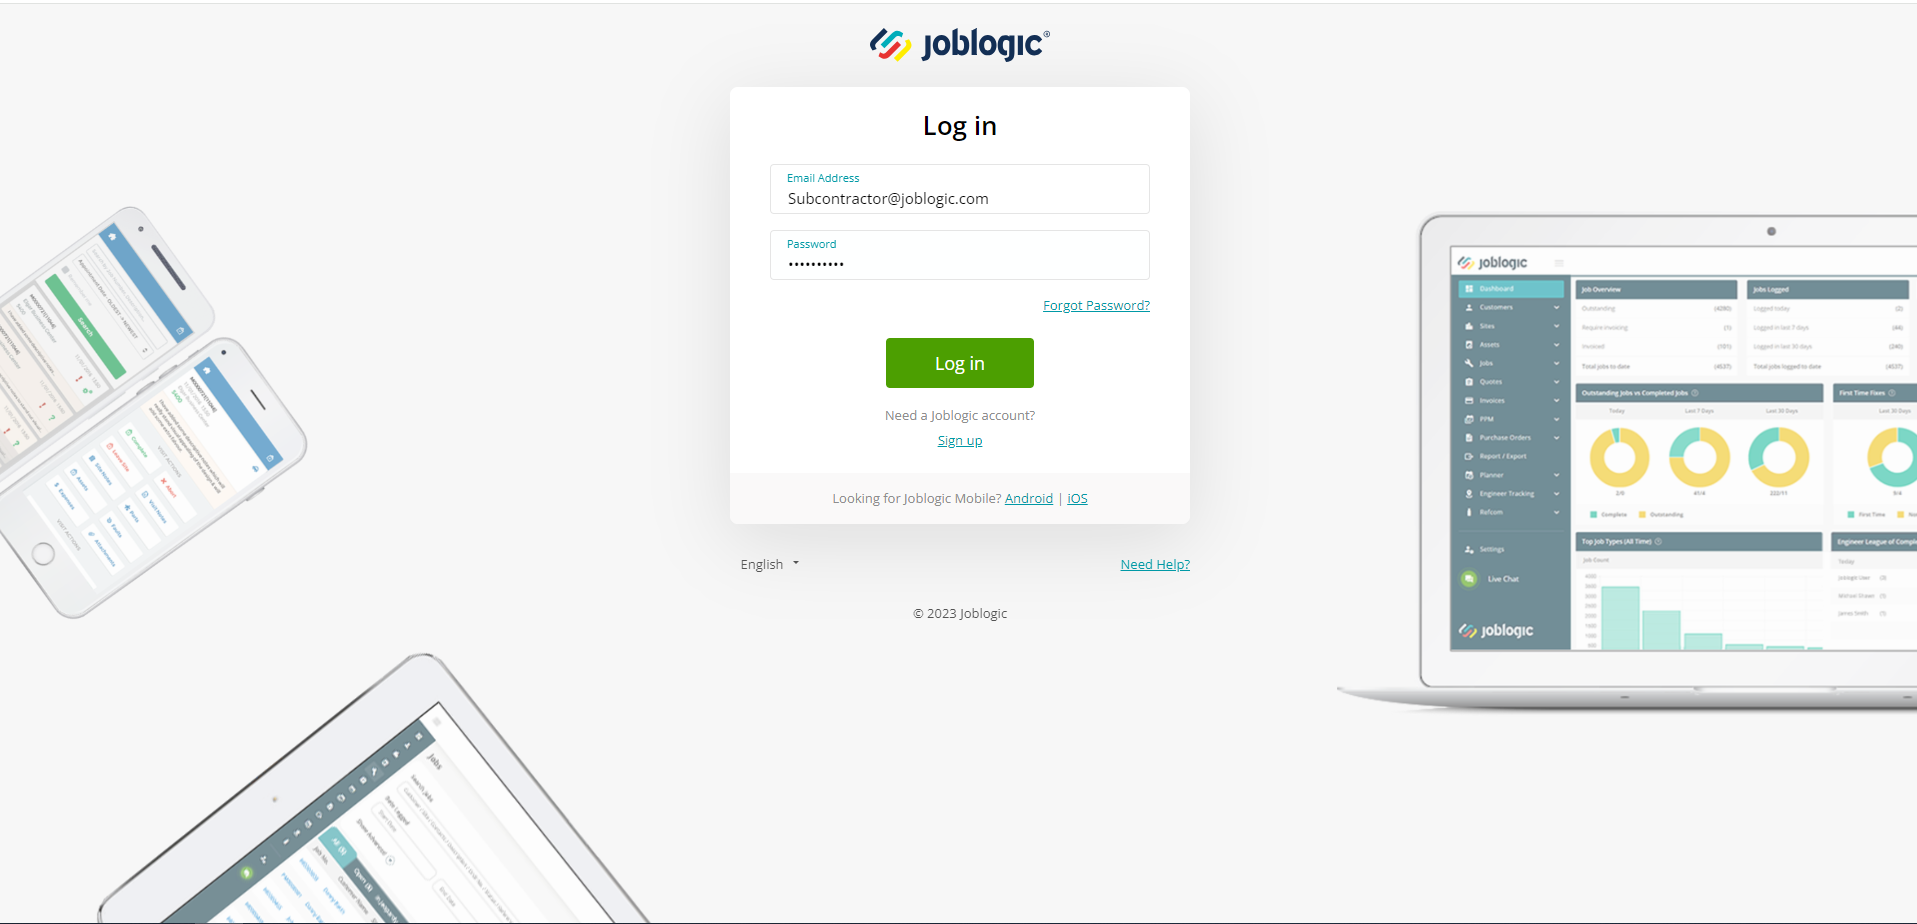
Once these credentials have been set up the subcontractor portal can be accessed here.
Within this page, enter your username and password (set up via the email link) and select login in order to access the system.
General Navigation
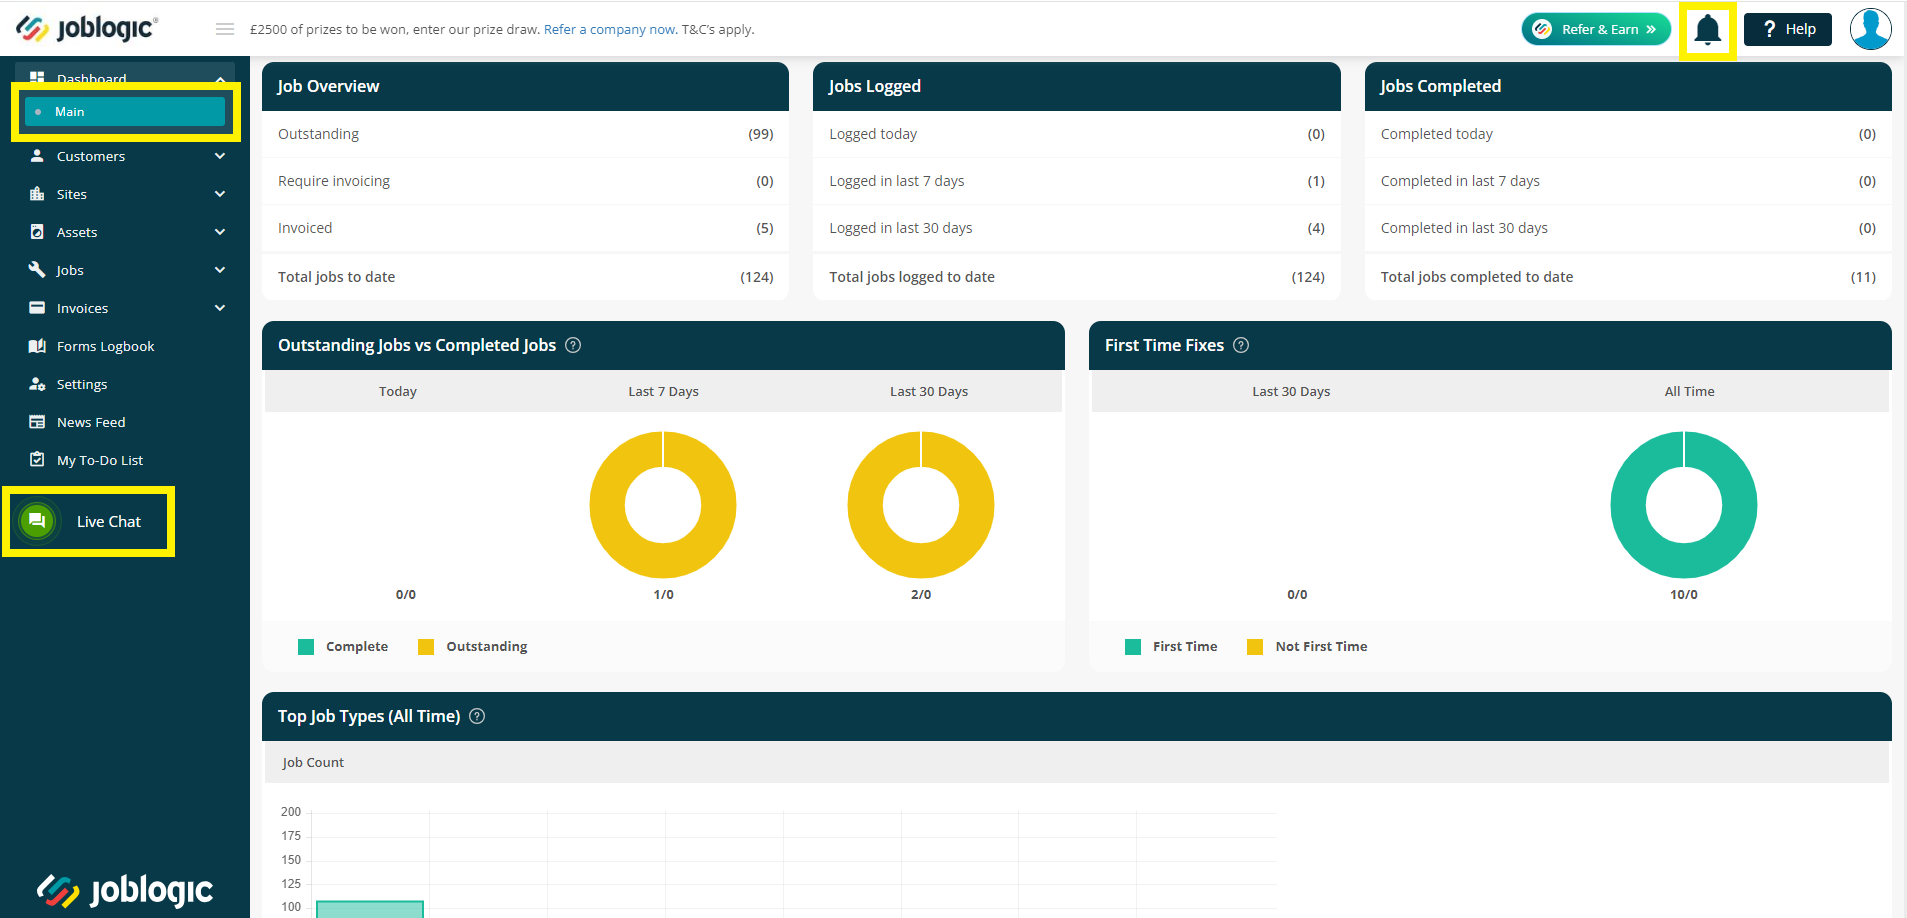
Upon logging into Joblogic, you will land on the Jobs Dashboard. This is a great visual aid to give you a high level overview to track your jobs progress.
The left hand side menu gives you the different modules you have access to, with drop down arrows to provide further options.
The Live Chat function on the left hand side menu will allow you contact our Joblogic support team directly with any questions you or your team have. Our support team is available 24 hours, 7 days a week and aim to respond to your queries within 2 minutes.
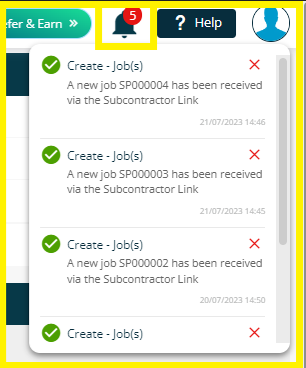
On the top, right hand side of the screen, you will have a bell icon, for notifications. New notifications will be indicated by a red number. It’s important to keep an eye on this, as it will indicate when new jobs have been sent by your contractor. More information on this will be provided below.
Receiving Jobs
When you have been sent a job, you’ll receive a notification via the bell icon in the top right.
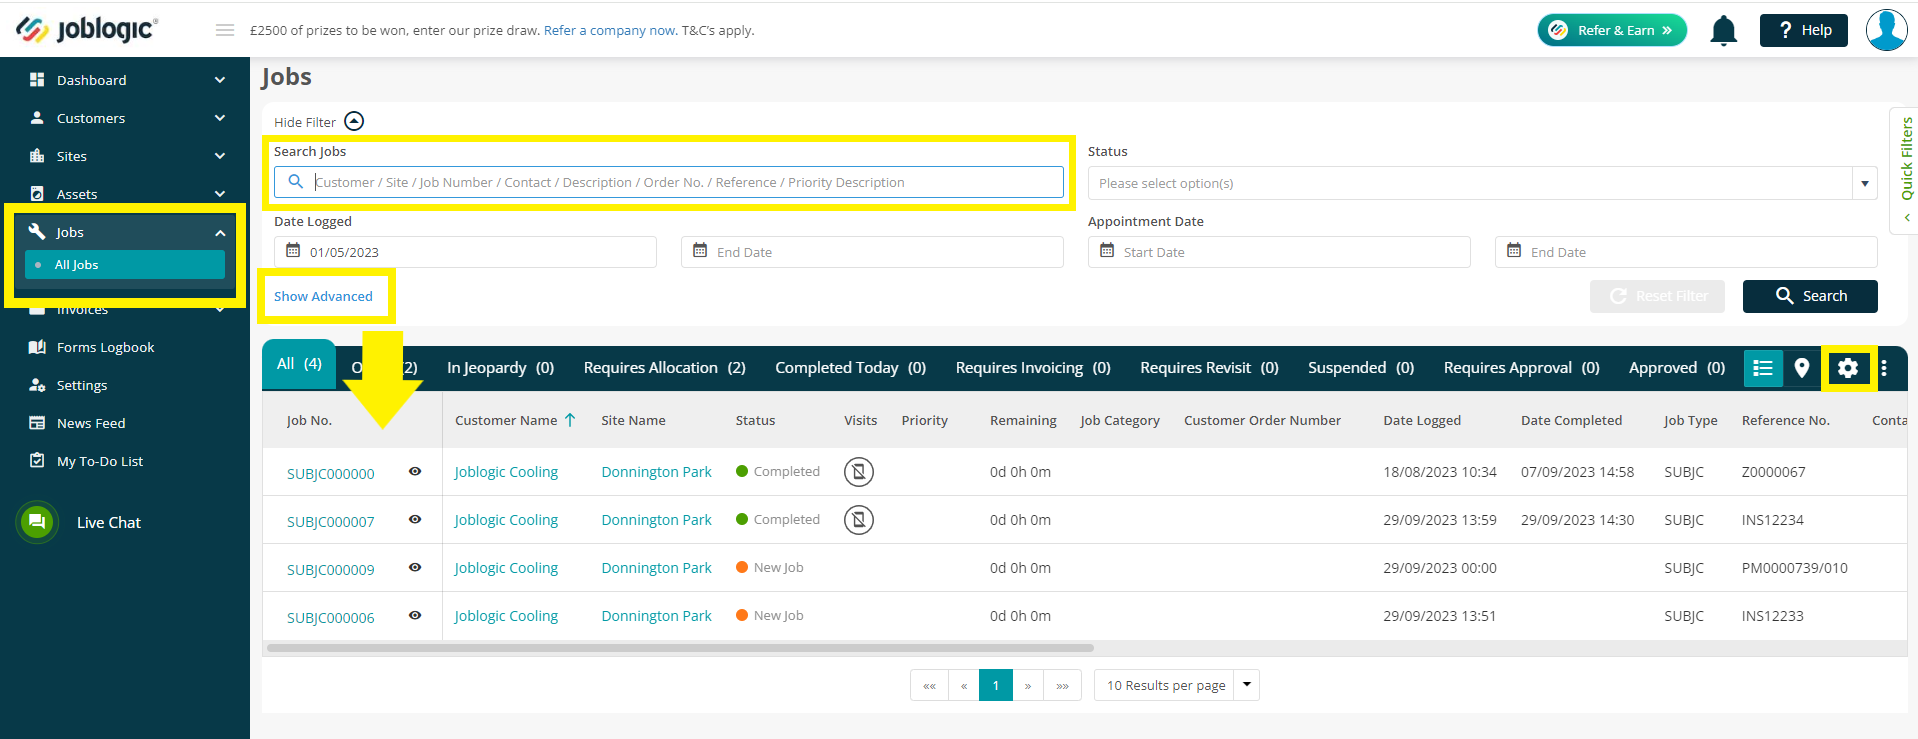
You can either click the link via the notification or go to Jobs on the left hand side menu and select All Jobs. The All Jobs screen is a powerful screen to allow you to manage and view all your jobs from one location.
The Show Advanced writing allows additional filters to be displayed to further drill into your jobs. From here you can use various advanced filters to pull up reports on completed jobs, jobs assigned to a specific engineer, and much more.
The list of jobs can be sorted by the Job Number, Customer Name, Job Owner or Date Logged, by clicking on the column you wish to sort by.
The selection of columns displayed, and the order they appear on the screen can also be customised by clicking on the cog icon displayed on the far right hand side of the blue toolbar.
To view the information on the job, click the job number.
Before accepting the job, the job details will be read only. Clicking the Accept button will allow you to edit the job information, assign an engineer, invoice the job and more.

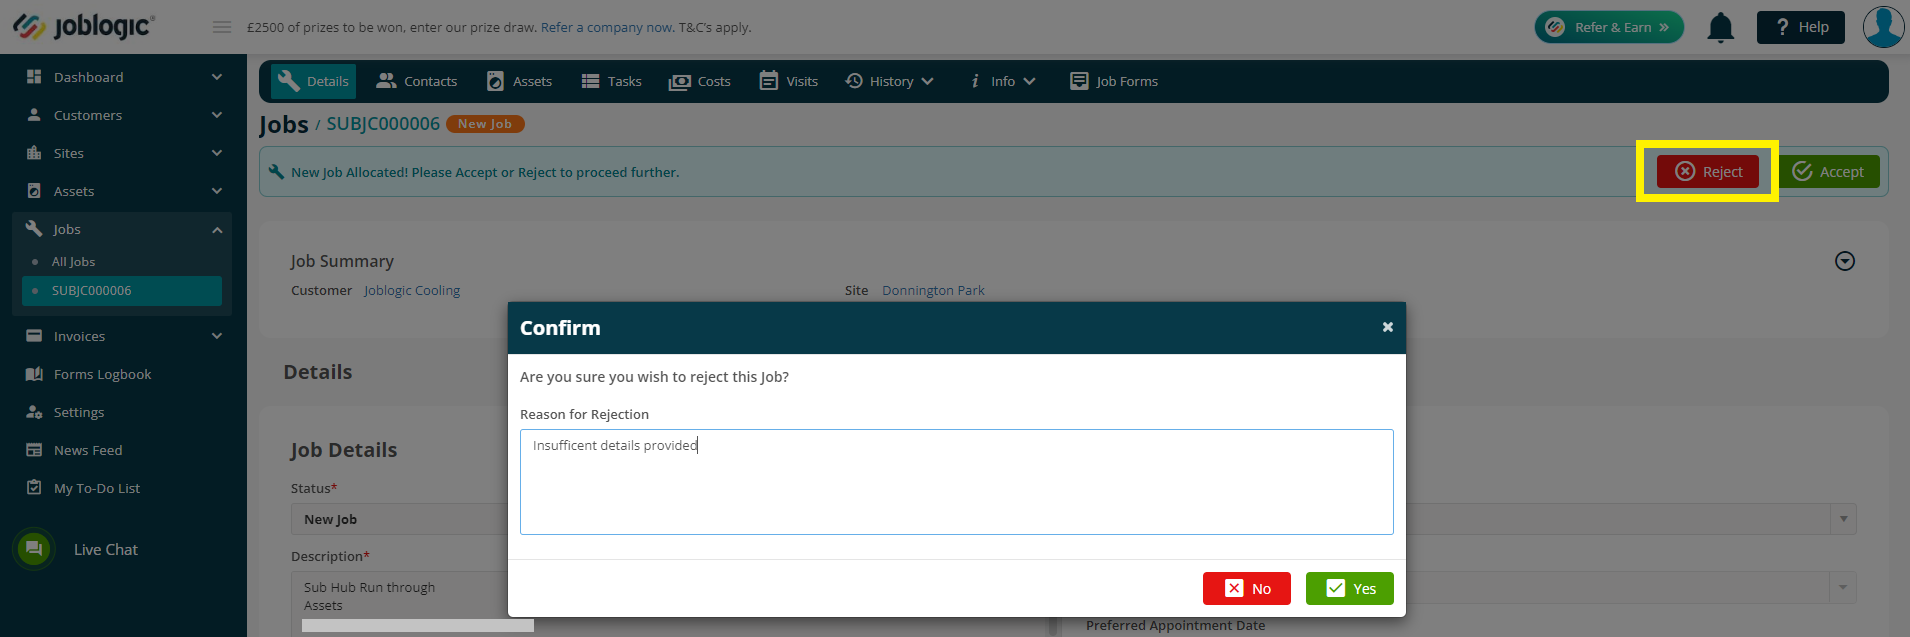
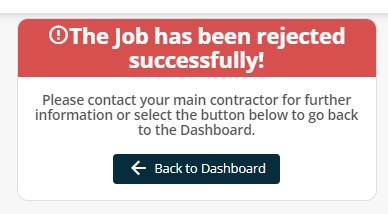
Clicking the Reject button will ask you for confirmation, and an optional text box to enter a reason for the rejection. The job will then be rejected and removed from your job list.
Allocating and Deploying job visits to an engineer
Once all the information has been reviewed on the job, it's ready to be allocated and deployed to an engineer. Allocating a job to an engineer will assign the engineer a visit within your Joblogic but will not send any communication to the engineer. Once the visit is allocated to the engineer, it can be deployed. Deploying the job will send it to the engineer’s mobile app, for them to accept and proceed to complete the job.
To allocate a job to an engineer, open up the job and click on the Visits tab in the toolbar.

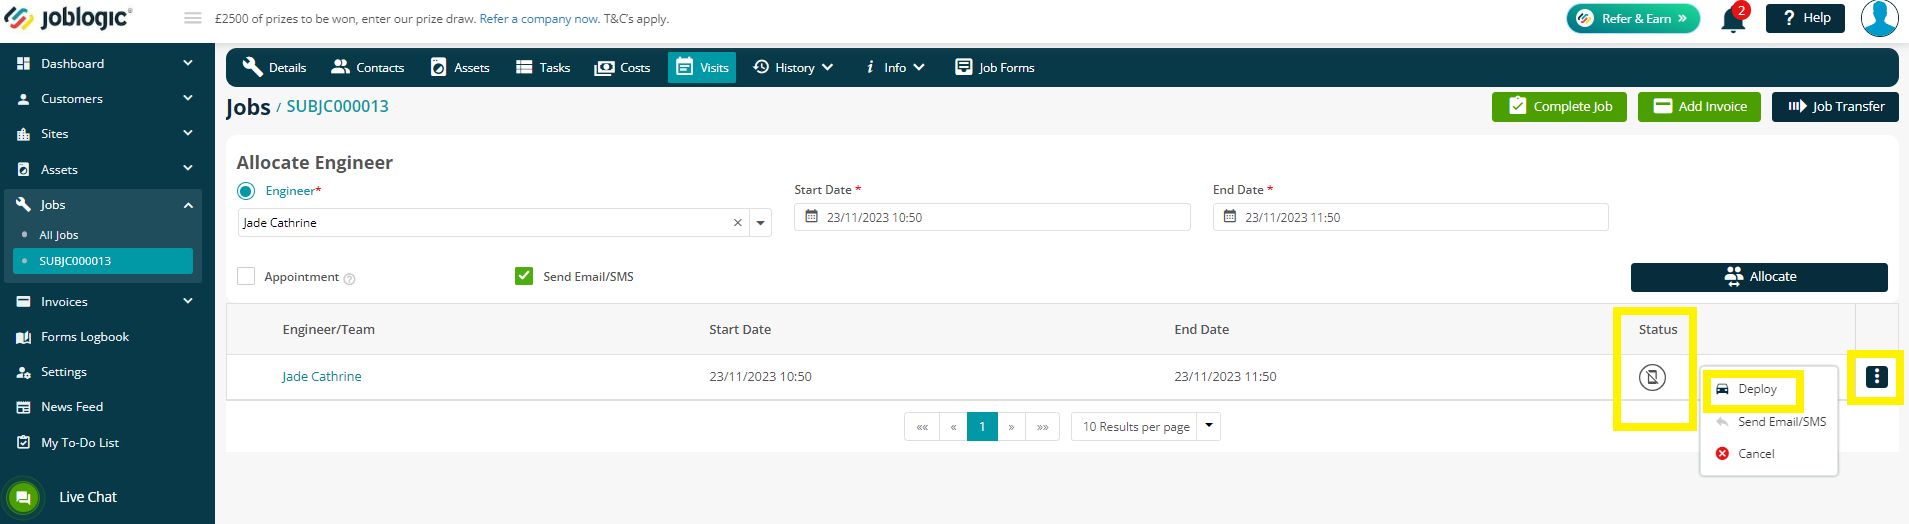
Under the Allocate Engineer heading, select the Engineer to be assigned a visit. Complete the Start Date and End Date of the job and click Allocate. The visit will now appear in the main list. It has been allocated to this engineer, but not yet deployed to the engineers Mobile App. The Status icon indicates this, displaying the ‘Not Sent’ icon of a phone with a line drawn through it.
To deploy this visit to the engineer, click the three dots to the right hand side of the visit, and select Deploy.
The status icons will update throughout the engineer journey. To read more about the different icon statuses and what they mean, click here.
Completing Jobs
Jobs can be marked as complete, by either using the mobile app or by manual completion.
Mobile App
You engineers can use the Joblogic mobile app to add all the necessary job information – such as photographs, documents required, notes etc. whilst onsite, at the job, which automatically sends the information back to your Joblogic account.
Firstly, the engineer would be notified of the job, and can go through the process of accepting the job, travelling to the site, and arriving onsite. Once onsite, the engineer can enter the relevant information, and mark the job as complete. Click here to read our full help guide for the mobile app.

Once the engineer has marked the job as complete via the mobile app, the information will flow back through into your Joblogic.
To view the notes from the mobile app, open the job from the All Jobs window, click the Info tab in the toolbar, and then select Notes from the drop down menu.
This will provide you with all the notes and attachments the engineer added to the job via the mobile app.
To view any forms the engineer completed, select the Forms Logbook.

Manual Completion
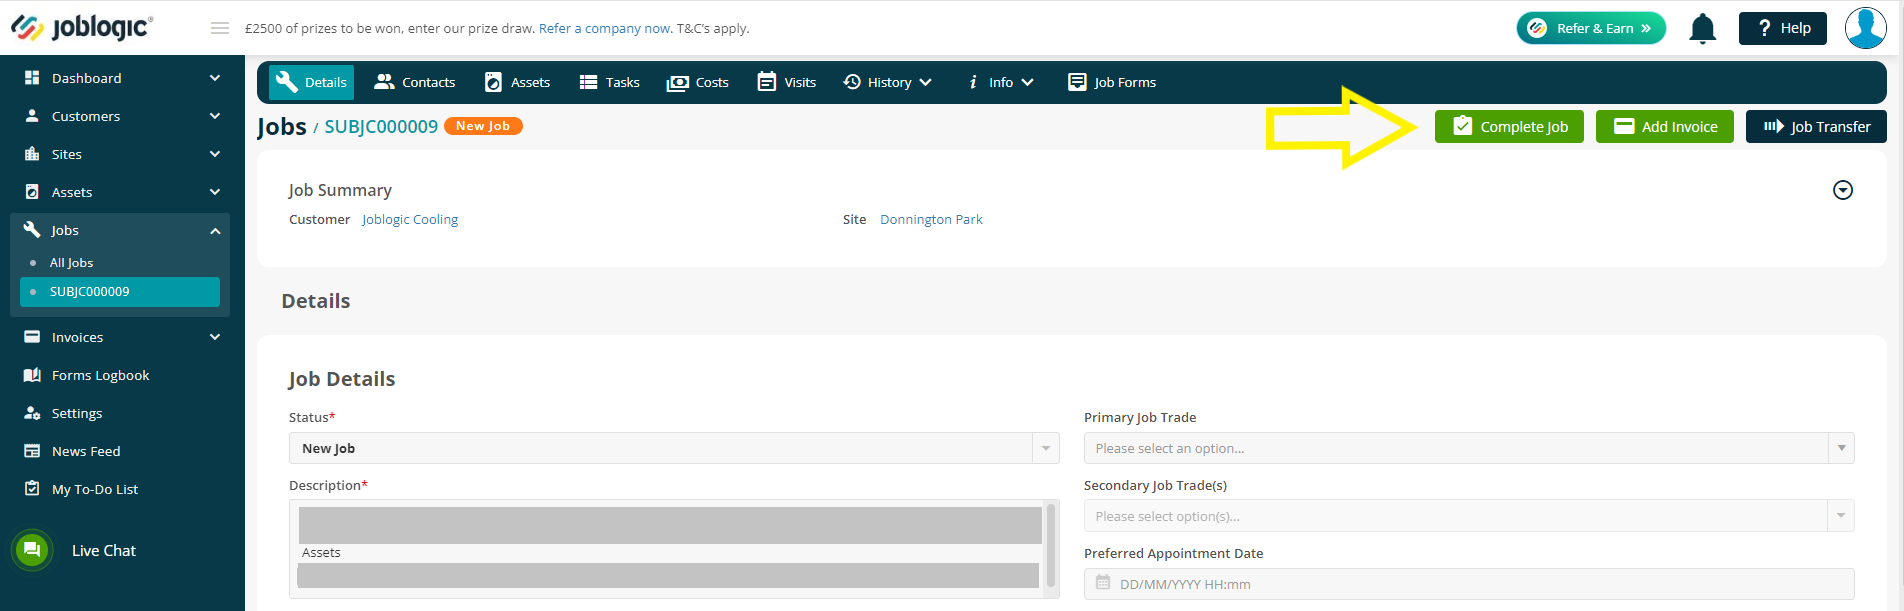
Jobs can also be completed from within the job in the back office. This option would be used if the engineer has not completed the job via the mobile app. To complete the job manually, you can click the Complete Job button at the top of your page.
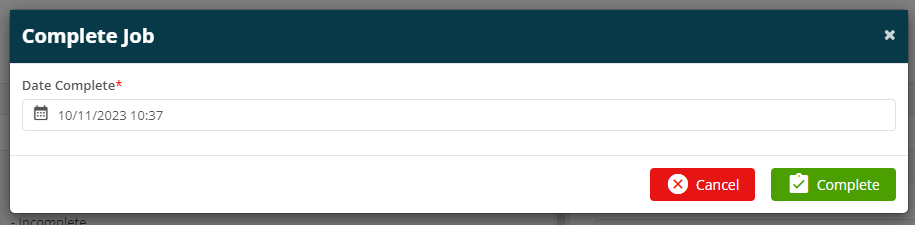
This will then provide you with a box to confirm the date and time before proceeding to Complete.
Once the job is marked as complete, the status will be visible at the top of your page, and the job status will change to Completed.
This is for your reference only. Nothing has been transferred back to your main contractor at this point.

Transferring Jobs
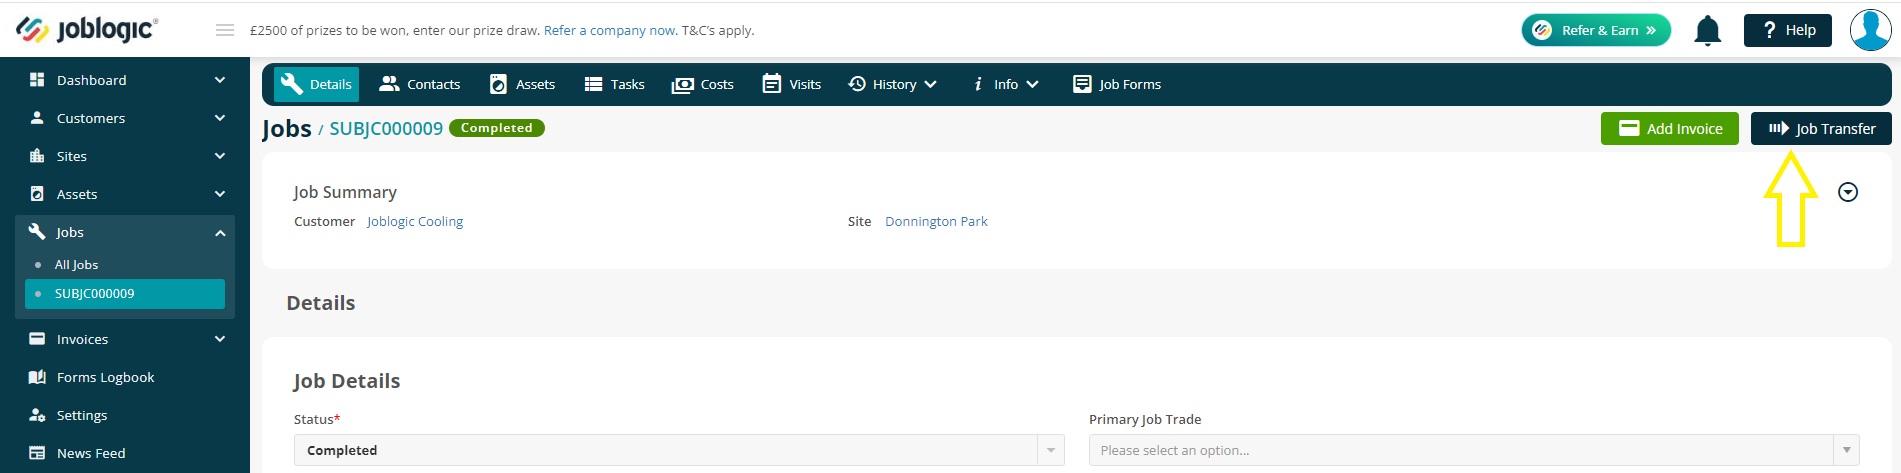
Once the engineer’s completed work has been reviewed, the job is ready to be transferred back to the contractor. From within the job, click the Job Transfer button.
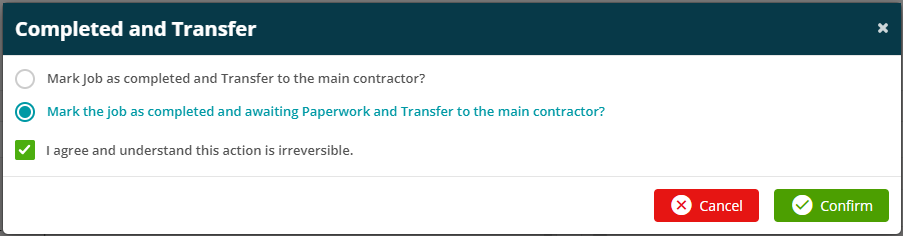
The Completed and Transfer box will appear, allowing you to select the relevant option.
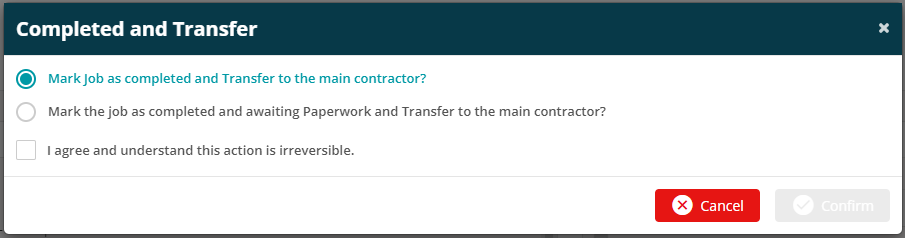
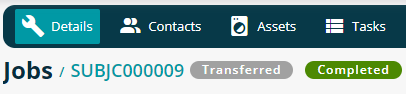
If the job is fully completed and has all the paperwork, select the first option Mark job as completed and Transfer to main contractor?. The Job status will then change to ‘Transferred’ and ‘Completed’.
Please note, you will still be able to make changes to the job, however these changes cannot be transferred to the contractor again.
If the job is complete but you are still awaiting the paperwork, select Mark the job as completed and awaiting paperwork and Transfer to the main contractor.
This will allow you to send the current job information to the contractor but will leave the job open for you to send more information later.
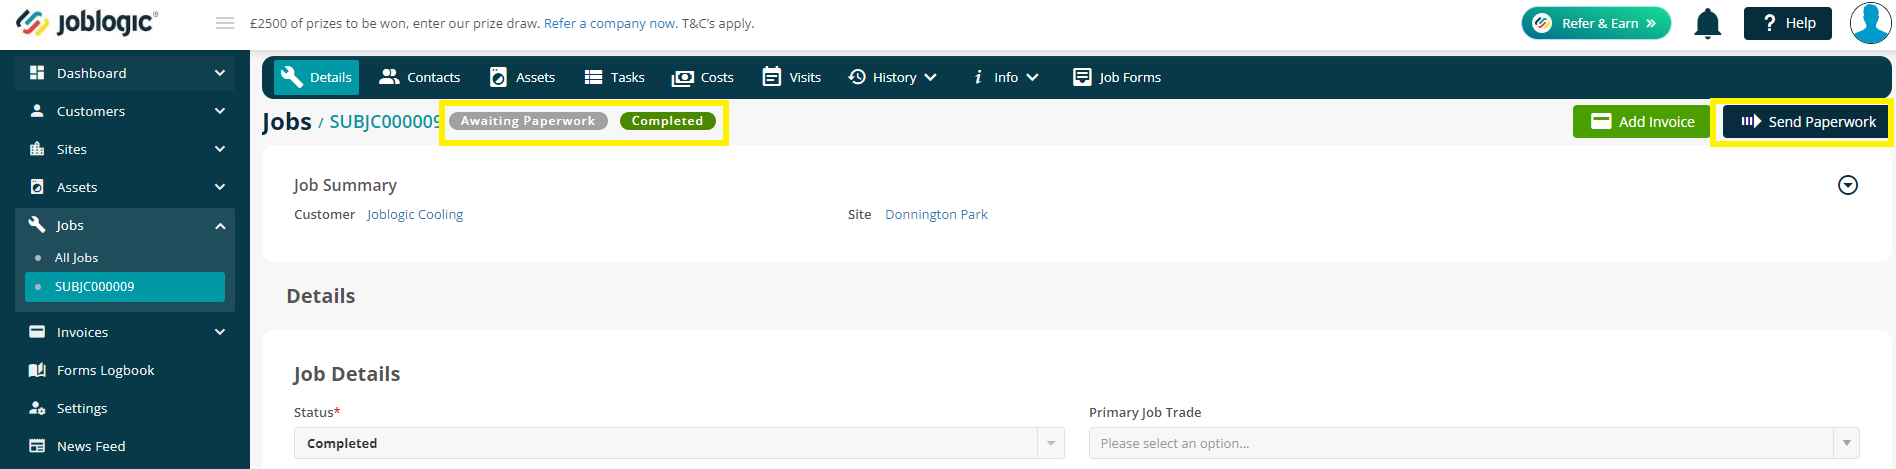
The job will now show the statuses ‘Awaiting Paperwork’ and ‘Completed’, and a button to Send Paperwork appears on the top right hand side of the screen.
Clicking the Send Paperwork button will allow you to resend the job details to your contractor. When sending your final paperwork, tick the box ‘This is my final submission’.
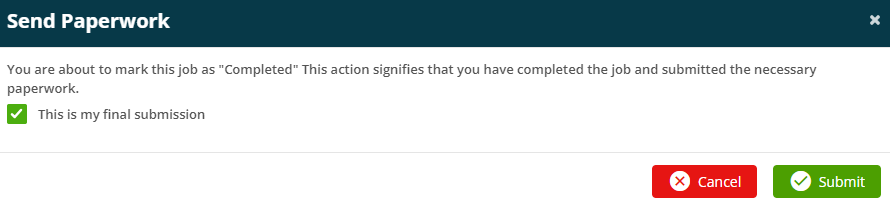
The job will then be marked as ‘Transferred’ and ‘Completed’ as we saw above.
Please Note
The Joblogic subcontractor portal is a reduced version of our full Joblogic system, with less functionality. If you wish to upgrade your subcontractor joblogic account to a full account with full functionality, click here. Alternatively, contact your Customer Success Manager on 0800 326 5561, or at accountmanager@joblogic.com.
It is also important to note that any jobs received from your contractor will be shown as your contractors name instead of the customers name. These jobs will have a job type (a job classification used to help you categorise and identify your jobs) set up by them. This has been done to allow you to easily identify any jobs received from them.
Further Support
For further information or assistance with the above, contact our Support Team on 0800 326 5561 or email support@joblogic.com. Alternatively, our Customer Success Management team can be reached by emailing customersuccess@joblogic.com
## Publishing Details
This document was written and produced by Joblogic’s Technical Writing team and was last updated on the date specified above. Be aware that the information provided may be subject to change following further updates on the matter becoming available. Additionally, details within the guide may vary depending on your Joblogic account’s user permissions.