Introduction
Joblogic Mobile allows real-time communication between the engineer and the office. It allows jobs, updates, notes, certificates and attachments to be viewed and used instantly.
This guide will provide step by step instructions to help you in getting started with the Joblogic mobile app, including how to log in and how to utilise the various features.
Getting Started
The Joblogic mobile app can be easily downloaded and installed from both the Android and Apple app stores.
• For Android devices, use the Google Play Store to download the 'Joblogic' Mobile app
• For IOS devices, use the Apple App Store to download the 'Joblogic' Mobile app
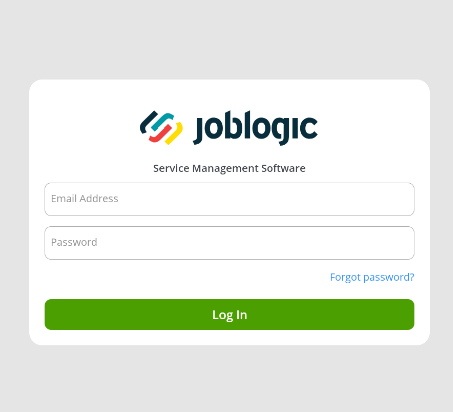
Once the Joblogic Mobile app is downloaded and installed from the store, you will be presented with the login screen as you open the app.
Logging In and Setting Up
To login and use the app, enter the Email Address and Password that has been setup in your Joblogic system. When you are happy that these are correct, select the Log In button.
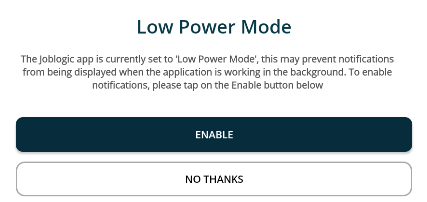
You’ll then be presented with a couple of prompts to Enable / Set up as required:
1. Low Power Mode
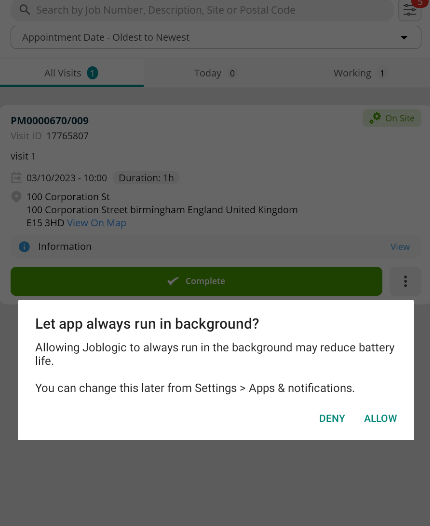
2. Let app always run in background?
Allowing the Joblogic app to run permanently in the background will ensure the app receives jobs on time and all mobile updates get sent to the back office whilst your device is online.
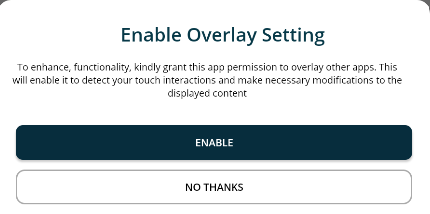
3. Enable Overlay Setting
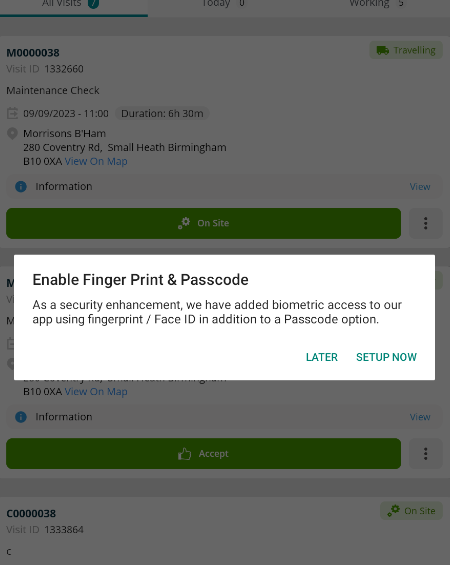
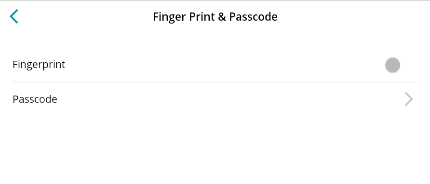
4. Enable Fingerprint & Passcode
Choosing “Setup Now” will allow you to toggle on “Touch ID/Face ID” and/or your Passcode. You will then be able to log in via Touch ID (Android) or Face ID (Apple) the next time you log into the Joblogic app.
Visits
Visit List
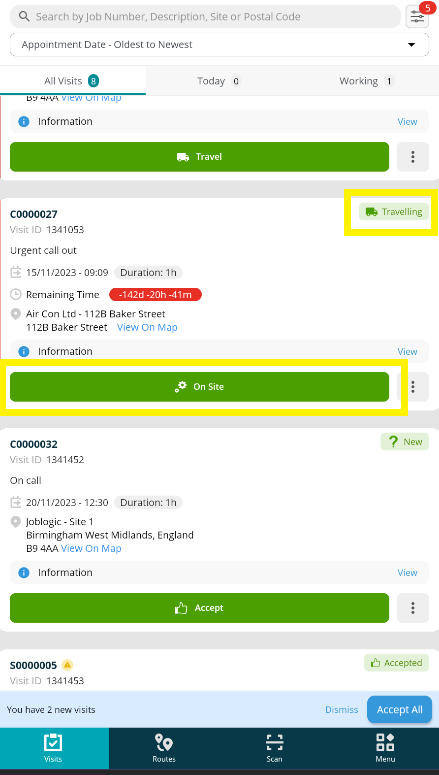
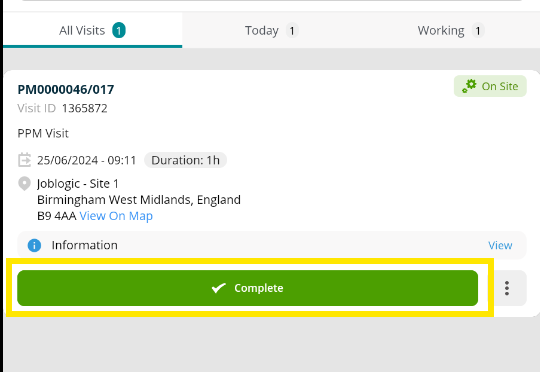
Once you have logged in, you’ll be taken to your Visits homepage. Here, you can view all of the jobs that have currently been deployed to you and are ready to be worked on.
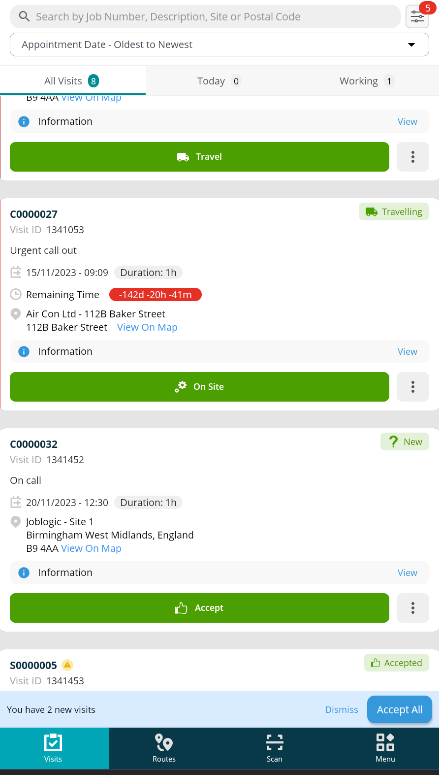
You’ll be able to see the initial information for the job on each card, such as Job Number, Description, Date & Time and Address details.
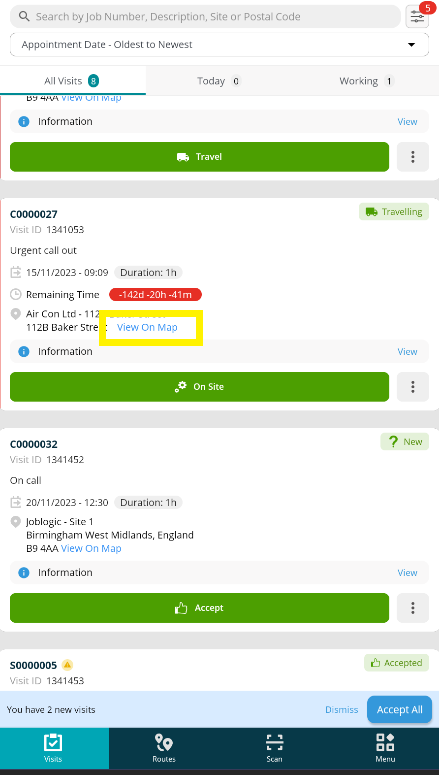
Next to the Address, you’ll see a View On Map link, which will take you to the map and show you the route from where you currently are.
This will only work if you have signal, and the address is set up correctly.
The Status of the job will be shown in the top right, and the next available status will be marked by the green button along the bottom. You can click on this and change the status from this screen if preferred, however it is ideal to click into the Visit to view more details to work on the job.
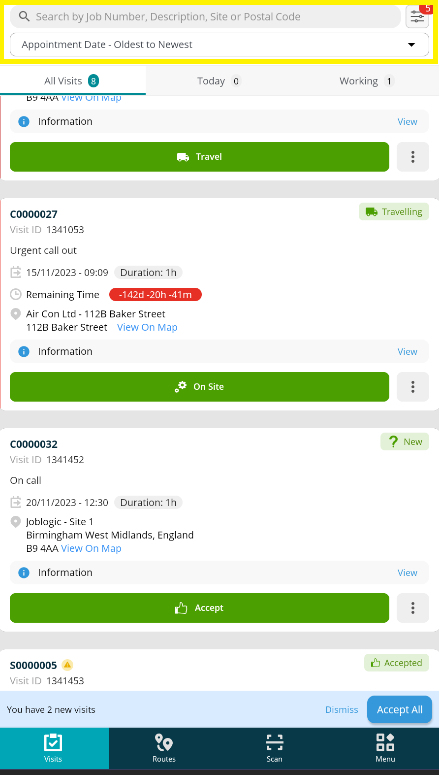
You may wish to use the Search and Filters at the top of the screen to find a particular job if you have a large list.
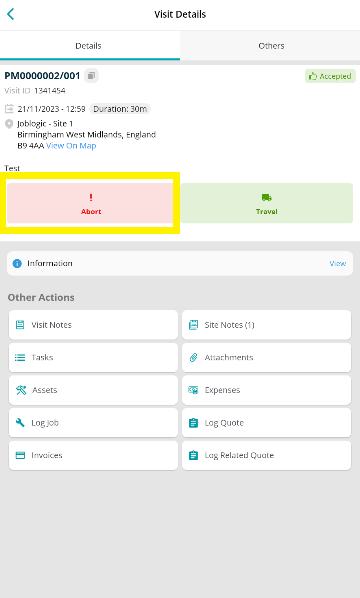
Visit Details - Details tab
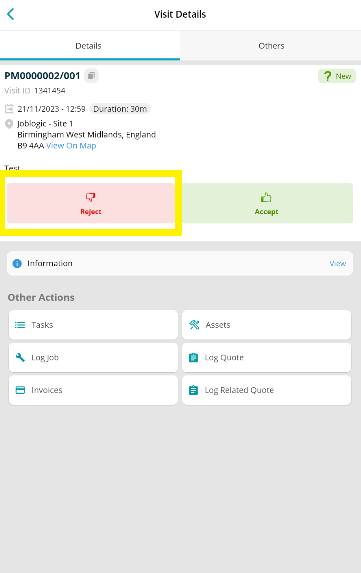
Clicking on the white space within the job card will take you to the Visit Details screen.
The top of the page will be the same as the main card you saw on the Visit List page, but with further status actions, such as Reject. More information can be found on these Statuses and the job flow below.
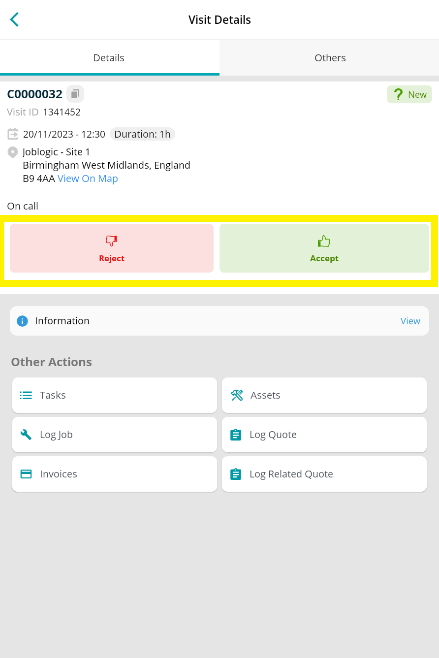
Below this, there are Other Actions. More will become available as you click through the job statuses and are discussed in detail further on in this guide.
Visit Details - Others tab
This section will provide you with all additional information you may require, such as full Job Details, Site Job History and Warnings.

Job Flow and Status Updates
Accept
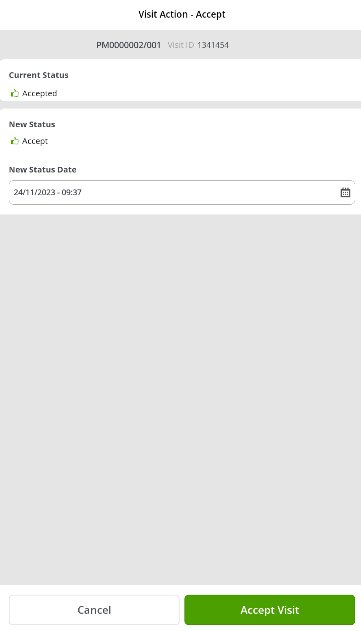
- You can accept the job by clicking the green Accept button from this Visit Details or the Visits home screen. Clicking through the statuses will update the Planner and Job in the back office.
- The Visit Action – Accept screen will appear, and by clicking “Accept Visit” at the bottom of the screen you will be taken back to the Visit Details screen.
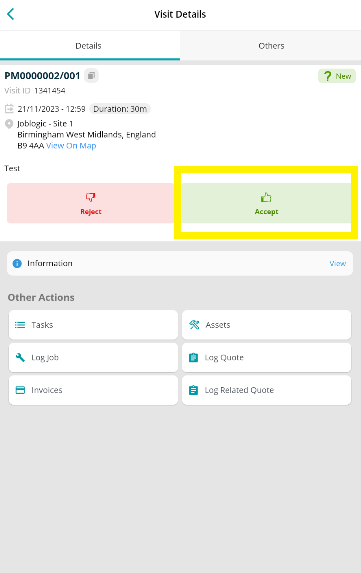
Reject
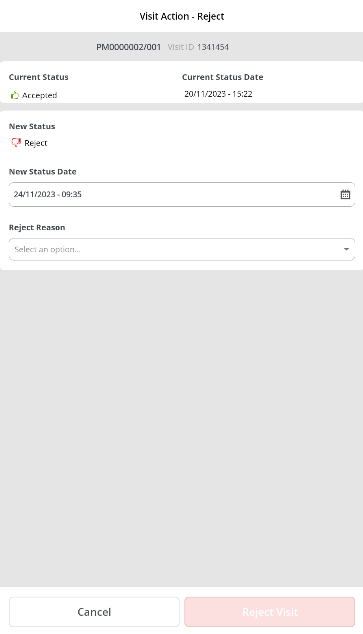
- If for any reason you cannot do this job, click the Reject status option.
- You’ll be redirected to the Visit Action – Reject page where you can enter a Reason from the dropdown and then click Reject Visit.
Travel
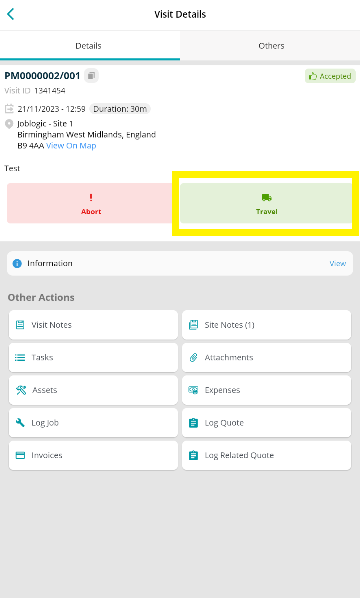
- On the day of the job, and when are are ready to start your journey, click the green Travel button.
- The Visit Action – Travel screen will appear to allow you to confirm the New Status Date, and then click Travel To Site. You’ll then be redirected to the main Visit page.

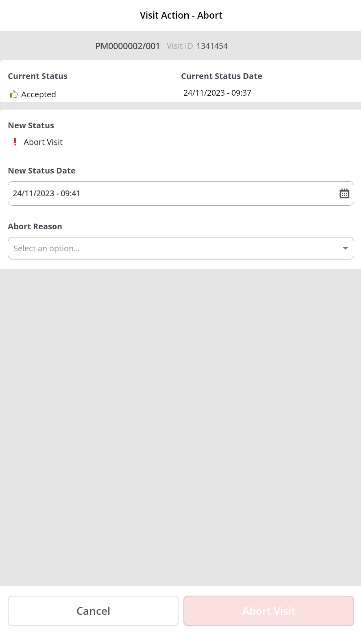
Abort
- If you wish to abort the job at this stage, choose the Abort status option.
- A Reason must be provided and will be relayed to the back-office users.
Now you are travelling to the job the additional buttons Abandon and No Access are available based on your permissions. You can also Abort at this stage too, as above.
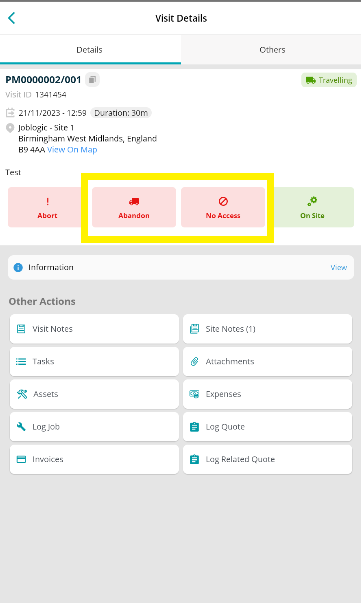
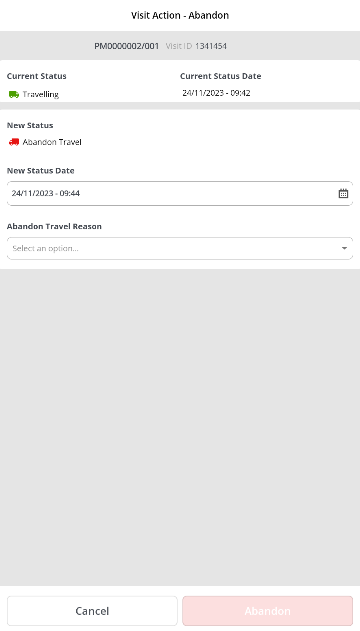
Abandon
- You can choose the Abandon status if you are unable to continue.
- Again, you will need to enter a Reason and then click Abandon at the bottom of the page.
- This will log a Revisit Required request.
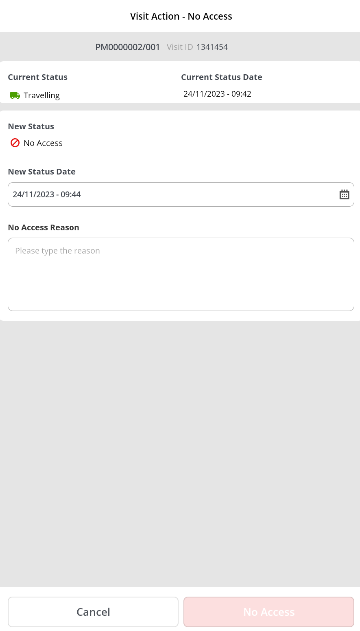
No Access
- You may use this option if Access has not been provided by the customer; this also logs the need for a revisit to the job.
- A Reason for the no access must be provided.
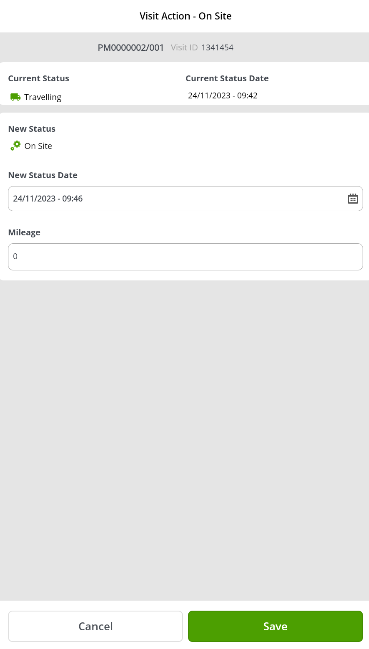
On Site
- When you have arrived at your destination, click On Site.
- You’ll be taken to the Visit Action – On Site page where you can check over your details, including your Mileage and then click Save.
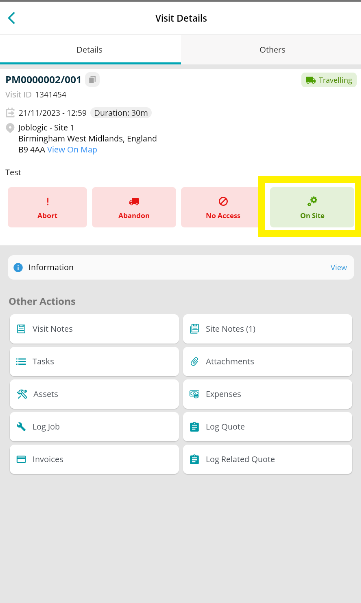
Now that you are on On Site, you’ll have a few status options.
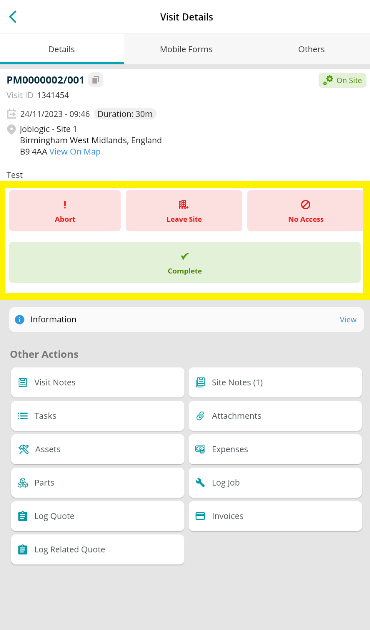
Again, you can Abort or mark as No Access at this stage (permission allowing)
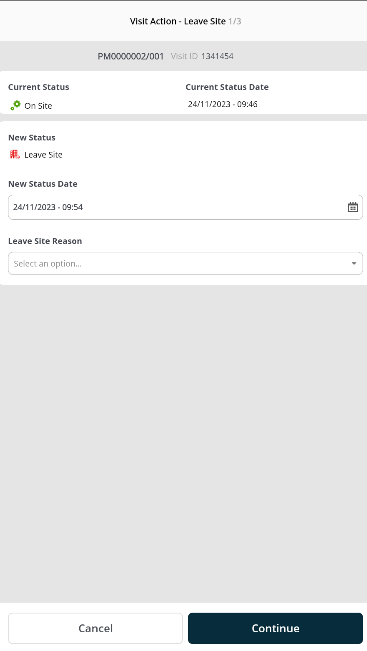
Alternatively, you have the option to Leave Site.
Leave Site
- This should be used if you ever need to PAUSE the job. Leaving site will revert that status back to ‘Accepted’ so that you can start it up again at a later time/date.
- For example, you may need to go and collect some parts, in this case you would Leave Site and then start travelling back again when you are ready.
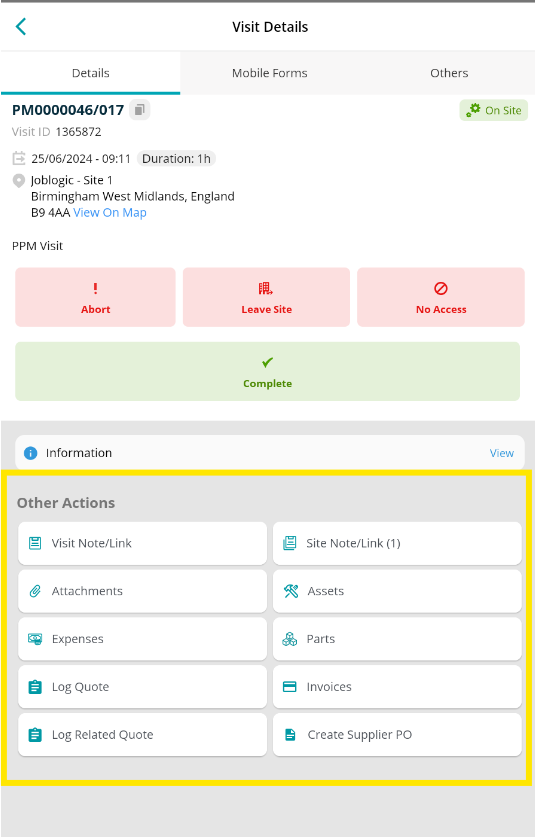
Other Actions
Once you have marked yourself as Onsite, full access to the “Other Actions” area will become available. From this area you can log job and site notes, complete tasks or assets, add attachments and add parts, depending on the permissions you have.
Visit & Site Notes/Link
Visit Note/Link – This section will allow you to add notes or links specific to the visit, i.e. details of the completion of the work.
The first tab is All notes/links, which you can view, edit and delete (by clicking the three dots on the note).
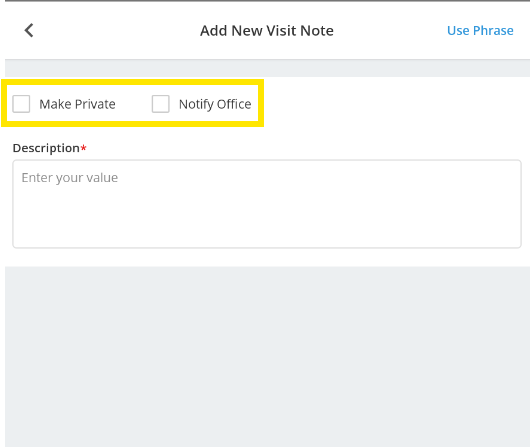
Then you’ll see a Note tab and a Link tab. Clicking either one of those will take you to the relevant viewing page. In the top right corner, you can click Add New to start a new note. Selecting “Notify Office” will alert the office of the note made and selecting “Make Private” will ensure the note won’t be seen by the end customer.
Site Note/Link – Notes that can be useful to future engineers working at that site can be added here, i.e. a signing in process, or access code needed.
Again, there are tab for All, Notes and Links. Clicking on the relevant tab will then allow you to Add New.
The option “Make Private” is available in site notes too and again will make sure this is for internal viewing only.

Attachments
Within the attachments area you can add photos, files or take a photo. Multiple pictures can be selected and added from your camera roll. This area can also be used to upload pictures of receipts that are to be expensed against the job.
Again, Make Private can be ticked if you do not want customers seeing this on jobsheets or their portal, if they have access.

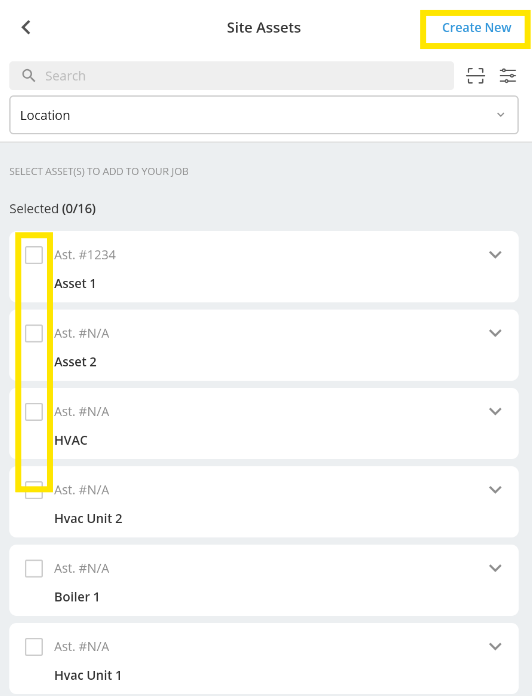
Assets
Clicking into the Asset tab will allow you to view all assets that have been assigned to the job, if any.
You can also add assets by clicking on the Site Assets option in the top right. From here you can view all assets on this site and tick any that you are working on, so they are added to the job for assessment.
You can also Create New assets if you are installing or logging a new item for example.
Expenses
Expenses can also be added to all of your jobs. Expenses like any other costs can be captured against the job you are currently working on to allow your team to effectively cost the job.
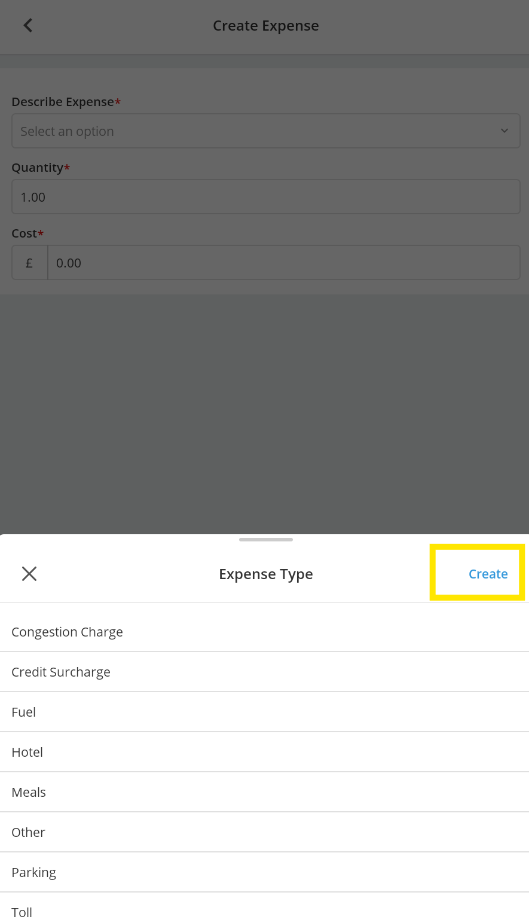
To add expenses to your job simply click on “Expenses” & “Add expense”. Once you have done this Joblogic will ask you to describe the expense by either selecting one of the options from a list OR by clicking on the “Create” button, to add your own expense if needed.
Once you have selected your expense, simply enter the quantity and the associated cost. By doing this, the cost will automatically be added to the costing of the job for the Back-office staff.
Parts
Parts can be marked as either “Used” or “Required” against your job. Multiple parts can be added against a job to help the office staff cost against extra parts you may have used from stock OR order parts that you may have marked as being required to enable you to finish the job.
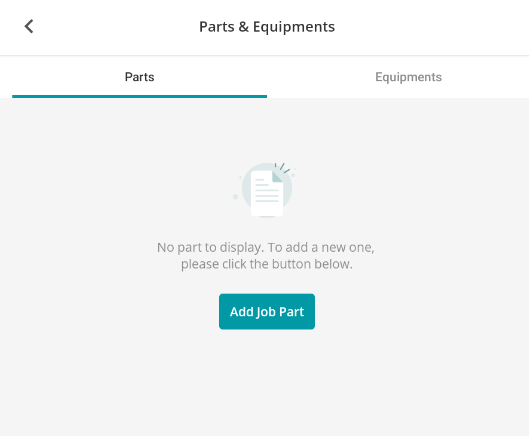
Adding Job parts – Once you have clicked on the ‘Parts’ button you will be presented with your current list, if there is one. There are two tabs, one for Parts and one for Equipment. Click the relevant tab and then Add.
Your Part Library will be set automatically to the default Library; however you can amend as needed via the dropdown.
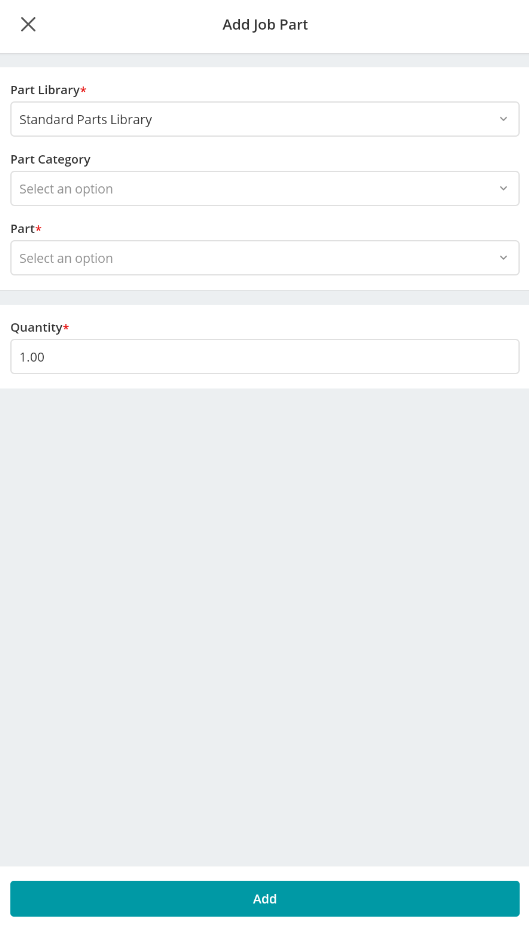
Once you have selected the library & Category of your choice, you are able to select from a drop down of all available parts. You can either select from the list or start typing the part number/part description to filter down the list.
Now that a part has been select you can select a quantity and tell the back office if you are either using the part or if you require the part(s).
Creating new job parts – If what you are looking for does not show in the drop-down list you can click on Create in the top right of your Part List, which will be added to the library for future use.
Marking parts as used – When marking parts as used you can issue parts from Stock if needed (this can be actioned by toggling the switch and then selecting your location).
Marking parts as Required – When marking parts as required you will not be able to allocate from stock. You should use this function to send the job back to the office for them to order these for you. NOTE that if you mark a part as required against your job. The job will be flagged in the back office as ‘Requires revisit’ with the idea that you are unable to complete the job until you have received the part.
‘Mobile Forms’ tab
One of the major benefits of the Mobile app is the conversion of current paper-based forms/certificates/risk assessments into electronic mobile forms. Joblogic comes with loads of standard forms for many different industries, but you also have the ability to create your own.
Click here to read more about our custom form builder.
There are 2 types of forms you might need to complete on the mobile app:
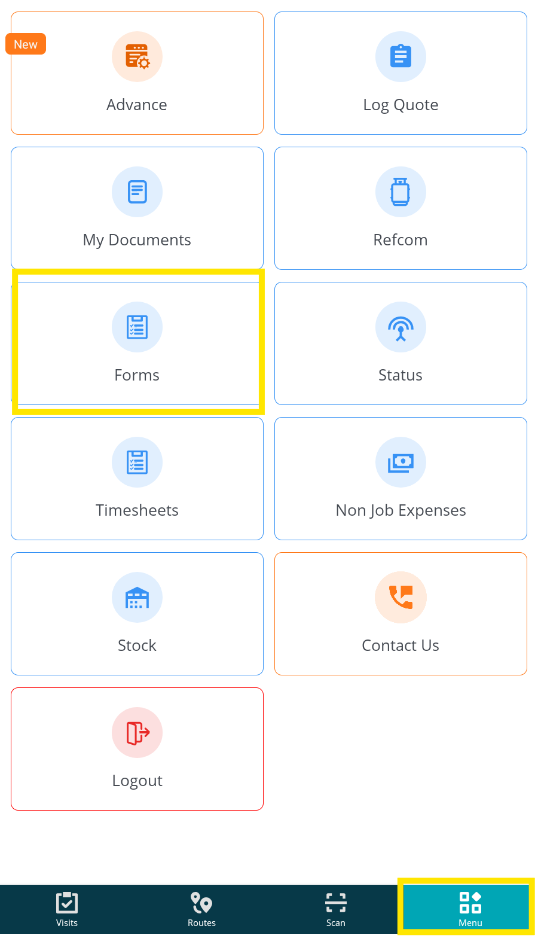
General form – A General form is a form that does not relate to a job, like a Vehicle checklist. General forms can be completed at any time on the mobile by clicking on the “Menu” button at the bottom left of the screen and then clicking on “Forms”. You will then be presented with a list of available forms.
You may find that general forms pop up on your mobile app automatically upon logging in. The team in the back office can select from a frequency when this form should be completed by the mobile user.
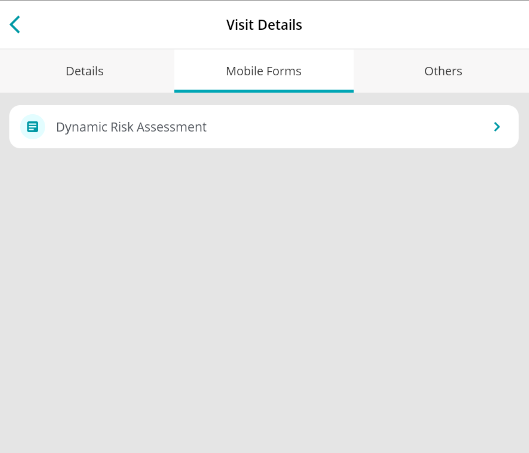
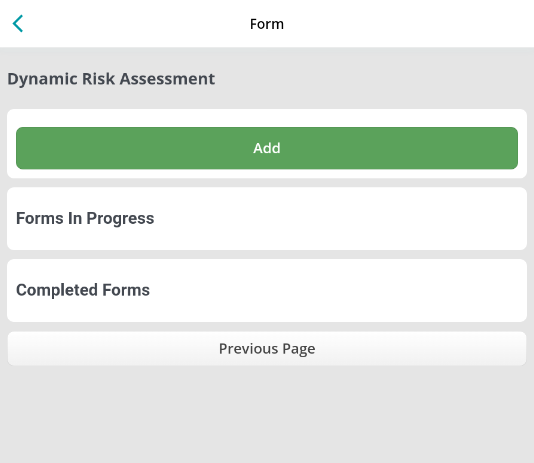
Job form – A Job form can only be completed against a job and will NOT be visible in the menu section as mentioned above. You can only complete a job form once you have marked yourself as ‘On site’ against a job. Once you are On Site you will see a ‘Mobile forms’ button at the top of the screen. Clicking on this will display all forms that your back-office team have deployed for you (Just because a form is in that list does not mean it needs to be completed against every job). If a form is mandatory, there will be a note to specify.
To complete the form simply select the form and complete the questionnaire. Please note that if you back out of a form, progress WILL be saved but only up to completed pages (If you back out halfway through a page, progress on that page will be lost)
Like General forms, you may find that certain forms pop up automatically on your app, this is because the back-office staff can select when a certain form should be completed, like when you go to complete the job or mark yourself as On Site.
‘Other’ tab
Once you have a job open on the app, it is comprised of 3 main sections. Details, Mobile Forms and Others. This Others tab will give you a lot more information around the job.

Visit details – Come here to find specific times your job visit has been booked in for. You will also find all public/private notes added by yourself, the office team & other engineers assigned to your job.
Job Details – On the main screen you get some basic information like the job description, where you need to go and at what time. Within the job detail tab, you will have access to more information, like any contact details for whom you are visiting, priorities, Job types and who created the job for you in the back office.
Quote details – Here you will find any specific descriptions added if the job derived from a quote. NOTE you will not see any monetary values here.
Customer details – Within customer details you will have access to the main customer details along with any attachments that might have been uploaded to the customer profile in the back office (Contract info and so on)
Site details – Here you will find a wealth of information around the site, including site contact information the account managers assigned and much more. You will also find all history, everything ever done for this site in this section.
Site Jobs history – Maybe one of the most useful sections here, the site jobs history tab will let you see at a glance every job done for this site whether it was done by yourself or a colleague. You can dig deep inside these historical jobs and see who did them, the notes they left, the forms they completed & pictures they may have taken.
Site quote history – View details of quotes that have been raised for the site, not necessarily relating to the job you are looking at.
Other visits for this job – Come here to find out what other visits are included on this job. This may be other visits for yourself or another engineer that might be attending later.
Logbook – Here you will be able to preview/Send/print any forms you have completed during your visit.
Visit status history – This will give you a breakdown of the status’ the job has been through, along with time and date stamps.
Warnings – If you open a job and see a caution mark against it, it means a warning has been assigned to either the customer record or the site. Clicking in here will allow you to view these warnings in full.
Completing a job
There are a couple of ways you can complete your job. Either from the visits page OR by opening the job. Both options will walk you through the same process of completing the job.
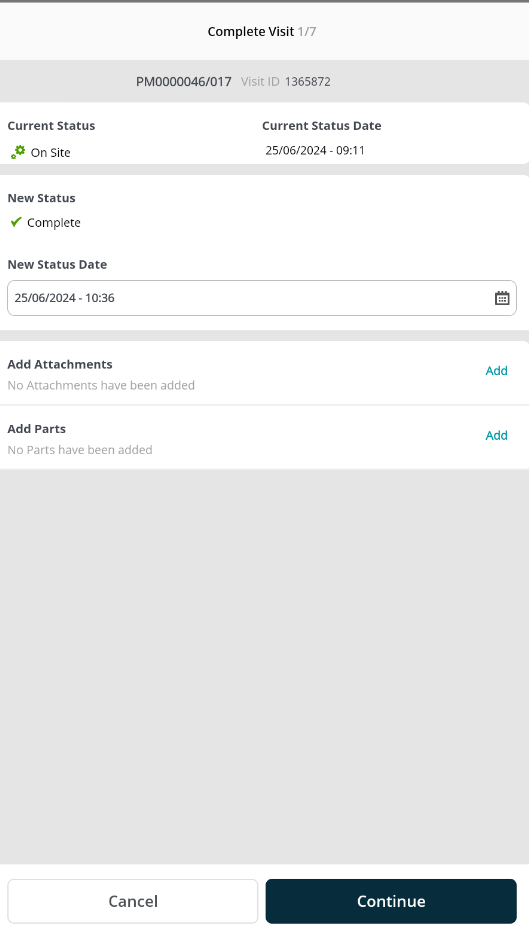
Once you have clicked on the ‘Complete’ button you will have the option to update the completed date & time. If you need to back date a completed job, click in to the ‘New Status Date’ cell and select the new completed date and time. You can also set this date and time in the future, if you do this Joblogic will warn you that you are trying to select a future time.
Complete visit 1/7 - On this page Joblogic will also prompt you to add any Attachments, Parts, and Expenses that you may have missed. If you have already added these items, they will be displayed on this screen. Click Continue.
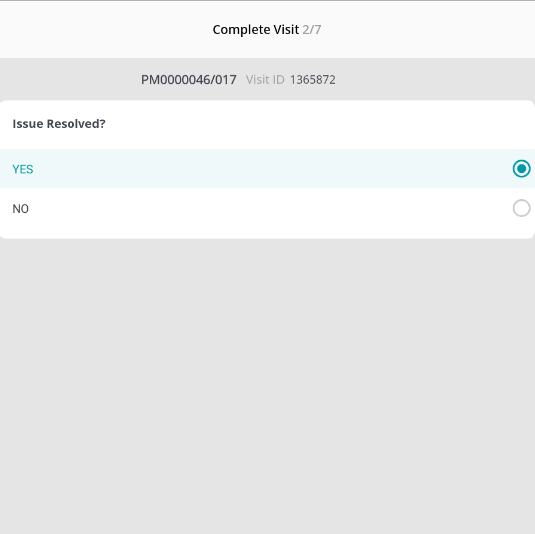
Complete visit 2/7 – At this point Joblogic will ask you if the issue is resolved or not. It is important to understand that from this point the job will go down one of two available paths.
If you select ‘No’ the job will fall into a ‘Requires revisit’ in the back office. If you select ‘Yes’ the job visit will be completed. NOTE that if you have marked any parts as being ‘Required’ the only option you will have access too at this point is ‘No’
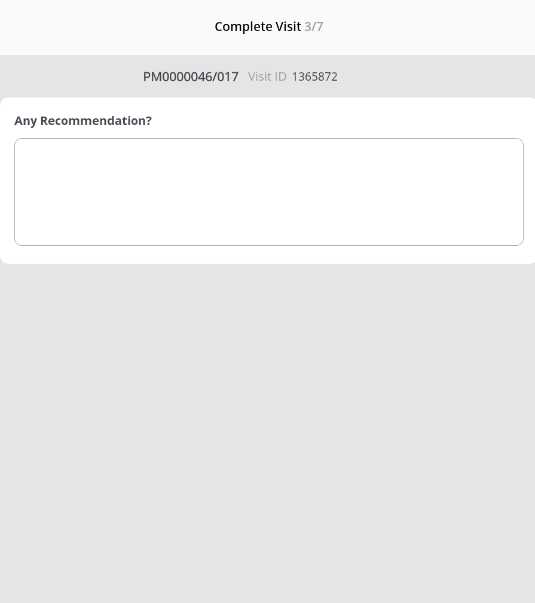
Complete visit 3/7 – You are now given the option to add any recommendations. This should be populated if you want to send a message back to the office for things like remedial works you found whilst on the job. This is not mandatory, and you can simply click Next to move on.
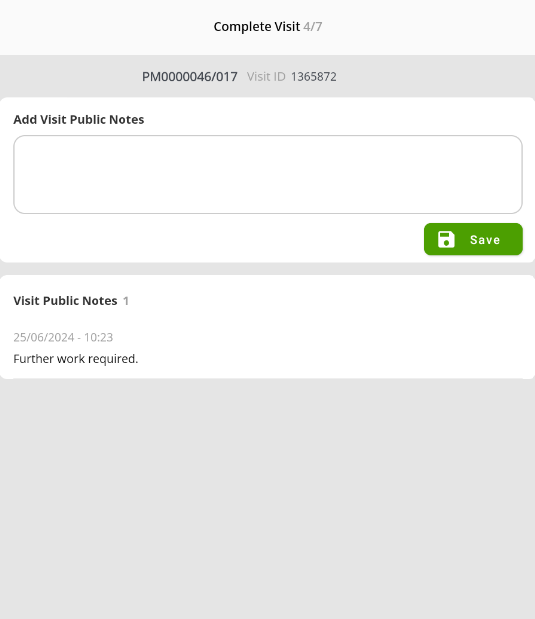
Complete visit 4/7 – Now you will be asked if you want to add any more notes against the job. If by now you have not added any public visit notes, you will be forced to add one before you progress.
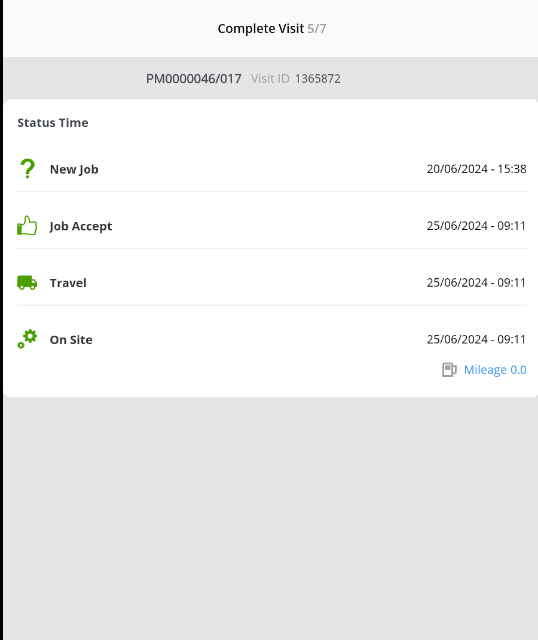
Complete visit 5/7 – Here Joblogic will show you a status audit of your job, reminding you of all status change times (You can not make any changes on this page). This page will also warn you if you have any incomplete forms as a warning at the top of the screen.
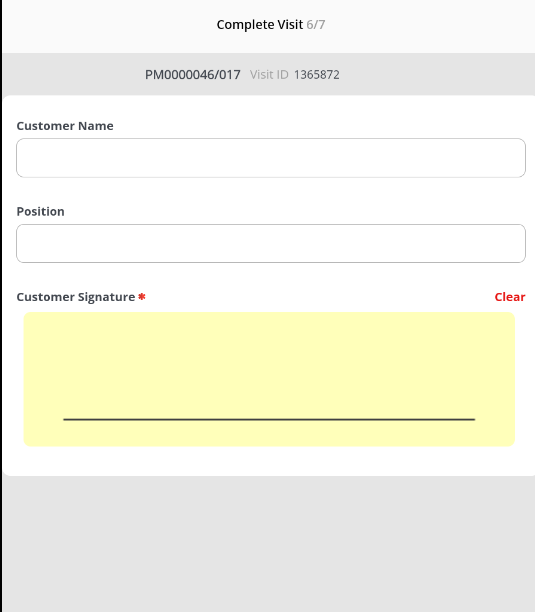
Complete visit 6/7 – Customer name/position/signature. When available here is where you can ask the customer to sign. It may be mandatory depending on settings in your back office.
Complete visit 7/7 – Engineer signature can be captured at this point.
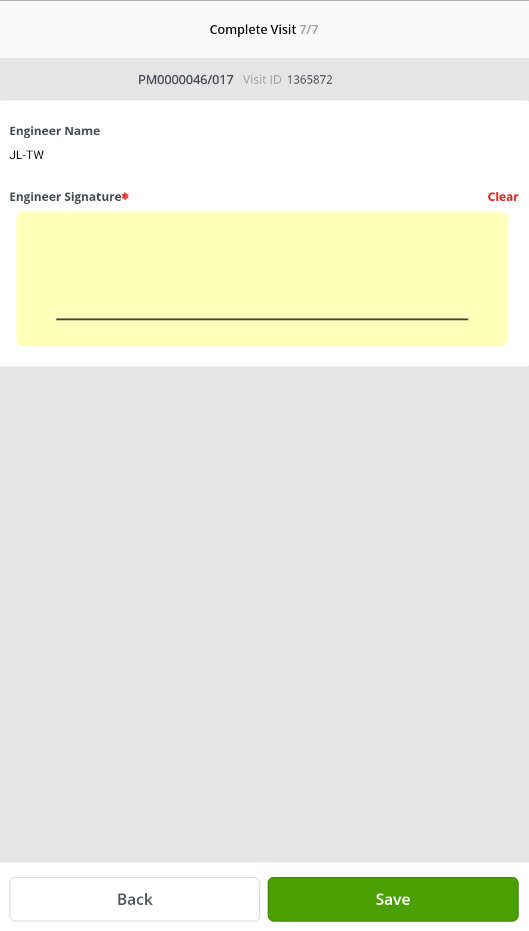
Your job is now complete and has been sent back to the office.
There is a quicker completion method that is available if the back-office sets this up via engineer permissions.
Routes
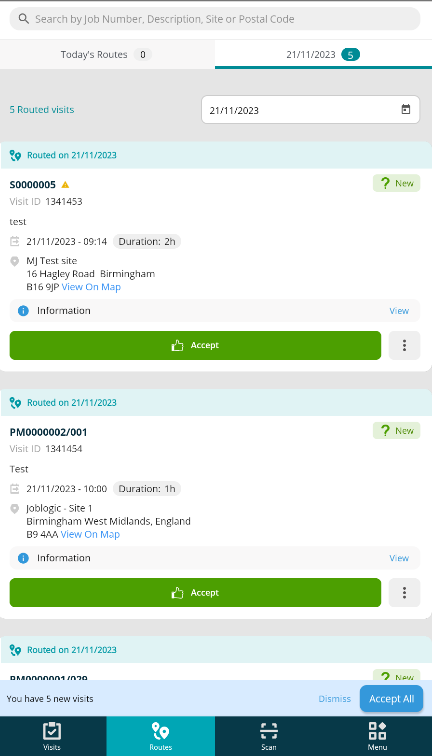
The second option allows you to view your optimised Route as set by the back-office staff courtesy of Joblogic’s Route Scheduler.
To read more about setting up the Route via the back office, click here.
This section will only show data if a back-office staff member has deployed a route to you via the Planner.
You will work on your jobs in the same way as usual, however this time there is an optimised order for you.
Scan
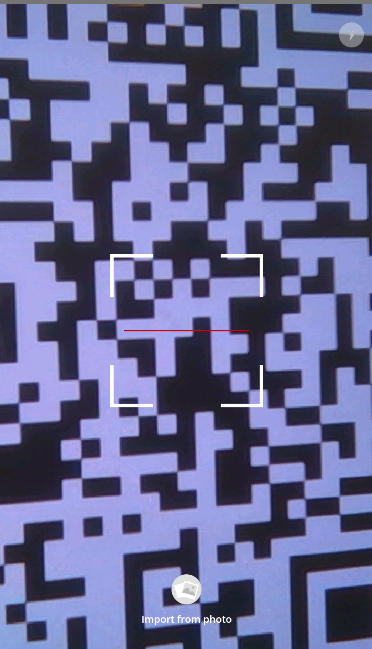
The Scan option can be used to search for your Joblogic Assets via QR Codes or Bar Codes.
Clicking the Scan button will open your Camera ready for instant scanning. Next, scan the QR / Bar Code you have, and it should bring through the relevant Asset details.
If the code does not exist or has not been set up in Joblogic yet, it won’t allow you to search.
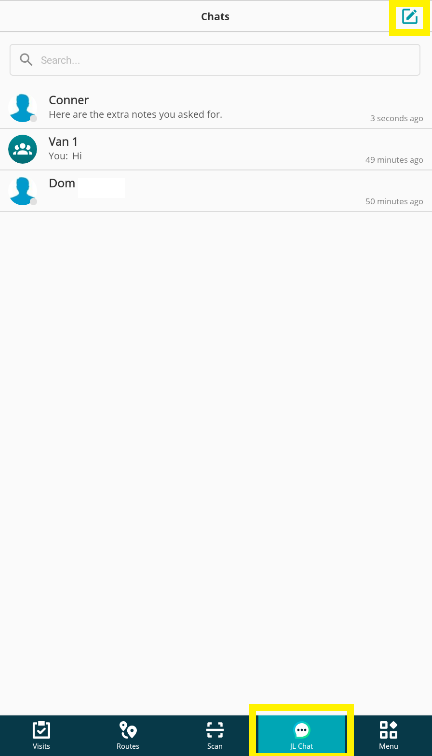
JL Chat
The next option along, is the JL Chat function. This is an internal messaging service that you can use to communicate with the back-office team and other engineers.
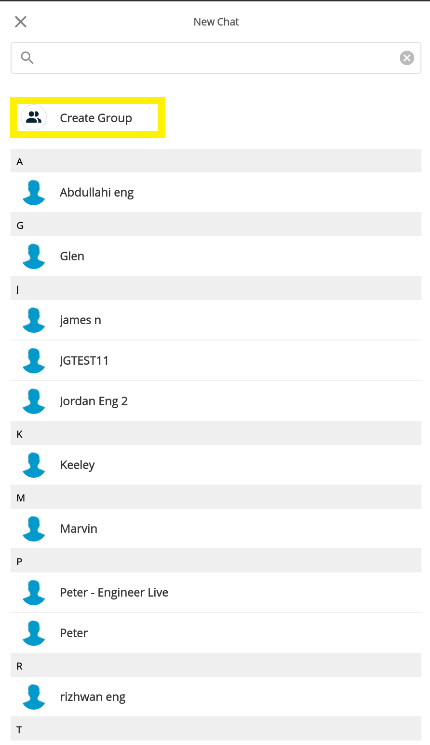
To start a new chat, click the pen and paper icon at the top of the screen. This will show you a list of everyone in your team that you can start a chat with. You will also notice you can start group chats here if you wish.
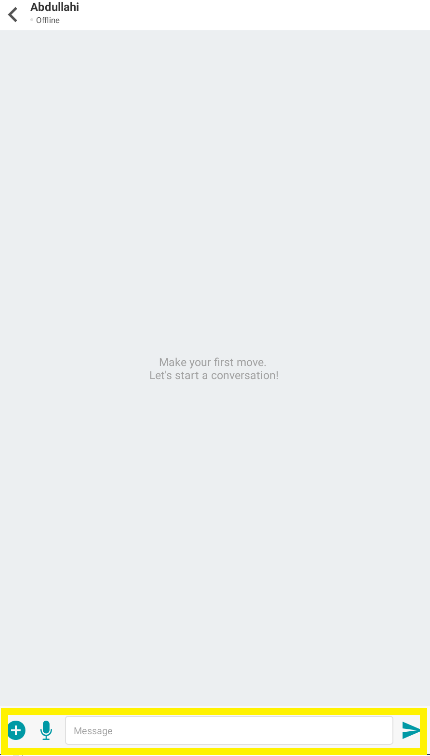
Click on a name to open the messaging service so you can start sending written messages, attachments, or voice notes. If someone sends you a message, you will receive a notification, just like you do when you receive a new job on the app.
Menu
And finally, it's your main Menu with various useful tools and features.
Some of the below items are permission based, so you may not have access to all of them unless your colleagues in the back office have turned them on for you via Settings > Staff.
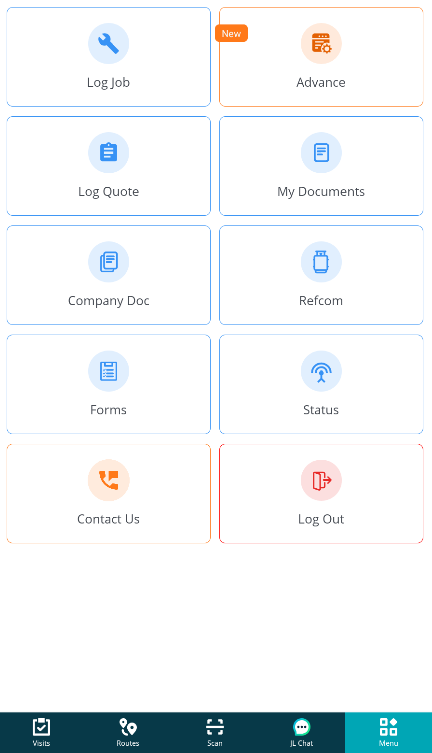
Log Job
- Log Job is permission based but it will allow you to log your own jobs on the mobile app while out on site.
- When logging these jobs, it will ask for the job detail and finally who you want to assign the job to.
- By default, it will be yourself and once you press save the job will automatically send back to you so you can start work on it as normal.
Advance
- The Advance feature allows you to utilise more of the back-office functionality, but on your mobile app, while out and about, if you have the relevant permissions.
- You currently have access to Customers, Sites, Quotes, Assets, Invoices and Supplier Purchase Orders, with more to be added soon!
Log Quote
- You may also be able to raise Quotes on the mobile app whilst you are on site.
- Please note that you are unable to add any monetary values within this feature.
- This will simply create a basic quote for further works, that is then sent to the back office for completion.
My Documents
- Your team in the back office may have uploaded some useful documents to your account in the back office, such as your ID, qualifications and certifications.
- If they have, then this is where you can come to view and download them.
- Very useful if you ever need to show these documents whilst you are on site.
Company Docs
- Like the above ‘My documents’ your team in the office may have also uploaded global company documents for you to view on the mobile app.
- If so, this is where you can come to preview/download them.
Refcom
- If the Refcom module is useful to your business, and is enabled, you’ll have a Refcom option here.
- Within this section you can add, view and Collect/Return Cylinders, as well as checking the refcom audit.
Forms
- Here you can view all forms that are marked as General forms, not Job Forms. They can be clicked on and filled in as normal from this screen.
Status
- There are a few useful sections on this page. You can check if your app is up to date, amend certain settings if you wish, and you can also check the connectivity status of our services.
- You also have the ability to fetch the latest updates for library data or do a manual Sync if ever required. However, the app should be doing this automatically anyway.
Contact Us
- You can speak with the Joblogic support team through the Contact Us section. You have 2 options here – Live Chat or Direct Call.
Log Out
- As simple as it looks – click here to log out of the app.
Further Support
For further information or assistance with the above, contact our Support Team on 0800 326 5561 or email support@joblogic.com. Alternatively, our Customer Success Management team can be reached by emailing customersuccess@joblogic.com
Publishing Details
This document was written and produced by Joblogic’s Technical Writing team and was last updated on the date specified above. Be aware that the information provided may be subject to change following further updates on the matter becoming available. Additionally, details within the guide may vary depending on your Joblogic account’s user permissions.