Introduction
The Locatrix Integration makes it easy to bring your building floorplans into Joblogic. You can connect detailed site plans to your Joblogic system, so you and your team can see exactly where assets are located, across multiple floors and buildings.
This helps speed up servicing, improve accuracy, and keep you compliant, especially handy in fire safety and facilities management, but a great tool for any industry!
This guide will walk you through setting up the integration, uploading floorplans, and using the mobile and web features to manage assets more effectively.
How to access the Locatrix module
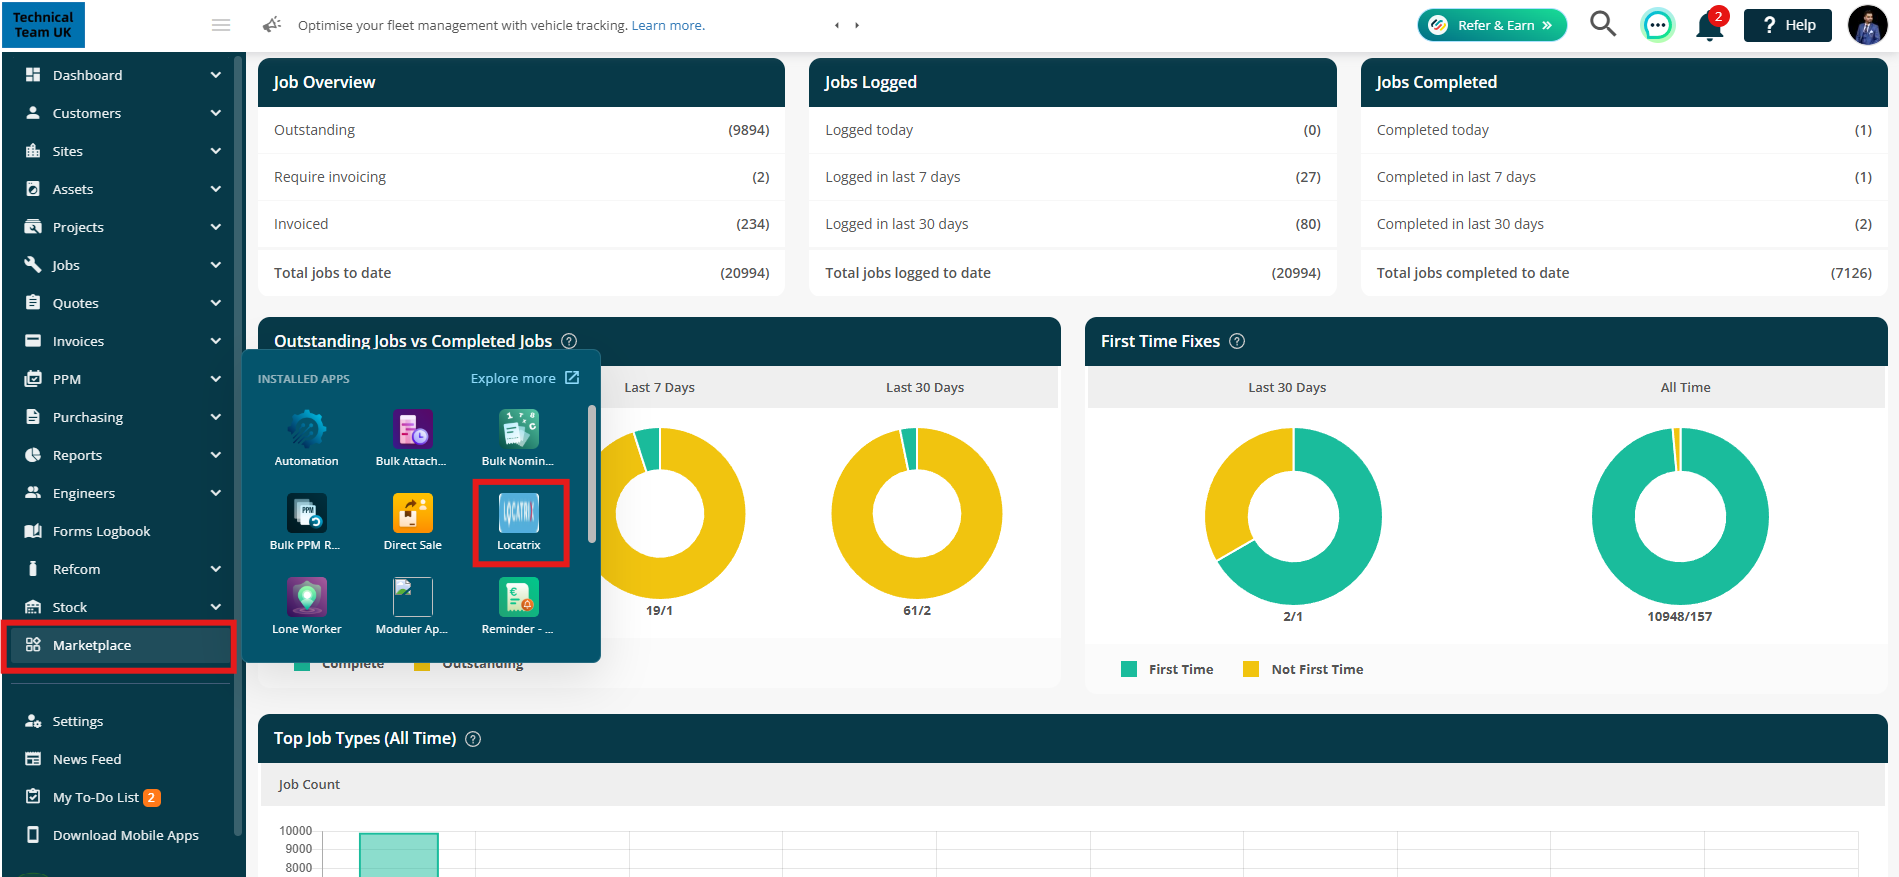
To get started, head to Marketplace on the main menu and click Locatrix.
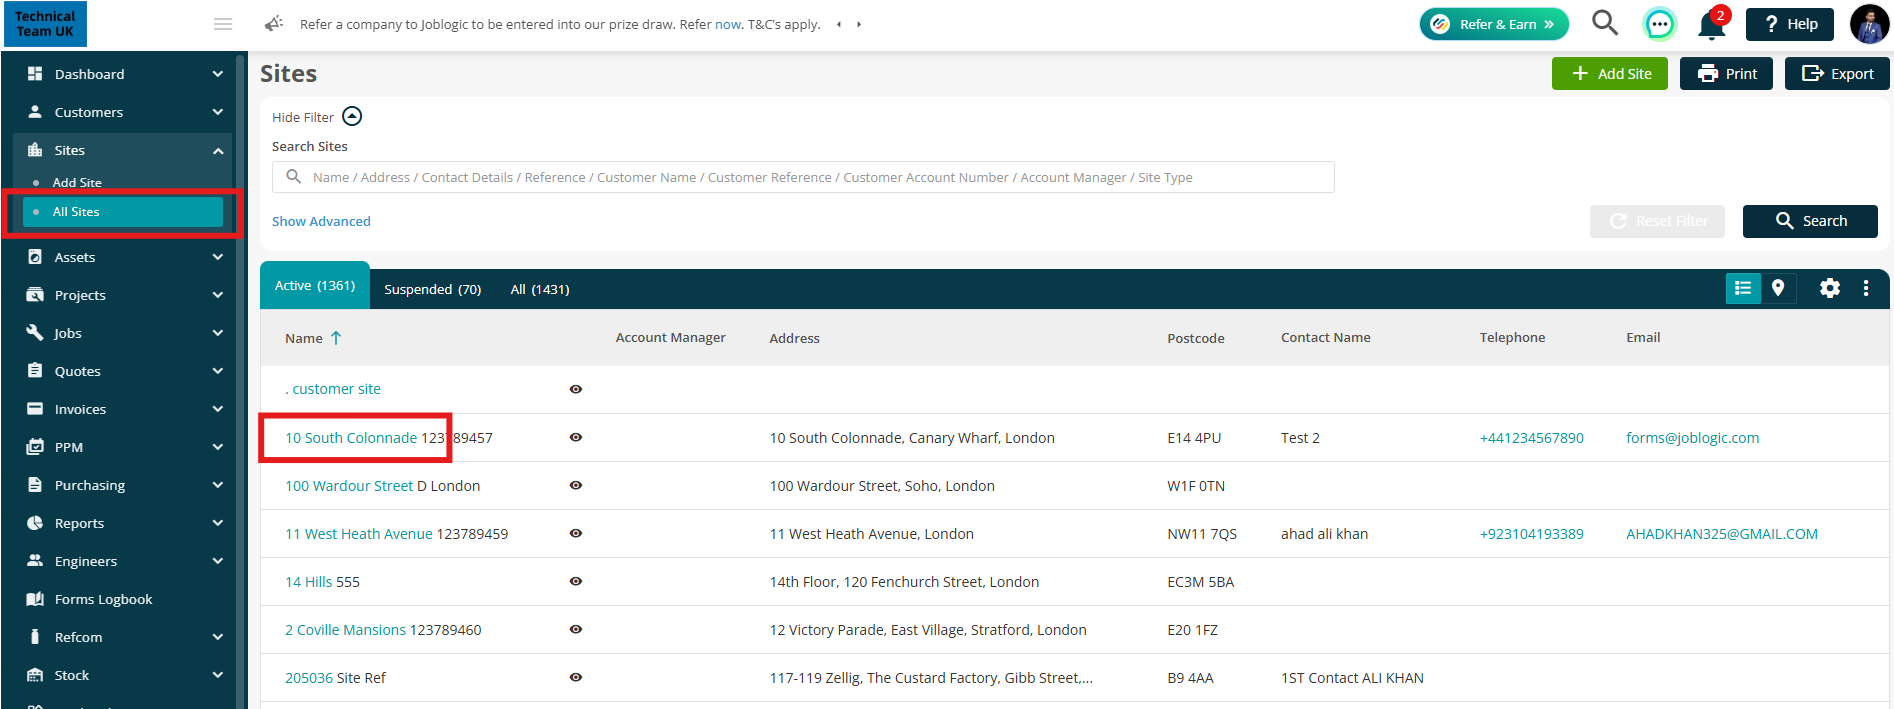
Or, you can go via a site:
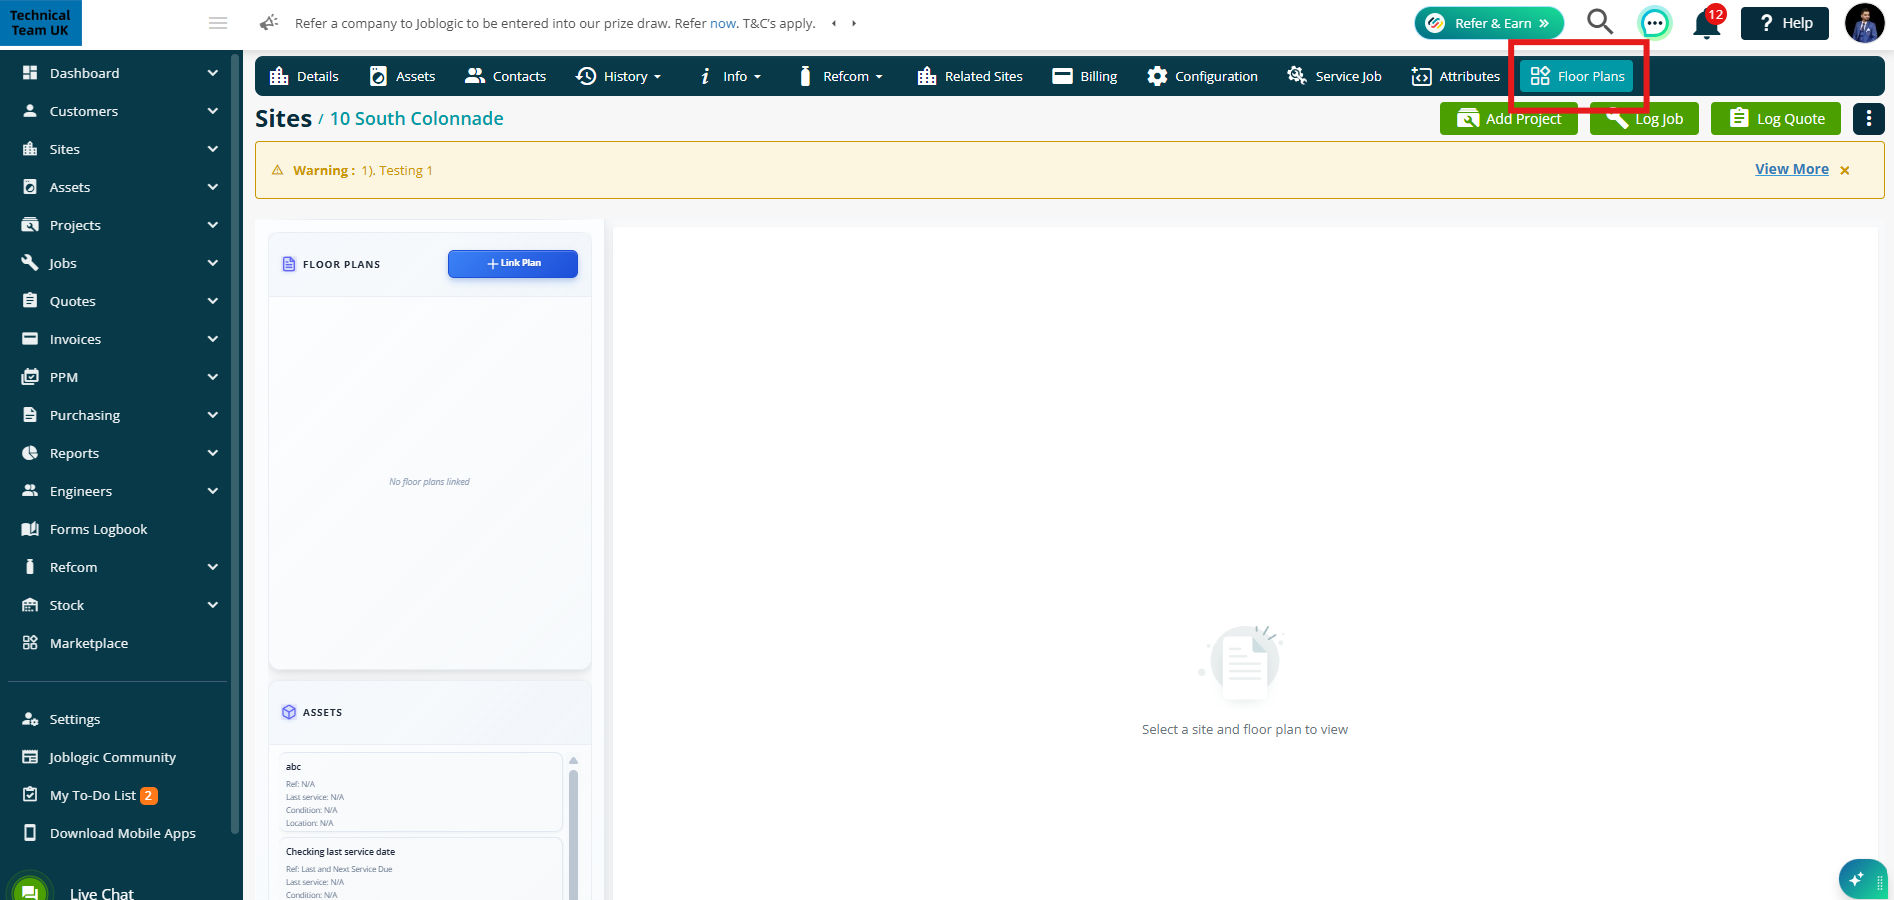
Go to Sites > All Sites, select a site, and click the Floor Plans tab.
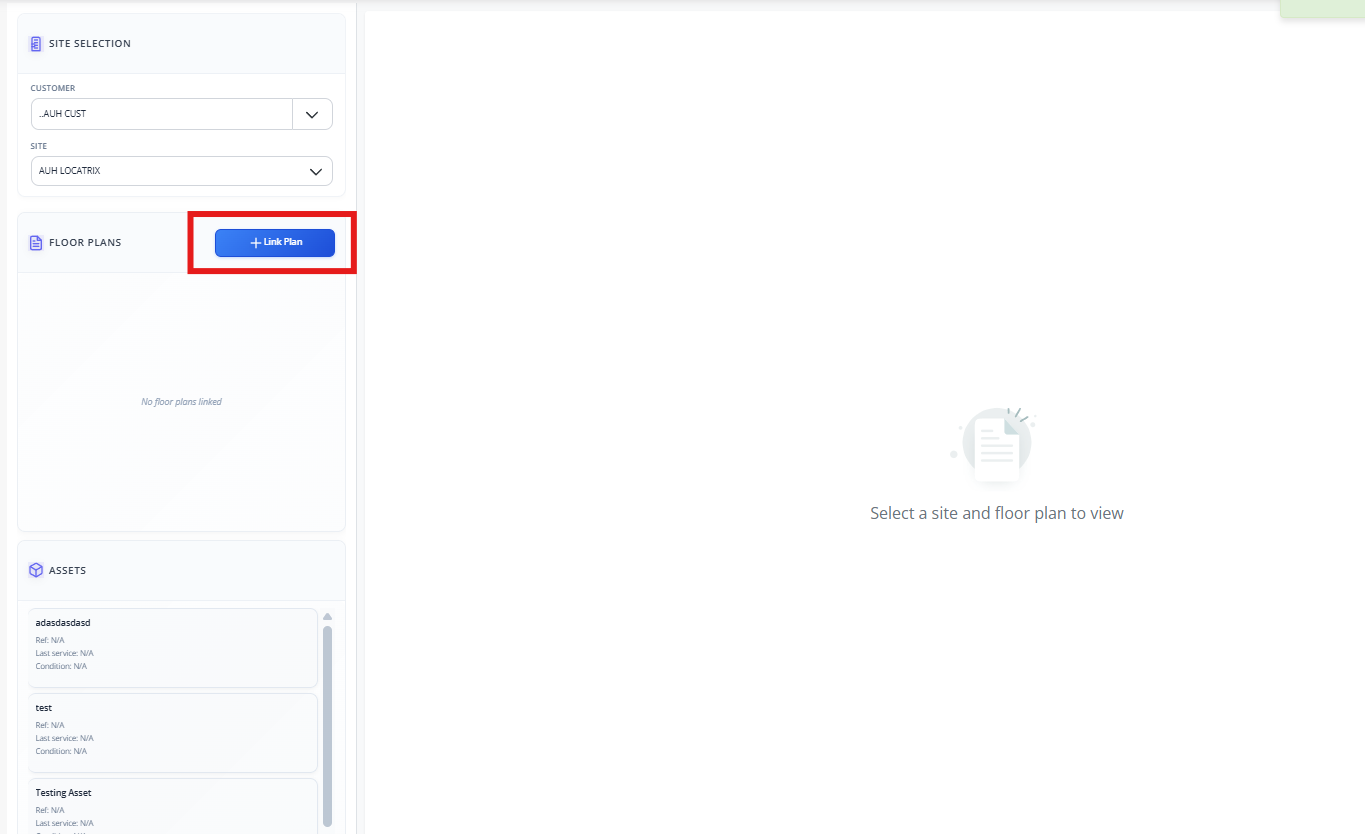
Linking a Plan
Choose the Customer and Site you want to link a plan to.
Note: If you are accessing this from the Site page you will not need to do this.
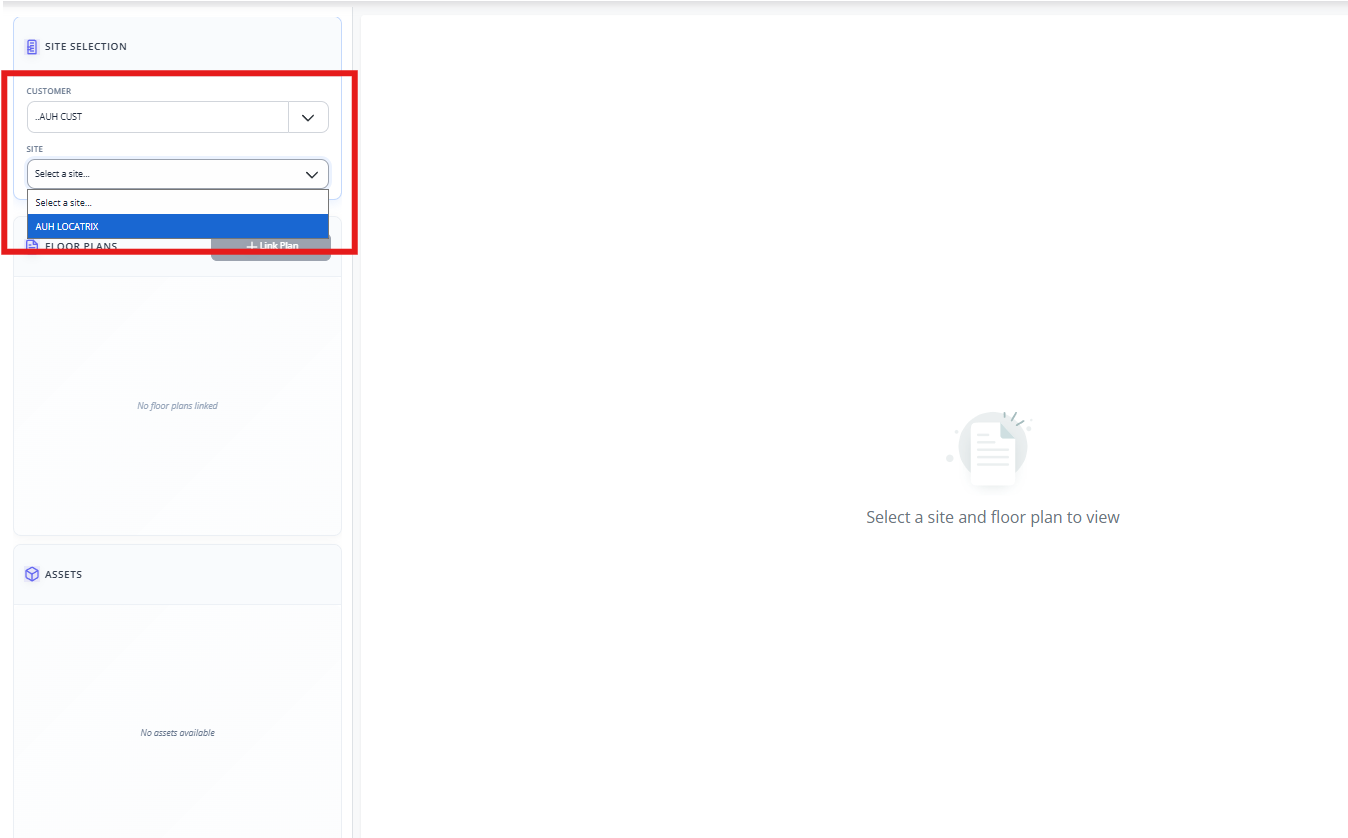
Then click Link Plan.
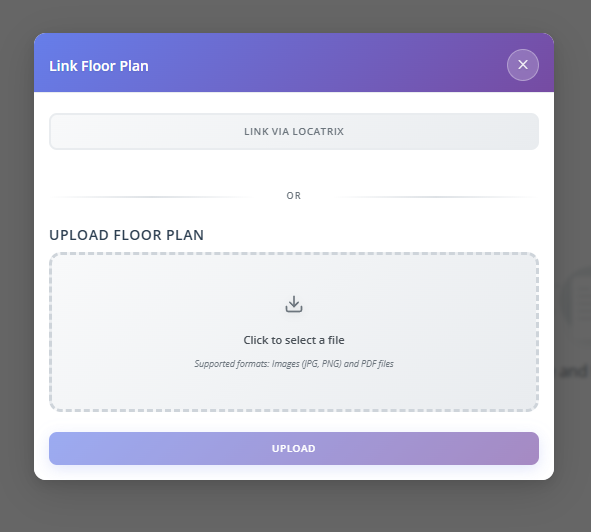
You’ll now have two options:
- Link via Locatrix
- Upload Floor Plan
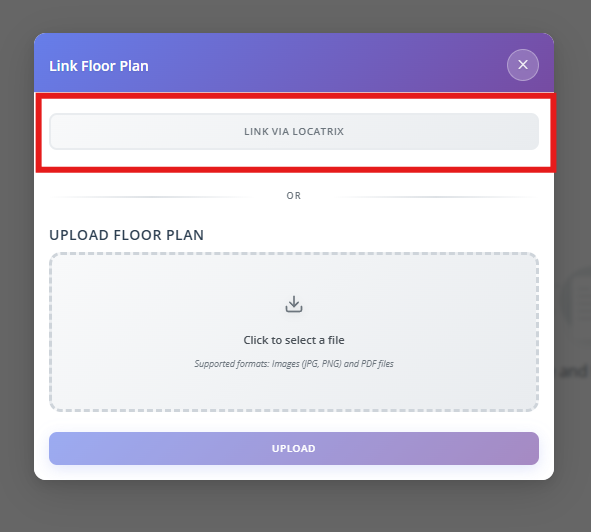
1. Link via Locatrix
Choose this option if you want to link directly to your Locatrix account.
Click Link via Locatrix.
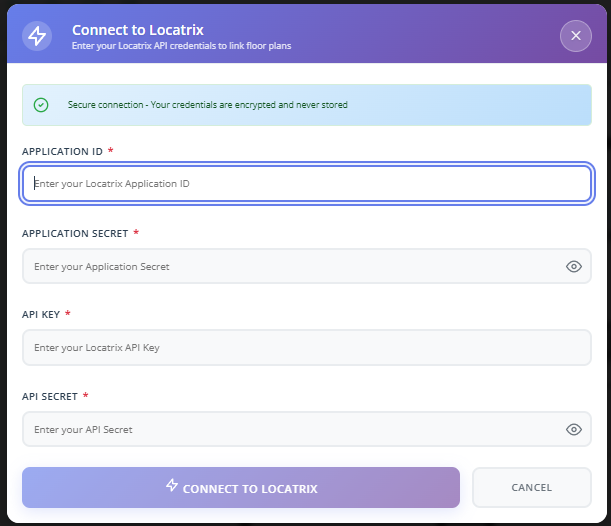
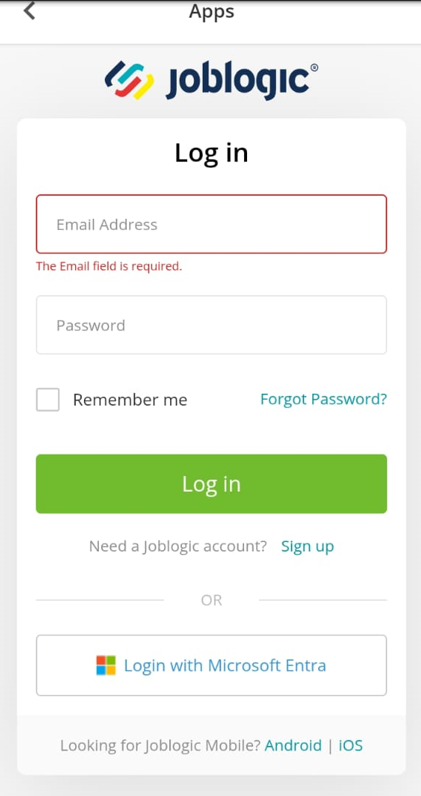
When accessing Locatrix for the first time, the following login form will appear:
Enter your Locatrix account credentials, which can be obtained from the Locatrix Management Portal.
Note: These credentials are only required the first time you log in. On subsequent visits, you will be taken directly to the Partner selection page.
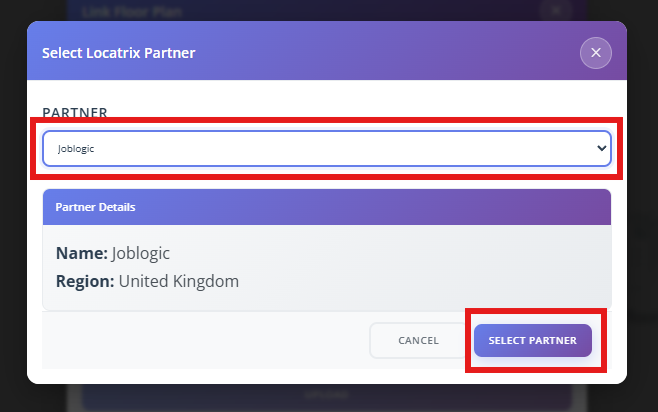
Select the Partner
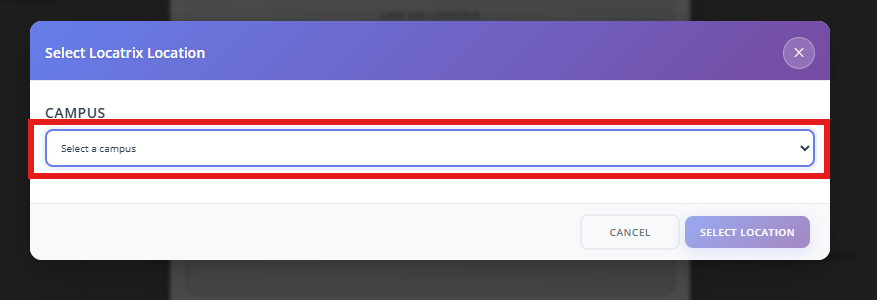
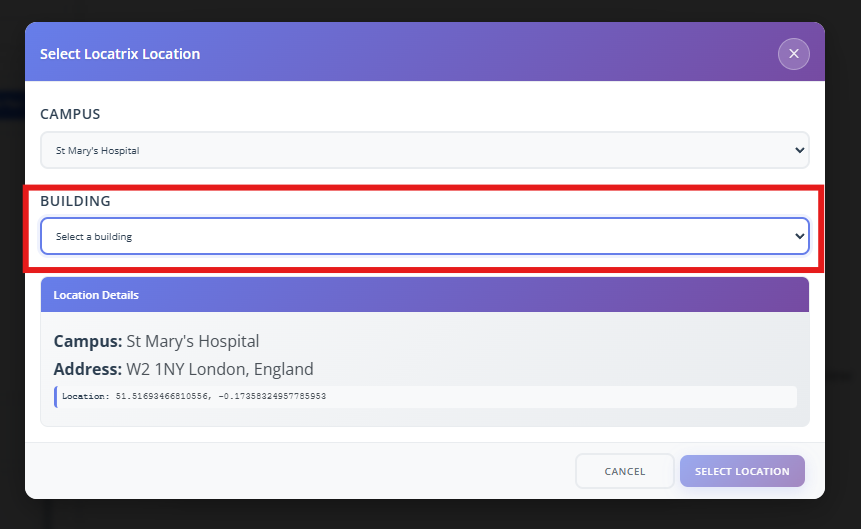
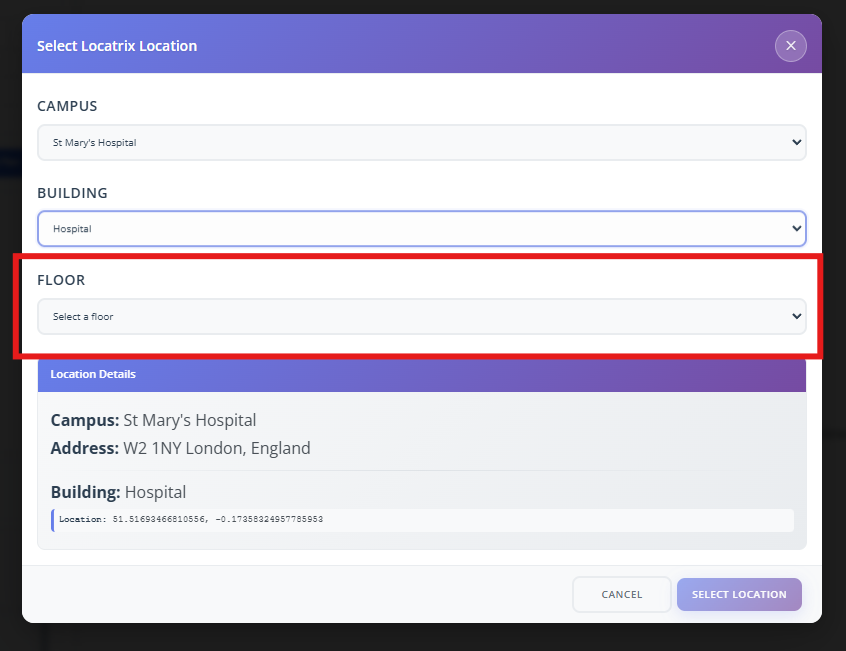
Choose the Campus, then the Building, and finally the Floor.
2. Upload Floor Plan
Alternatively, you can upload an image from your local system.
Click inside the upload box to browse your files.
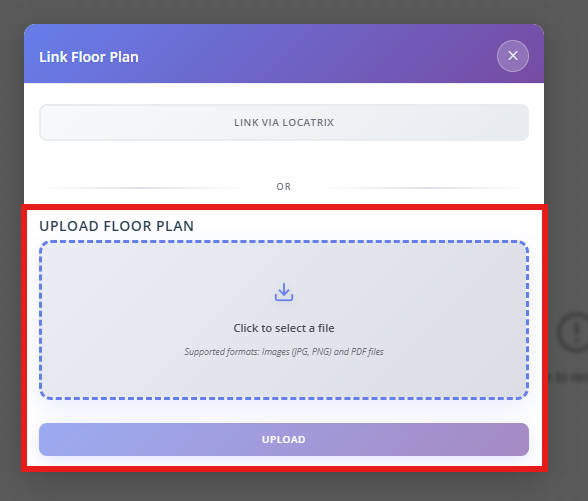
Select an image and click Open.
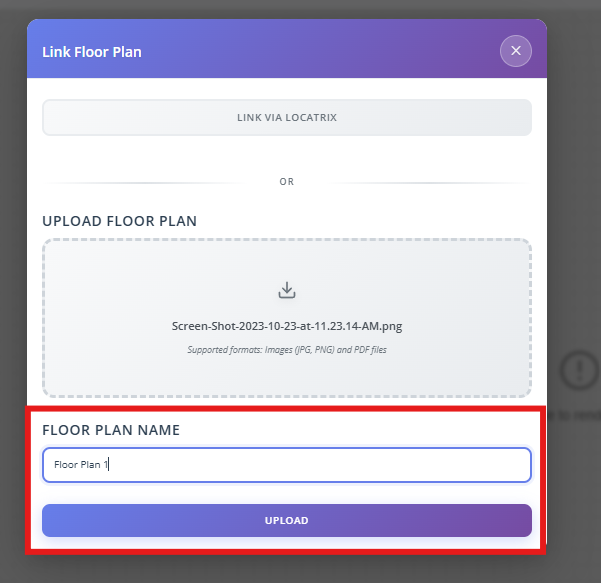
Give your floor plan a name and click Upload.
Deleting a Floor Plan
To delete a floor plan, click the bin icon next to the floor plan you wish to remove.

Click Delete to confirm.
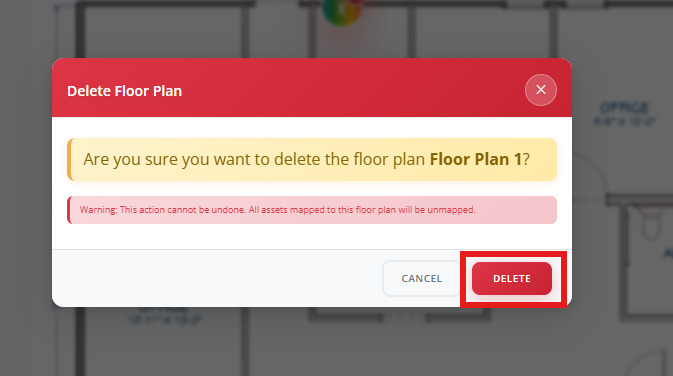
Note: Deleting a floor plan will unmap all associated assets, making them available for use on other plans.
Adding your Assets
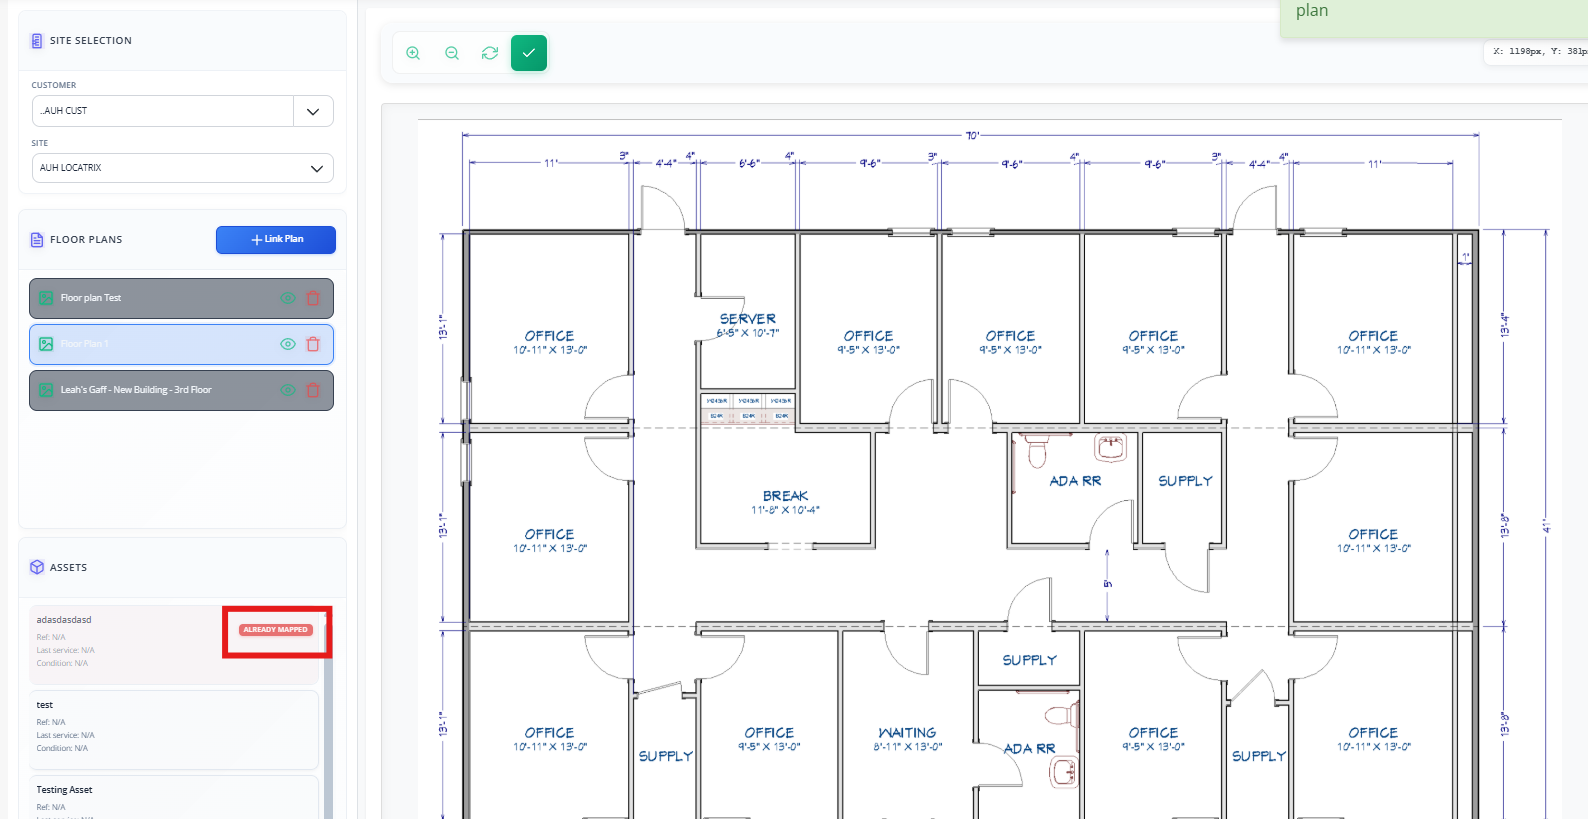
Once your floor plan is in place, it’s time to map your assets.
You’ll see the list of site assets on the side.
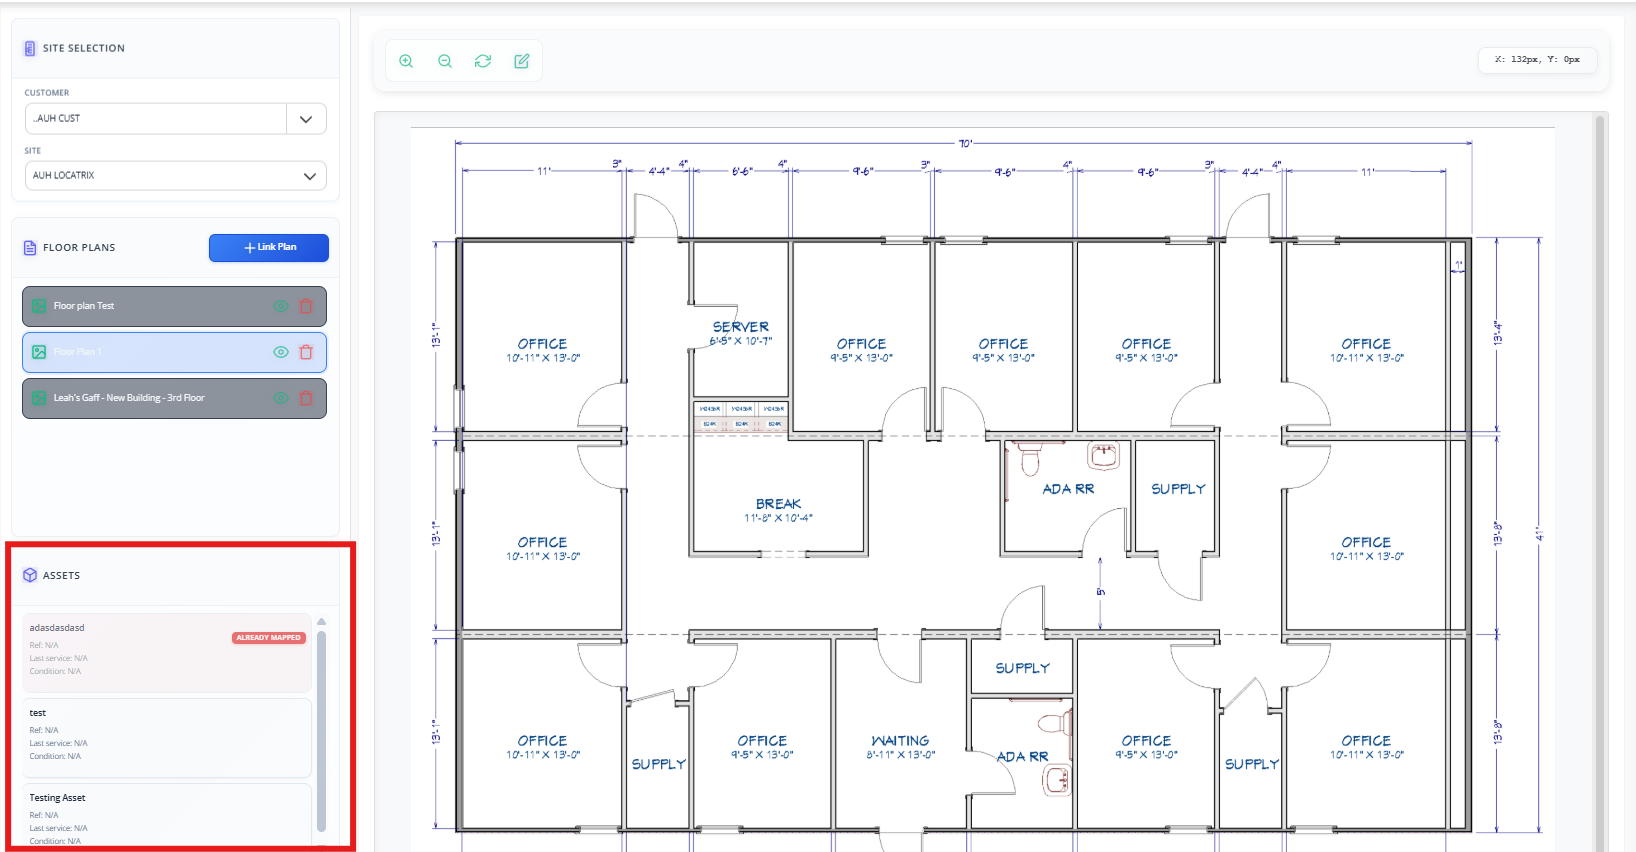
Just drag and drop an asset onto the map to place it.

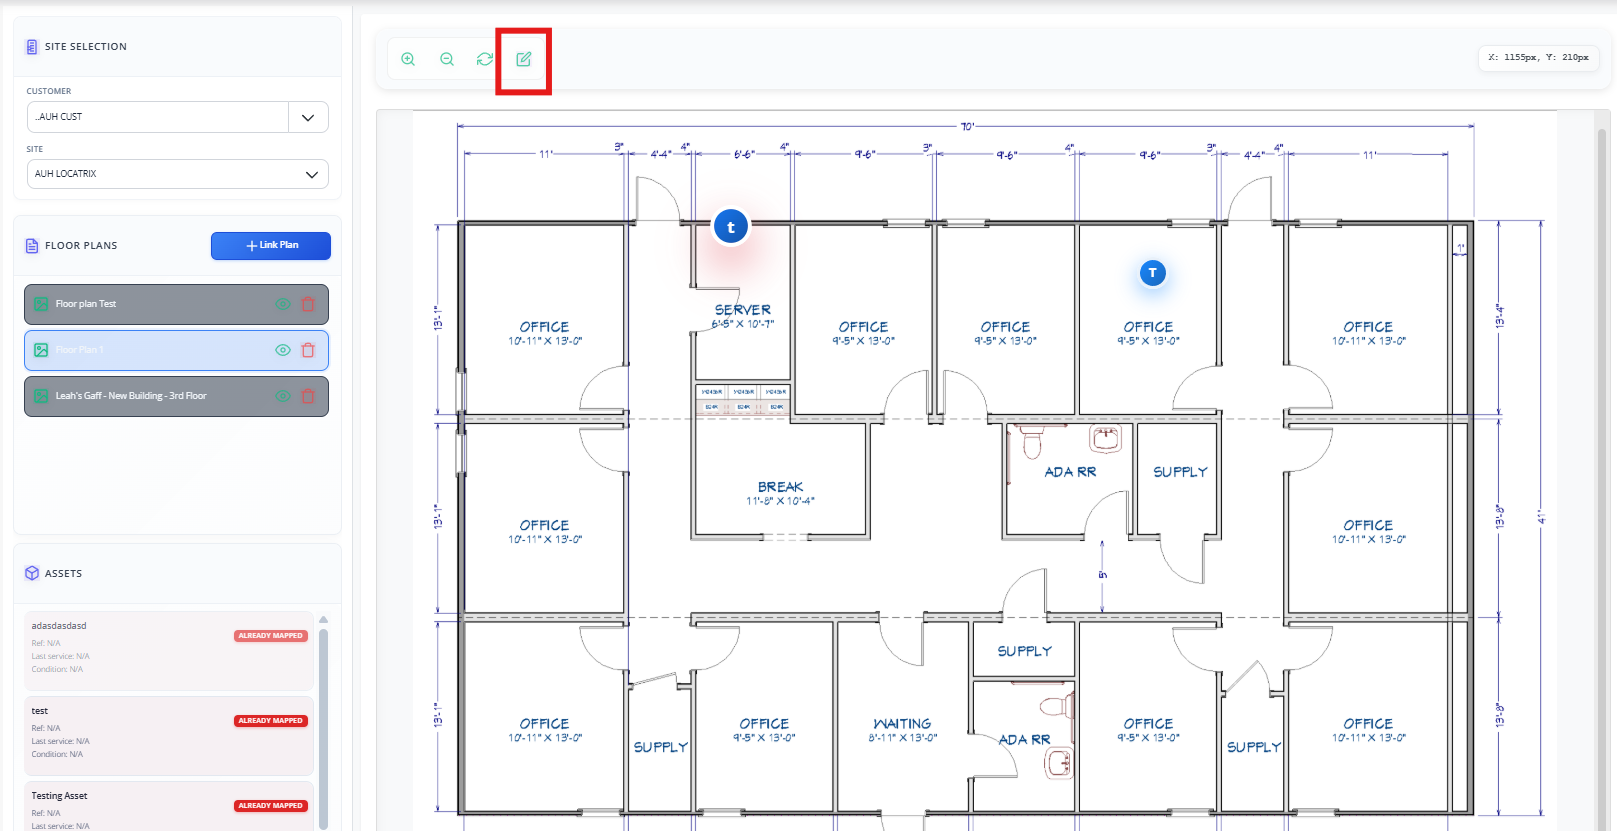
If you need to move it to another location, click the edit icon and drag the asset marker to a new location.

Once you're happy, click the tick to confirm.
Mapped assets will be marked as Already Mapped and can’t be used again on another floor plan.
Removing Assets from a Floor Plan
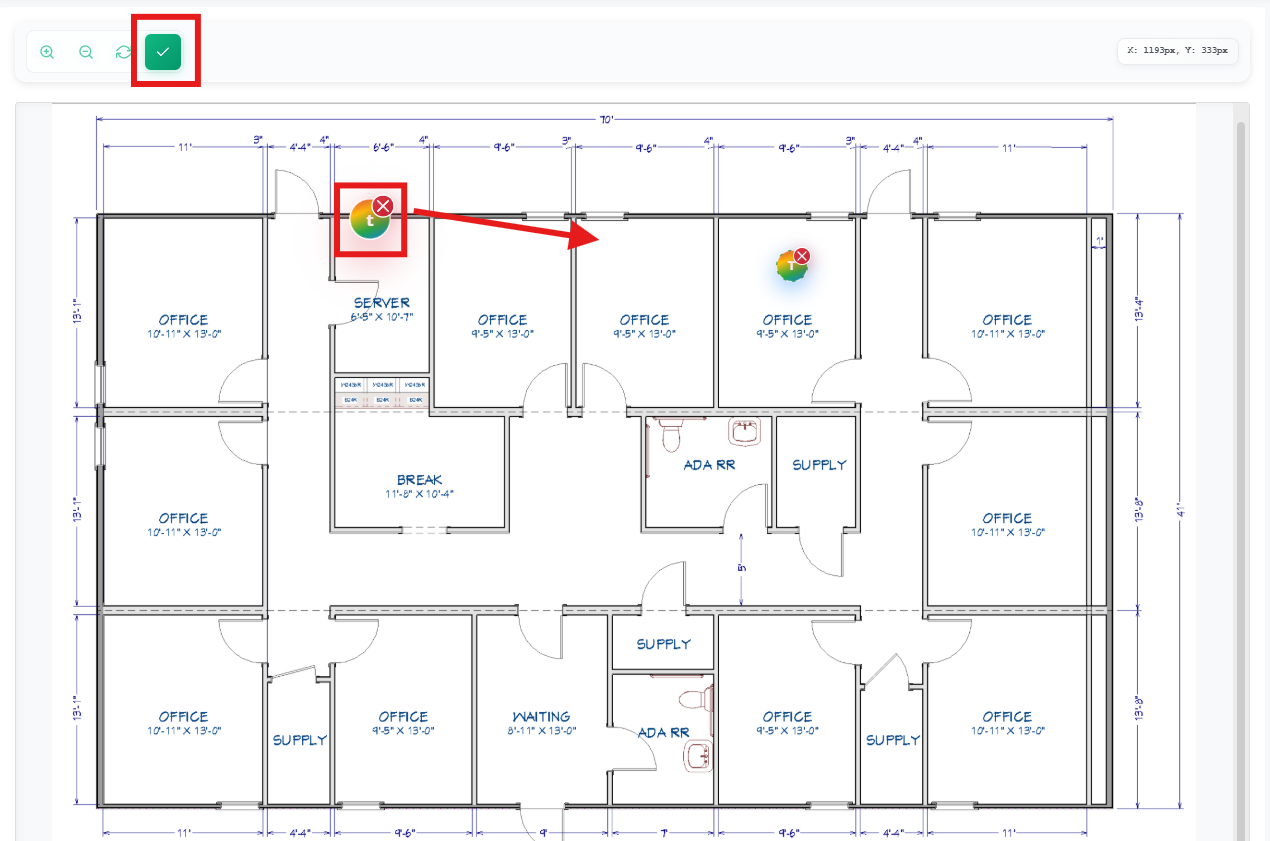
To remove an asset from a floor plan, click the Edit icon at the top of the page.
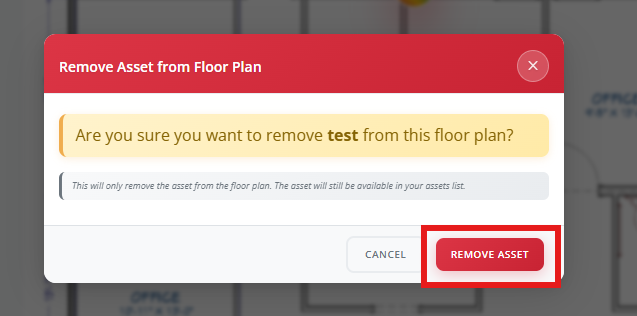
An X will appear above the assets —click this to mark the relevant asset for removal.
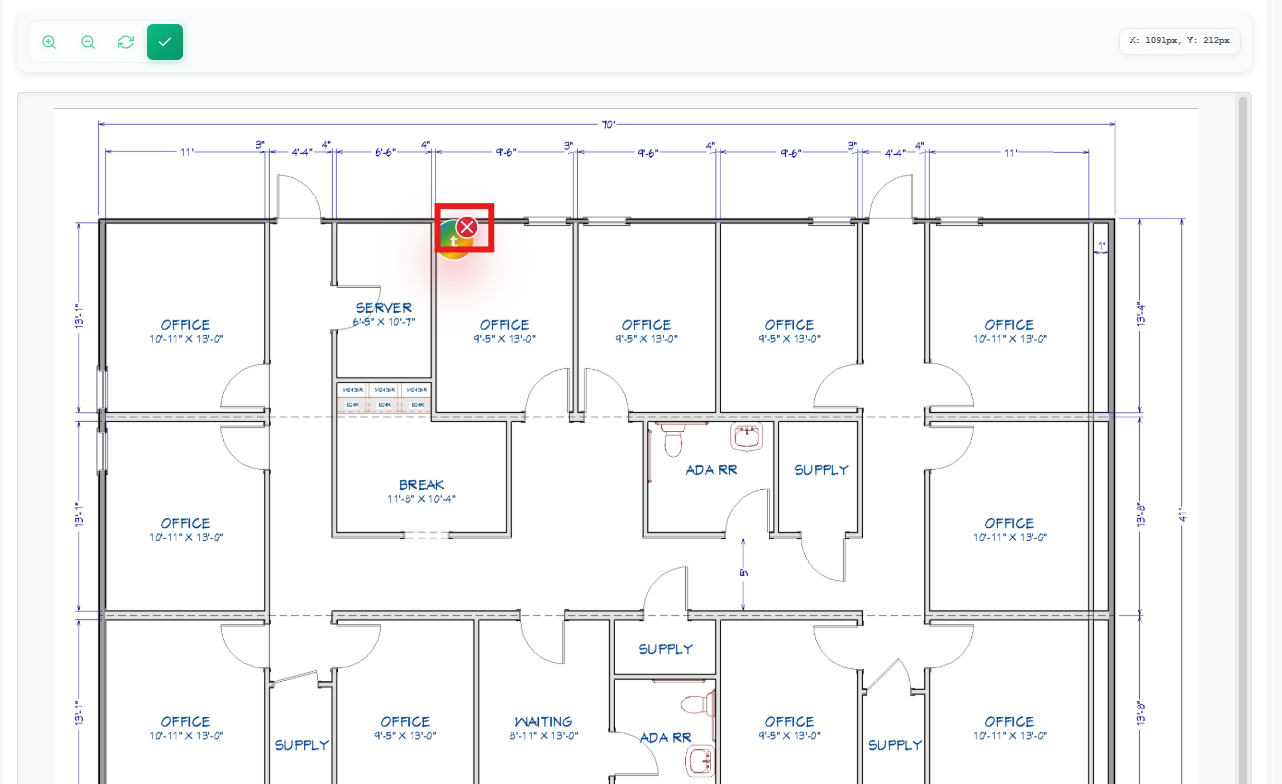
Click Remove Asset to confirm and finalise the removal.
Once removed, the asset will be available to place on a different floor plan if required.
Using Locatrix on mobile
Engineers can view all mapped plans right from their mobile, with a simple, read-only setup.
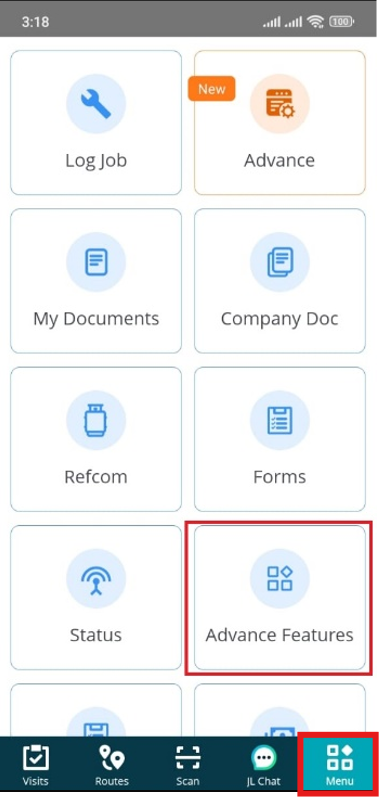
Tap the Menu on your mobile app and select Advanced Features
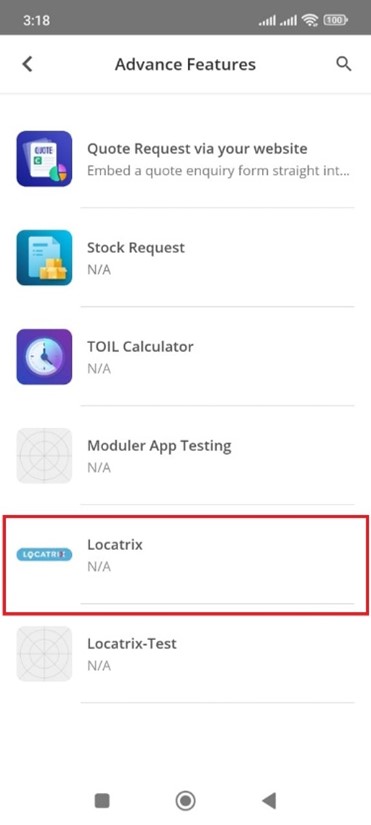
Choose Locatrix from the list
You'll be asked to log in again—just a quick security check.
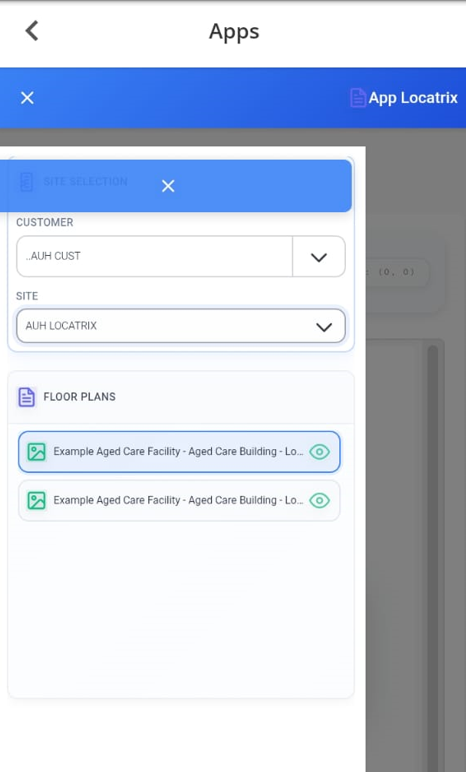
Pick the Customer and Site for the plan you want to view

Tap the floor plan to open it up and explore the mapped assets
Further Support
For further information or assistance with the above, contact our Support Team on 0800 326 5561 or email support@joblogic.com. Alternatively, our Customer Success Management team can be reached by emailing customersuccess@joblogic.com
Publishing Details
This document was written and produced by Joblogic’s Technical Writing team and was last updated on the date specified above. Be aware that the information provided may be subject to change following further updates on the matter becoming available. Additionally, details within the guide may vary depending on your Joblogic account’s user permissions.