Introduction
Joblogic provides the ability to create and save log job templates which will allow users to create a job with pre-existing details already populated. This user guide details how to create and use log job templates within the back-office system.
The purpose of log job templates
Log job templates are intended to allow users to log jobs more efficiently through the use of predefined templates consisting of pre-existing job details and settings. As opposed to having to manually enter and renter the details for jobs which may regularly consist of the same general details, costs, tasks and required electronic mobile forms, users are able to select a template from their Joblogic library automatically populating jobs with this regularly required information. Users can then make any necessary adjustments or additions before saving, generating and finalising the job. This feature should therefore prove to be useful for work involving recurring job types, where the same general information is required for each individual job. Through this feature, users are able to create and save templates for certain job types, making it quicker and easier to log these types of work. This feature will therefore save users time and streamline the job logging process allowing for more efficient workflows and preventing the manual repetition of typing out the same information for each job.
How to create a log job template
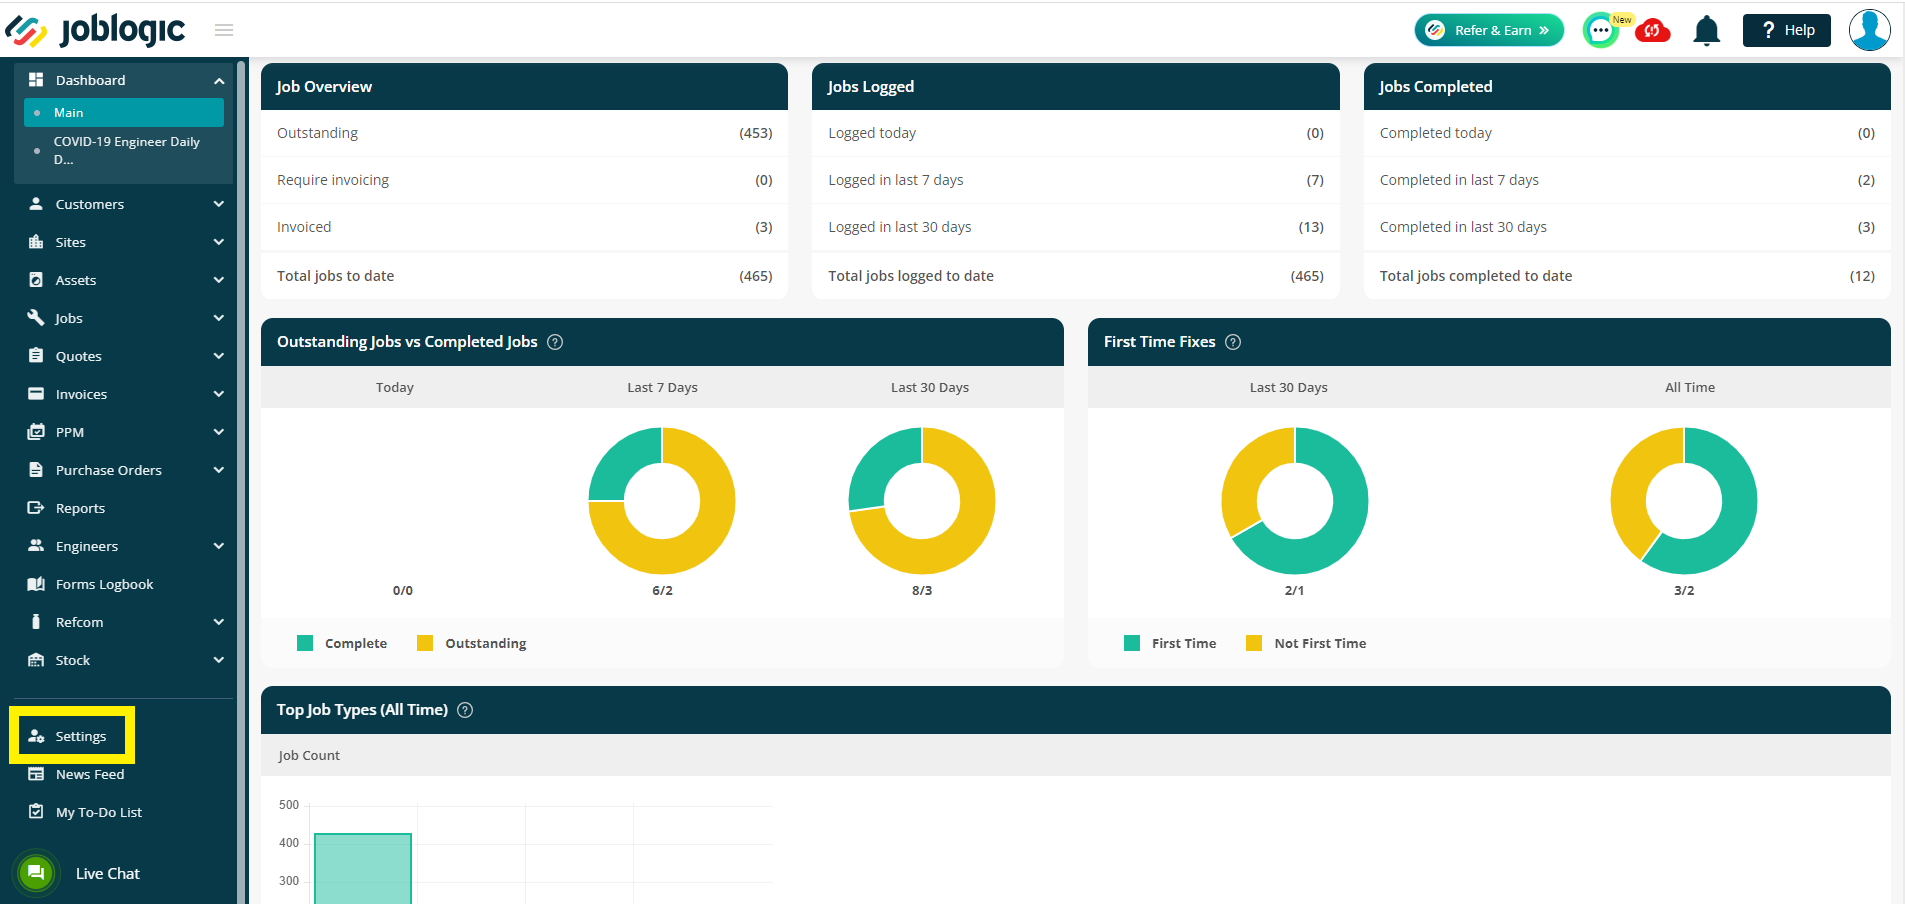
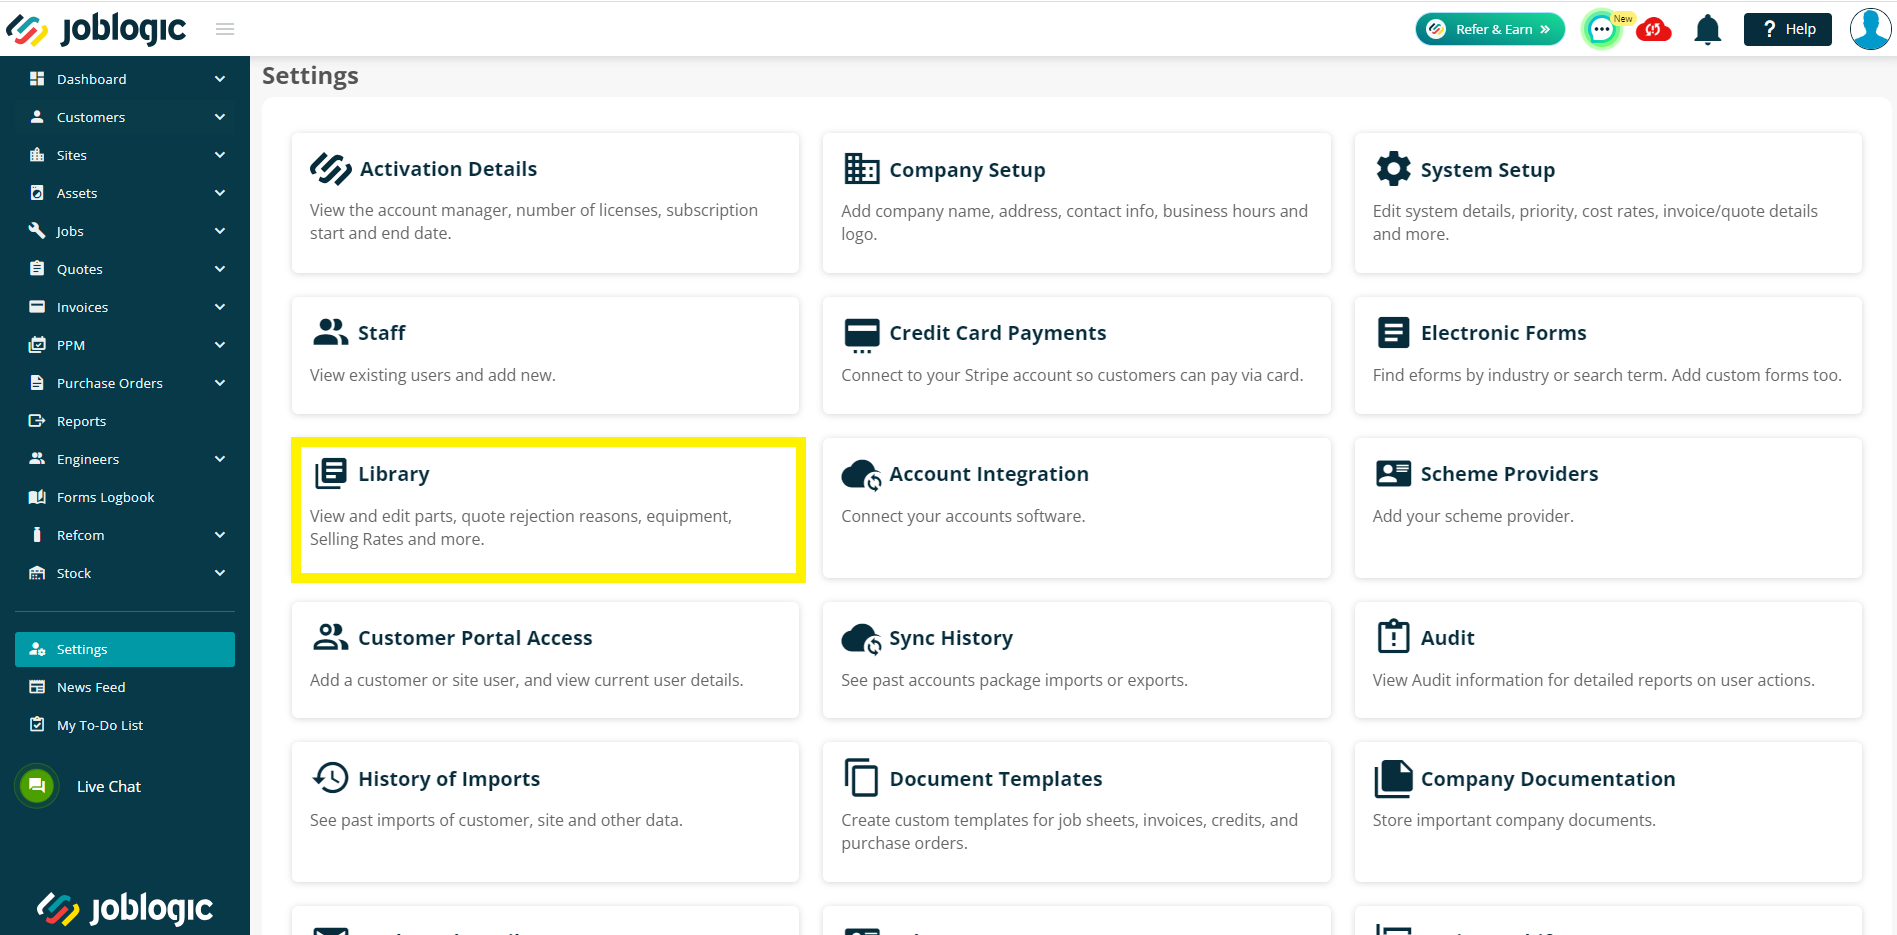
In order to create a log job template, navigate to the settings area within the left side navigation menu.
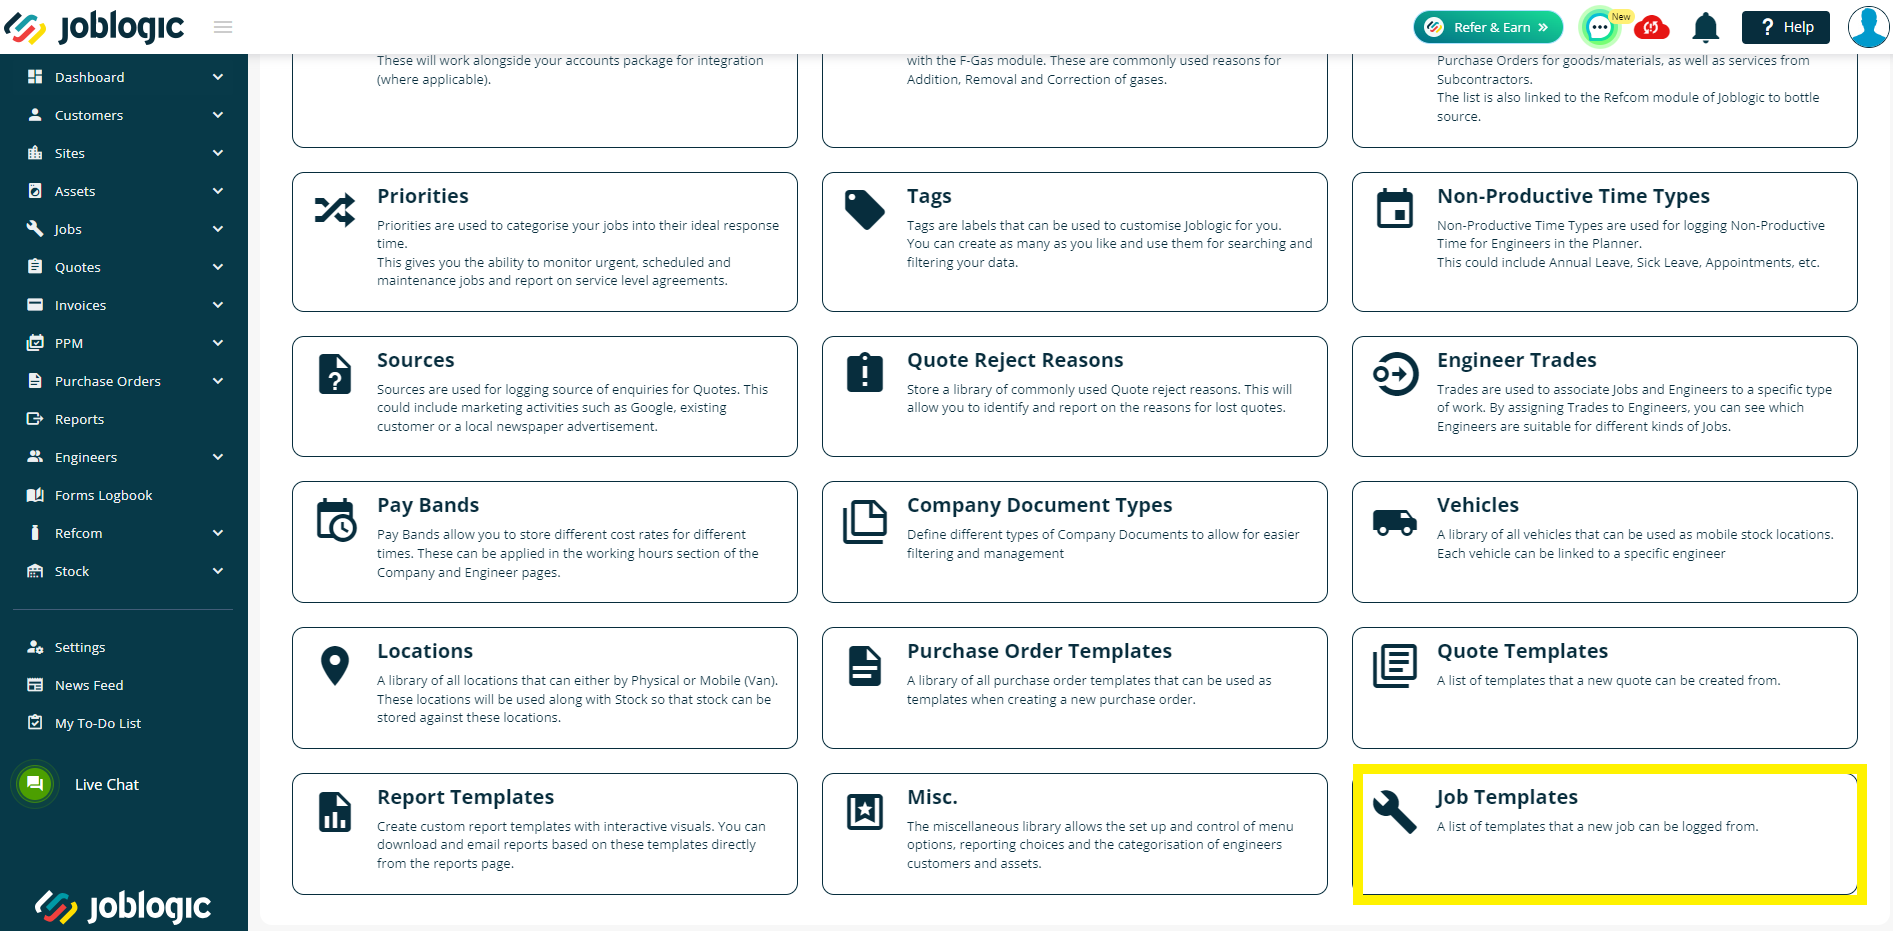
With the settings area, select ‘Library’ > ‘Job Templates’.

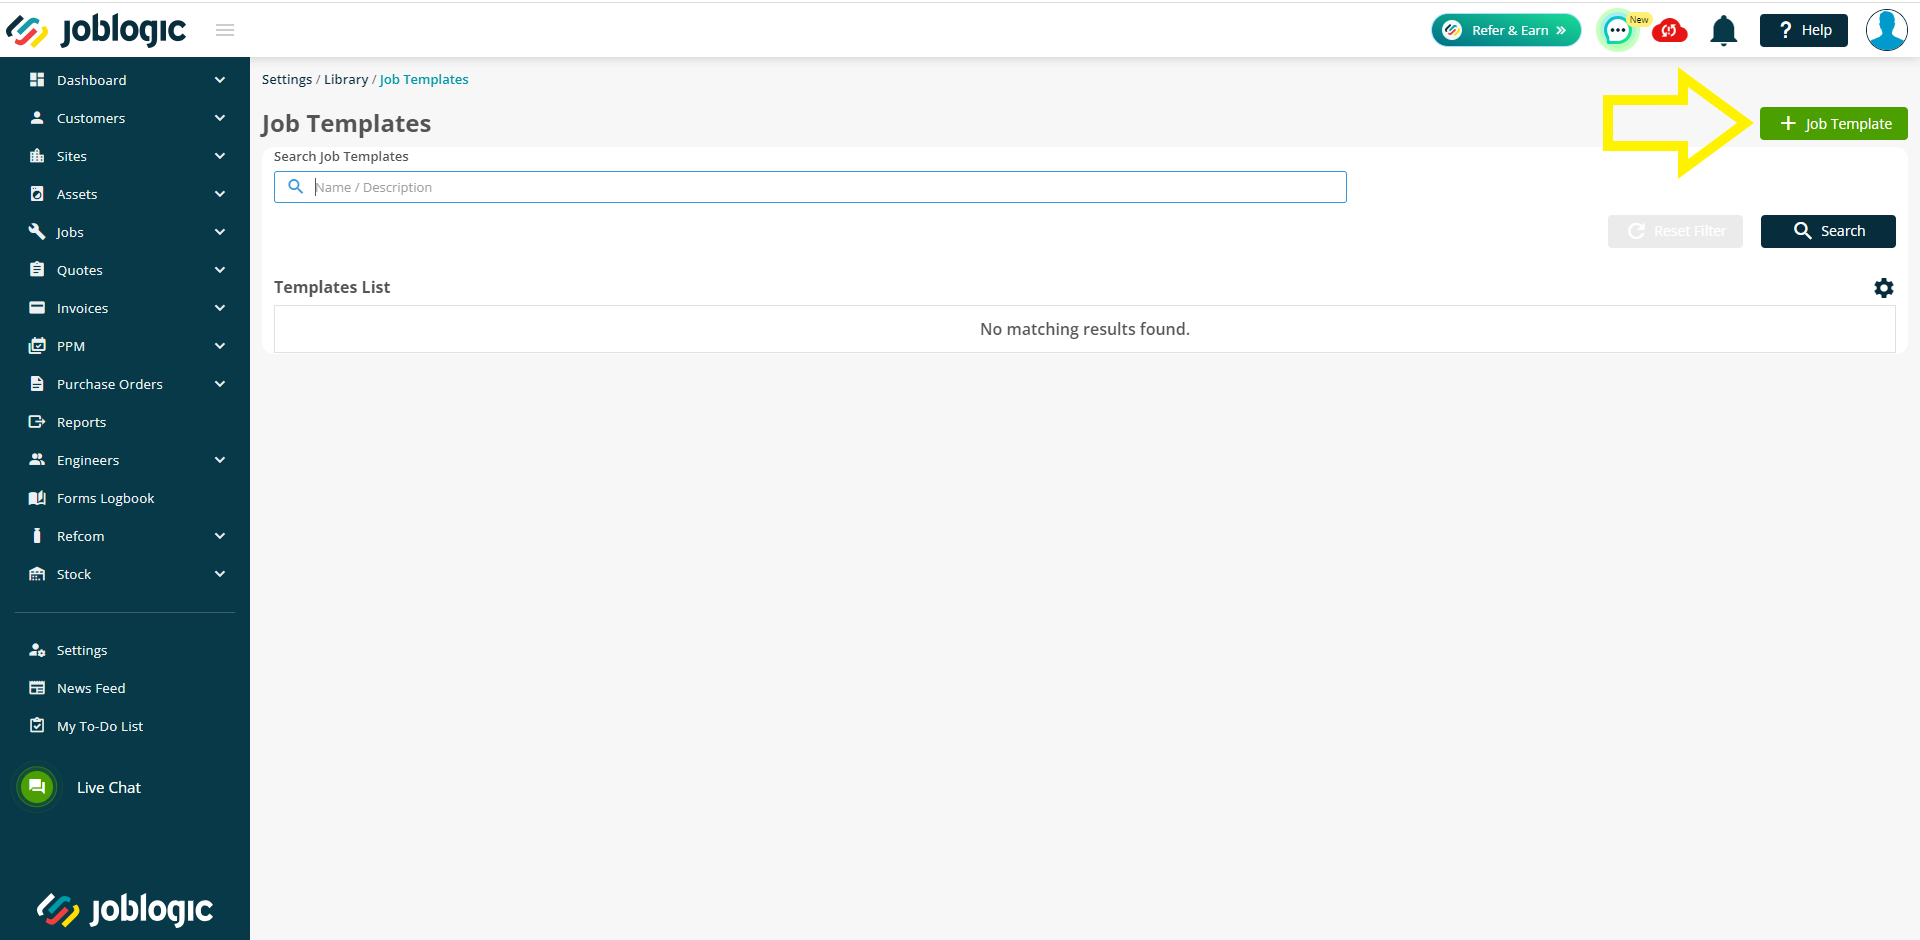
Select the green ‘+ add job template’ button.
Fill out the details of the log job template (the regularly occurring information to automatically populate when logging a job).
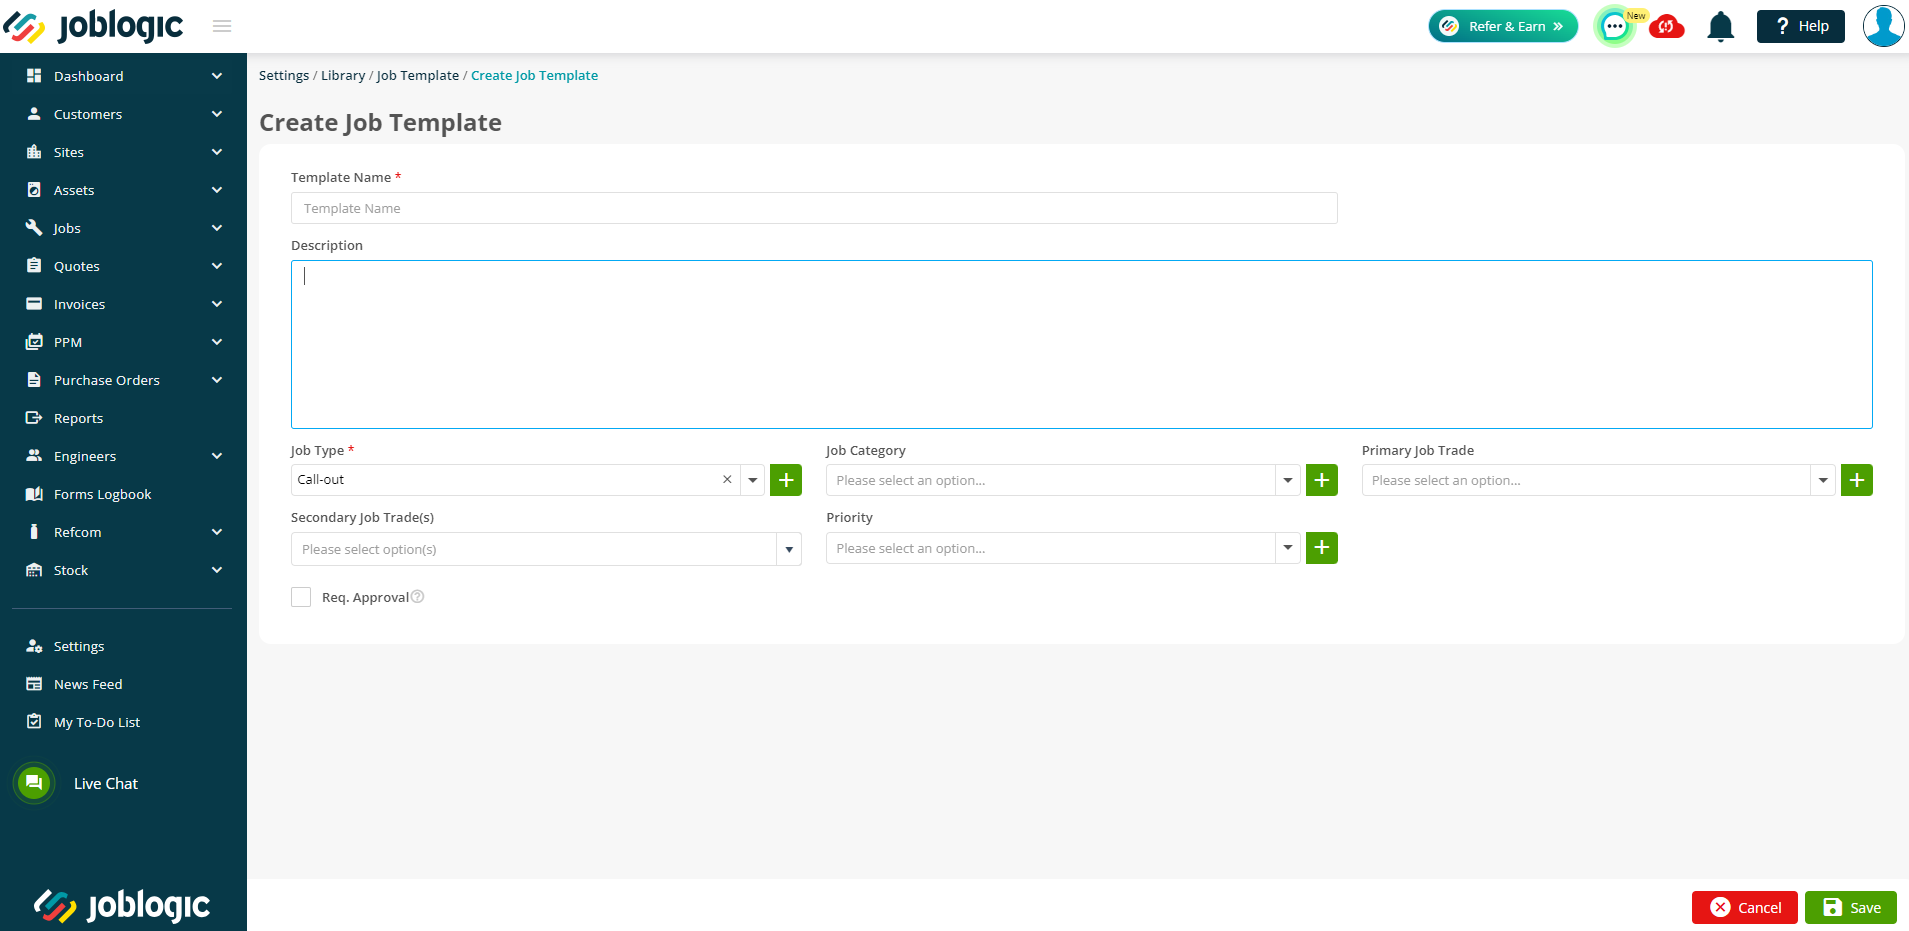
There are two mandatory fields which must be filled in (marked with an asterisk), these being ‘Template name’ and ‘Job Type’
There are also fields to select from a dropdown list. These lists are set within the associated item's settings library area (settings > library) but these can be created while adding a new log job template via the green ‘quick add’ plus (‘+’) icon.
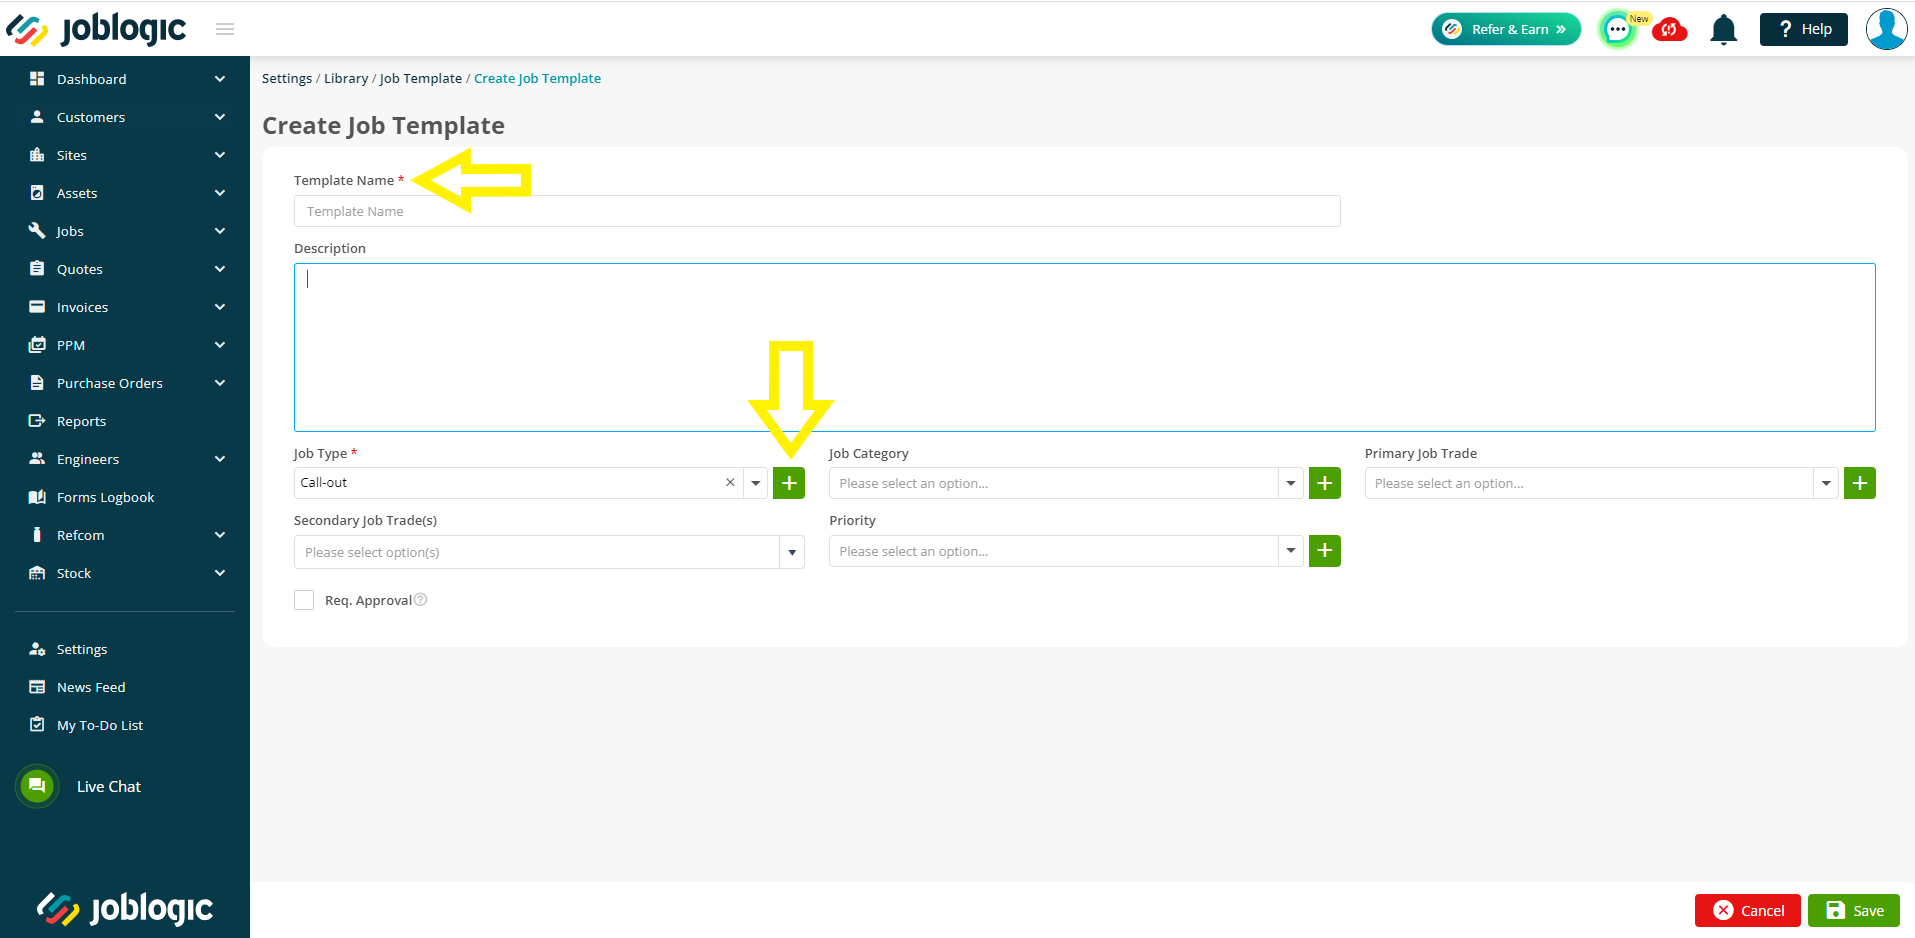
Template name refers to a unique label used to identify the template.
Job type is a general category for the type of work to be assigned to the job. For example, ‘call out’ or ‘maintenance’.
Description is a free type field which will allow you to detail the work to take place.
Job Category is further level of job categorisation to job types. For example, a job with a ‘maintenance’ job type may then be assigned a ‘garden maintenance’ category for companies who provide differing types of maintenance work.
Primary and Secondary Job Trades are used to assist in assigning applicable engineers to the job by matching those of a certain trade to it.
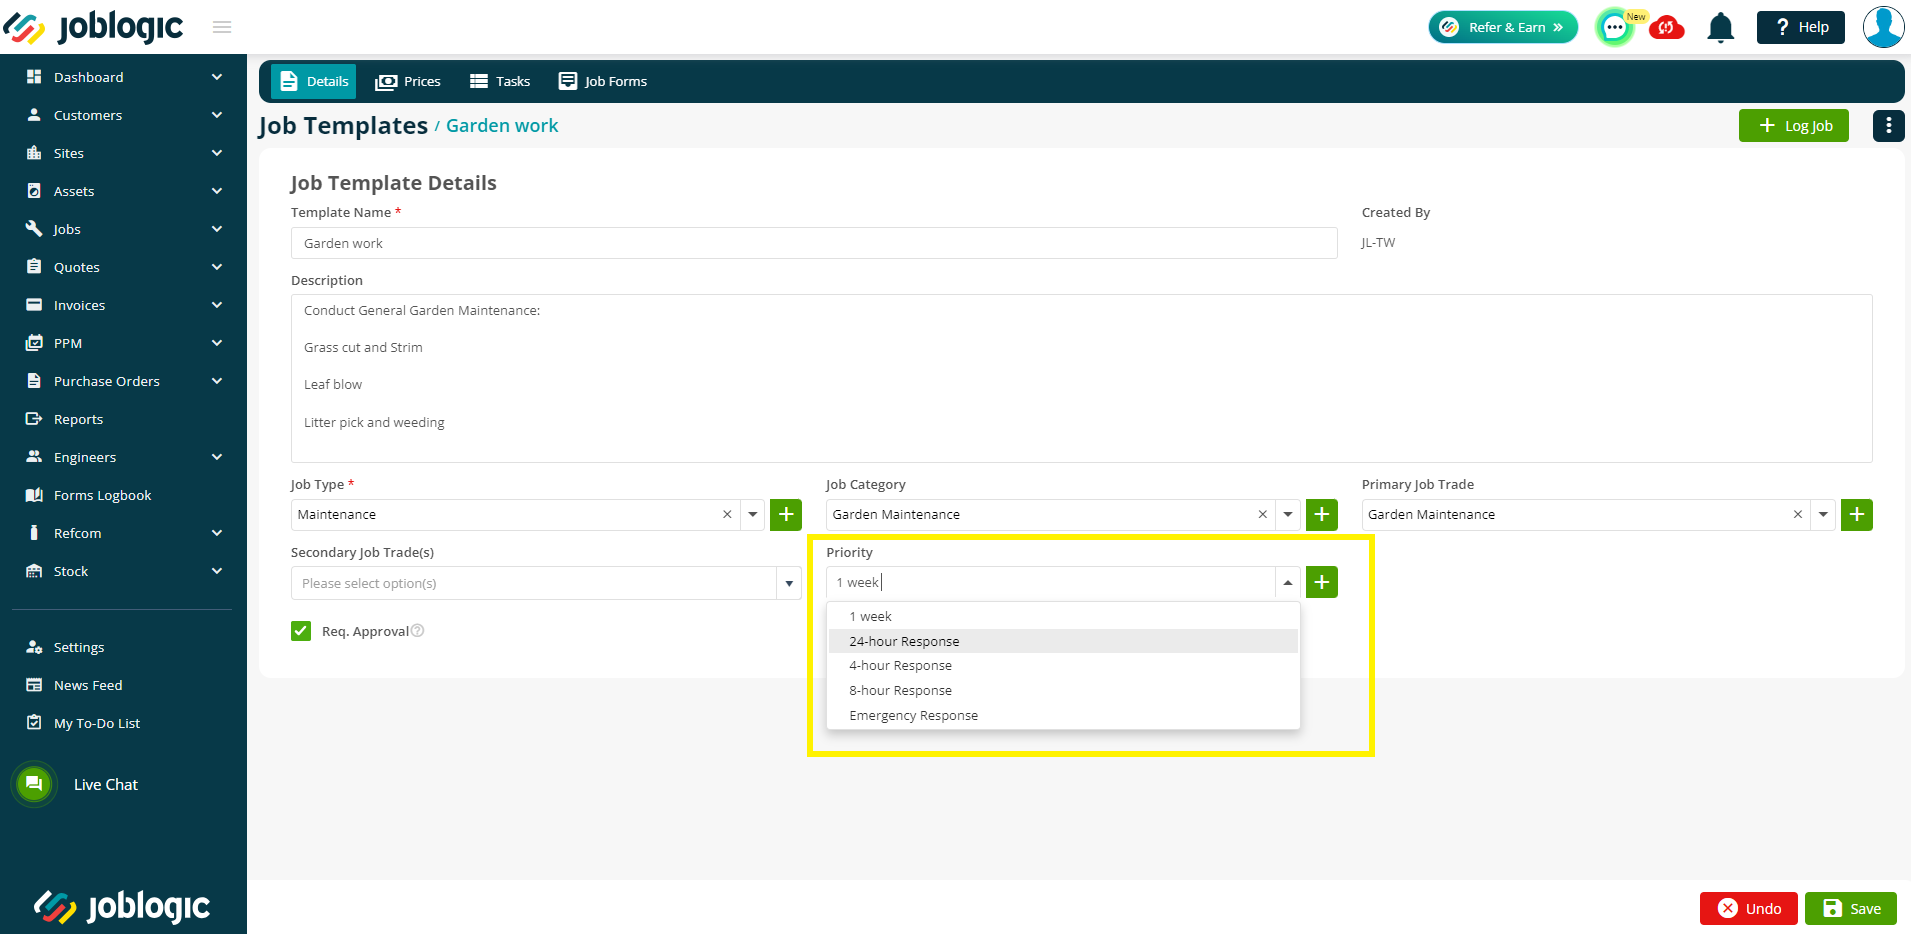
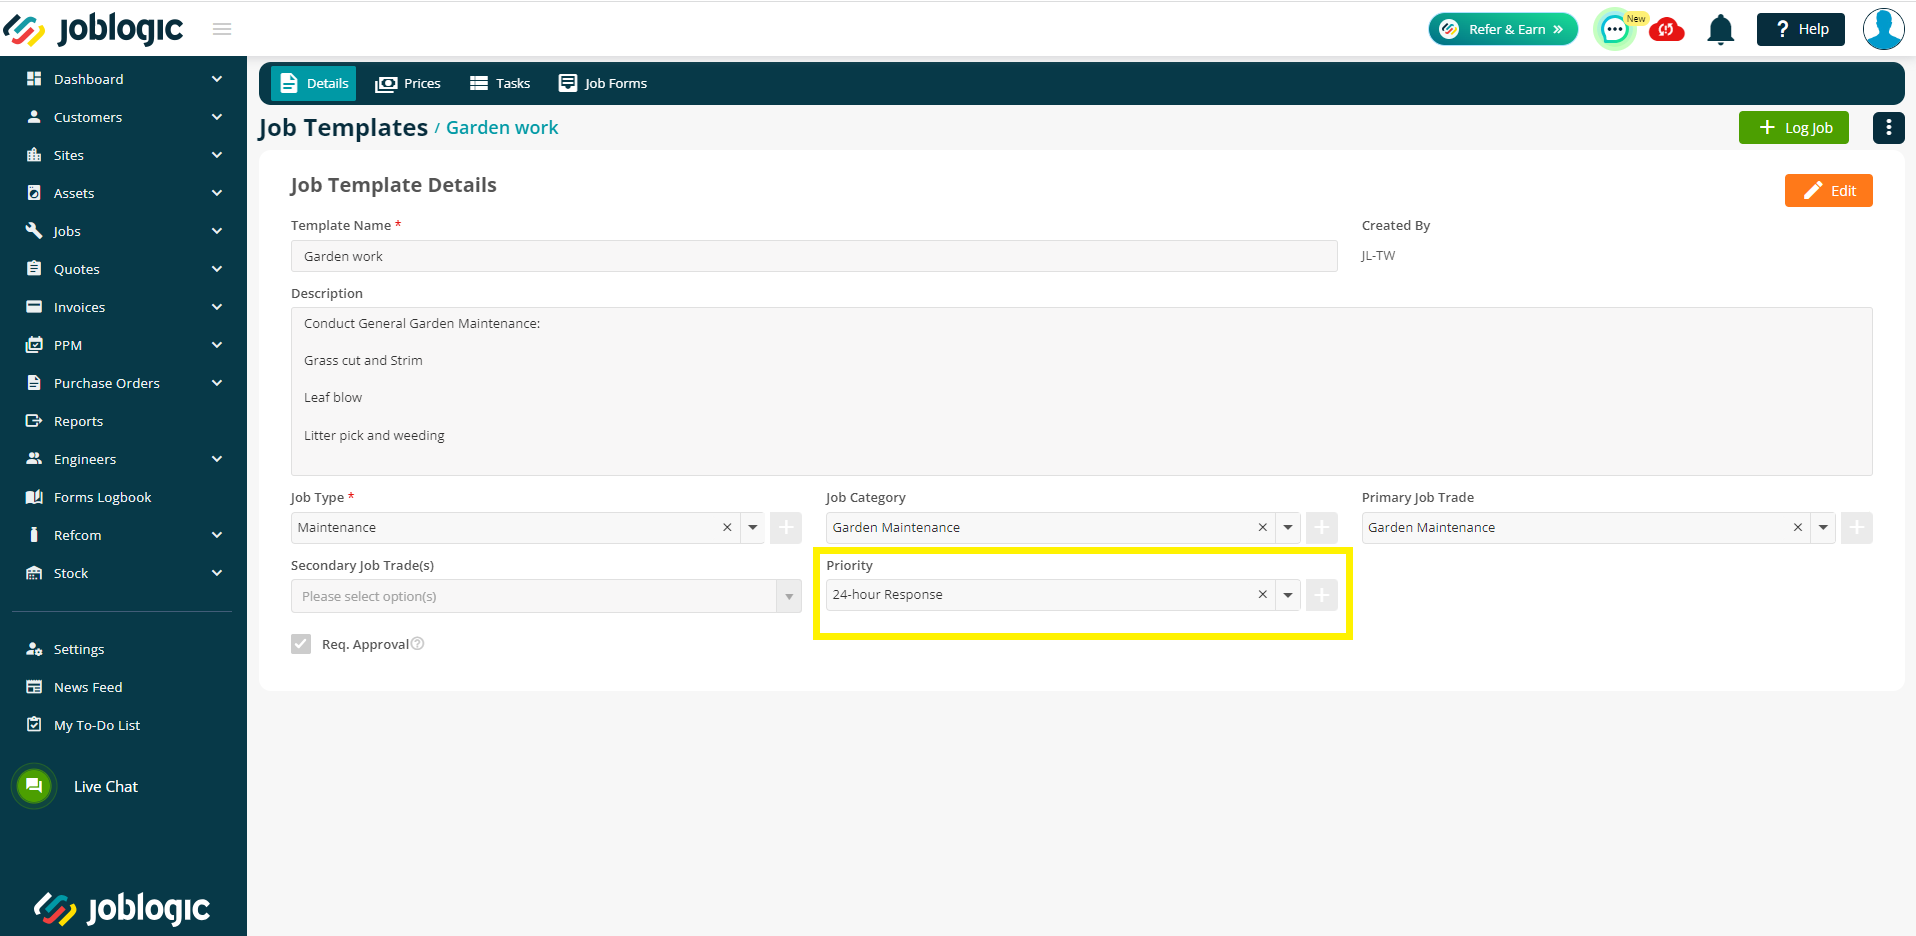
Priority refers to setting a target response or attendance time against the job such as an emergency or 1 week response.
The ‘Req. Approval’ tick box refers to whether the job will require approval following it’s completion.
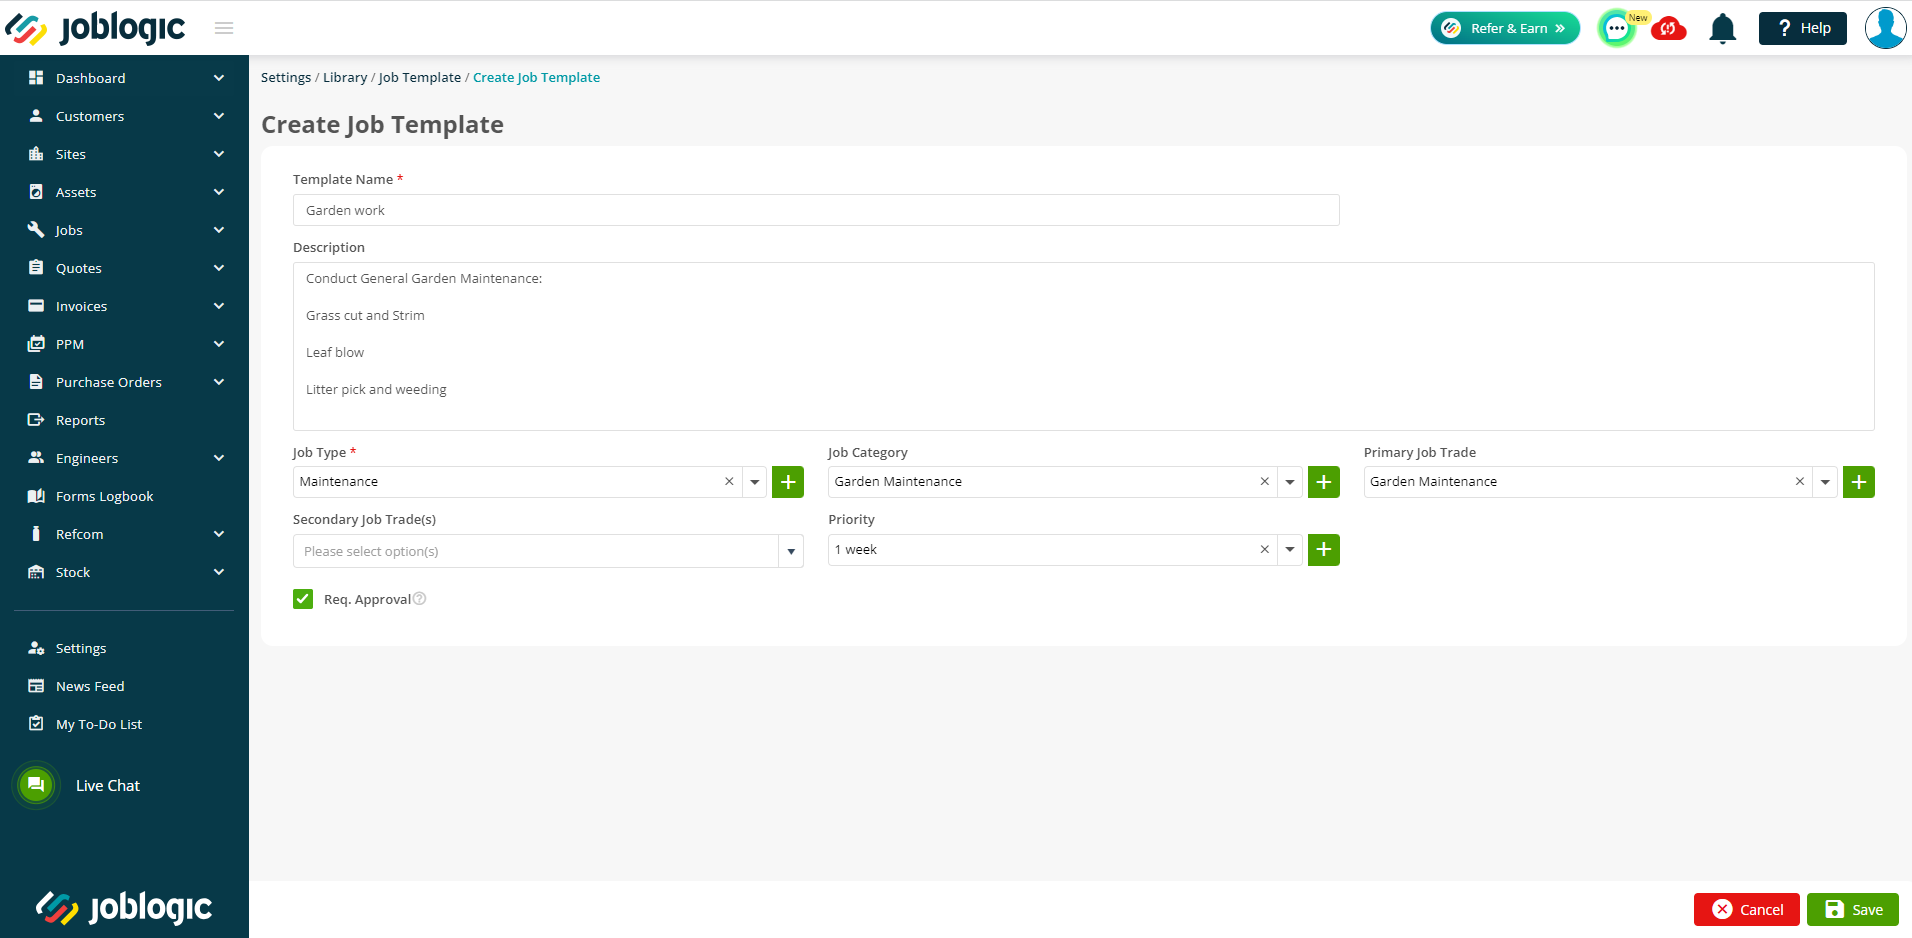
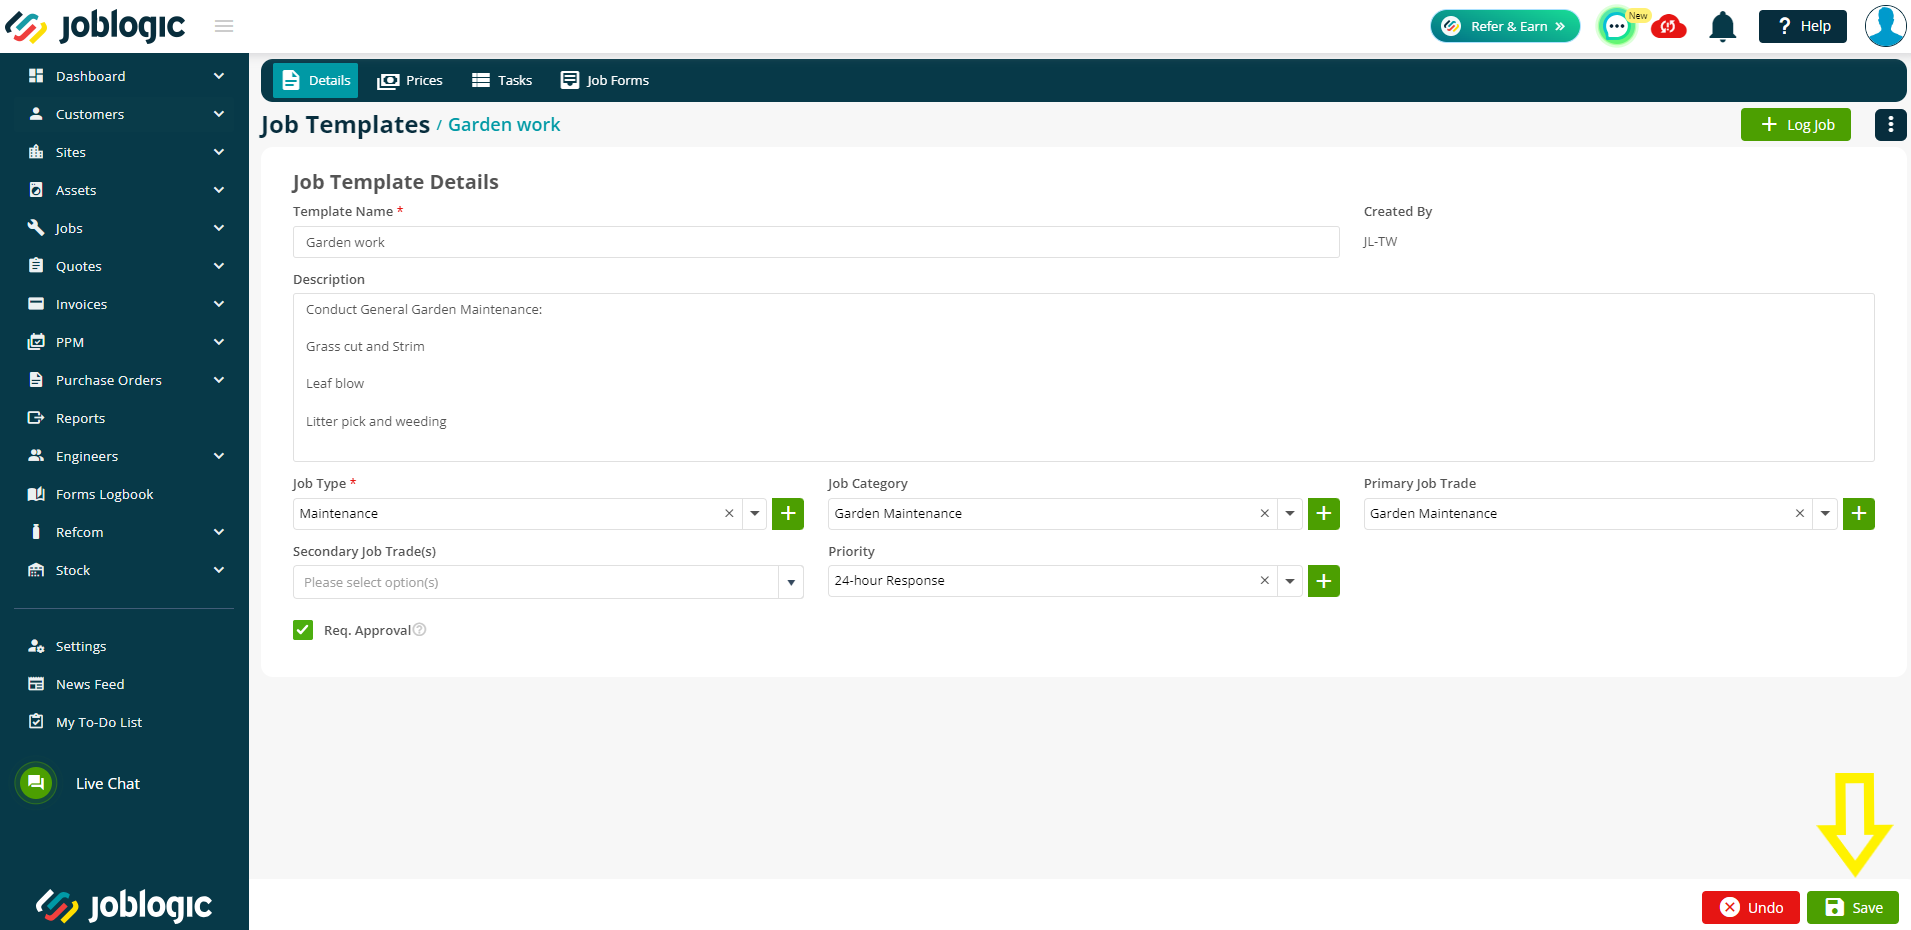
Once the details of the log job template have been filled in, select the ‘Save’ option to log the template within your library.

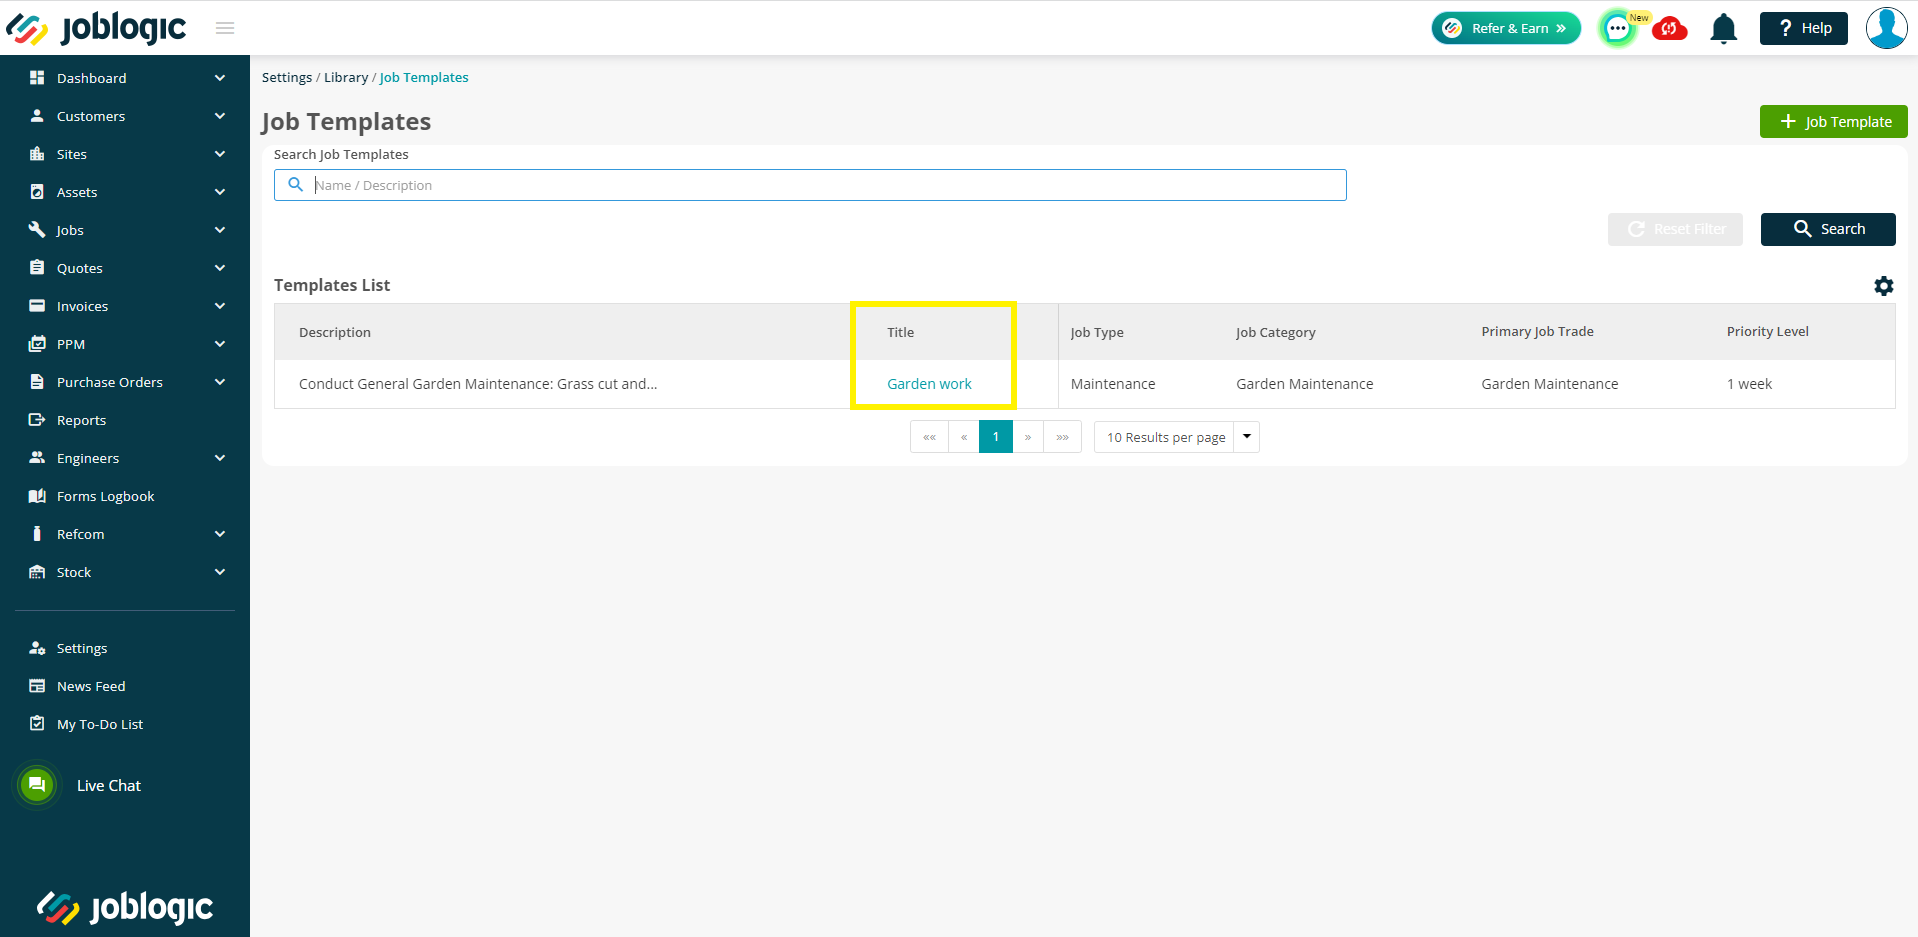
Once saved, the log job template will populate within your ‘Job Templates’ library becoming available to select from and apply when logging a new job.
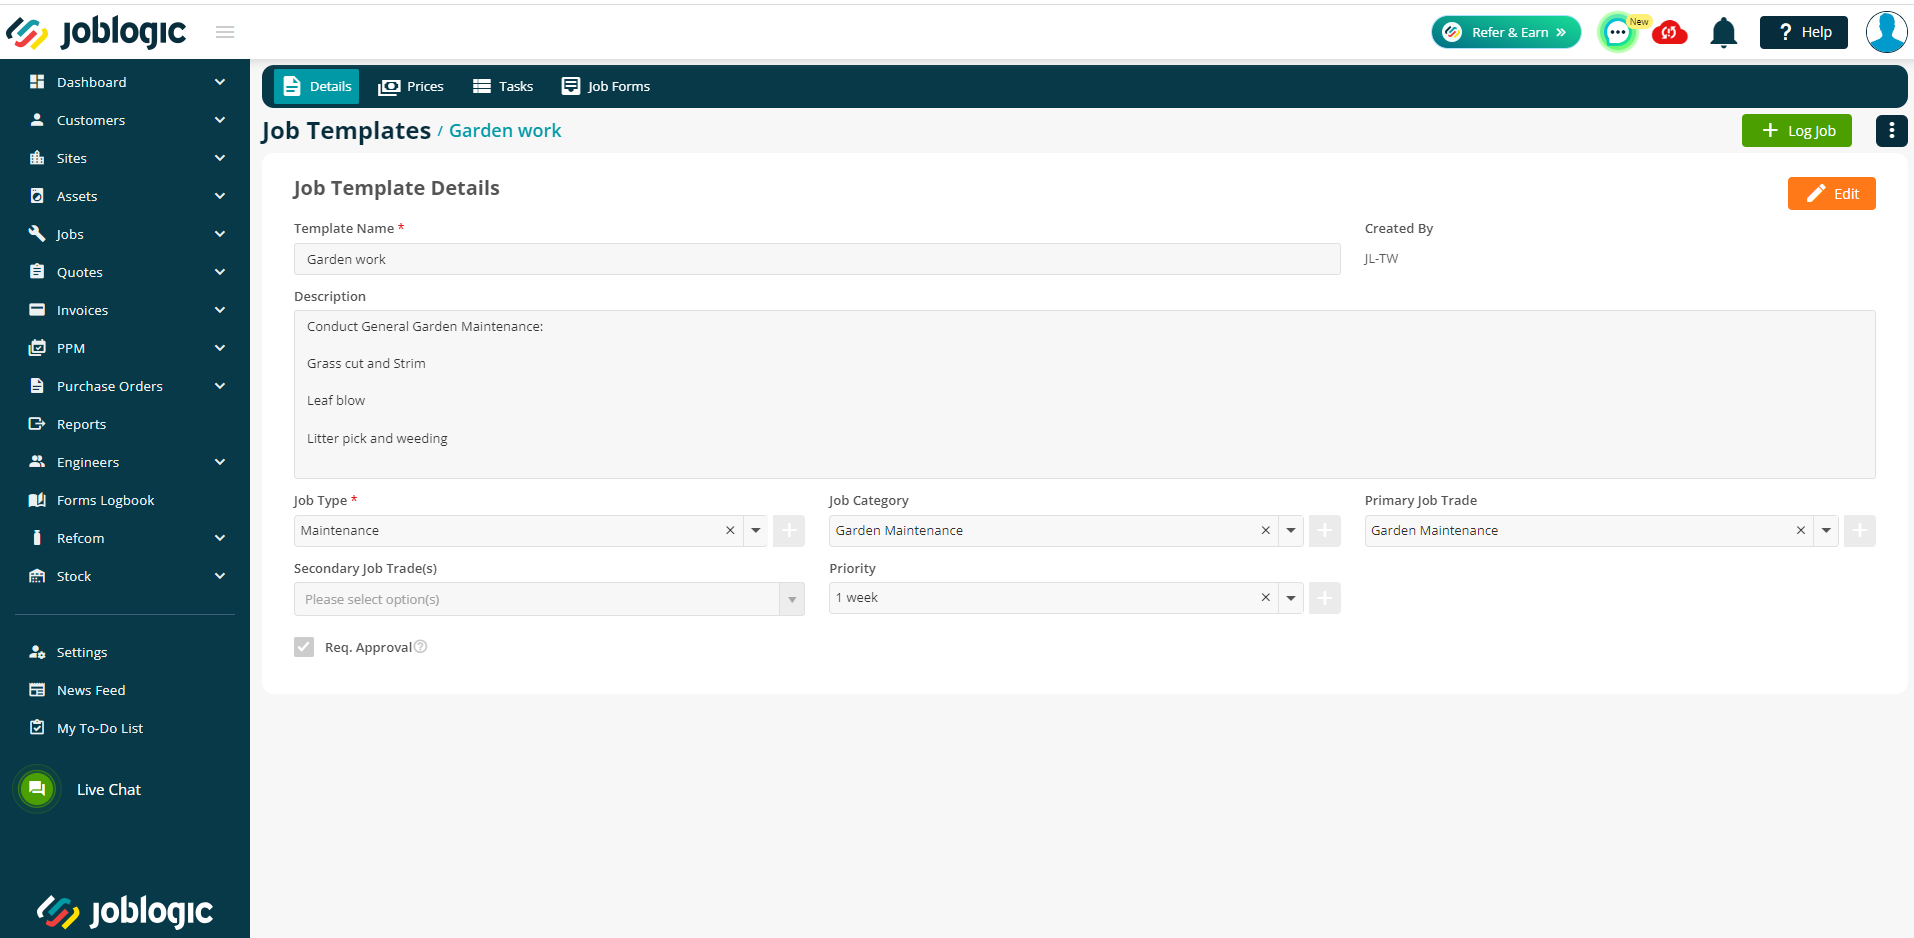
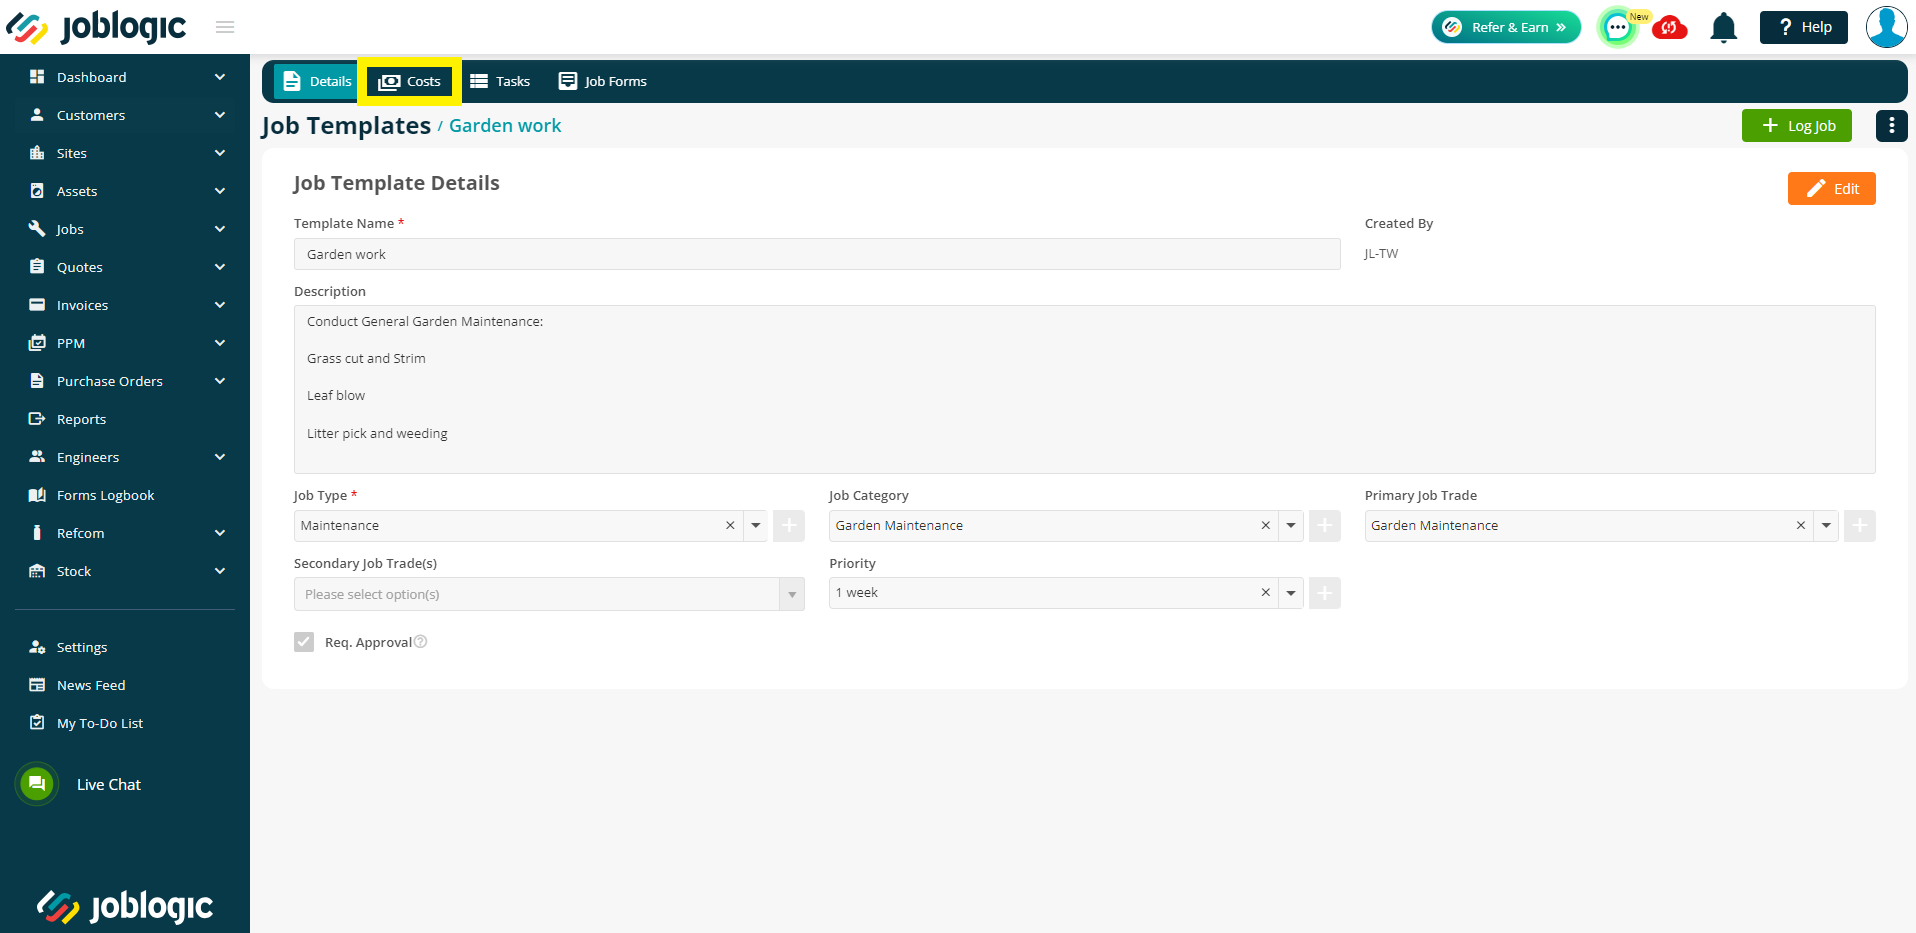
Further details can then be added to the job template such as costs, tasks and electronic job forms.
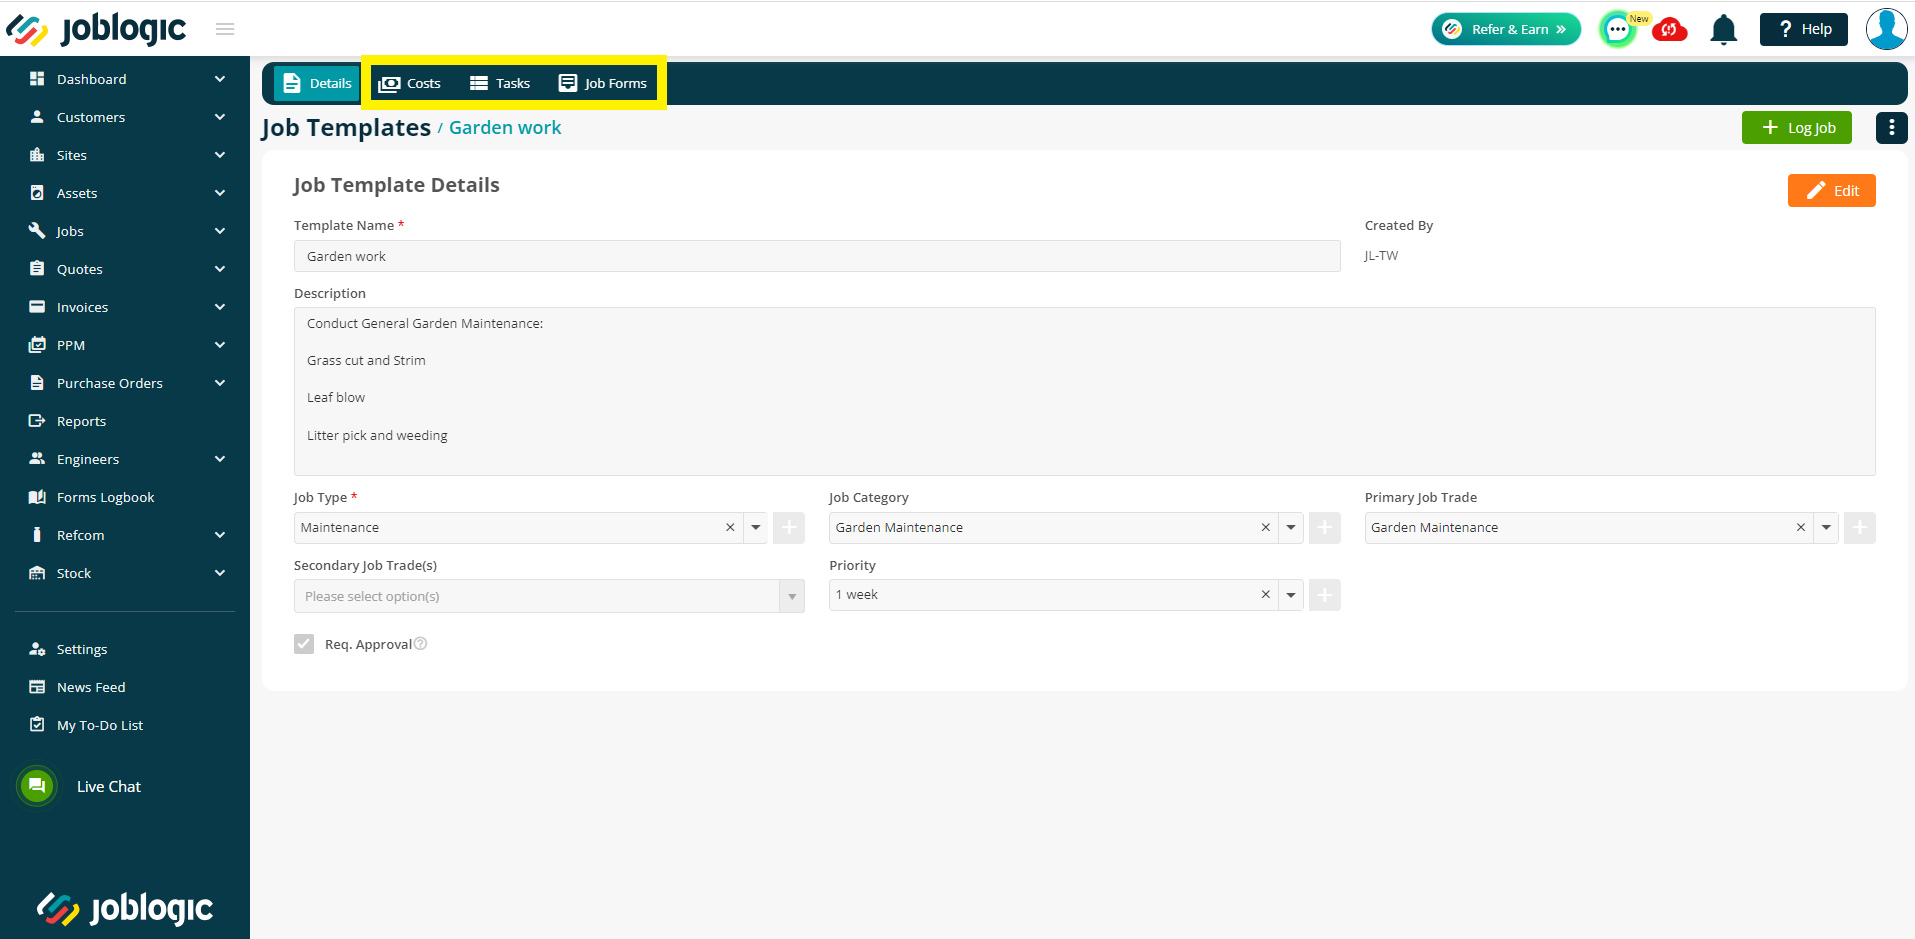
Adding further details to a log job template
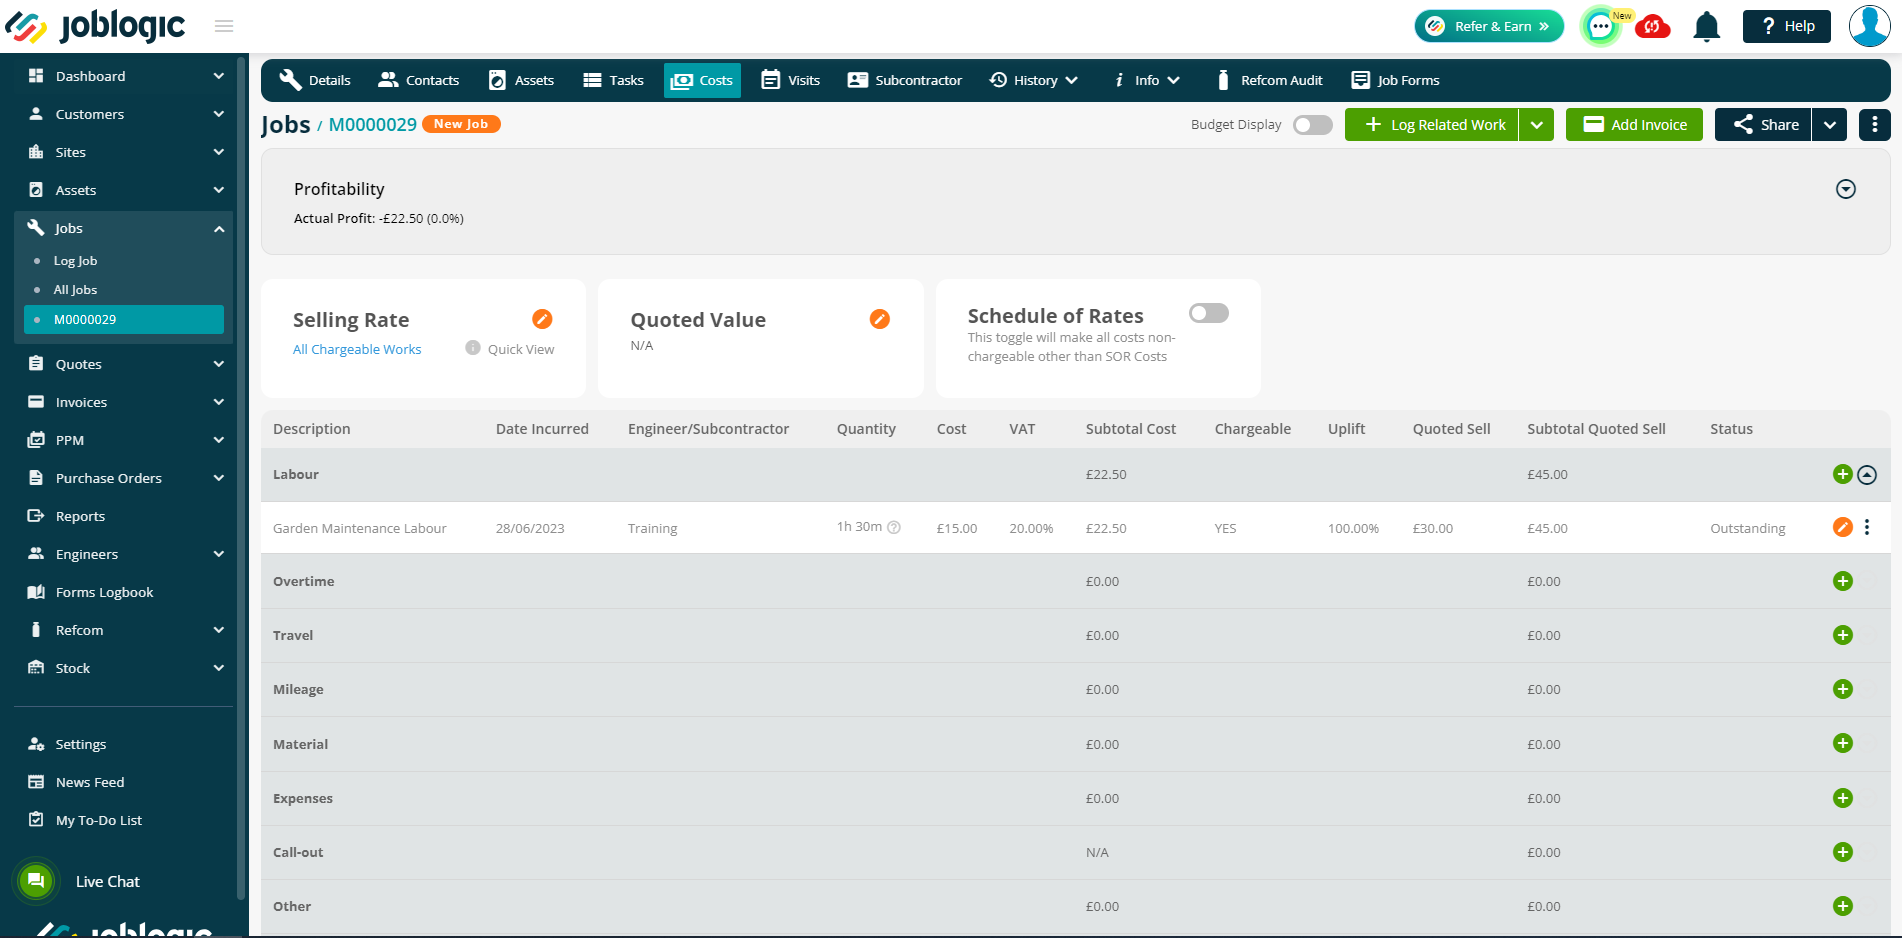
Costs
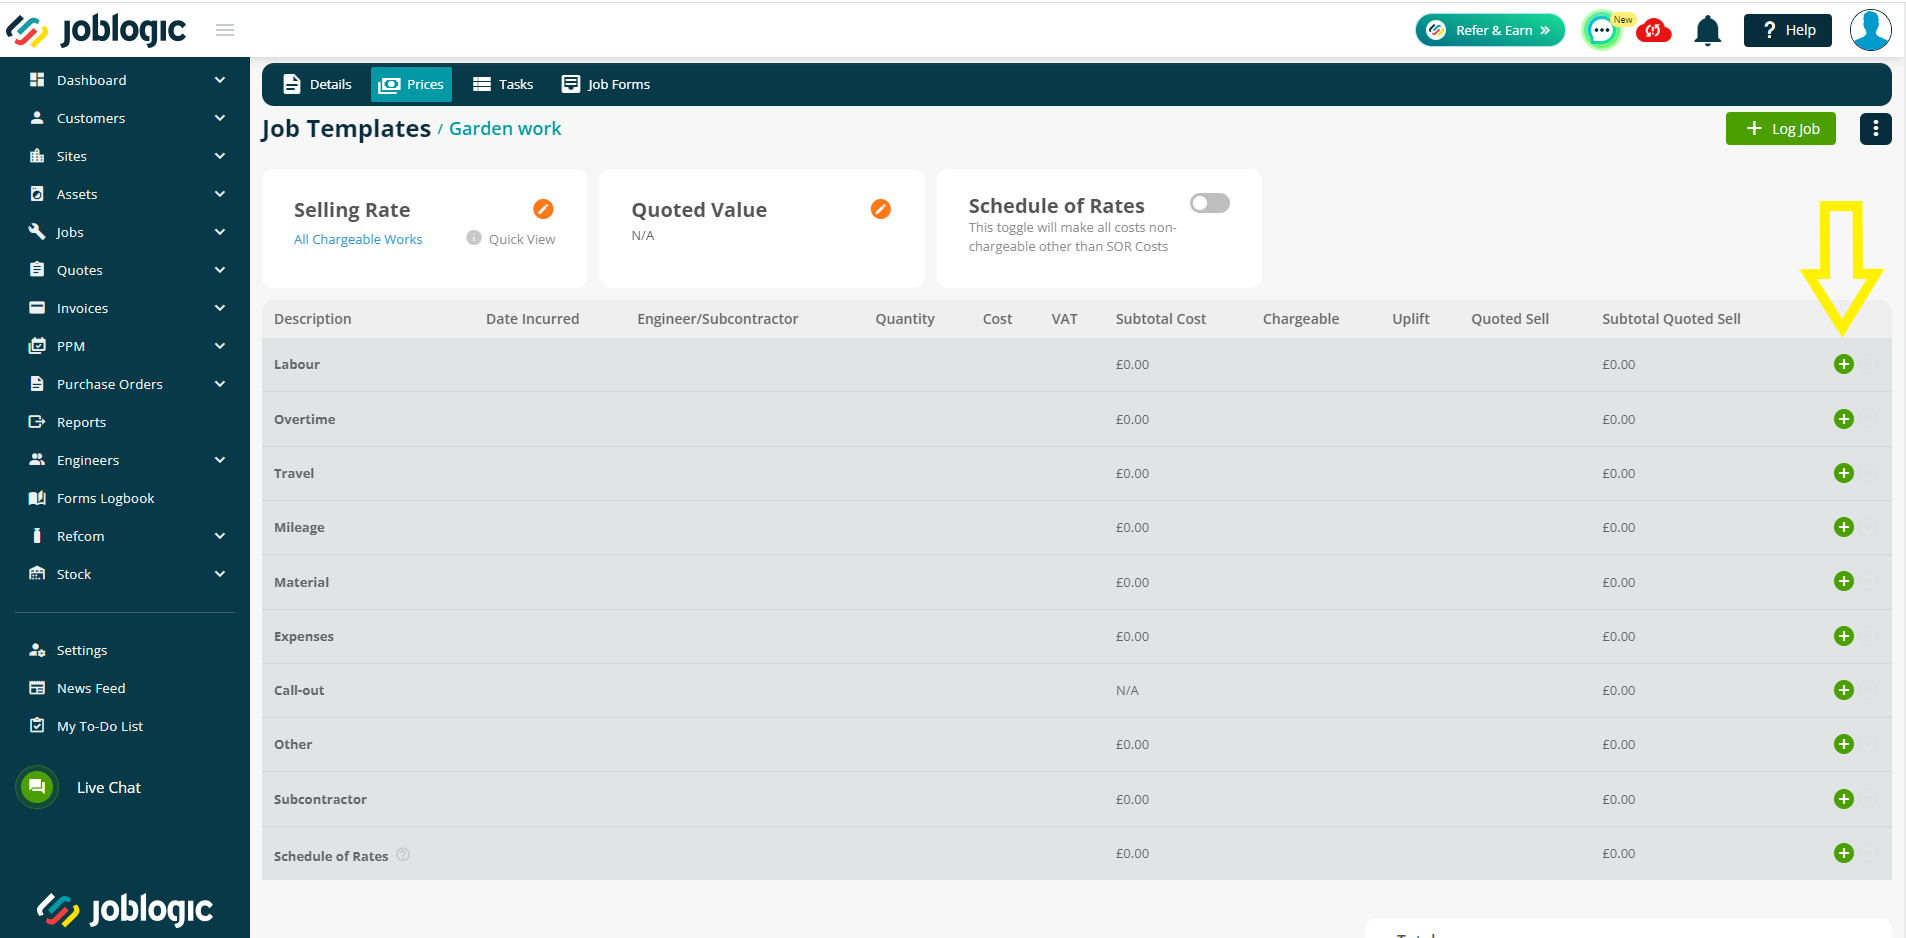
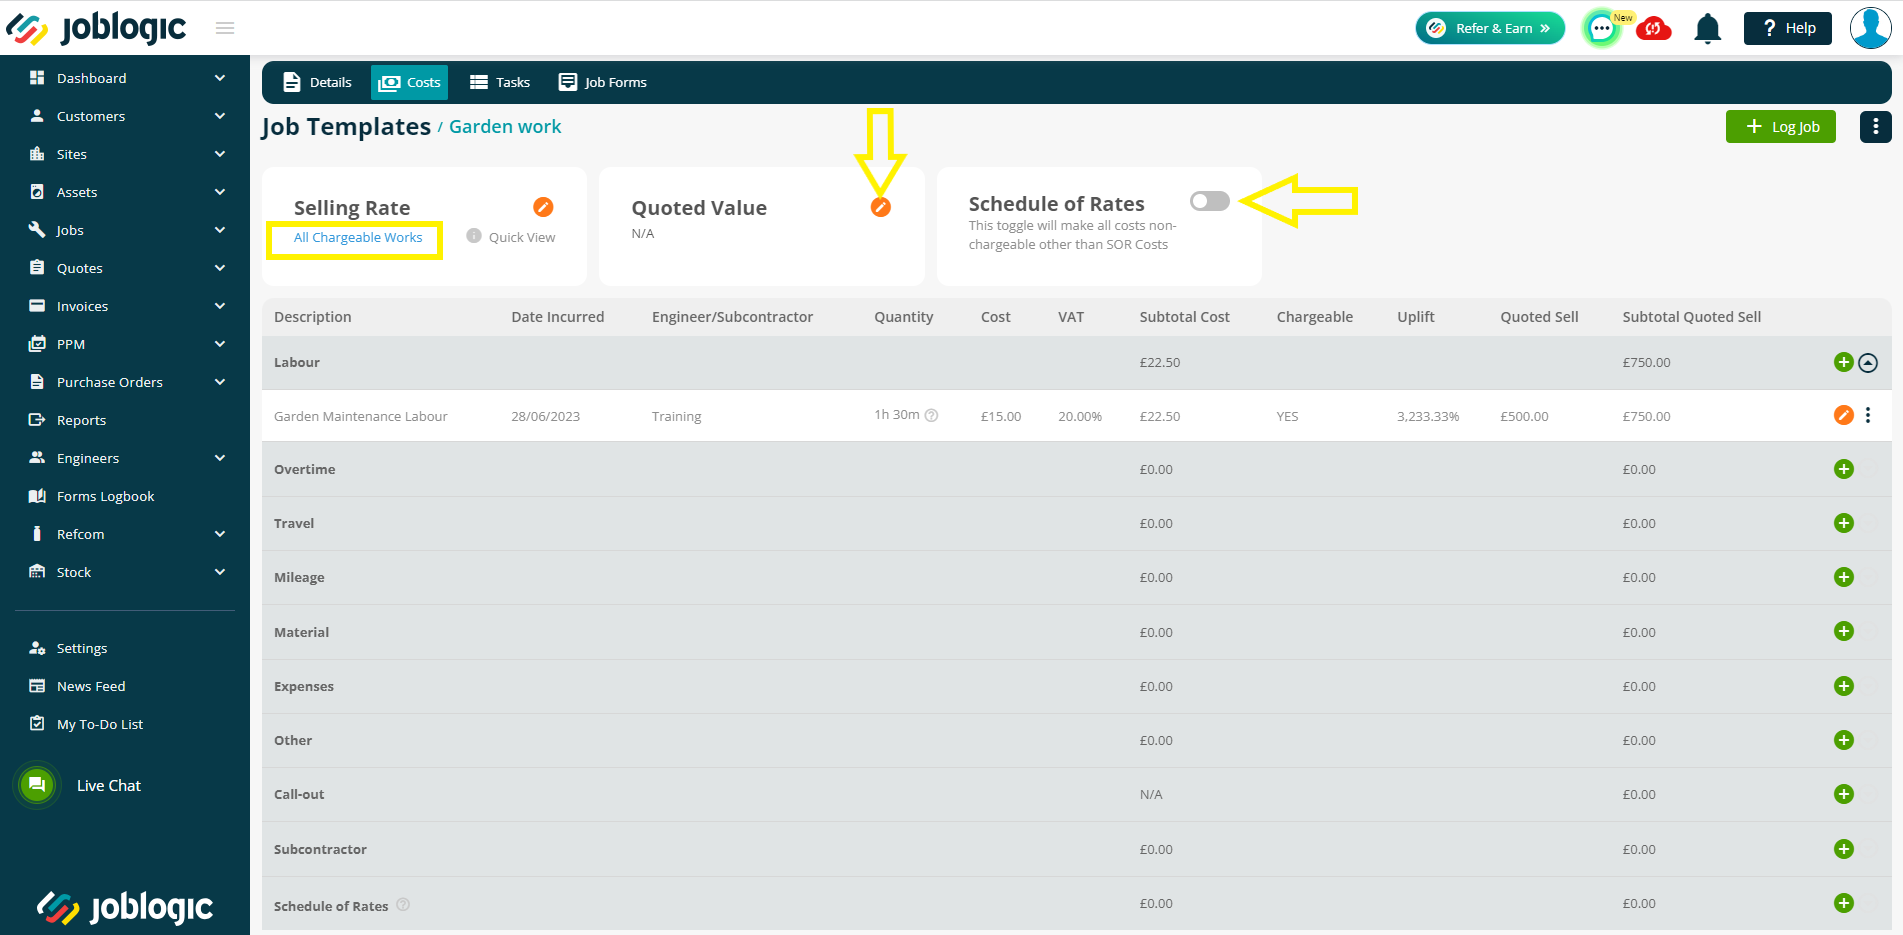
In order to add costs to a log job template, select the costs tab of the applicable log job template and select the green plus icon (+) against the cost line type to be added.
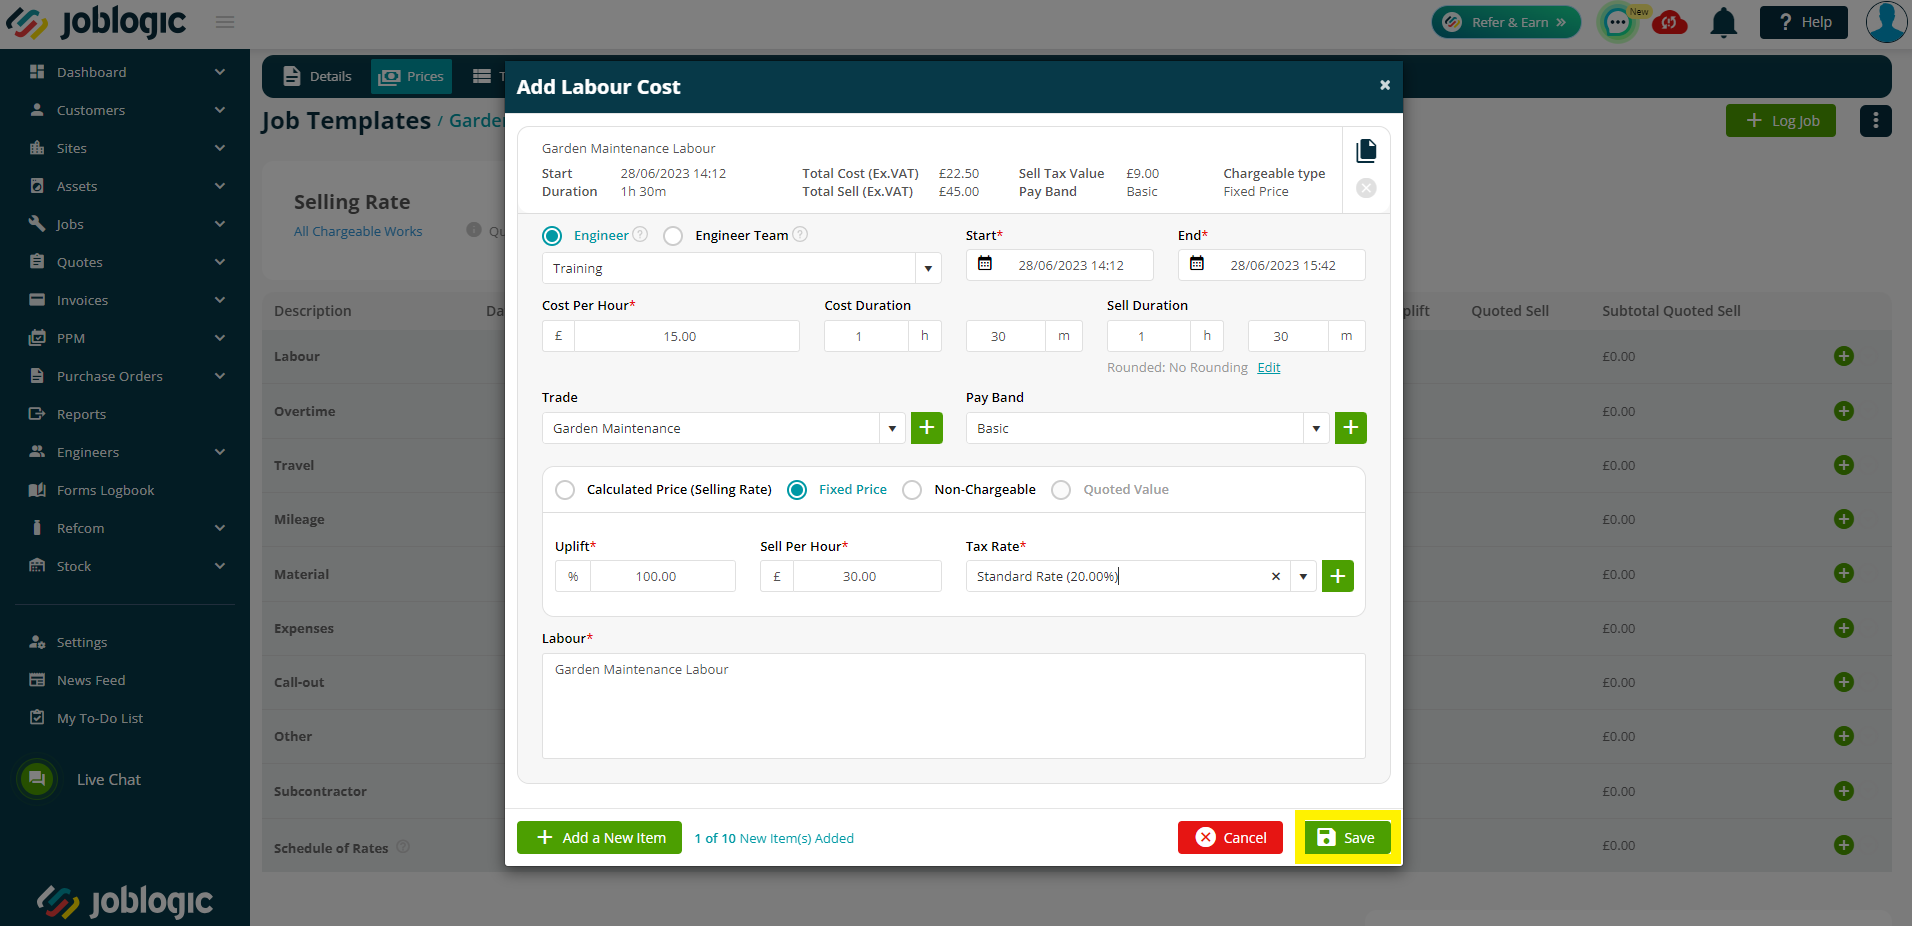
Enter the applicable details of the cost line and select ‘Save’.
The cost details will then be added to the log job template.
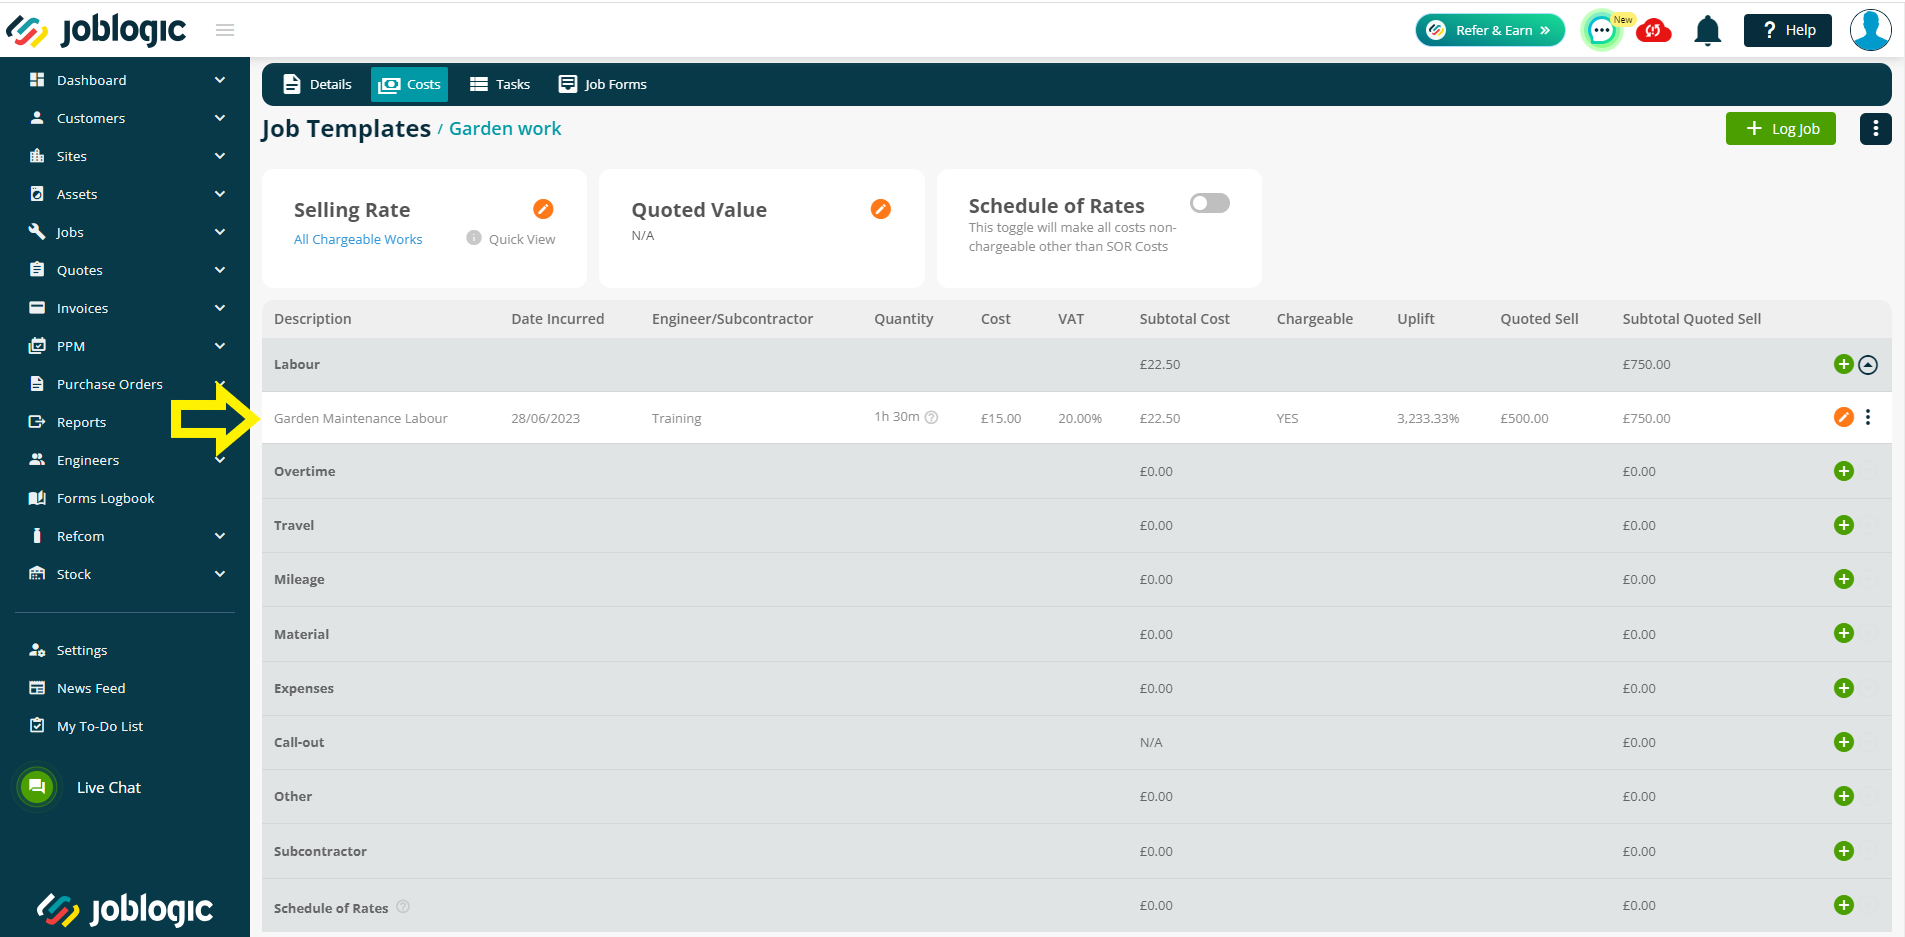
A selling rate, quoted value and/or schedule of rates can also be added via the applicable edit and toggle buttons.
Please note that if a selling rate is set against the log job template that this selling rate will override any other default selling rates set (such as those for the job’s site under site details > configuration > selling rate) when logging a job via the template.
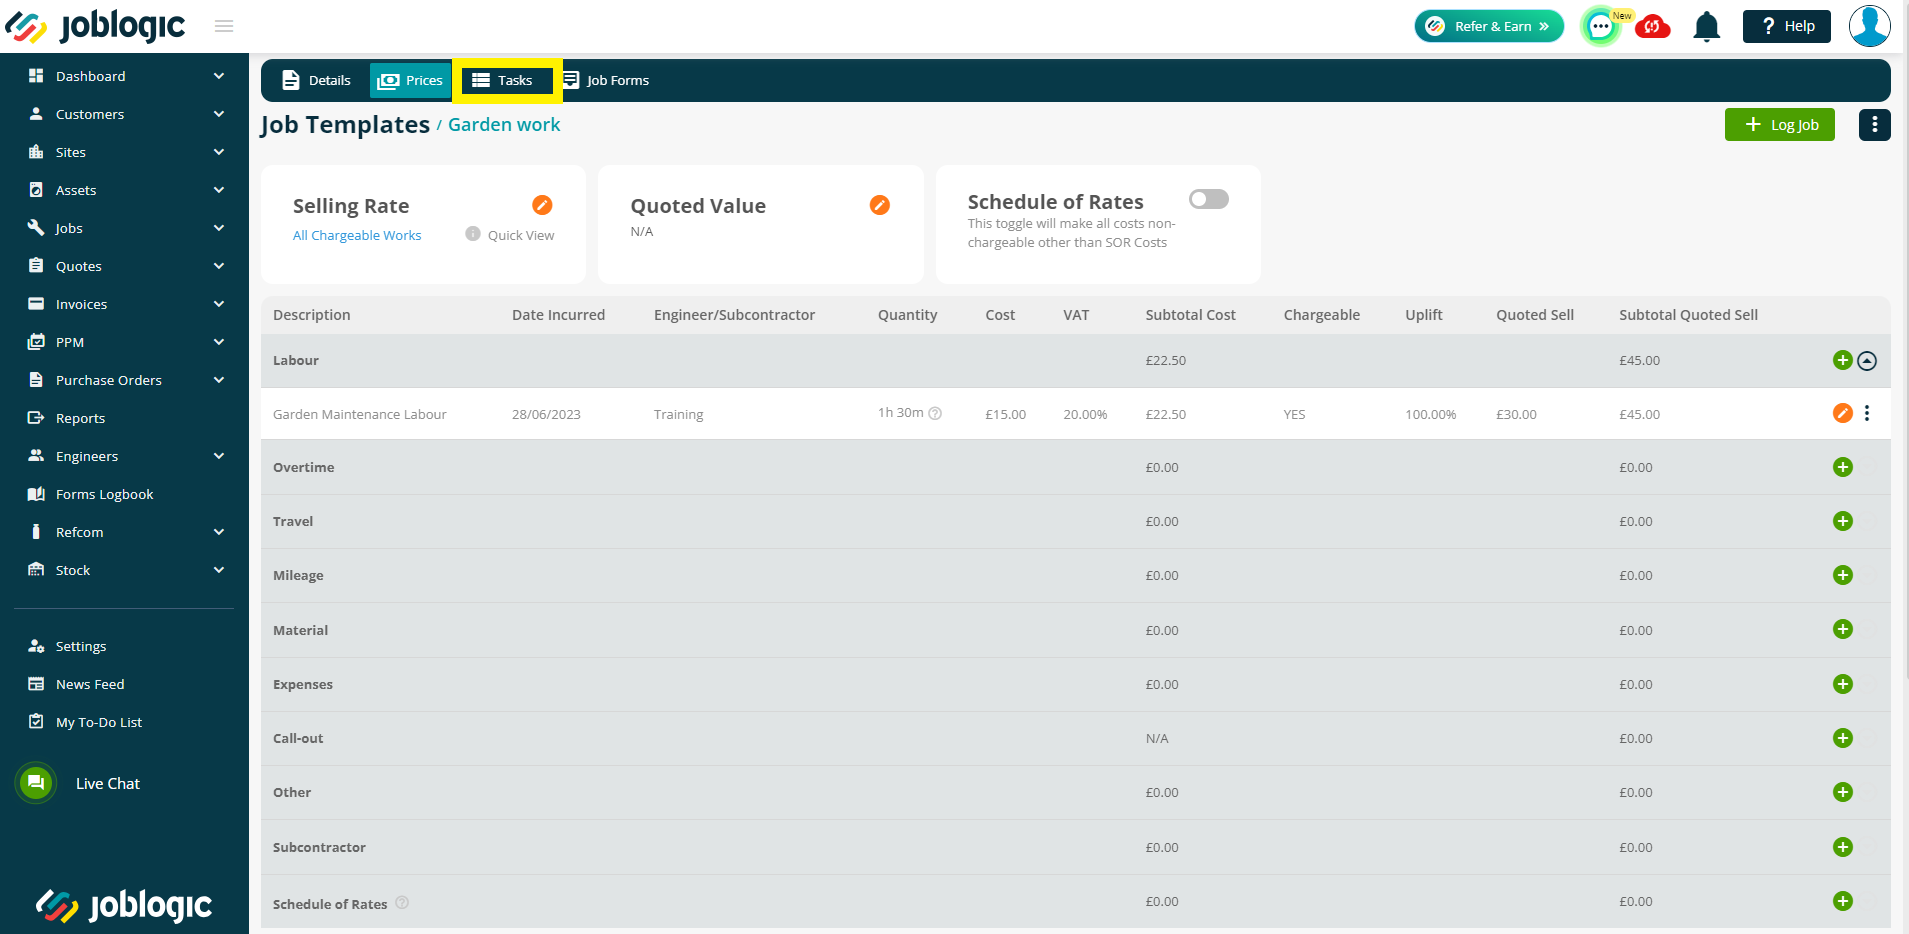
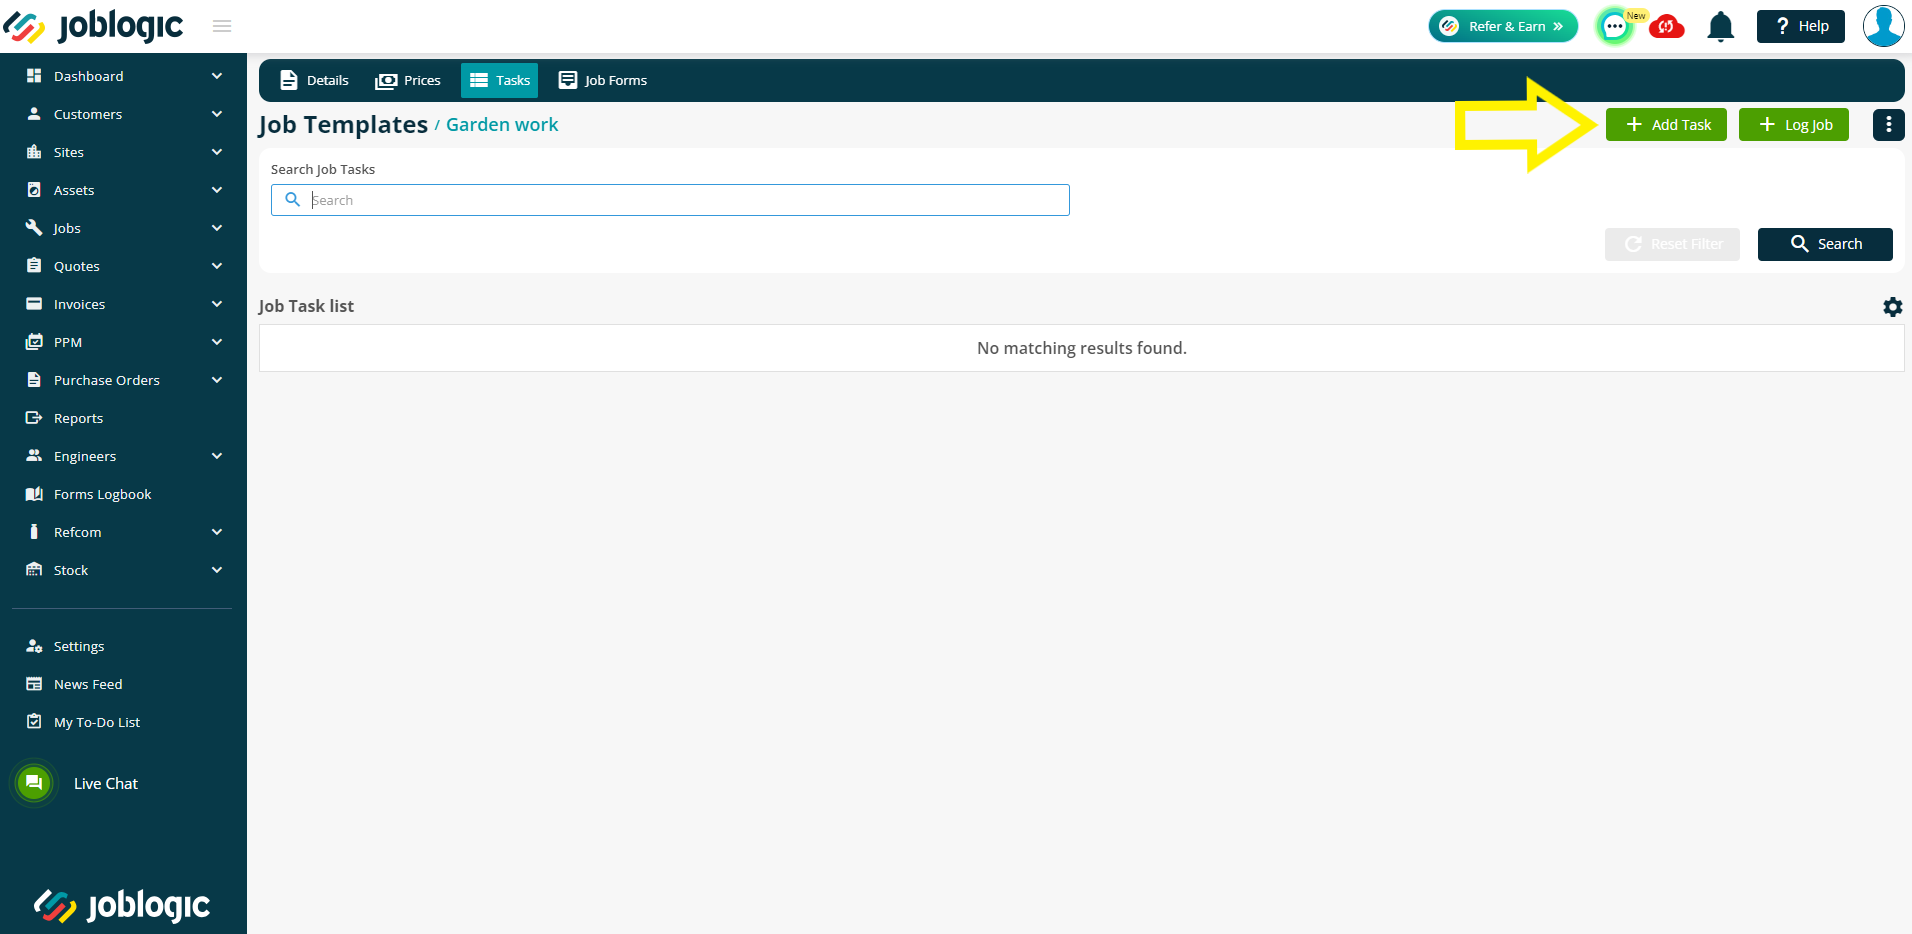
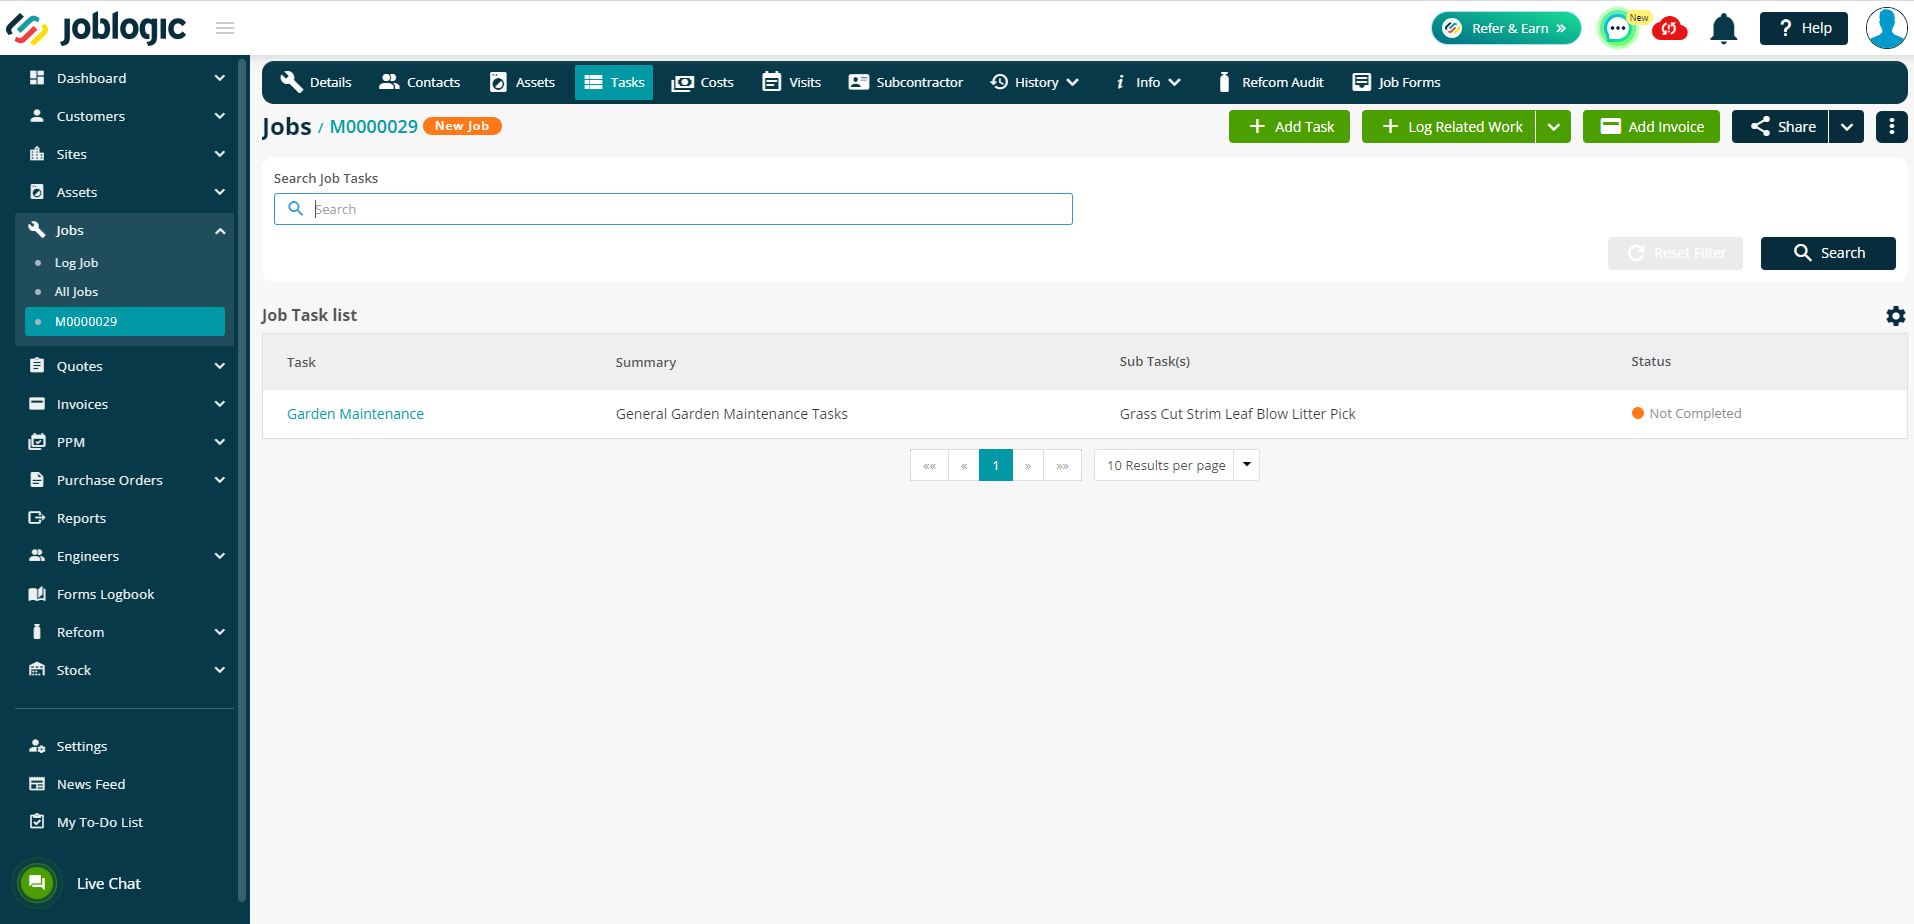
Tasks
In order to add tasks to a log job template, select the tasks tab of the applicable template and select the green ‘+ Add task’ button.
Tasks need to be set up within the settings library (settings > library > tasks) before they can be assigned to log job templates. They cannot be free typed. If you do not have any tasks set up, they can be created within the settings library by selecting the green ‘quick add’ addition icon.
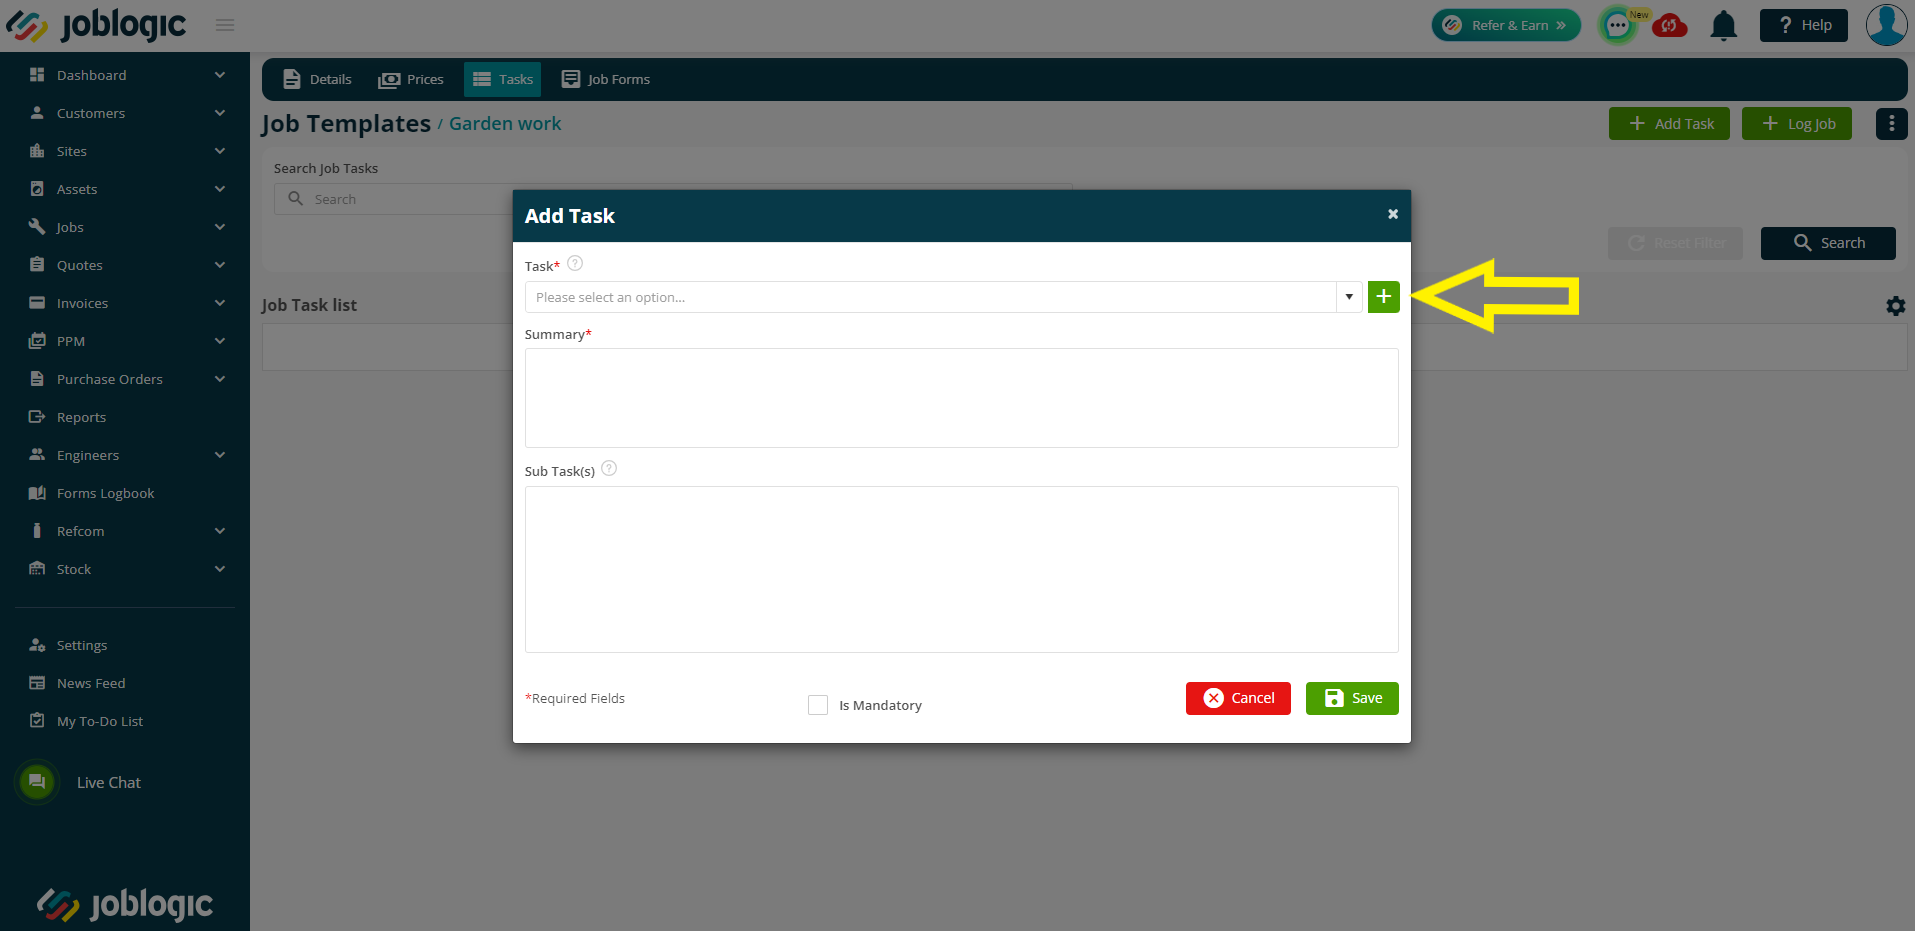
Once tasks are set up in the library, they can be selected from the dropdown menu to be applied to the log job template.

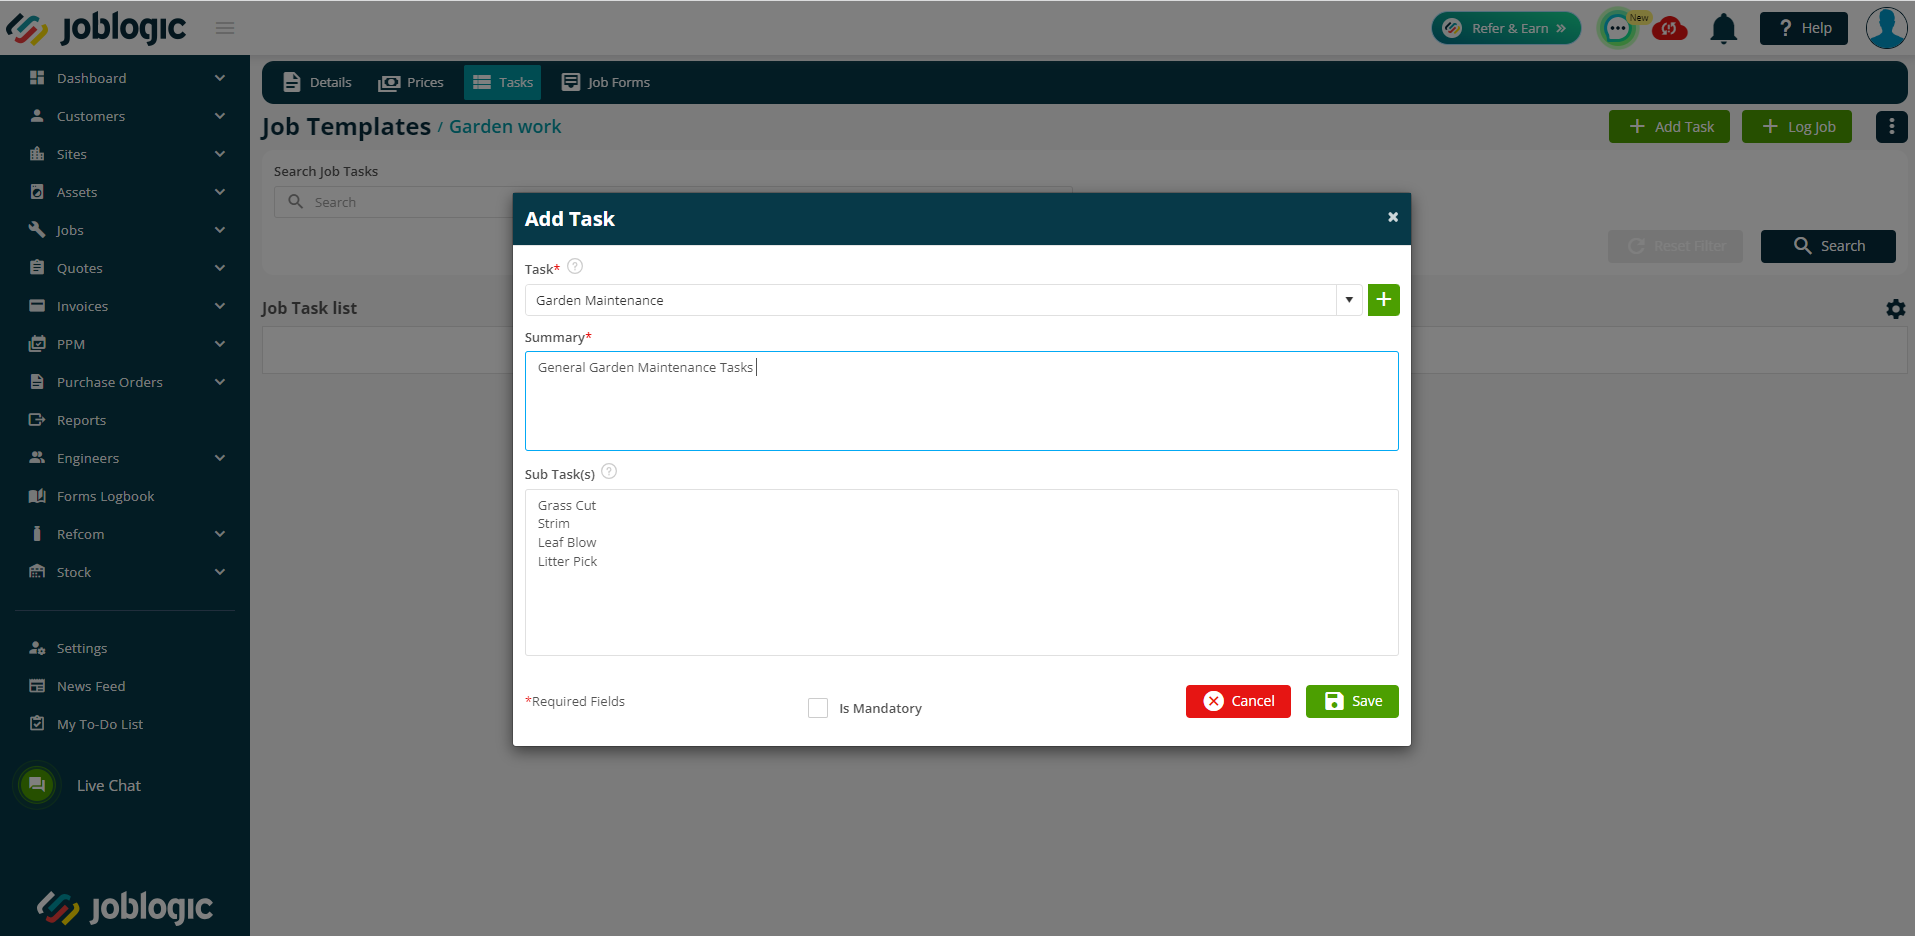
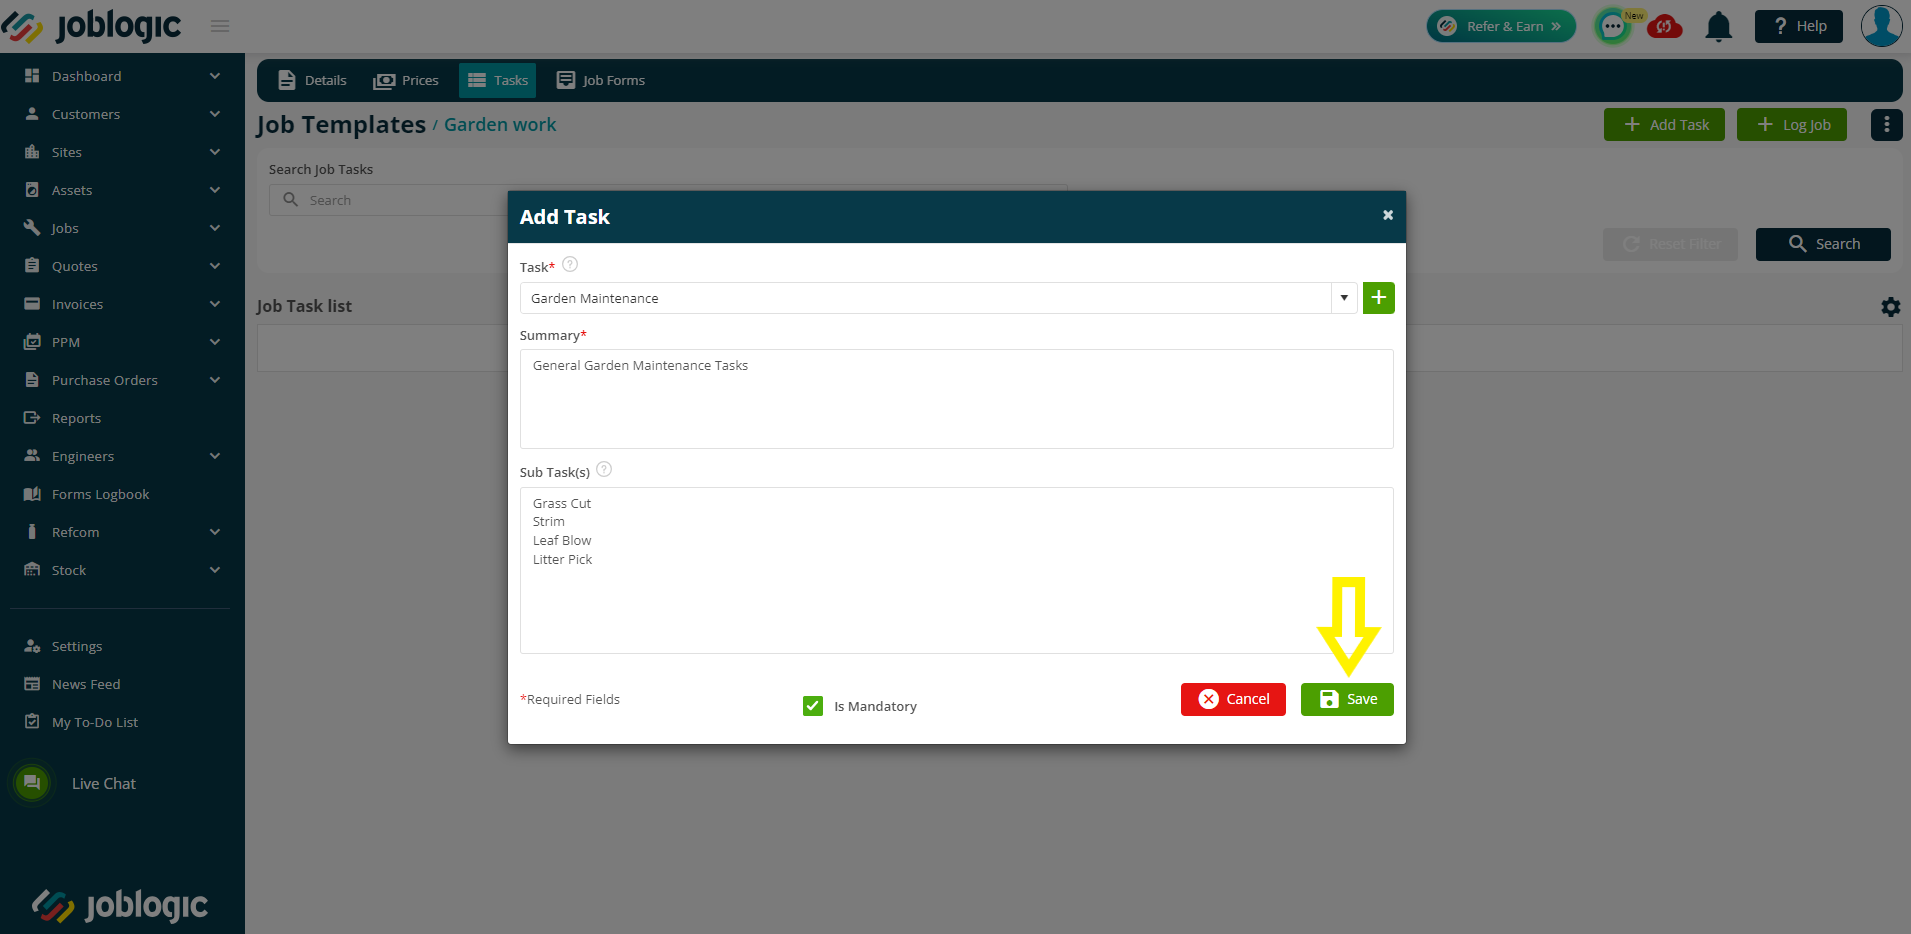
There is also a ‘is mandatory' tick box which can be ticked to make the tasks mandatory against the applicable jobs. This means that users will not be able to bypass the tasks without marking them as completed.

Select the ‘Save’ option once the required task and details have been assigned and the task will log within the ‘Job Task List’ of the template.
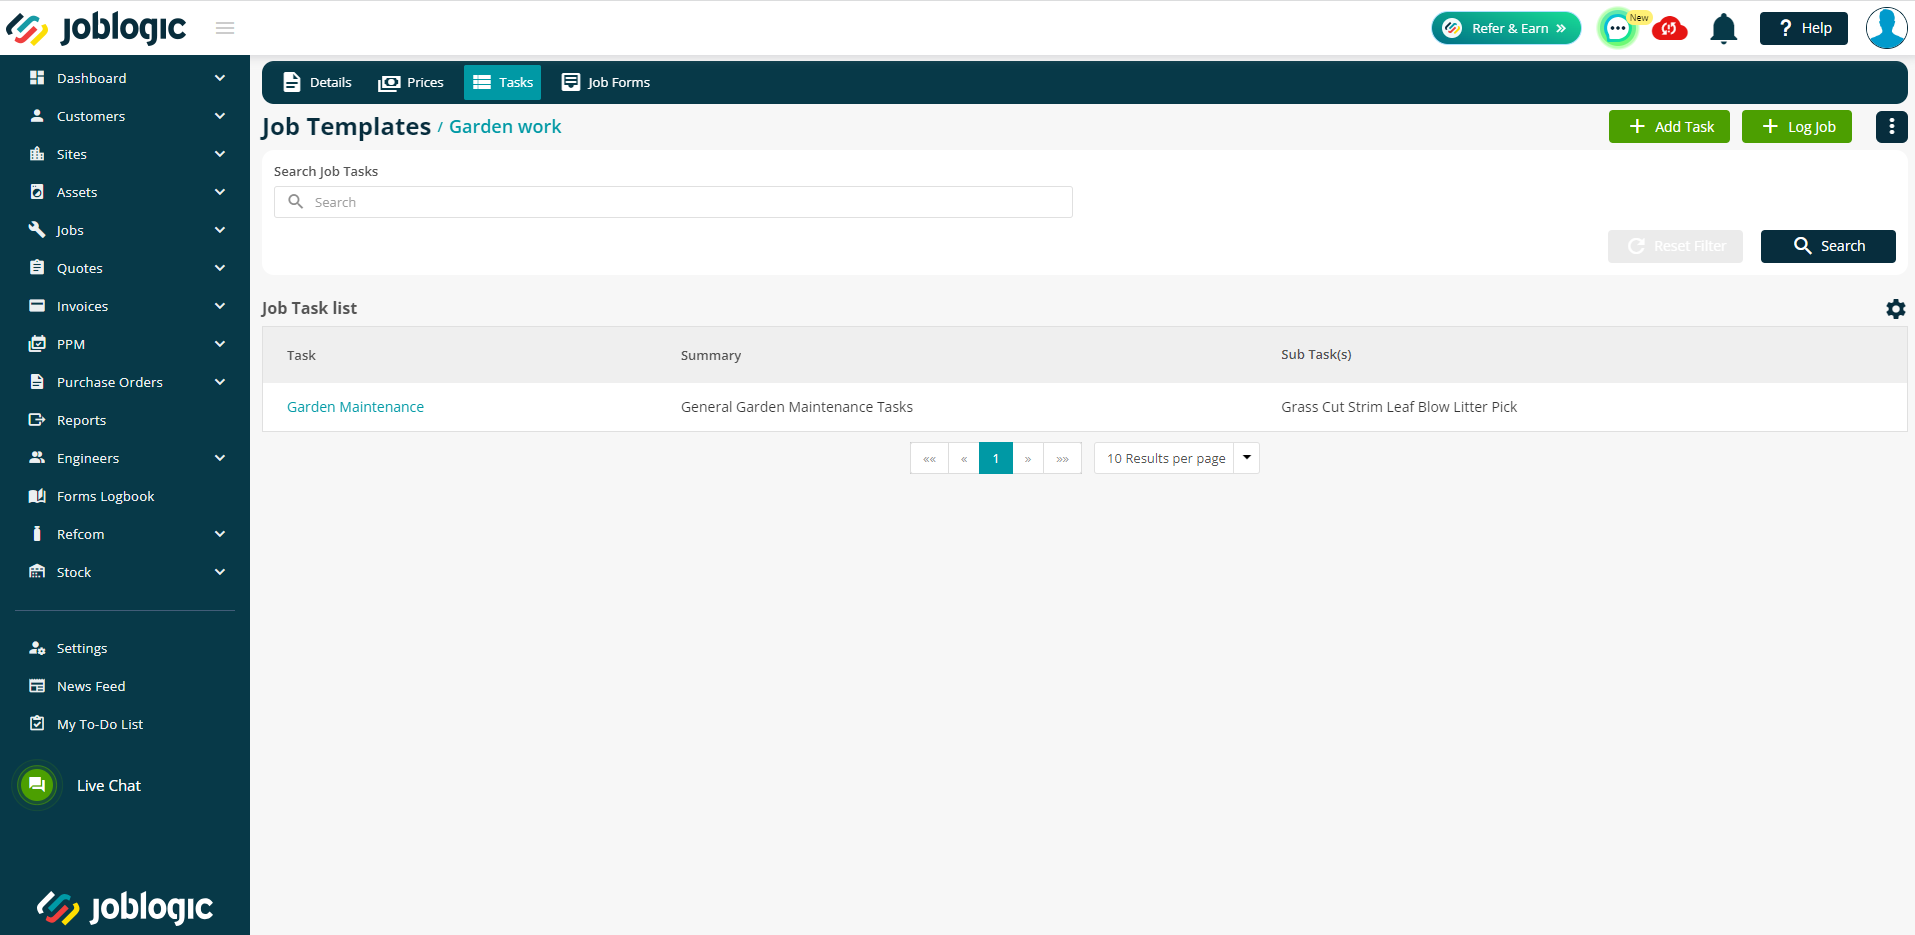
For further information on adding tasks to job items see here.
Job Forms
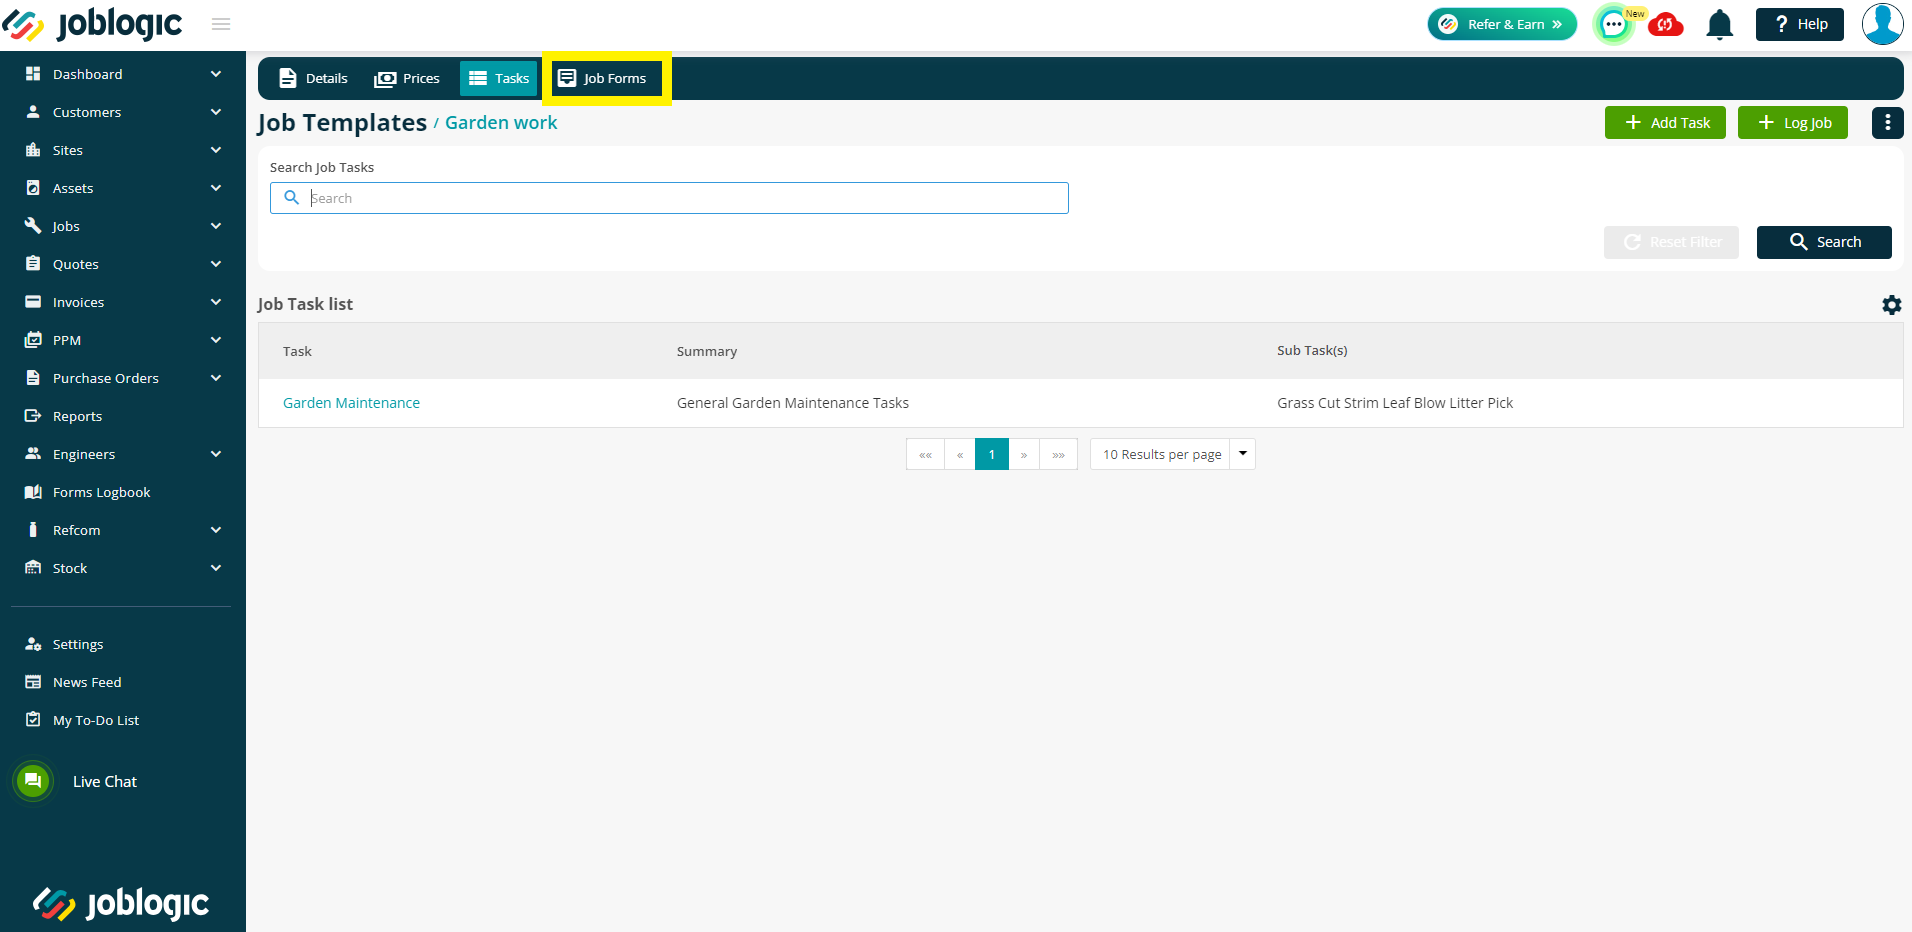
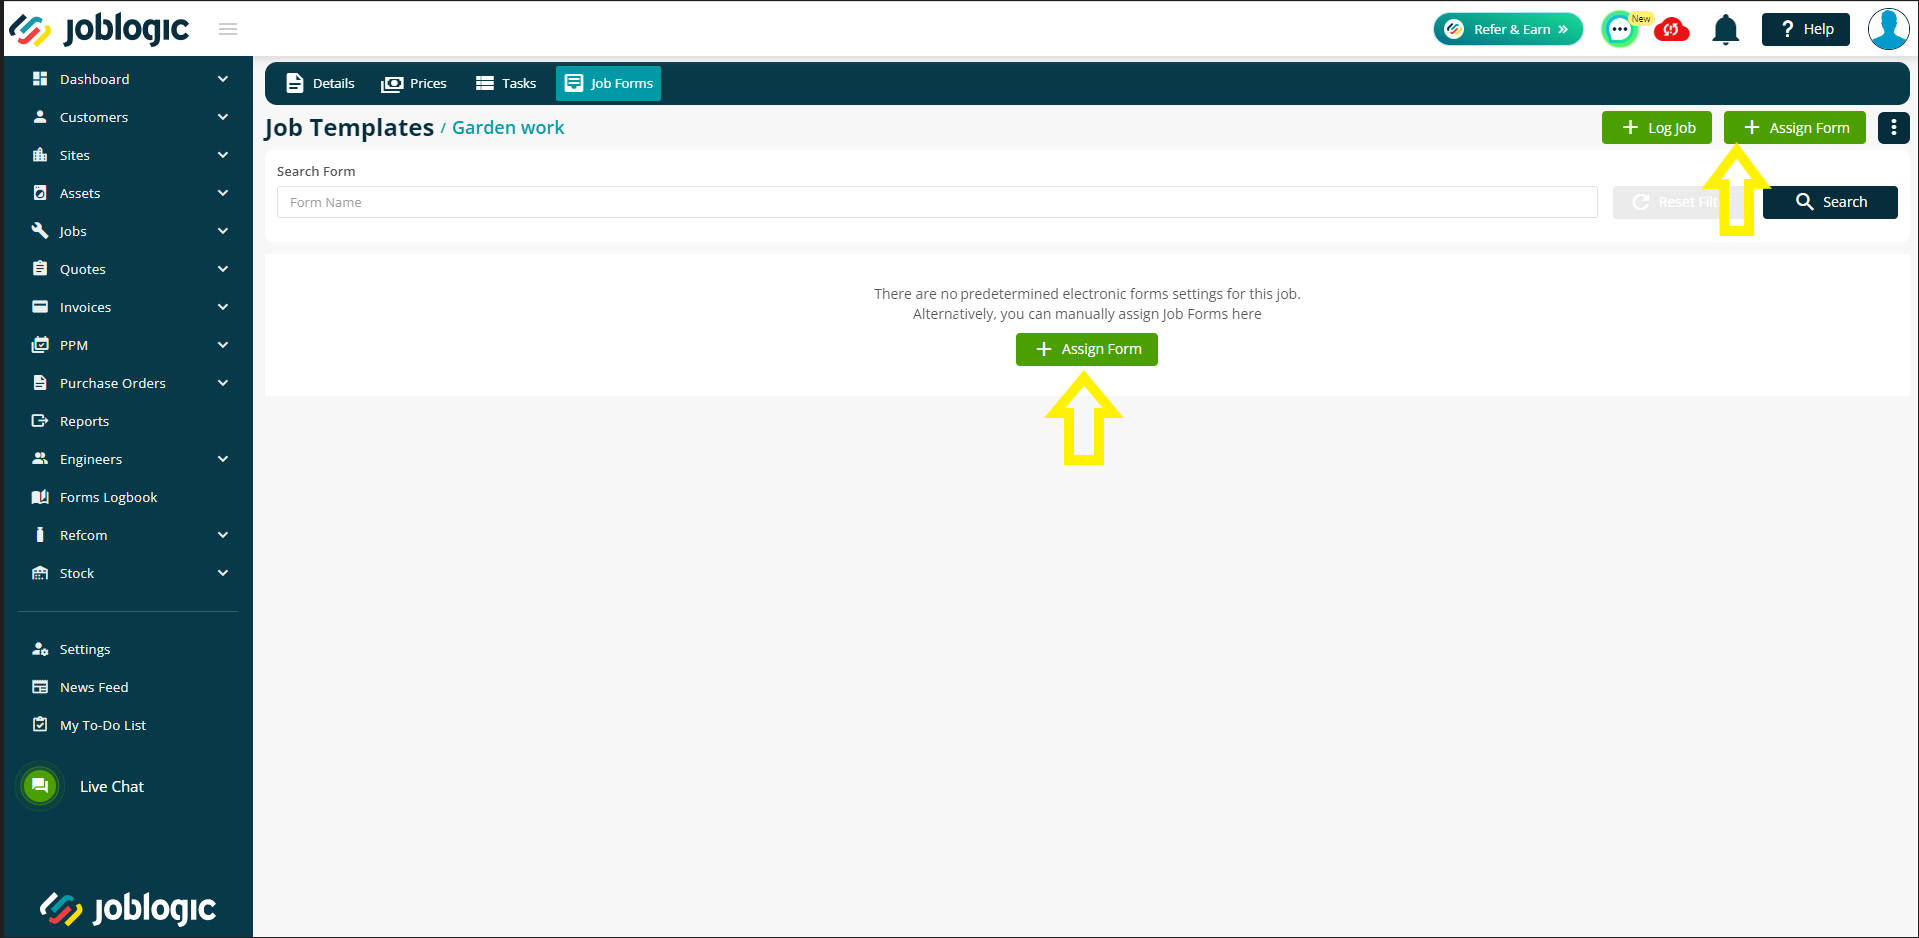
In order to assign electronic job forms to a log job template, select the job forms tab of the applicable template.
Select the green ‘+ Assign Form’ button.
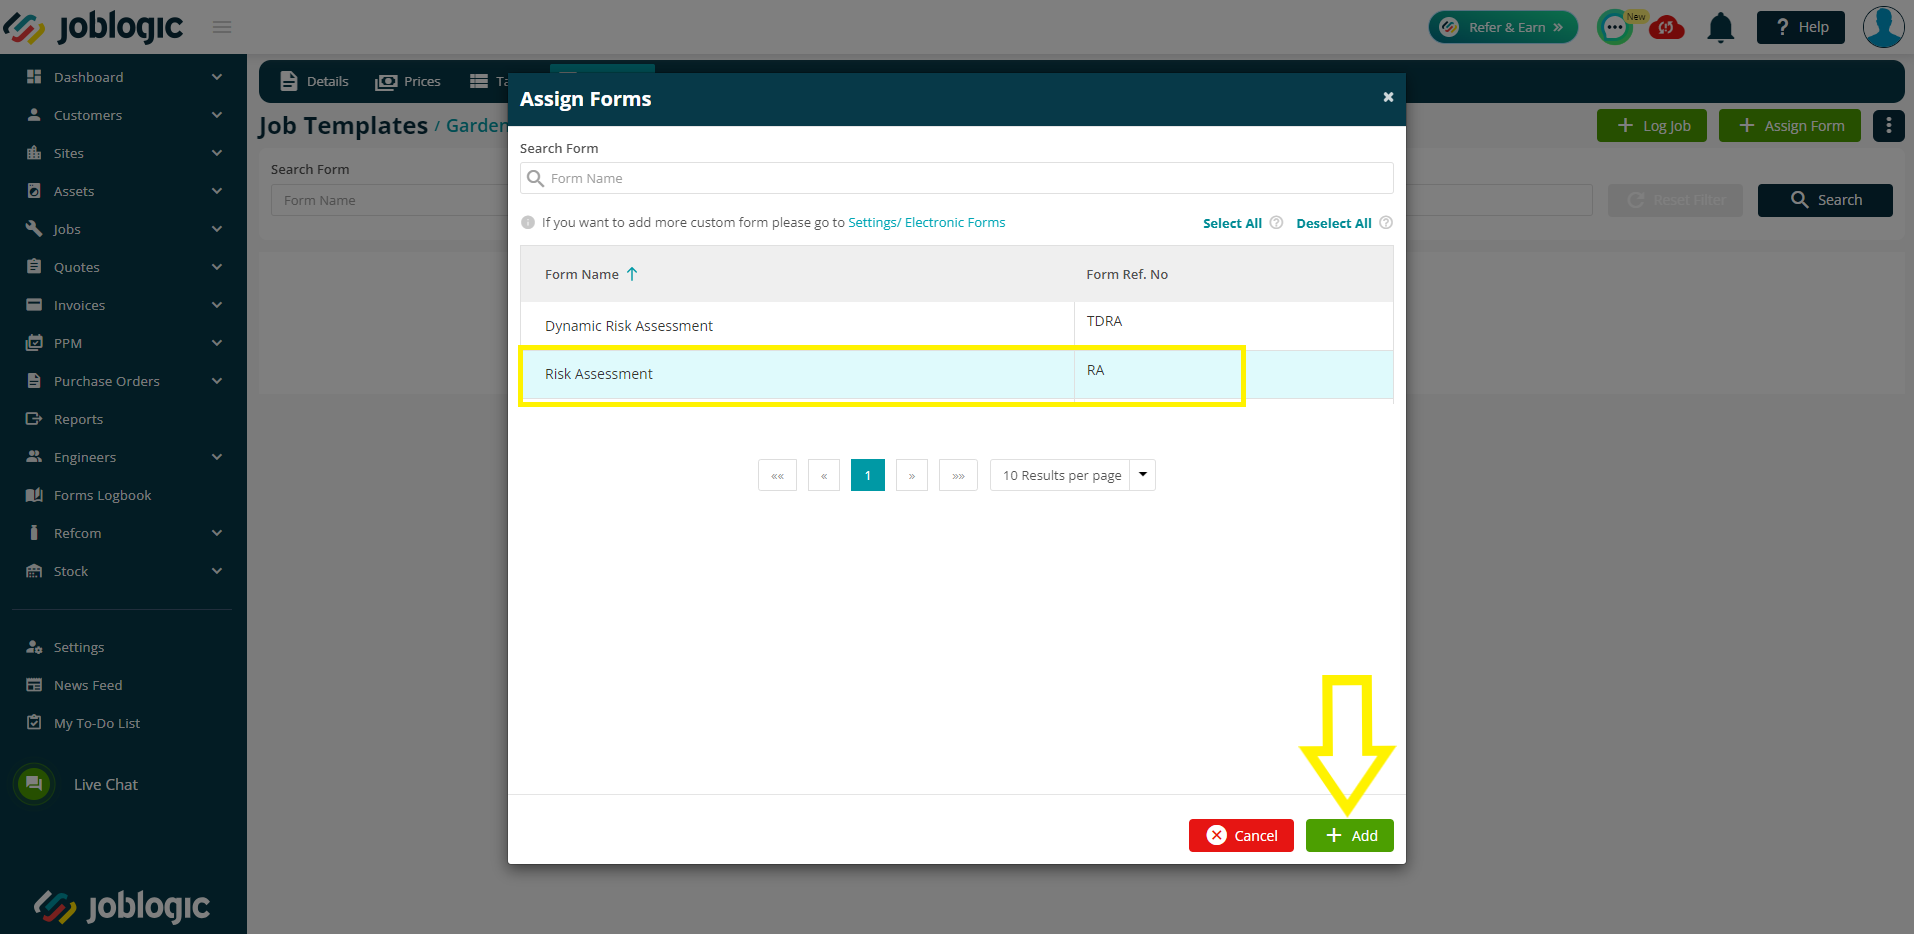
Select the job forms that are required for the log job template (the presented list is based on the deployed electronic forms list under settings > electronic forms) and select ‘+ Add’.
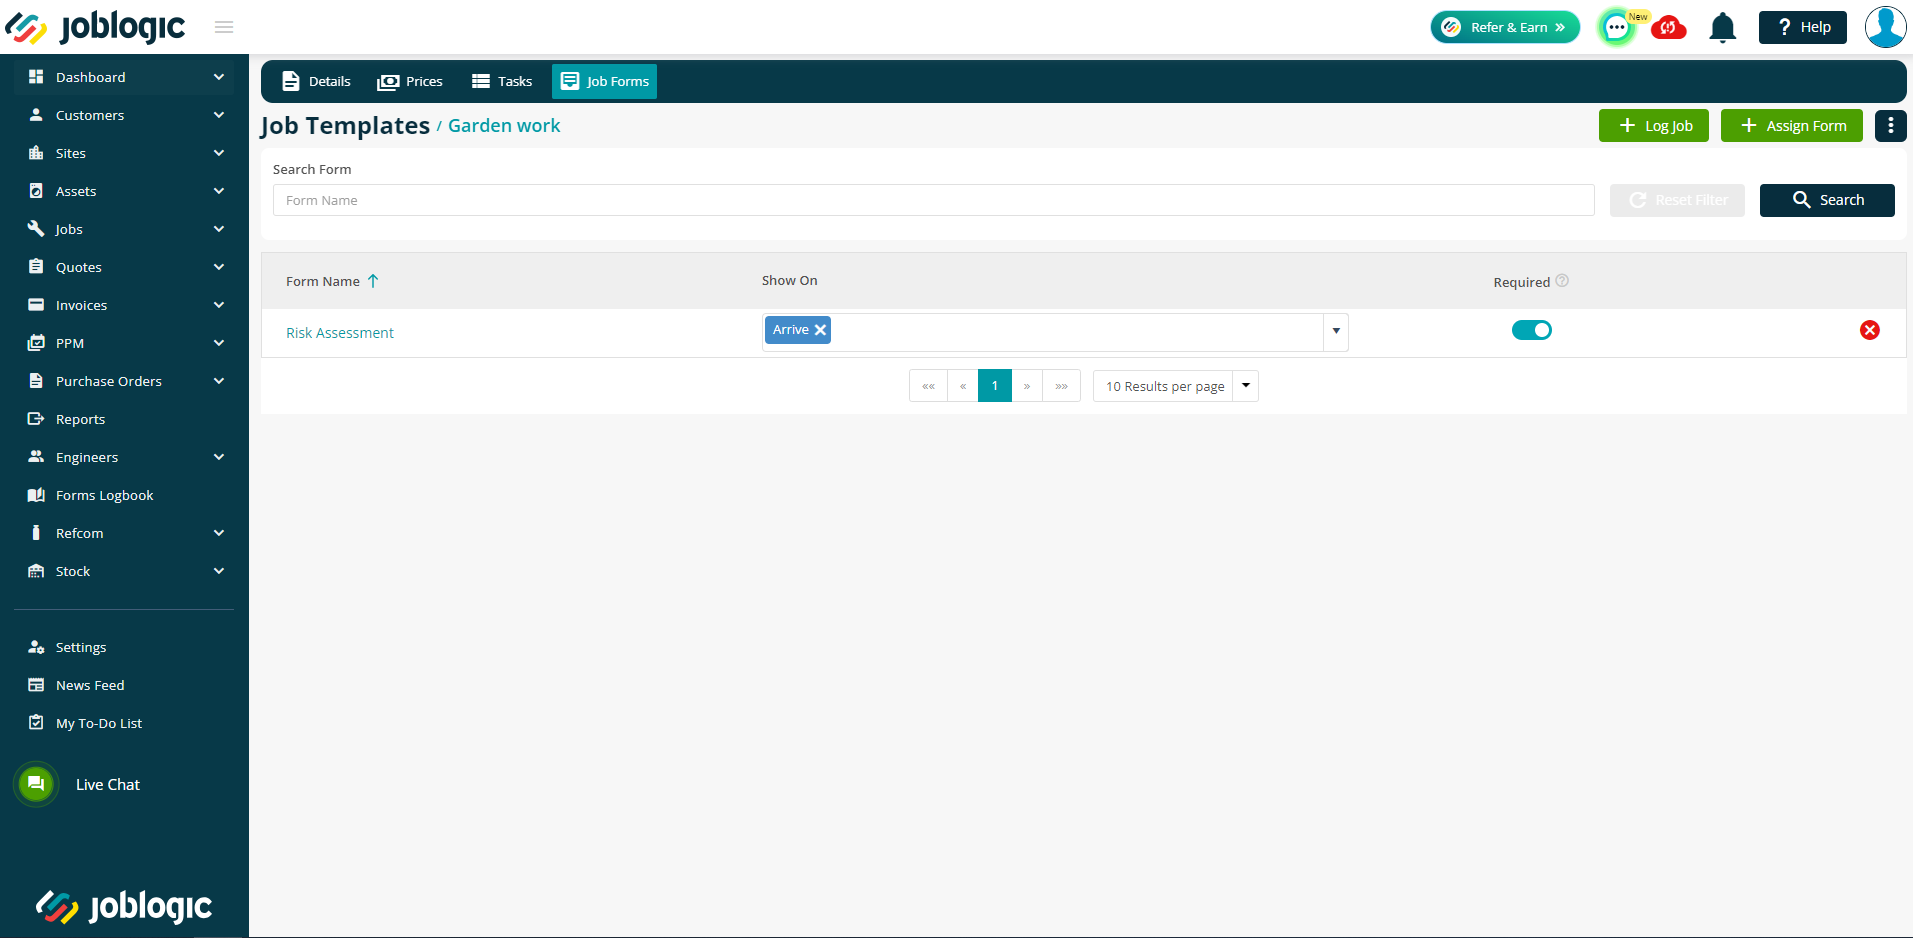
The electronic form will then be added to the log job template whereby you can select which point the form is to be presented to the engineer, if applicable (via the ‘show on’ dropdown) and whether the form is mandatory for those types of jobs or not (via the ‘required’ toggle button).
For further information on assigning electronic forms to job items see here.
How to use a log job template
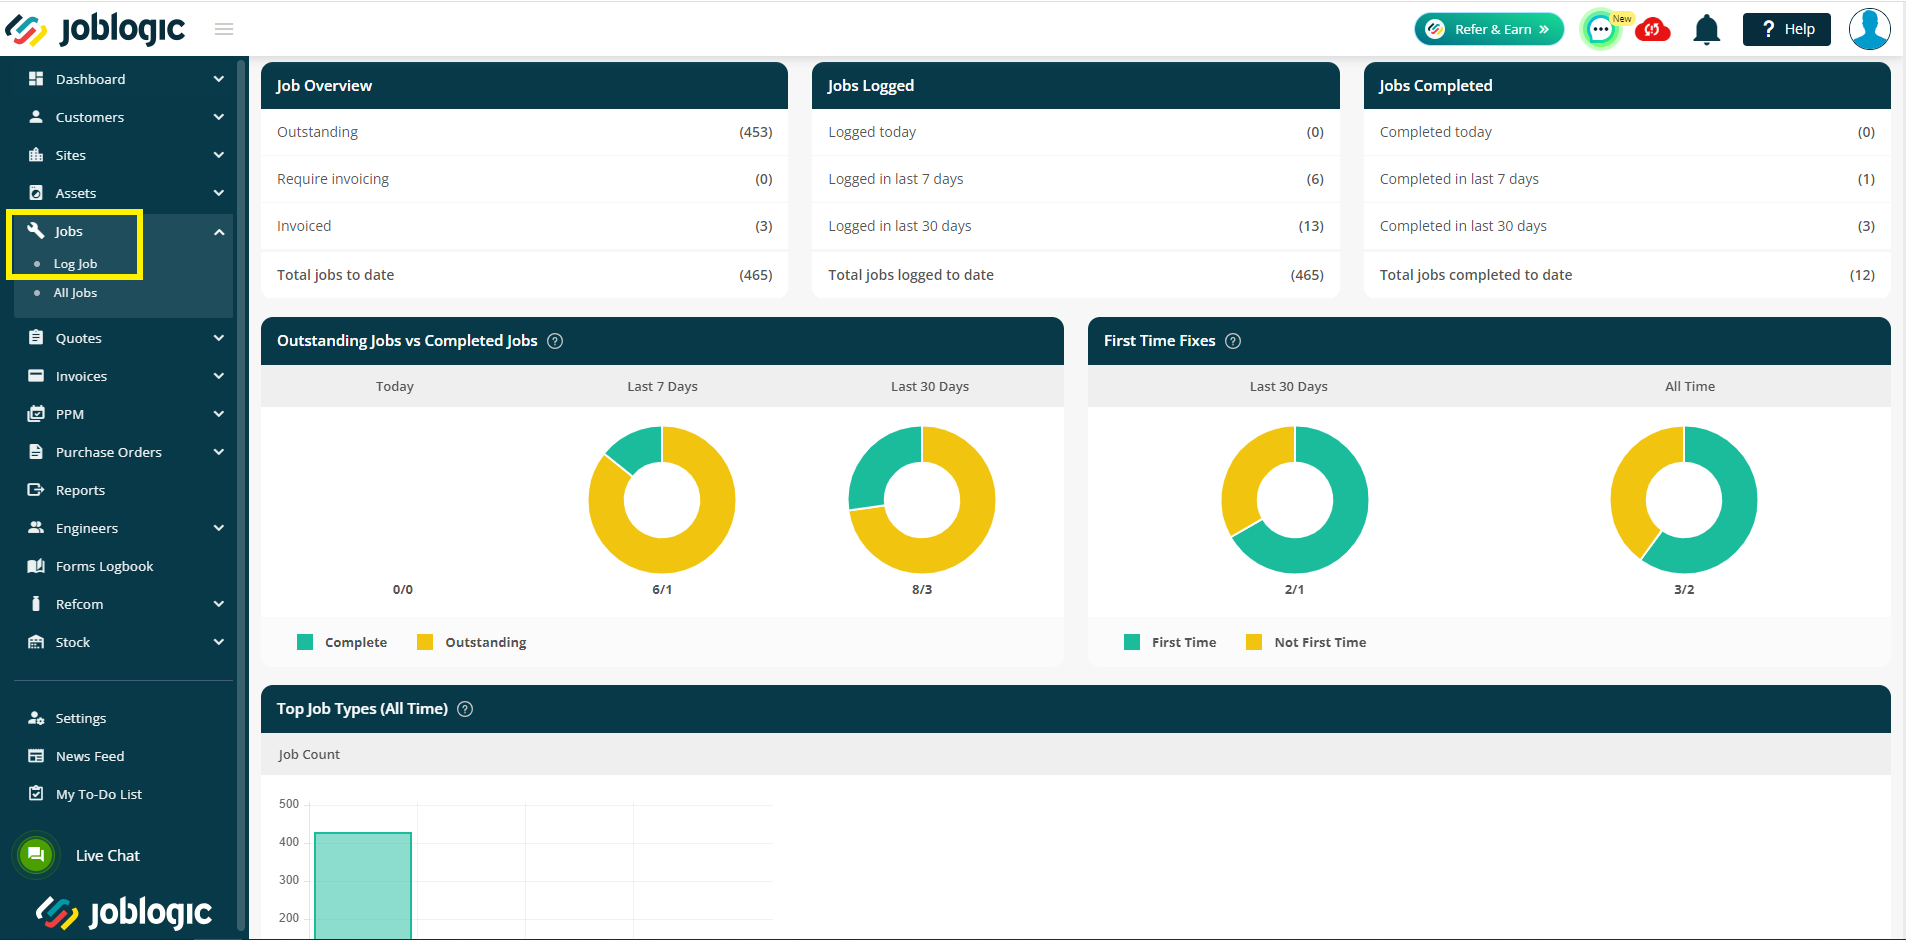
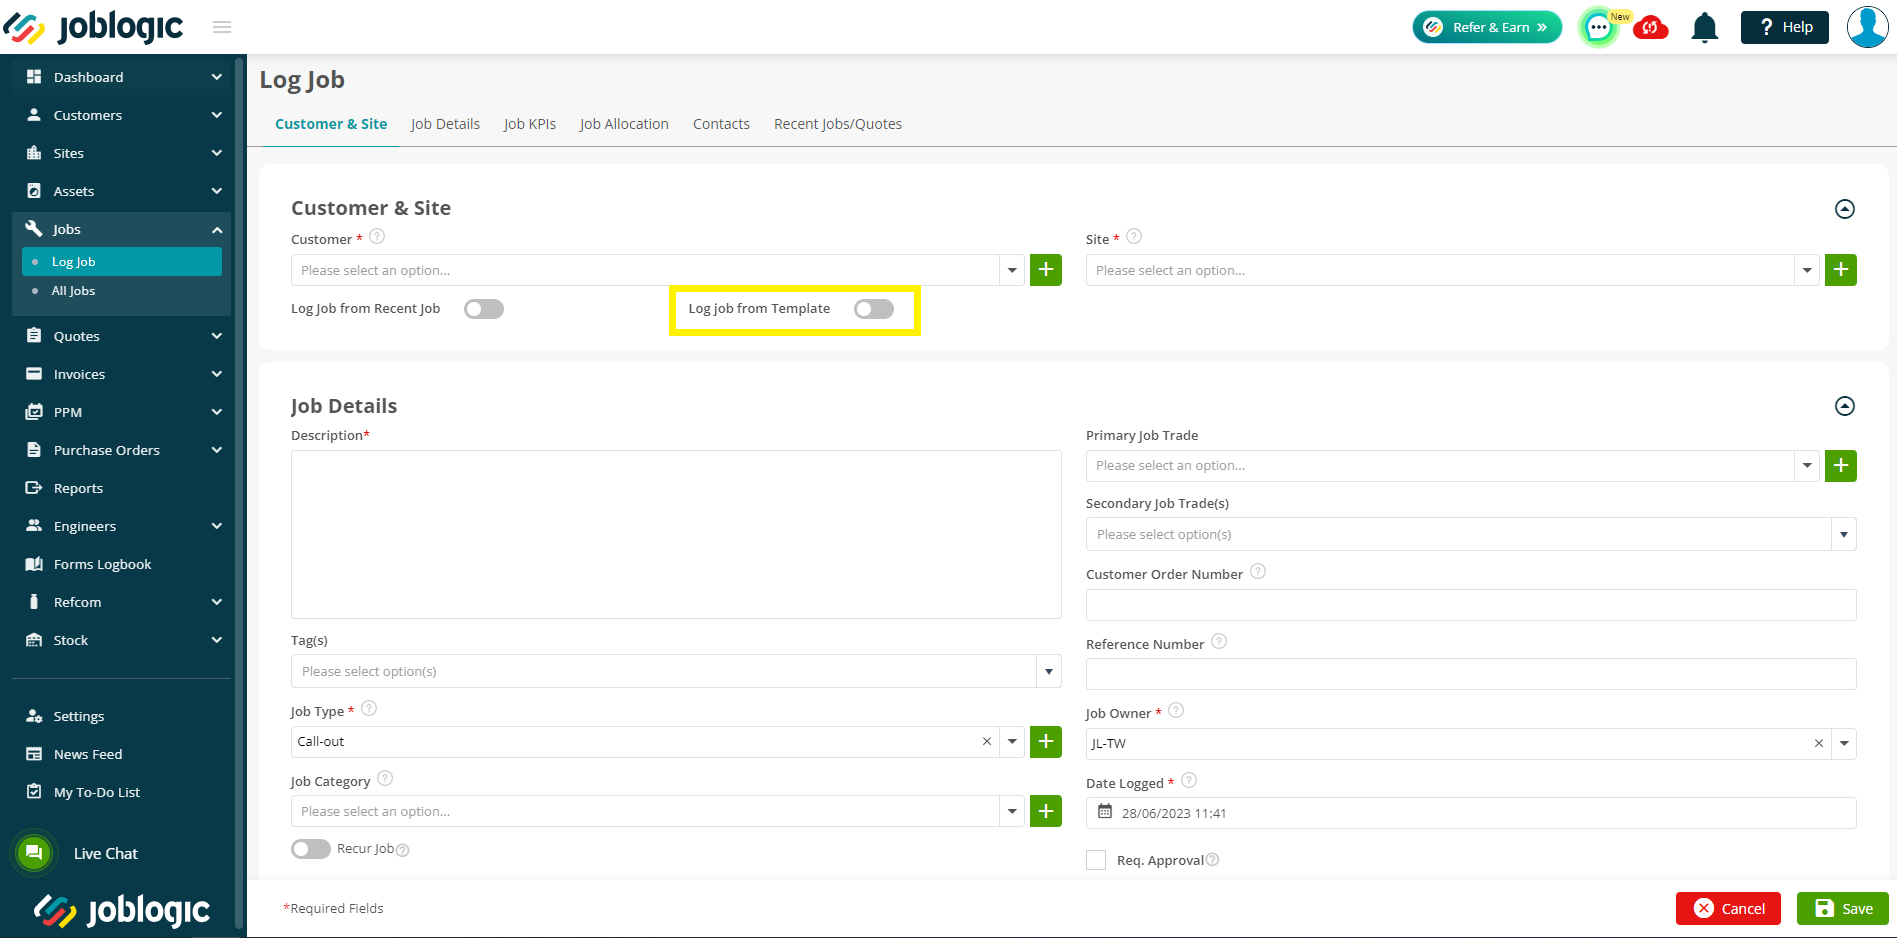
The log job templates are applicable and can be utilised via the log job area under jobs > log job.
Upon selecting the log job option, you will be presented with a ‘log job from template’ toggle button.
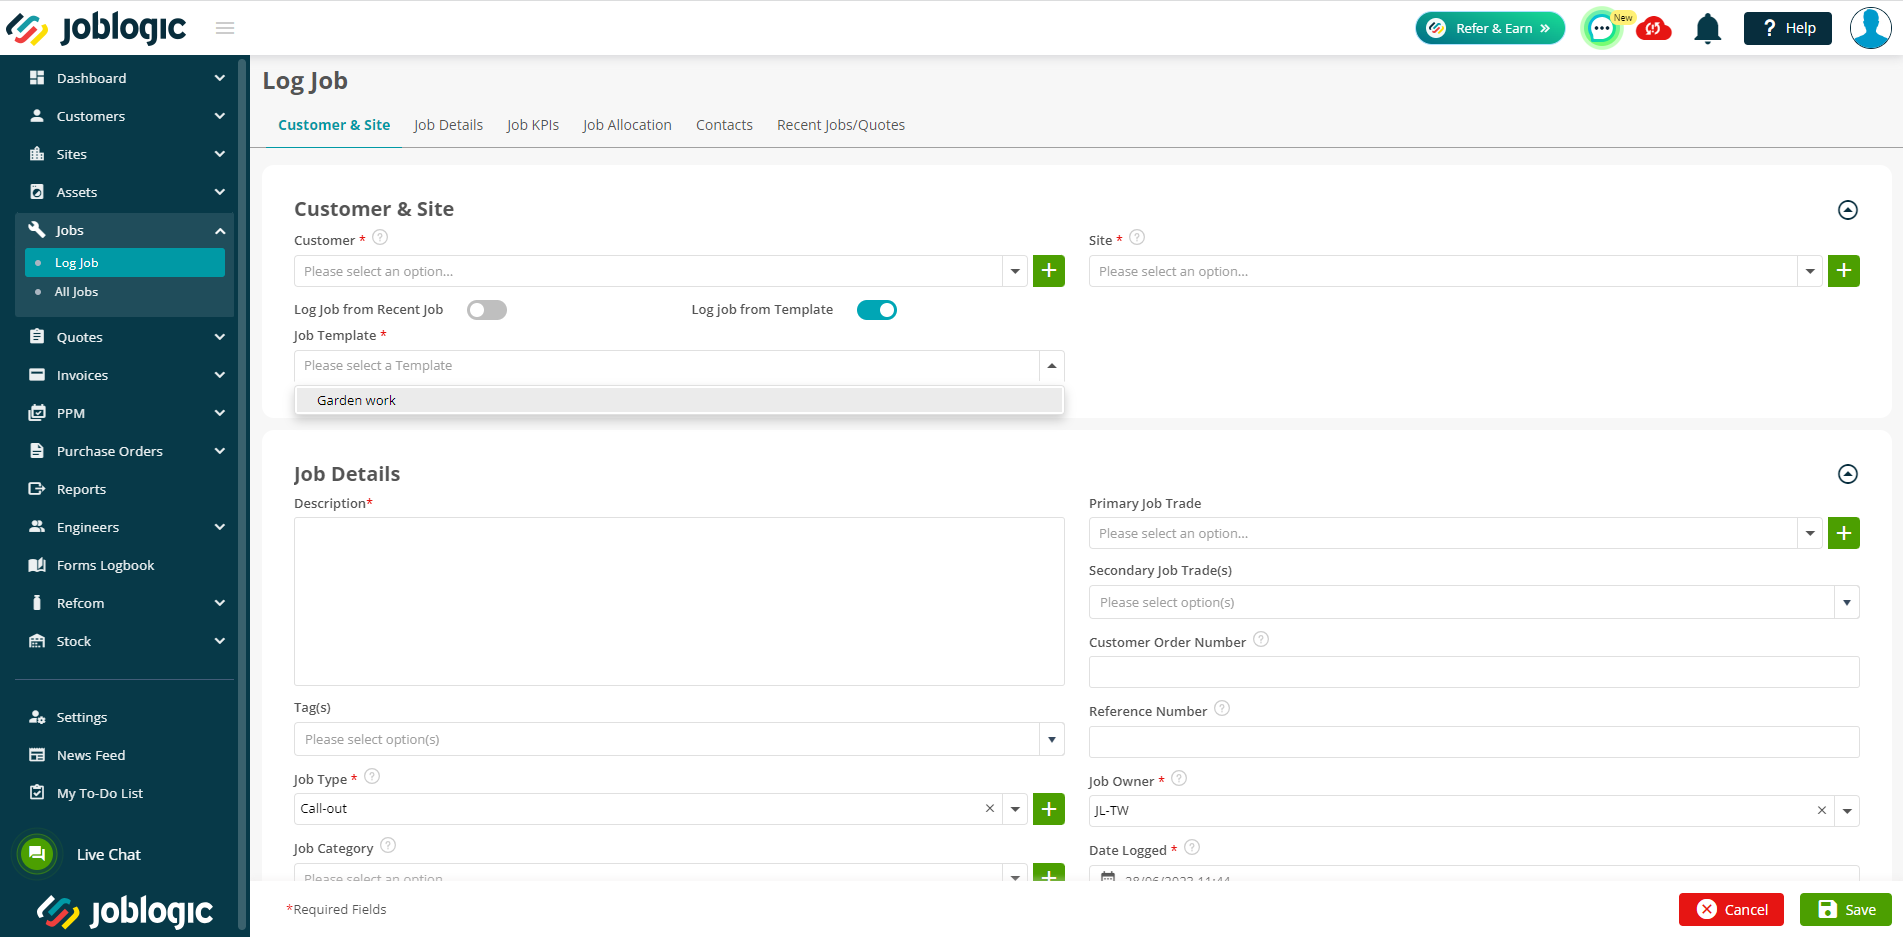
Selecting the toggle button will present a job template dropdown list allowing for the required template to be selected.
After selecting the required template, all of the applicable fields for that template will automatically populate based on the details set for that template.
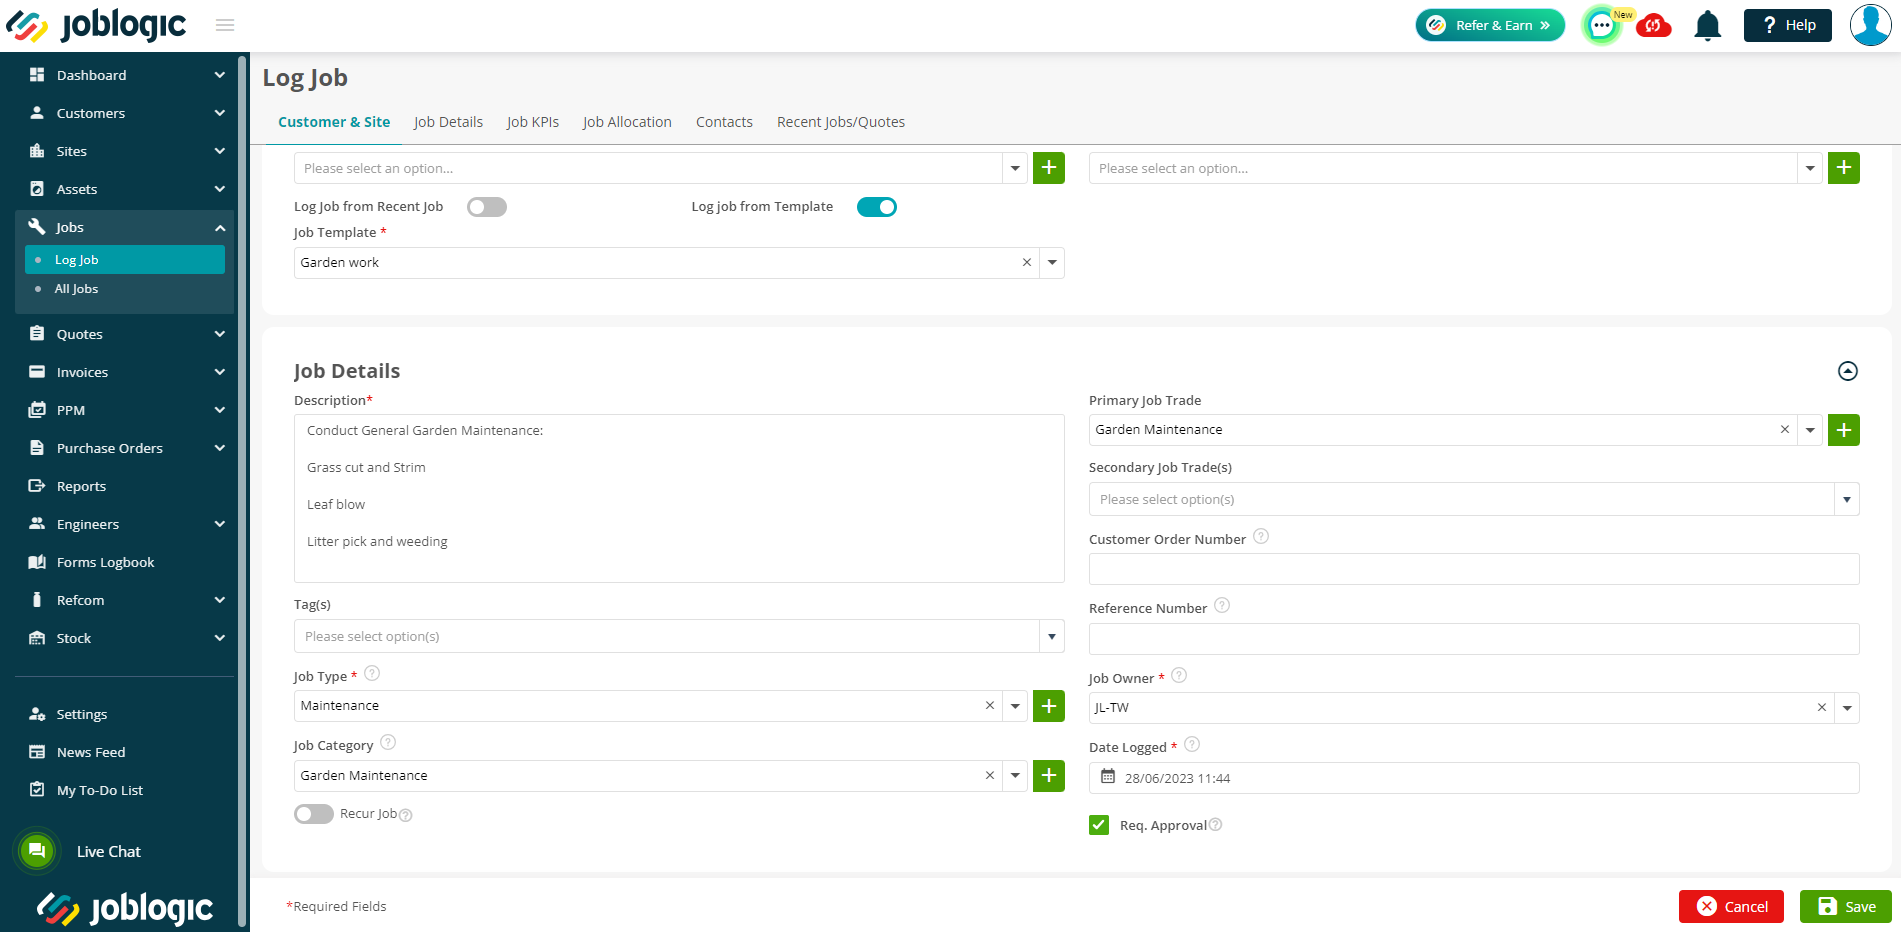
The remaining job specific details for the work can then be filled in, details populated from the log job template can be adjusted, if required and the job can be logged/saved.
For further information on logging a job in general within Joblogic see here.
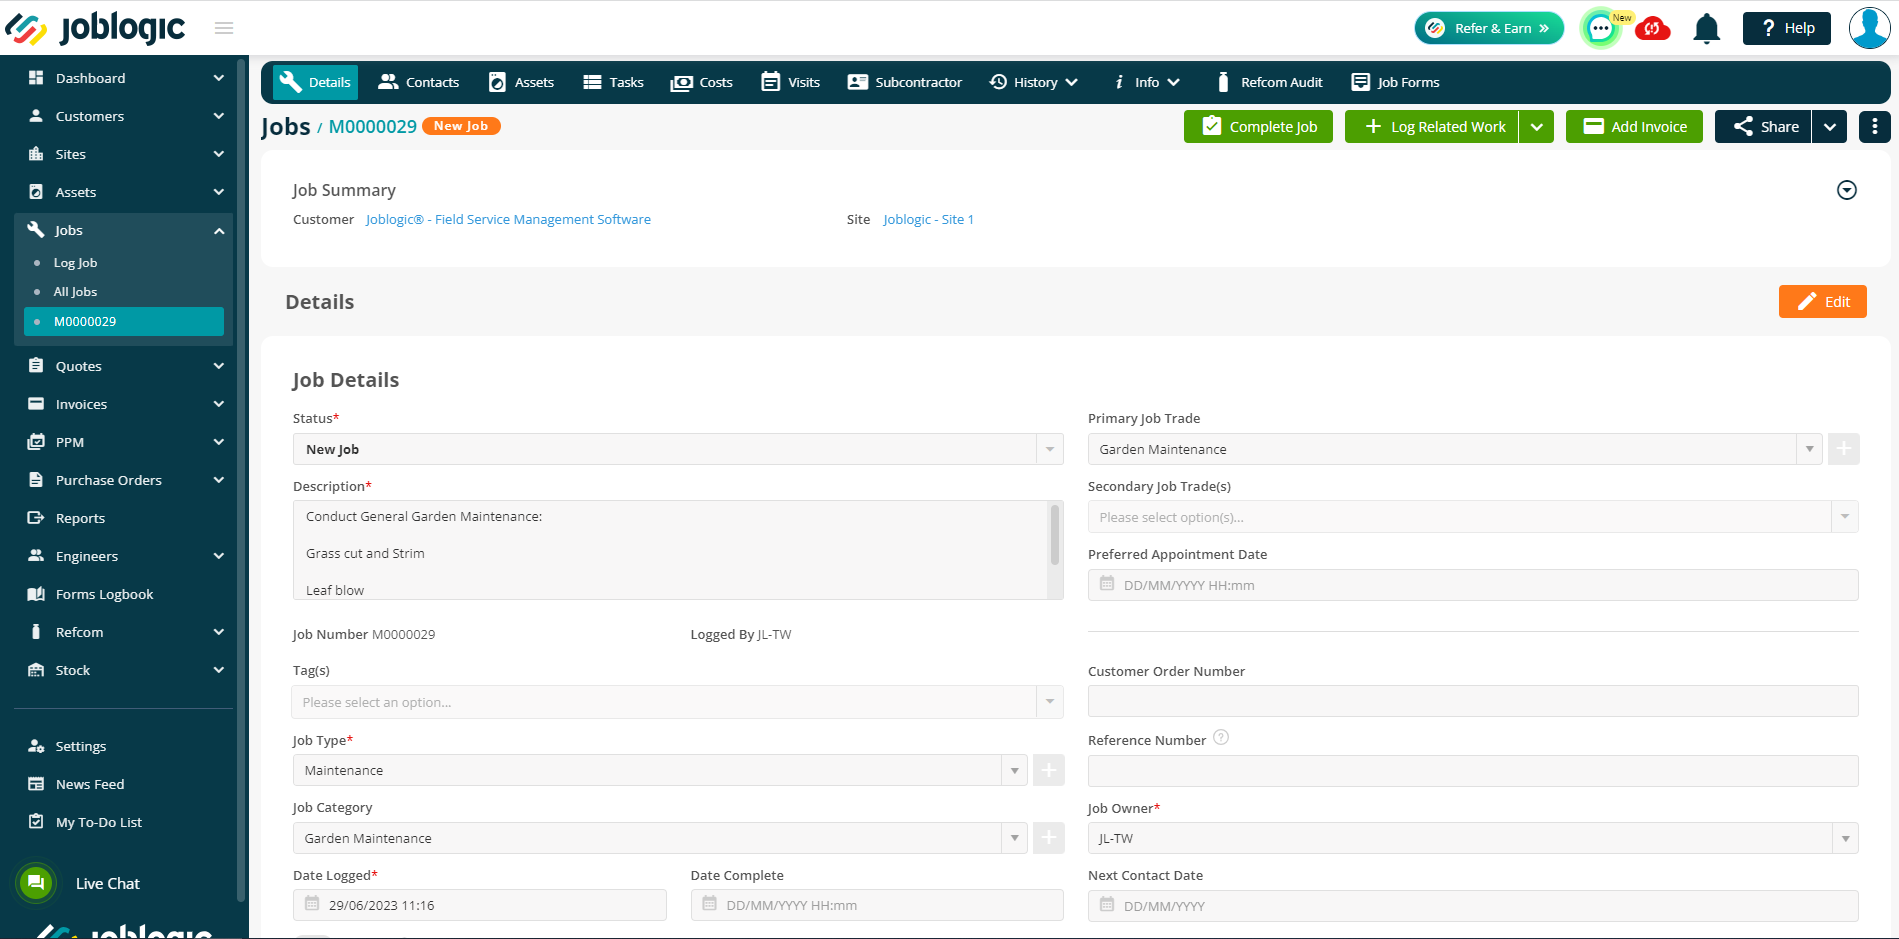
Once the job has been saved, the details set on the log job page via the template (unless manually amended via the log job page) and the costs, tasks and electronic forms set for that template will all populate in the applicable areas of the generated job.
Log job page details = Job Details
Costs = Job Costs tab
(The log job template selling rate will override any other default selling rates set such as those for the job’s site under site details > configuration > selling rate).
Tasks = Job Tasks tab
Job forms = Job forms tab

Editing and deleting an existing log job template
In order to edit an existing log job template’s general details, navigate to the template’s settings via settings > library > job templates.


All previously created templates will be listed.
Select the template that is required to be amended by selecting it’s title.
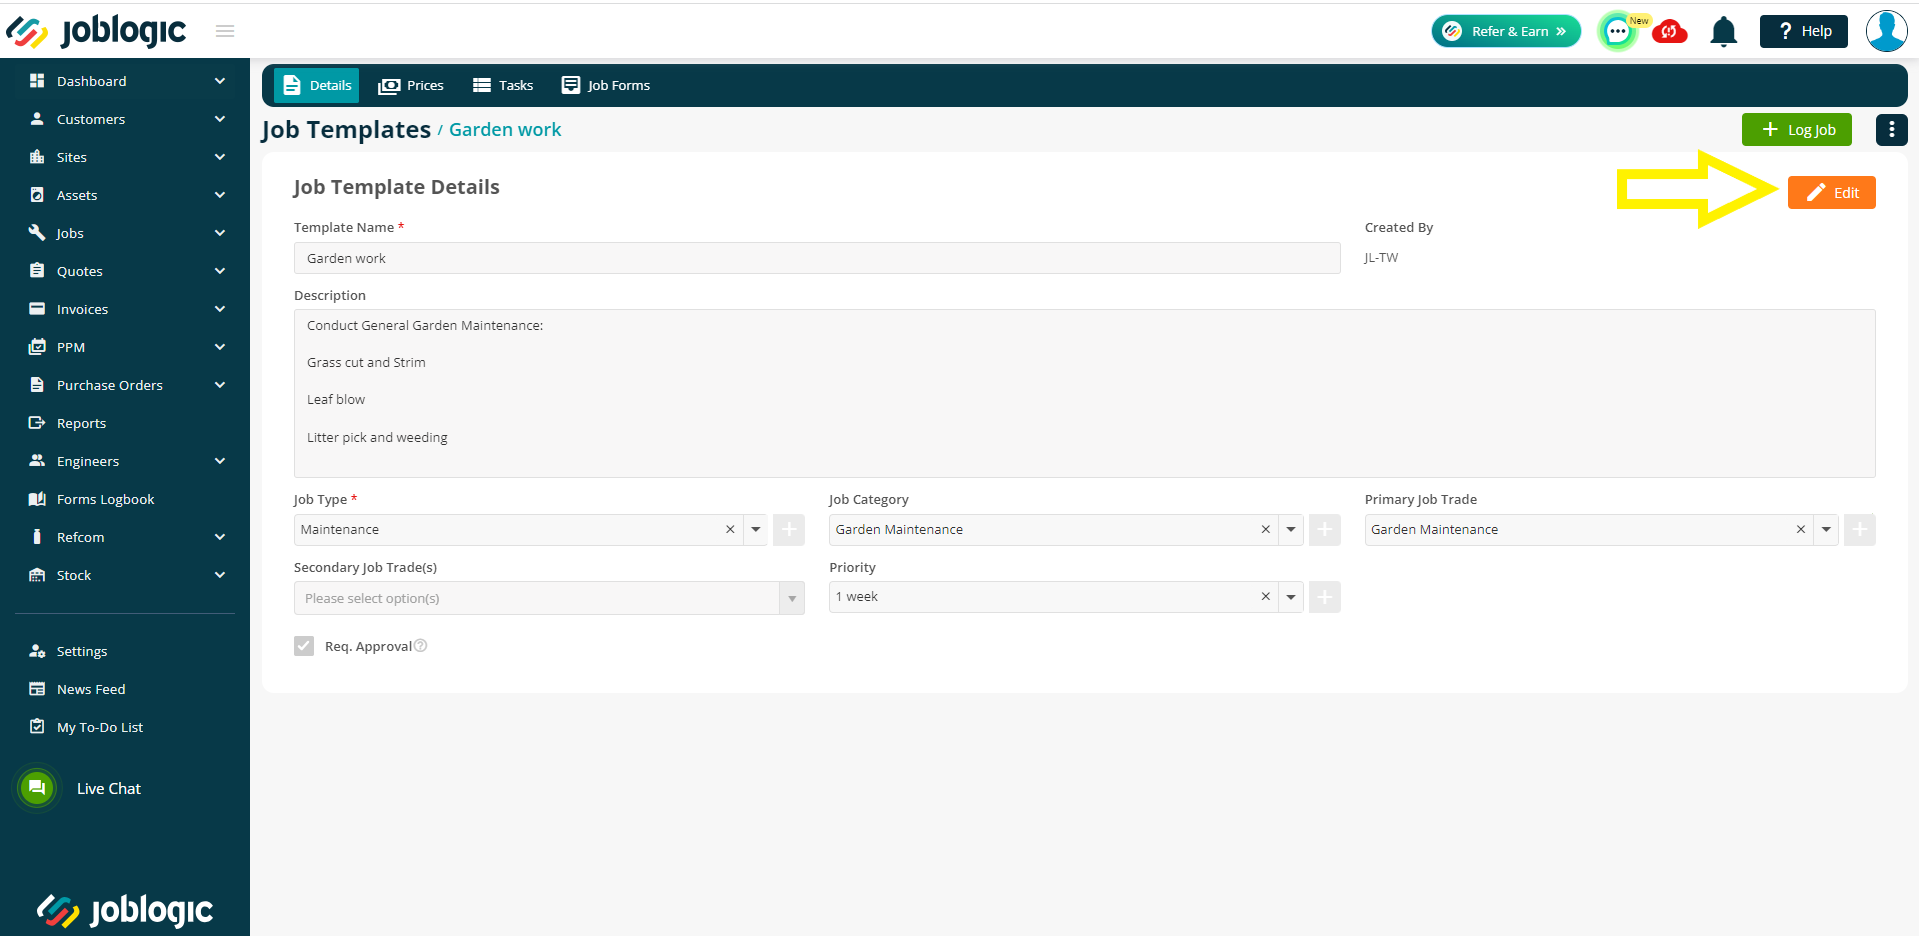
In order to edit the templates general details, select the ‘Edit’ button and amend the details on the page as applicable.

Once the required changes have been made, select the ‘save’ option for changes to the template to take effect.
Changes to the costs, tasks or job forms areas can be conducted by selecting the applicable tabs across the top of the job template’s details page and making changes as required within each section.
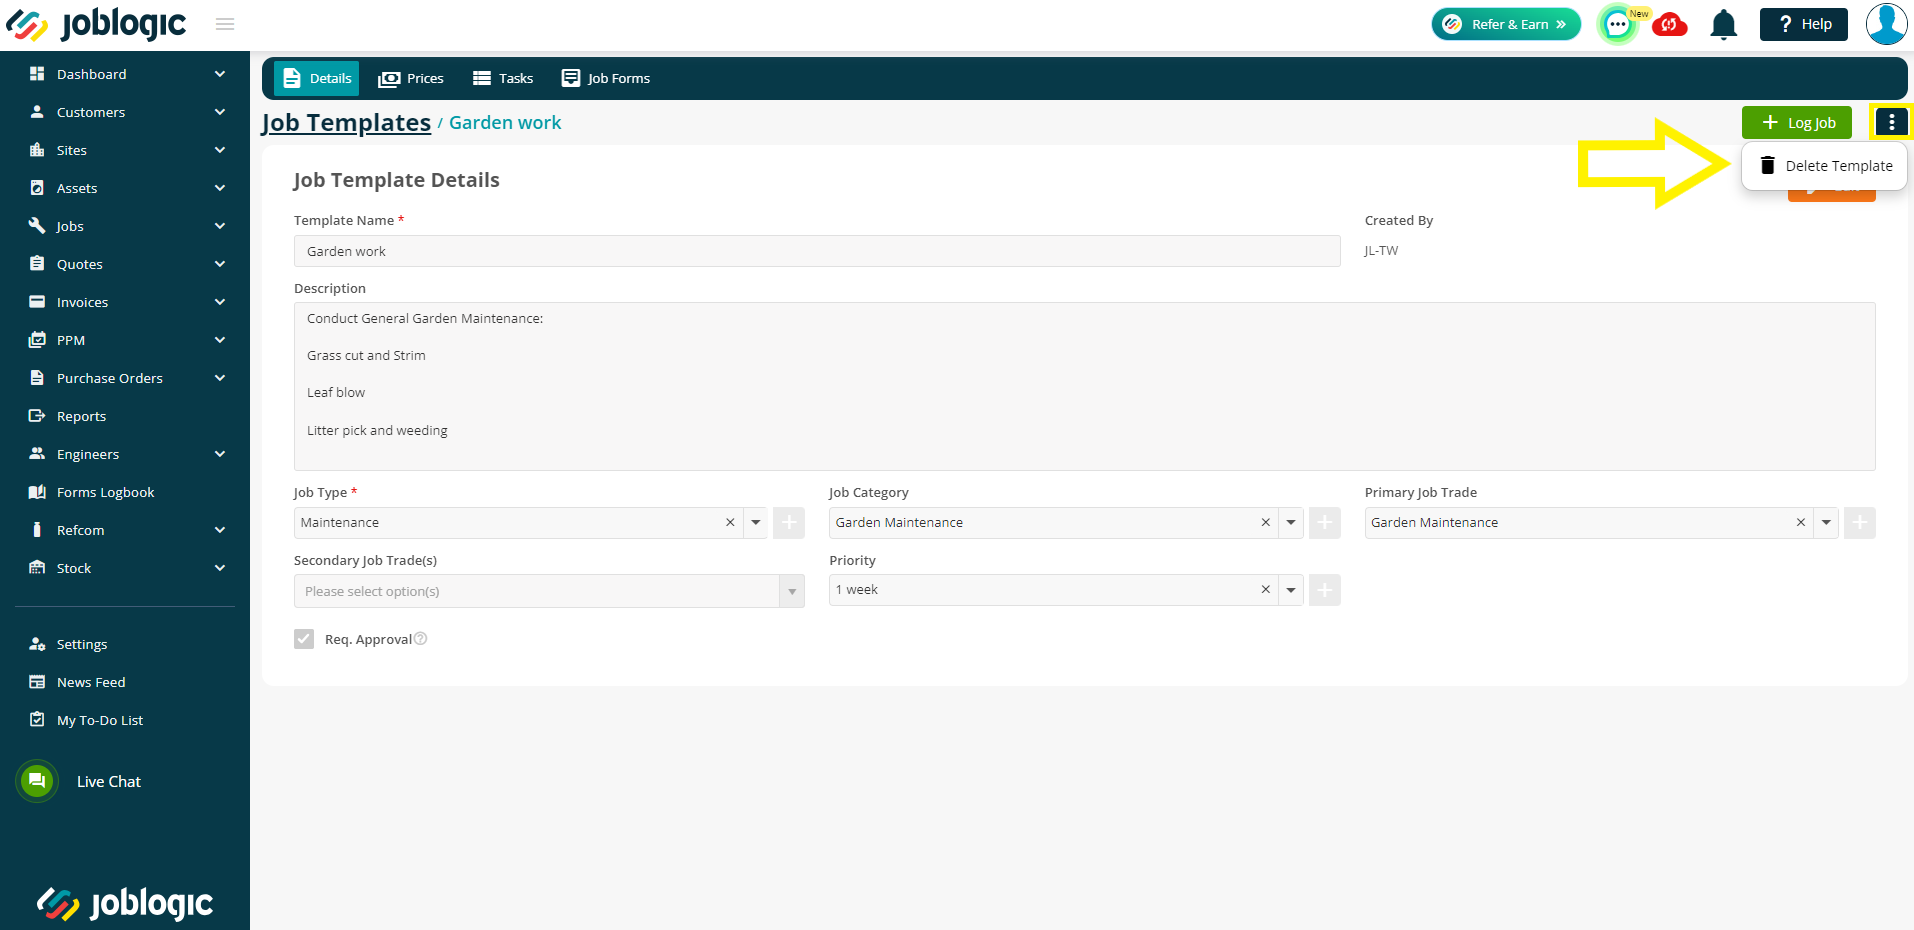
In order to delete a log job template entirely from your Joblogic account, select the ellipsis (3 dots) icon towards the top right corner of the page once within the template’s settings area and select ‘Delete Template’.
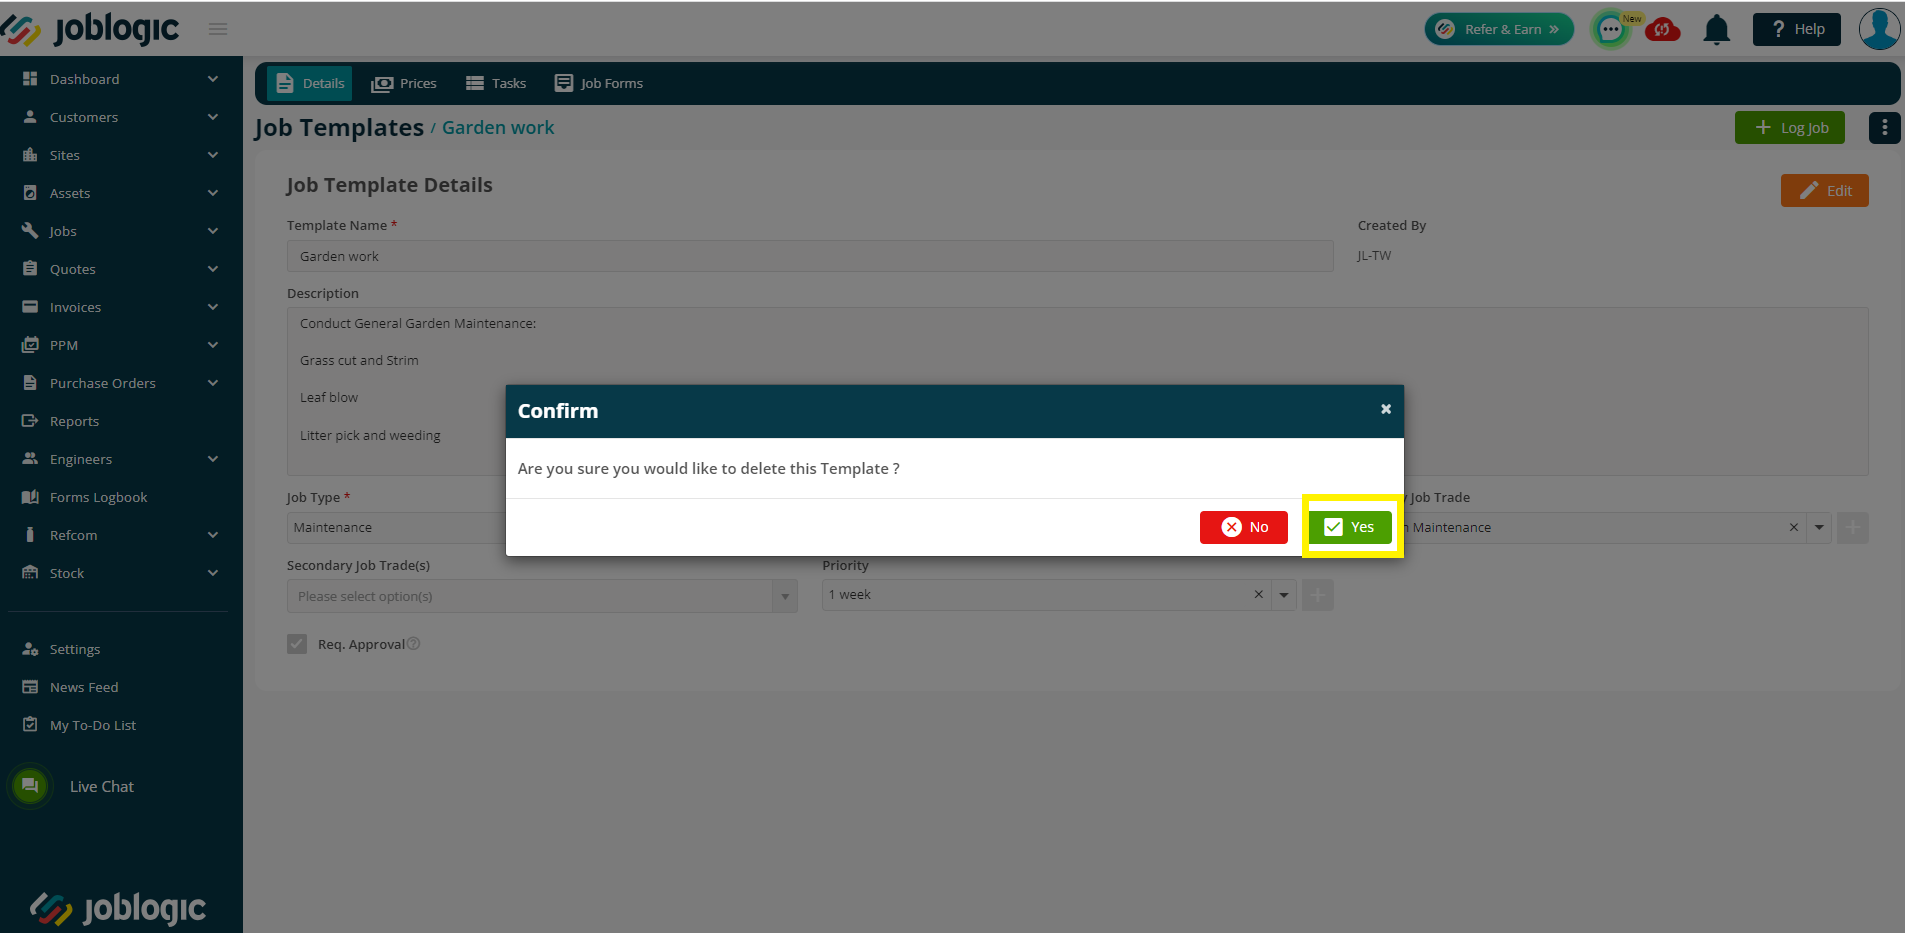
Select ‘Yes’ to the confirmation pop up window and the log job template will be removed from your Joblogic system.
Further Support
For further information or assistance with the above, contact our Support Team on 0800 326 5561 or email support@joblogic.com. Alternatively, our Customer Success Management team can be reached by emailing customersuccess@joblogic.com
## Publishing Details
This document was written and produced by Joblogic’s Technical Writing team and was last updated on the date specified above. Be aware that the information provided may be subject to change following further updates on the matter becoming available or new releases within the system. Additionally, details within the guide may vary depending on your Joblogic account’s user permissions and settings or the electronic device being used.