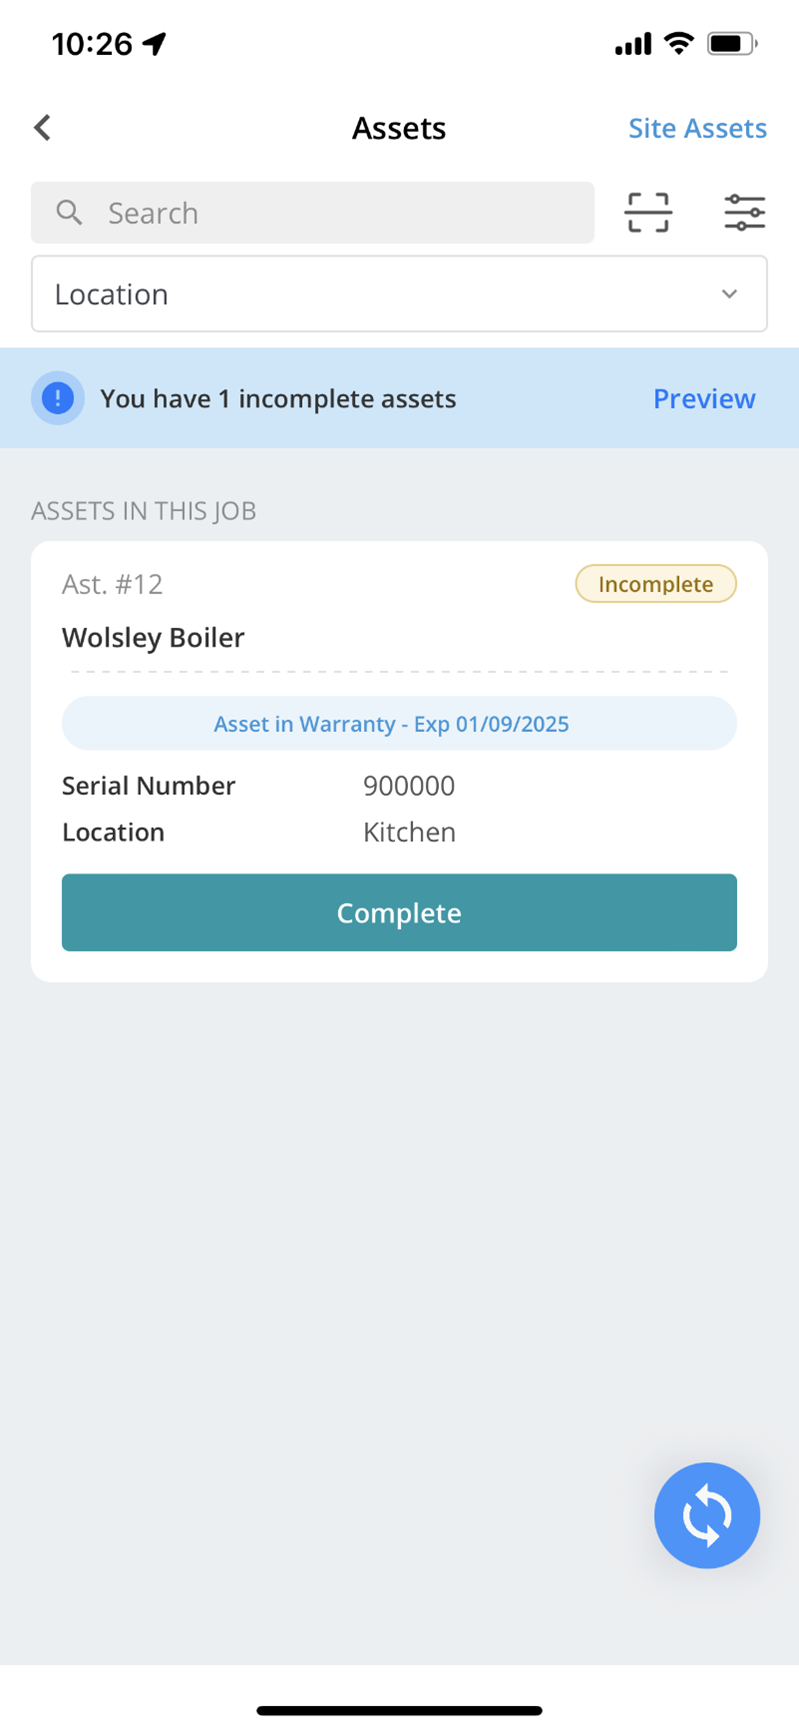
The Assets screen allows you to view all the assets for your job.
This gives you the asset name, if the Asset is in warranty, serial number, and Location.
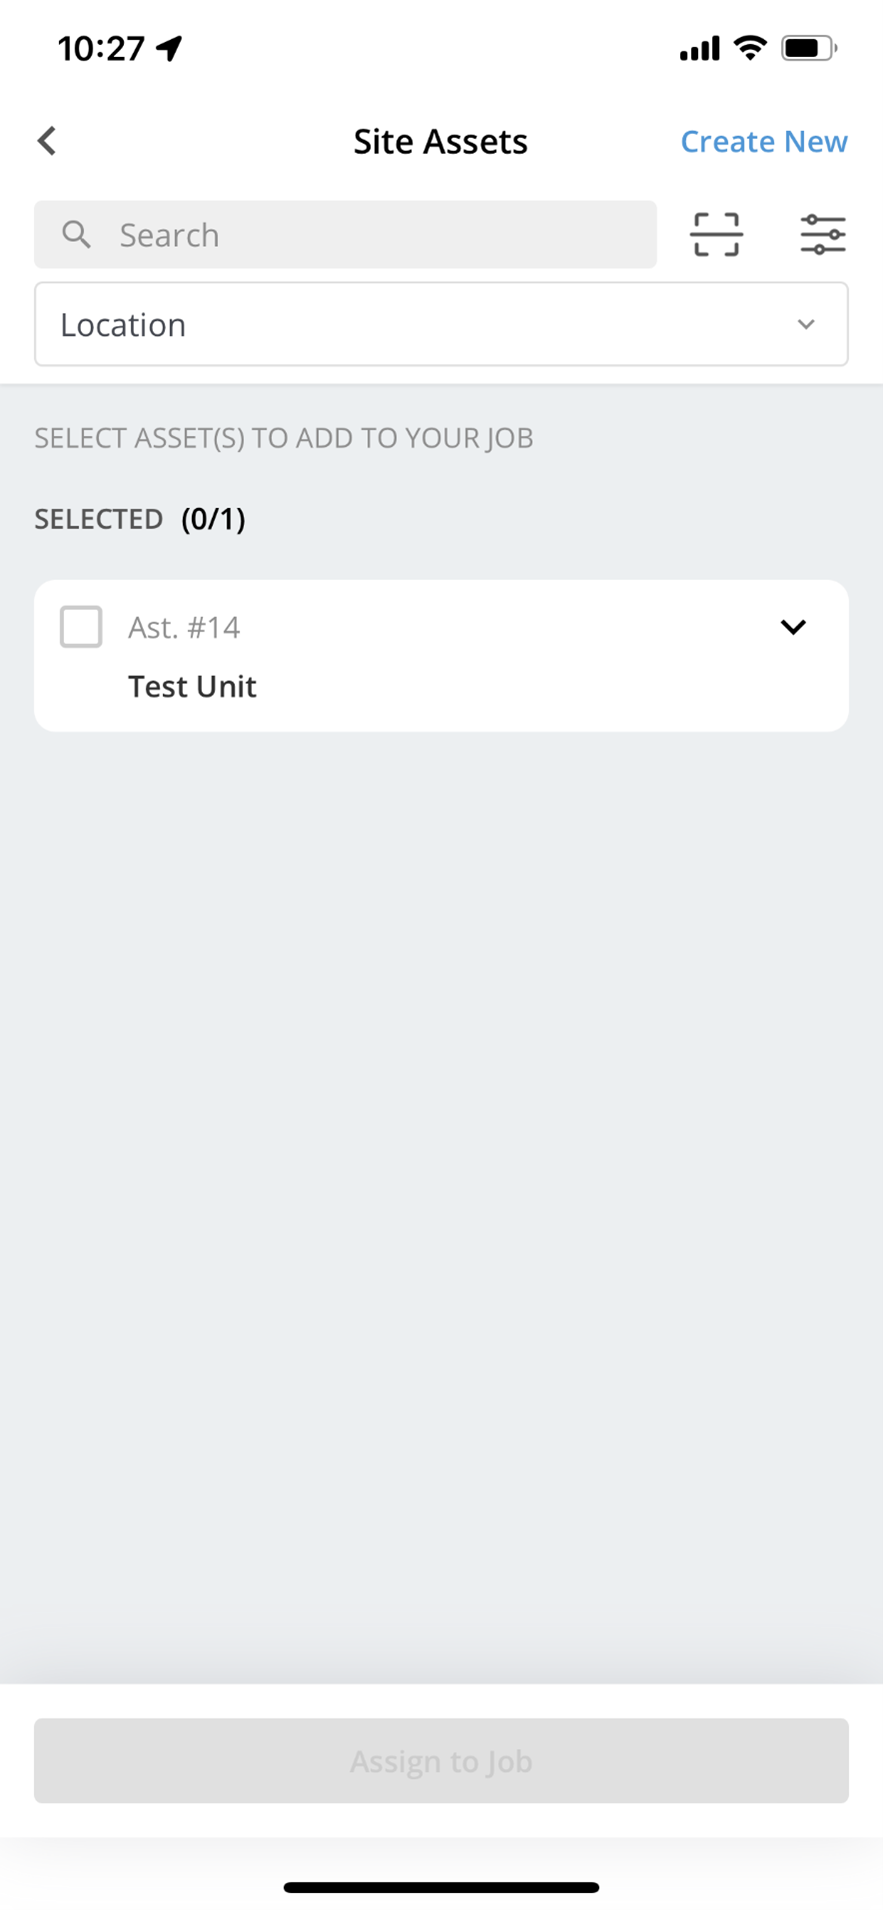
To view assets assigned to the site, but not the job, you will need to open Site Assets from the Assets screen.
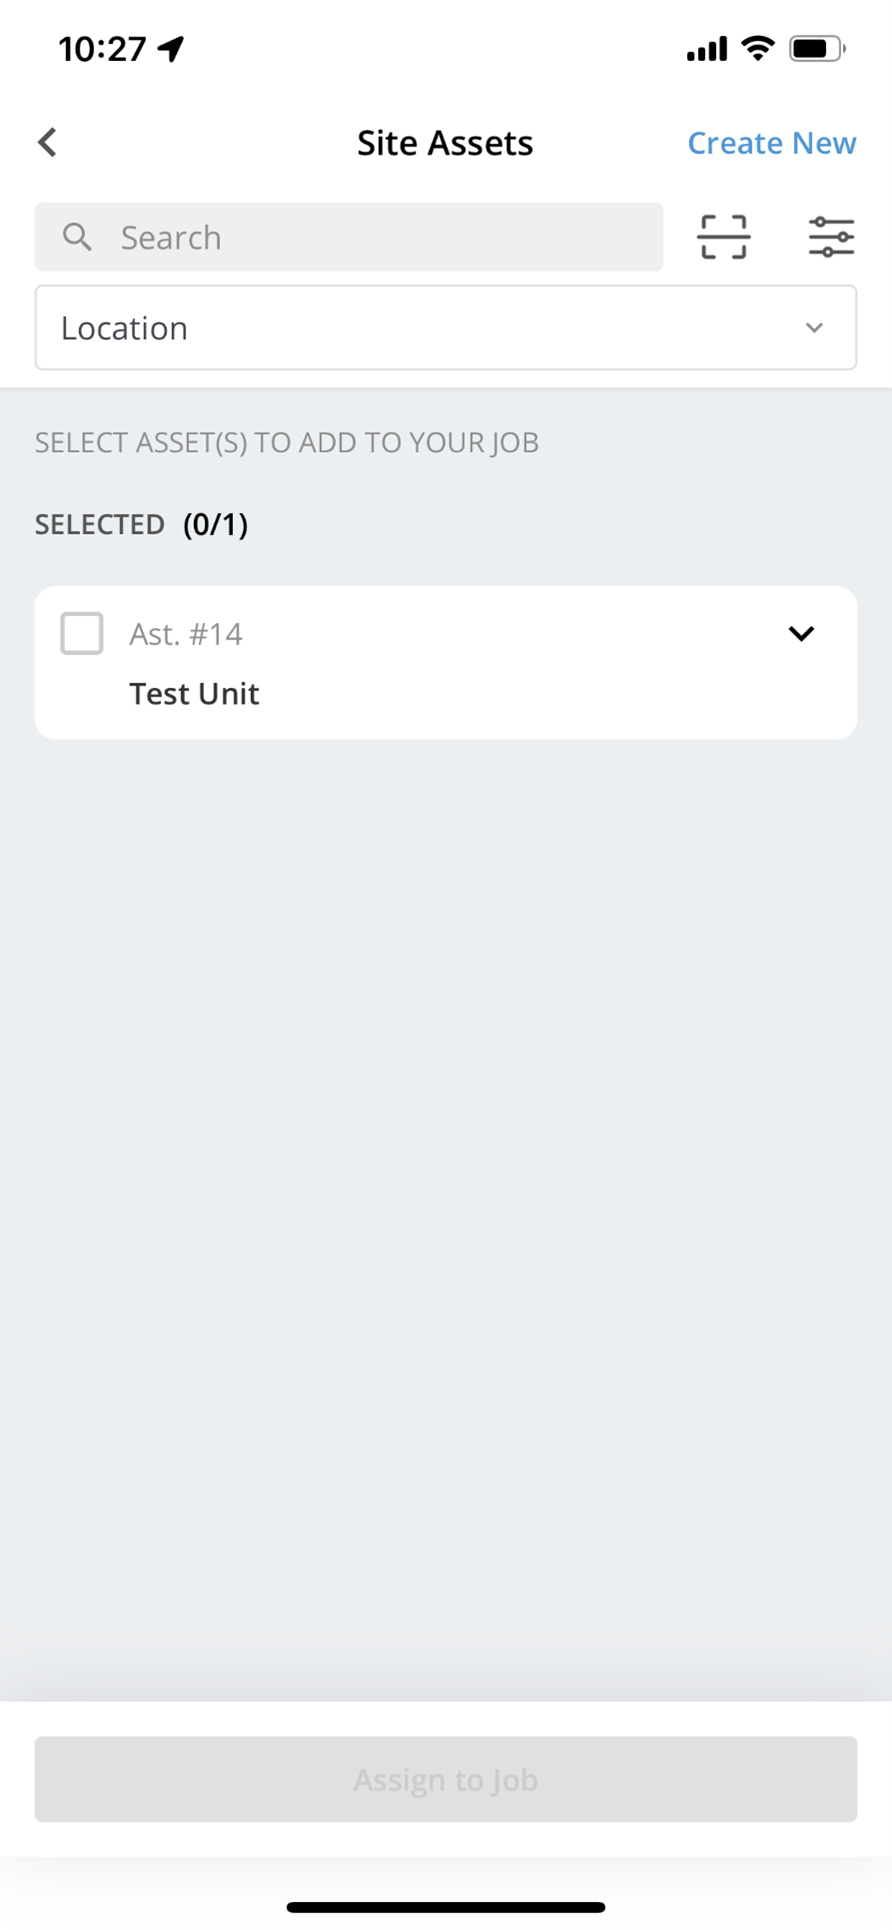
You can add a new asset to your job from the Site Asset list, as well as creating a brand-new asset on the site record (with the correct permissions set by the office).
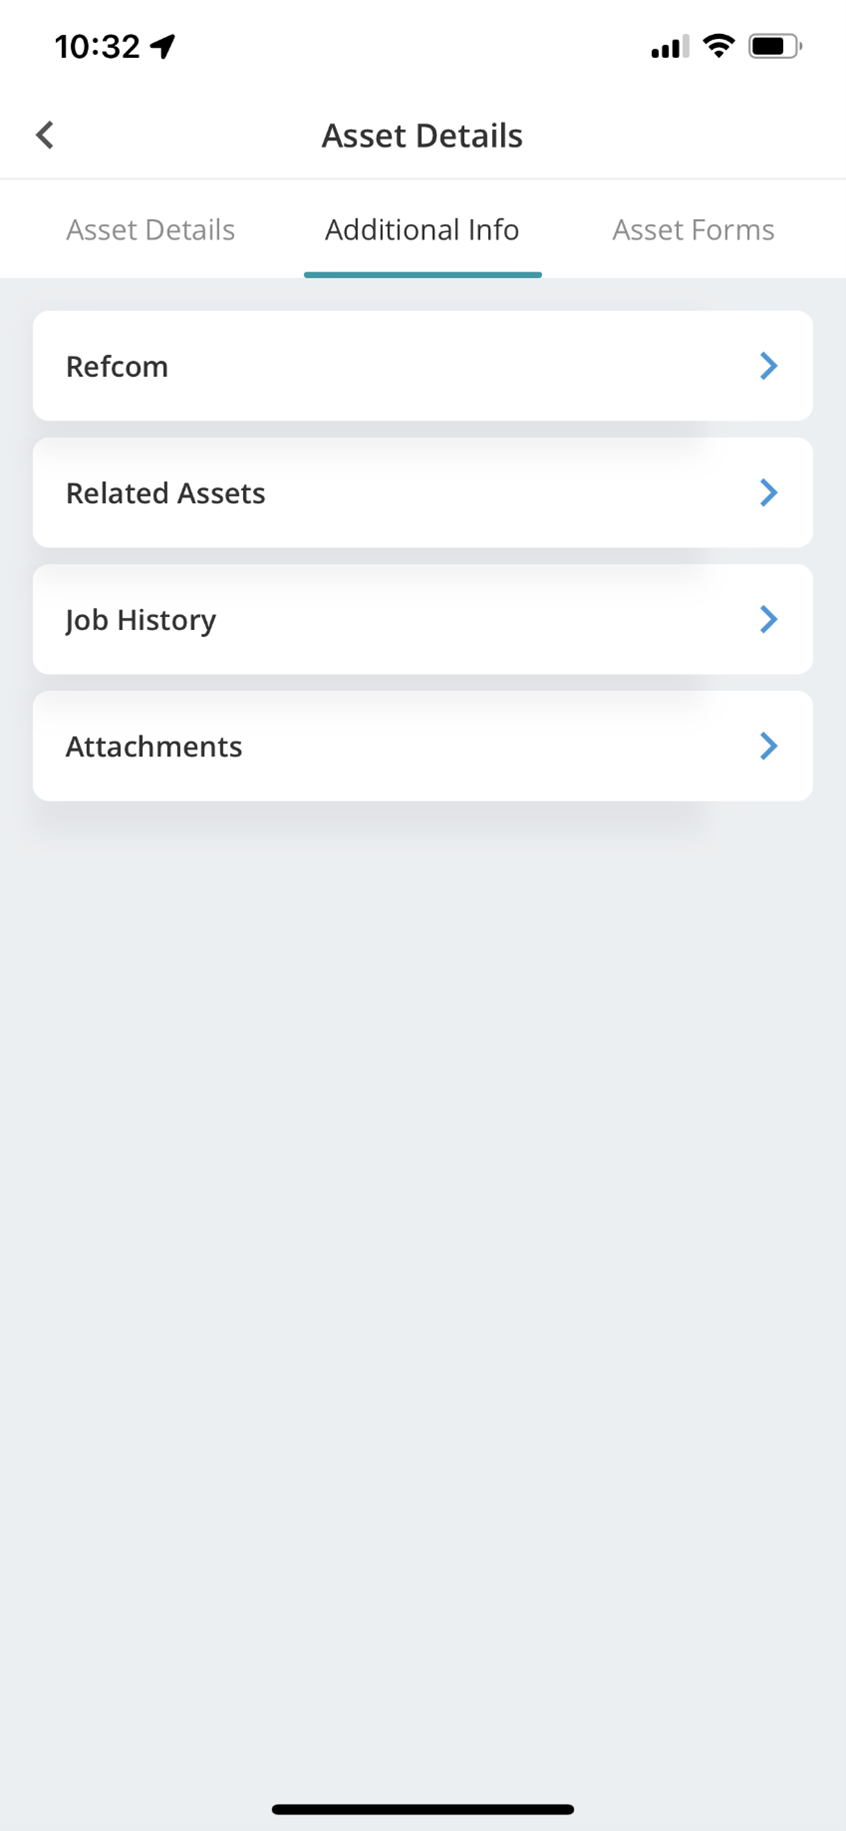
Click on any asset to access full detailed information and to ‘complete’ the work carried out on it. This will time and date stamp it for your records. Once in an asset’s details, you will see additional information, which has various options from Refcom (see Refcom mobile guide), related assets, asset job history and any asset attachments (photographs, documentation etc added by your back office).
You will also see an Asset Forms option which will take you to the relevant mobile electronic forms to be completed against the asset.
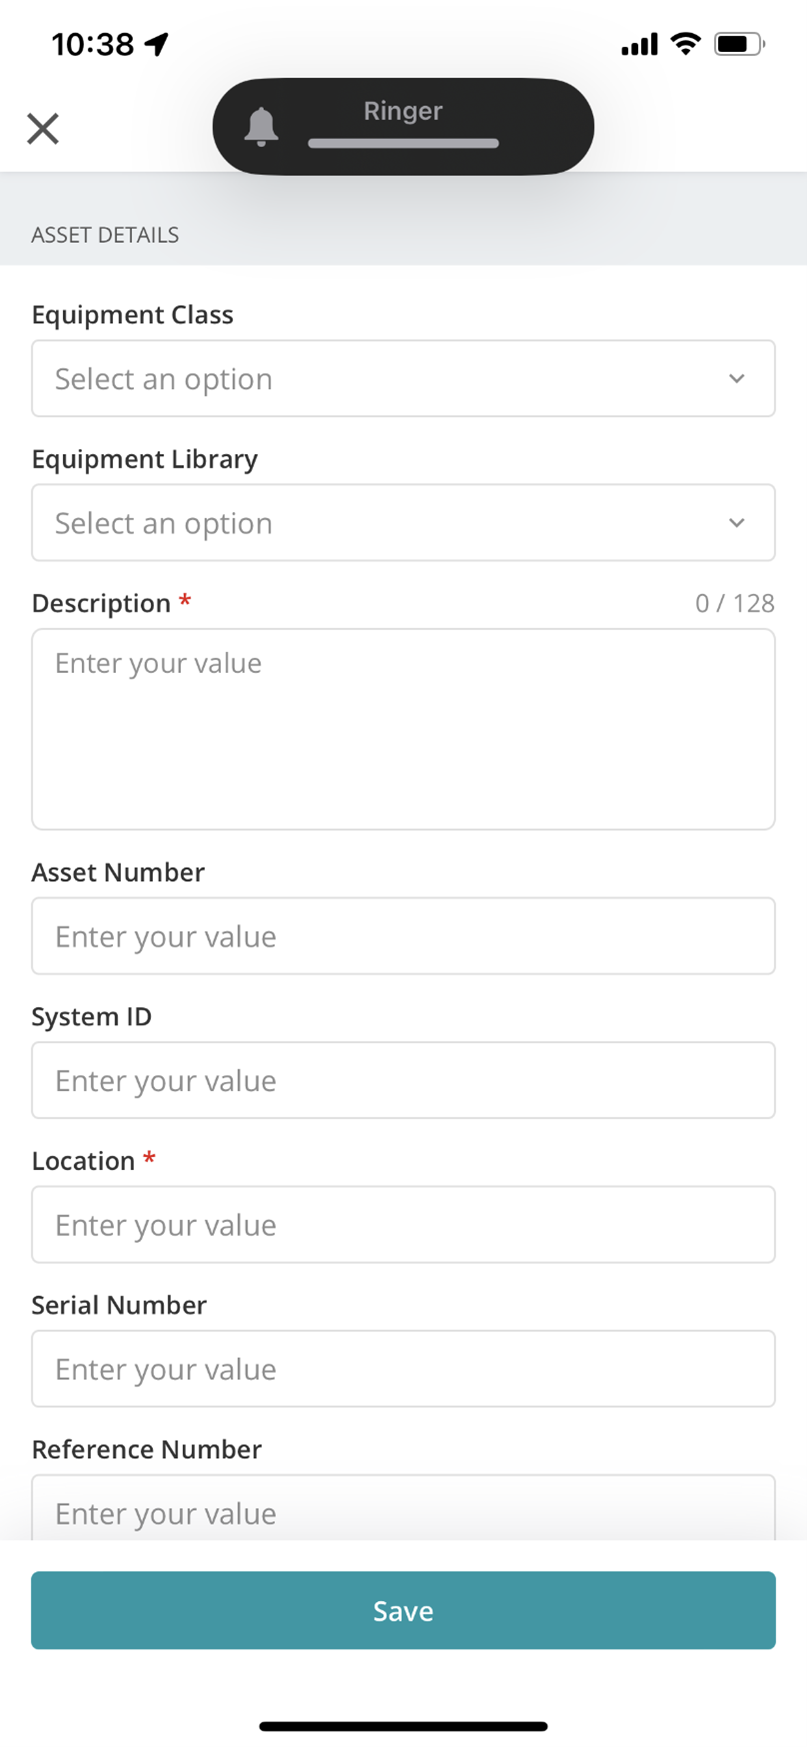
To create a new asset, in the Site List use the Create New option and you will be able to add the new asset against the Site, including refrigerant (if needed) and QR code (if needed).
Further Support
For further information or assistance with the above, contact our Support Team on 0800 326 5561 or email support@joblogic.com. Alternatively, our Customer Success Management team can be reached by emailing customersuccess@joblogic.com
Publishing Details
This document was written and produced by Joblogic’s Technical Writing team and was last updated on the date specified above. Be aware that the information provided may be subject to change following further updates on the matter becoming available or new releases within the system. Additionally, details within the guide may vary depending on your Joblogic account’s user permissions and settings or the electronic device being used.