Introduction and the Purpose of Phrasebooks
Joblogic provides a ‘Phrasebooks’ feature which allows our users to prerecord and setup commonly used text phrases to then be selected and populated within the notes areas of the system. This great new function is primarily intended as a time saving and efficiency tool, reducing the need to manually type out or copy and paste the same notes for different items within the system.
Phrasebooks and User Permissions
There are some user permissions which must be enabled in order to allow a Joblogic user to utilise Phrasebooks. However, these may already be activated by default depending on the user role set up for the individual user.
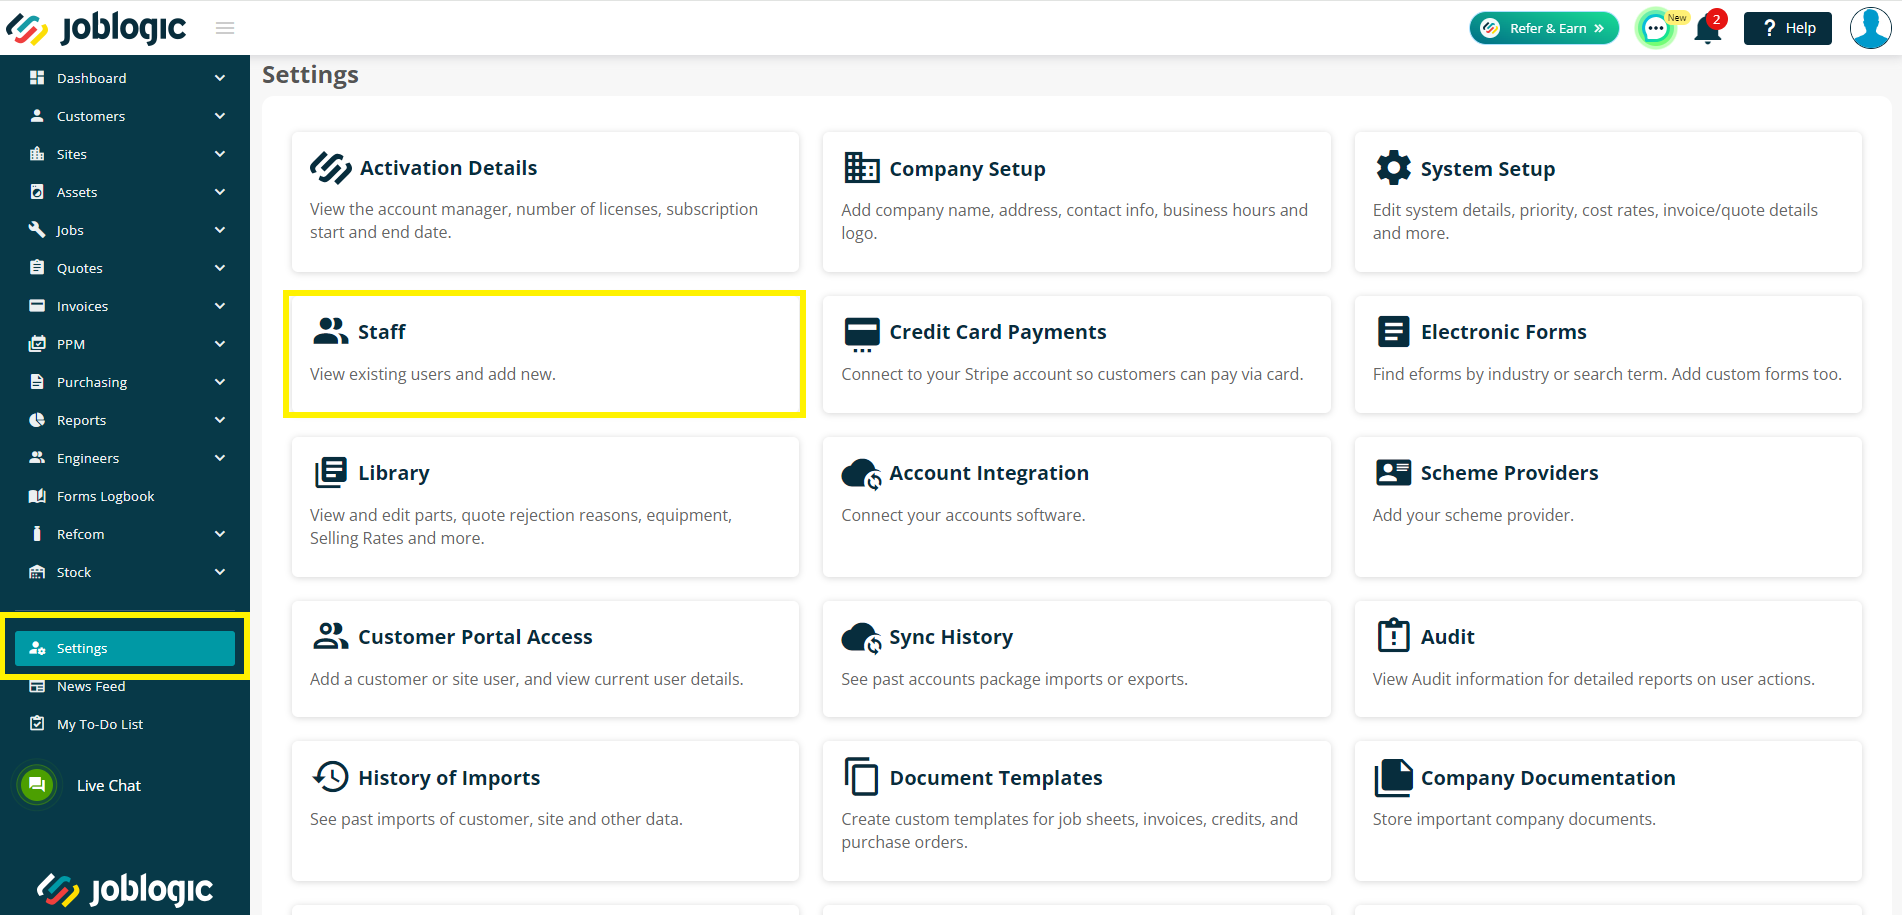
To check, enable or disable Phrasebook user permissions, access the settings area down the left side navigation menu and select the ‘Staff’ area.
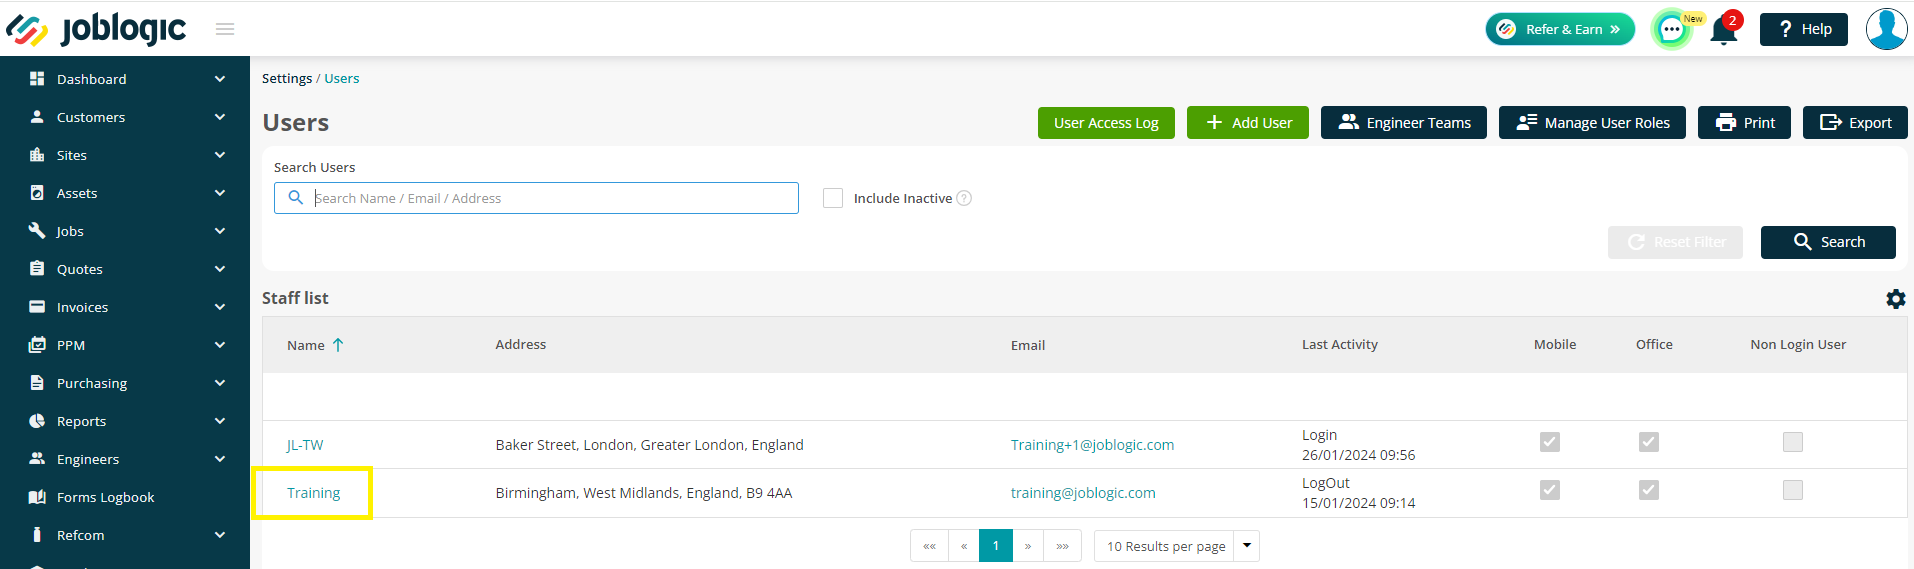
Select the user that you wish to enable Phrasebooks for.
The Phrasebook user permissions are located under the ‘Libraries’ section of the ‘User Role & Permissions’ area of the user’s details page.
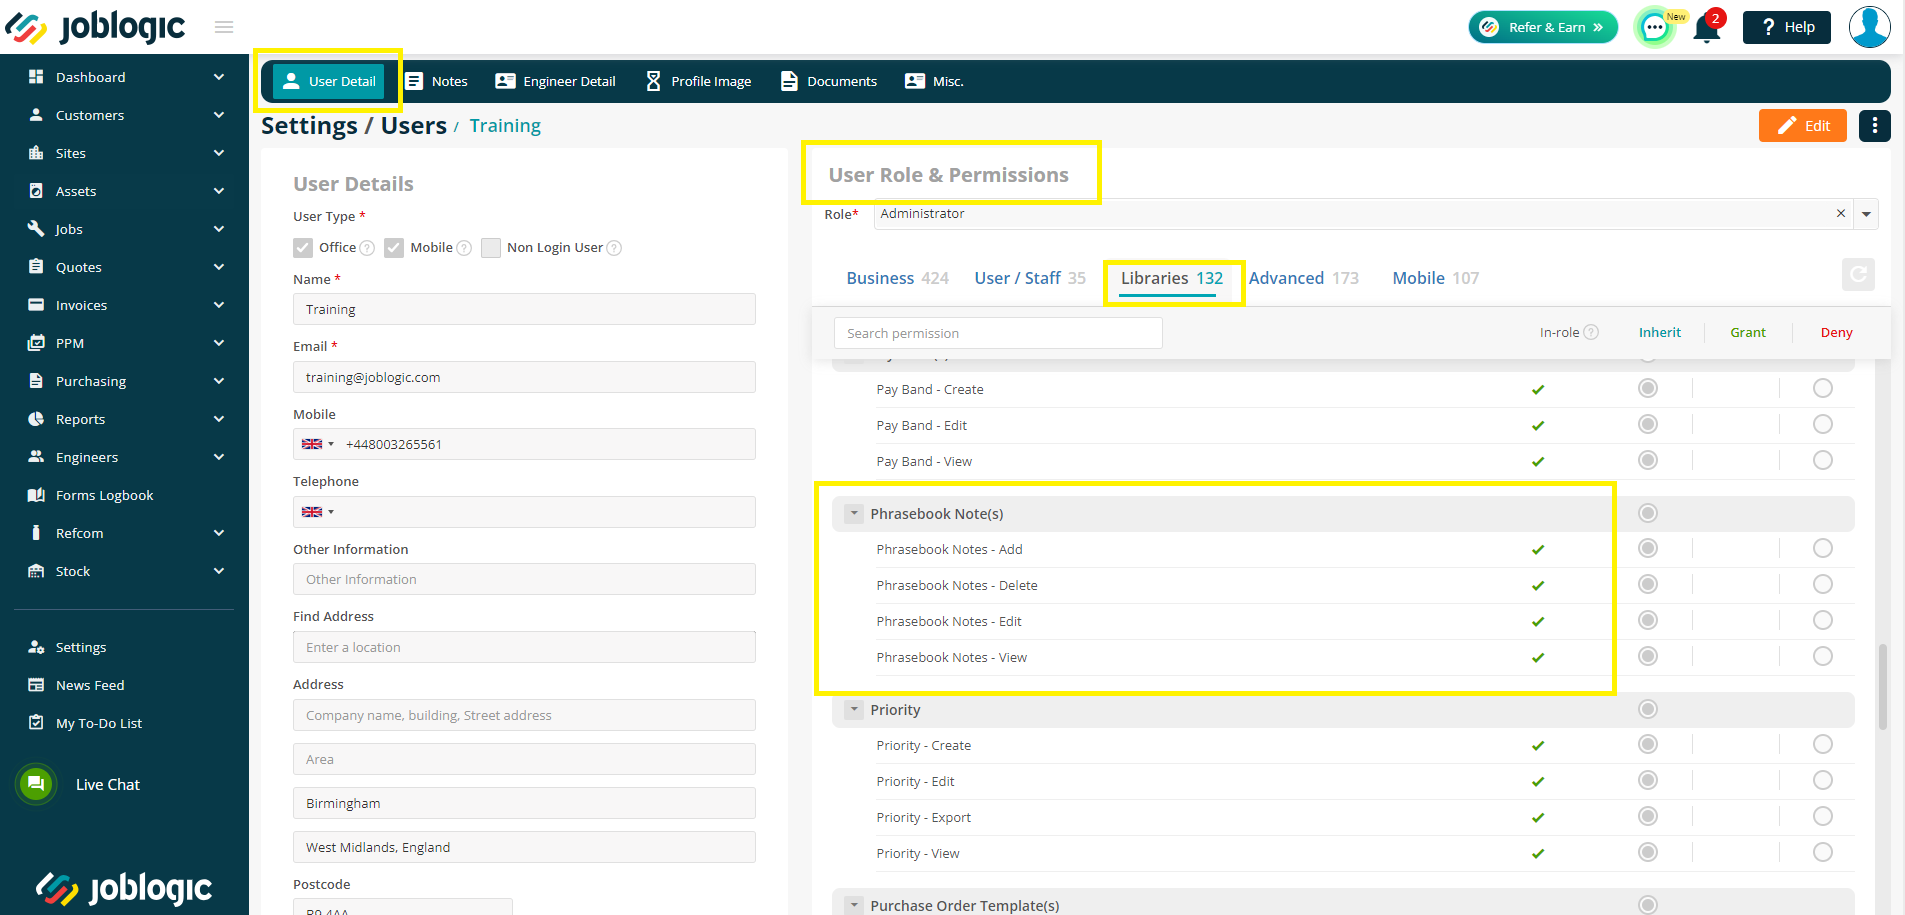
You can choose as to whether the user is able to view, add, edit and delete Phrasebook items. This is controlled via the inherit, grant and deny check boxes. The 'in role' column refers to whether the applicable permission is a typical one in the role assigned to the user.
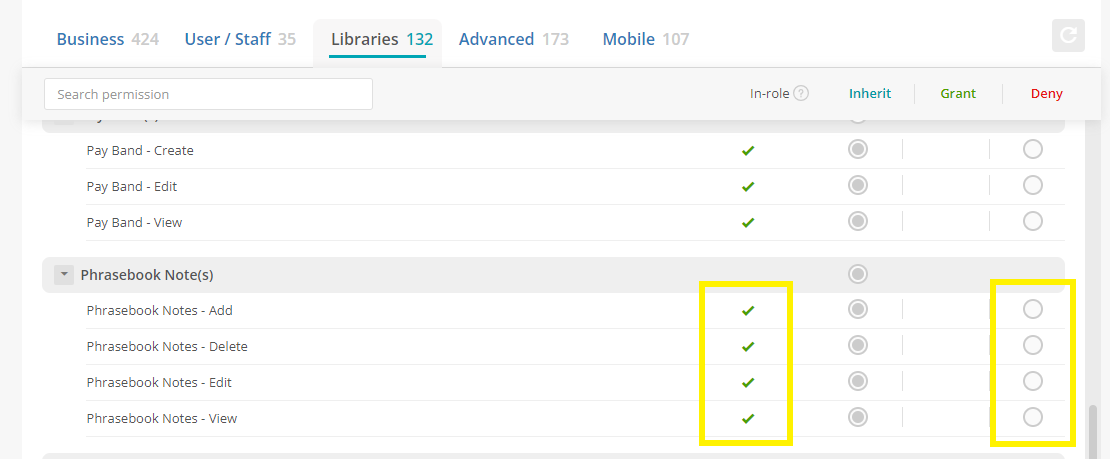
The below is an example of how it should look in order to grant the user full access to phrase books.
Setting Up Phrasebooks
In order to prerecord and setup the commonly used text phrases for your Joblogic account, access the settings area down the left side navigation menu and select the ‘Library’ area.
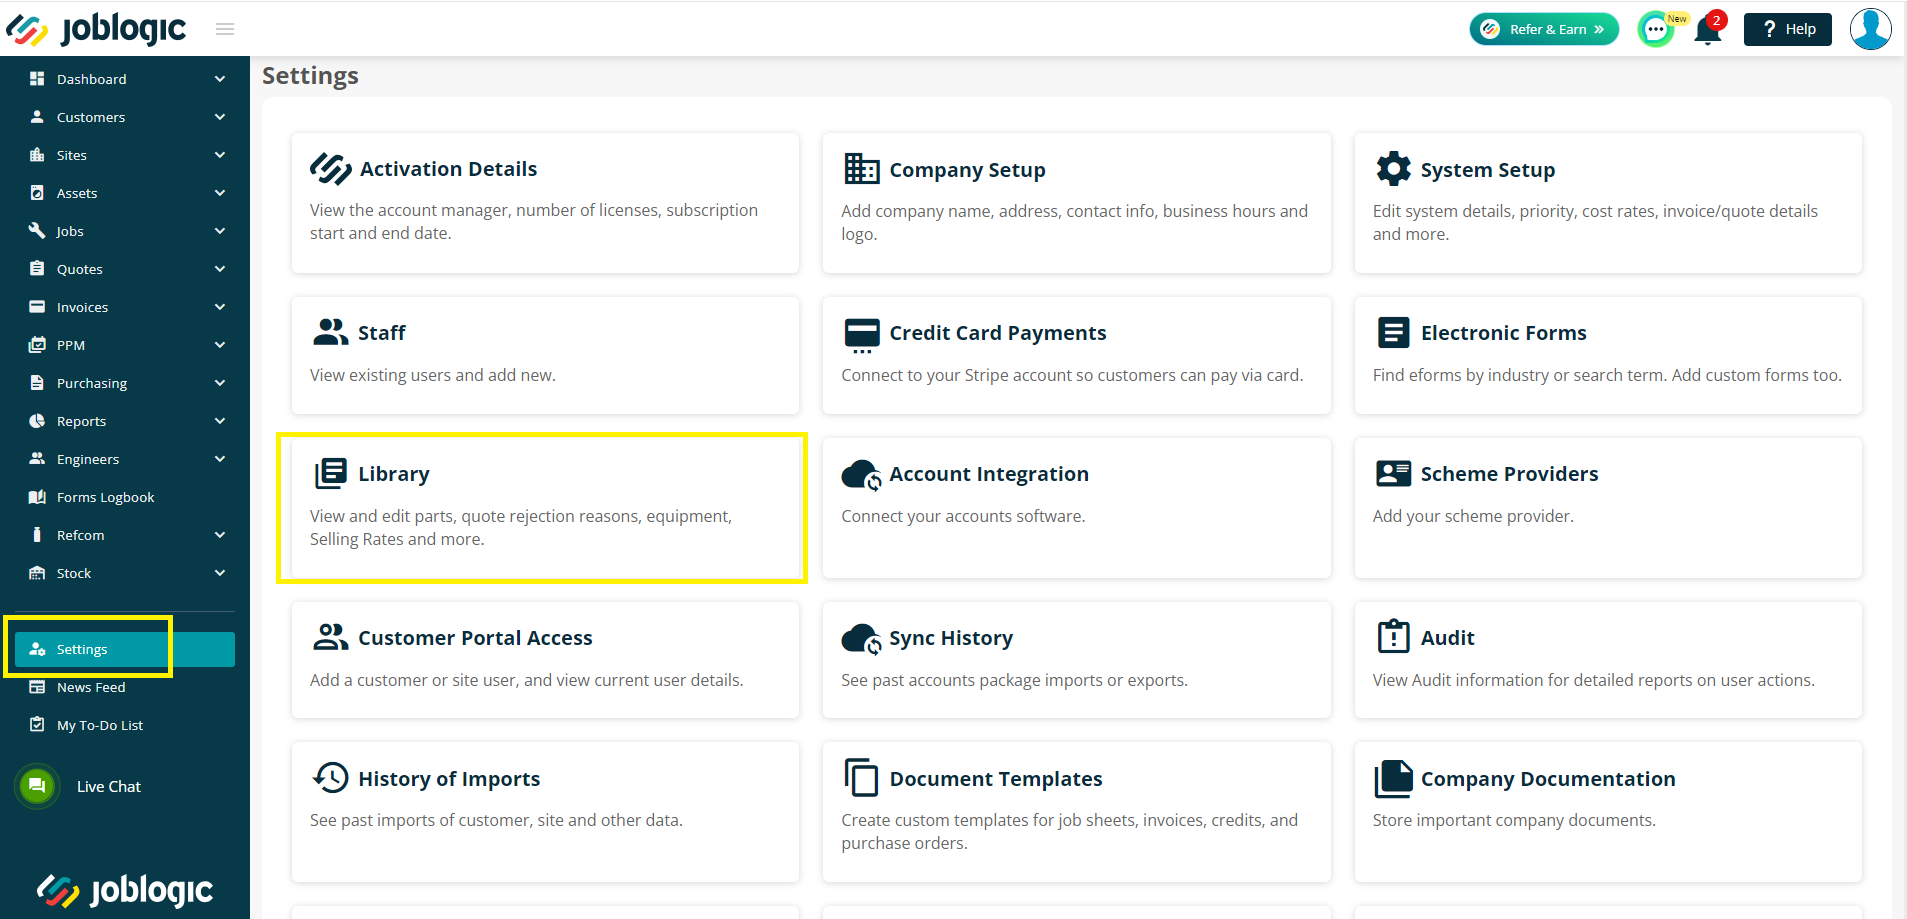
Within the library area, select the Phrasebook item card.
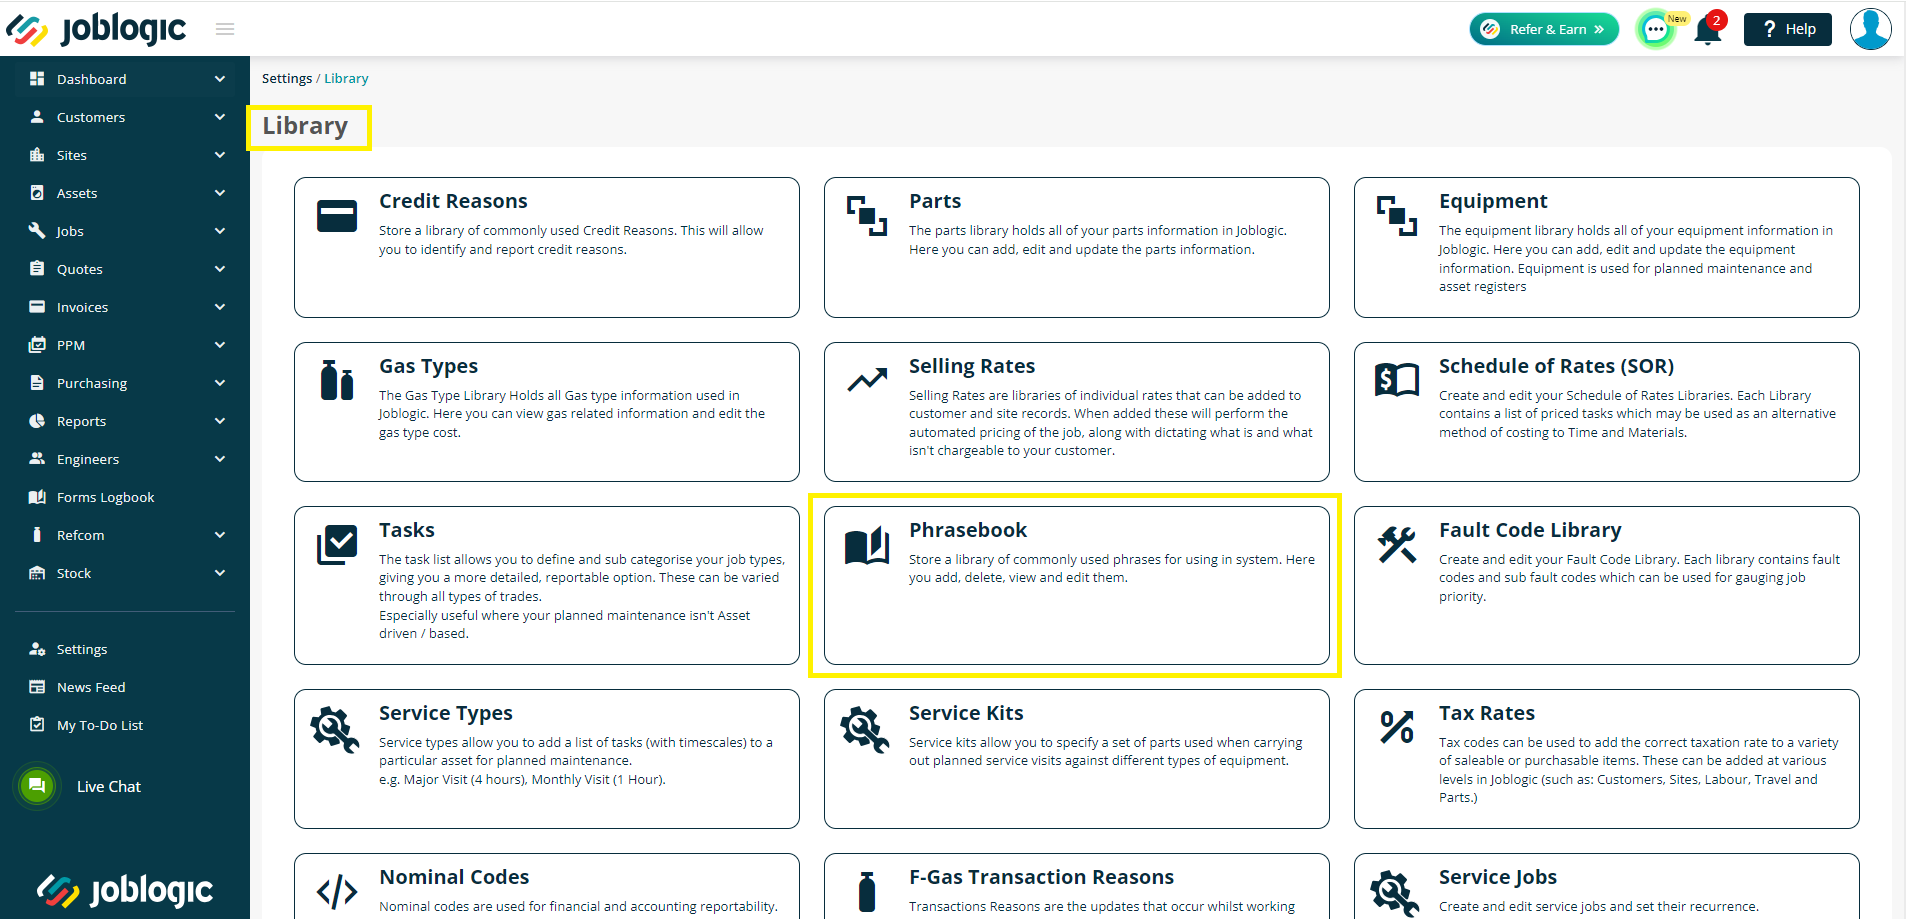
The Phrasebook library will display a list of any phrasebook entries which are set up and provide an option to add further ones via the ‘Add Phrasebook’ button. Select this option to set up a new phrasebook item.
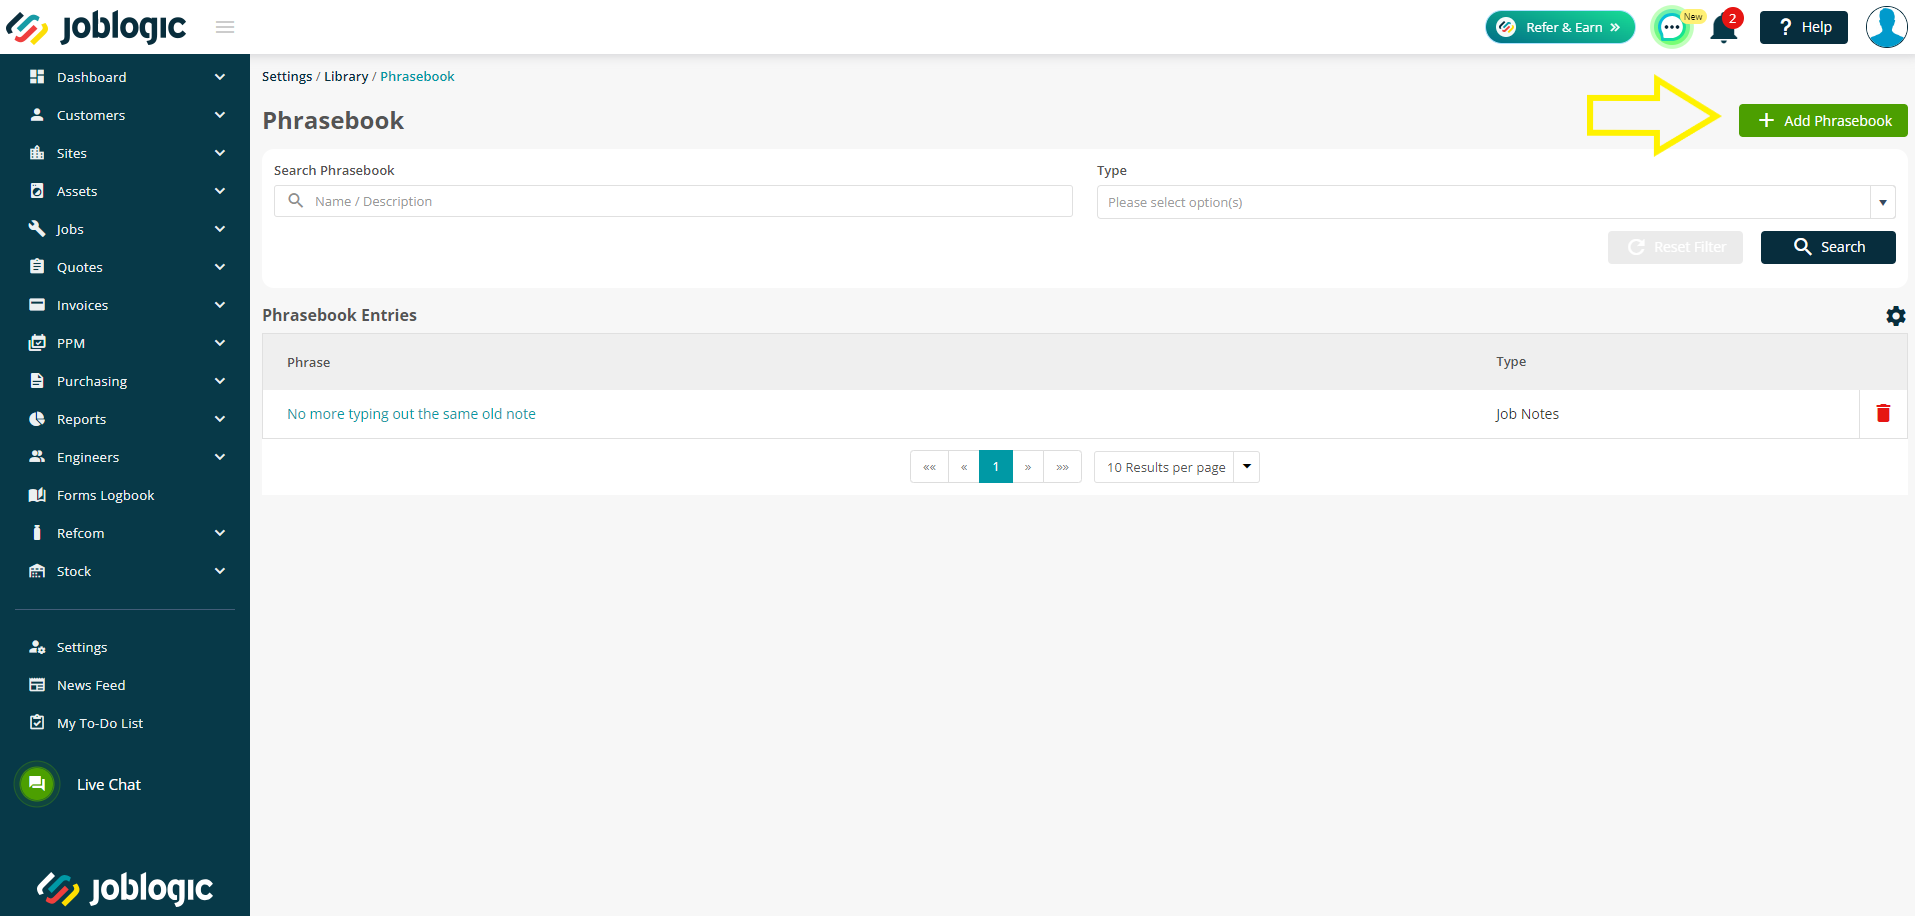
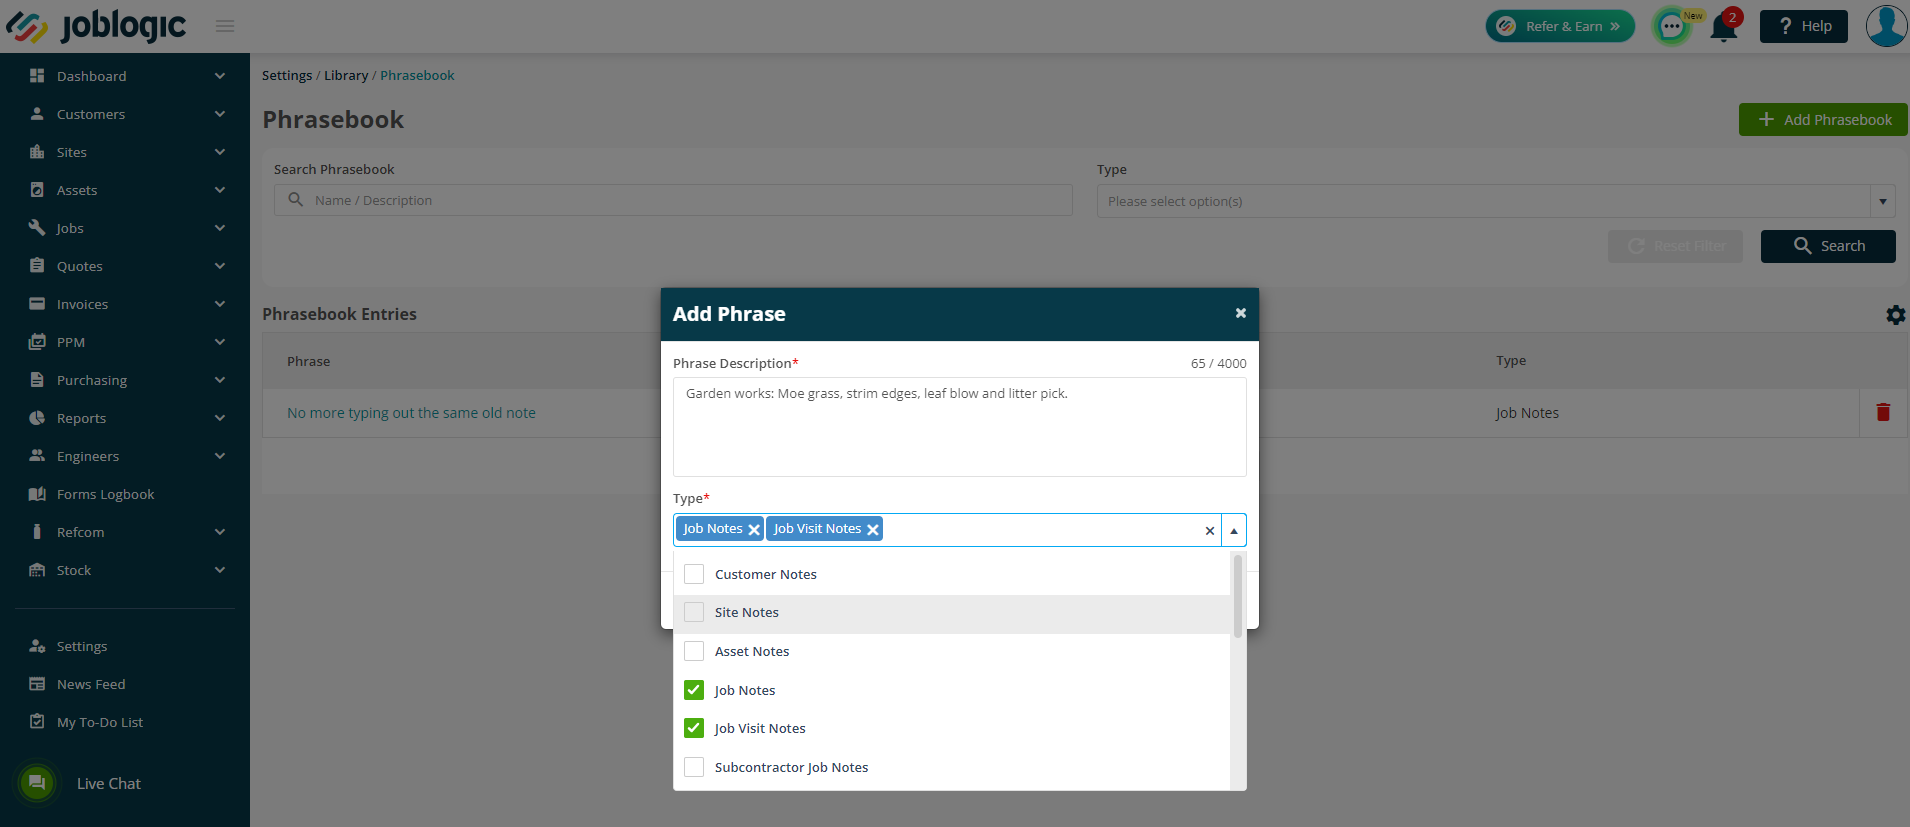
An ‘Add Phrase’ box will appear, providing options to enter a ‘Phrase Description’ and ‘Type’. The ‘Phrase Description’ refers to the commonly used text that you wish to automatically populate for the user. The ‘Type’ option refers to the type of notes within the system that you wish for this text to be an option for.
Fill these in as applicable and select the ‘Save’ option to submit the entry to your Phrasebook library.

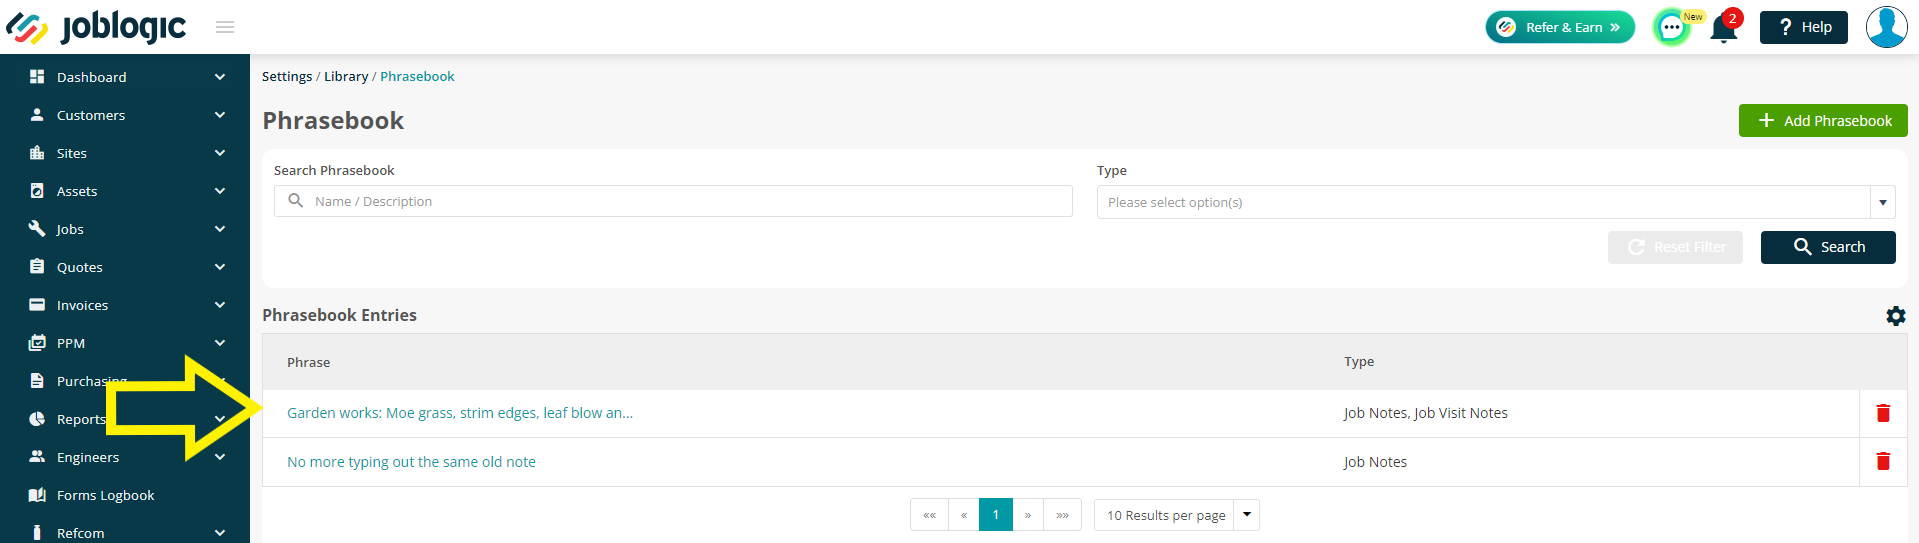
Once saved within your library, the phrase entry will then become an available option to select from against it’s assigned note type(s).
Using Phrasebook Entries
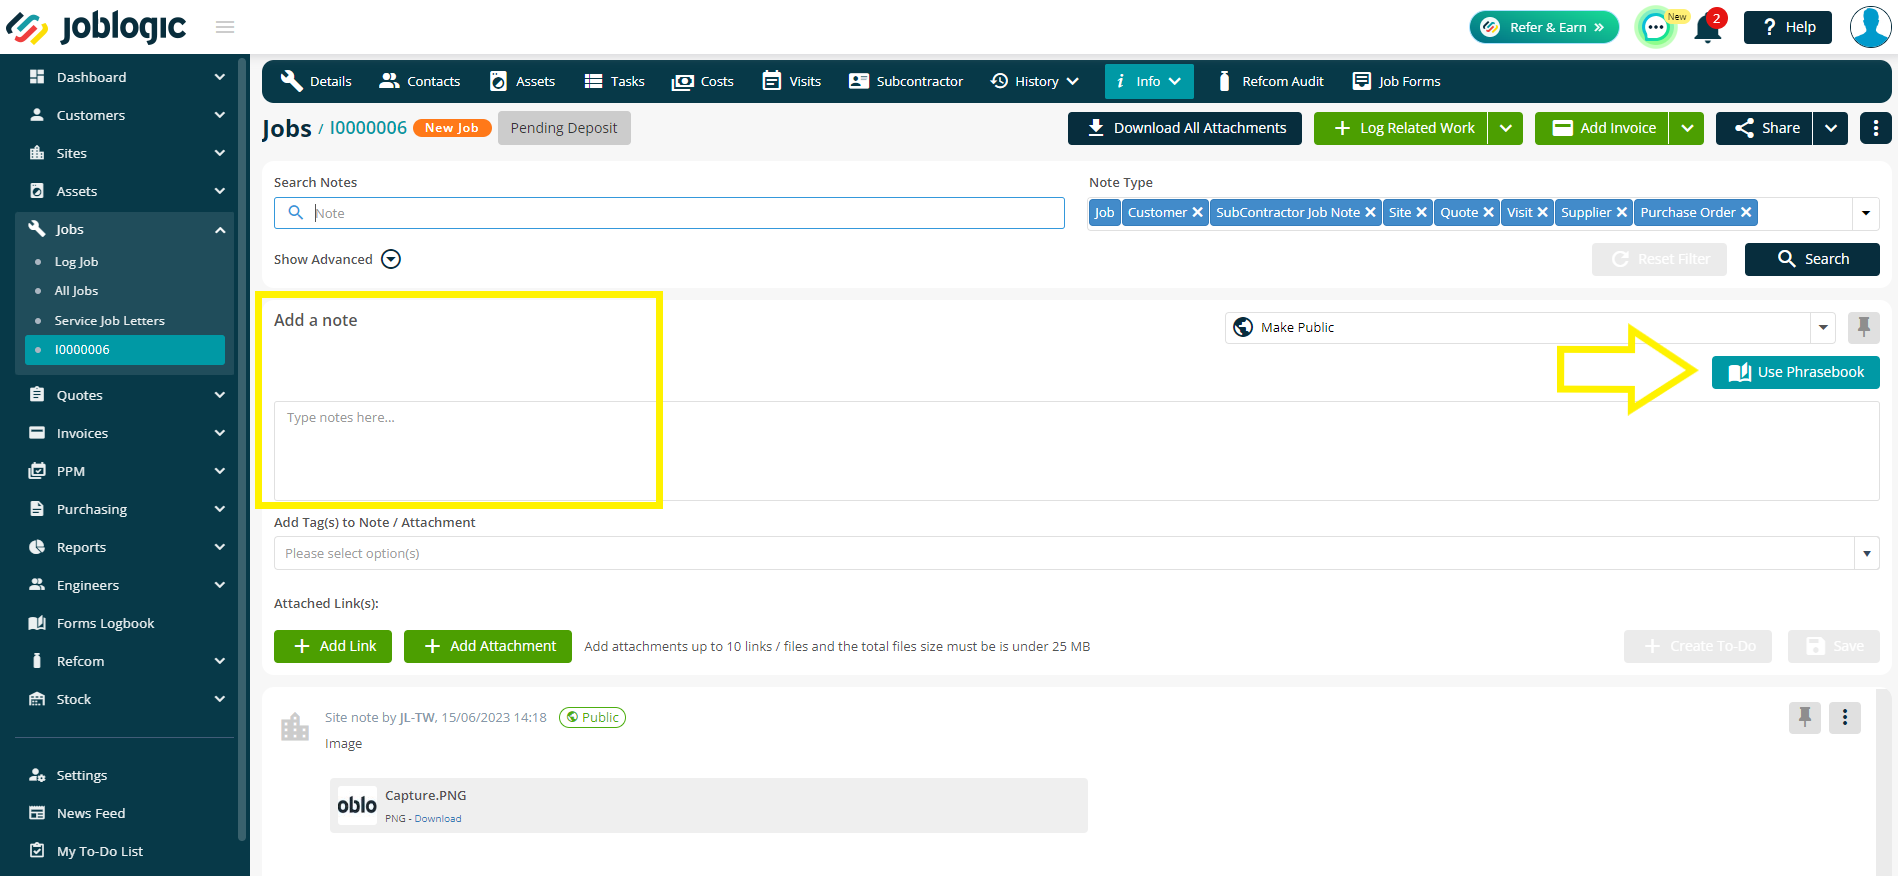
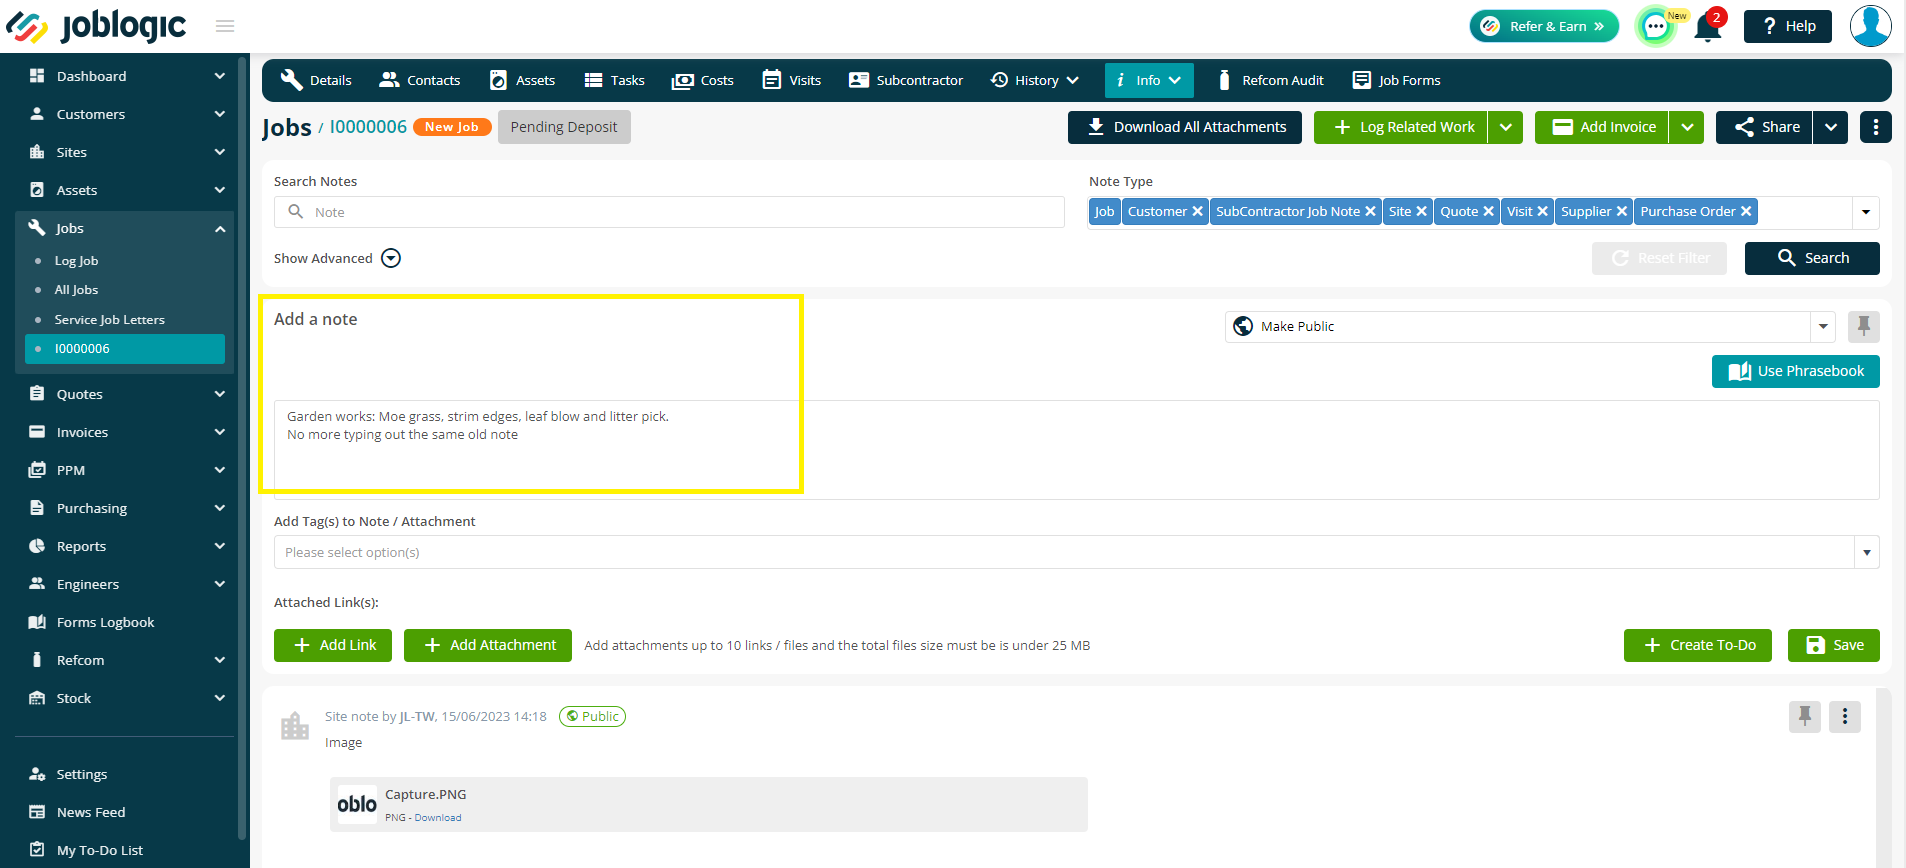
In order to use a phrasebook entry, navigate to the notes area of the note type assigned to the required phrase entry.
For example, to use a job notes phrase entry, navigate to the notes area of an applicable job (jobs > all jobs > select job > info > notes).
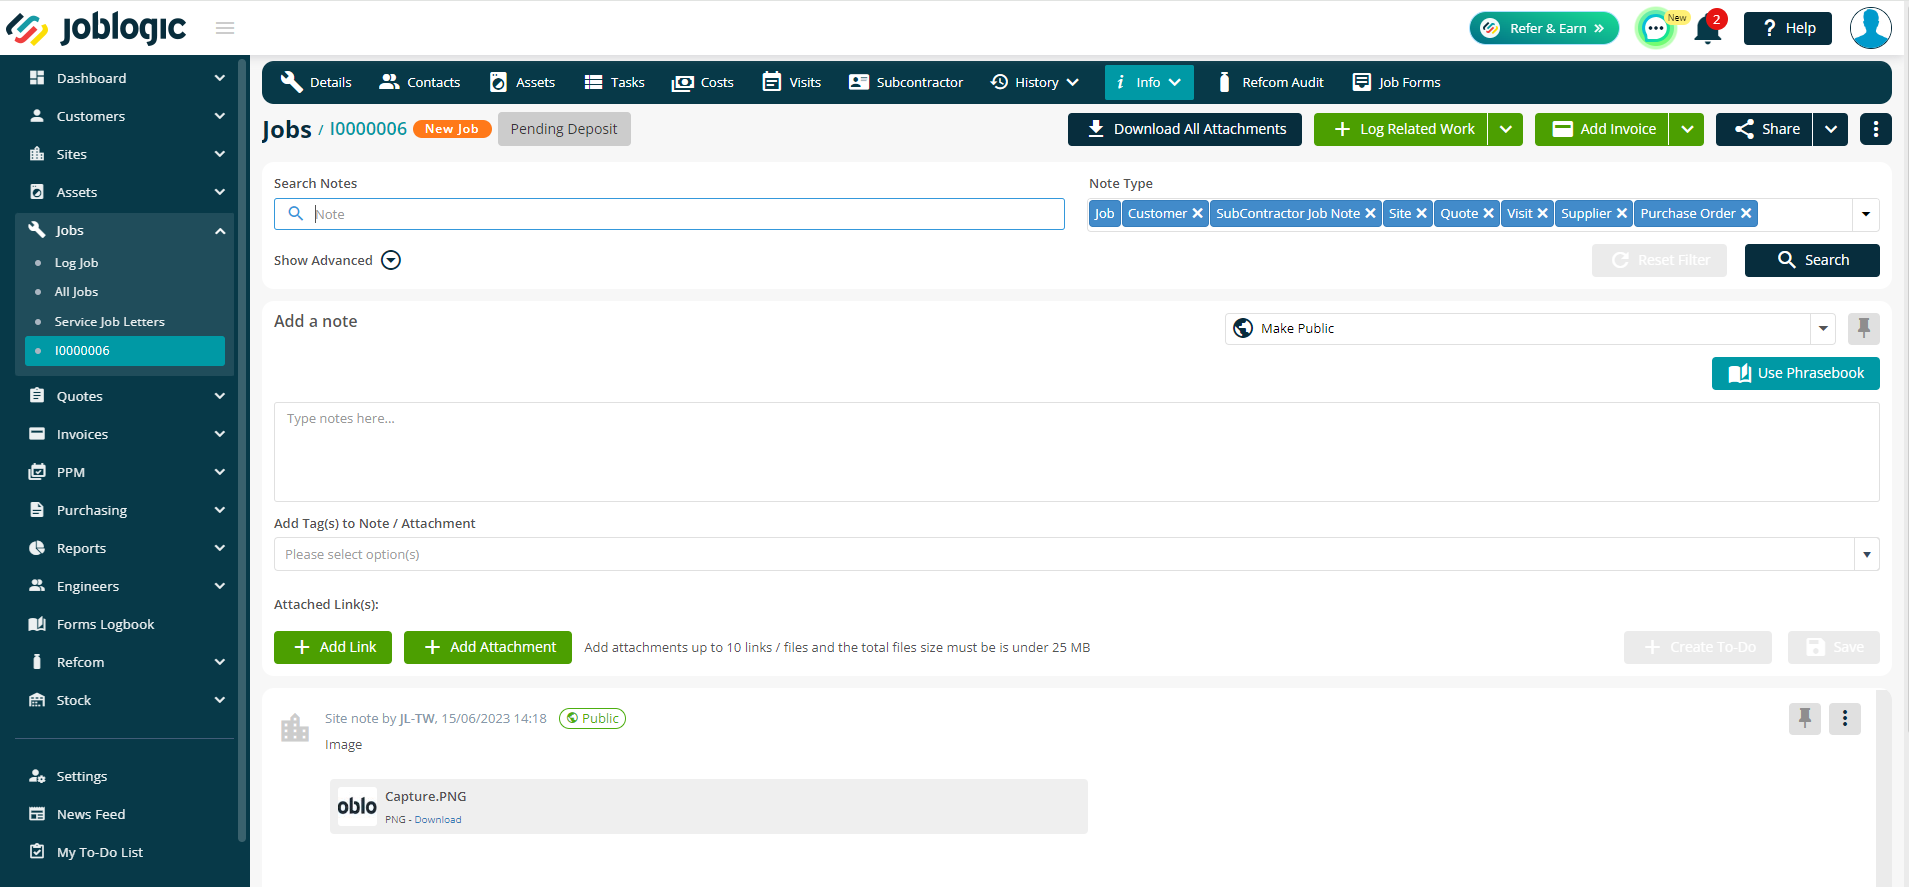
A ‘Use Phrasebook’ option will be available next to the free type notes box. Select this ‘Use Phrasebook’ option as opposed to free typing out your required note.
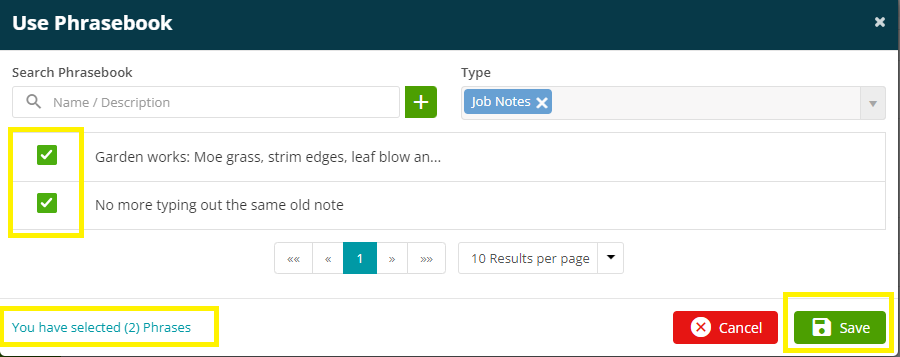
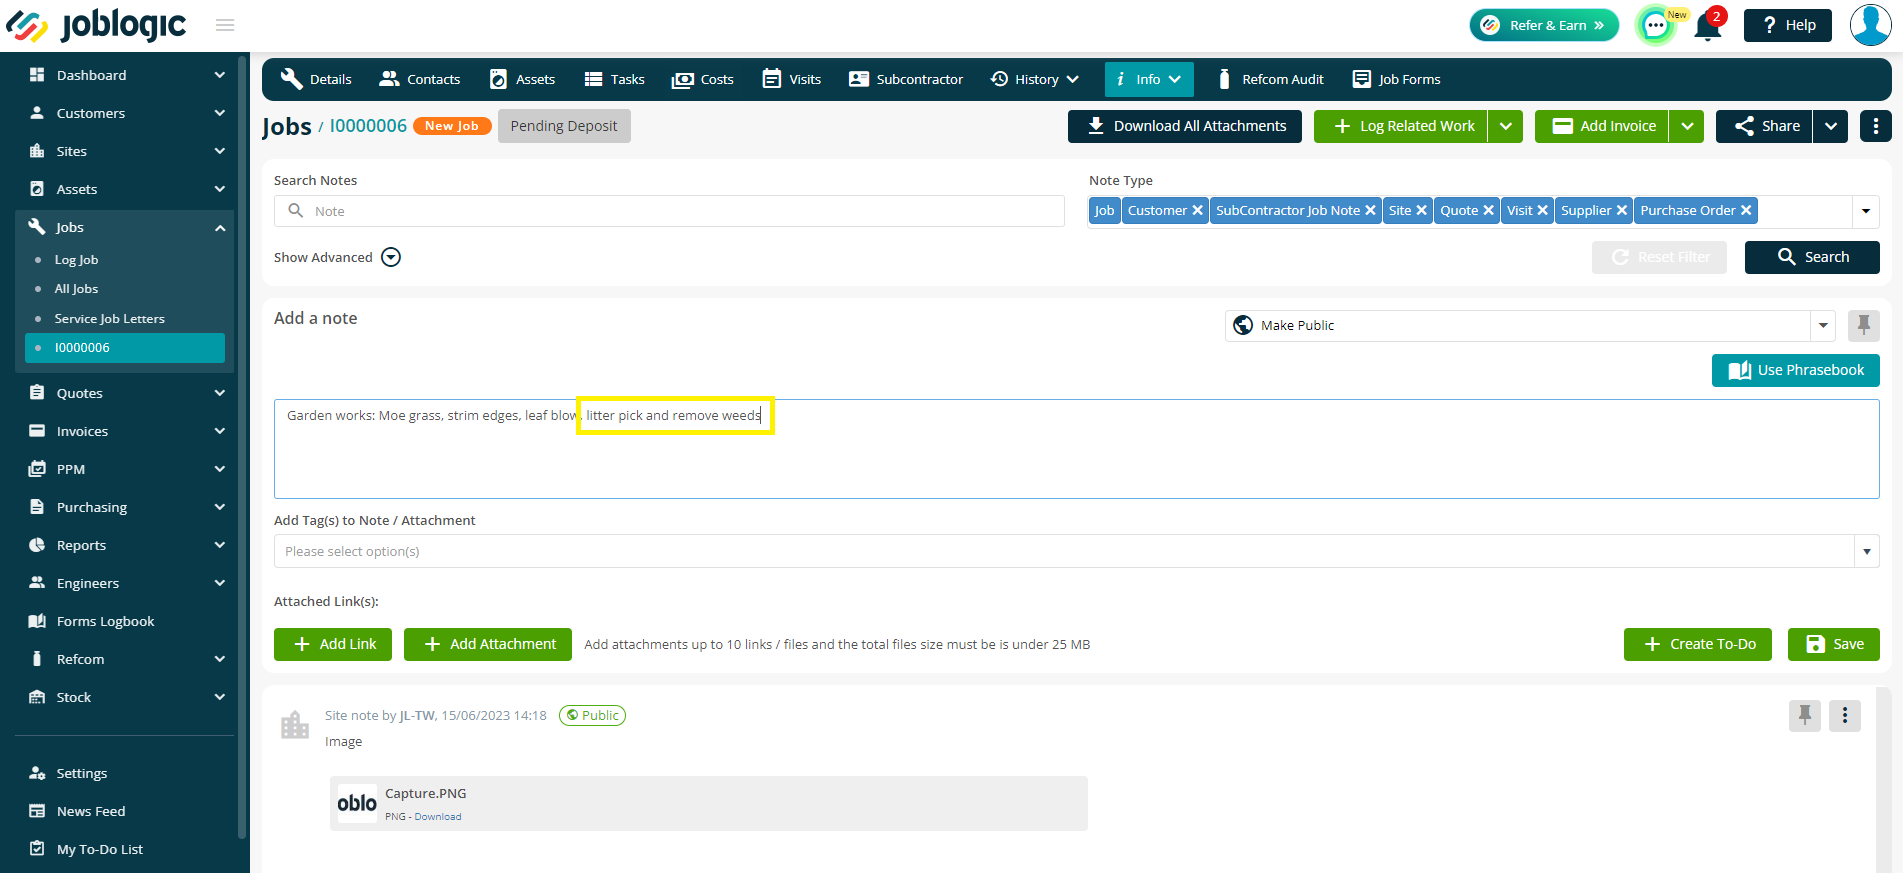
A ‘Use Phrasebook’ screen will show, displaying all of the phrasebook entries set up in your library for the note type.

Select the phrase that you wish to populate within the note box via the tick box icons. Multiple phrases can be selected at once, if required and the amount selected is indicated by the selection counter. Select ‘Save’ and the selected phrase(s) will populate in the note text box.
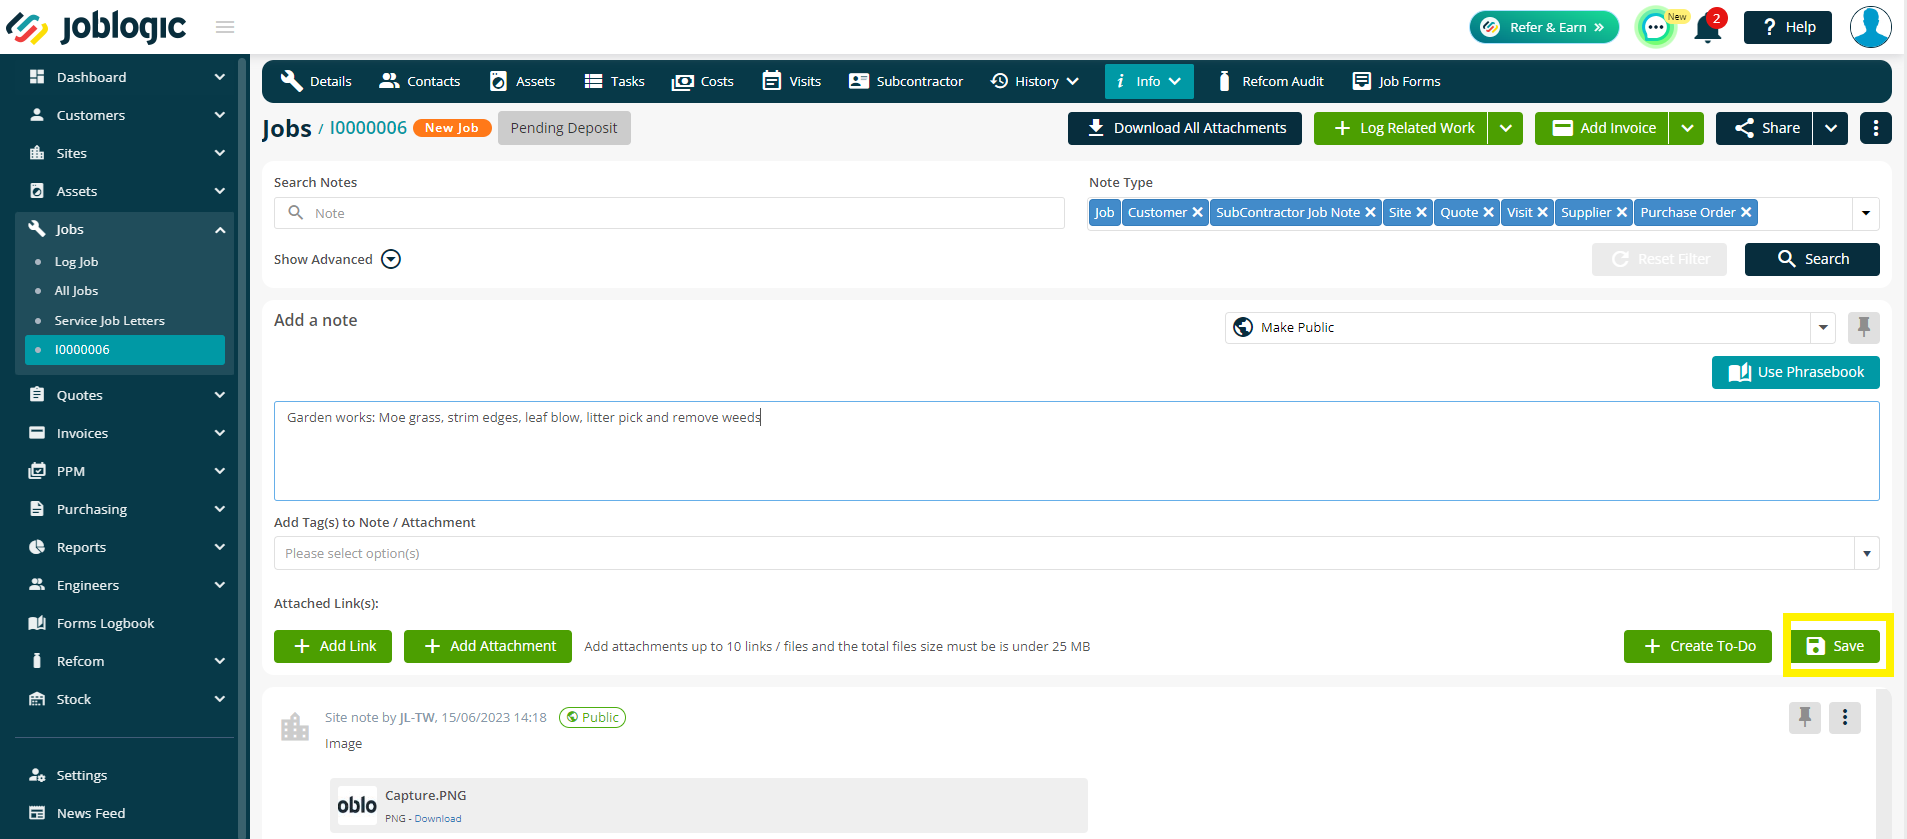
Further free typed text can then be added to the note box, or the phrase populated from phrasebooks can be amended, if needed.
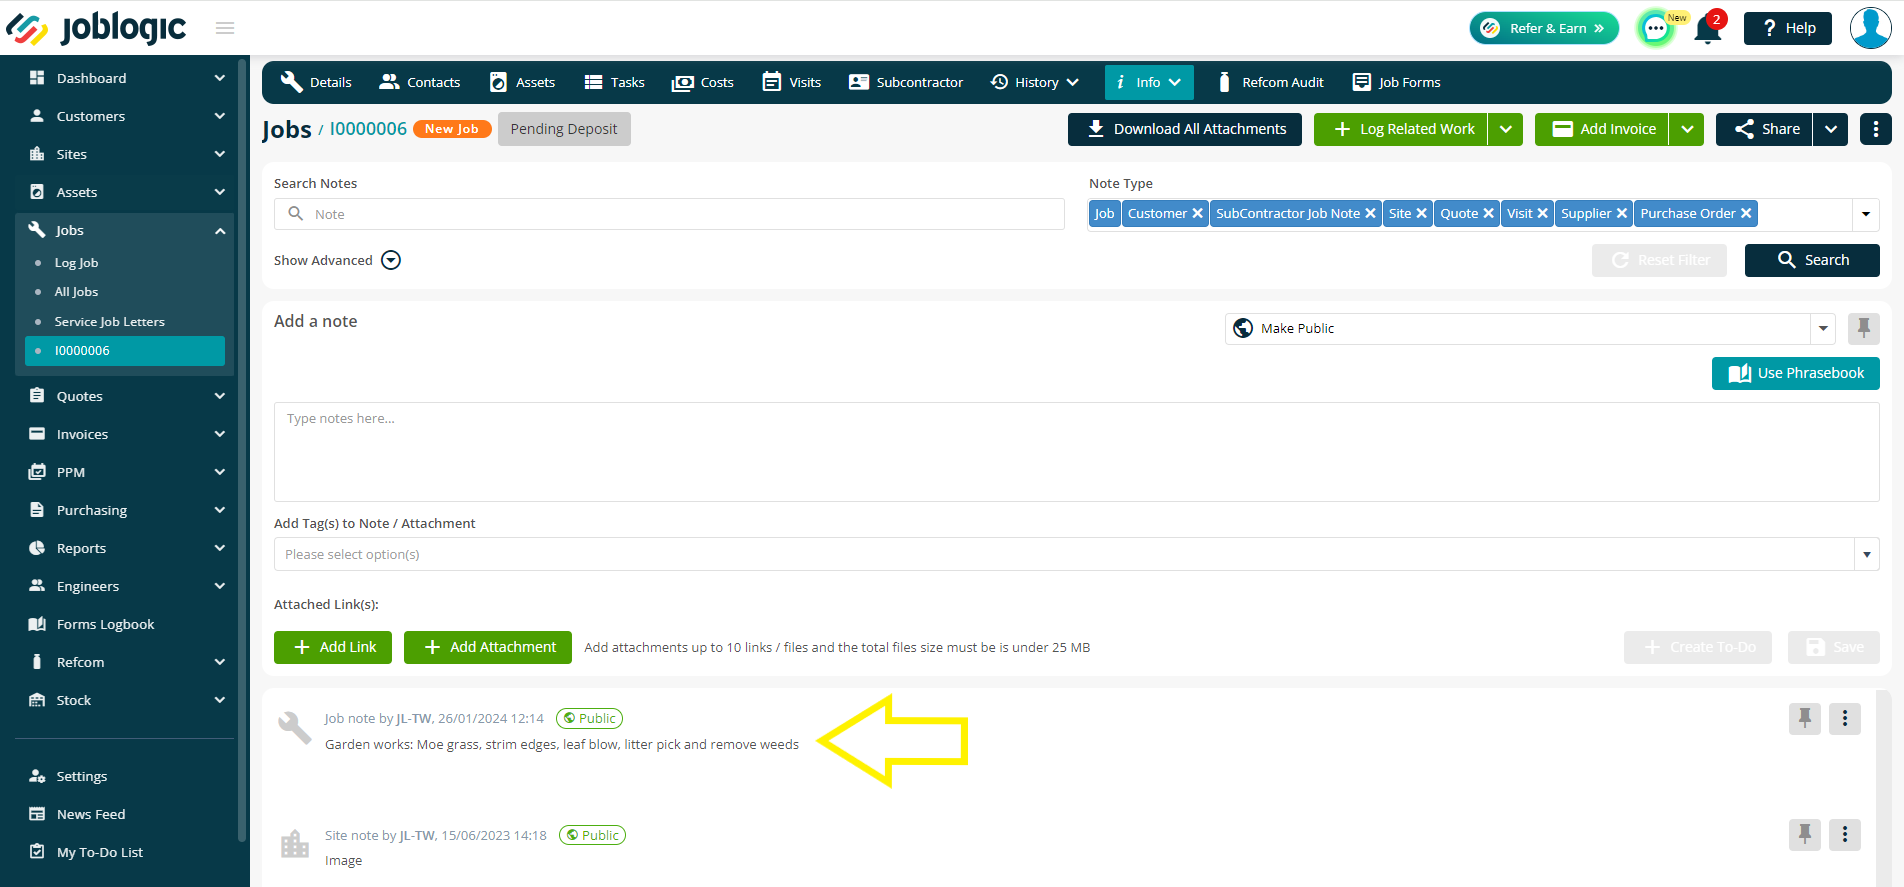
Once the required details have been added to the note box, select ‘Save’ to submit the note against the applicable item.
Amending and Deleting Phrasebook Entries
In order to amend your prerecorded, commonly used phrasebook entries, access the settings area down the left side navigation menu and select the ‘Library’ area.

Within the library area, select the Phrasebook item card.

The Phrasebook library will display a list of all phrasebook entries already set up within your Joblogic system. To amend an entry, select it via it’s blue phrase name.
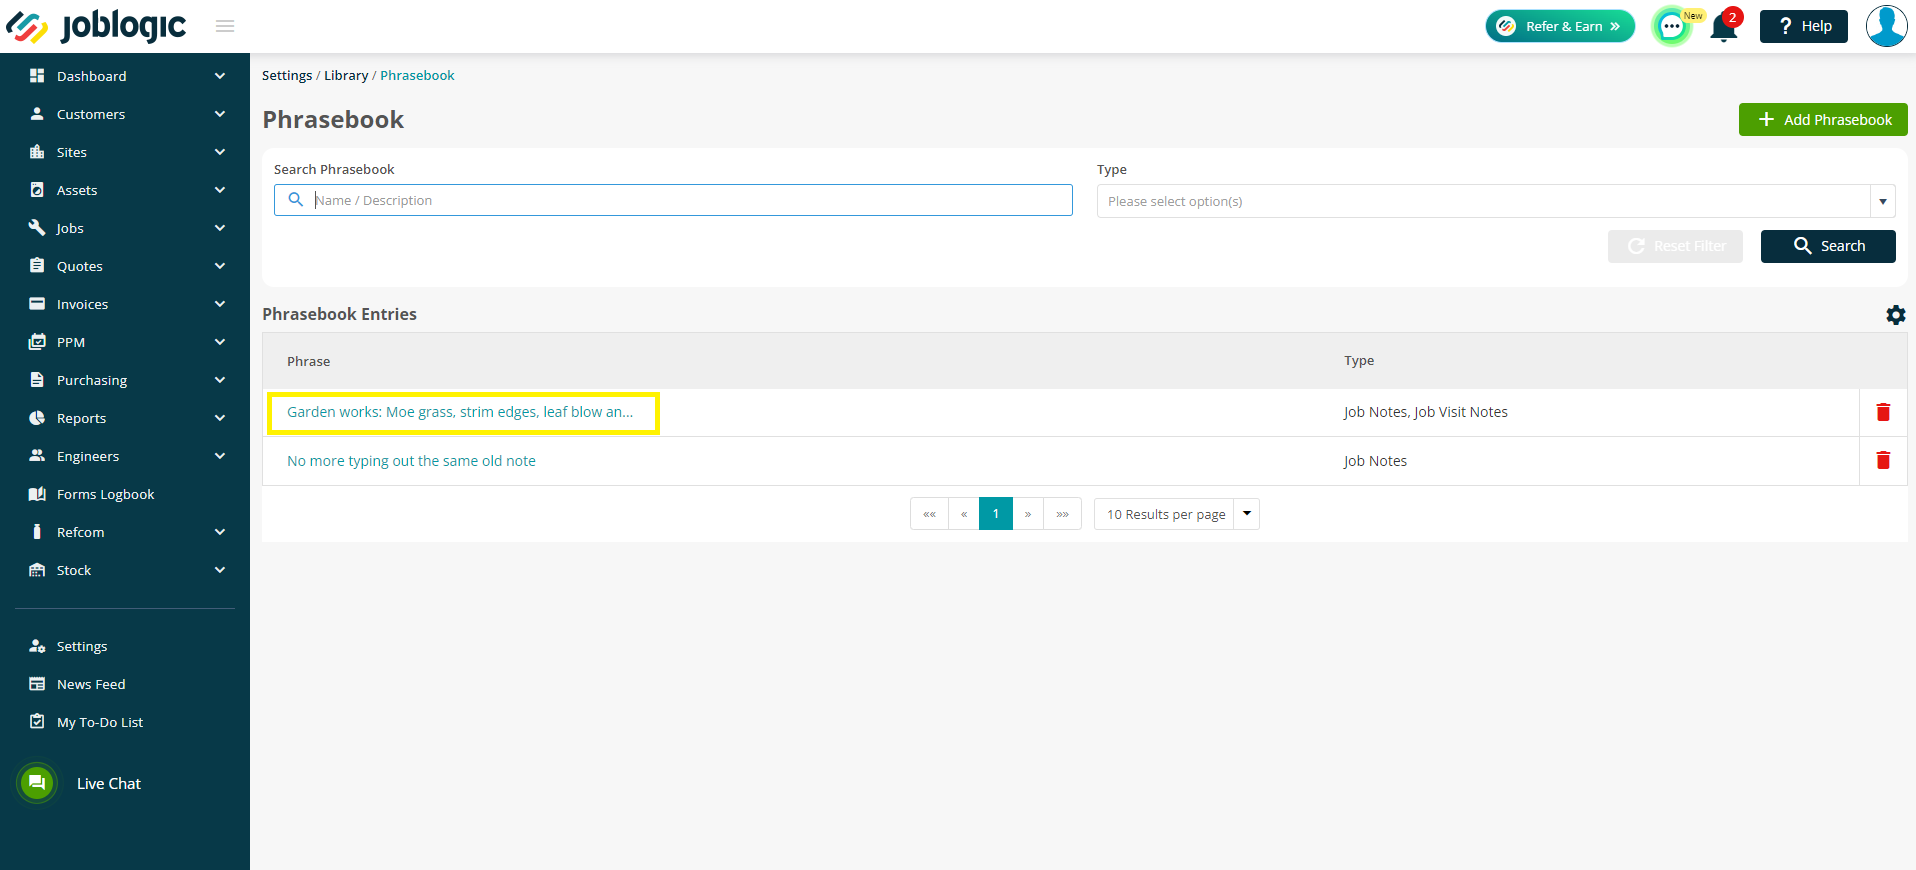
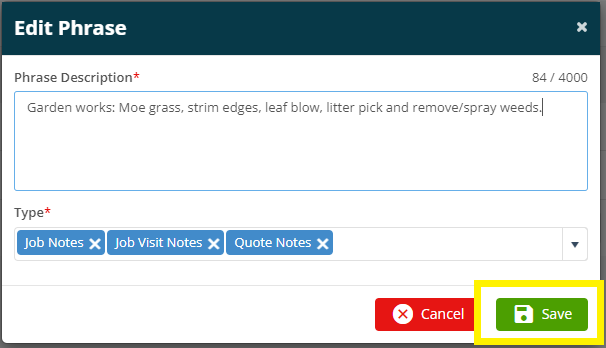
An ‘Edit Phrase’ box will appear where the phrasebook entry’s description and/or note type can be amended.
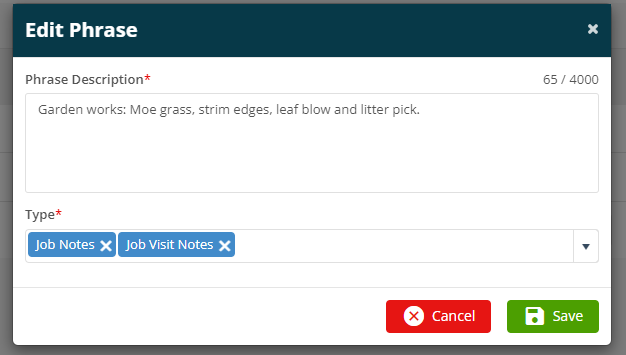
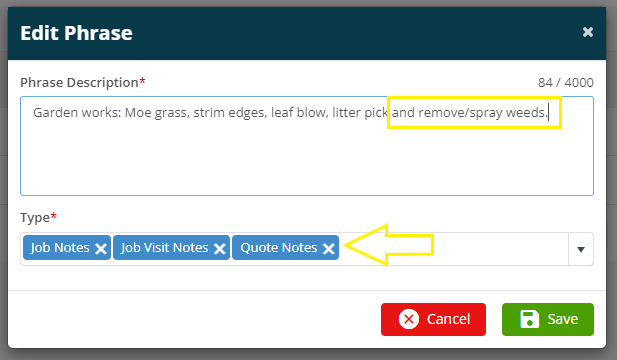
Select the ‘Save’ option for the required changes to take effect. The amended phrasebook entry will then log within the phrasebook library.
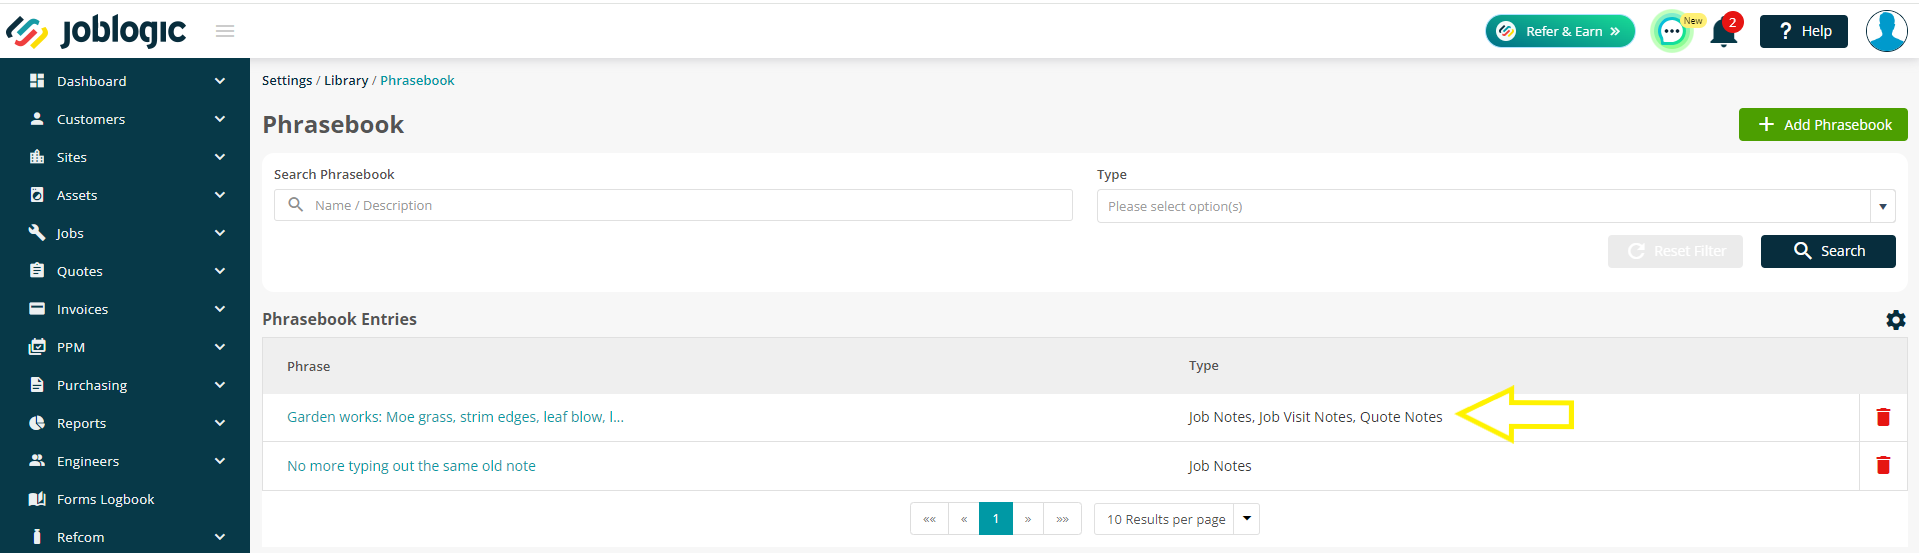
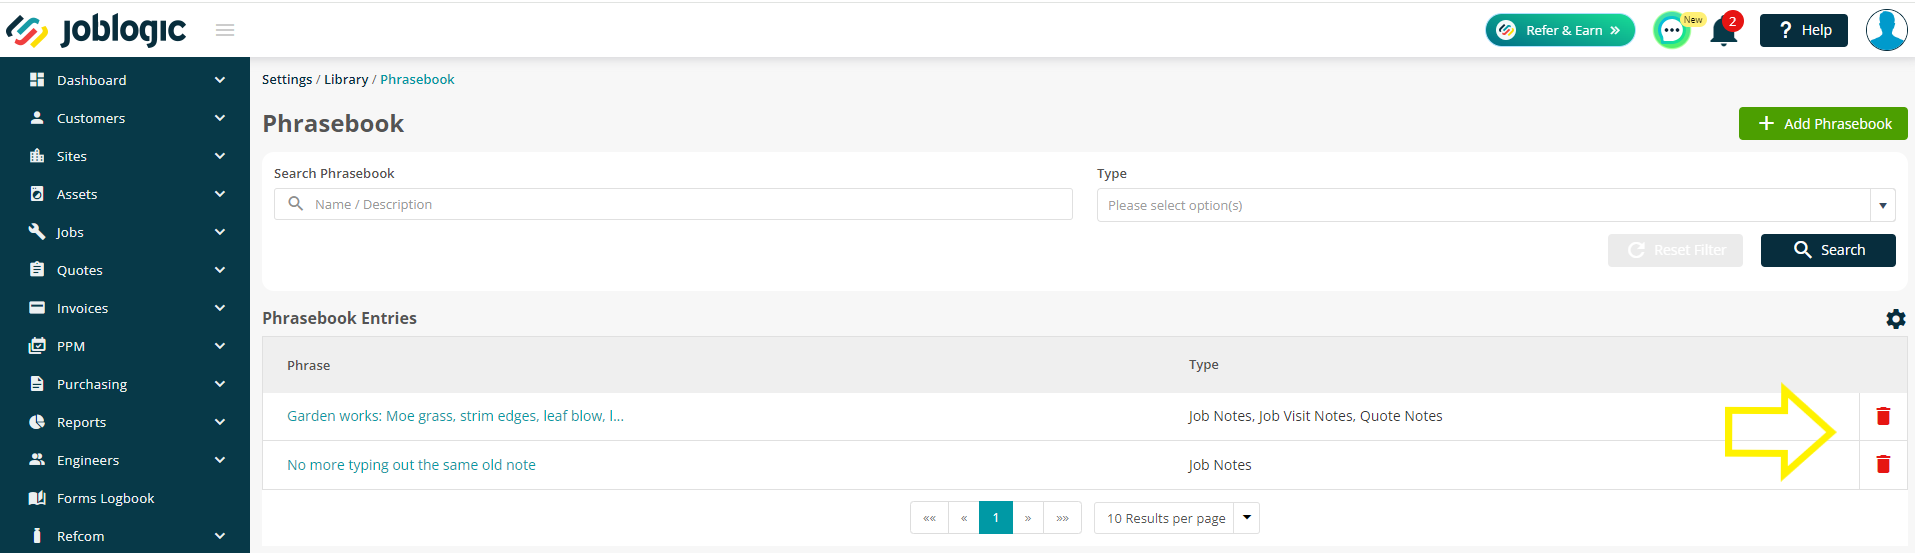
If you wish to delete a phrasebook entry entirely from the library, this can be conducted via the applicable red dustbin icon next to each item within the phrasebook entry list.
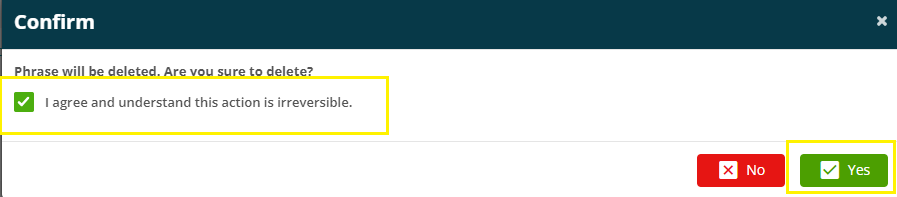
Upon selecting the dustbin icon, a confirmation box will appear, highlighting that the deletion is an irreversible action that cannot be reverted (even by our development team). This must be agreed to via the tick box. Once agreed, select the ‘Yes’ button for the deletion to take effect. This will remove the phrasebook entry from your library for future use via the phrasebooks tool. Any previously made notes generated by the deleted phrasebook entry will remain within the system so long as they have been successfully saved against the applicable item (customer, site or job notes, for example).
Further Support
For further information or assistance with the above, contact our Support Team on 0800 326 5561 or email support@joblogic.com. Alternatively, our Customer Success Management team can be reached by emailing customersuccess@joblogic.com
Publishing Details
This document was written and produced by Joblogic’s Technical Writing team and was last updated on the date specified above. Be aware that the information provided may be subject to change following further updates on the matter becoming available or new releases within the system. Additionally, details within the guide may vary depending on your Joblogic account’s user permissions and settings or the electronic device being used.