Introduction
Planner timelines provide you with varying views for your engineer's availability and time worked.
This guide will help you understand the different views and the options within them.
Accessing the various Planner Timelines
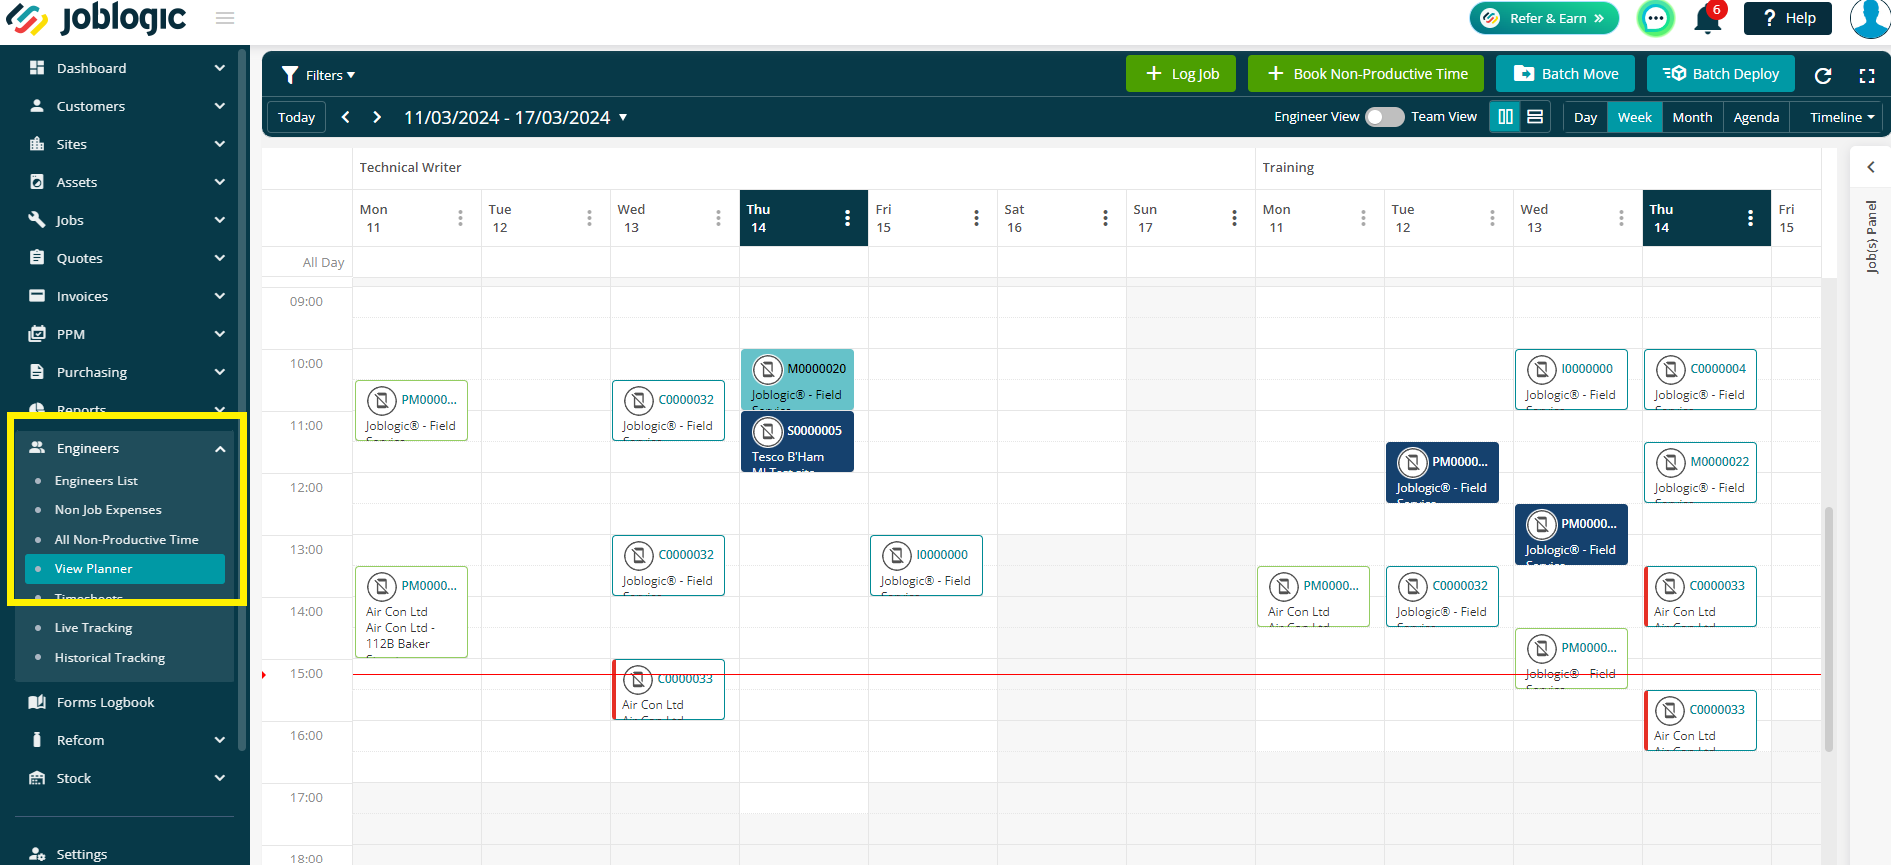
Firstly, click Engineers > View Planner to open your main calendar page.
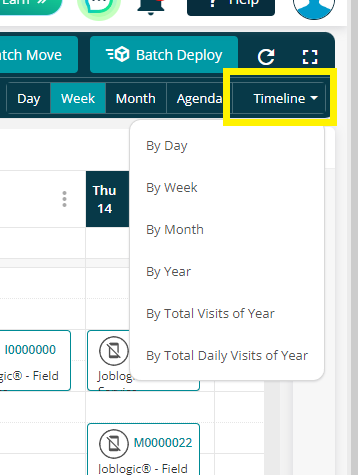
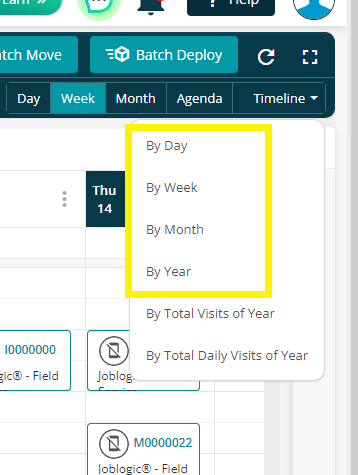
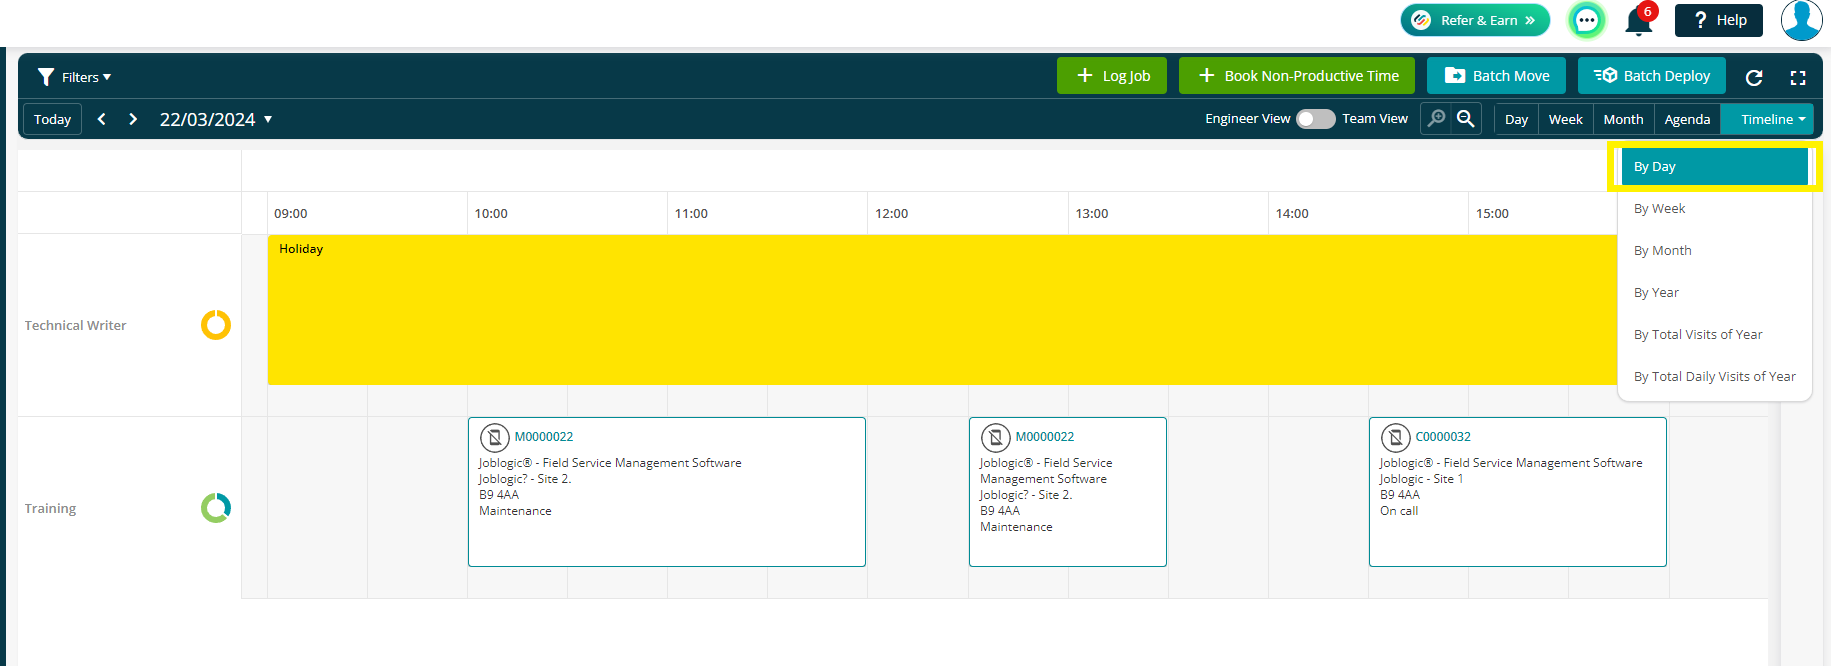
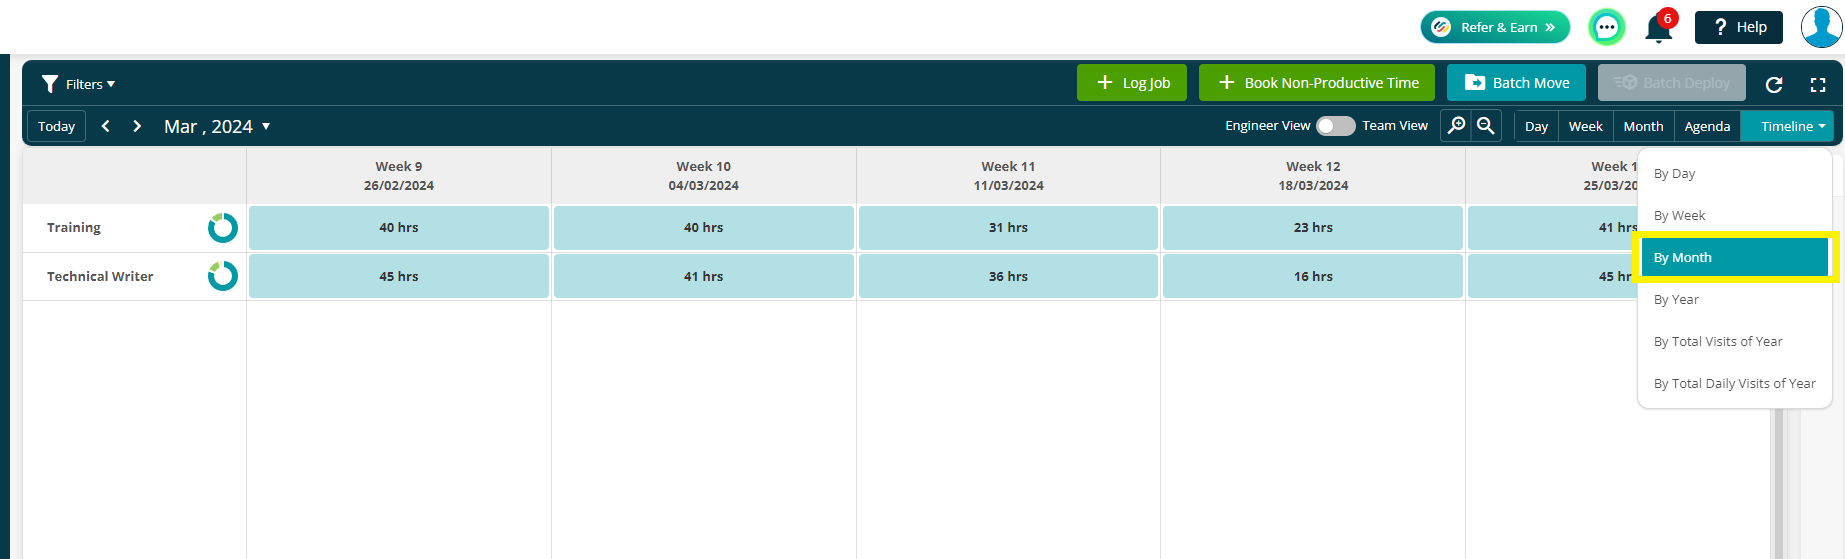
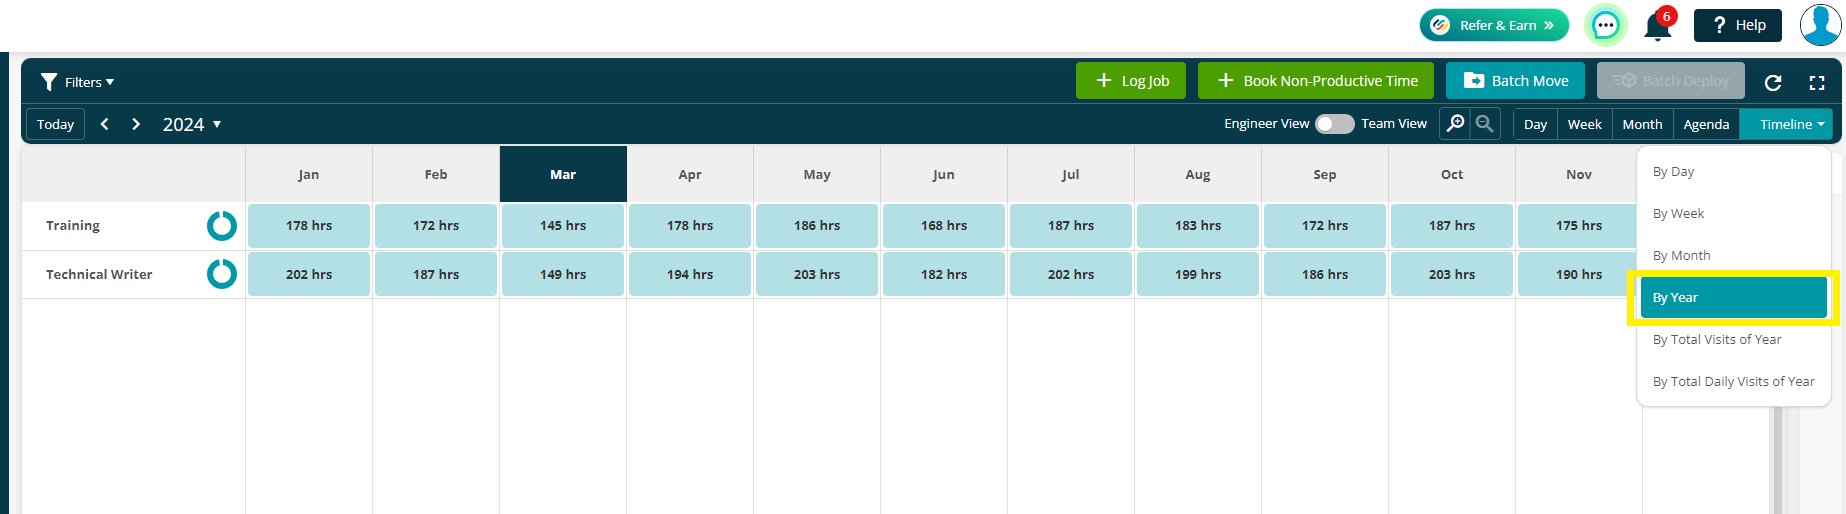
Next, click the Timeline dropdown on the right. Here, you’ll see a list of options including:
- Day
- Week
- Month
- Year
- By total visits of year
- By total daily visits of year
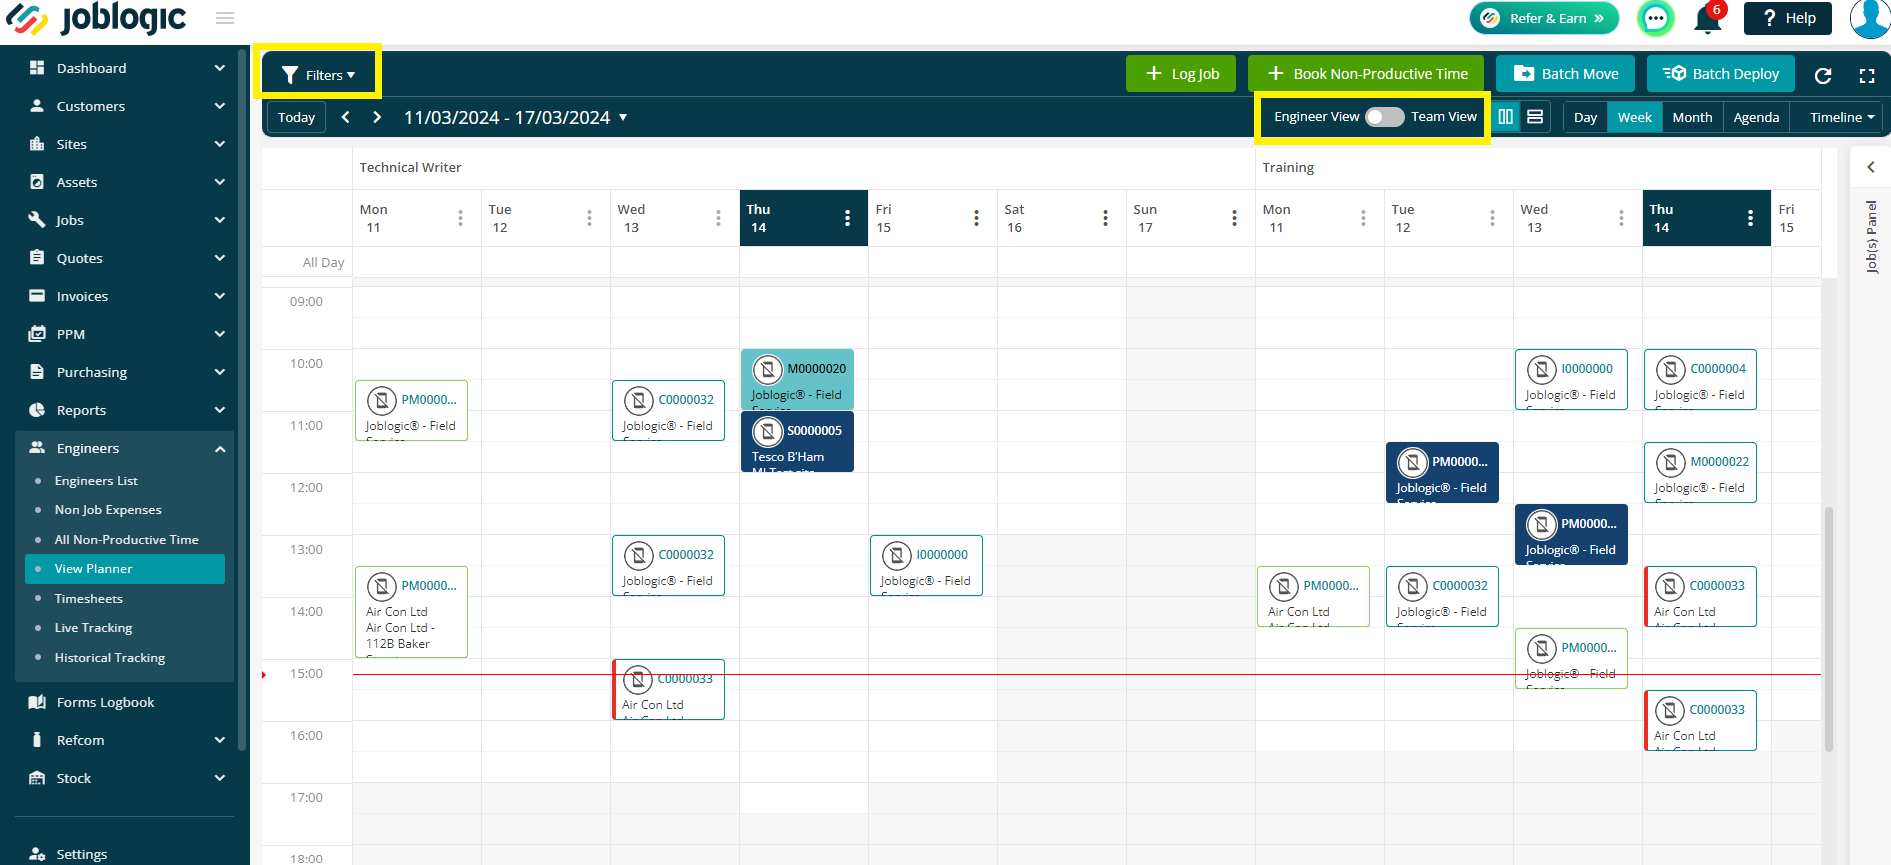
If you wish to view certain engineers only, use the Filters option in the top left
You may also amend the view between Engineer View and Team View as required
By Day / Week / Month / Year
These views are a useful tool to see who has time available from their normal working hours, so you can easily plan in work fairly and accurately.
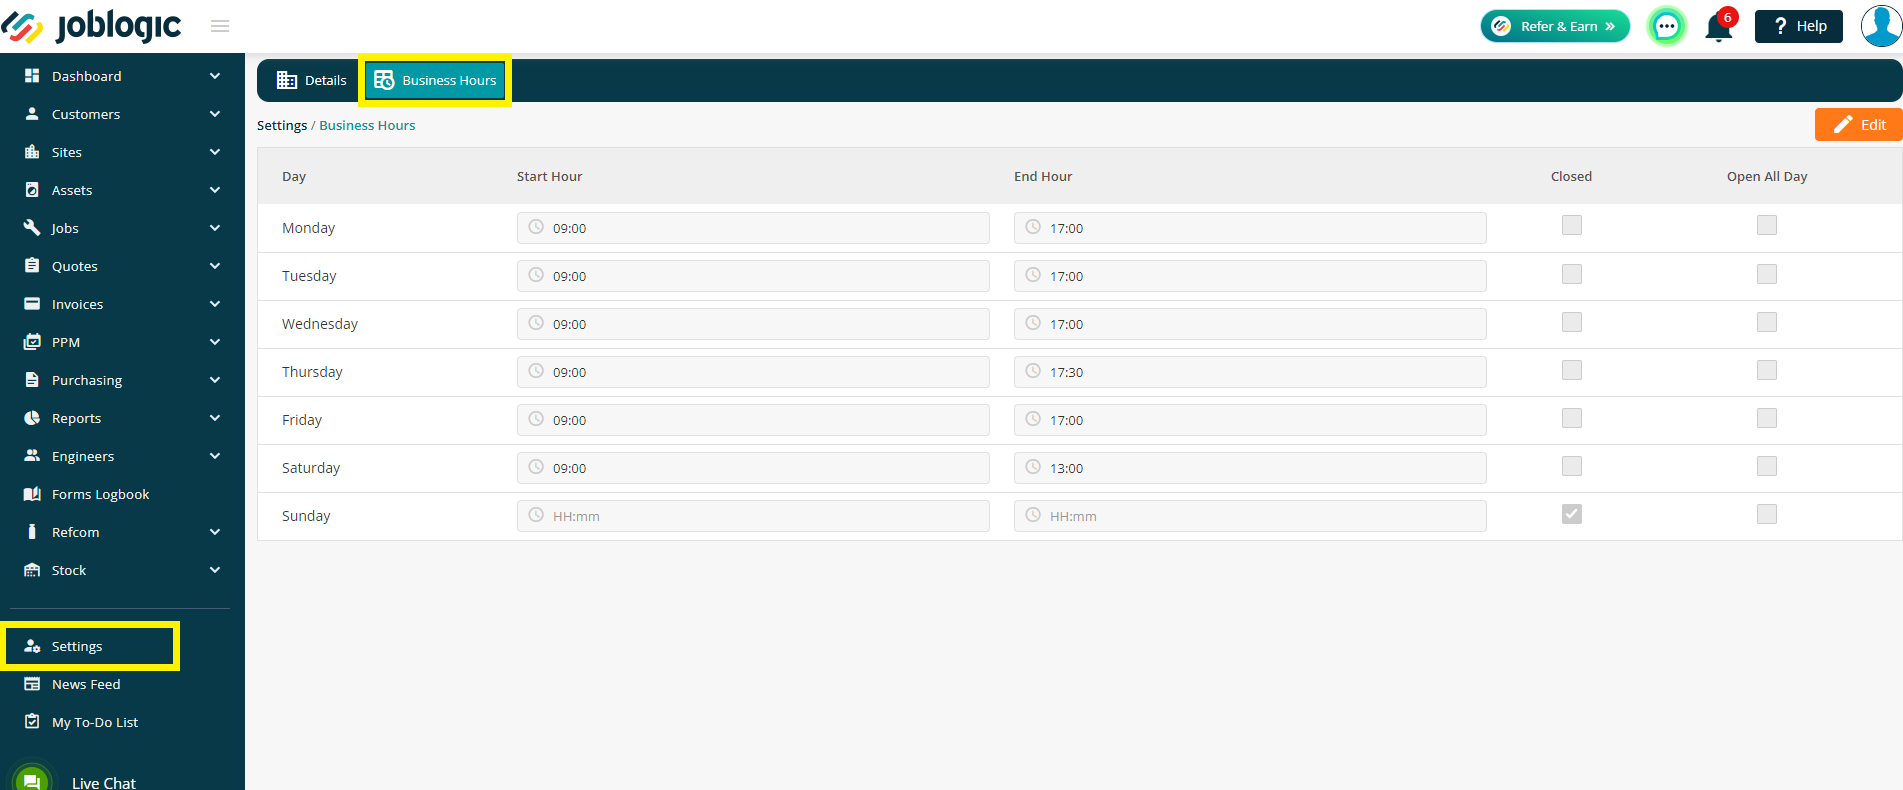
‘Normal working hours’ relates to either the engineer’s Working Hours as set up via Settings > Staff > name > Engineer Detail OR Company hours (Settings > Company Setup > Business Hours) if there is nothing specific against the engineer.
There are colour coded ‘capacity indicators’ next to each engineer which shows you a breakdown of your engineer's time
- Available working hours
- Allocated basic working hours
- Non-productive hours
- Allocated overtime hours
- Travel time to jobs
You can use the + and – icons to zoom in and out of time between the Day, Week, Month and Year views

Day view will show you a timeline of events for your chosen date
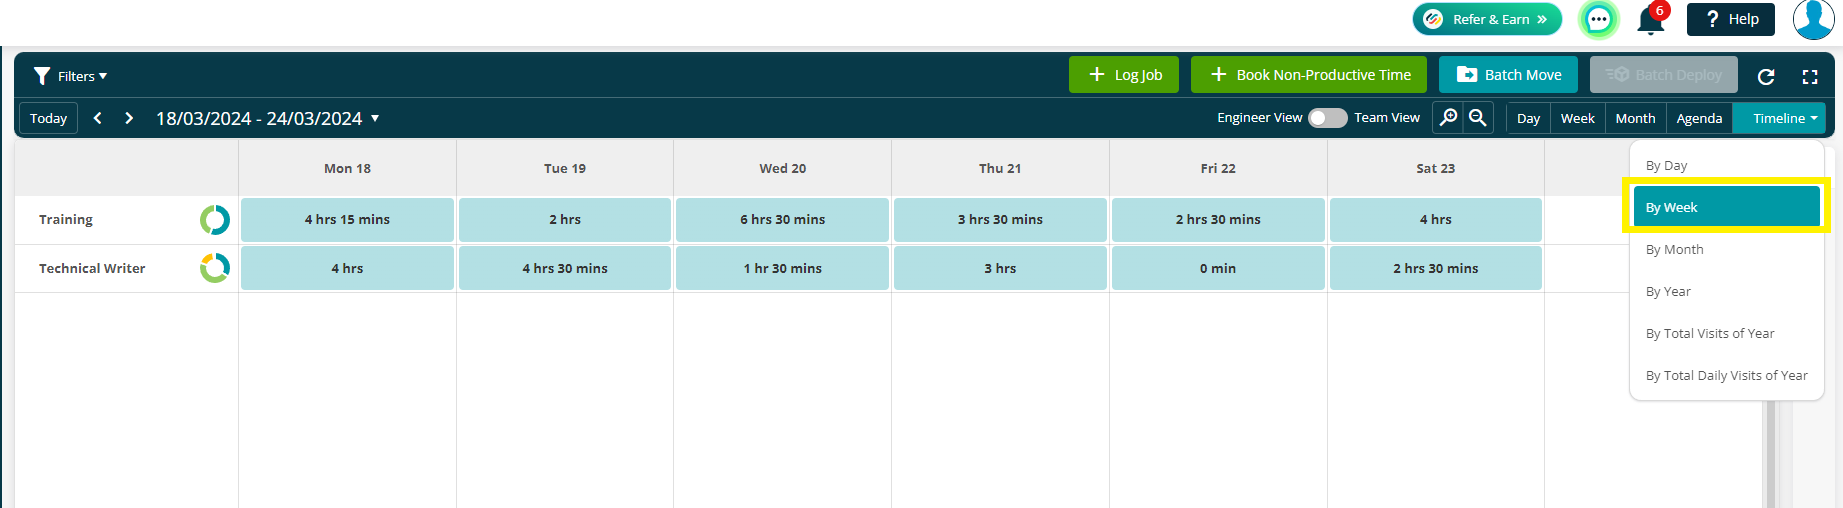
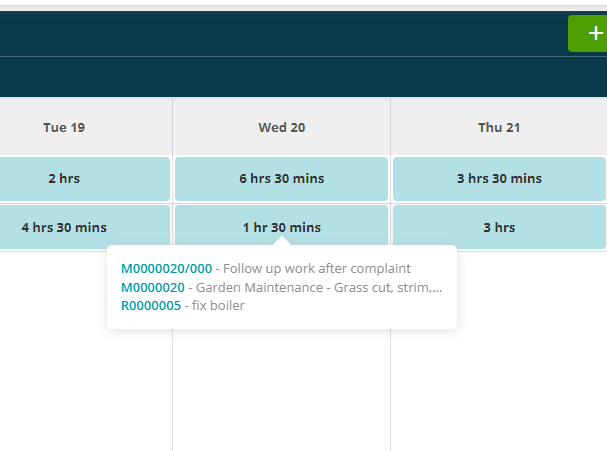
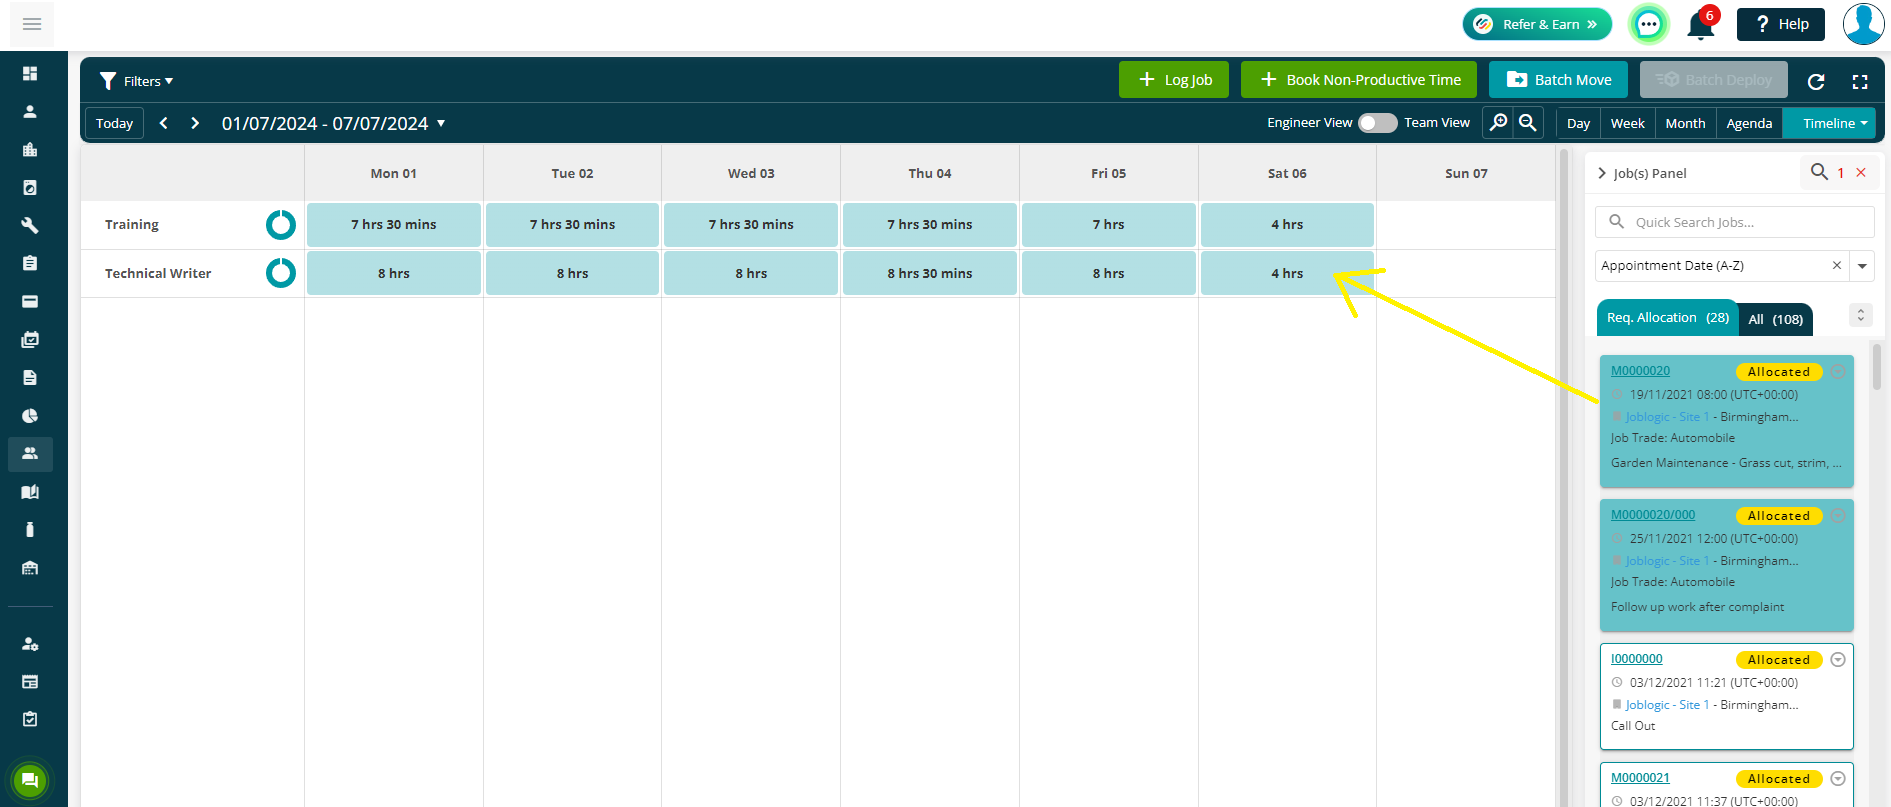
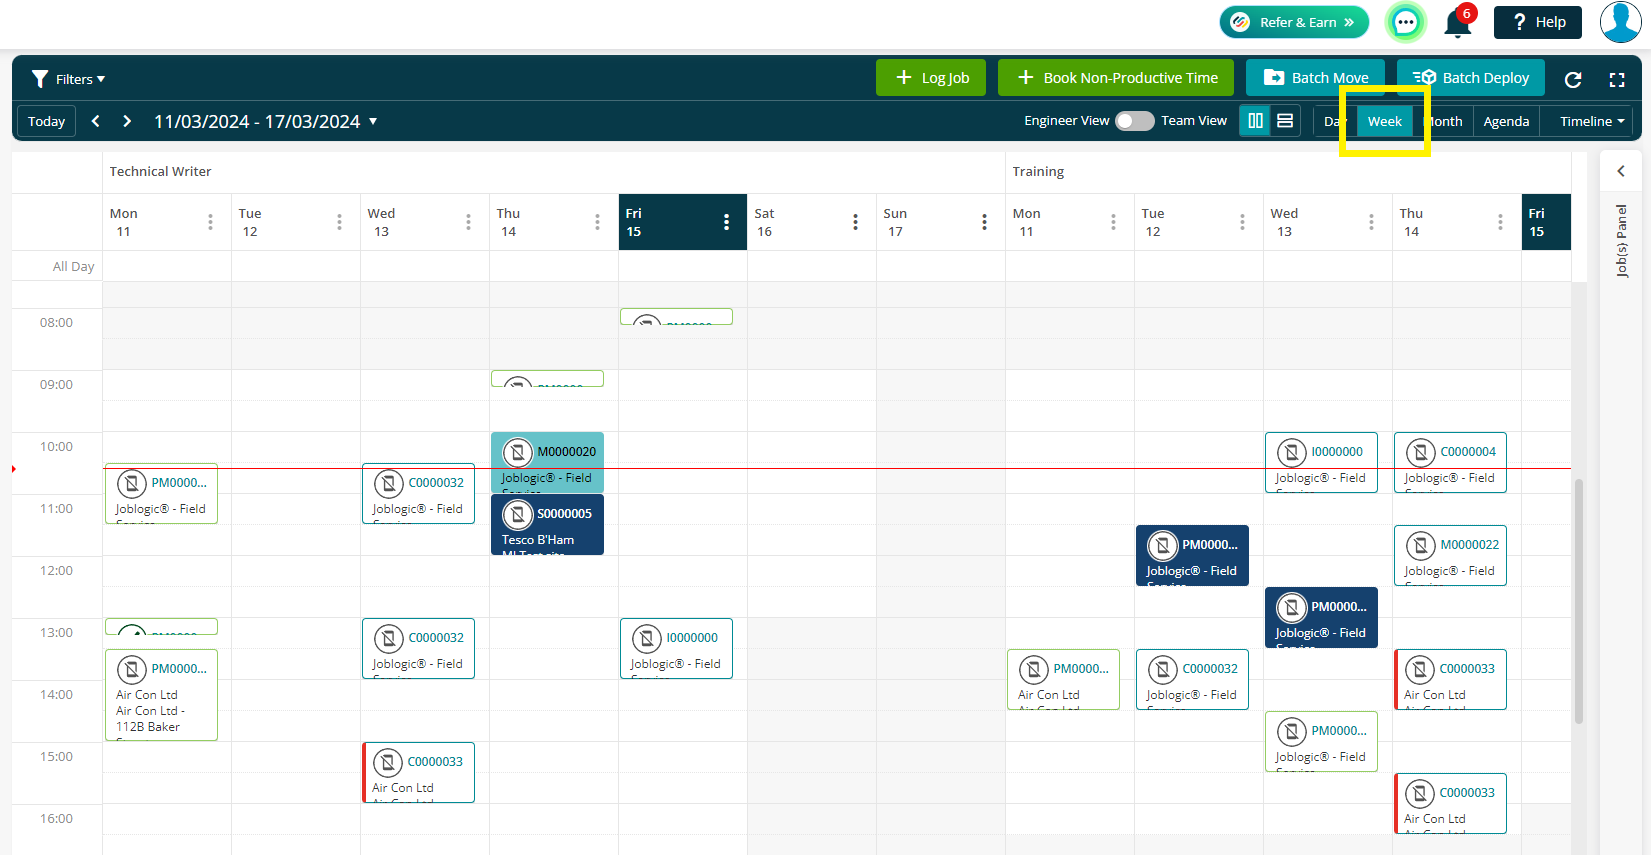
Week view will provide you with the available hours for each day. If you hover over the box, you can view more information, i.e job numbers or non-productive time descriptions
Month view will show you the available hours per week, for that month
Year view will show you the available hours per month, for that year.
Clicking on an individual box will filter it down to the next timeline, i.e if you are in the month view and click a box under Week 11, for example, you will be presented with that week's view.
Clicking a box under a day from there, will result in you moving to that day's view
Allocating Jobs
You can allocate jobs in the Day, Week and Month views by simply dragging a job from your Job(s) Panel on the right.
(You will not be able to do this in Year view)
Allocating a job via the Day View will be very similar to allocating a job via the standard planner screen
Drag and drop to the relevant slot as needed
To allocate a job via the Week or Month views, start by dragging the job as normal.
As you are dragging the job to a general day of the week or week of the month, you'll need to confirm when exactly you want the job to take place.
Joblogic will automatically place the job at the start of the working day/week.
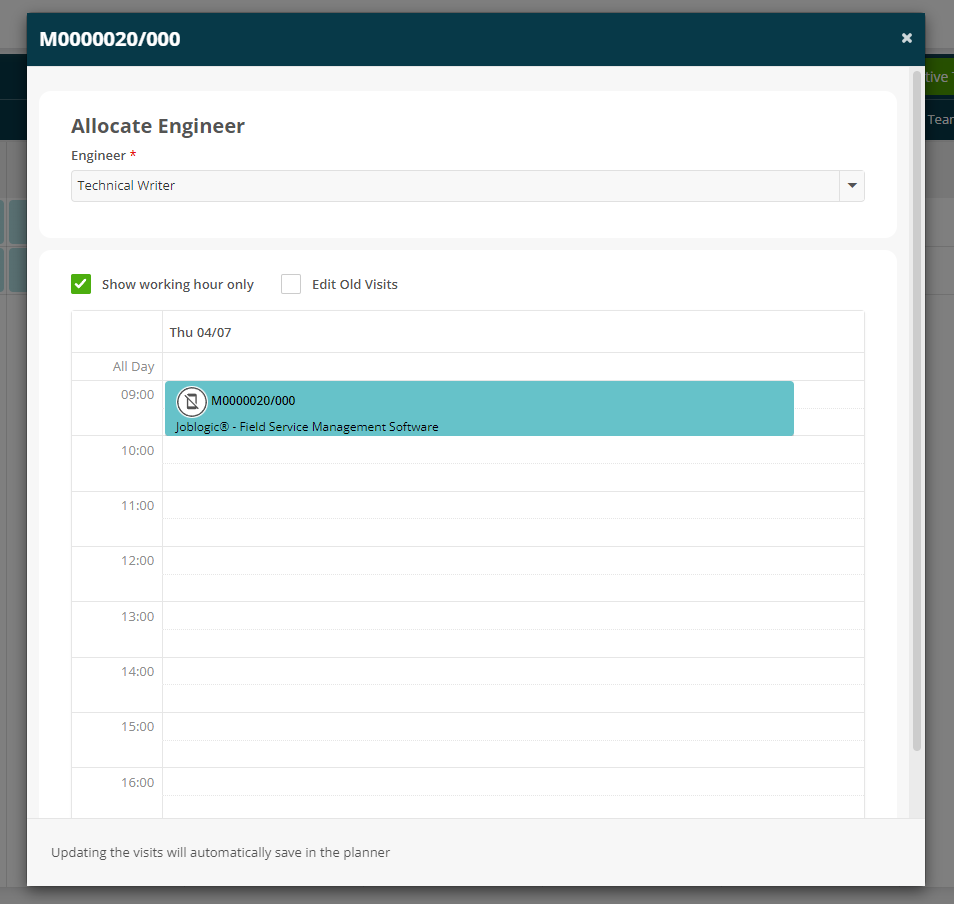
You can then drag it to where it’s needed. The planner will update automatically, along with your available engineer hours.
You can close the pop-up screen when you’re happy.
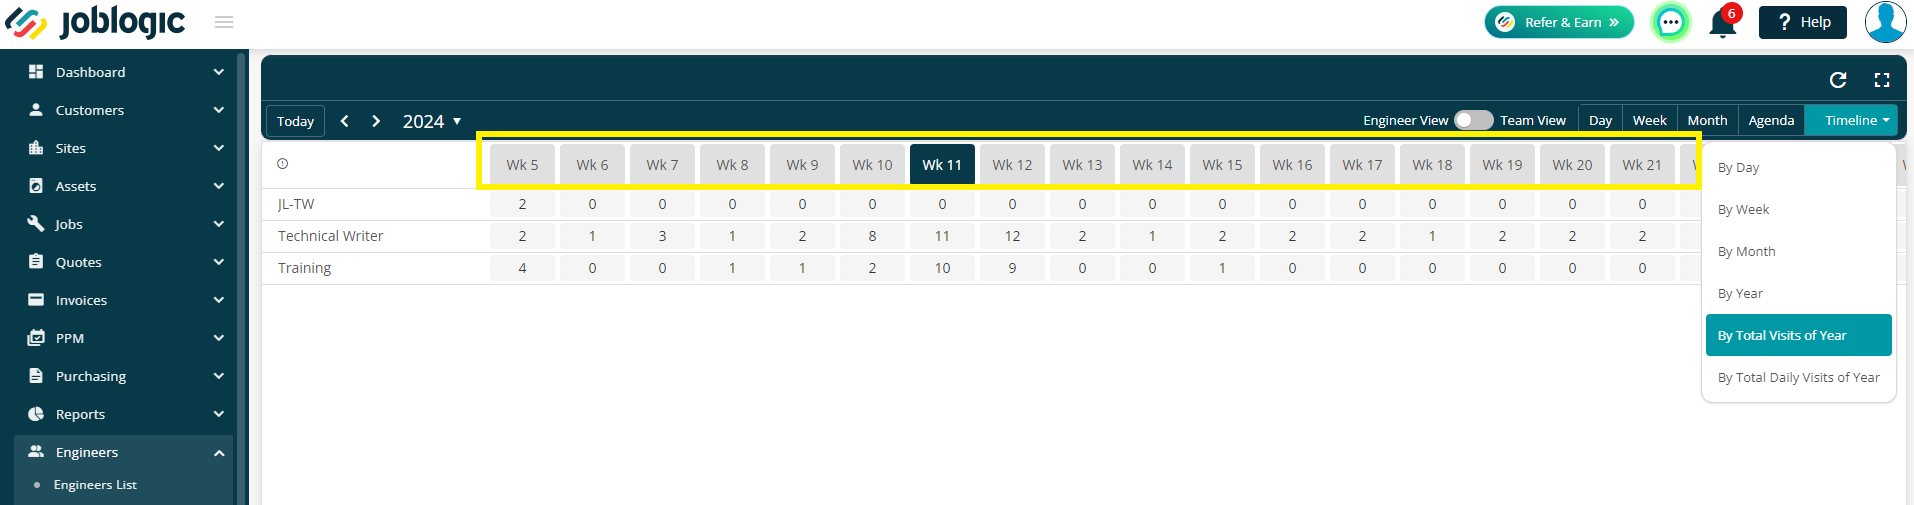
By total visits of year
This view will provide you with the number of visits per engineer, per week over the course of the year. All Engineers will be visible in this view

If you click on the week number along the top, Joblogic will transfer you to the full week view for all engineers
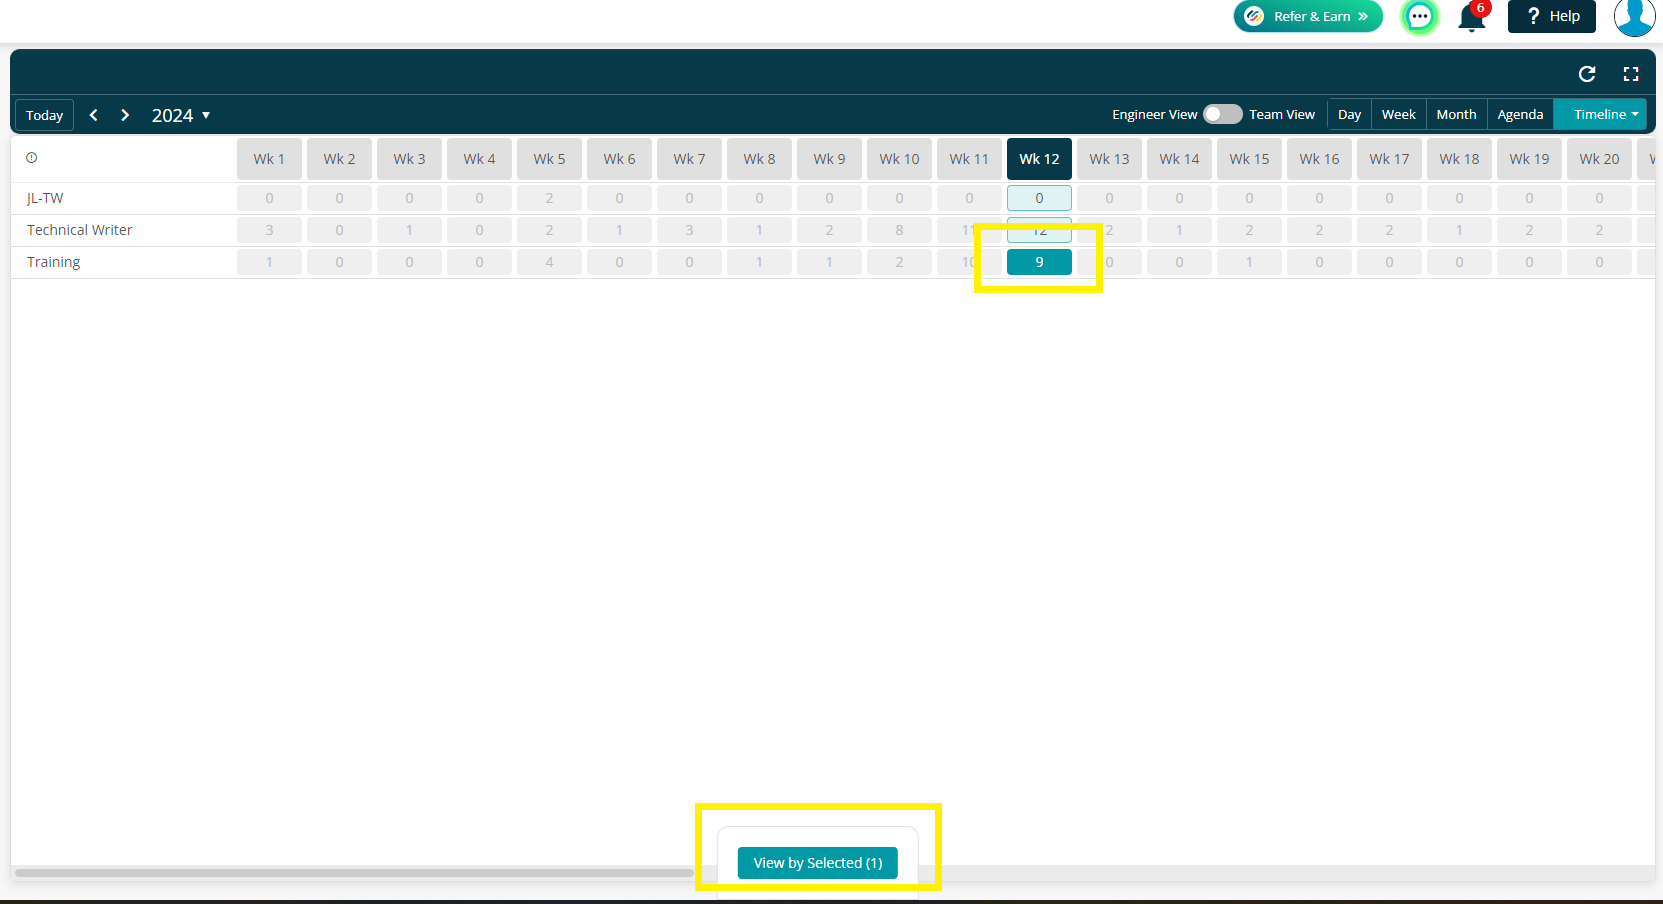
Alternatively, if you click on an individual box, it will highlight that week and show you a ‘View by Selected’ button. You may select up to 10 engineers and then click ‘View by Selected’ to see the week view for those engineer’s only
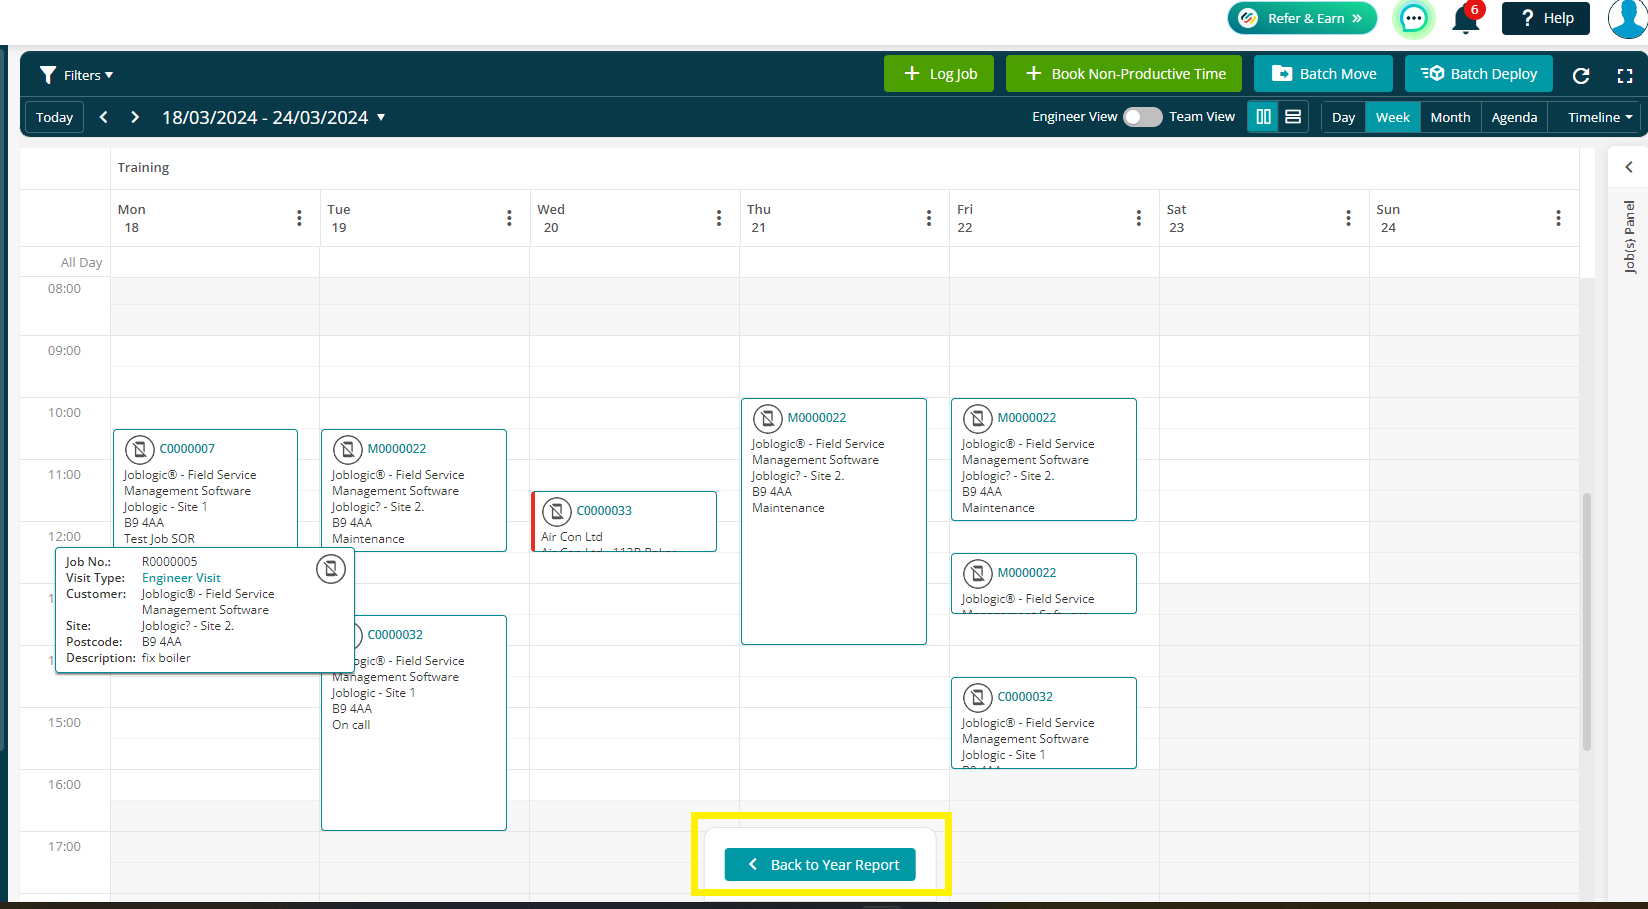
You can get back to your 'By total visits of year’ page by clicking ‘Back to Year Report’ at the bottom
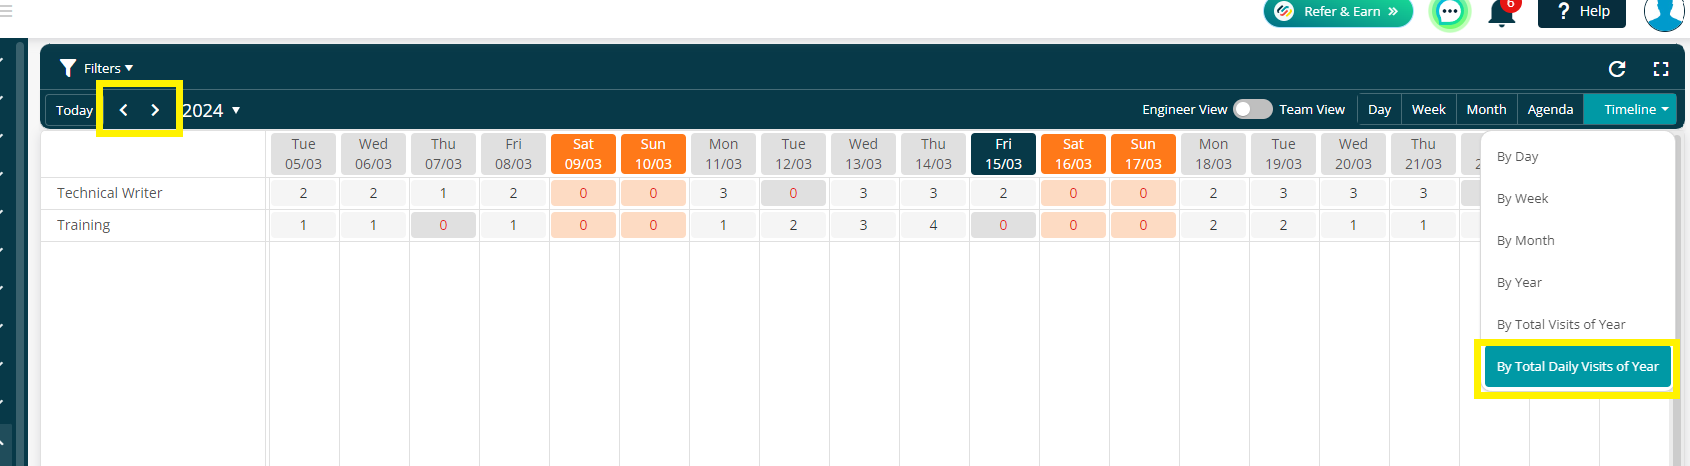
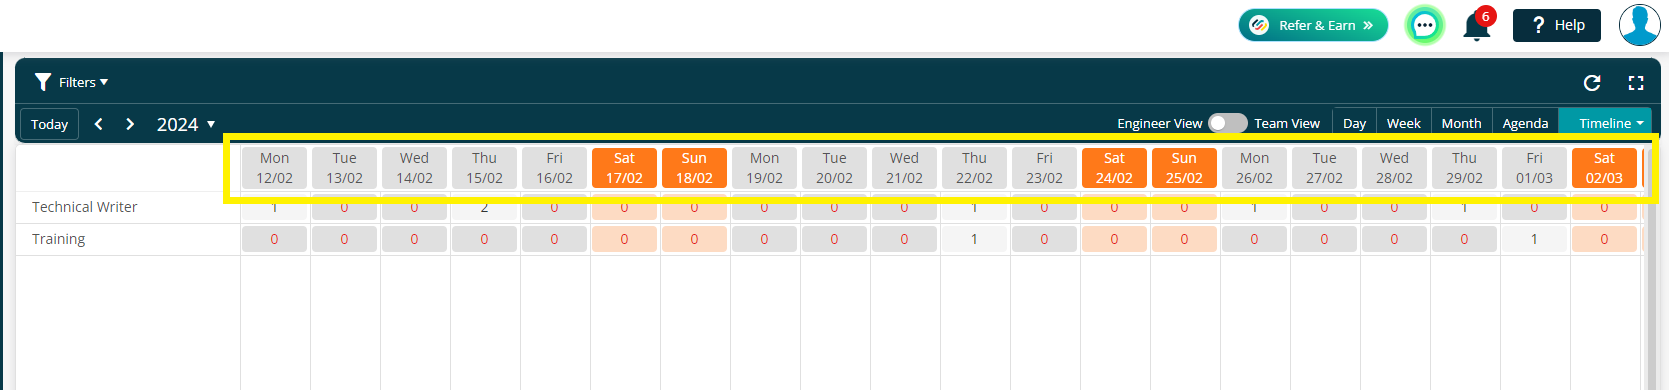
By total daily visits of year
This timeline will show 6 weeks of daily visits at any one time, but you can use the arrows to view previous/future weeks as needed.
You can hover over any number for a quick view of the job cards for the jobs allocated to that day/engineer
If there are more than 2, use the scroll bar to view more jobs.

If you click on a date along the top, Joblogic will transfer you to the full week view for all engineers in your current filtered list
Alternatively, if you click on an individual box, it will highlight that week and show you a ‘View by Selected’ button. You may select up to 10 engineers and then click ‘View by Selected’ to see the week view for those engineer’s only
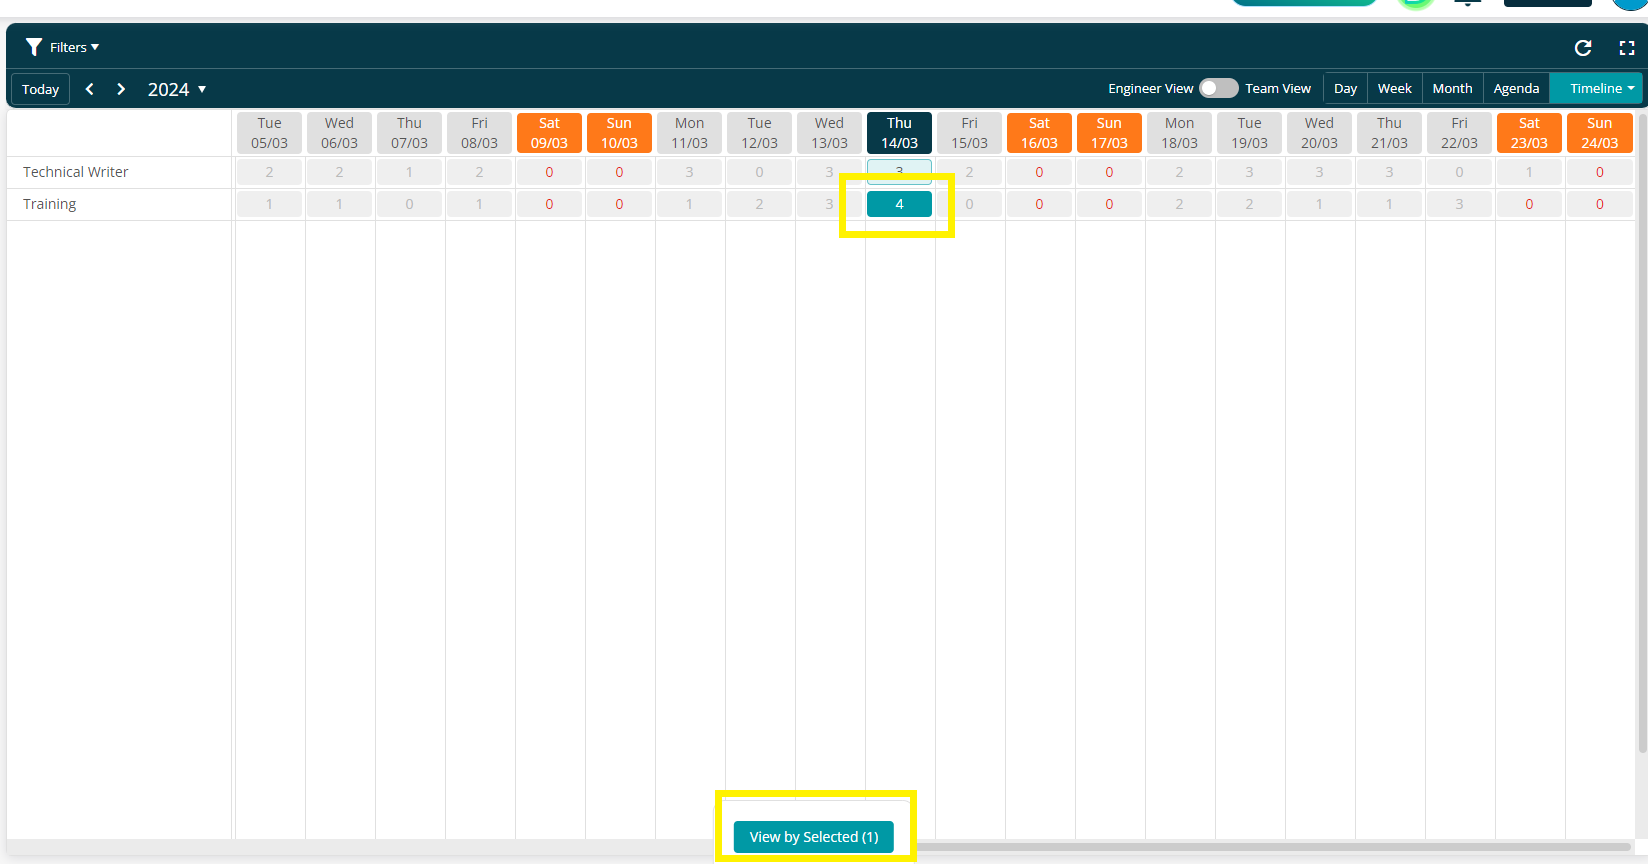
Again, you can get back by clicking ‘Back to Year Report’ at the bottom

Further Support
For further information or assistance with the above, contact our Support Team on 0800 326 5561 or email support@joblogic.com. Alternatively, our Customer Success Management team can be reached by emailing customersuccess@joblogic.com
Publishing Details
This document was written and produced by Joblogic’s Technical Writing team and was last updated on the date specified above. Be aware that the information provided may be subject to change following further updates on the matter becoming available. Additionally, details within the guide may vary depending on your Joblogic account’s user permissions.