- 21 Feb 2025
- 4 Minutes to read
- Print
- PDF
Project Timelines
- Updated on 21 Feb 2025
- 4 Minutes to read
- Print
- PDF
Introduction
Managing projects efficiently requires clear visibility of tasks, milestones, and associated job details. The Project Timelines feature is a comprehensive tool designed to enhance project visibility and optimise workflows. It is designed to streamline project management by allowing users to view, manage, and update project milestones and related jobs from a single screen. It simplifies the process of managing projects, enabling teams to work more cohesively and productively.
This user guide provides a detailed walkthrough on how to access and utilise the Project Timelines feature, helping users improve project organisation, track progress effectively, and enhance overall team productivity.
Purpose of the Feature
The Project Timelines feature was created to address some of the common challenges involved in project management, such as scattered information, lack of clear task ownership, and difficulty in tracking progress. Its purpose is to:
Provide a unified view: consolidate all project milestones, tasks, and associated jobs into a single screen for easier management.
Simplify updates: allow users to make real-time adjustments to timelines and job details without navigating multiple screens.
Enhance collaboration: ensure all team members have access to the same up-to-date information, reducing miscommunication.
Improve efficiency: minimise time spent switching between tools and screens by centralising project management functions.
Support informed decision making: offer clear visual insights into project progress, enabling better prioritisation and resource allocation.
Ensure project updates: The timeline dynamically adjusts as milestones or jobs are added or edited.
Provide an alternative resource view: quickly access and check resource descriptions and allocations within a single area of the system.
Accessing Project Timelines
To use the Project Timelines feature, you must first ensure that you are subscribed to the Projects app and have access to the Joblogic back-office system.
Log in to your Joblogic back-office system. From the main dashboard, navigate to the Projects module via the left-hand menu.
Within the Projects module, select the ‘Project Timeline’ tab to access the feature.
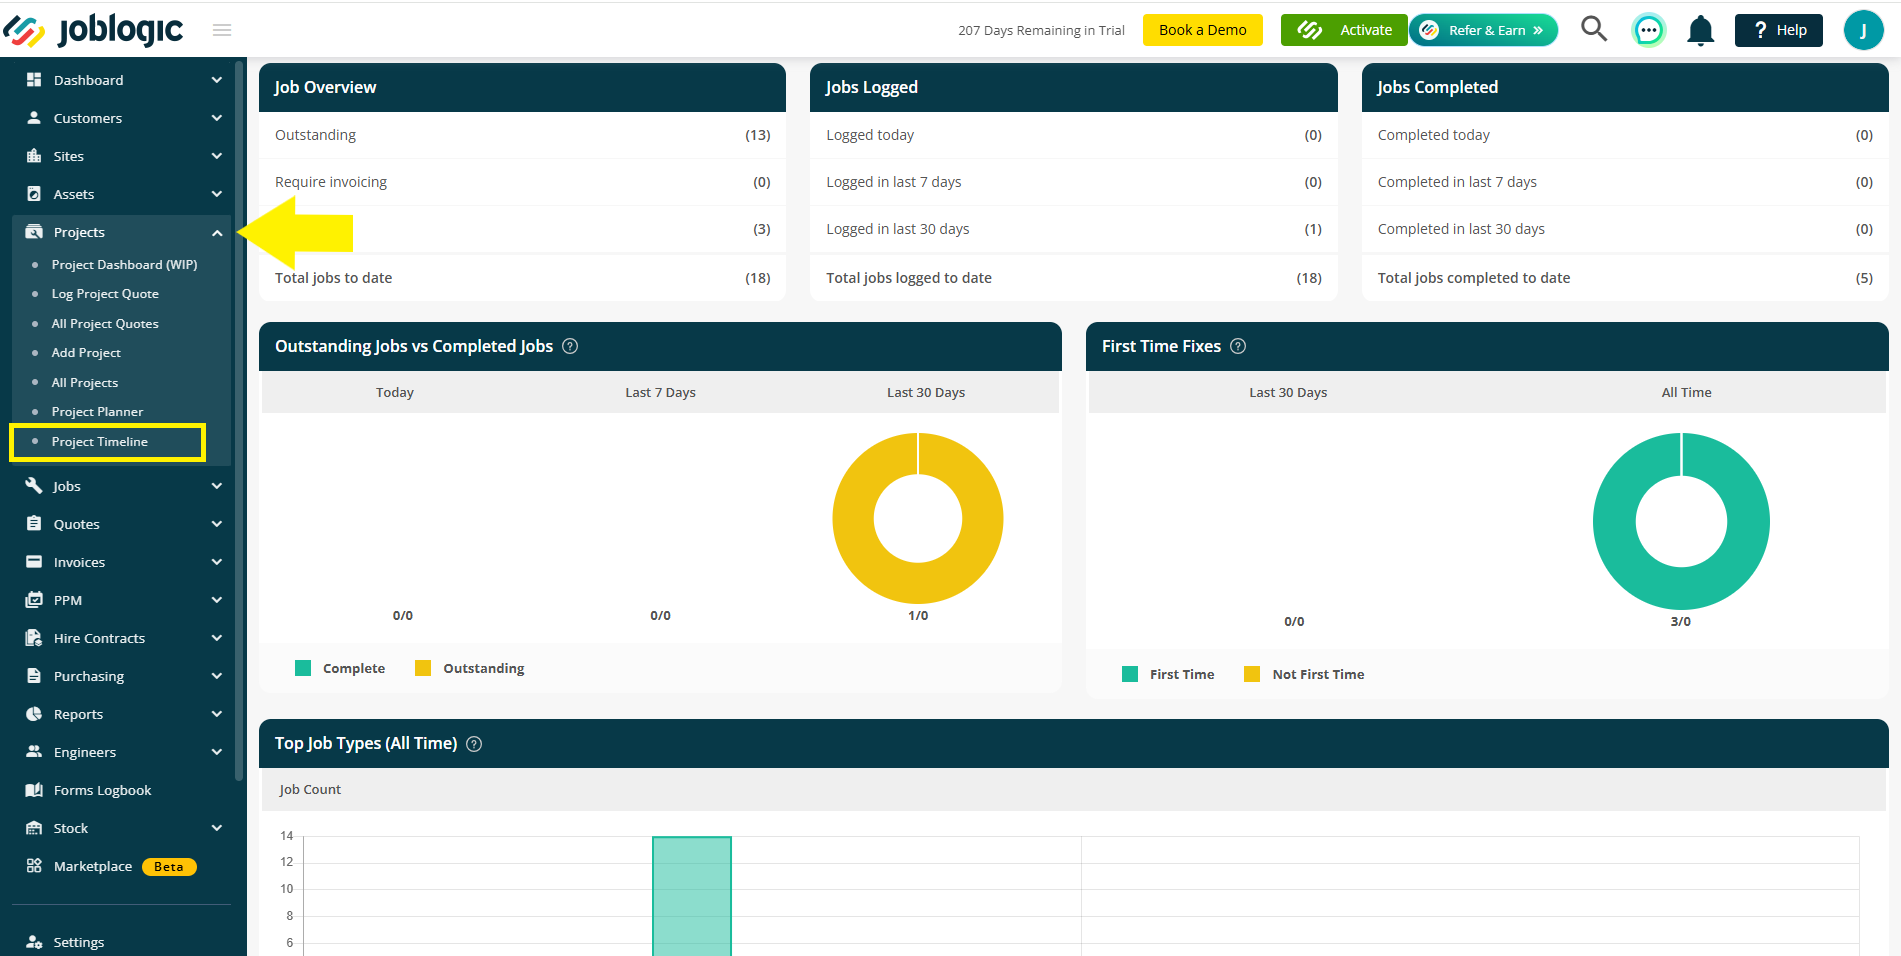
This will take you to the Project Timelines area, where you can view, manage, and create project milestones and jobs within a dedicated area.
Using Project Timelines
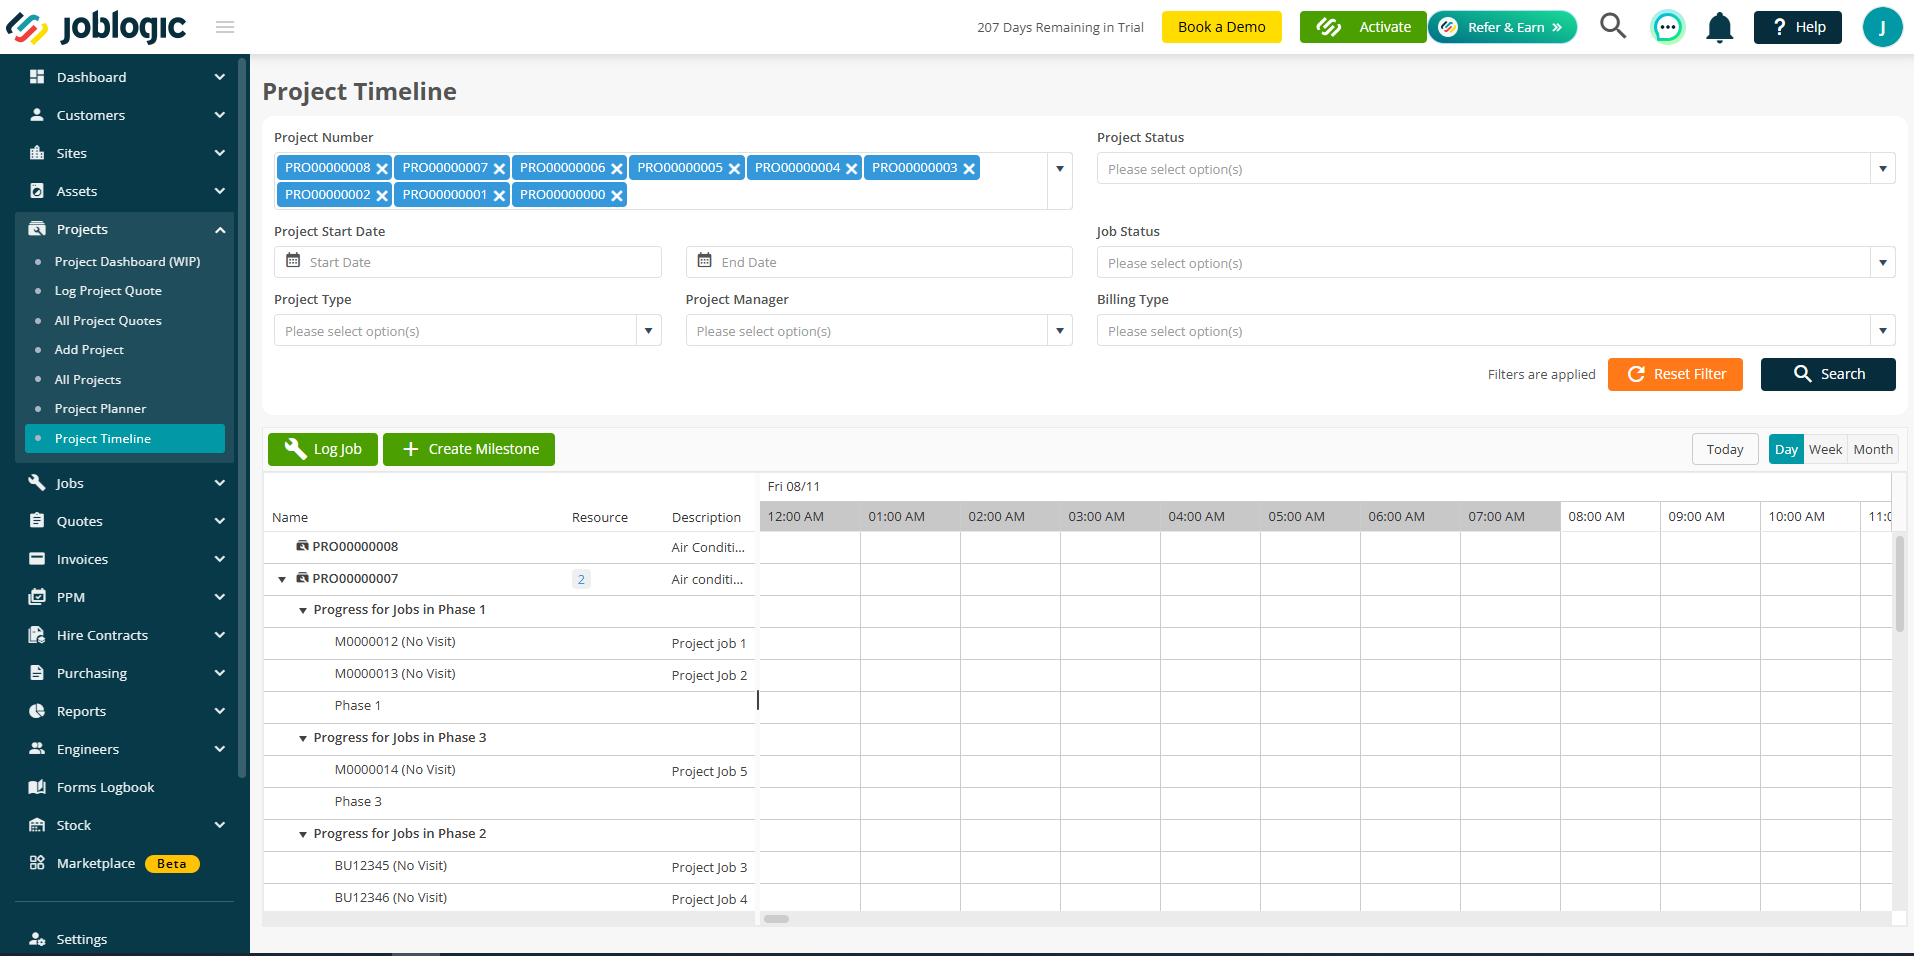
The project timeline area provides a comprehensive, schedule-based view of any project milestones, jobs, and their statuses.
Key elements include:
- A Milestones and Jobs Display, which allows you to view milestones and associated jobs' details within a clear timeline format.
- View Options which can be switched between daily, weekly, and monthly views for improved project tracking.

- Diamond Icons within the timeline view indicating the end of each milestone.

Viewing Milestones and Jobs
The project Timelines page has a search area which can be used to filter which projects you would like to view within the timeline area. Multiple projects can be filtered and viewed at once or the timeline for a single project can be viewed.
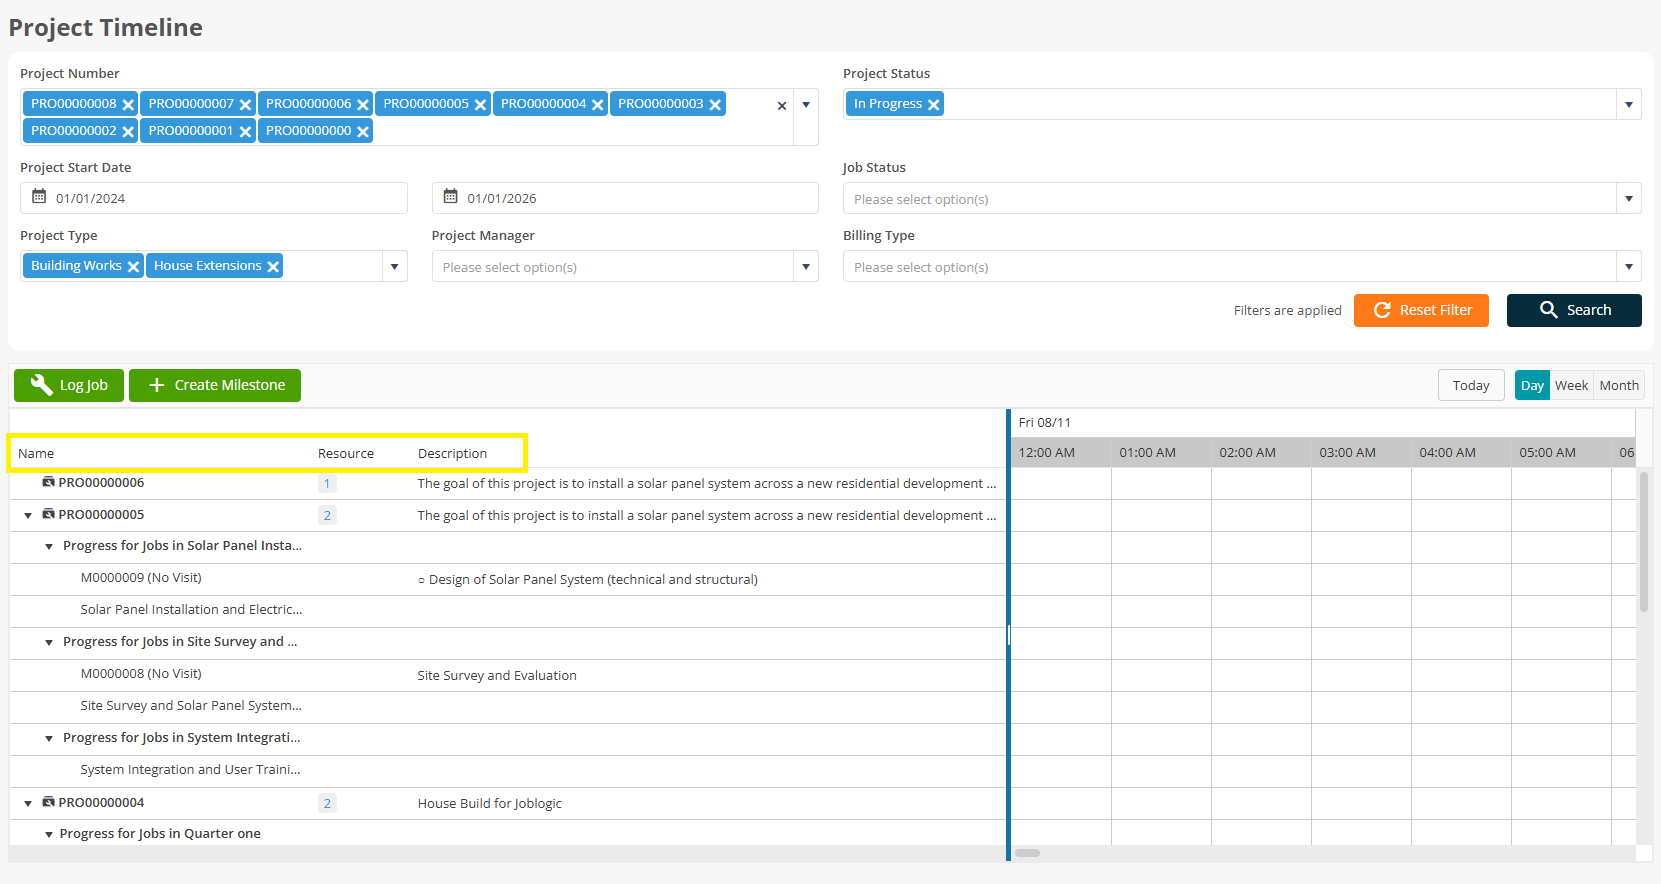
Once your required filters have been selected, the project(s) and its associated jobs and milestones will display within the ‘Name’ area. The resource indicating the number of engineers and the project’s description will also be displayed.
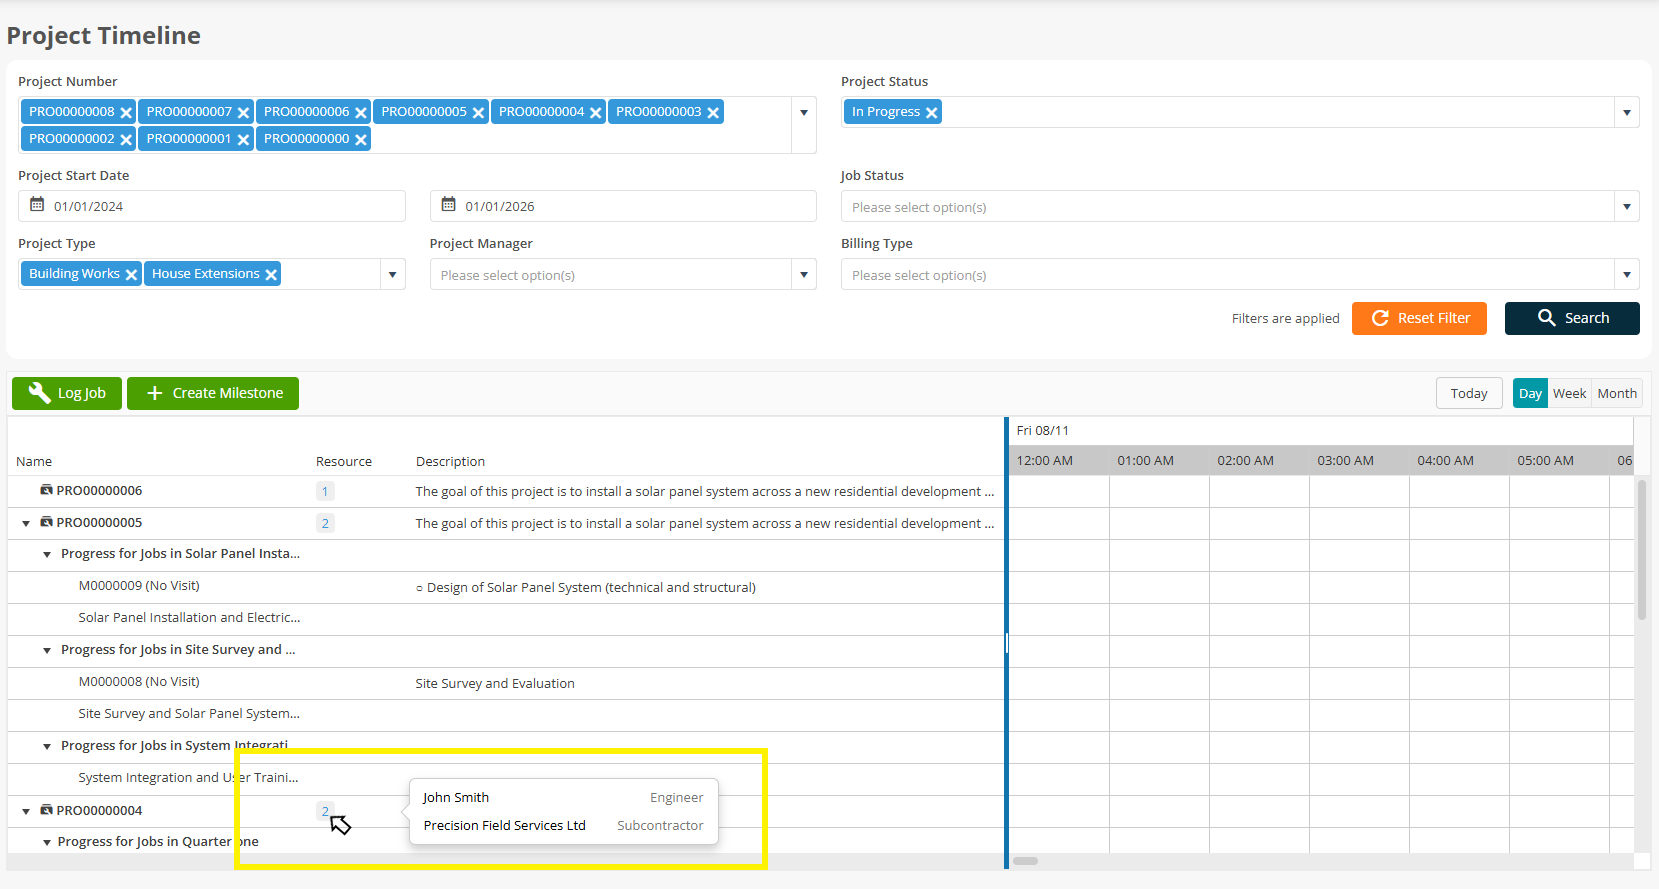
Any assigned resource can be viewed by hovering over the resource number with your mouse.
Projects are listed sequentially with any of their associated milestones and jobs within them, if any. These can be viewed by selecting the drop-down arrow(s).
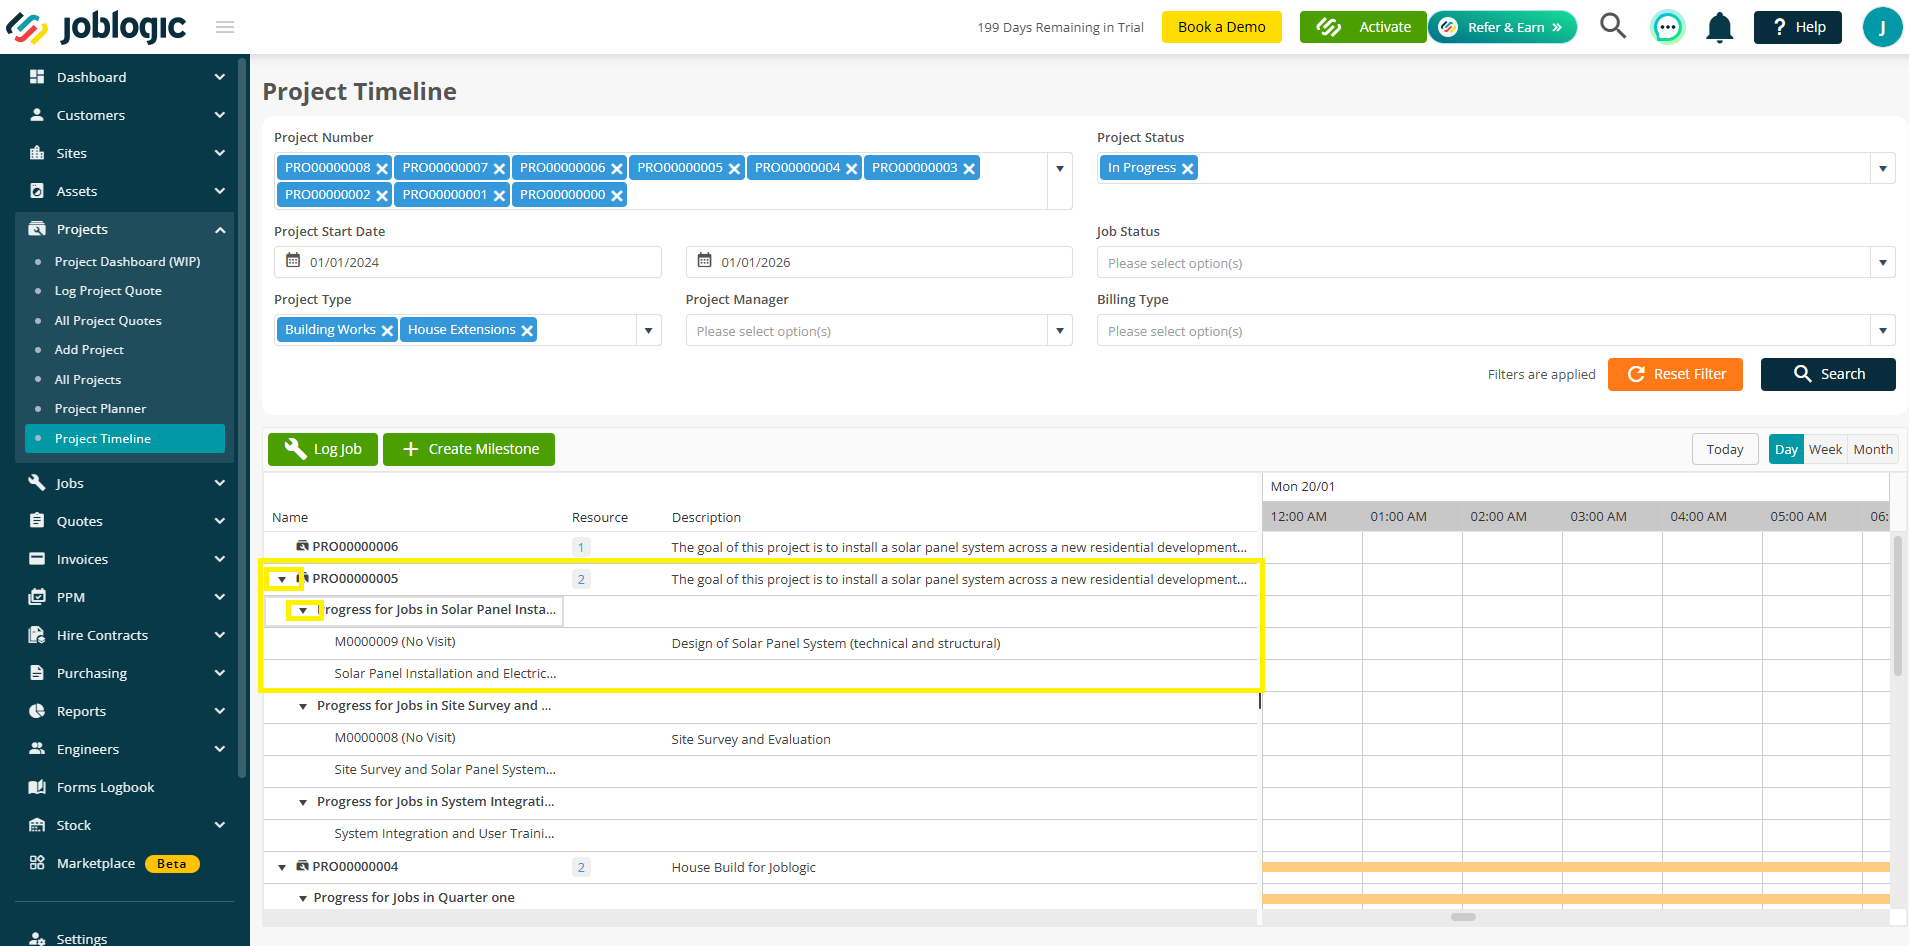
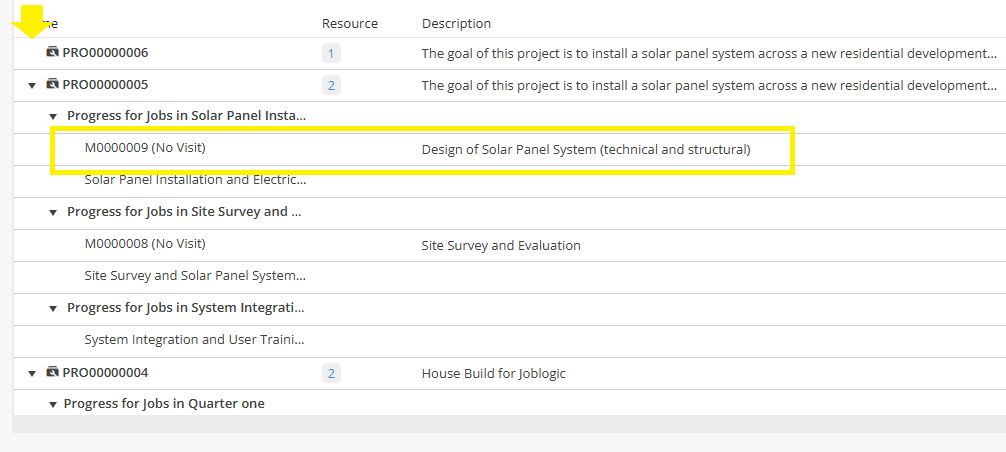
Any projects without an assigned milestone, or any milestones without an associated job, will appear blank in the jobs section. For each job, the job number and details are displayed.
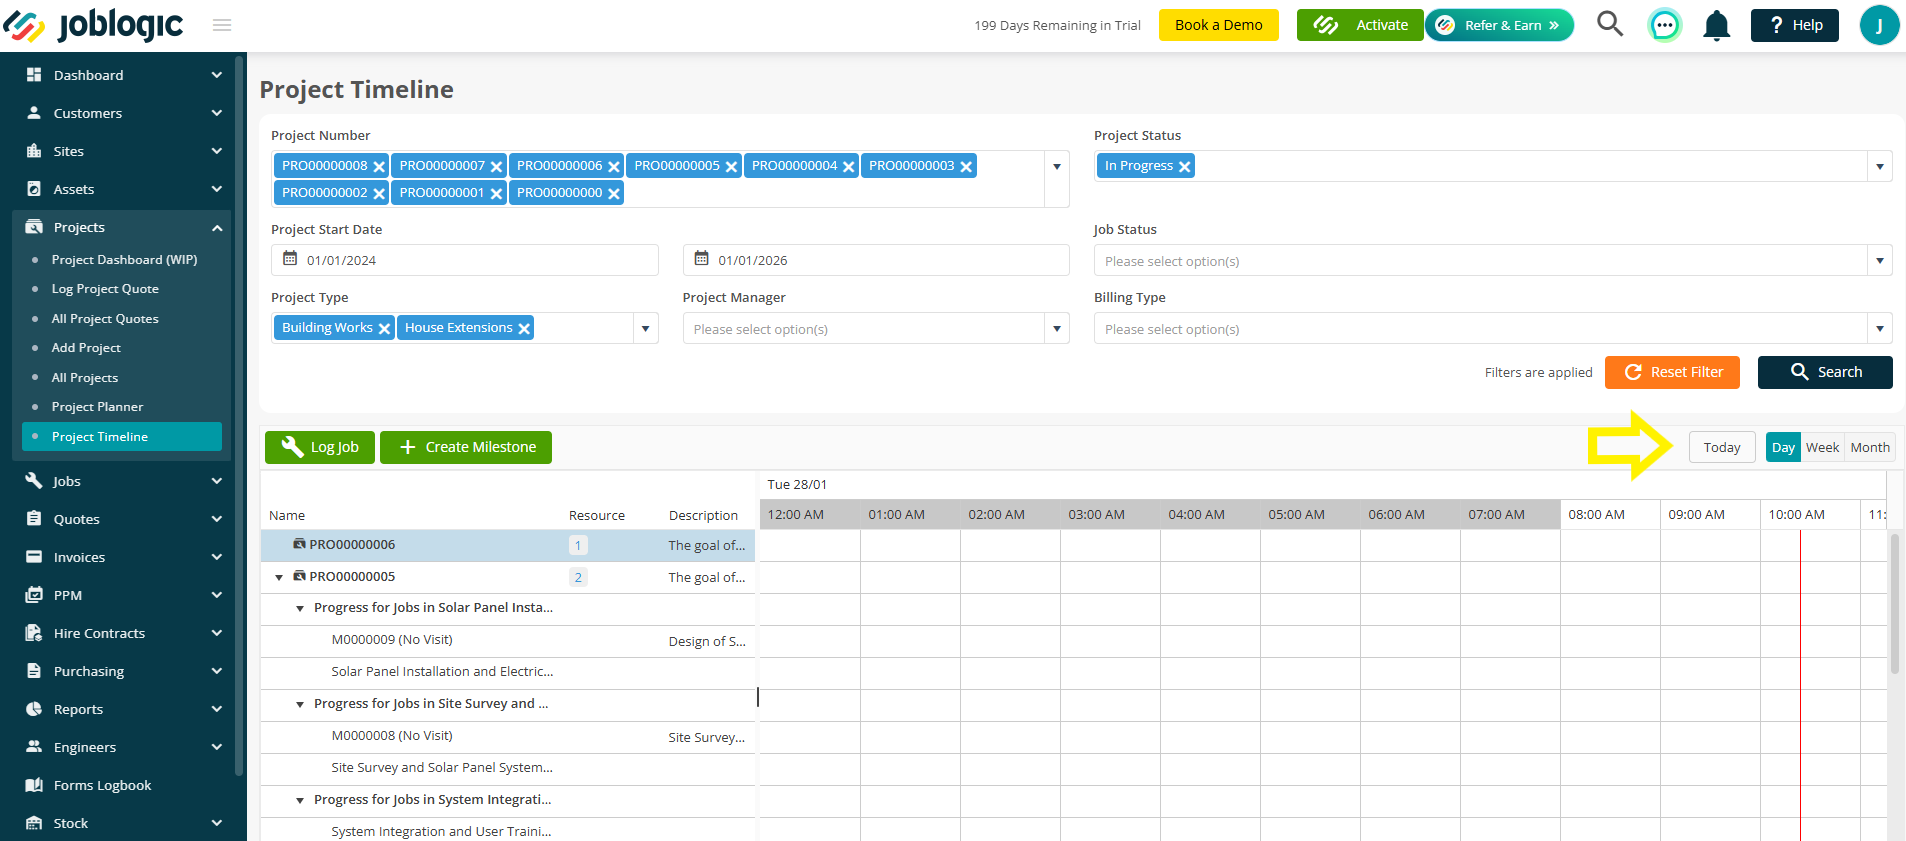
You can switch between the different timeline views to suit your needs. Select the desired view using the different view buttons towards the top right corner of the timeline grid. Below is a description of each view:
Today View: Presents items for the current day. Resets the view filter to the present date.
Day View: Provides a detailed breakdown of milestones and jobs for a single, selected day.
Week View: Displays a weekly overview for broader project tracking.
Month View: Offers a high-level view of project milestones and timelines for each month.
.
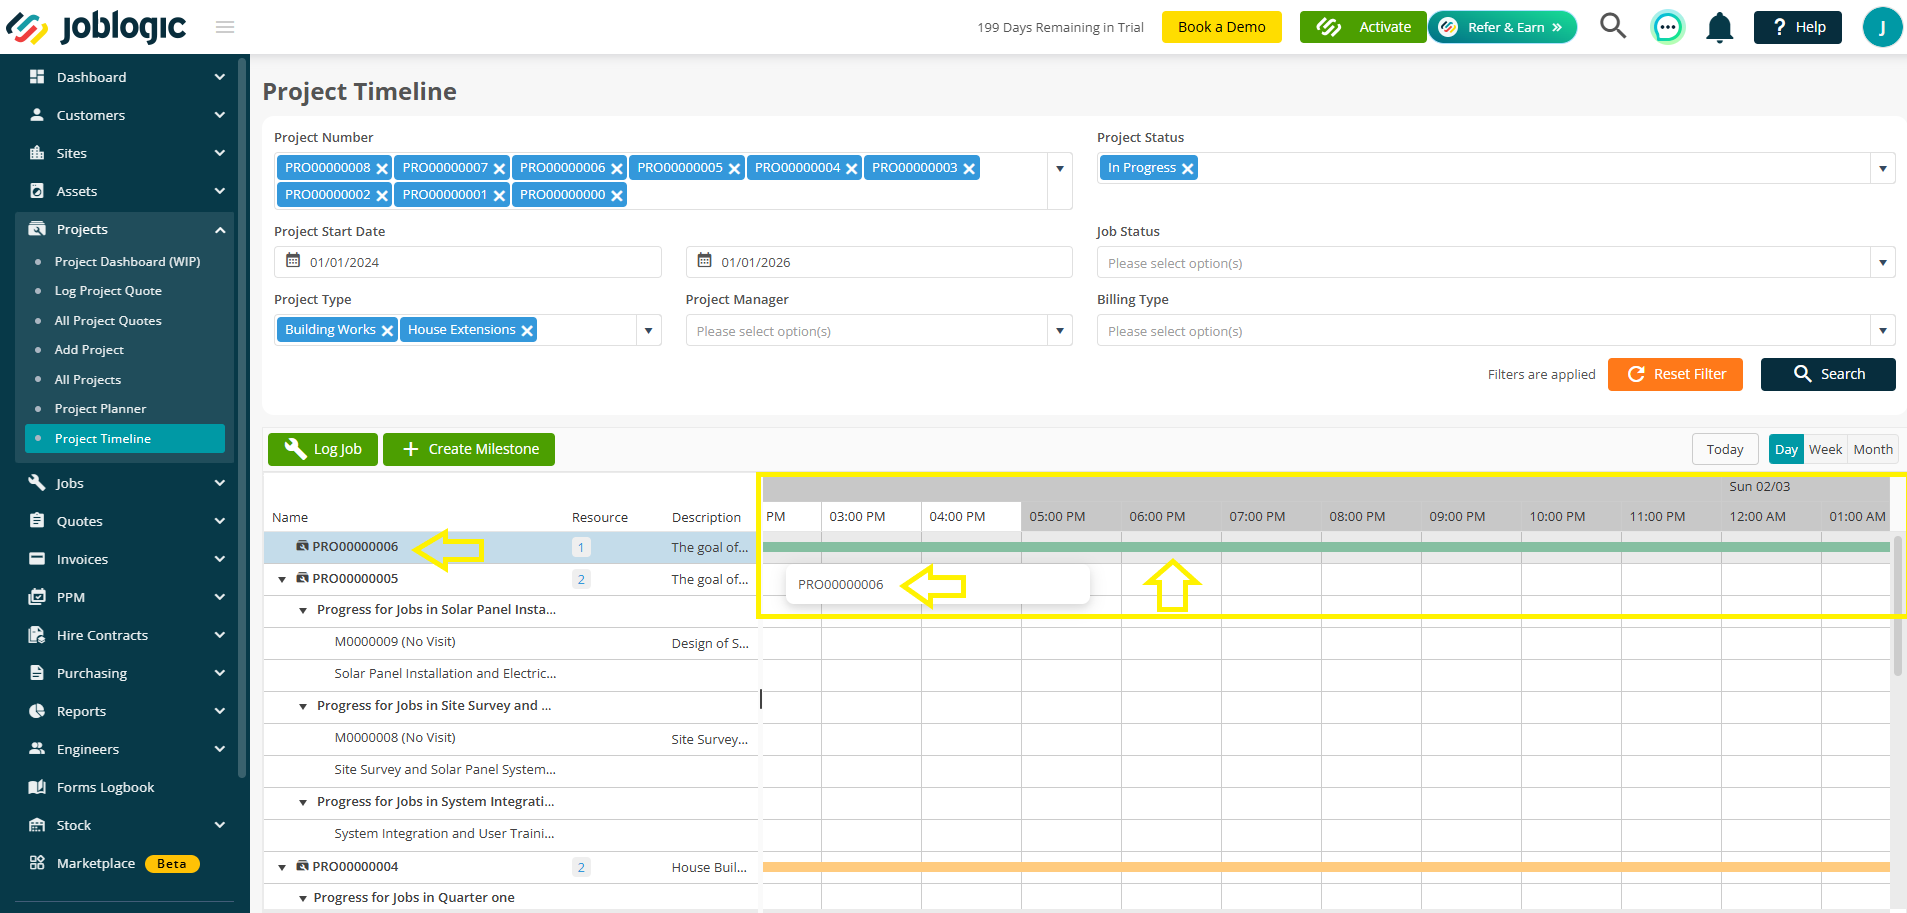
Any items for the project are then displayed within the timeline grid as applicable based on the view assigned.
Logging a Job from the Project Timelines Page
You can log any project jobs directly from the timeline page via the ‘Log Job’ button.
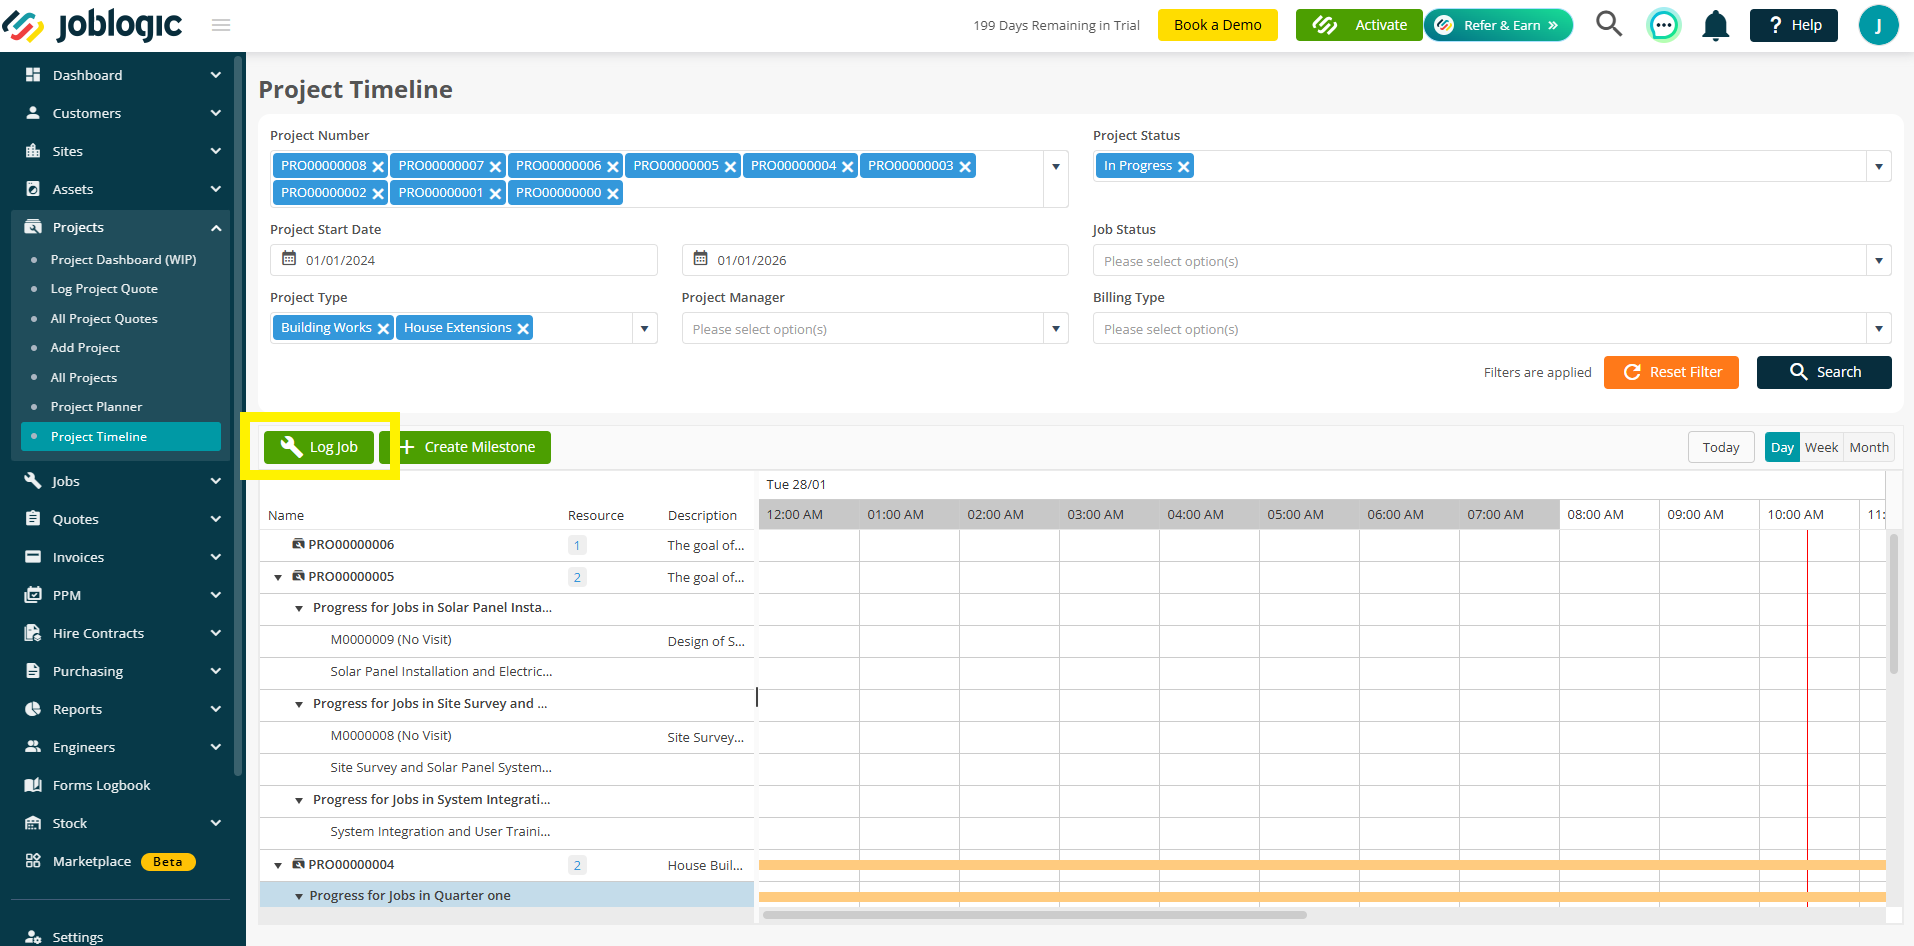
Logging a project job from the Project Timelines page is a quick and intuitive process designed to streamline project planning. It follows the same process as logging a general job, with the only differences being the access point (allowing for convenience within the timelines page) and the inclusion of a ‘Milestone’ field.
Please refer to our ‘Associating a Job to a Milestone when Logging a Project Job’ user guide for details on project job logging within Joblogic.
Once the job is logged, it will appear against its associated milestone on the timeline grid.
Creating a Milestone from the Project Timelines Page
You can log any project milestones directly from the timeline page via the ‘Create Milestone’ button.
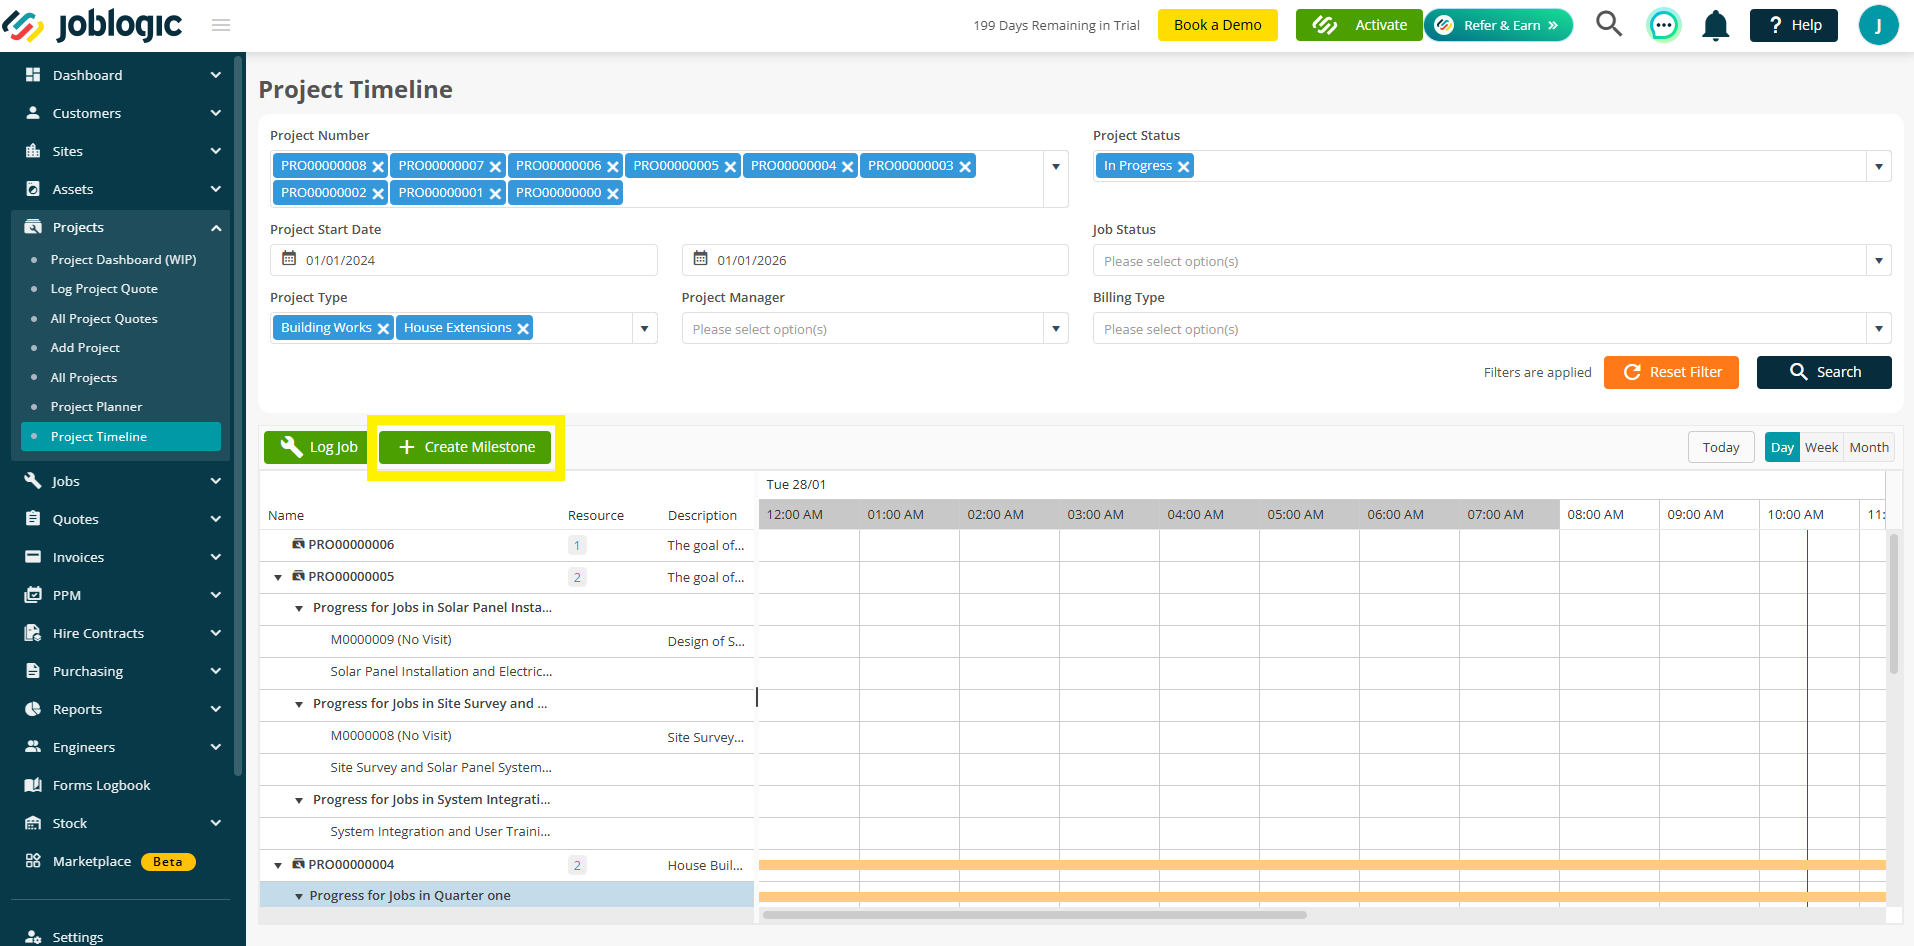
Creating a milestone from the Project Timelines page is a quick and intuitive process designed to streamline project planning. It follows the same process as logging a milestone within the project’s milestones area, with the only difference being the access point allowing for convenience within the timelines page.
Please refer to our ‘Project Milestones’ user guide for details on creating project milestones within Joblogic.
Once saved, the milestone will appear within the timeline view, visually mapped alongside its associated jobs for enhanced project tracking.
Further Support
For further information or assistance, contact our Support Team on 0800 326 5561 or email support@joblogic.com. Alternatively, reach out to our Customer Success Management team via customersuccess@joblogic.com.
Publishing Details
This document was written and produced by Joblogic’s Technical Writing team and was last updated on the date stated above. Be aware that the information provided may be subject to change following further updates to the feature or new system releases. Additionally, details within the guide may vary depending on your Joblogic account’s user permissions and settings or the device being used.


