Introduction
The ability to create PO templates and link them to suppliers is a great tool to increase efficiency within your workflow. You can use set templates against your suppliers to log POs with just a few clicks.
Setting up Purchase Order Templates
To set up PO templates, you can navigate to Settings > Library > Purchase Order Templates
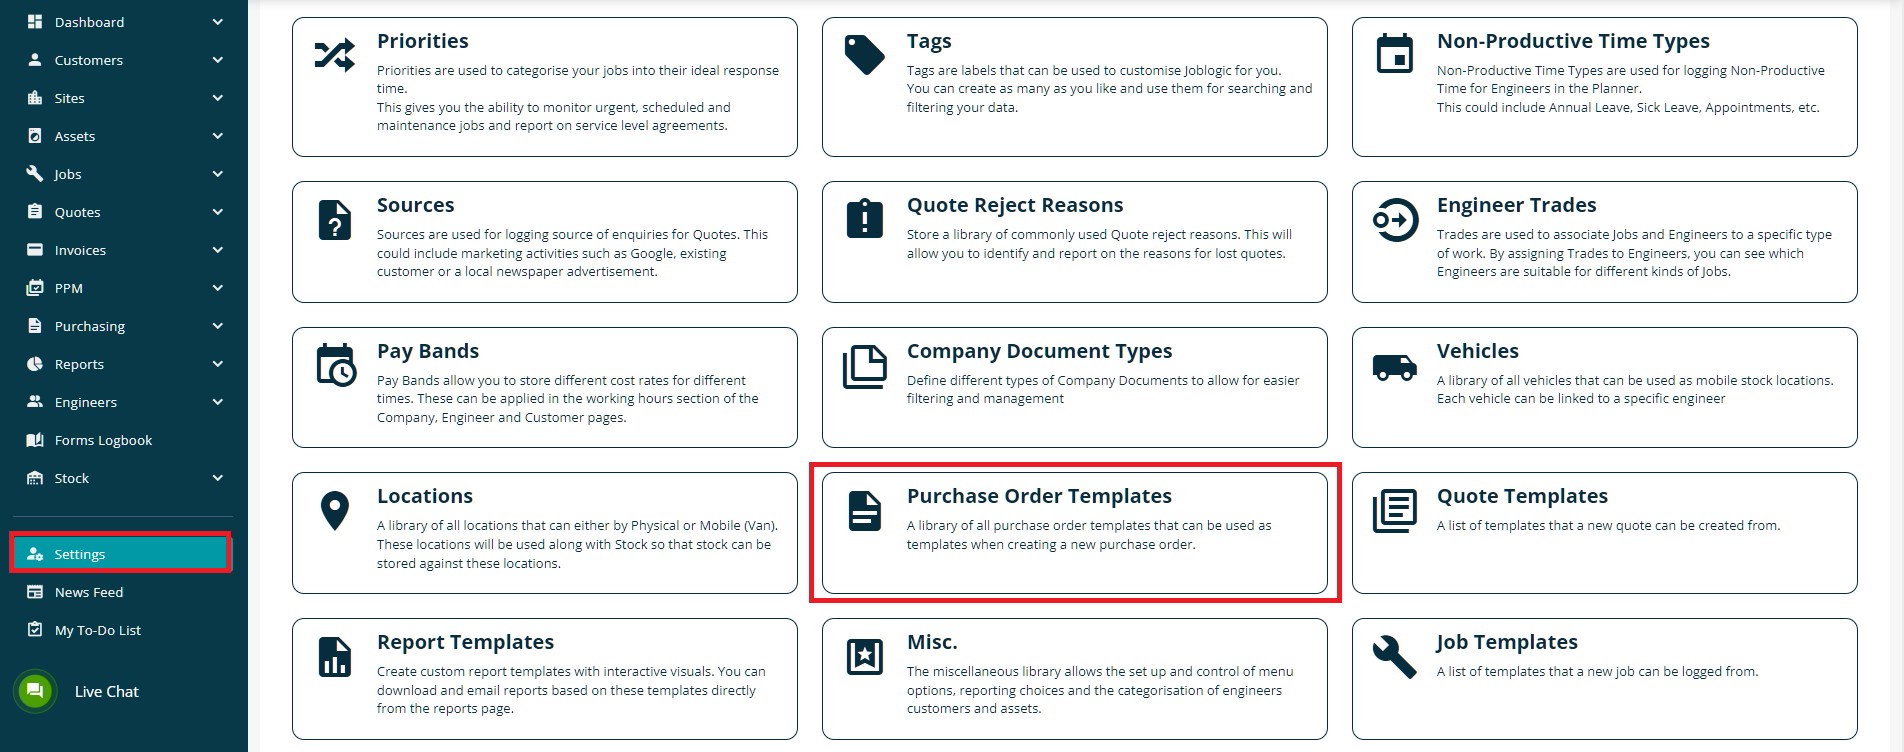
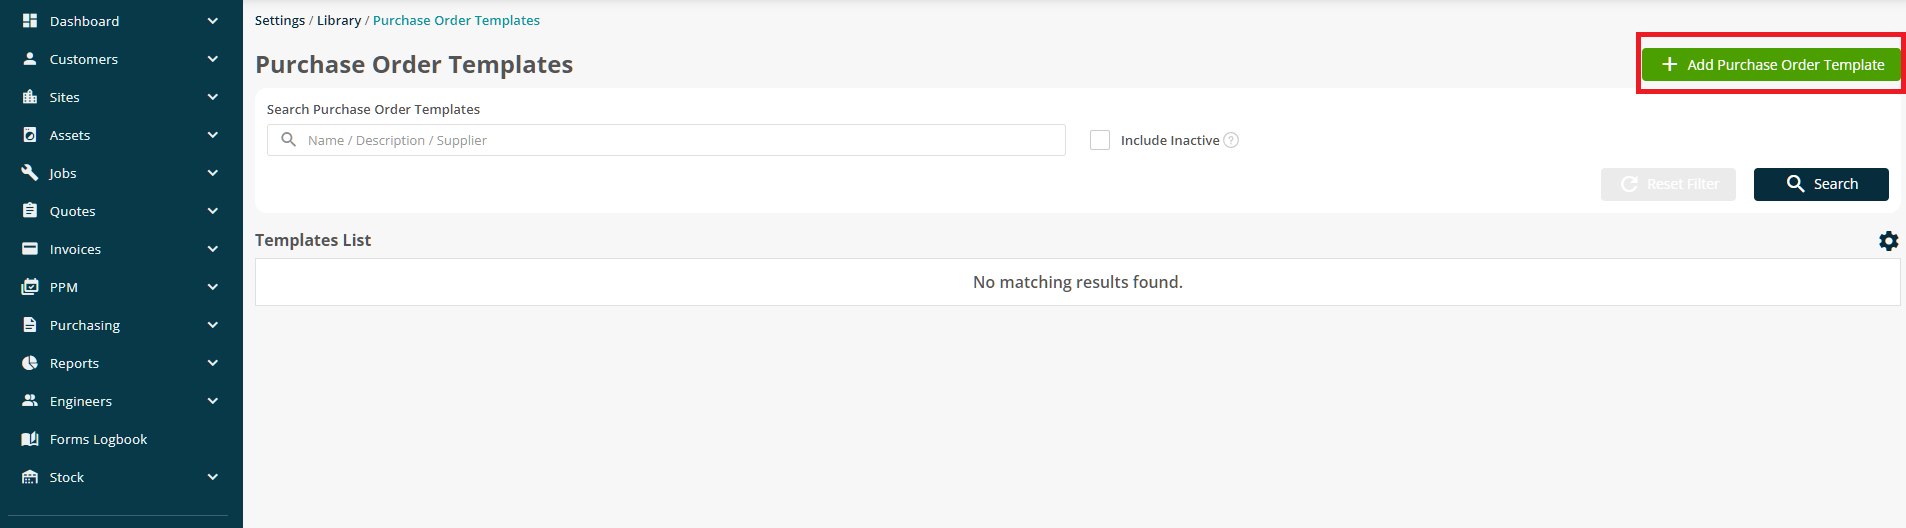
Next, you can select the “Add Purchase Order Template” option from the top right of the page
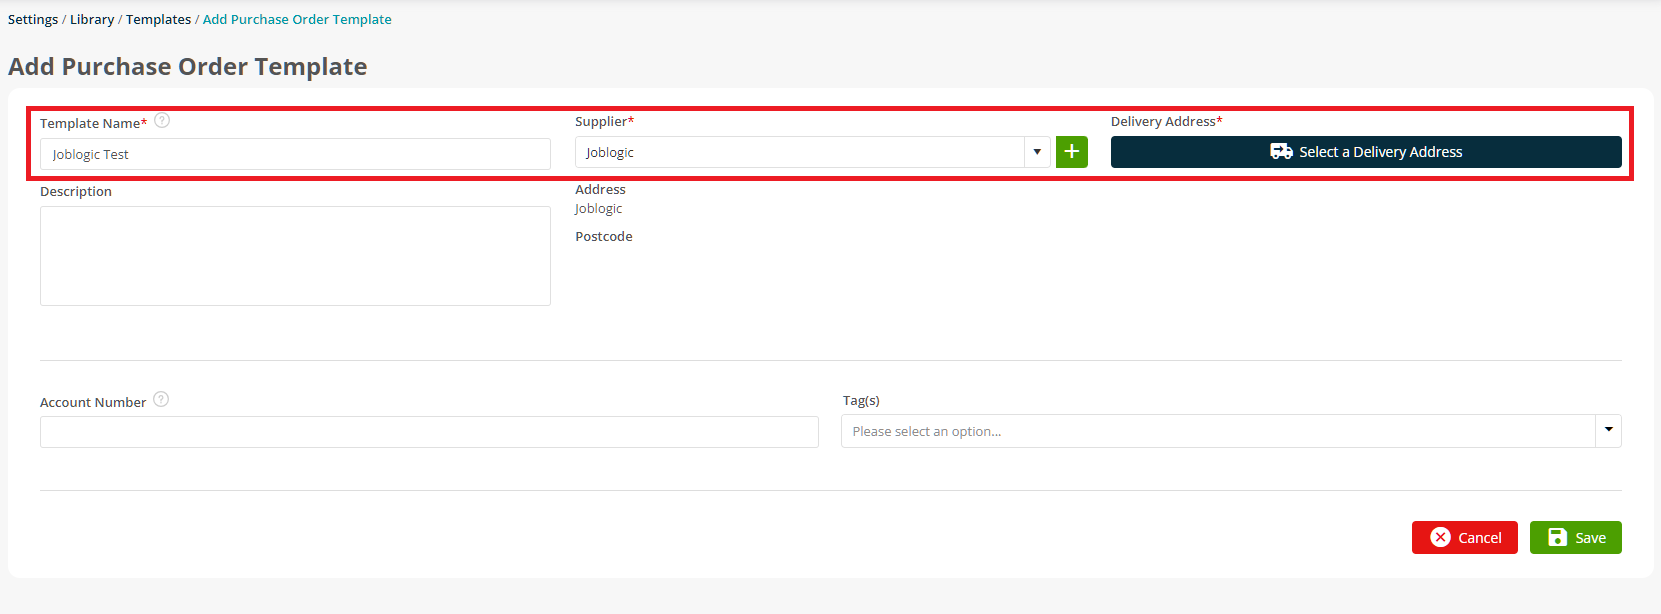
On the add purchase order template screen you will be required to set up a Name for your template, select a Supplier you want the template linked to and select the Delivery Address, you also have the option to add a Description, Account Number and Tags but these are non-mandatory fields.
Selecting the “Save” option will take you to the template details page where you can either add in more details or edit the existing ones.
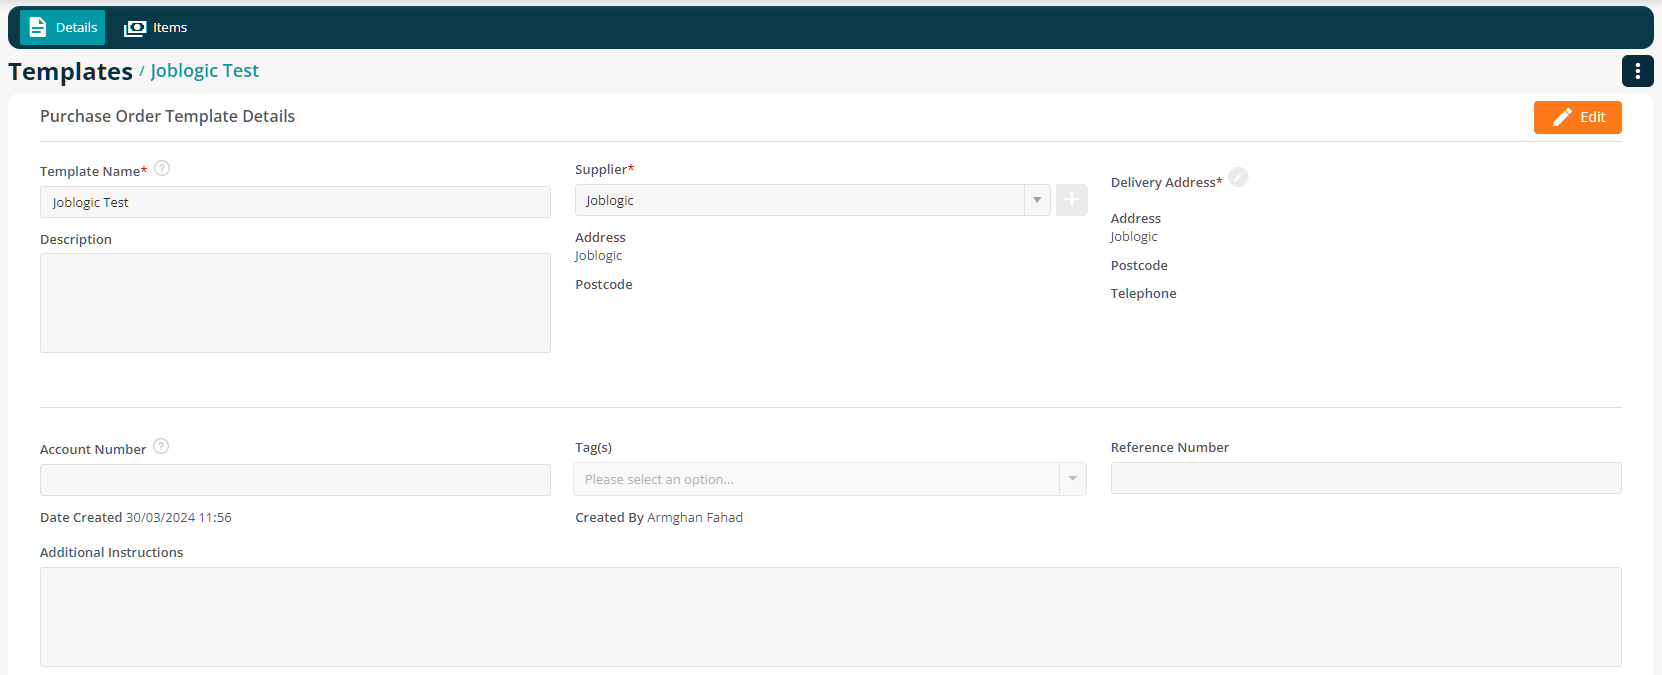
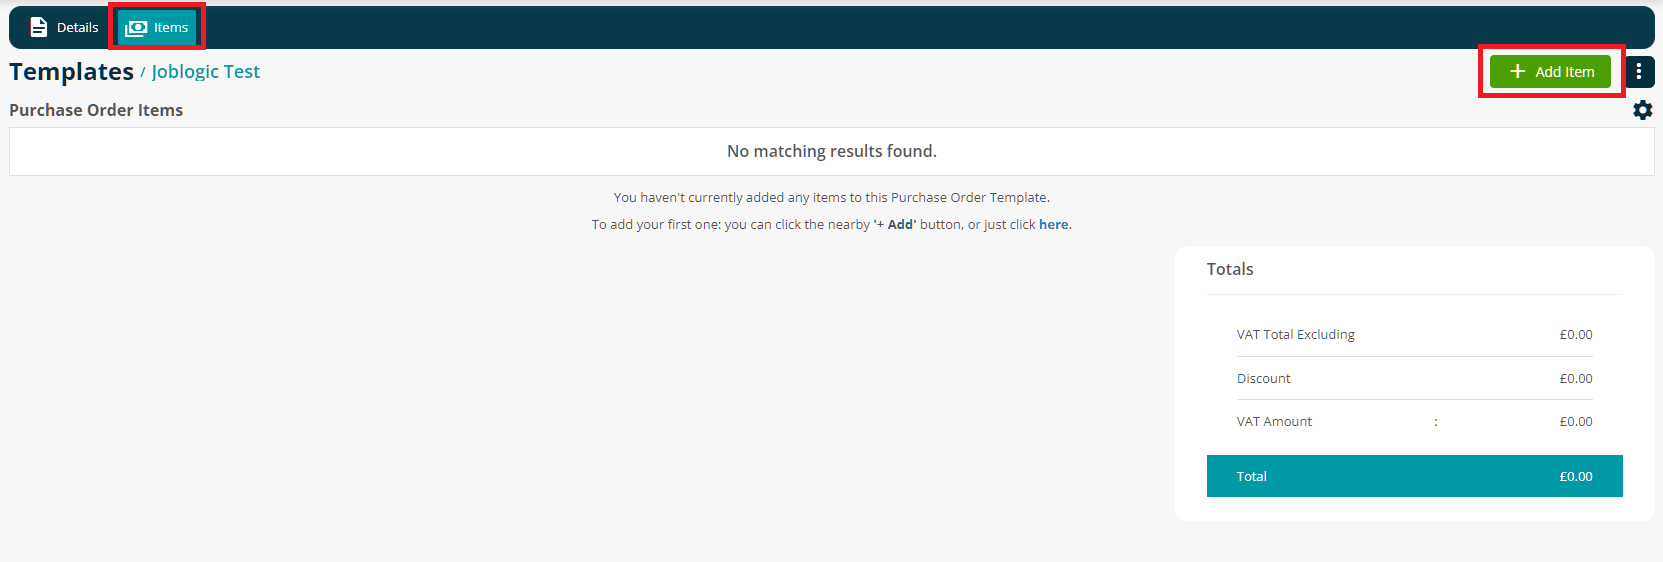
Once everything is set up on the details page, you can move onto the “Items” tab where you can add the parts/equipment against the template. This means whenever a PO is logged using this template the items will be prepopulated. You can click on the “Add Item” button to get started.
This will open a pop-up window through which you can add parts/equipment to the items section of the PO template. You can add details like Quantity, Cost, Discount, Tax Rate, Description and Nominal code for that item.
(
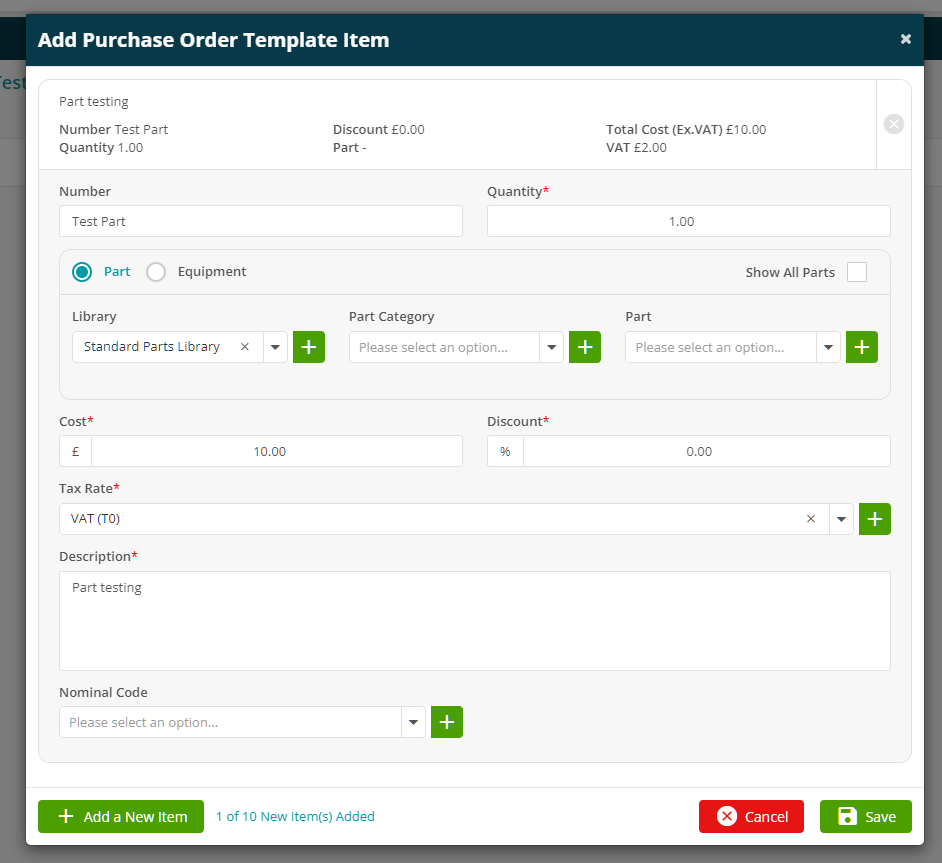
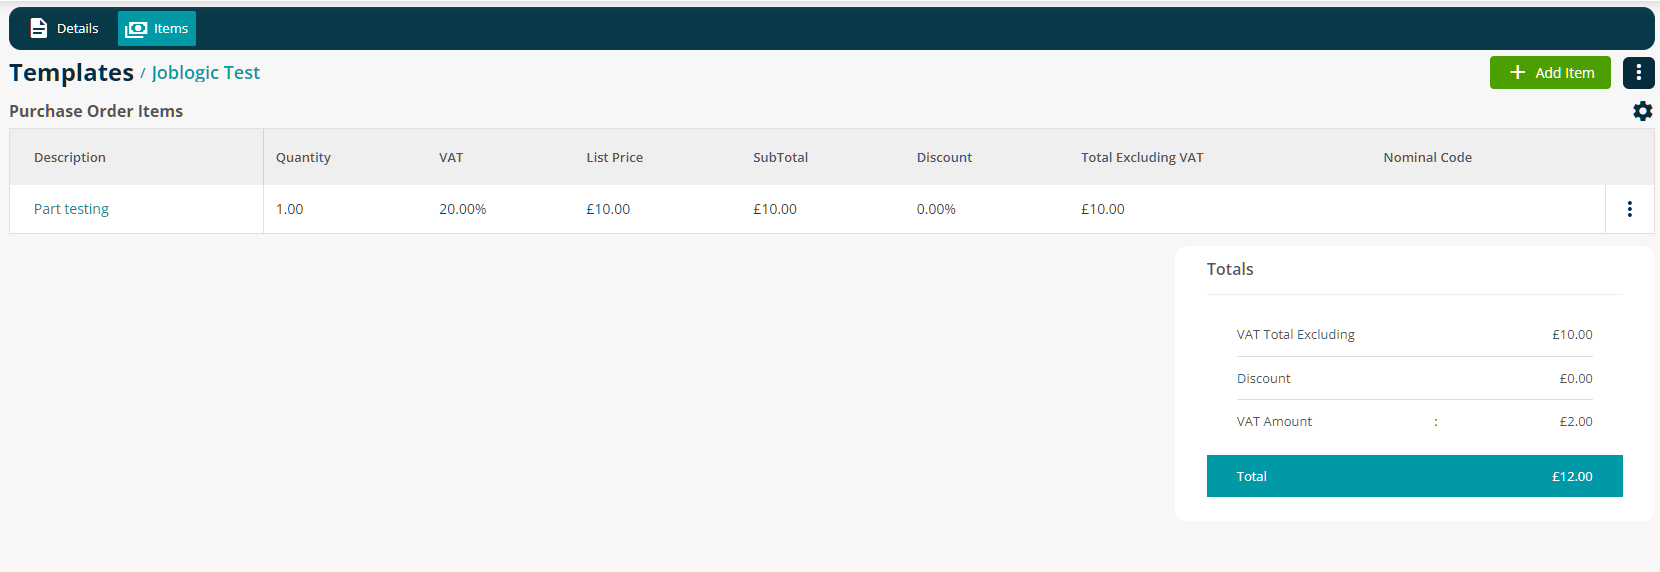
Clicking the “Save” option will add that item to the PO template.
Logging PO from a Template
To log a PO from a template, simply navigate to your job via Jobs > All Jobs > find the relevant job number > History tab > Supplier Purchase Orders

Next, click Add Supplier Purchase Order from the top of your screen

This will take you to the “Add Purchase Order” screen, where you can then tick the “Add Purchase Order from Template” box
Select the necessary template from the dropdown list to auto populate the fields with your previously set up data.
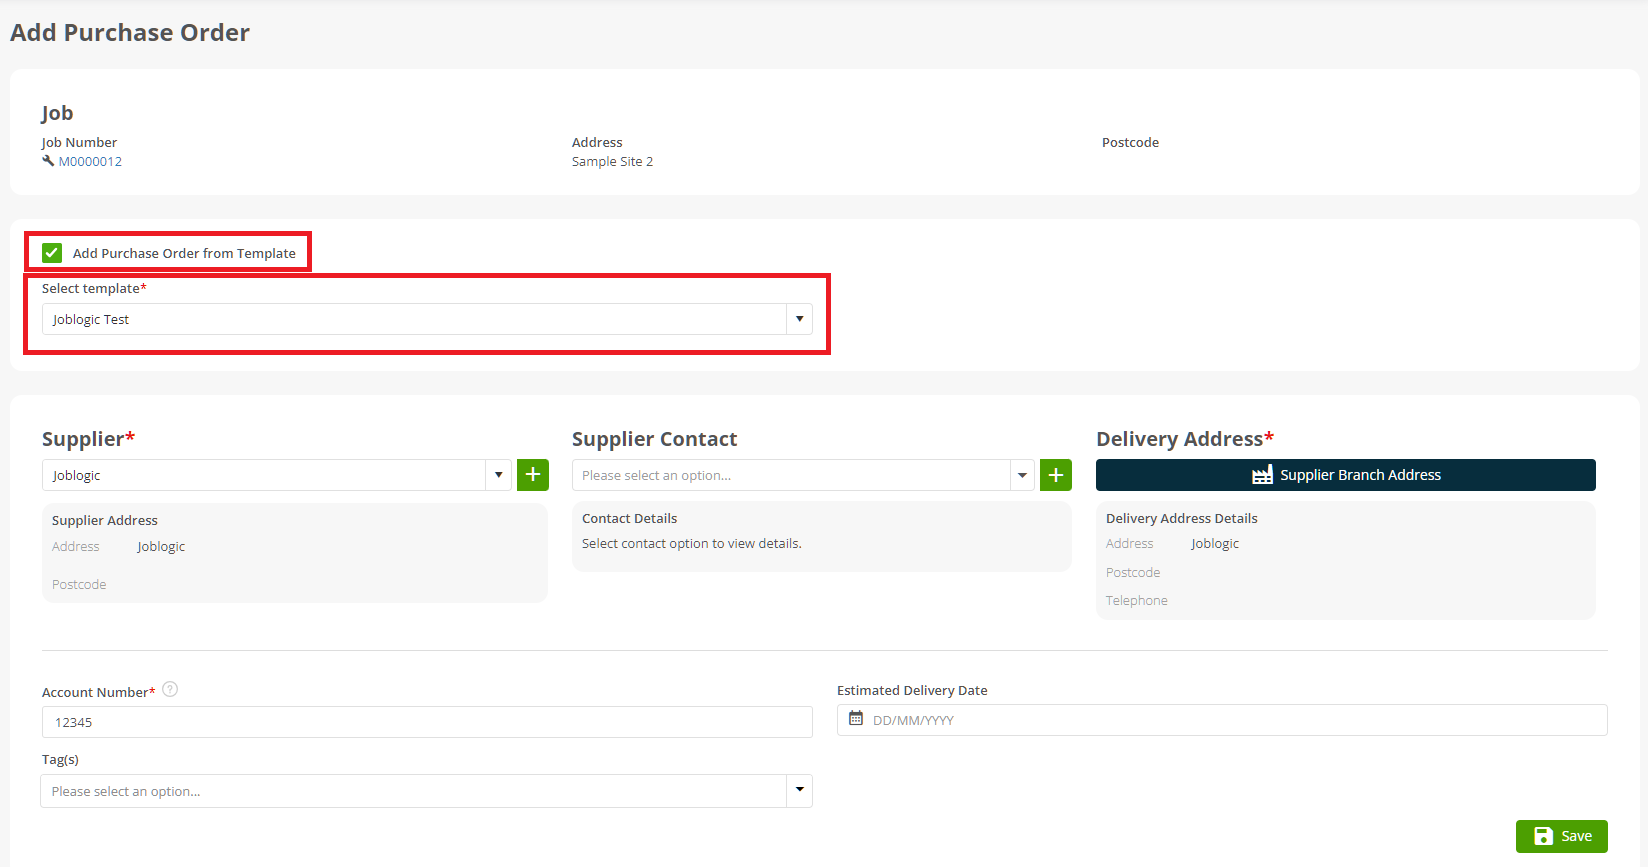
You can still make amendments here if required. This will not affect the Template itself and will only be updated for this particular Purchase Order
Click Save when you are happy with the details and your Purchase Order has been created
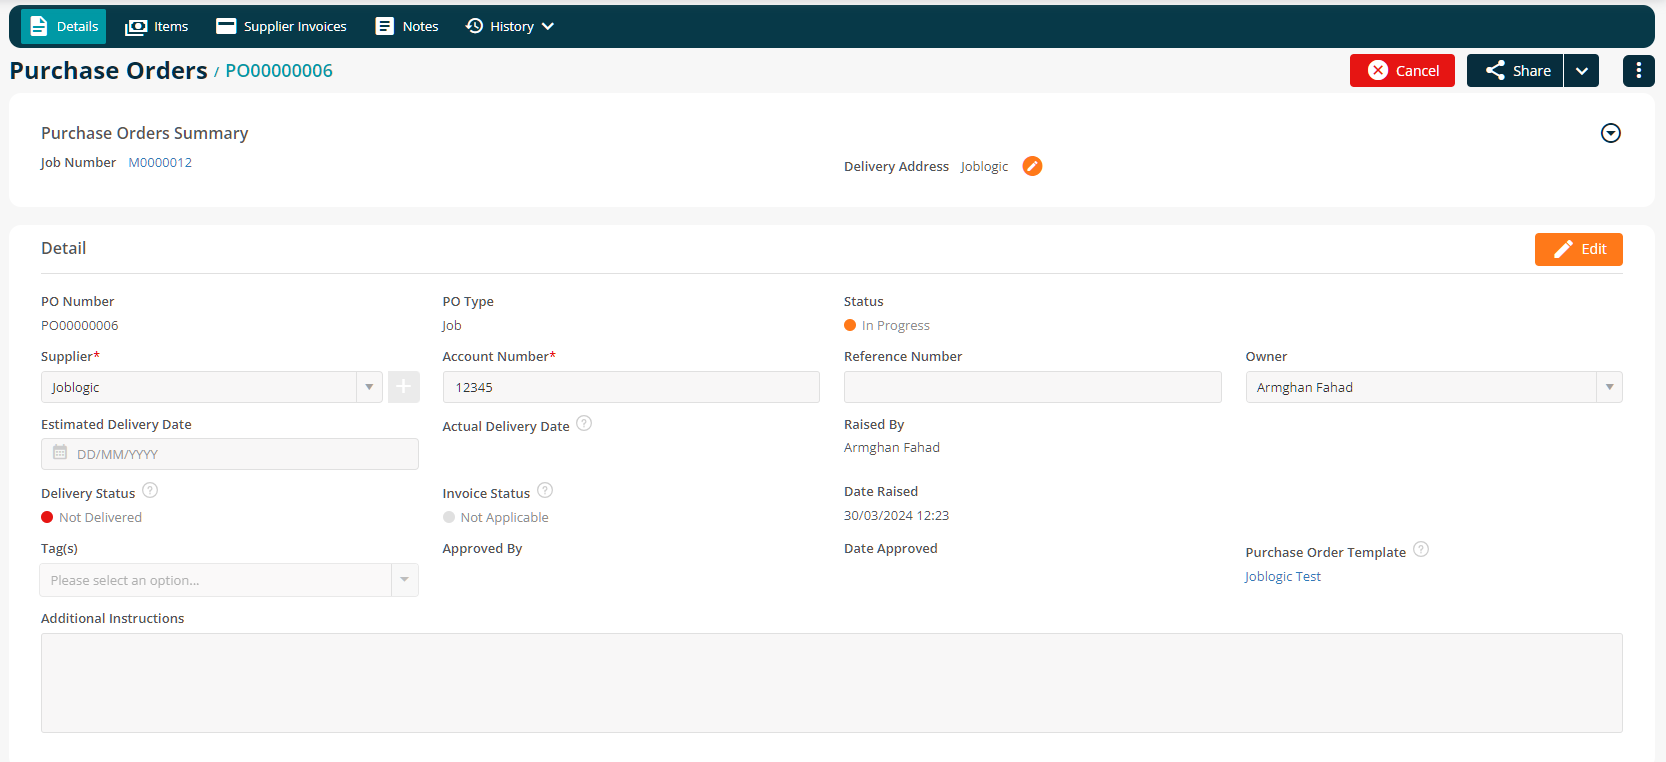
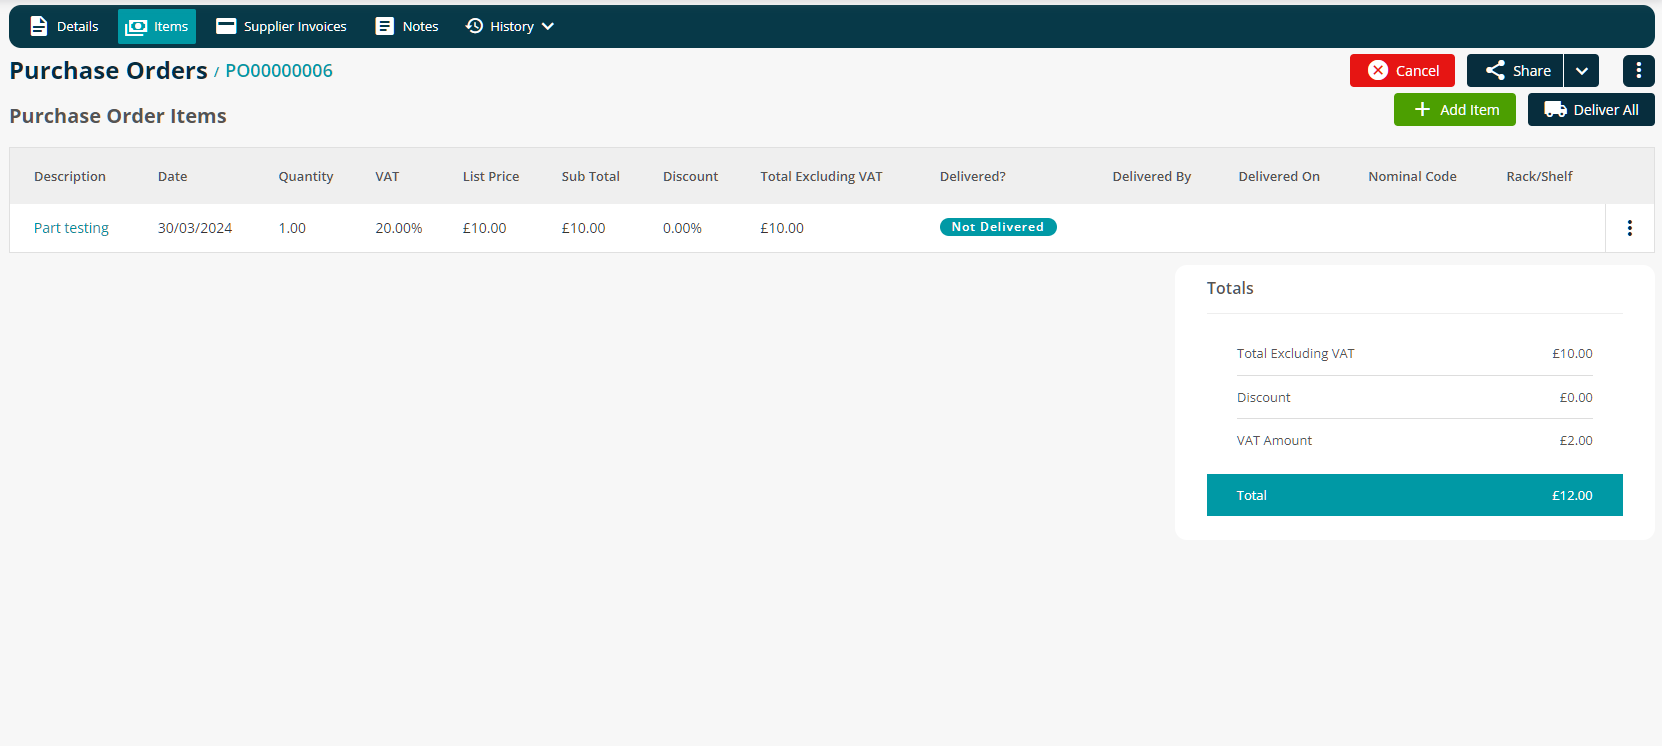
Any items that you added to your initial Template will now be visible in the Items tab
If you wish to learn more about logging a Purchase Order from scratch, please click here.
Further Support
For further information or assistance with the above, contact our Support Team on 0800 326 5561 or email support@joblogic.com. Alternatively, our Customer Success Management team can be reached by emailing customersuccess@joblogic.com
Publishing Details
This document was written and produced by Joblogic’s Technical Writing team and was last updated on the date specified above. Be aware that the information provided may be subject to change following further updates on the matter becoming available or new releases within the system. Additionally, details within the guide may vary depending on your Joblogic account’s user permissions and settings or the electronic device being used.