Introduction
Joblogic allows you to set up and take deposits from your customers. This can be done through a Stripe integration or manually on the quote/job.
This guide will help you with setting up your integration (Stripe only) and walk you through a couple of ways to take a deposit.
Setting up your Stripe Integration
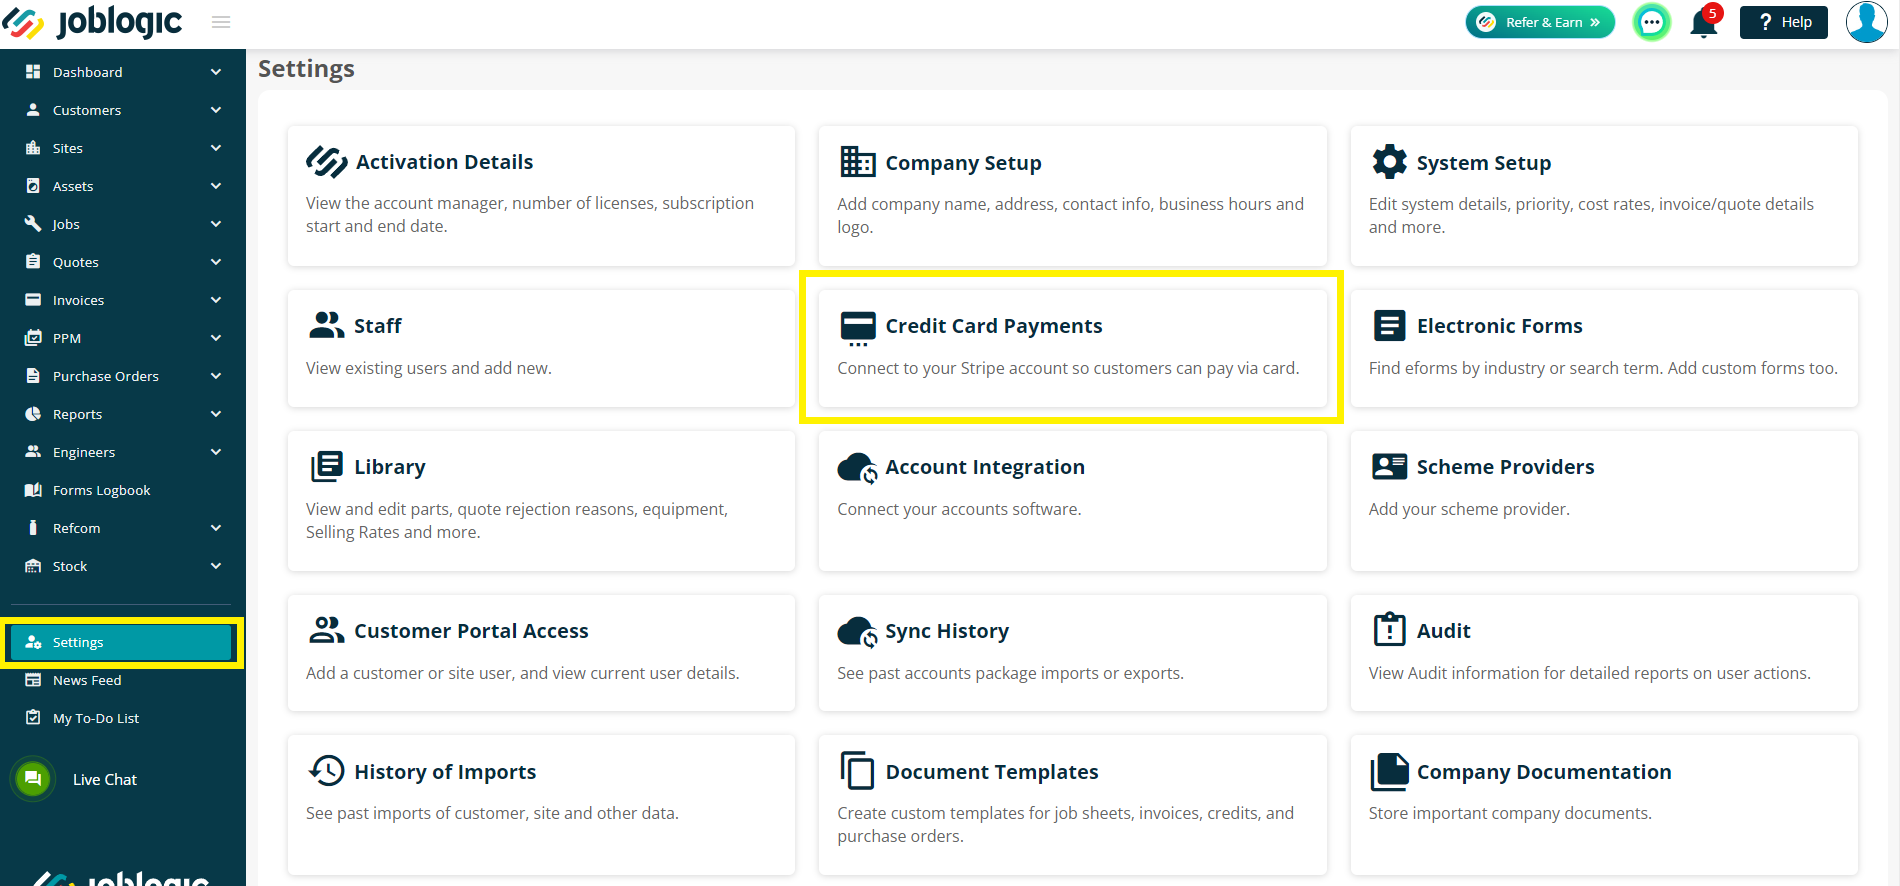
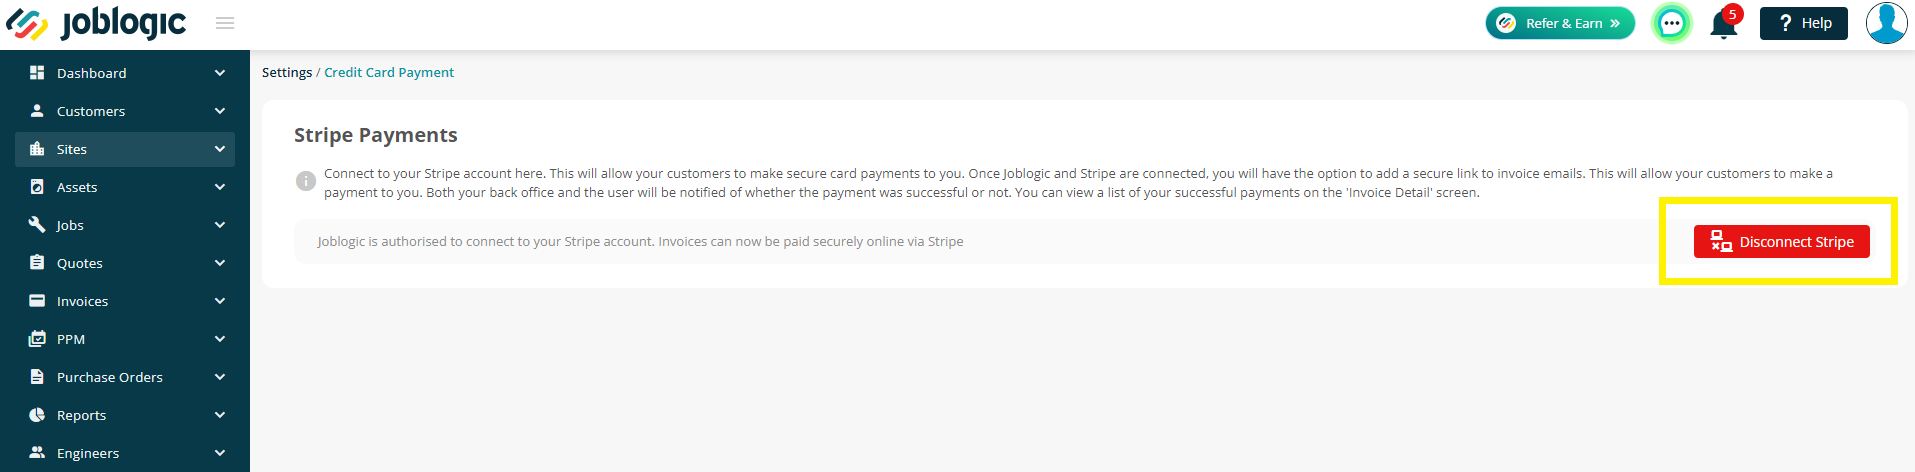
To set up your Stripe account with joblogic, firstly navigate to Settings > Credit Card Payments
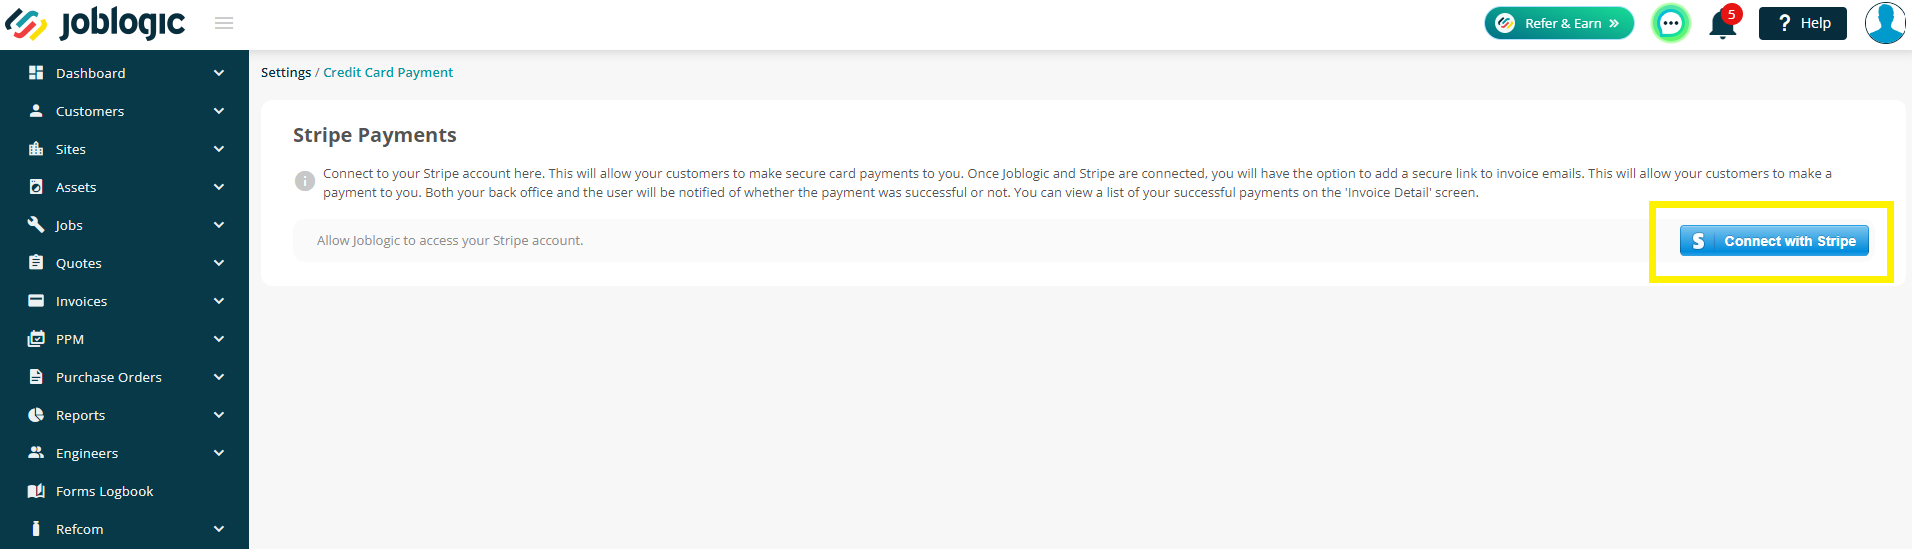
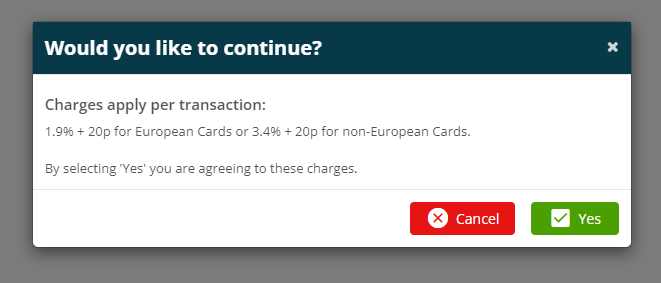
Next, click 'Connect with Stripe’ and then accept the terms if you want to continue.
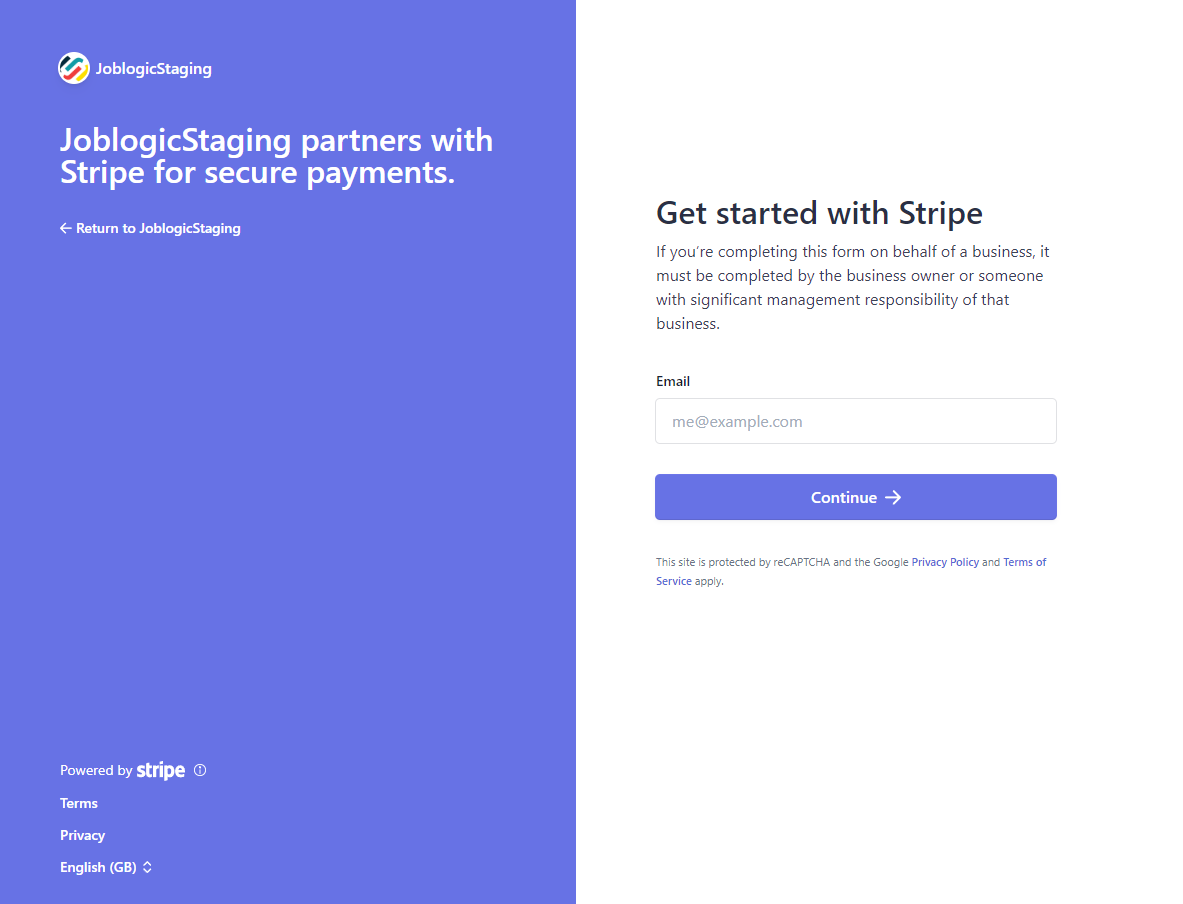
You’ll then be transferred to a new page. Here, you can enter your Stripe email address if you already have an account.
Alternatively, enter your email and create a Stripe account as required.
You are now connected and ready to take payments via Stripe.
You can disconnect at any time by coming back to Settings > Credit Card Payments and clicking ‘Disconnect Stripe’
Stripe Deposits
Let’s now look at how you can send quotes with the required deposit to the customers and how customers can proceed with their payments online.
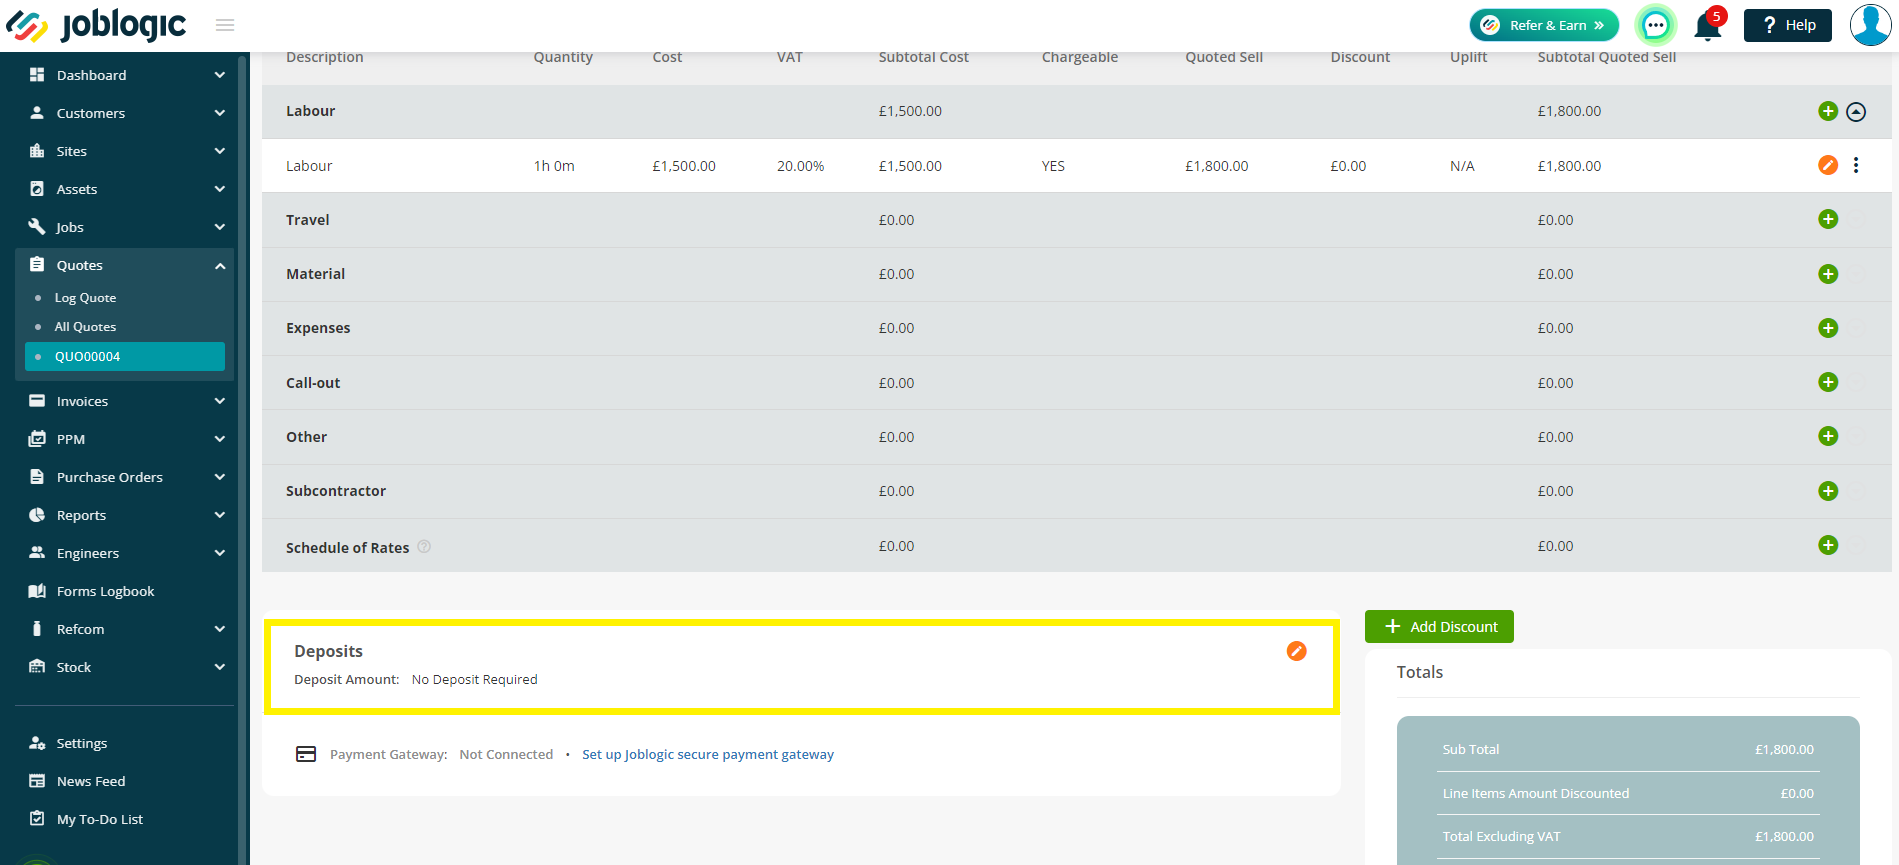
Firstly, add your quote as normal (click here to learn more about adding quotes on joblogic) and then click into the Prices tab. Scroll towards the bottom to add your deposit.
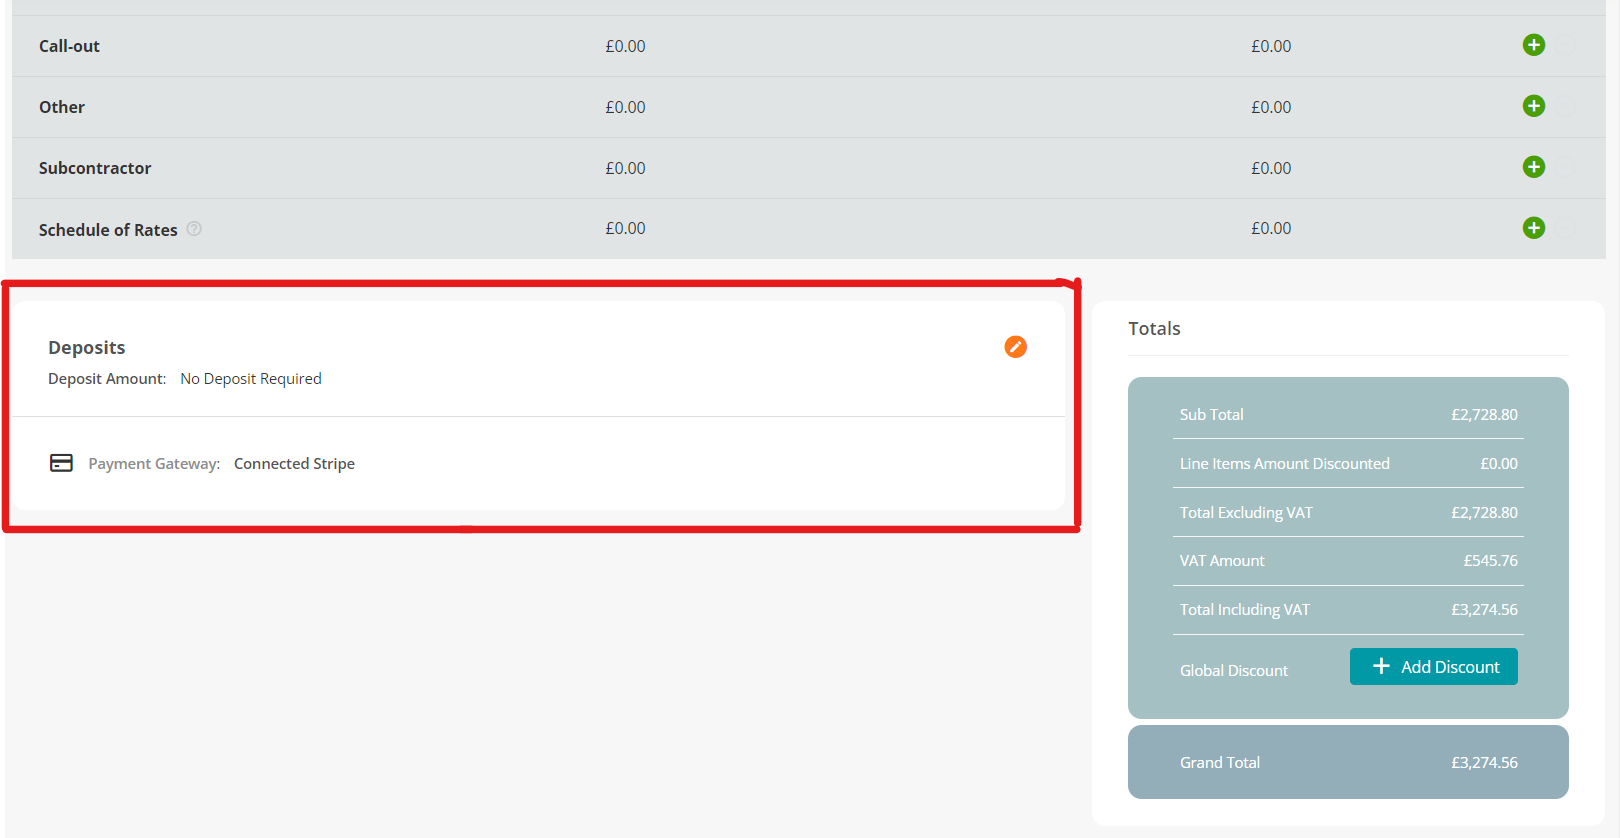
Once you click on the orange pen icon, you will see a small window pop up on your screen.
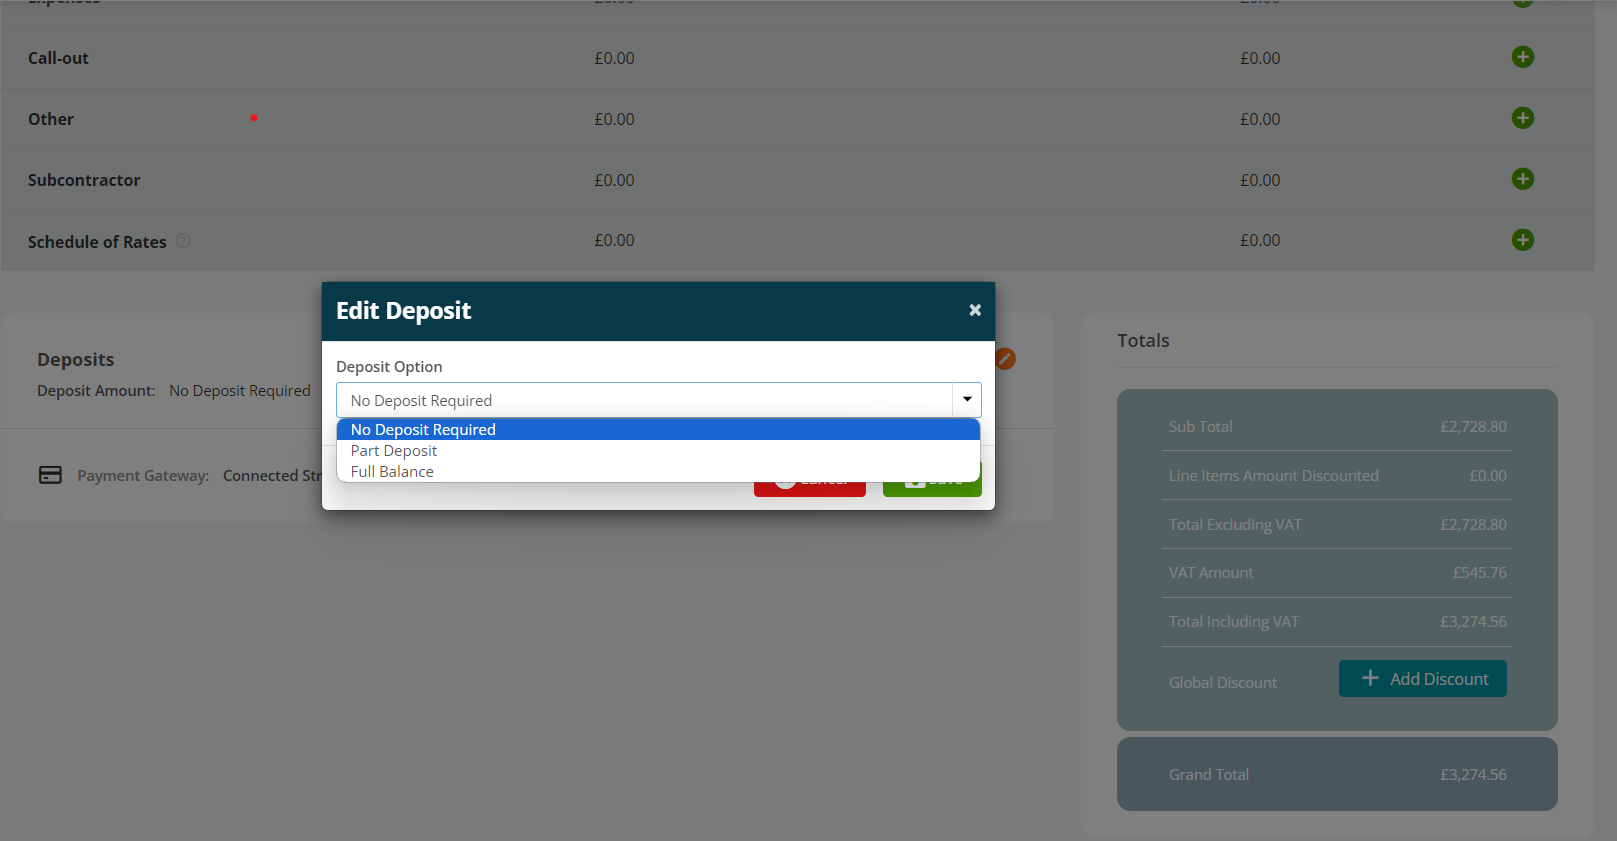
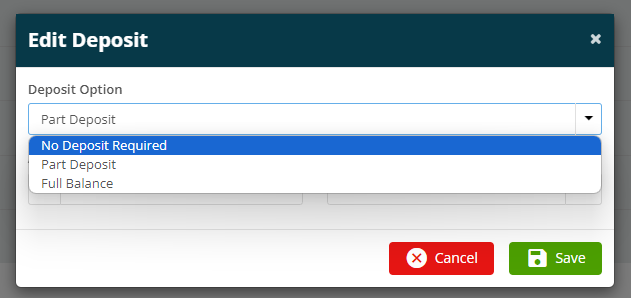
Here, you can choose ‘No Deposit Required’, ‘Part Deposit’ or ‘Full Deposit’.
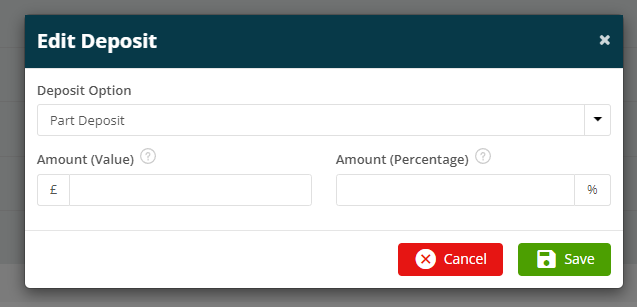
If you choose ‘Part Deposit’, you’ll be able to enter an Amount or Percentage
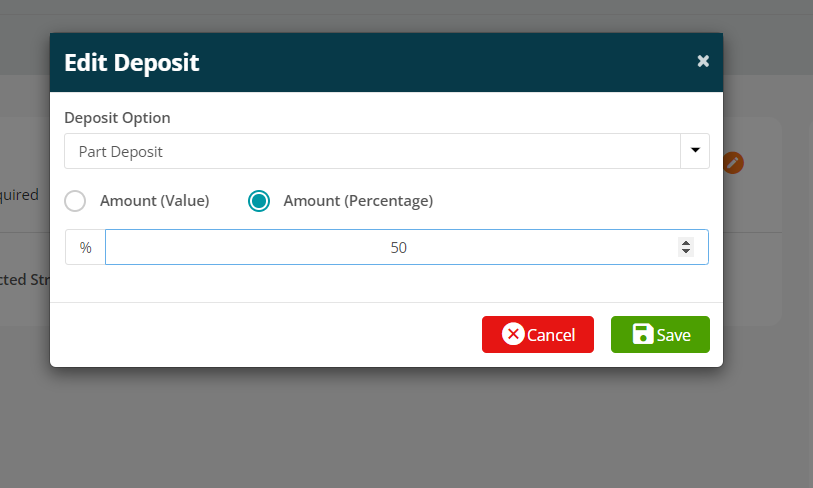
Once you have defined the amount for the deposit, hit Save. This will automatically update the deposit section with the amount you have defined.
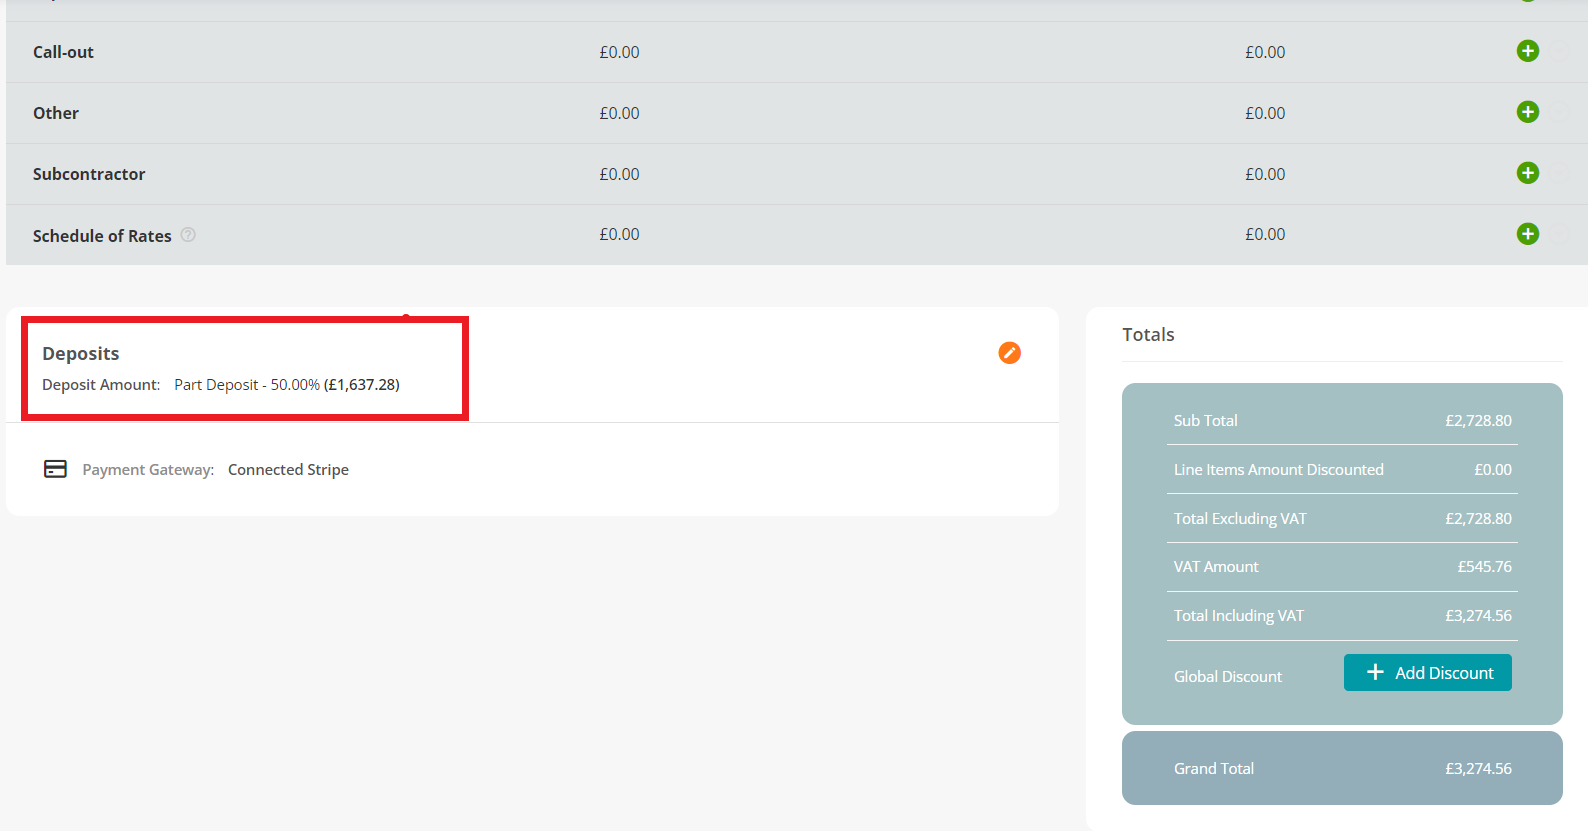
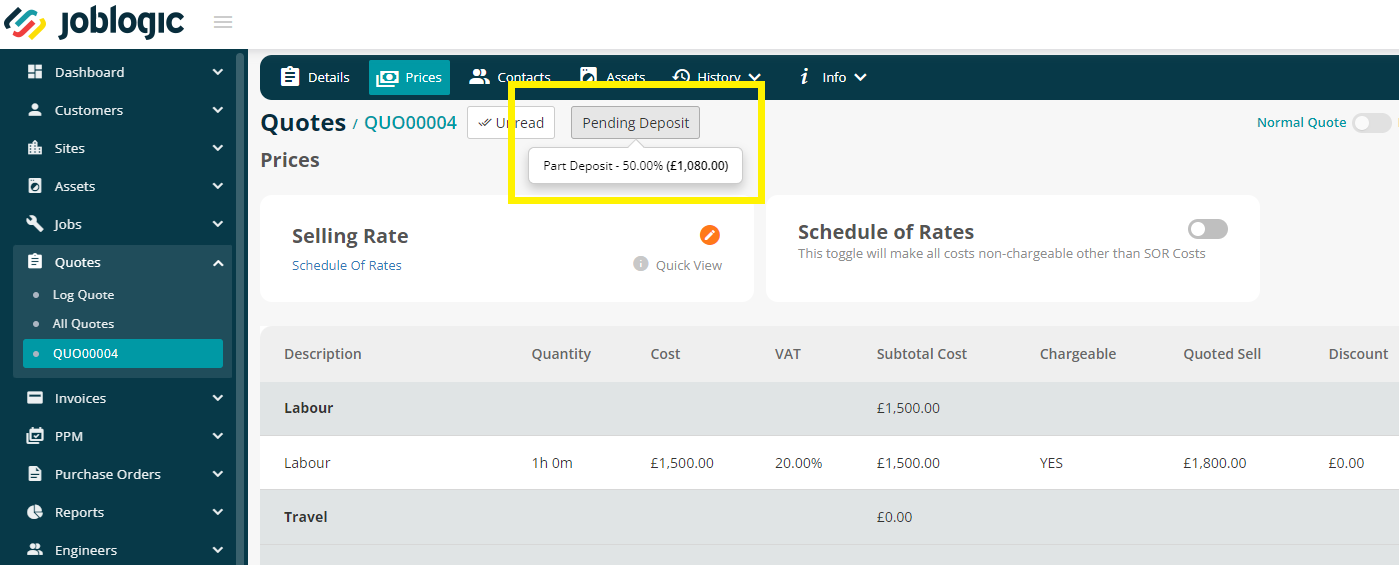
The quote will then have a new status at the top of the page - ‘Pending Deposit’
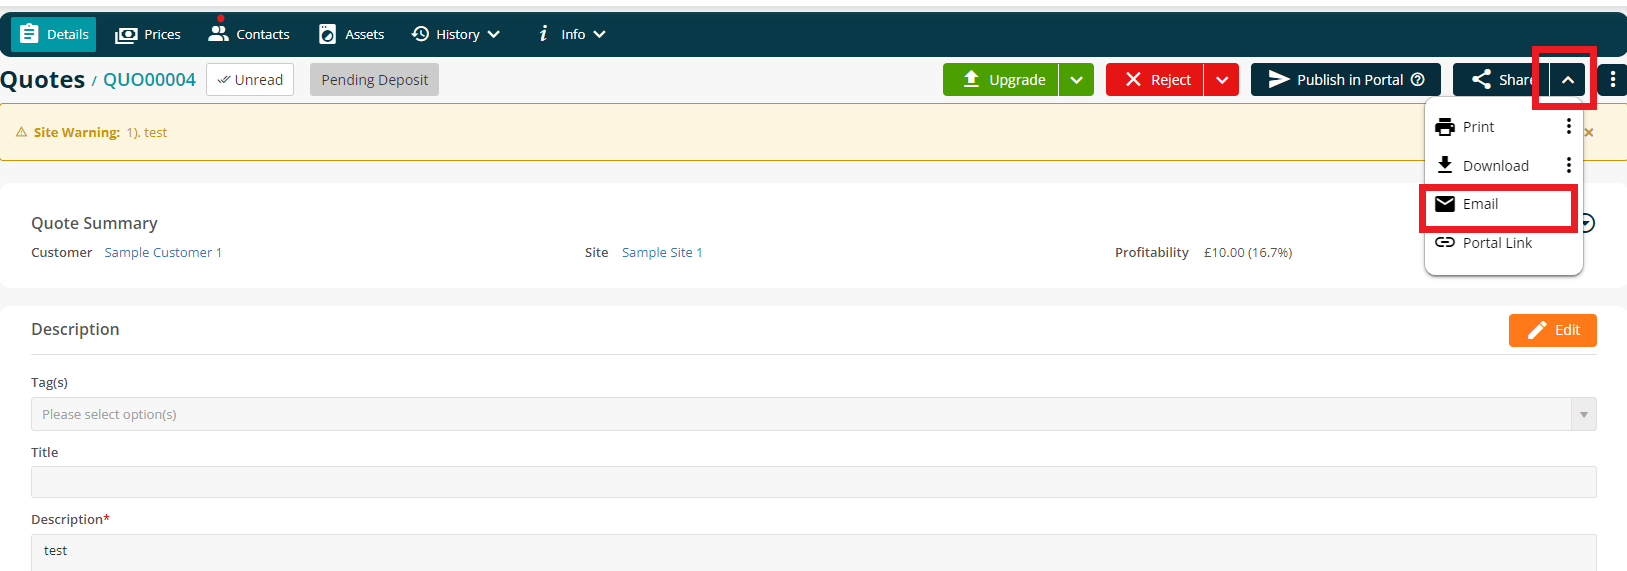
Next, you can share the quote with your customer so they can pay the deposit via Stripe.
To do this, click on the downward arrow next to the Share button and select Email.
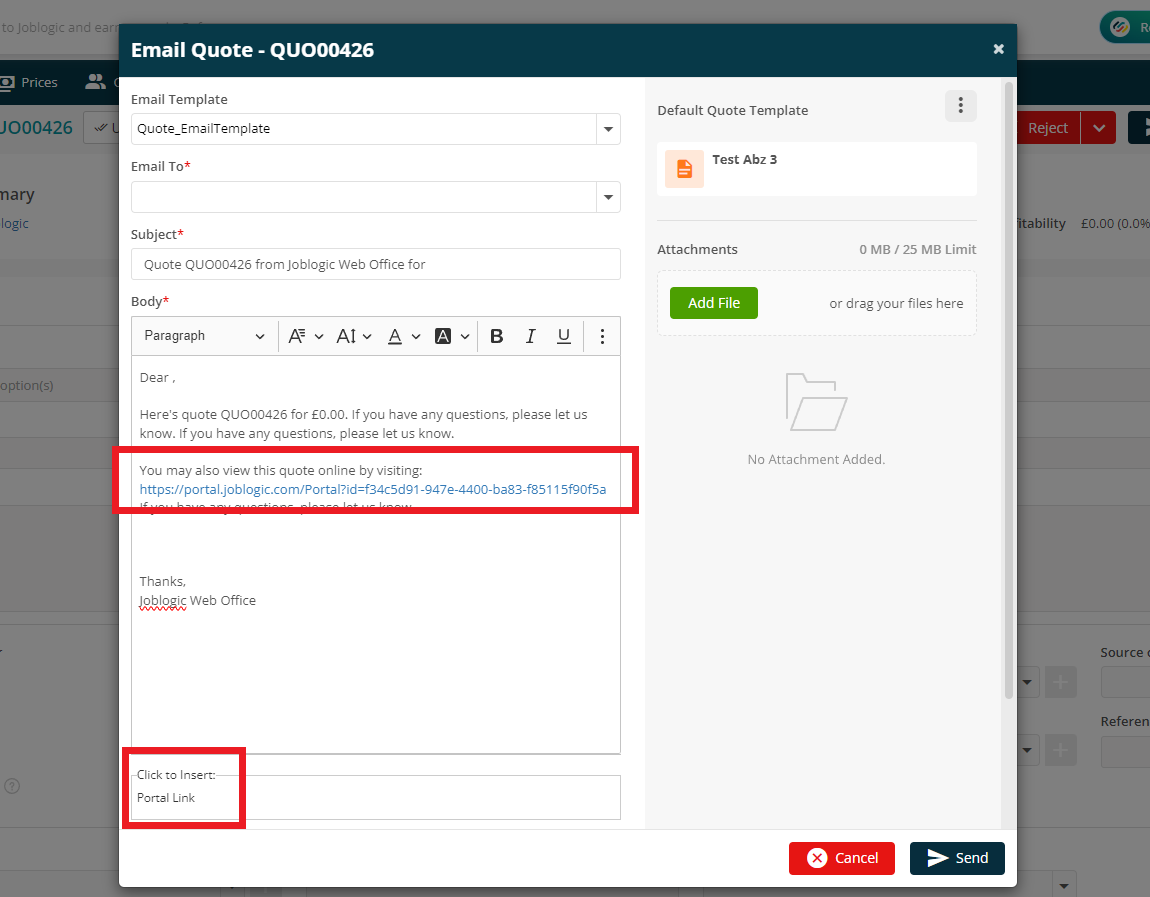
A portal link can be added to your email message which can then be clicked by your customer. This will redirect your customers to allow them to view their quote online, where they can see the full details and an option to pay the deposit for the quote by Credit/Debit card
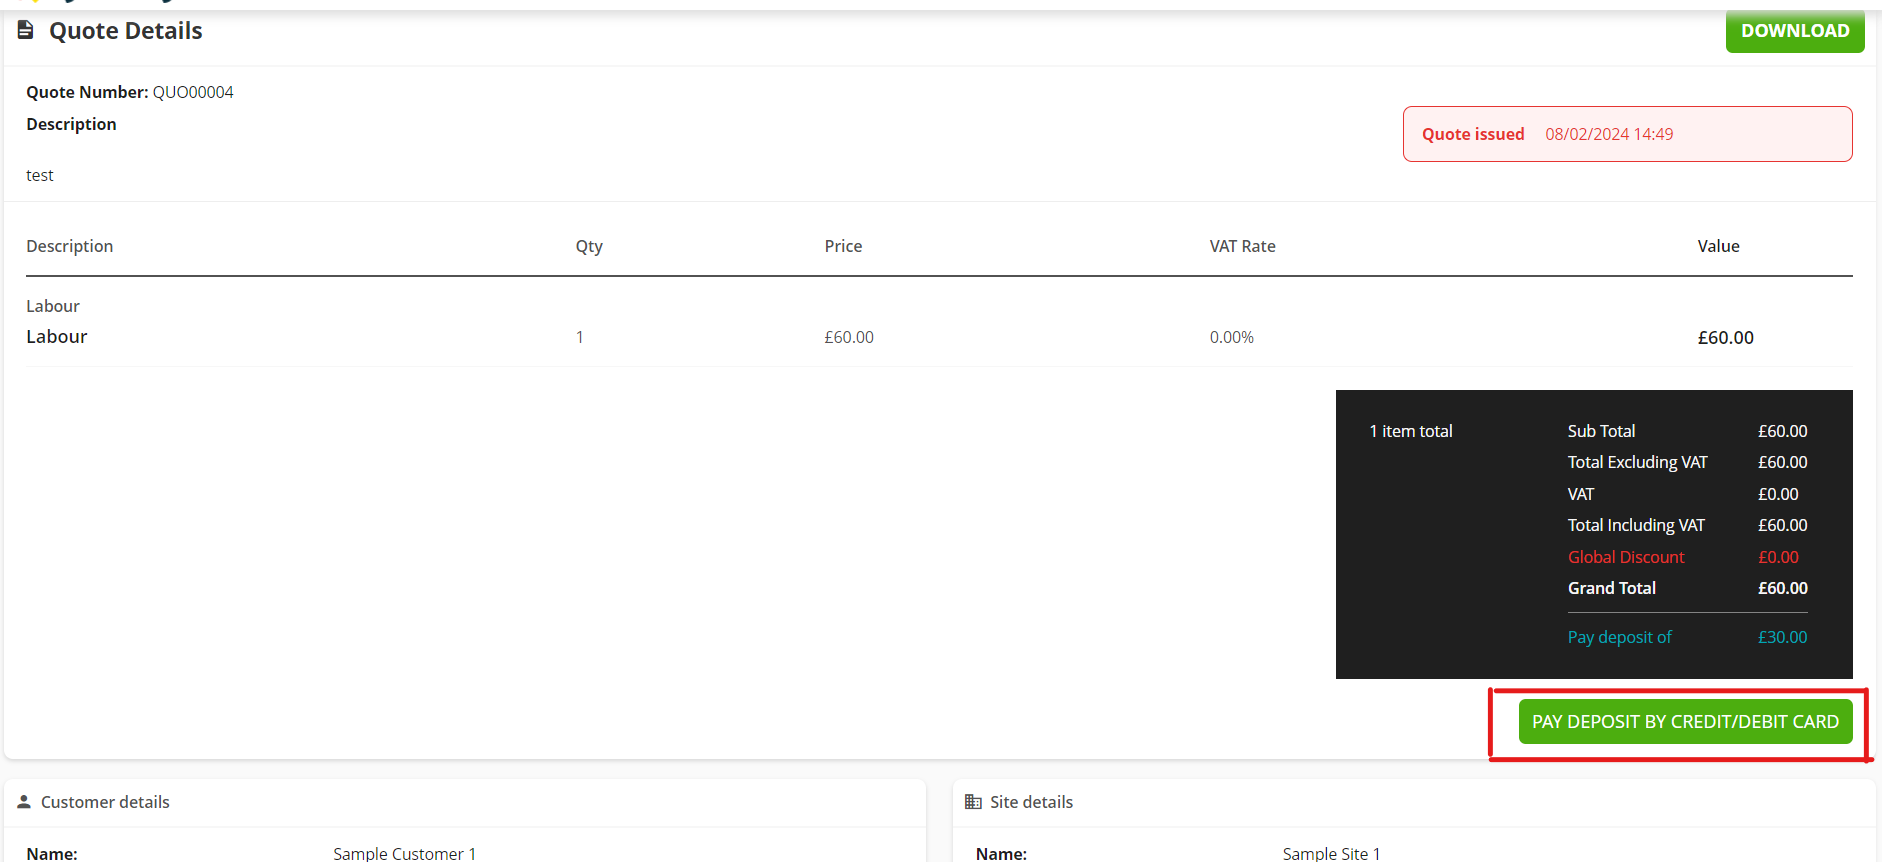
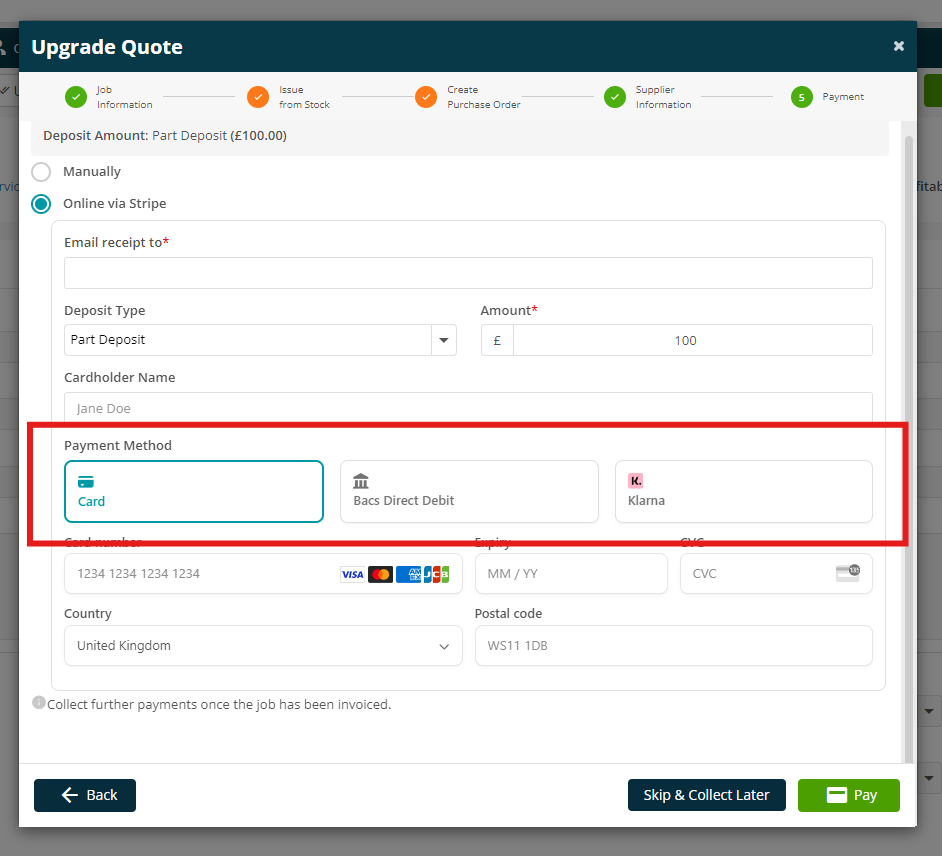
Clicking this button will take your customer to a new page, where they will have 3 options to pay.
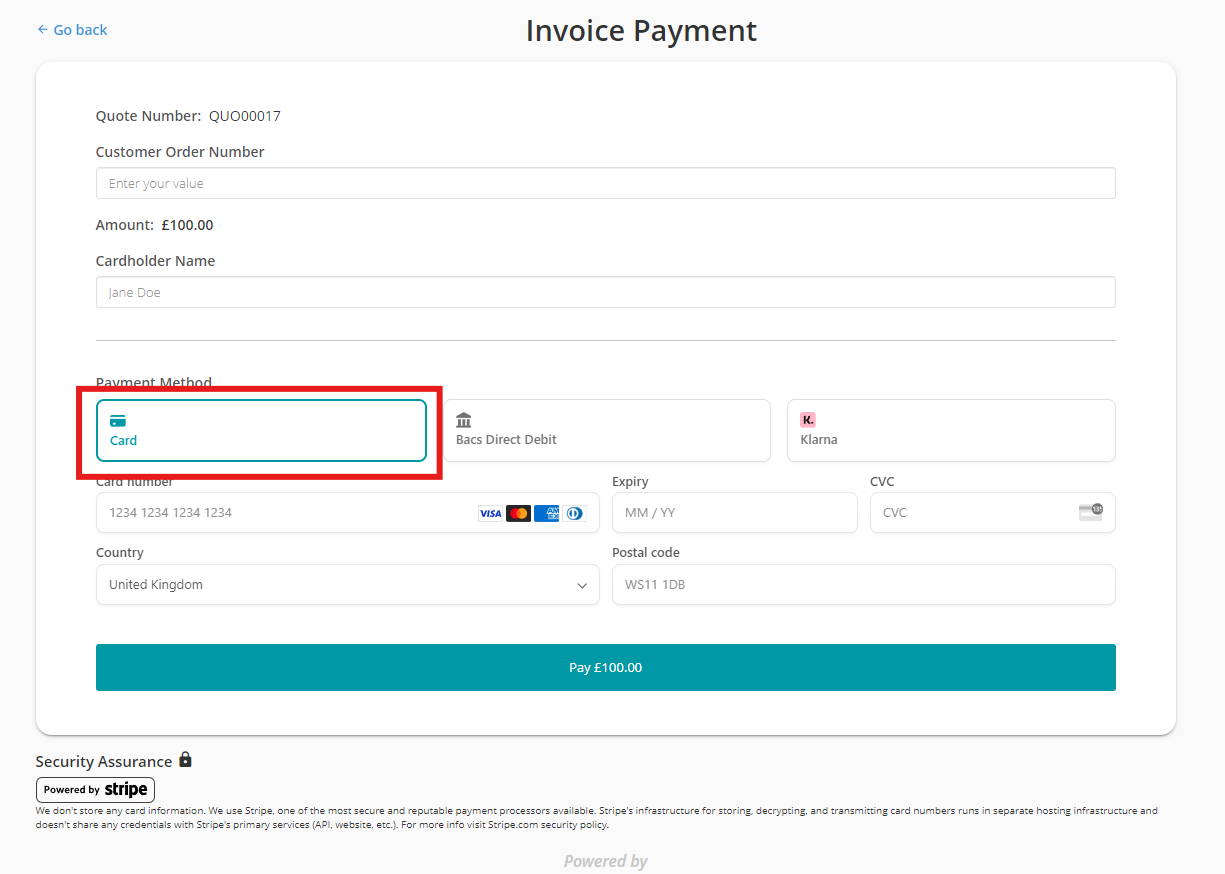
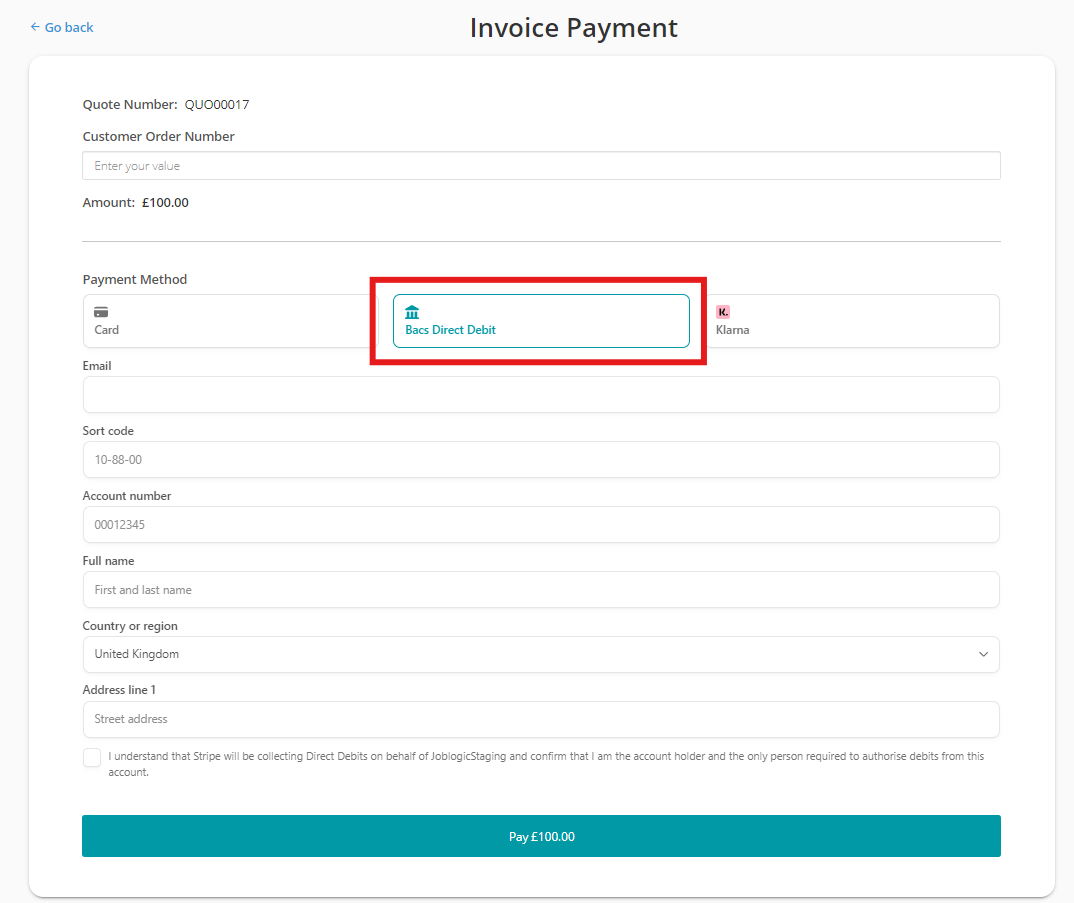
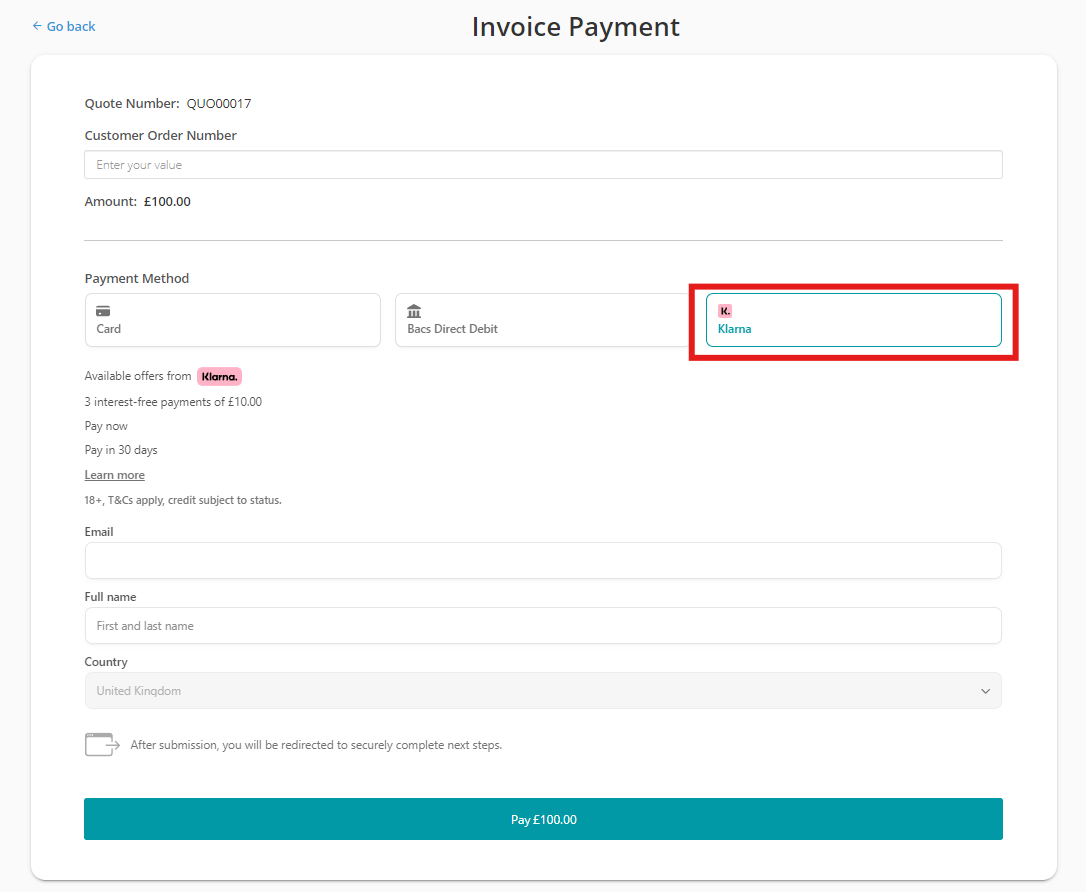
Alternatively, when you upgrade the quote to a job, you can take payment Online via Stripe. Again, you will be able to choose from the 3 option, Card, Bacs or Klarna.
Manual Deposits
You can also add deposits without the Stripe Integration.
To do this, add your quote as normal and then click into the Prices tab. Scroll towards the bottom to add your deposit.
Here, you can choose ‘No Deposit Required’, ‘Part Deposit’ or ‘Full Deposit’.
If you choose ‘Part Deposit’, you’ll be able to enter an Amount or Percentage
The quote will then have a new status at the top of the page - ‘Pending Deposit’
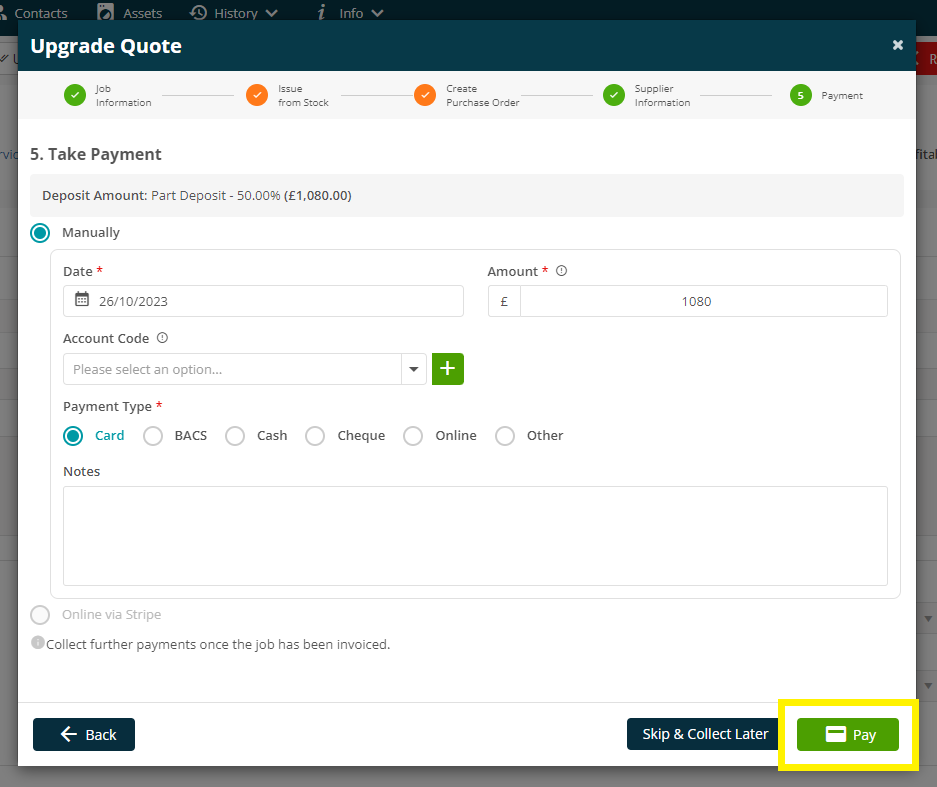
Upon Upgrading the quote, you’ll have the option to ‘Take Payment’ where you can add the details of how you received the payment from your customer.
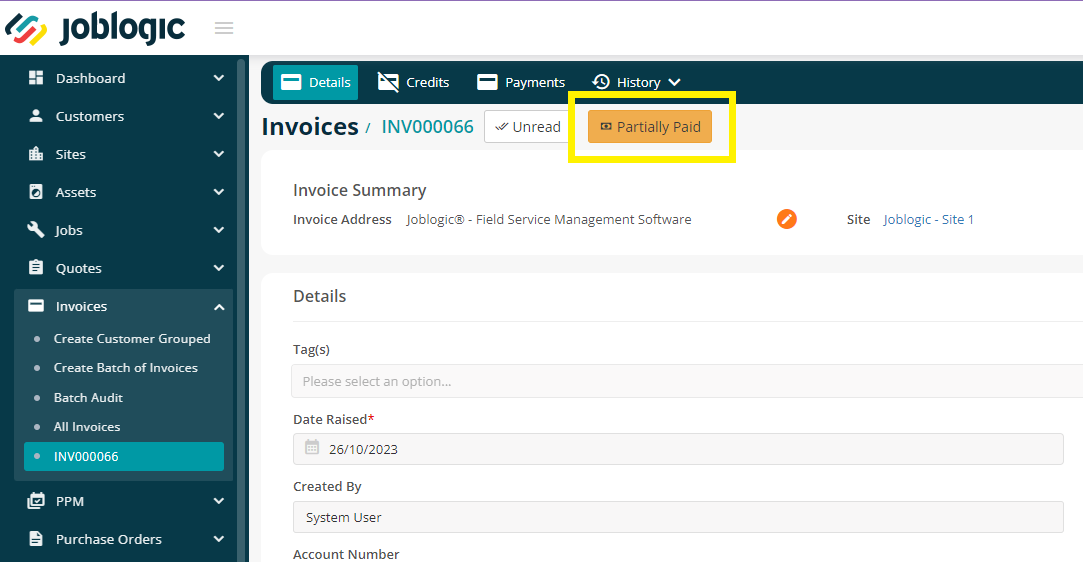
If you go through this method, the system will automatically add an invoice.
Again, if the Deposit was ‘Part Deposit’, the invoice will be marked with a Partially Paid tag at the top. You can resend this invoice out as normal when you are ready for the final payment.
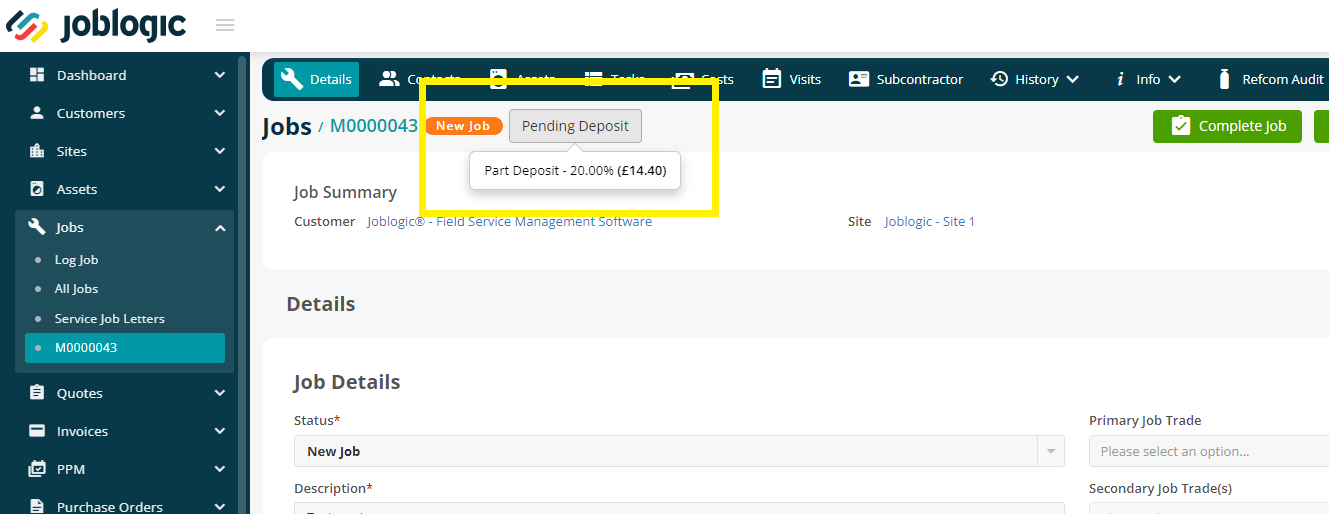
At the Upgrade Quote stage, you also have the option to ‘Skip & Collect Later’. This will mean the quote will still upgrade but it will keep the ‘Pending Deposit’ tag at the top of the page.

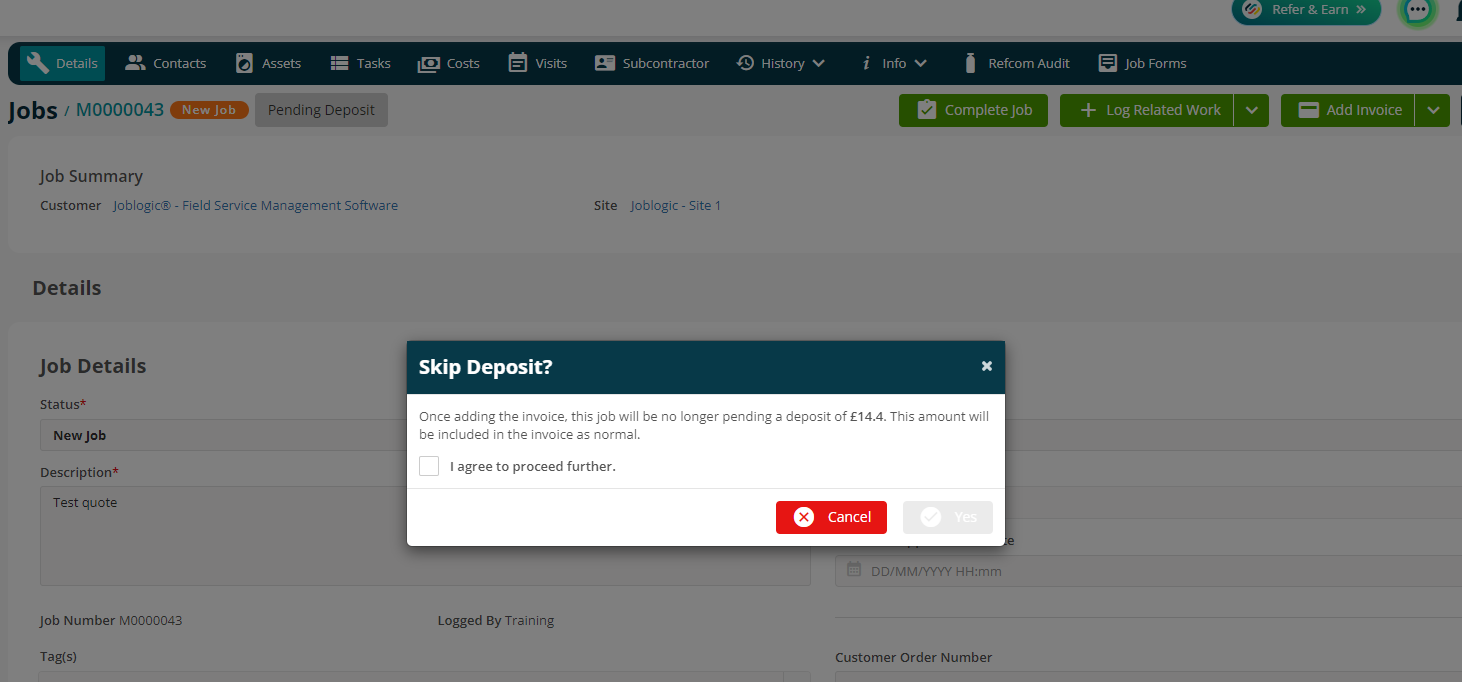
To take the deposit against the job, click the Add Invoice button and then ‘Take Deposit’

If you choose to not use the ‘Take Deposit’ and simply click ‘Add Invoice’, a handy message will be displayed prompting you that the deposit amount will be added back to the overall invoice amount.
Further Support
For further information or assistance with the above, contact our Support Team on 0800 326 5561 or email support@joblogic.com. Alternatively, our Customer Success Management team can be reached by emailing customersuccess@joblogic.com
Publishing Details
This document was written and produced by Joblogic’s Technical Writing team and was last updated on the date specified above. Be aware that the information provided may be subject to change following further updates on the matter becoming available or new releases within the system. Additionally, details within the guide may vary depending on your Joblogic account’s user permissions and settings or the electronic device being used.