1. Stock – Stock Locations
-
Stock Locations are now available within the main Stock menu on the left hand side.
-
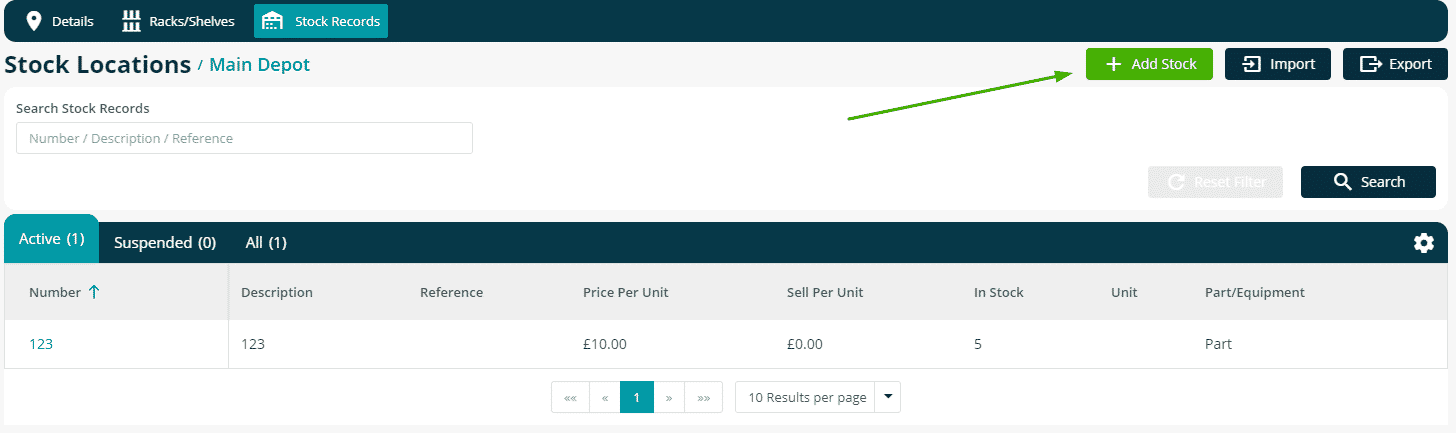
Once inside a location it is now possible to Add Stock directly to a location via the Stock Records section.
-
A new import function has also been added, allowing the user to download a template, fill it in and upload that into the location.
2. Stock – Adding Stock Records
-
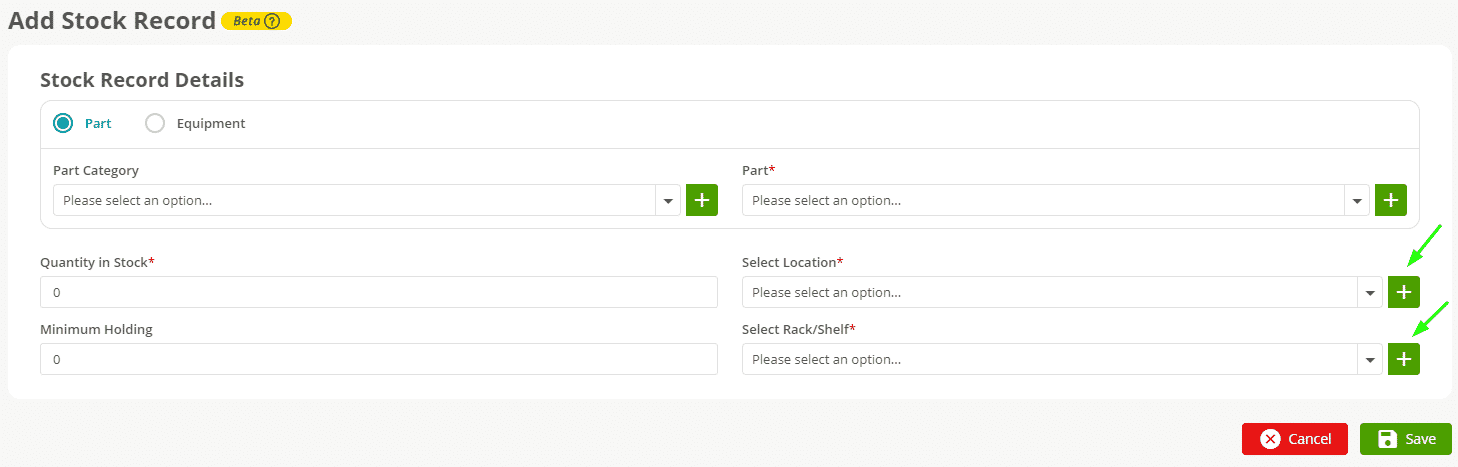
It is now possible to create Locations and Rack/Shelf on the fly when adding a new stock record.
-
A stock record may now also be created with a zero quantity in stock.
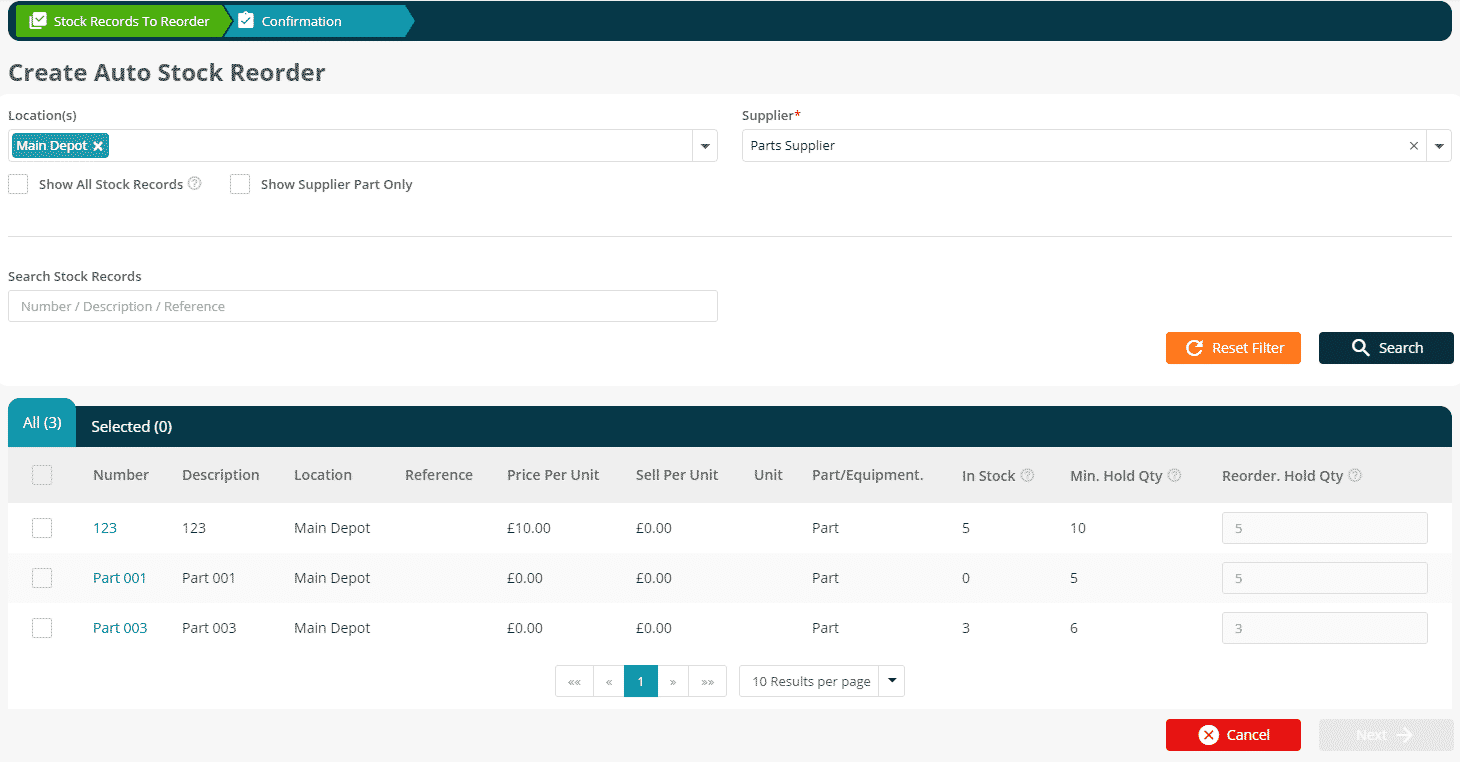
3. Stock – Auto Stock Reorder
-
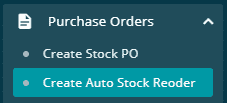
A new option for Auto Stock Reorder is available from the Purchase Orders menu.
-
This allows the user to create purchase orders based on the In Stock quantity of a Stock Record compared to the minimum hold quantity.
-
This can be created for one or many locations, each stock record will appear based on the details held for an individual location.
-
A supplier must be selected to view supplier parts (or all parts may be viewed).
-
It is also possible to display all parts (regardless of their in stock vs. minimum holding amount).
-
Once the items have been selected it is possible to modify the reorder quantity as needed.
-
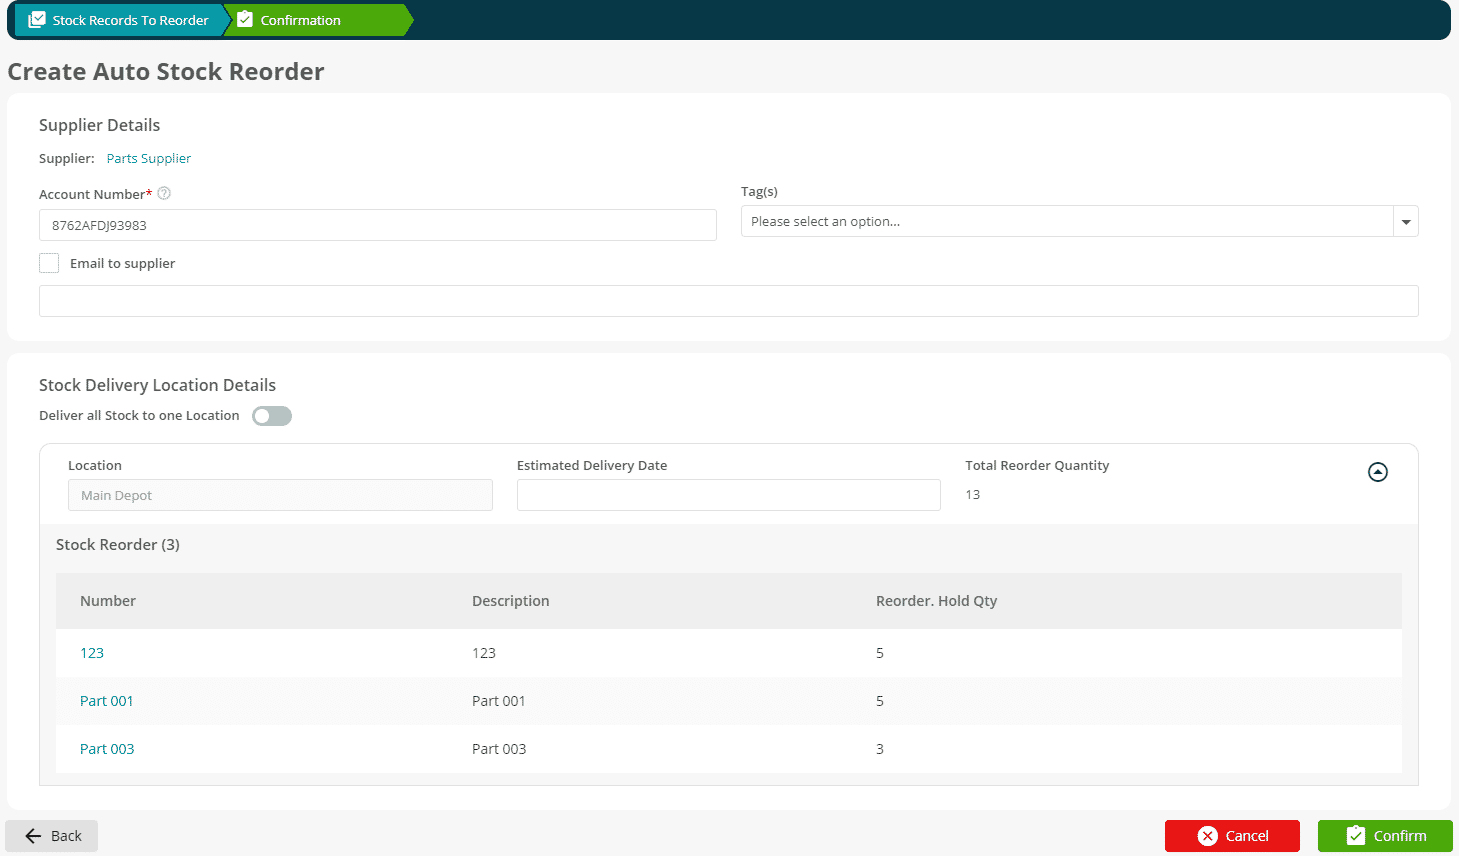
The confirmation screen will allow the user to confirm supplier information, and delivery locations for the purchase order(s) to be created.
-
Confirming will create the Purchase Order(s).
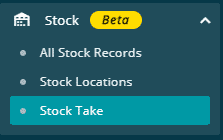
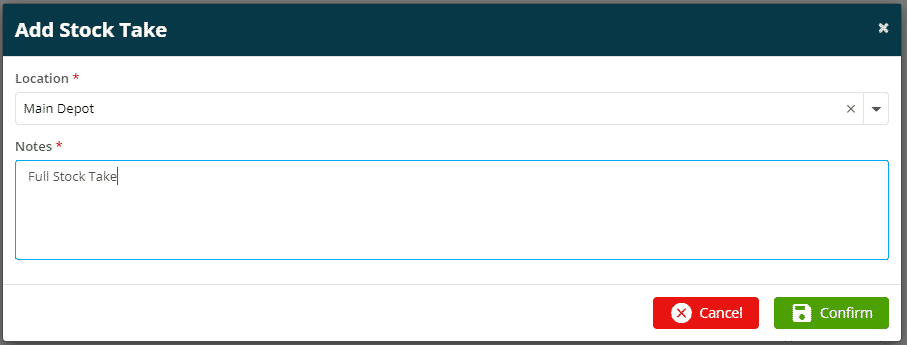
4. Stock – Stock Take
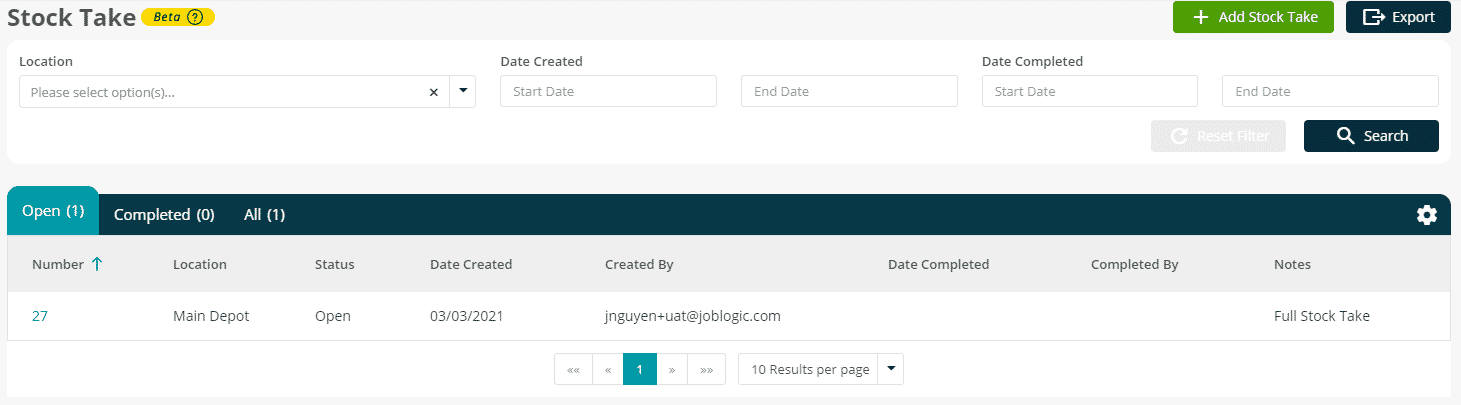
A new Stock Take function has been added and is available from the Stock menu.
This allows the user to create, update and view stock takes in the system.
A stock take is done on a location by location basis and must have a descriptive note for the stock take record.
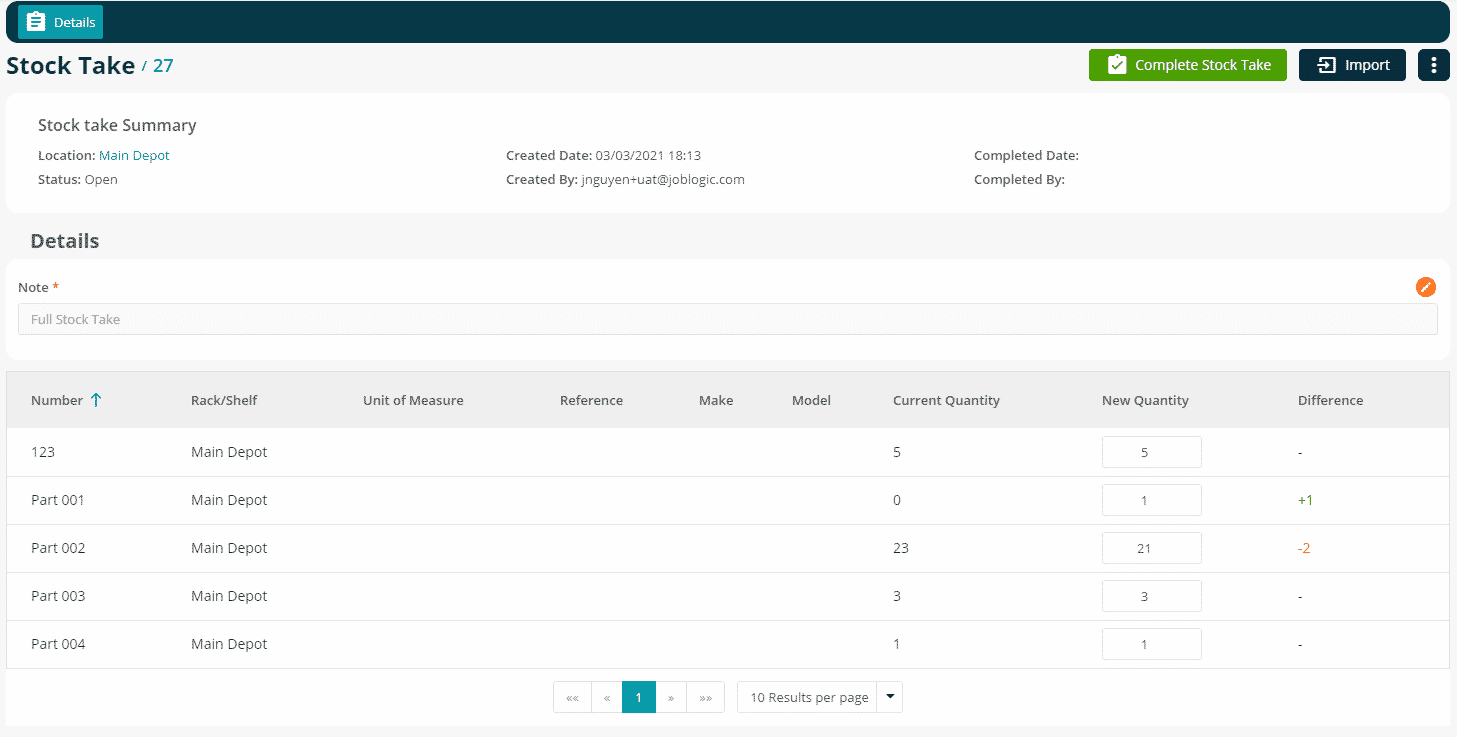
Once open, a stock take will allow the user to perform the check on a specified location to update/confirm the records currently in stock.
The quantities can be confirmed or updated as necessary and then the stock take can be completed – this will update the stock records and update any audit details as needed.
It is also possible to import the stock take information from within the stock take so that the data can be entered via Excel (or similar).
5. Implement Asset Condition
-
A new option to record asset condition from within Joblogic has been added.
-
Previously this was available on the mobile application, but further enhancement to the functionality has been made.
-
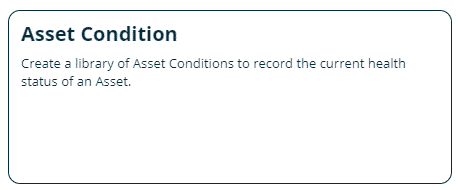
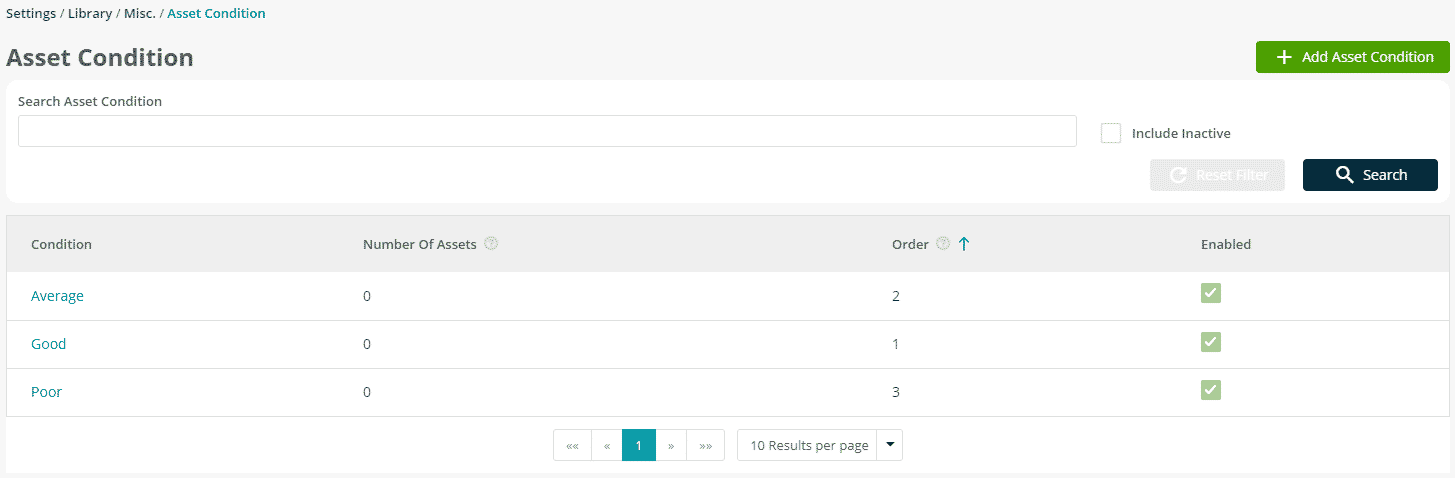
Within the Miscellaneous Library settings a new option for Asset Condition has been added, this allows the creation of Asset Conditions as per your requirements.
-
Any asset conditions you are currently using will be automatically populated.
-
Each condition can be enabled/disabled and can be ordered as needed (to ensure items appear in the correct order).
-
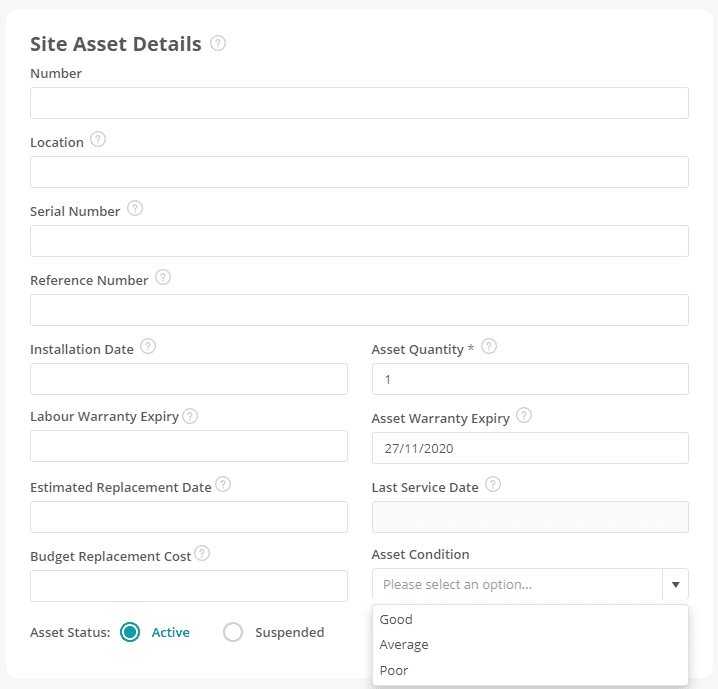
Asset Condition will appear as a filter item on Assets screens, allowing you to filter out Assets of specific conditions.
-
Within the Site Asset Details of an Asset you will be able to set the condition.
-
For mobile users, this information will be available as a filter.
-
Engineers will be able to set the Asset Condition against an asset when updating a job visit, this information will then update against the asset in Joblogic.
-
Additional this information will appear on the Portal and Job Assets screens.
6. Quoted Value
-
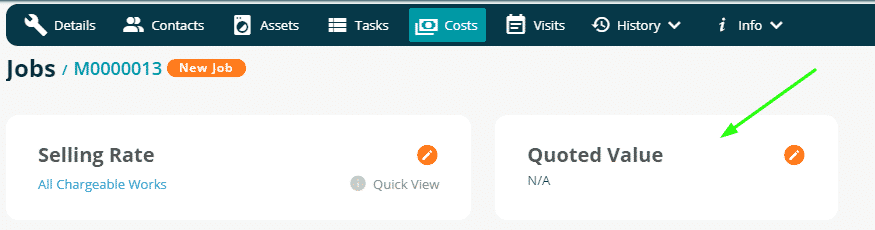
A new option for Quoted Value has been added to Jobs.
-
This allows the user to record one sell value for a job regardless of the individual cost items entered.
-
Any job upgraded from a Quote will automatically have the quoted value populated.
-
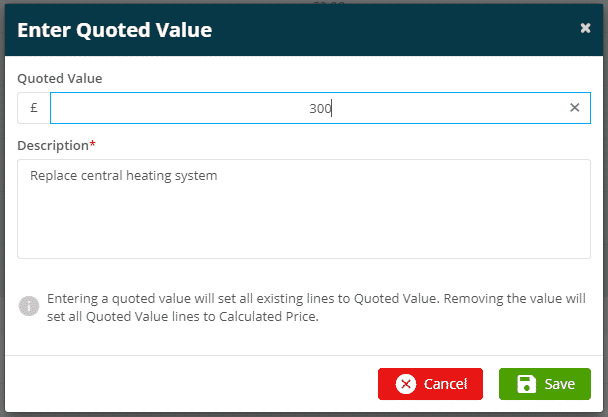
Selecting the edit icon will allow the user to add a Quoted Value, this requires a value and a description (which will copy from the job description) – both can be modified and saved within the window.
-
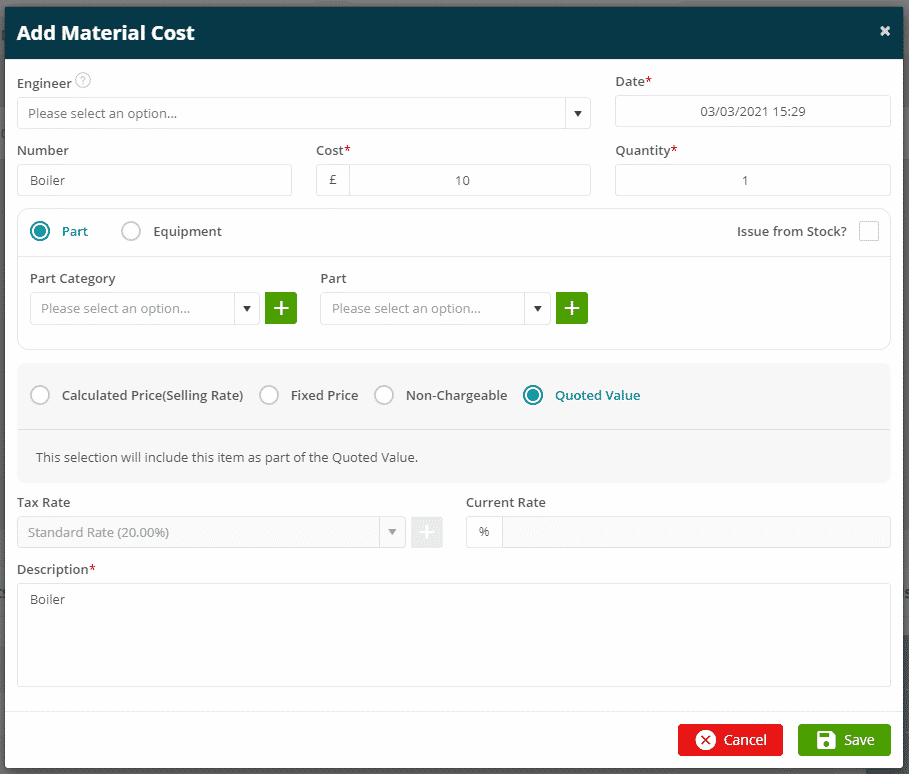
Any existing cost lines will be included within this Quoted Value (and therefore will not be charged separately).
-
Additional cost lines can be added, they will default to be included in the Quoted Value, but can be set to Calculated Price, Fixed Price or Non-Chargeable as required.
7. Batch Delete for Quotes
-
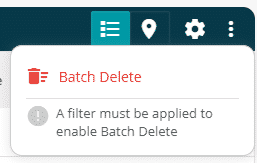
A new batch delete function has been added to the All Quotes screen.
-
This allows the user to filter on a number of quotes by the currently available filter options and then select the Batch Delete option.
-
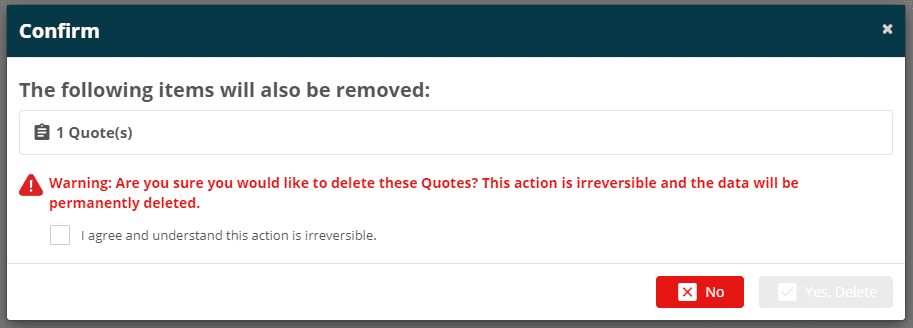
Once selected the user will be advised how many Quotes will be removed from the system.
-
User can agree, enter details for audit purposes and then delete the Quotes as required.
-
All Batch Delete actions are audited and recorded against the requesting user.
-
This functionality will be extended to other areas of Joblogic in the coming releases.
8. New Sort Options for Job in Planner
-
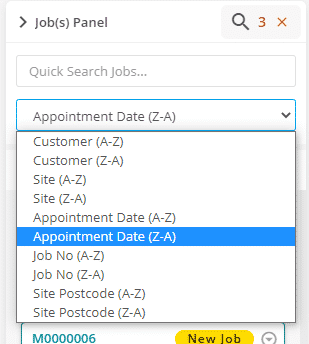
Two new options have been added to the Job(s) Panel in the Planner.
-
These allow the sorting of jobs by either Job Number (A-Z) or (Z-A).
9. Job Detail Updated Column Added to All Jobs
-
To indicate the last time the Job Detail was updated for a specific job a new column is available within the All Jobs list.
-
This column will not appear by default but can be added via the cog symbol.
-
This will give the date and time that the detail held against the Job Detail was last updated.

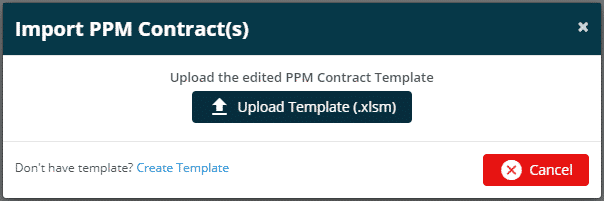
10. PPM Contract Import
-
A new function has been added, allowing the user to Import PPM Contract from the ‘All PPM Contracts’ screen.
-
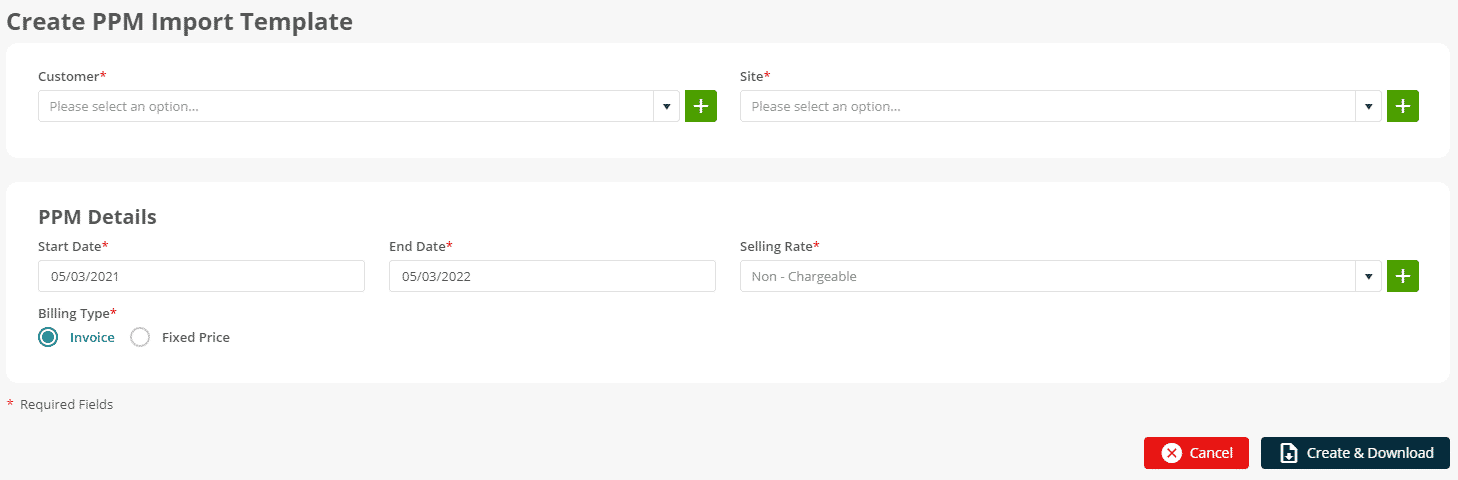
The Create Import Template option allows the user to create an Import Template based on a specific Customer & Site.
-
Upon creation a file will be downloaded.
-
Within this file the Customer, Site, Site Assets, Service Type & Task information will be populated as data sources.
-
The user can select an Asset from a drop-down menu against a row and the relevant Service Type they wish to perform. The frequency of the visit can then be selected using the drop-down menu against an individual week to indicate when the visit should be created for.
-
Alternatively the user can select a Task from a drop-down menu against a row and indicate. A “Y” can be selected from the drop-down menu against an individual week to indicate when the visit should be created for.
-
Once complete the user can navigate back to the ‘Import PPM’ option to select the file to import.
-
Selecting ‘Request Import’ will import the file.
-
Once complete a new PPM Contract will have been created with all the selected Assets, Service Types & Tasks (as per the imported file) with all relevant visits created based on the week indicated.


11. New Invoice/Credit/PO Template & Tags for Reverse VAT
- To accommodate and support the Government implementation of reverse VAT the following changes have been made in Joblogic.
-
Item_TaxCodeDescription document tag has been made available with just the Tax Code Description information
-
Additional standard document templates have been created
  Invoice

  Credit

  Purchase Orders
-
Improvement, Modifications & Bug Fixes
-
Improvements
- Allow user to sort PPM Contract by PPM Contract Number
- Remove Job Number column from Job uber link, Invoices section – duplicated information
- Added pagination to notes in Portal
- Added Suspended icon for Assets that have been Suspended and update suspend message for Asset
- Include discount line into Credit Note on Xero sync
-
Bug Fixes
- All visits are now cancelled when deleting parent PPM Contract visits
- Order Visit status in job search screen by using visit’ createdAt descending order
- Fix for the permission “Invoice – Show Invoice Totals Only” on portal invoices when printing.
- Fixed an issue with technical errors being displayed when a user is logged in on a different device, but continues on the previous one.
- Portal – Quotes will now only show 5 assets at a time, users can click through pages to see more assets.
- Fix for duplicate suppler invoice warning when editing invoice.