- 11 Jul 2022
- 4 Minutes to read
- Print
- PDF
Release : Week Commencing 11th July 2022
- Updated on 11 Jul 2022
- 4 Minutes to read
- Print
- PDF
Release Topics
- Subcontractor - Stage 2 - Job Allocation.
- To-Do Items.
Release Details
1. Subcontractor - Stage 2 - Job Allocation.
As promised, this release brings the second stage of our new Subcontractor Portal. This allows the user to allocate Jobs to one or more Subcontractors via a new tab on the Job Details screen which creates Subcontractor Visits. Subcontractor Purchase Orders may now be created and emailed automatically upon job allocation. Users can then manage the Status of these Visits through to Visit completion.
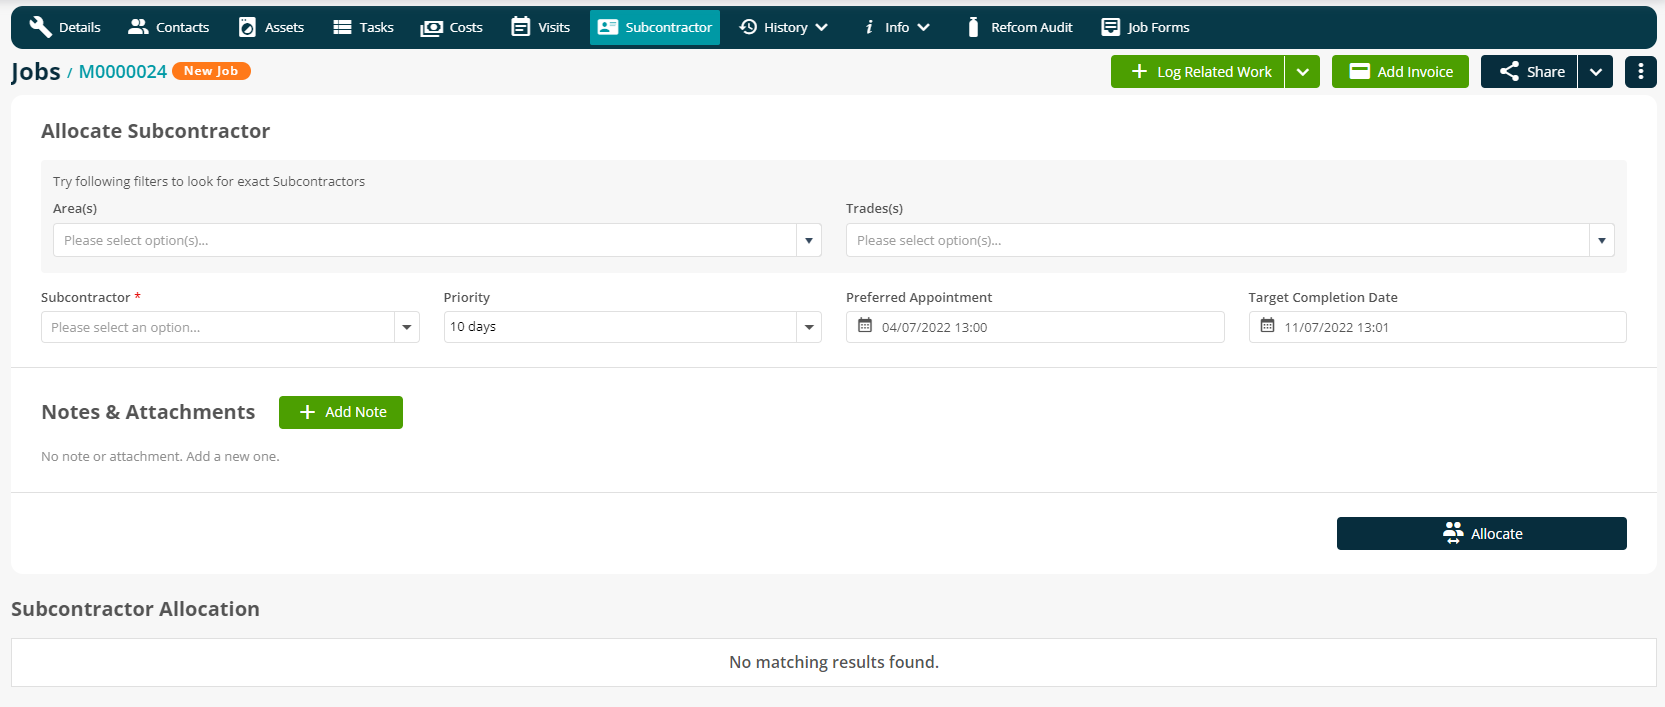
The new tab on the Job Detail screen is where the user will allocate the job to one or more Subcontractors, and also where any existing Subcontractor visits for the Job will be listed.
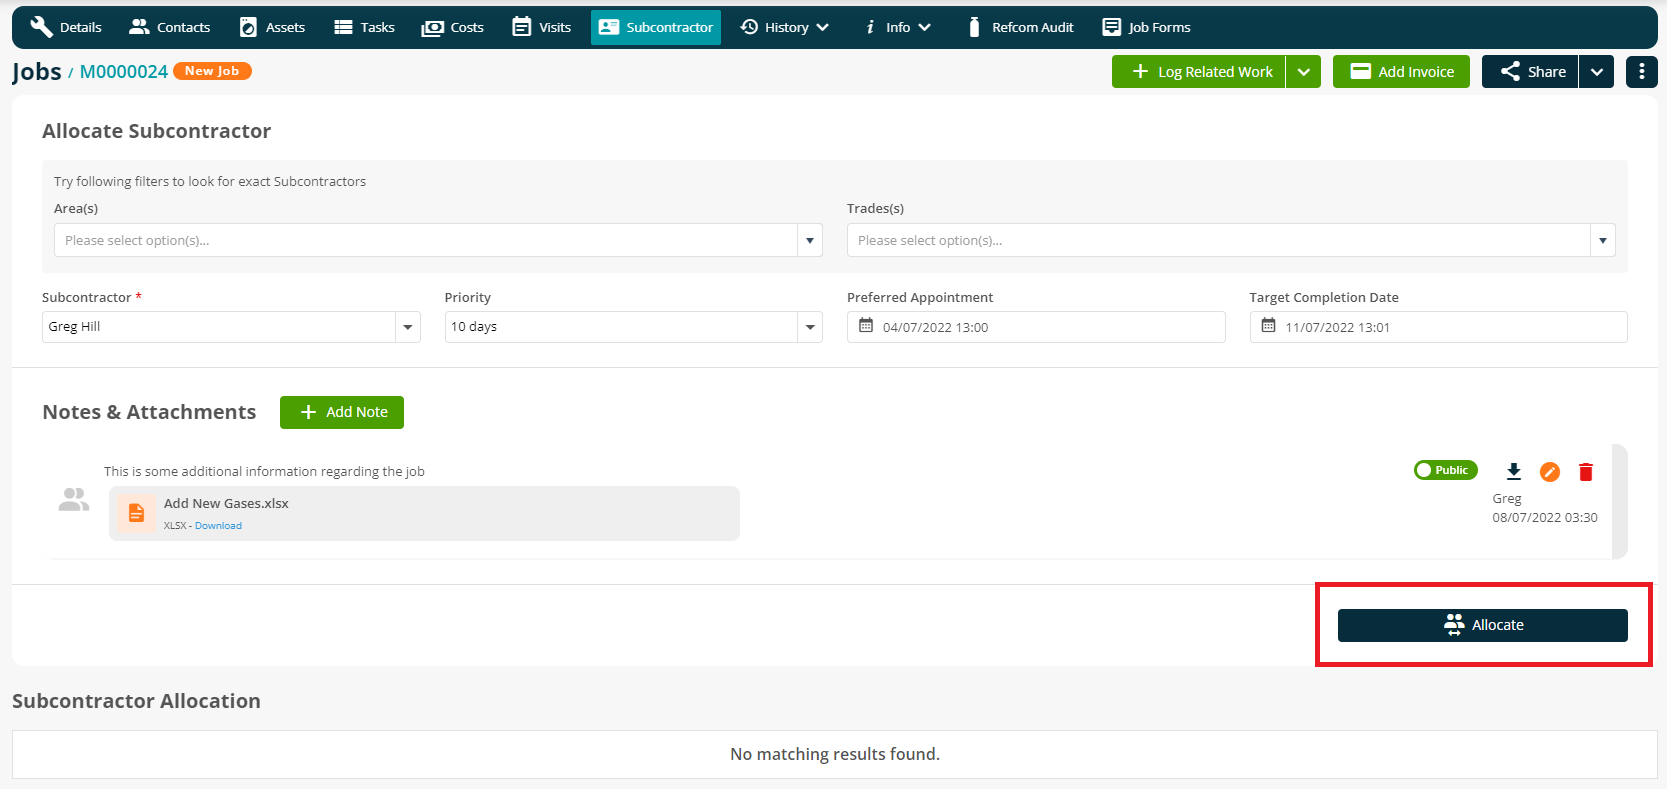
Area and Trade Filters are provided to assist the user in selecting a Subcontractor from a dropdown selection which references all Subcontractors set up in the Subcontractor Library. The Priority, Preferred Appointment, and Target Completion Dates are pulled in from the Job Details but may be edited for each Subcontractor Visit. Notes and Attachments may also be added to the visit. Once all detail has been added the user will click on the Allocate Button.
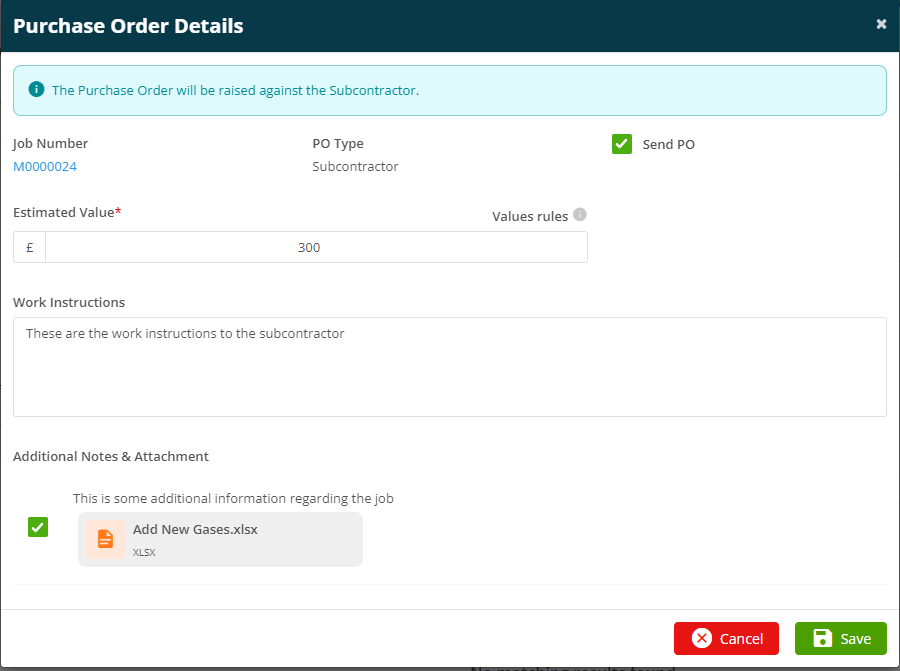
Upon clicking the Allocate Button, the system, based on the system preferences set, will automatically generate a Purchase Order for the Visit and a window will pop up showing the Purchase Order detail.
The User may edit the Purchase Order Estimated Value, add Work Instructions for the Subcontractor, and choose whether to include the Visit Notes and Attachments. When the user clicks on the Save Button, a Toast Message will confirm that the Purchase Order has been generated and, if selected as an option, sent to the Subcontractor via email.
The new Subcontractor Visit will then be shown in the grid at the foot of the page with a Status of Allocated.
n.b. If the Job Status is "New" at the point of allocating a Subcontractor Visit, then the Job Status will be updated to "Allocated."
A Visit may be Cancelled by selecting the ellipsis button in the grid and clicking on the Cancel option.
The user may edit the Subcontractor Visit by clicking on the Subcontractor Name in the Grid. This will open a Visit Detail screen.
Clicking on the edit button allows the user to edit the detail and Status of the Visit.
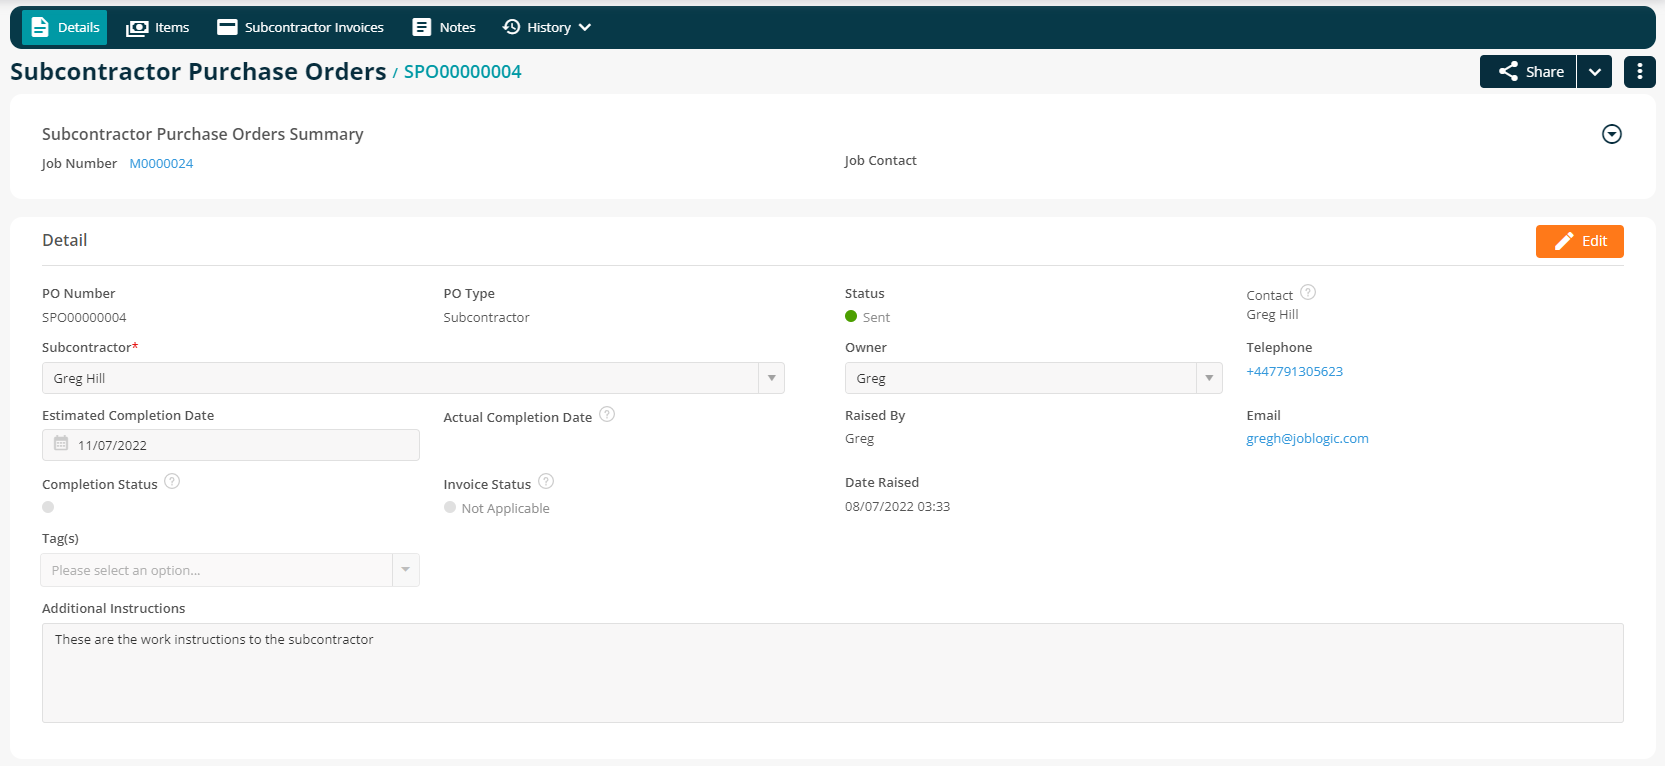
Also in the Subcontractor Visit detail screen the user has a link to the associated Purchase Order. Clicking on this link will display the Purchase Order details.
Clicking on the Items tab of the Order will display the Order Estimated Value. The Notes tab displays any notes added when allocating the Job.
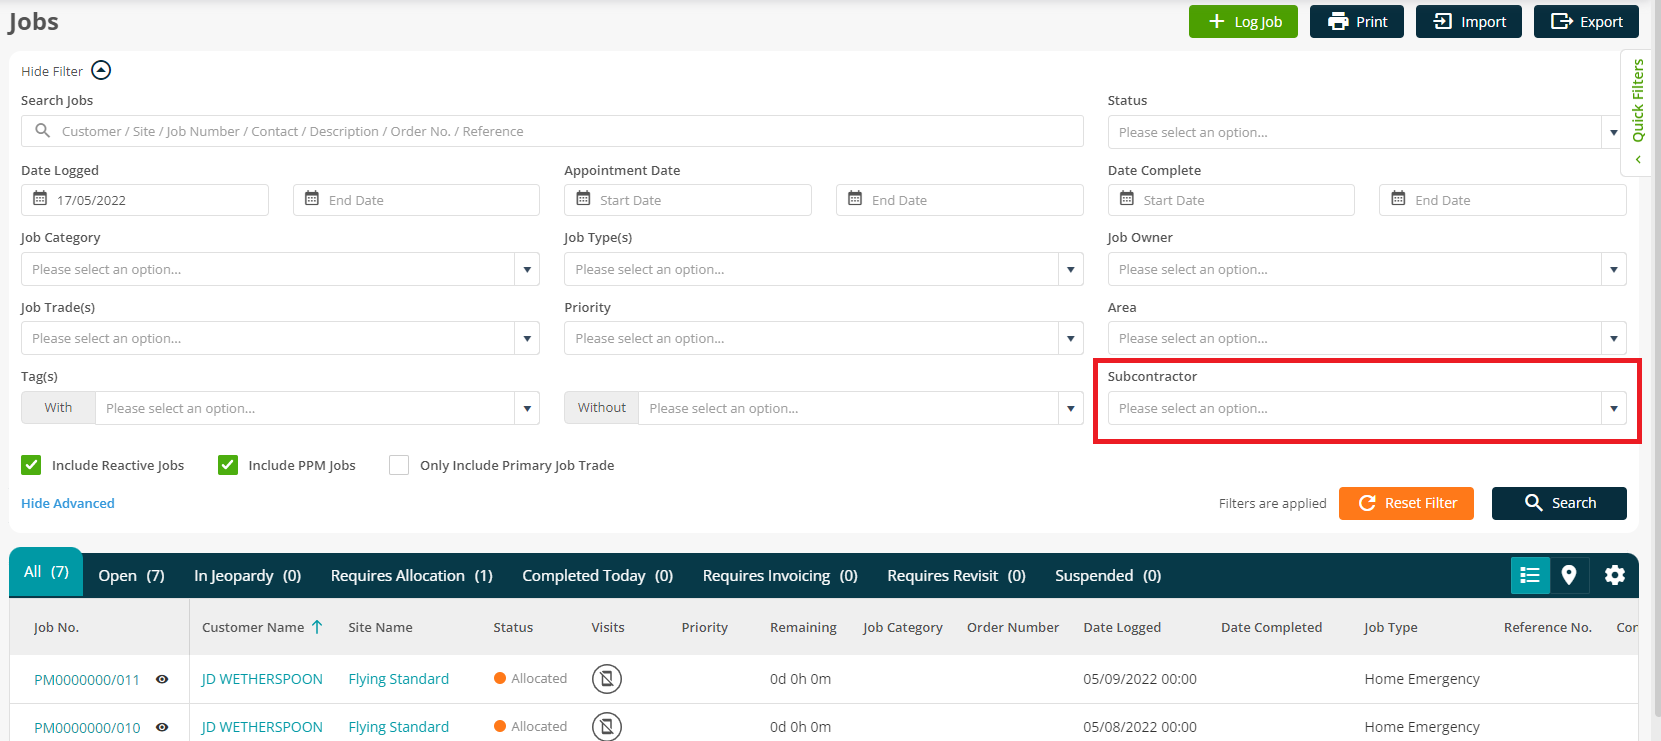
We have also added a new Multi-Select Filter to the All Jobs screen which allows the user to quickly find Jobs allocated to one or more Subcontractors.
Watch this space for news of the next stage of our Subcontractor Portal rollout which will provide an API link between the Main Contractor and the Subcontractor providing two way electronic transfer and updating of these Subcontractor Visits.
2. To-Do Items.
This release also brings an exciting new feature to our back office system which provides the user with a To-Do Item List. These items may be related to a Job, Quote, Invoice etc. or may be an unrelated item such as a personal appointment or vehicle service. These Items are created with a description and due date and may be allocated to one or more users. Each user assigned to the Item will receive a notification each time the item is updated.
This new feature is launched from a new Menu Option.
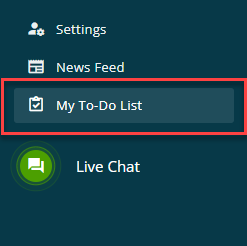
Clicking on this new option will launch a new To-Do Item List screen
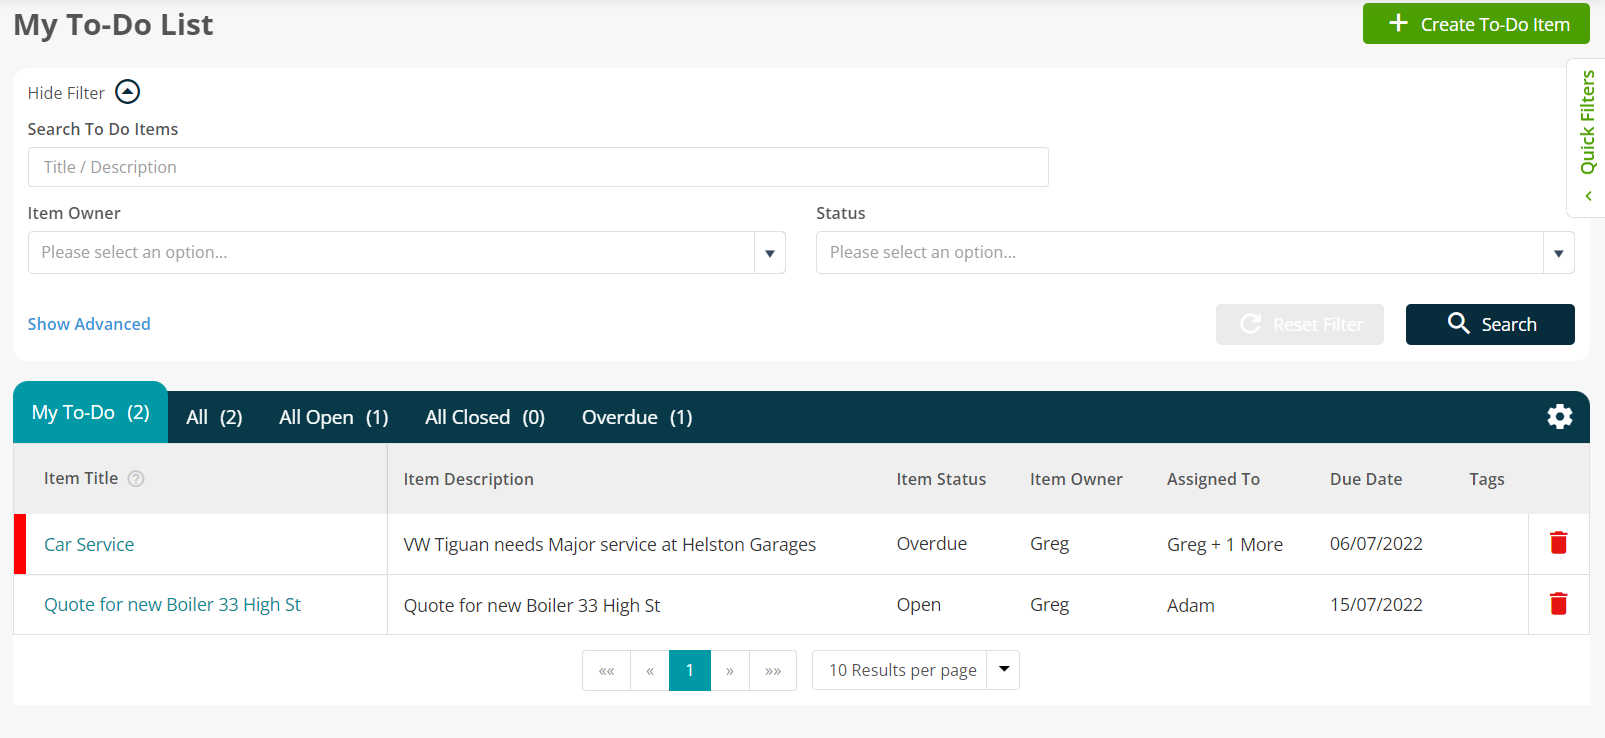
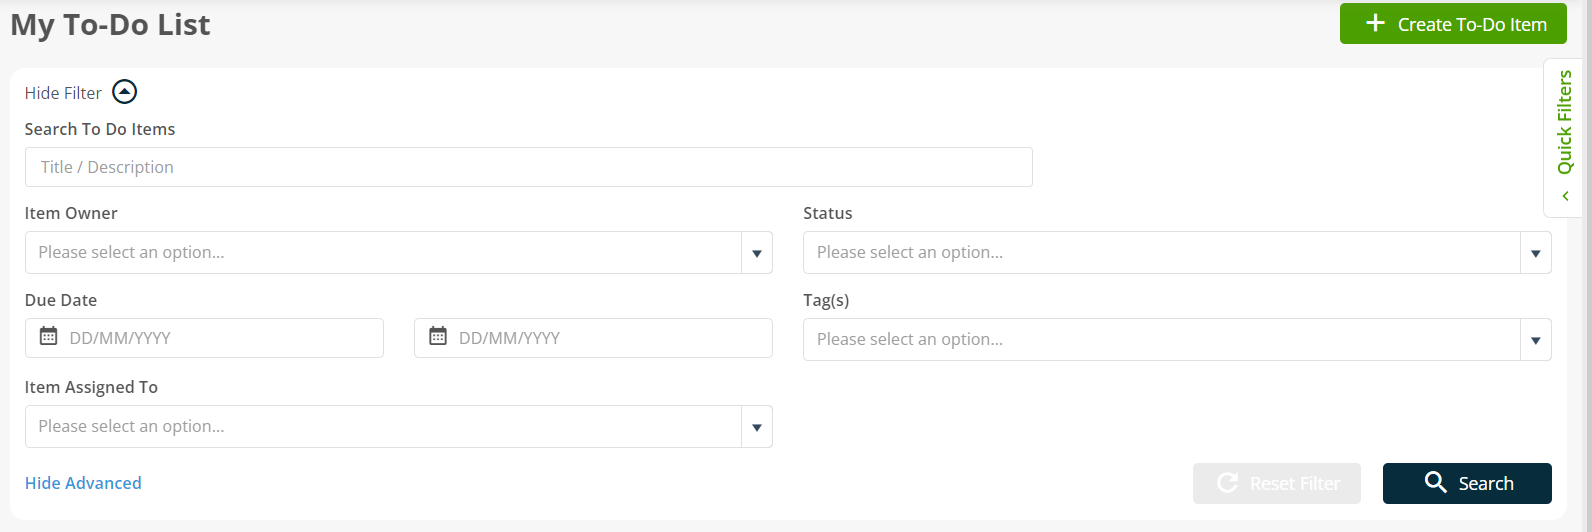
This screen lists all To-Do items. The items are sorted into five tabs, My To-Do Items tab lists all items owned by or assigned to the current user. The All tab lists all To-Do Items, similarly there are tabs to list all Open, Closed and Overdue Items. Filters are provided to help the user to locate items quickly.
Overdue Items are indicated by a red marker in the grid.
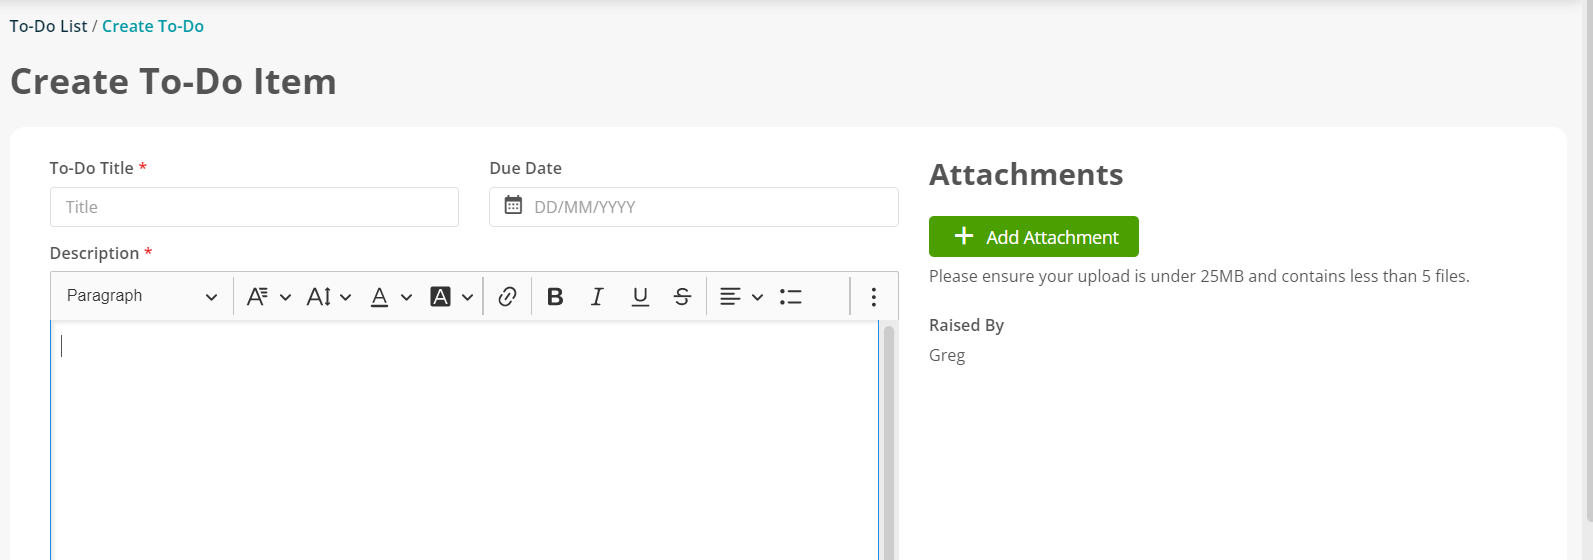
Items may be created by clicking on the Create To-Do Item Button. This launches the creation screen where the user is prompted to enter Title, Description and Due Date for the new Item. This Item may then be assigned to one or more users.
Each user that an item is assigned to will be notified that there is a new To-Do Item for their attention:
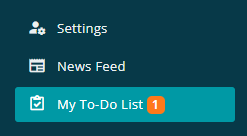
Each Item has an Item Owner - This by default is the user that creates the item but the Item Ownership may be transferred. Only the Item Owner can change the Status, Due Date and Assignees.
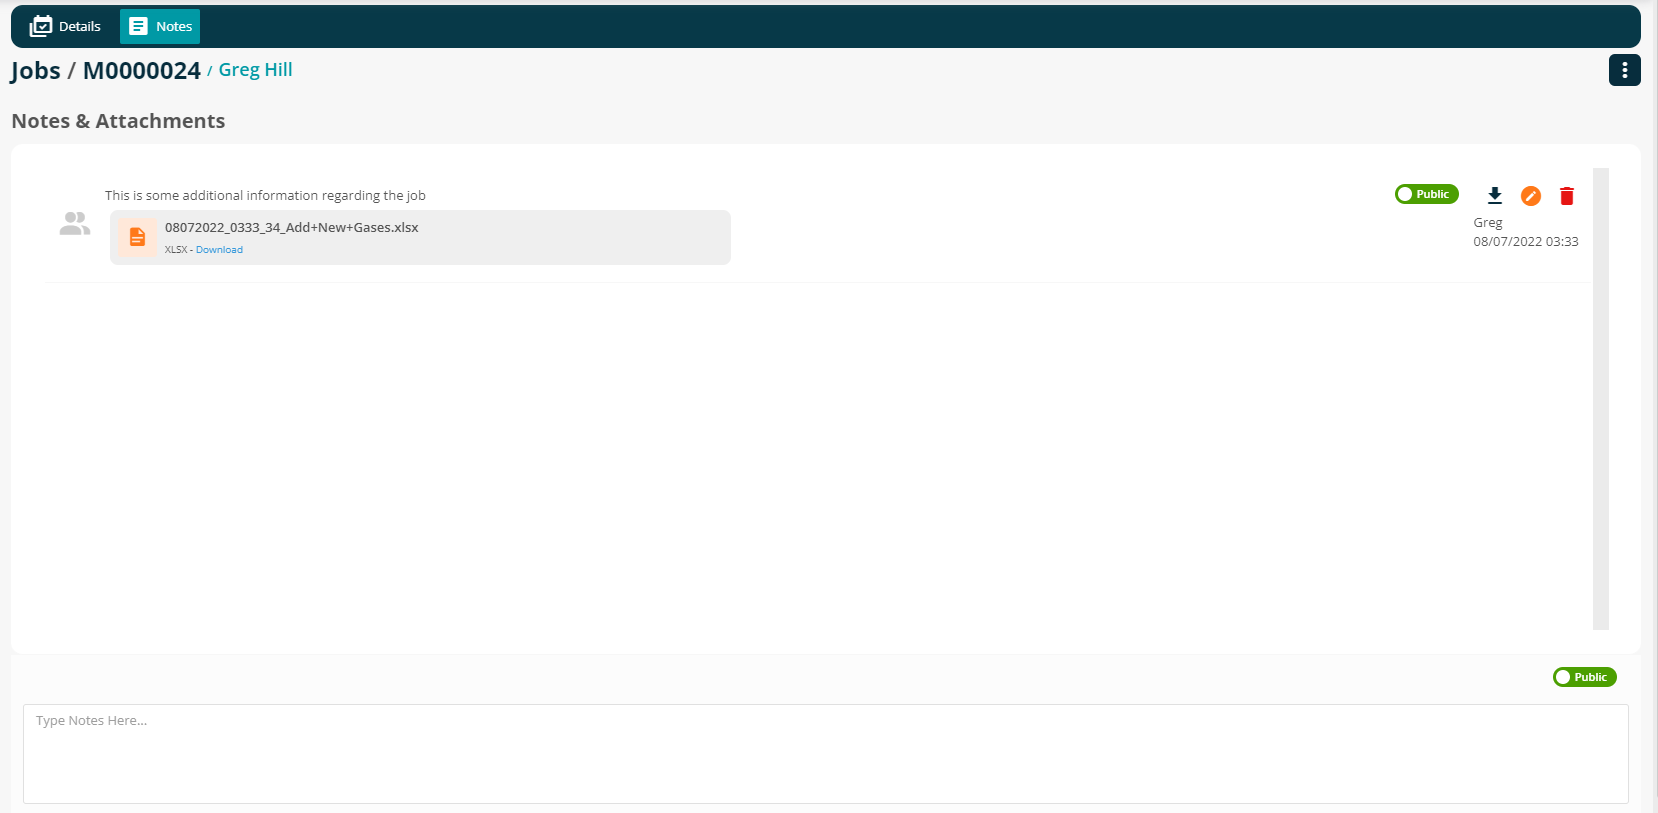
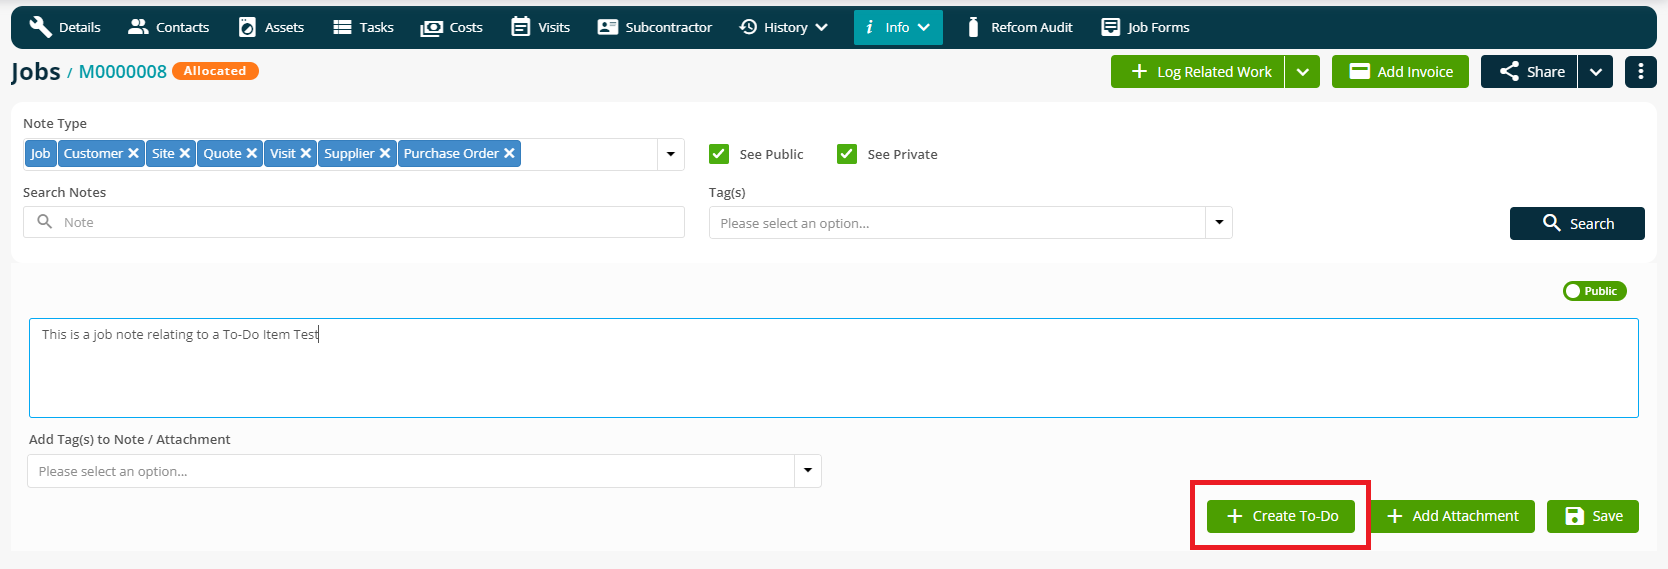
To-Do Items can also be created from all Notes Fields in the system, including Customers, Sites, Jobs, Quotes, Assets and Purchase Orders. Either at the point of creating the new Note:
Or by clicking this new icon to edit an existing note and create a new To-Do Item from that note.
Improvements and Bug Fixes.
Bug Fixes
An issue preventing Datasources from being added when editing Dashboards has been resolved.
An issue causing General Forms to be included in the Job Forms list has been rectified.


