Introduction
Reverse charging allows you to put the onus onto the customer to pay the tax directly to HMRC.
In Joblogic, we have a handy way to specify this and keep all of your records accurate.
This guide will walk you through how to set up the tax rate, amend the templates and apply the code to your cost lines.
Setting up your Tax Rate
The initial step is to set up your tax rate. To do this, navigate to Settings > Library > Tax Rates.

Next, you can click Add Tax Rate, and add your Code and Description (i.e. Reverse Charge), and then your 0% value.
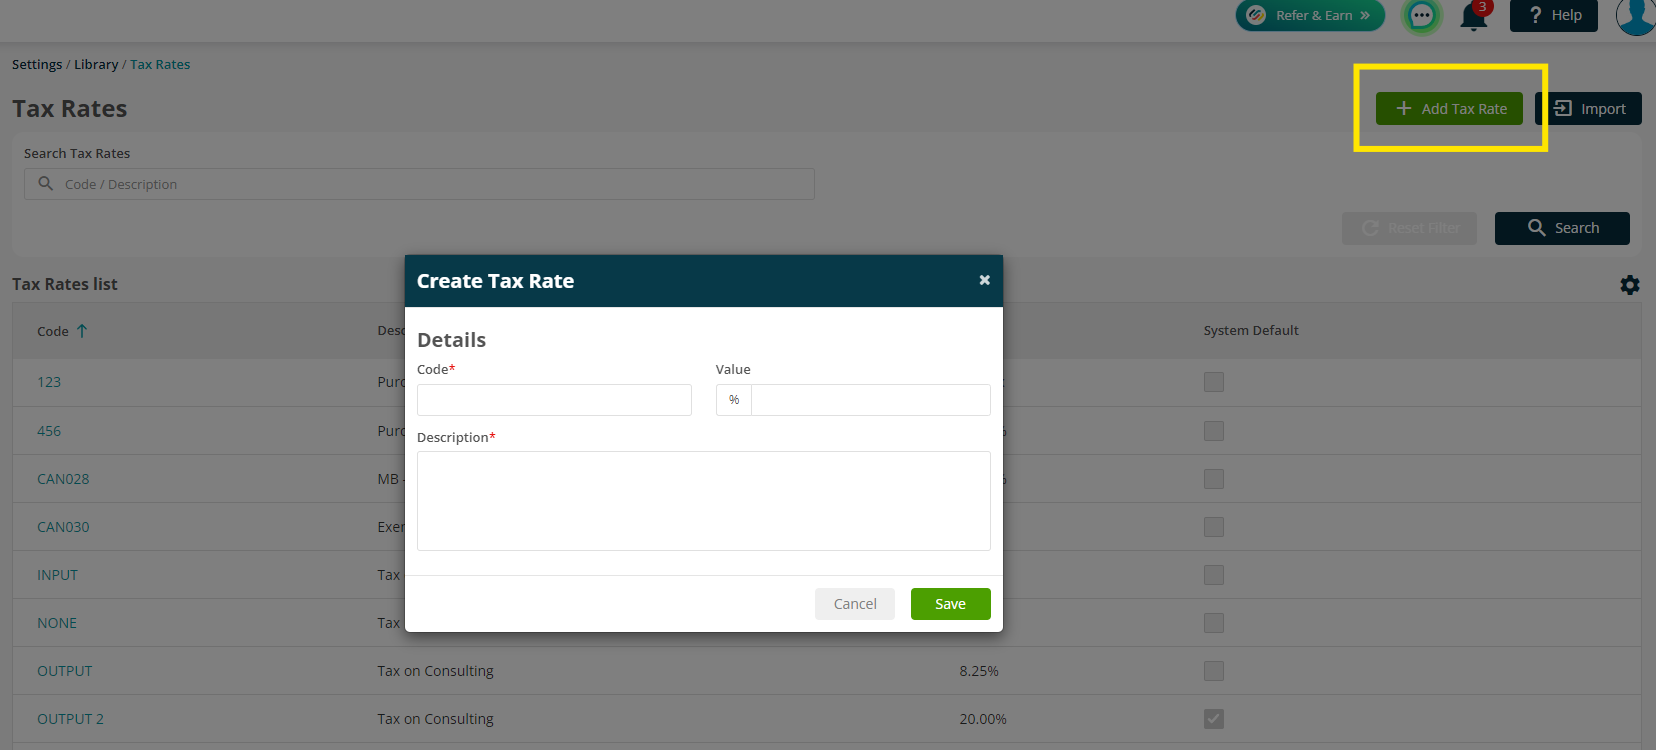
The code/description will need to exist in your account package if you are transferring invoices over later.
Templates
We have a standard Reverse VAT invoice template available in Joblogic, but you can amend/add your own if you prefer.
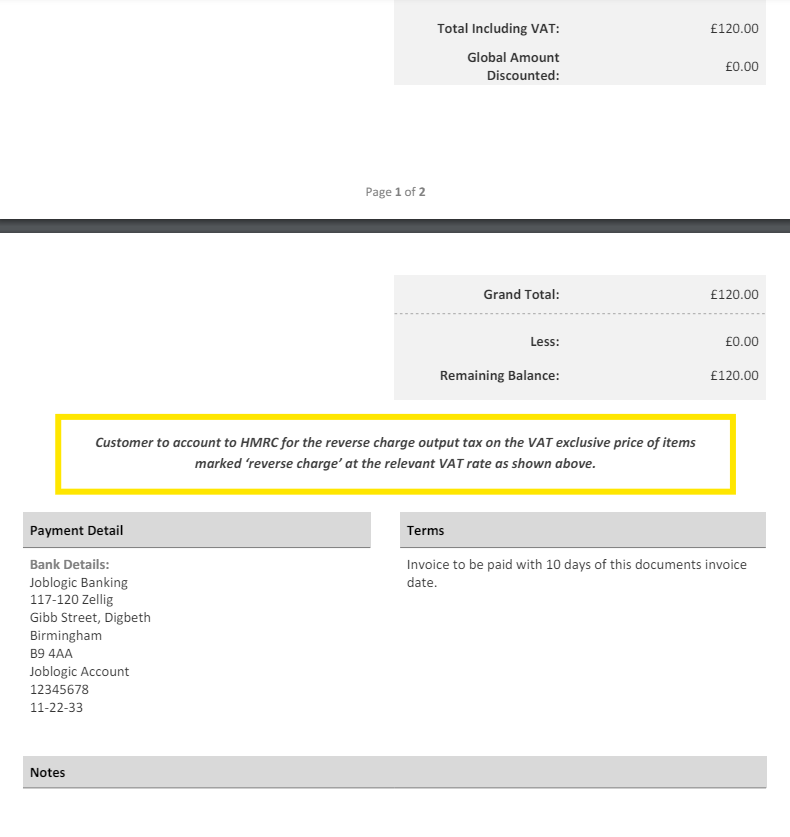
Our standard template has the following disclaimer on:
Customer to account to HMRC for the reverse charge output tax on the VAT exclusive price of items marked ‘reverse charge’ at the relevant VAT rate as shown above.
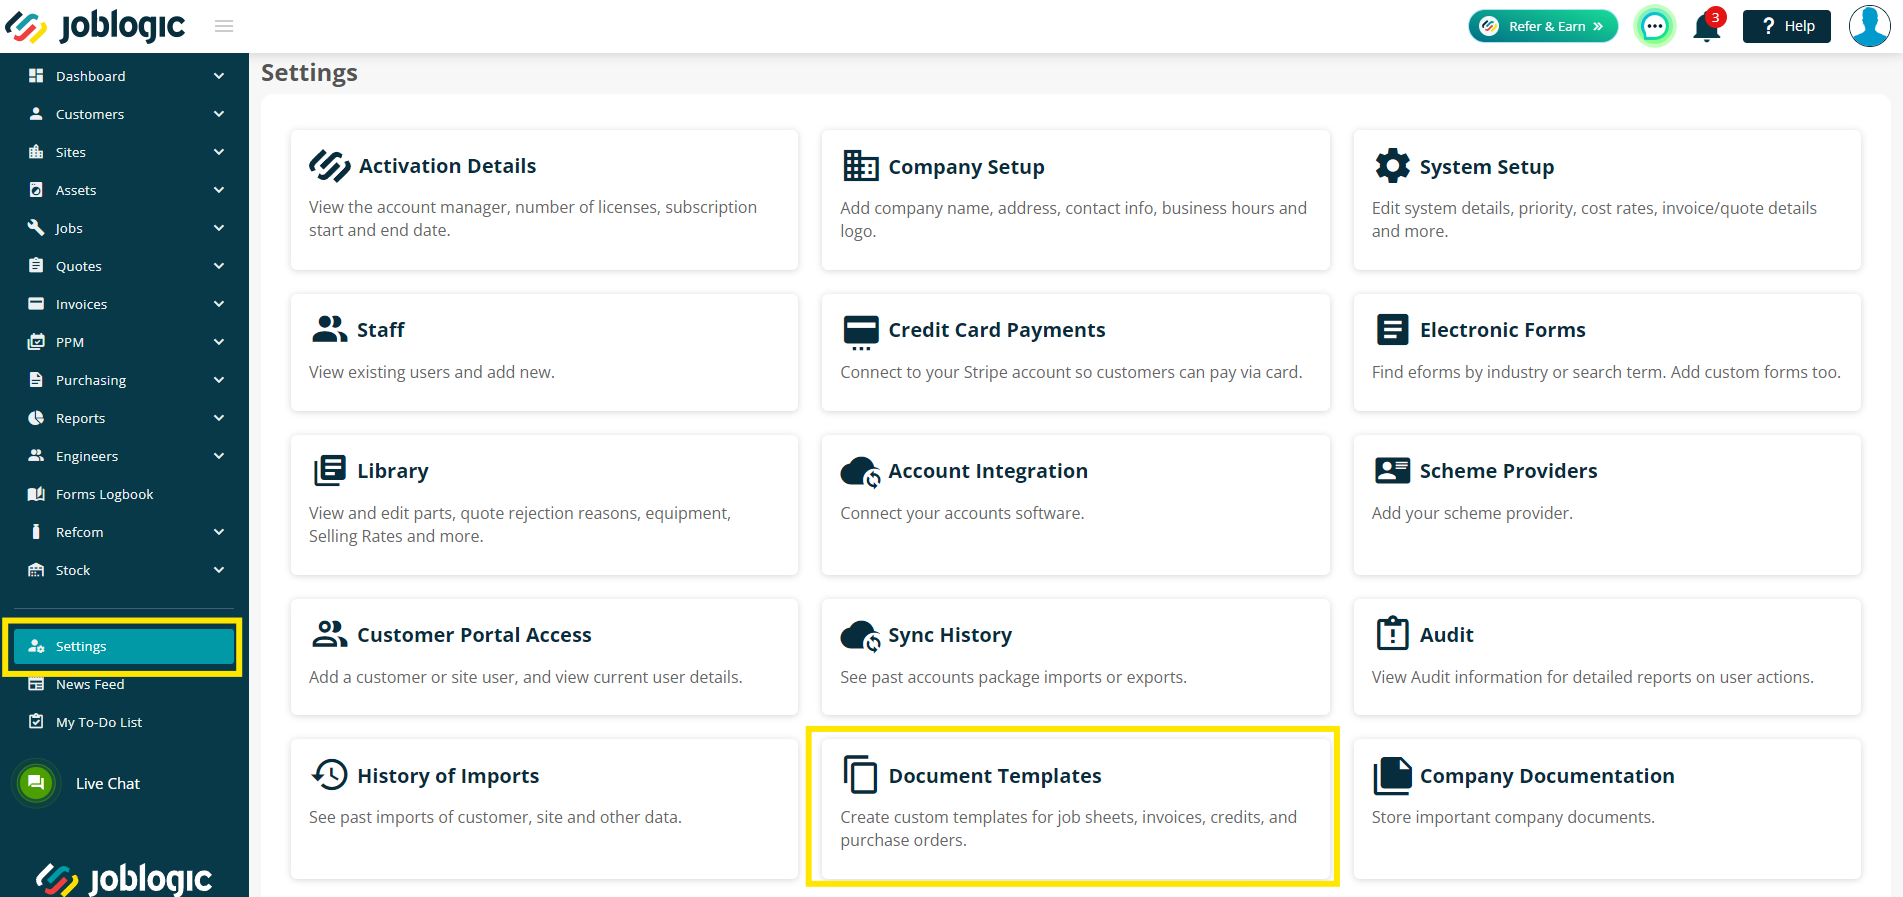
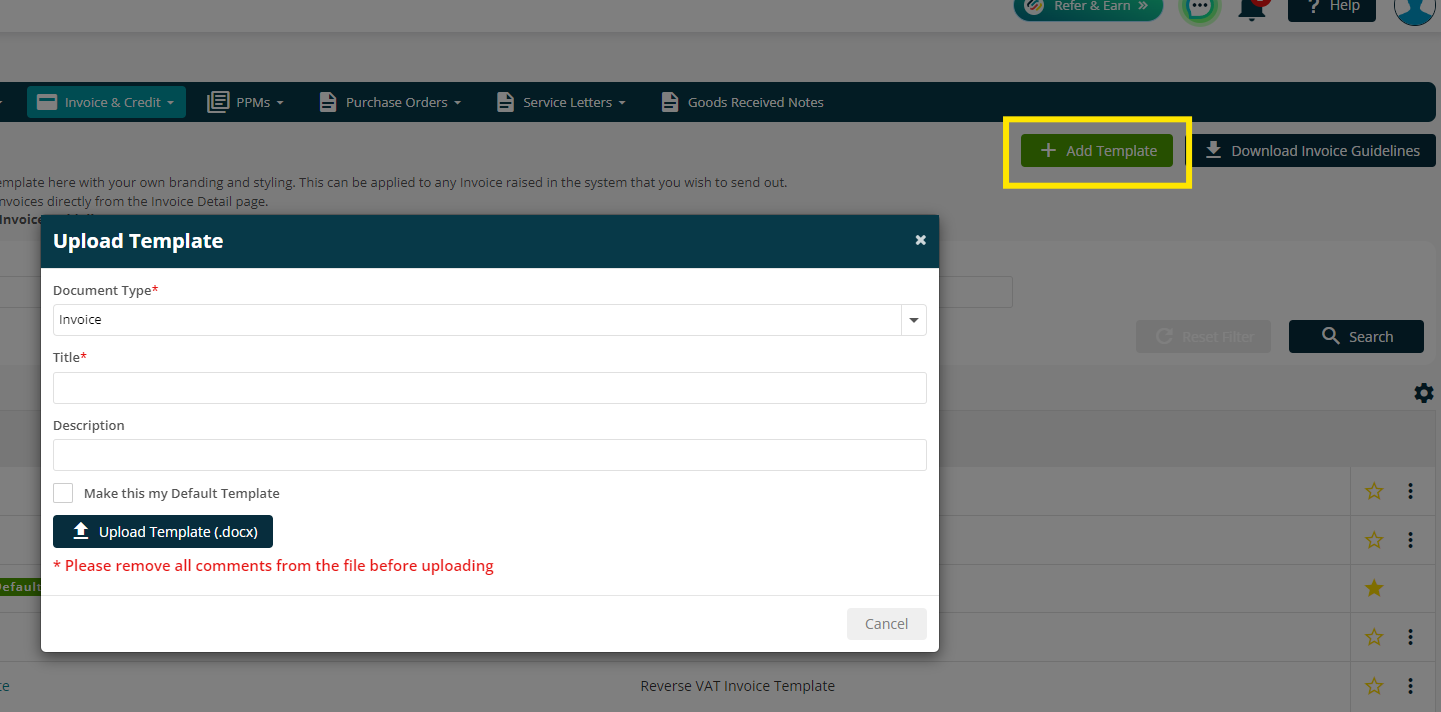
Navigate to Settings > Document Templates.
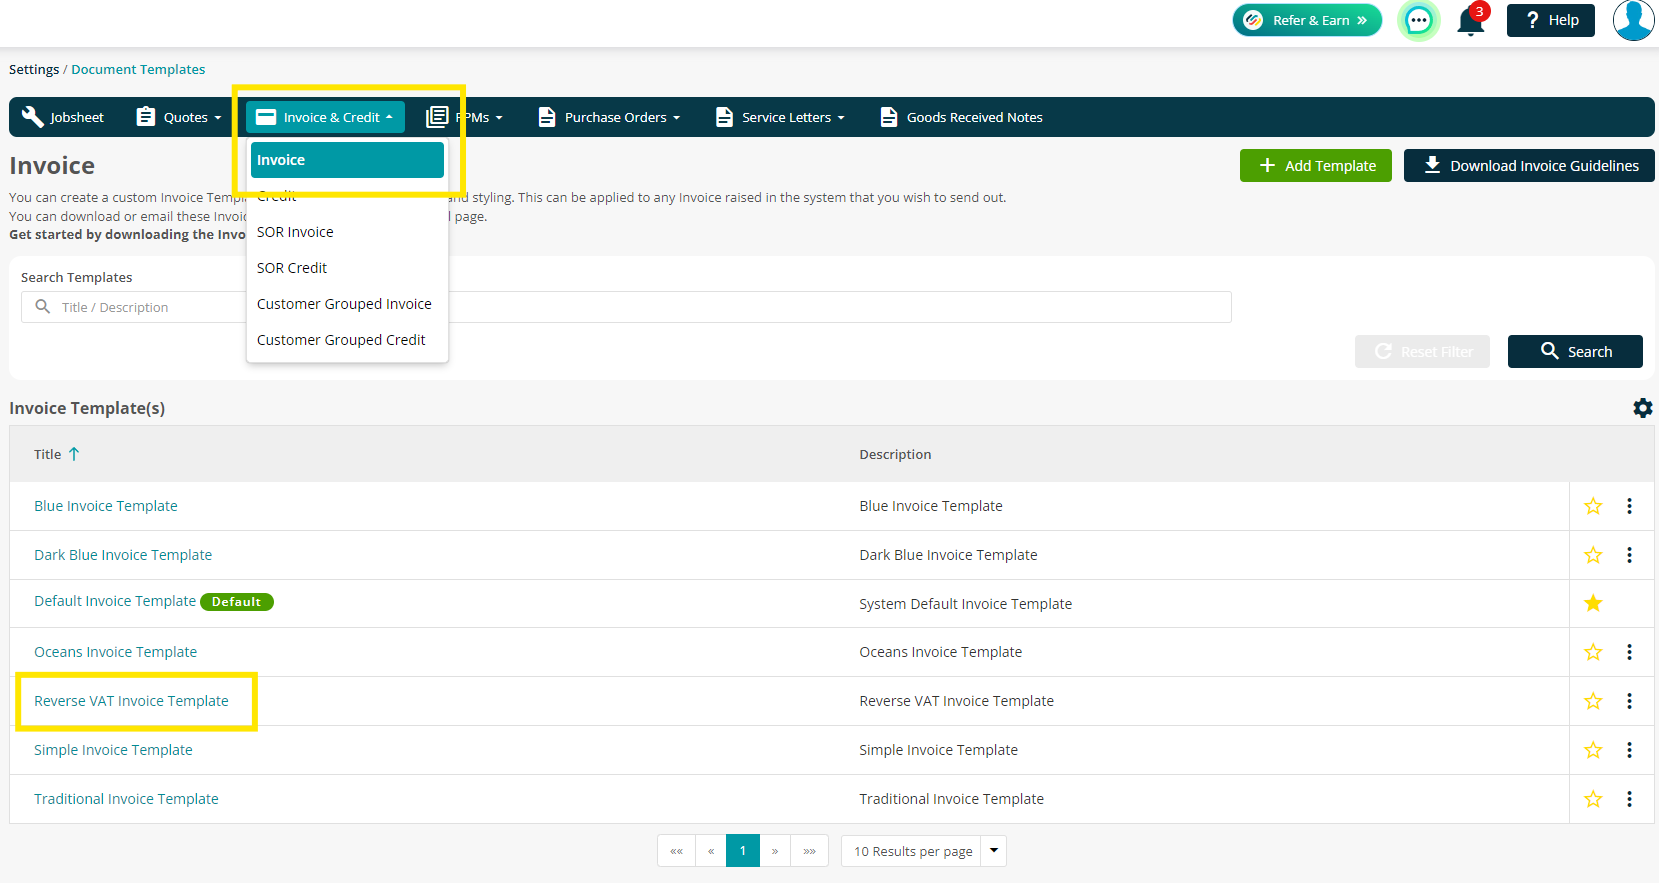
Next, click onto the Invoice & Credit dropdown and choose Invoice.
Here you’ll notice a template called Reverse VAT Invoice Template. Clicking on the name will download it.
You can make amendments if you wish, and then come back to the Settings > Document Template page to upload your new document.
To read more about adding your own document templates, click here.
Applying the Tax Rate to your Cost Line
To apply the rate manually on a case-by-case basis, you can do so when adding an invoice to a job.
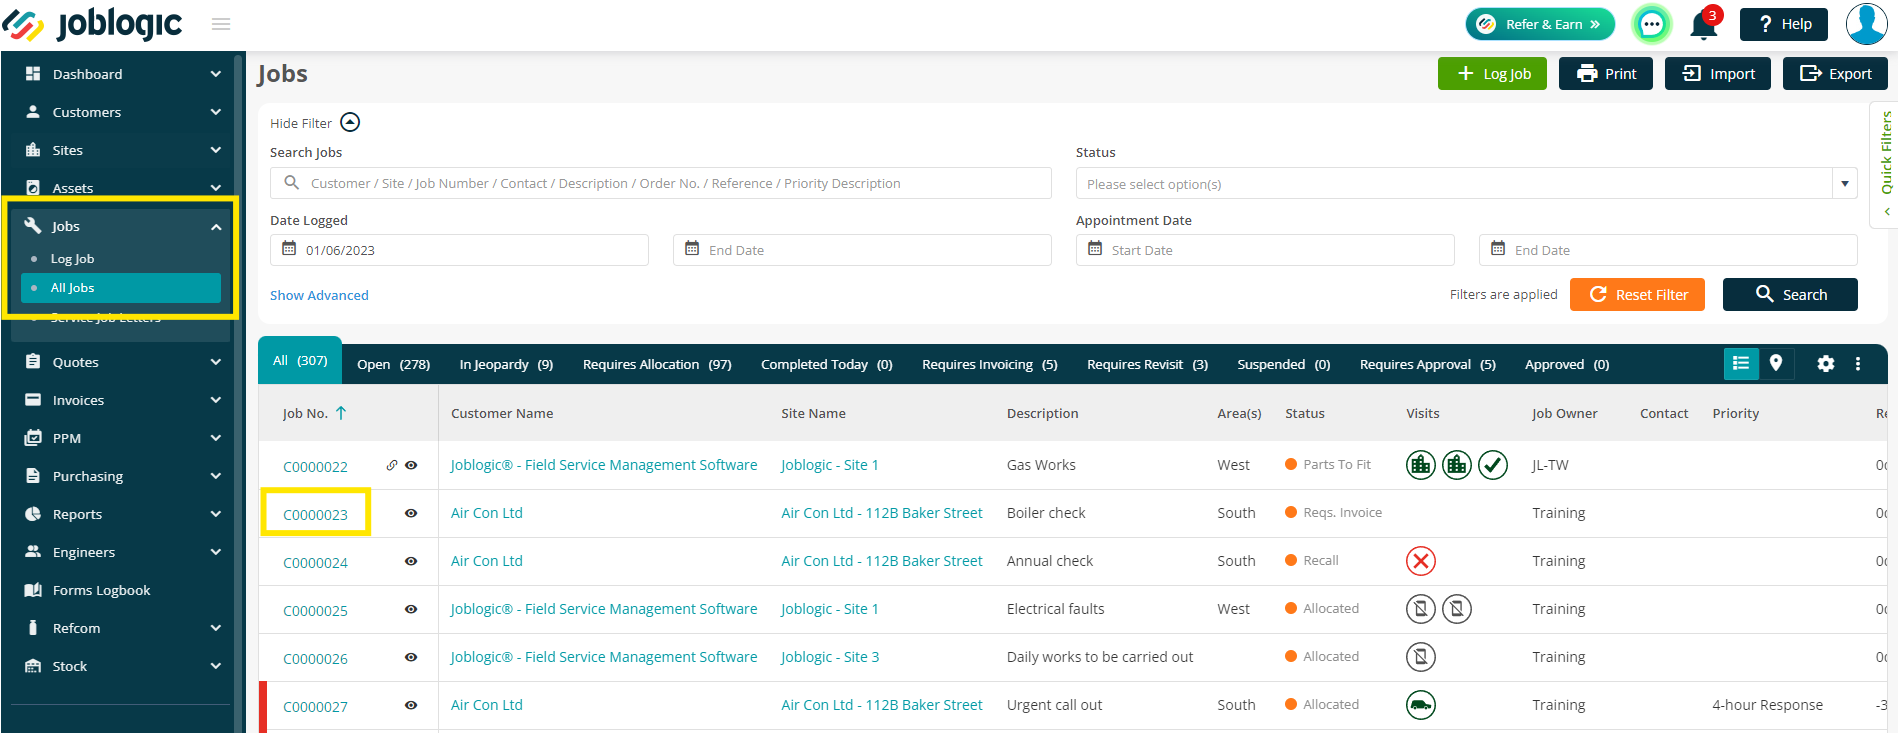
To do this navigate to your job via Jobs > All Jobs > click on the relevant Job No.
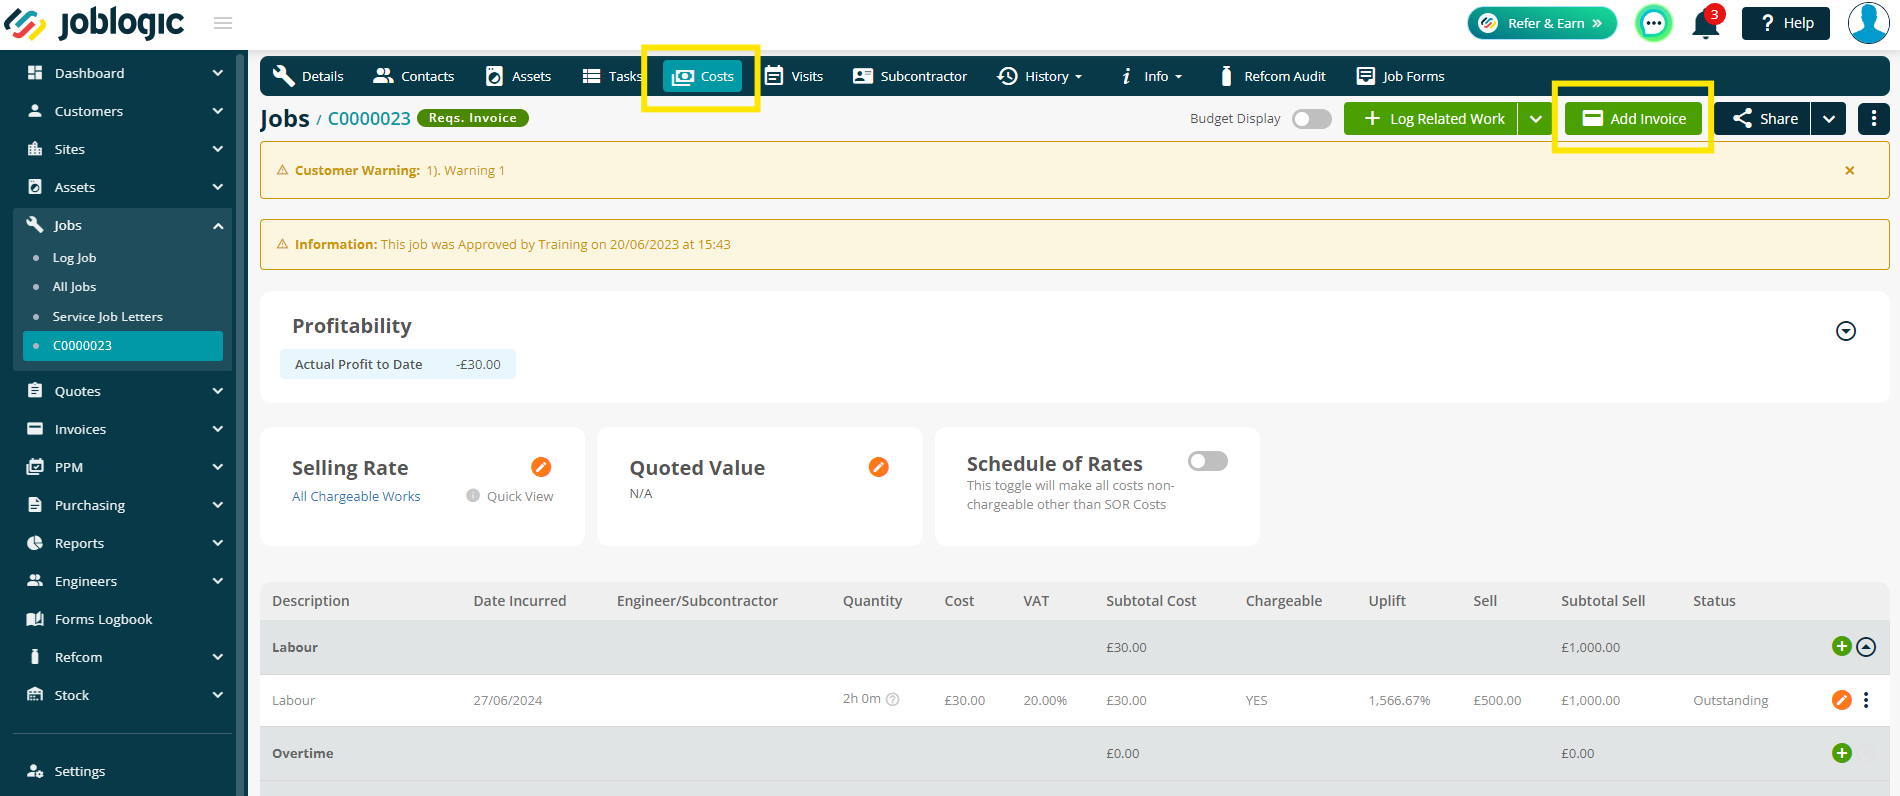
Your costs should have some through to the Cost tab as normal. Click the Add Invoice button in the top right to bring the costs through to a Draft Invoice.
To read more about adding invoices, click here.
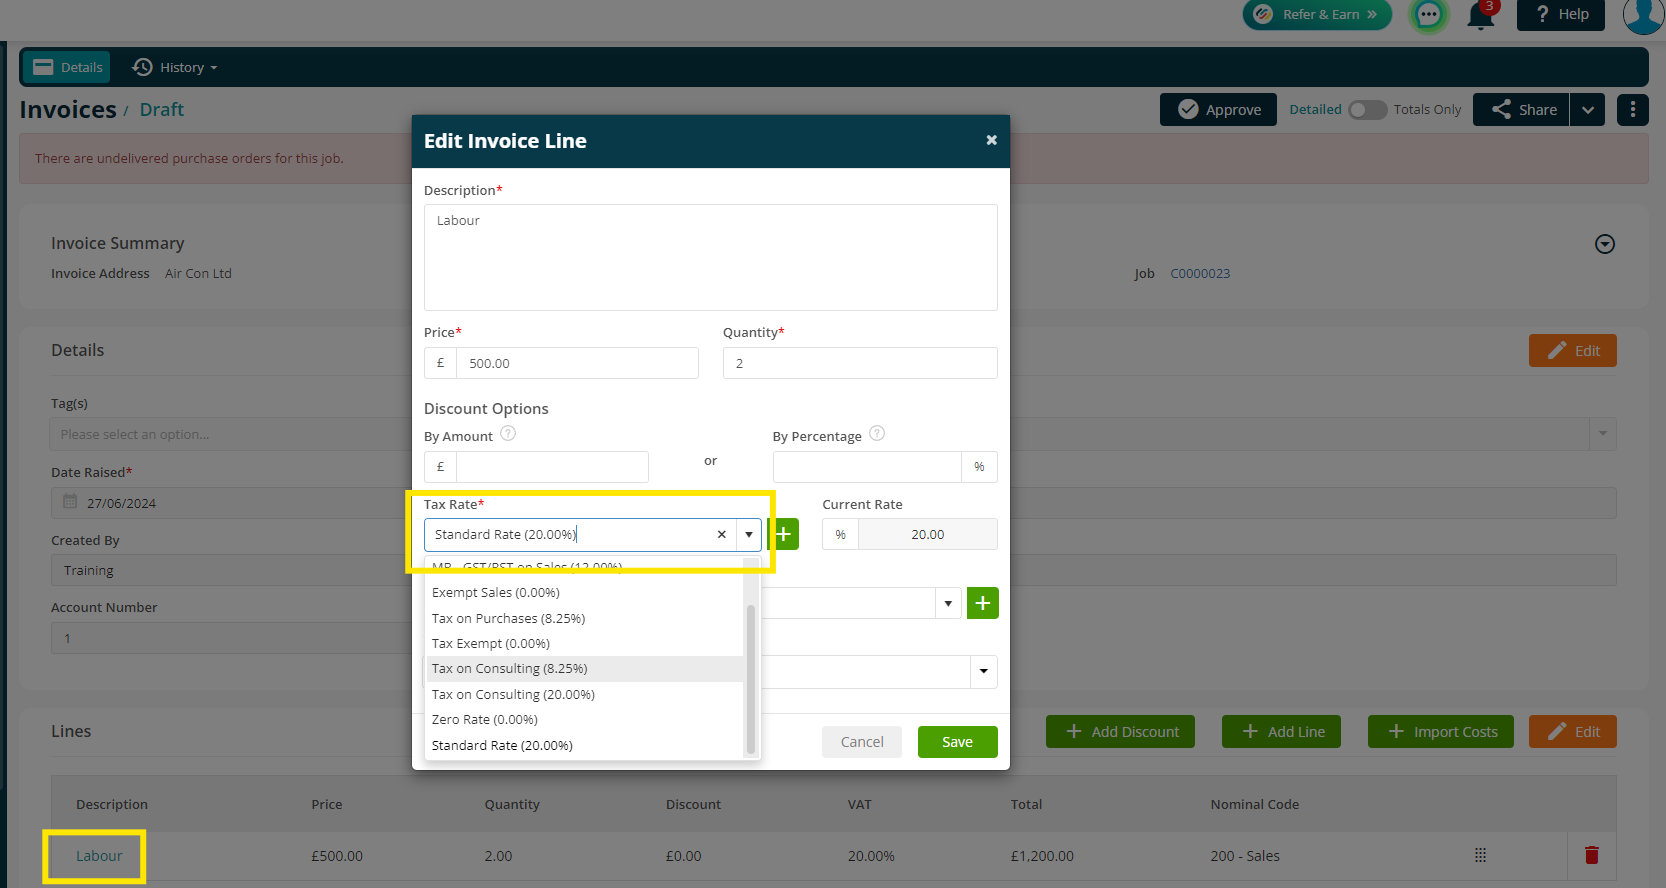
On this screen you can edit your cost lines and update the Tax Code. To do this, click on the Cost Line’s Description.
You can then choose your Reverse VAT Tax Rate from the dropdown menu.
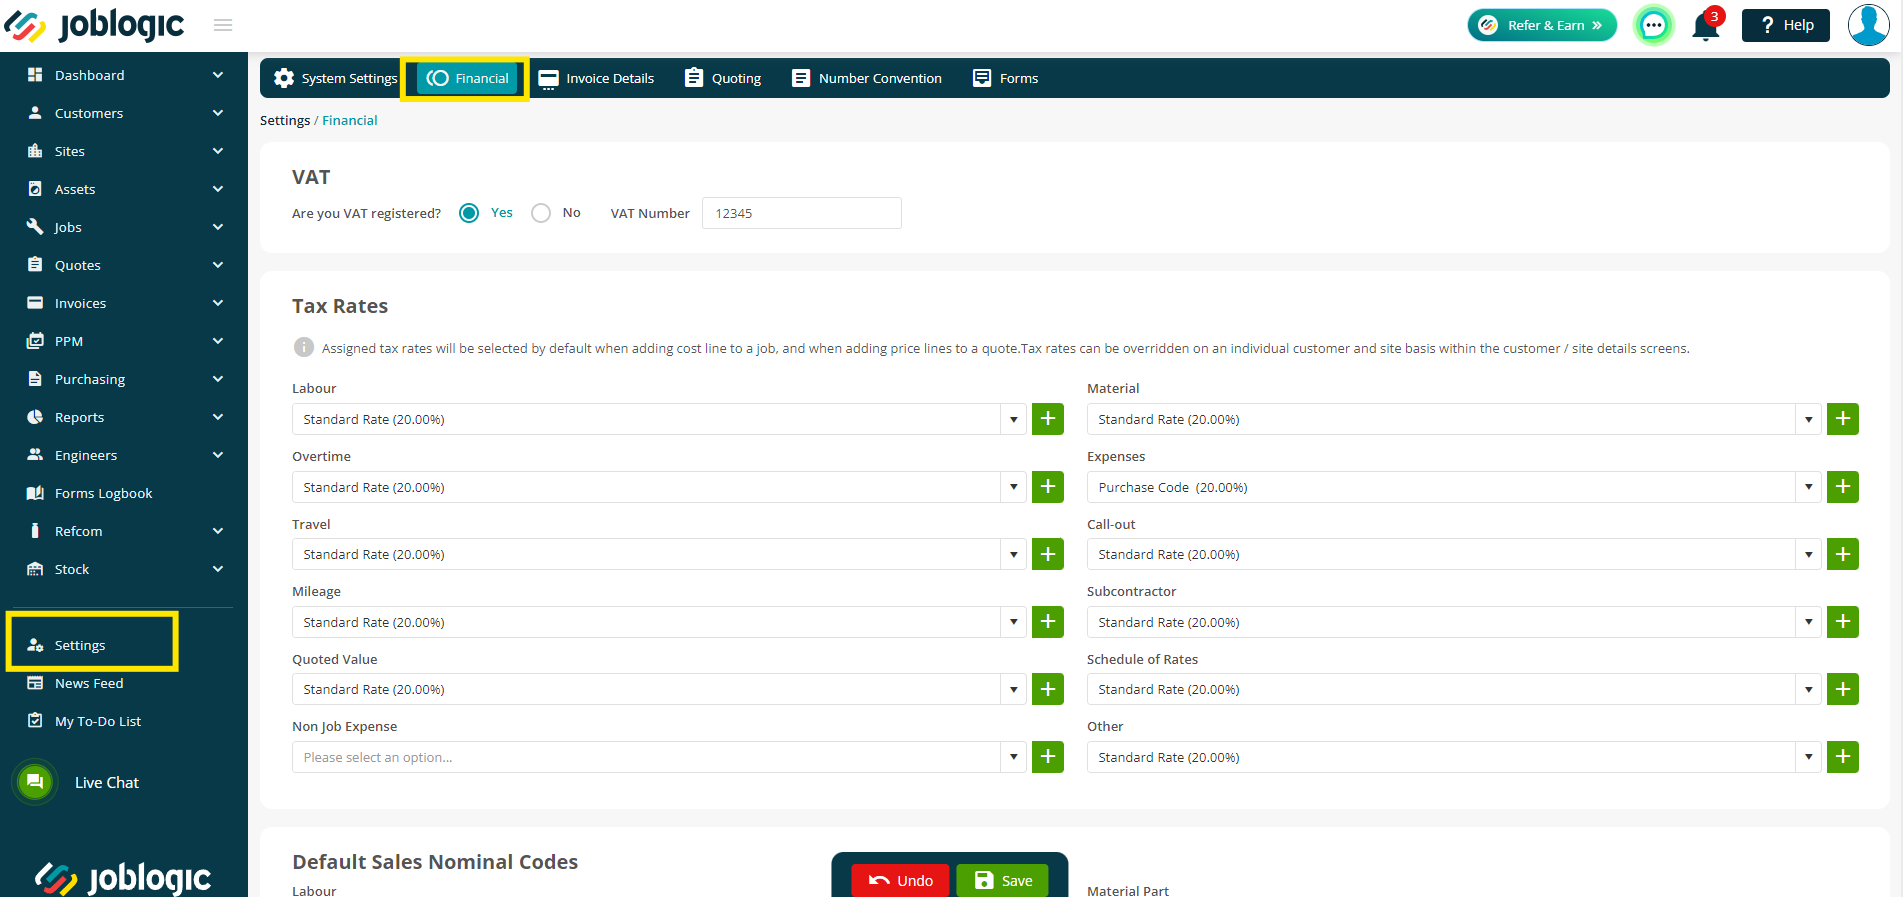
You can also set some defaults, so this code appears automatically. This will only be relevant if this code applies companywide, always, or for certain Customers/Sites.
- To set the Company defaults, navigate to Settings > System Set up > Financial
- To set the Customer default, navigate to Customers > All Customers > click customer name > Base Configuration tab
- To set the Site default, navigate to Sites > All Sites > click site name > Configuration tab
Sharing the Invoice
You can then Share the invoice with your customer, either while it’s still in Draft or after you have Approved the invoice.
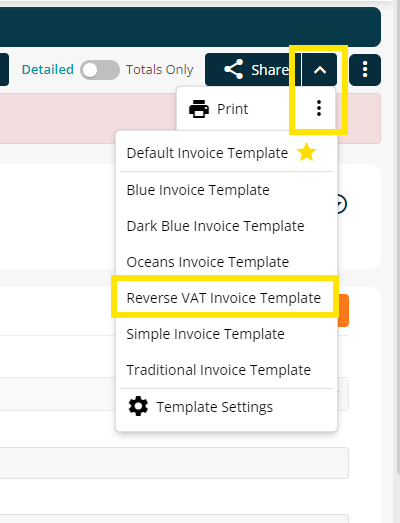
Click the Share dropdown at the top of your page. To choose your Reverse VAT template, click the three dots next to either Print or Download as needed.
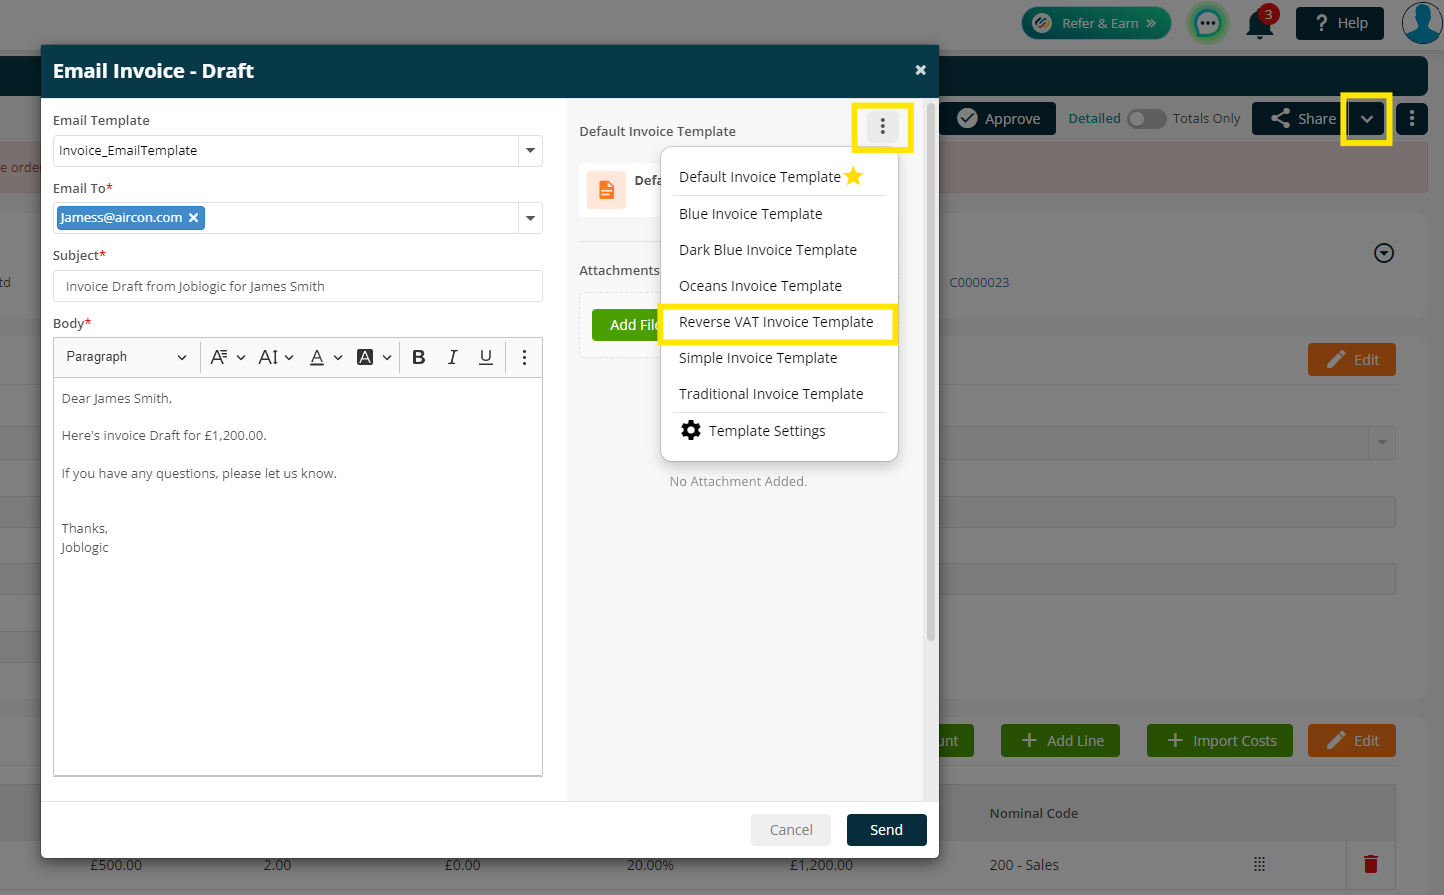
Alternatively, if you are Emailing the invoice, click Email and you can choose your template via the three dots in the top right
Further Support
For further information or assistance with the above, contact our Support Team on 0800 326 5561 or email support@joblogic.com. Alternatively, our Customer Success Management team can be reached by emailing customersuccess@joblogic.com.
Publishing Details
This document was written and produced by Joblogic’s Technical Writing team and was last updated on the date specified above. Be aware that the information provided may be subject to change following further updates on the matter becoming available or new releases within the system. Additionally, details within the guide may vary depending on your Joblogic account’s user permissions and settings or the electronic device being used.