Introduction
The Sage 200 Standard Integration (version 29 & 30) with Joblogic simplifies financial data management by syncing key entities between the two systems. This helps keep customer, supplier, tax, and nominal code information consistent, while also supporting sales invoice, purchase invoice, and payment synchronisation.
This guide explains how to access, set up, and manage the Sage 200 integration, including the data available for synchronisation and how to review synchronisation results.
Accessing the Sage 200 Integration
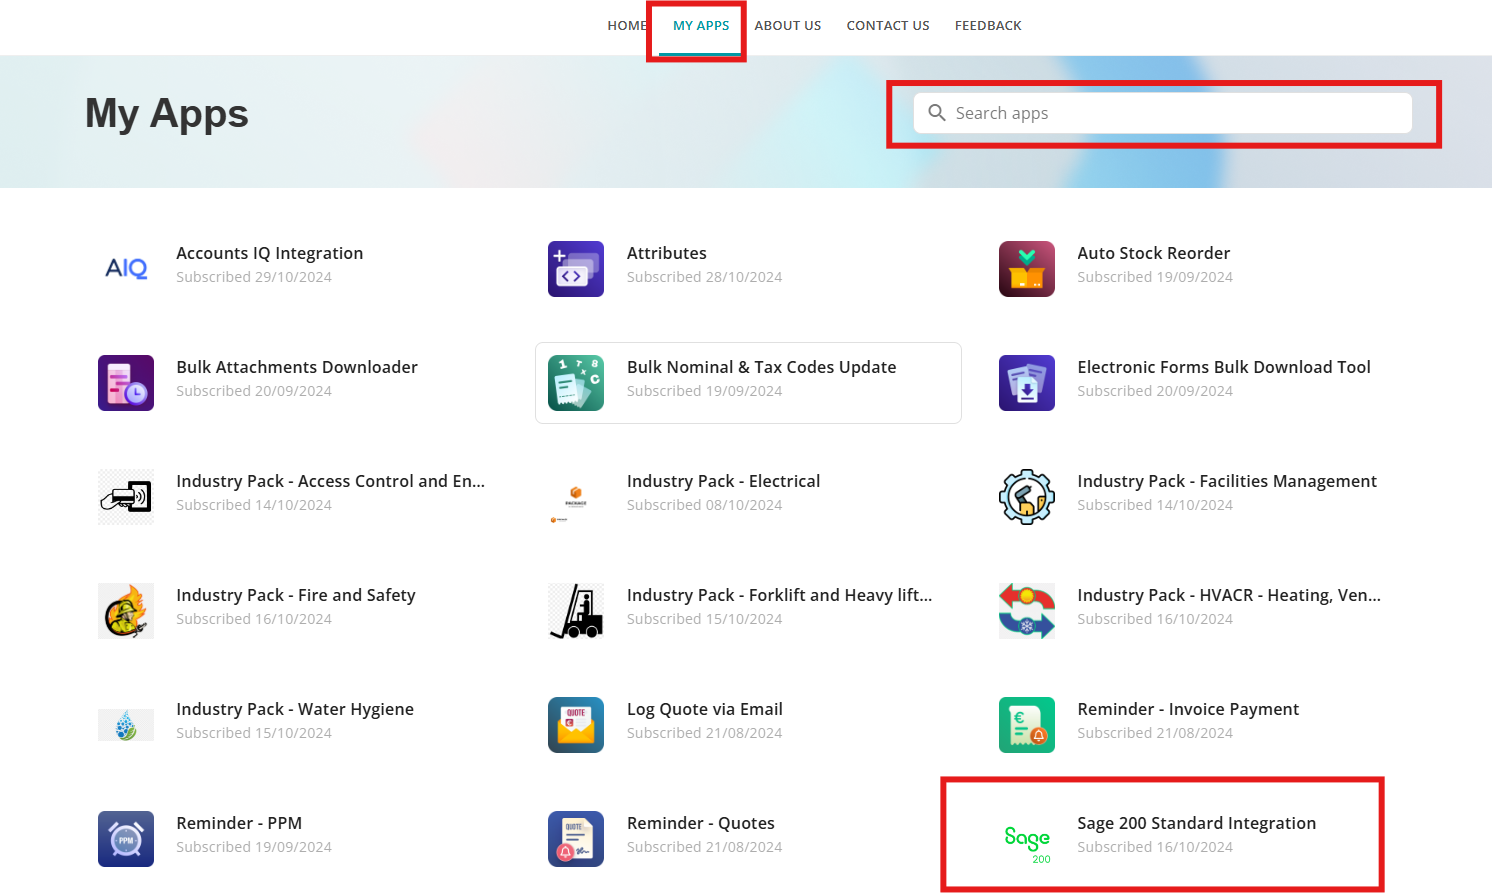
Click into My Apps on your Marketplace page
Either Search for ‘Sage 200’, or simply click the relevant button.
Initial Setup
First time login
When you click on the app for the first time, you will be prompted to log in with your Sage 200 credentials.
This form contains a Joblogic generated URL, which you will need to copy and paste into your web browser
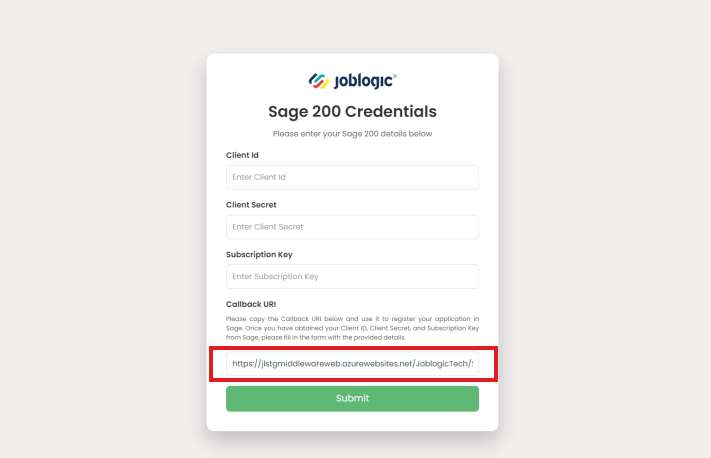
Here, you can obtain the Client ID, Client Secret and Subscription Key to fill out the Sage 200 Credentials form.
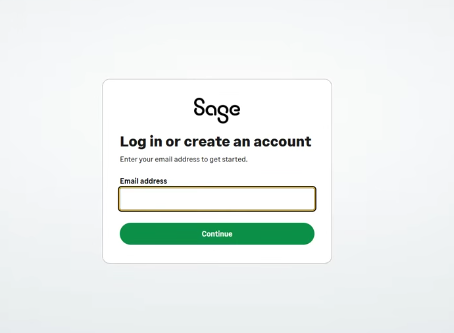
Once you have done this, you’ll be able to enter your Sage log in details.
Company selection
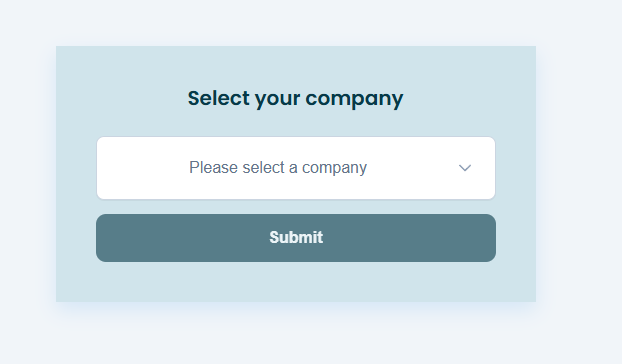
After successfully authenticating, you will be presented with the Company Selection page.
Select the Sage 200 company you want to use and click Submit.
The selected company determines where data will be synchronised.
Syncing options
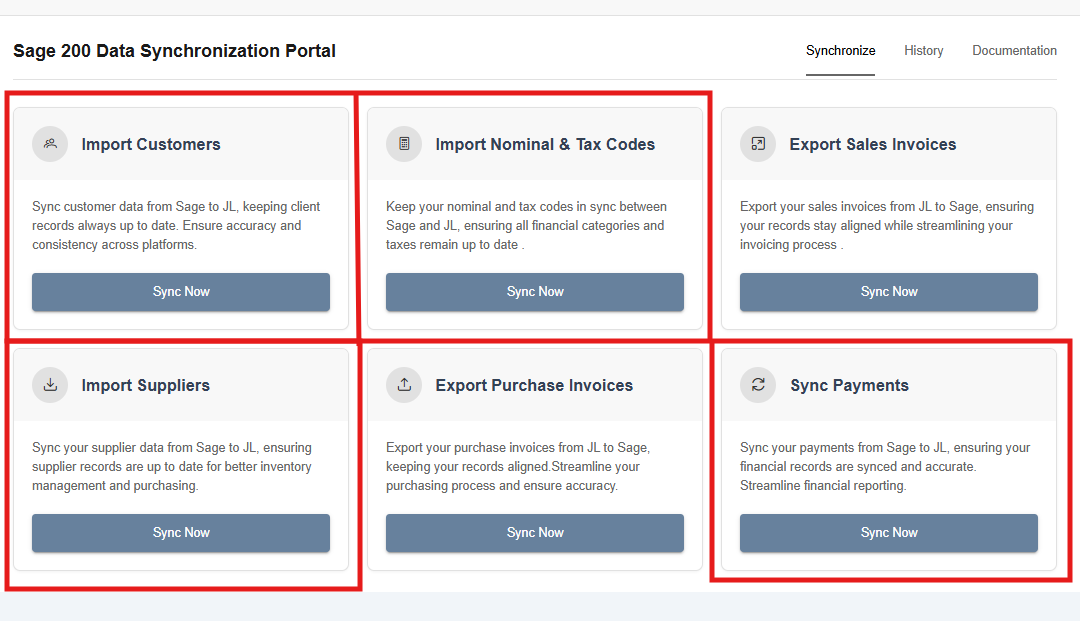
Once a company has been selected, you can synchronise the following entities between Joblogic and Sage 200.
From Sage 200 to Joblogic:
- Customers
- Suppliers
- Tax Codes
- Nominal Codes
- Payments
Notes:
Only newly created entries in Sage 200 will sync to Joblogic. Changes made to existing entities in Sage 200 will not automatically update the corresponding record in Joblogic and may require a manual update.
Customers and suppliers with an Account Status of On Hold or Hidden will not be created in Joblogic when synchronised from Sage 200.
When carrying out the first synchronisation of existing customers and suppliers, make sure the Sage 200 Customer/Supplier Code matches the Reference Number in Joblogic. If these values do not match, duplicate records may be created.
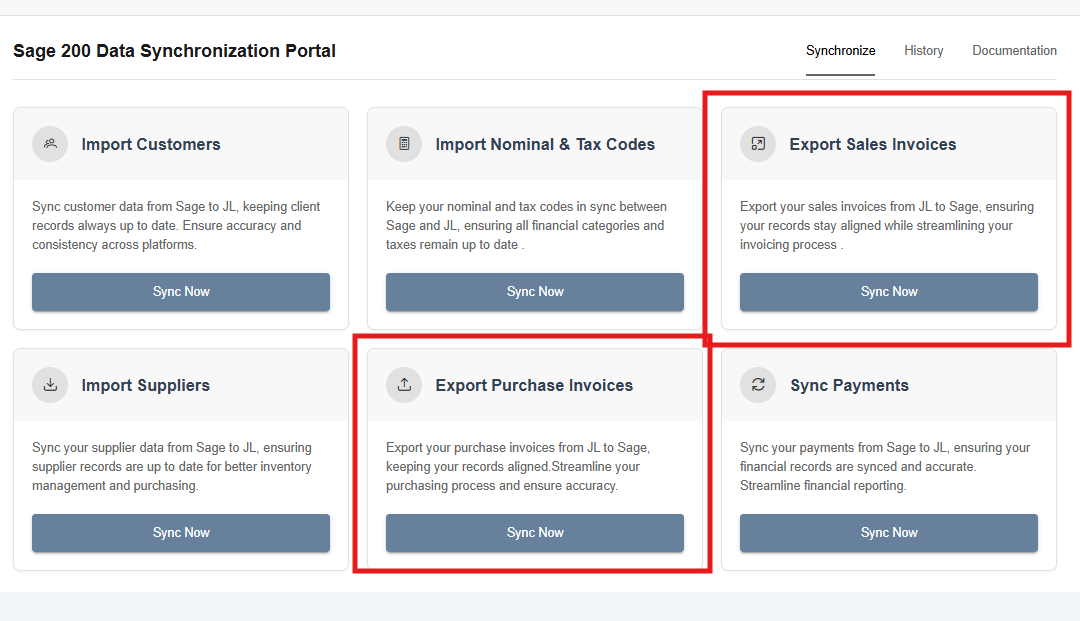
From Joblogic to Sage 200:
- Sales Invoices
- Purchase Invoices
Sales Invoices - Notes:
Rather than creating a sales invoice directly, the integration creates a Sales Order in Sage 200. Each line from the Joblogic invoice is represented as a line on the Sage 200 Sales Order.
Once the Sales Orders have been created, invoices can be generated against them in Sage 200. Sage 200 does not provide an API endpoint for directly creating sales invoices through the integration.
The Joblogic invoice number will be placed in the Customer Order Number field in Sage for easy tracking.
If a new customer or supplier is detected during an invoice sync, they will be automatically created in Sage 200 before continuing with the sync.
Joblogic applies discounts at line level, while Sage 200 applies discounts per unit.
The integration adjusts the discount value automatically to ensure that the discount is represented correctly in Sage 200.
Invoices created within the Project module and Hire Contract module in Joblogic will be treated as standard Sales Invoices in Sage 200.
Purchase Invoices - Notes:
Each purchase invoice from Joblogic will be represented as a purchase order in Sage 200, where each line corresponds to an invoice line in Joblogic.
Once the purchase orders are created, you can generate invoices in bulk against these purchase orders. Since Sage 200 does not provide an API endpoint to directly create purchase invoices.
Subcontractor and Contract Purchase Orders require the relevant subcontractor to exist as a Supplier in Sage 200 before the associated purchase invoice can be synchronised successfully.
Supplier invoices generated within Hire Contracts are synced as purchase orders in Sage 200.
Syncing your data
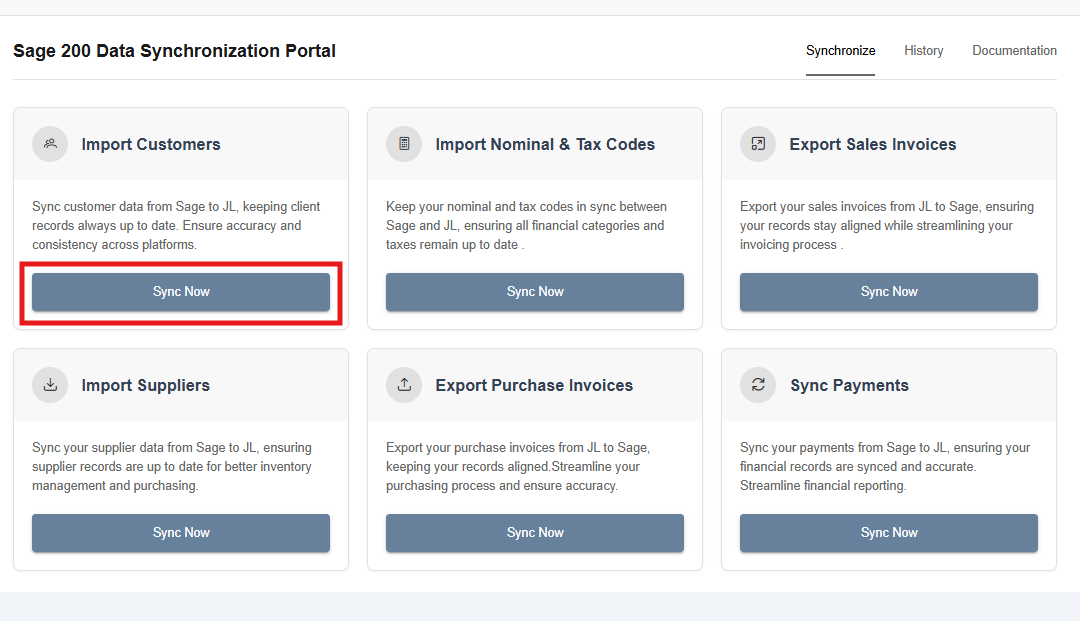
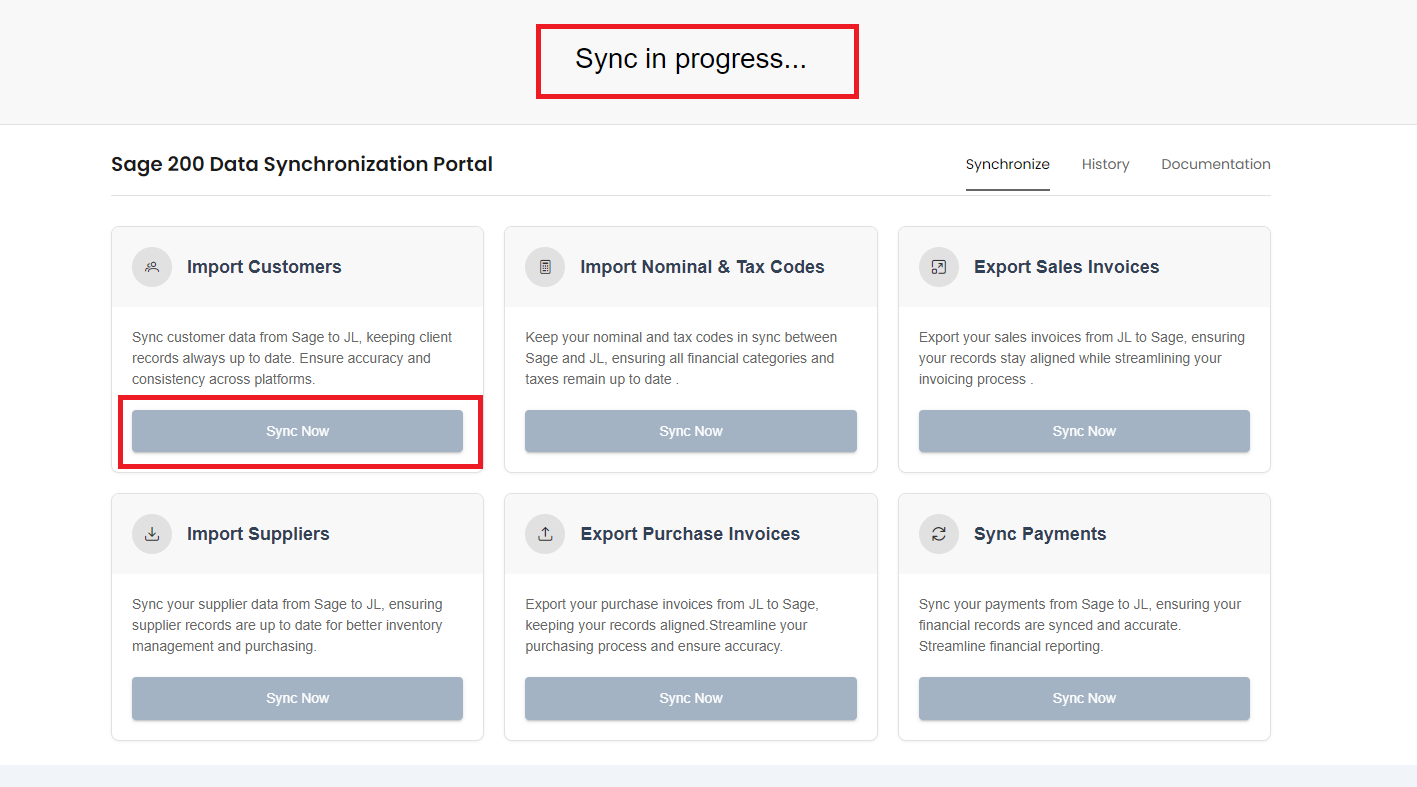
To begin, click "Sync Now" next to the items you'd like to update.
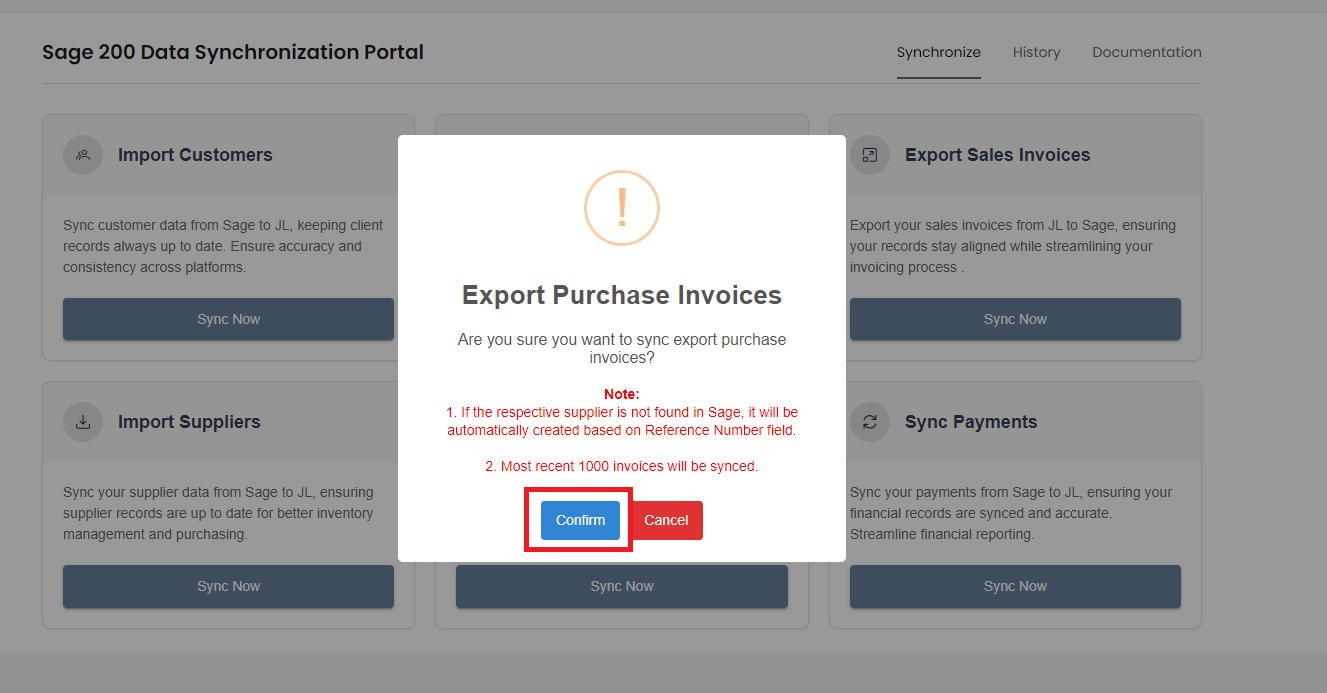
Click Confirm to proceed with the synchronisation.
Once an invoice has been synced to Sage, it will be marked as "Pass to Account" in Joblogic to prevent the same invoice from syncing again.
While a sync is in progress, all sync options will be greyed out until this sync is completed.
Auditing
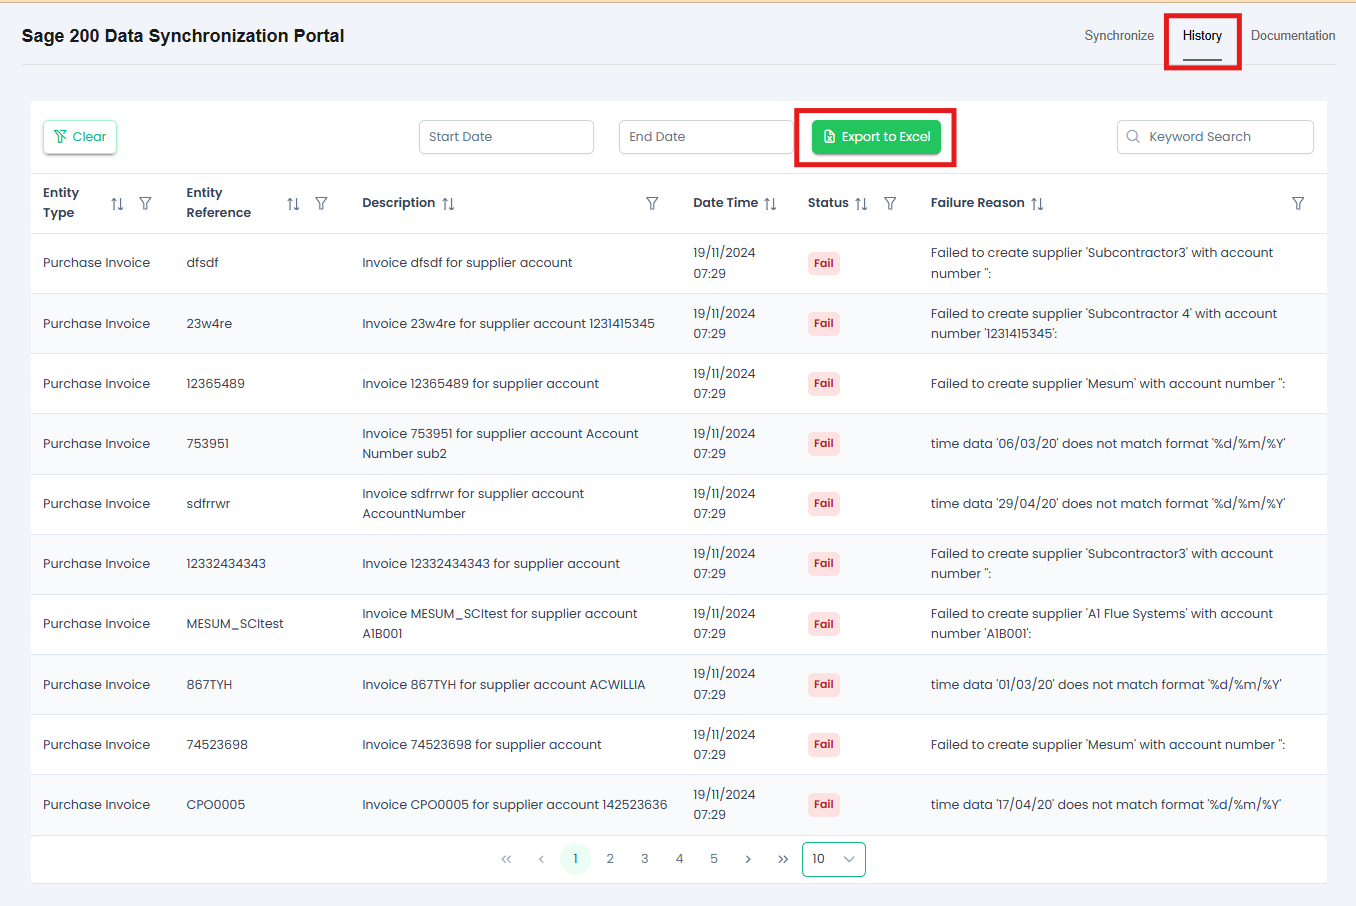
You can see an audit of what you have synced via the History tab.
This list will provide you with a list of what has been synced, when and whether it was successful or not. Any failures will include a reason.
Click Export to Excel to download this list for your records, if required.
Further Support
For further information or assistance with the above, contact our Support Team on 0800 326 5561 or email support@joblogic.com. Alternatively, our Customer Success Management team can be reached by emailing customersuccess@joblogic.com
Publishing Details
This document was written and produced by Joblogic’s Technical Writing team and was last updated on the date specified above. Be aware that the information provided may be subject to change following further updates on the matter becoming available. Additionally, details within the guide may vary depending on your Joblogic account’s user permissions.