- 11 Dec 2024
- 4 Minutes to read
- Print
- PDF
Sales Orders
- Updated on 11 Dec 2024
- 4 Minutes to read
- Print
- PDF
Introduction
The Joblogic Marketplace offers a very useful tool when it comes to direct sales (sales which do not require additional items outside of an invoice/sales record to be generated) known as ‘Sales Orders’. This app provides users with the ability to generate invoices/sales records as a standalone item without having to log it against an associated job or other entity. This proves to be a must have for users who regularly deal with over the counter or ad-hoc sales which do not require any further details about the sale to be recorded outside of an invoice.
The purpose of this add on app is therefore to not only improve direct sale efficiency and save users time but to also tailor your system to this type of service if it regularly applies to you.
This user guide will detail how to access and use the ‘Sales Orders’ Joblogic Marketplace app.
Accessing the App
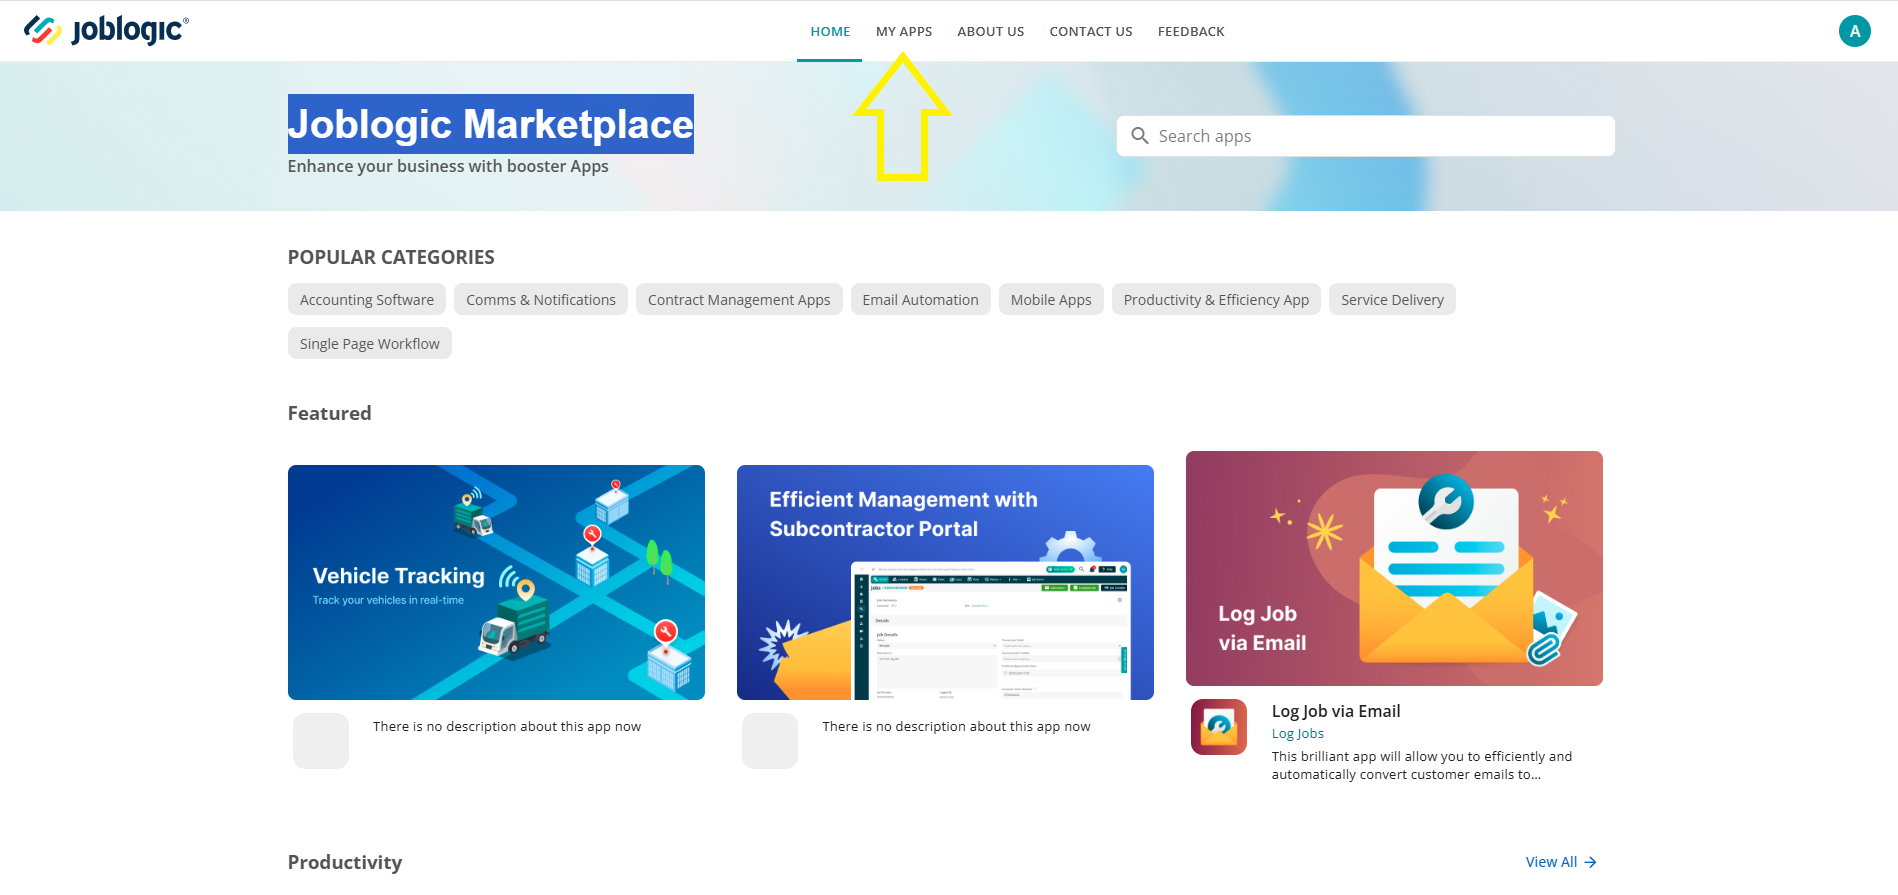
Once you have subscribed to the ‘Sales Orders’ marketplace app it can be accessed via the ‘My Apps’ area of the Joblogic Marketplace.
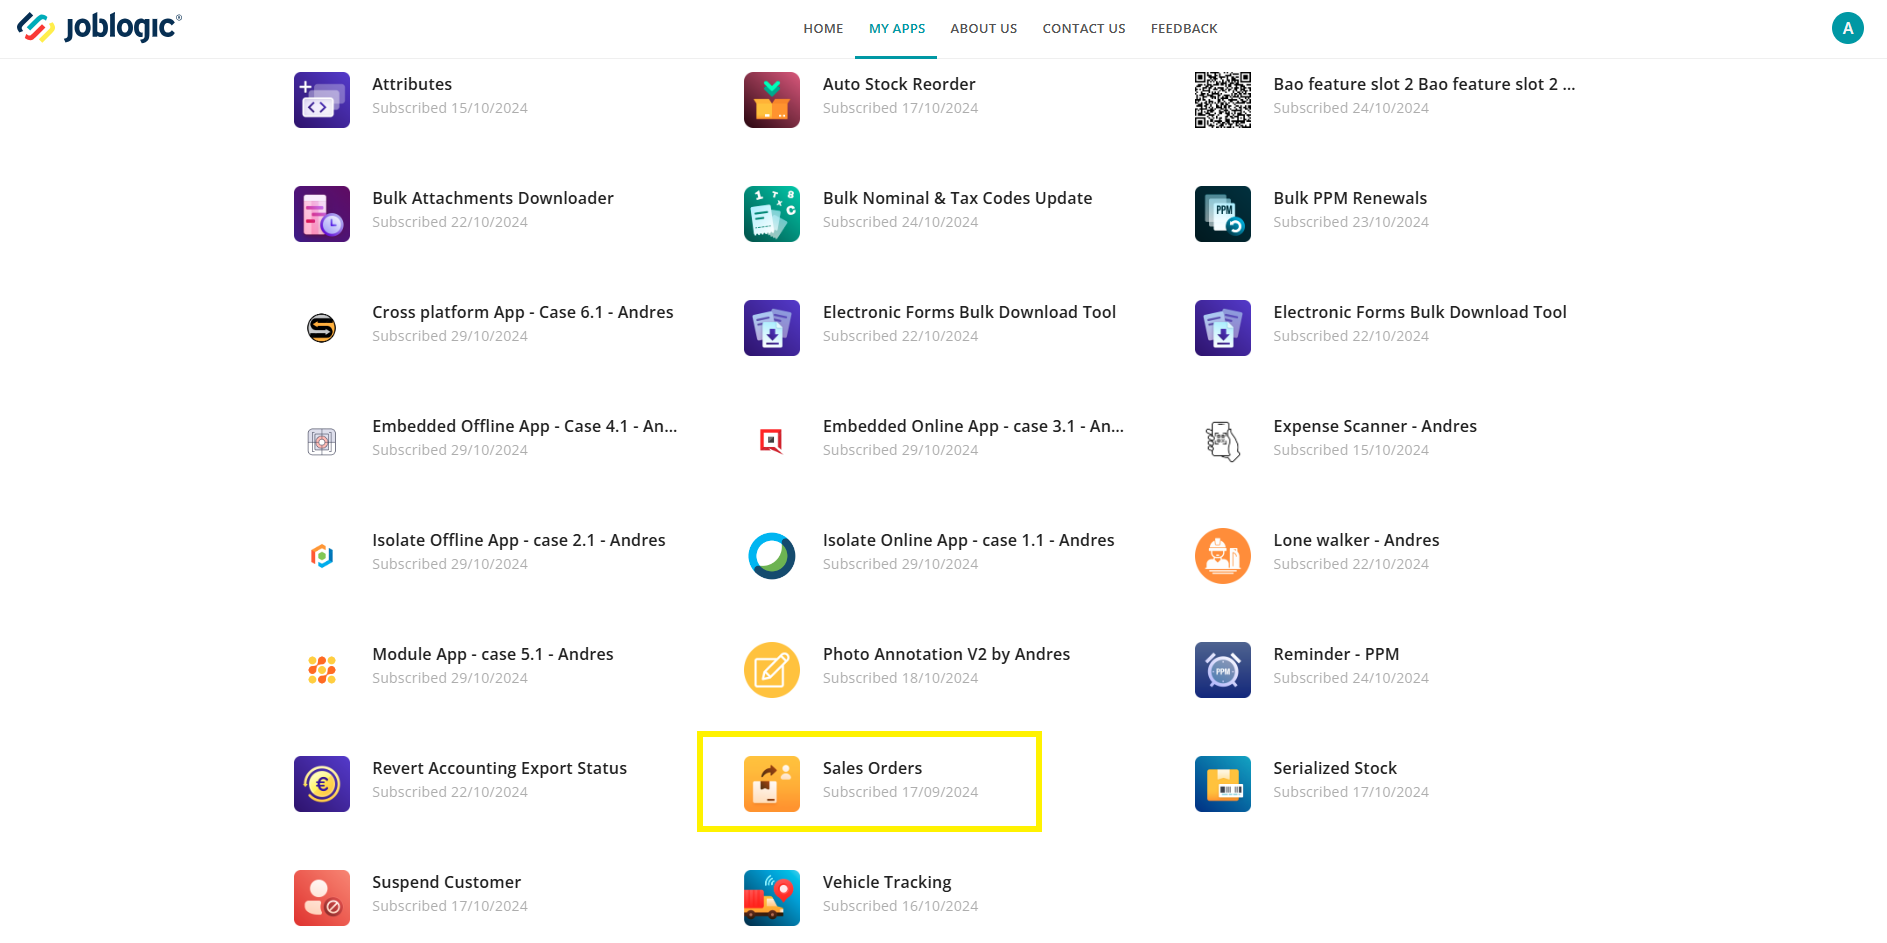
Within the ‘My Apps’ area navigate to and select the ‘Sales Orders’ app (you may need to scroll down the page depending on how many apps you are subscribed to).
The Sales Order App will then open.
Using the Sales Orders App
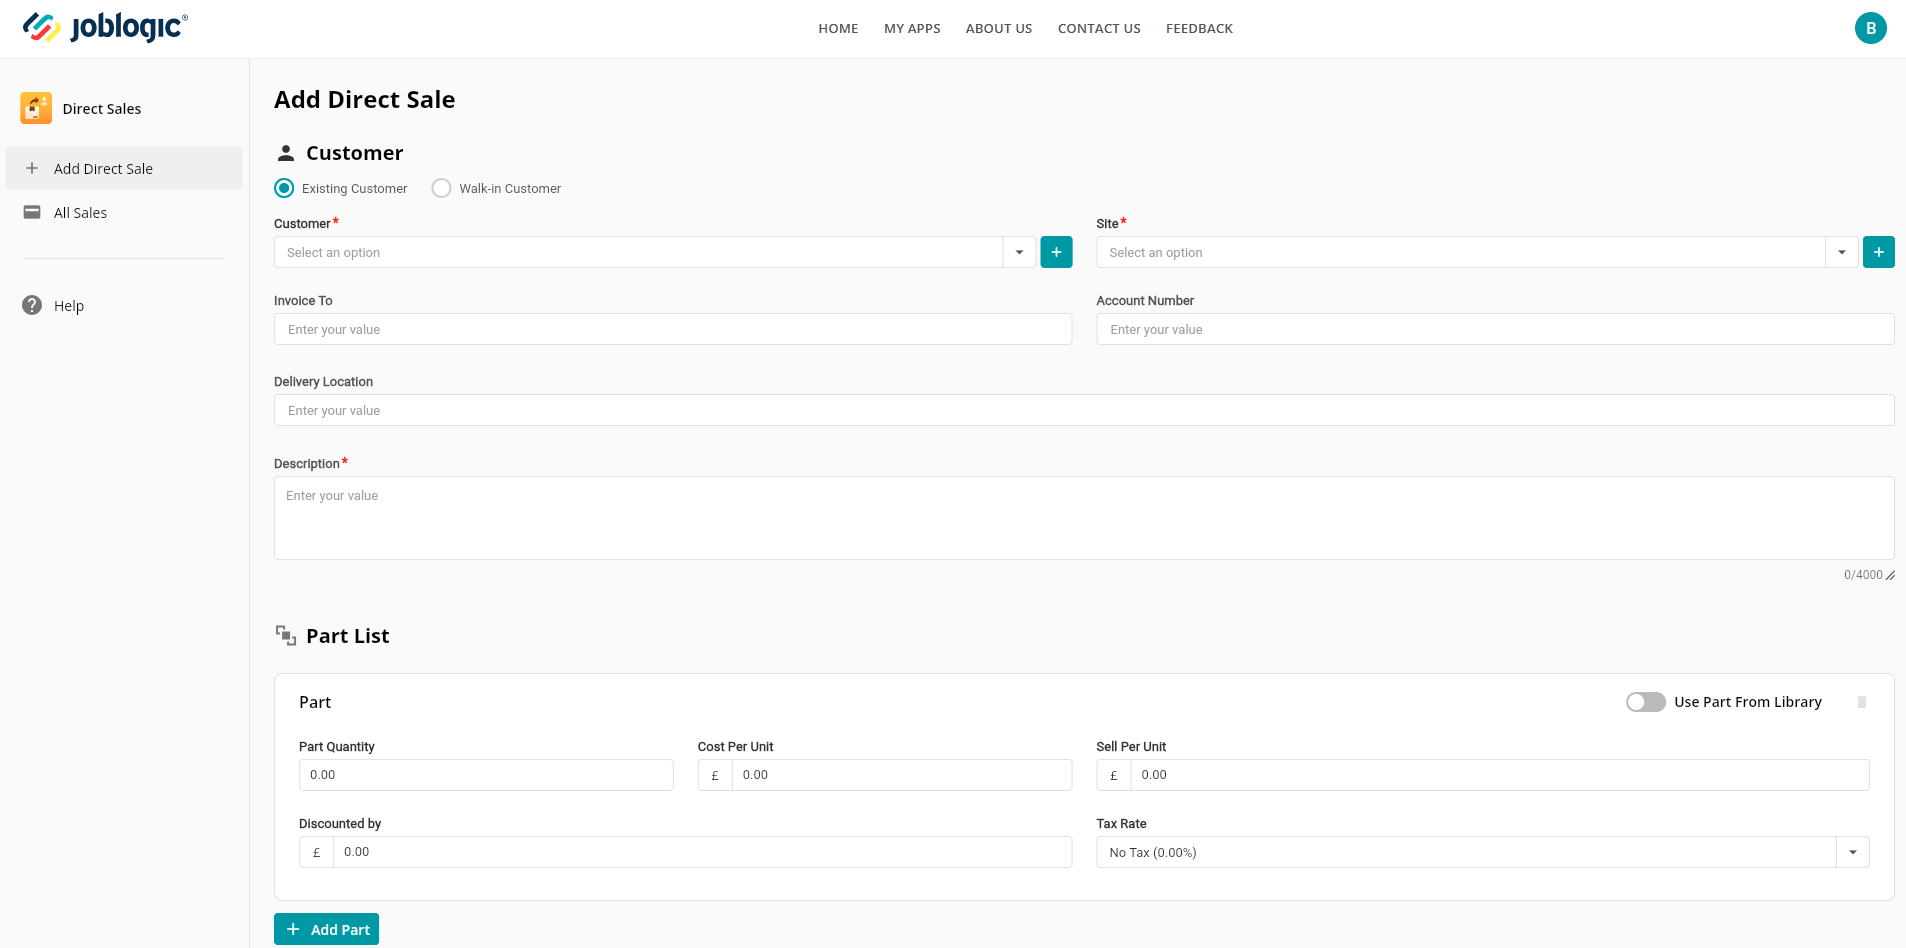
Once you have accessed the app, the initial page directs you to an ‘Add Direct Sale’ page used for creating a new direct sale. There are tabs down the side which can be used to navigate to this ‘Add Direct Sale’ page at any time, an ‘All Sales’ area which houses all direct sales recorded for your account and a ‘Help’ section directing you to resources about the app.
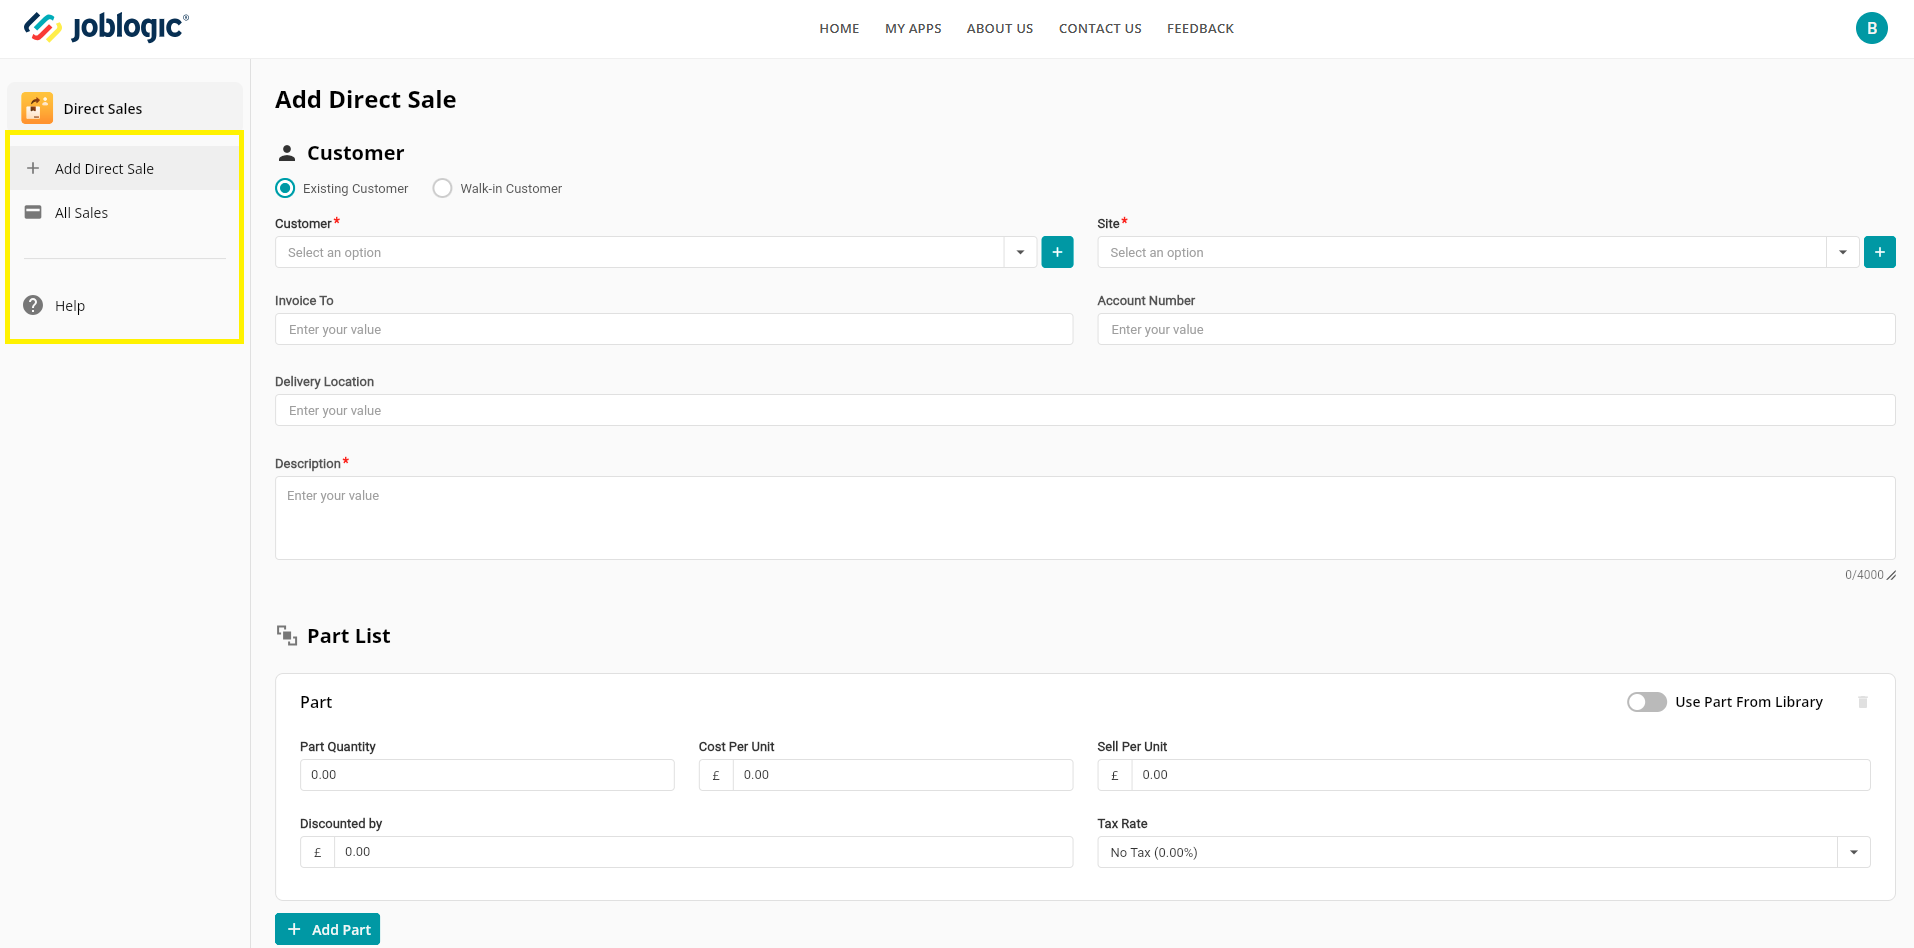
The ‘Add Direct Sale’ page provides two different types of direct sale. The first is for an existing customer (or a customer with their details already recorded within your Joblogic) who you wish to raise a sale/invoice for but not spend time logging a job associated or other entity associated to it.
The second is for a walk-in customer (a customer who’s details are not already recorded in your Joblogic and for whom it is not necessary to record or ask for any further details).
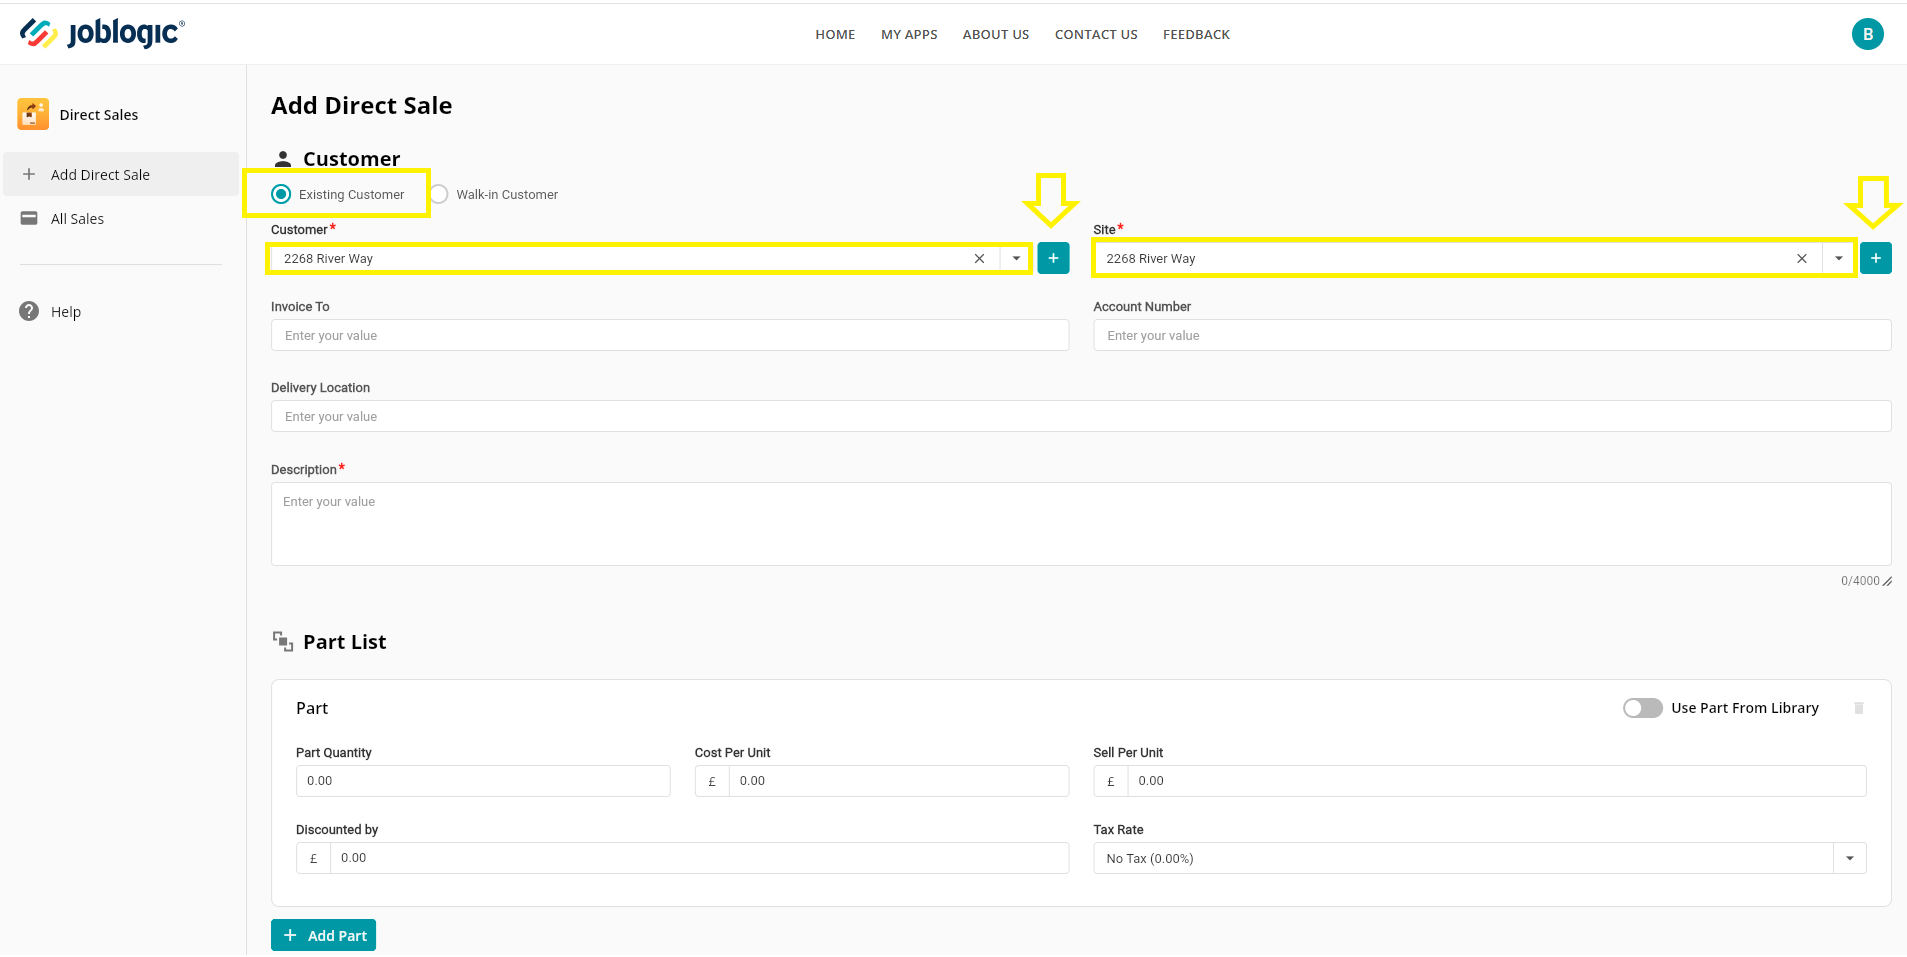
If you select the ‘Existing Customer’ option, the ‘Customer’ and ‘Site’ options will become available to either select their existing details from the dropdowns (populated by those already set up in your Joblogic) or to add new ones via the quick add ‘+’ icons if they do not already exist and you wish to record the customer/site’s details for later use.
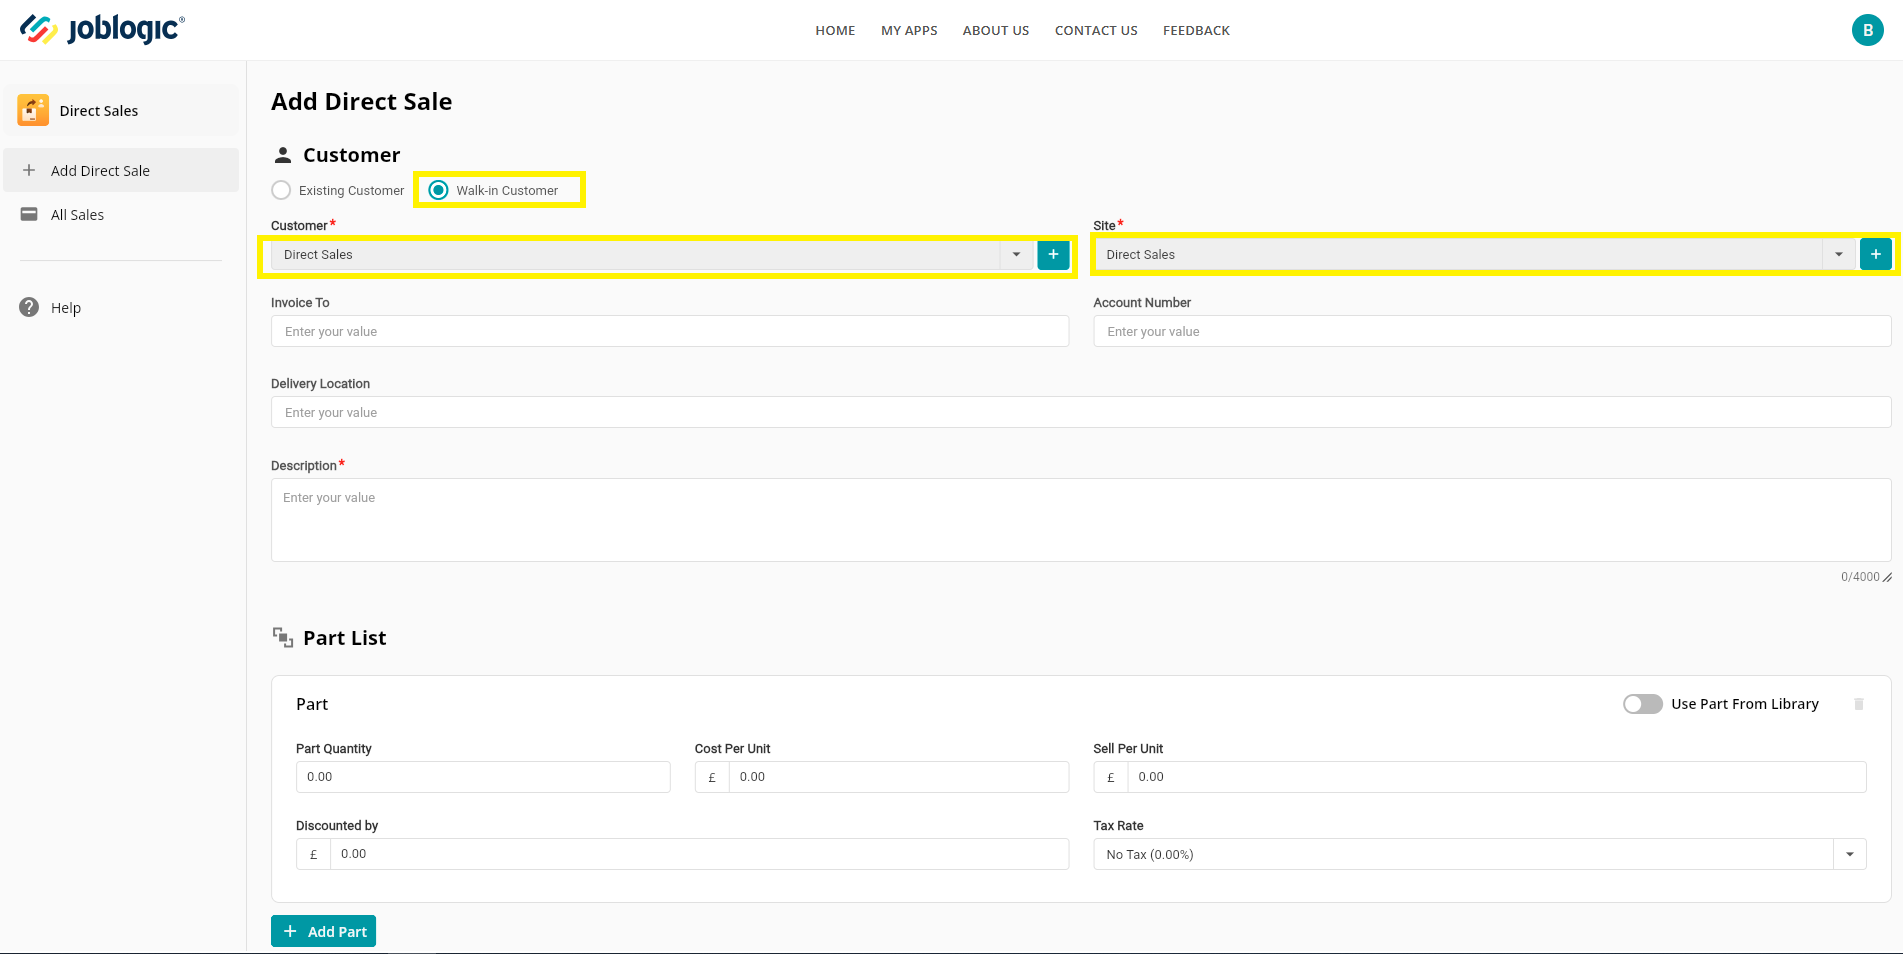
If you select the ‘Walk-in Customer’ option, this means that you do not wish to record the customer's details and solely want to record the sale/invoice so the customer and site fields will prepopulate as ‘Direct Sales’.
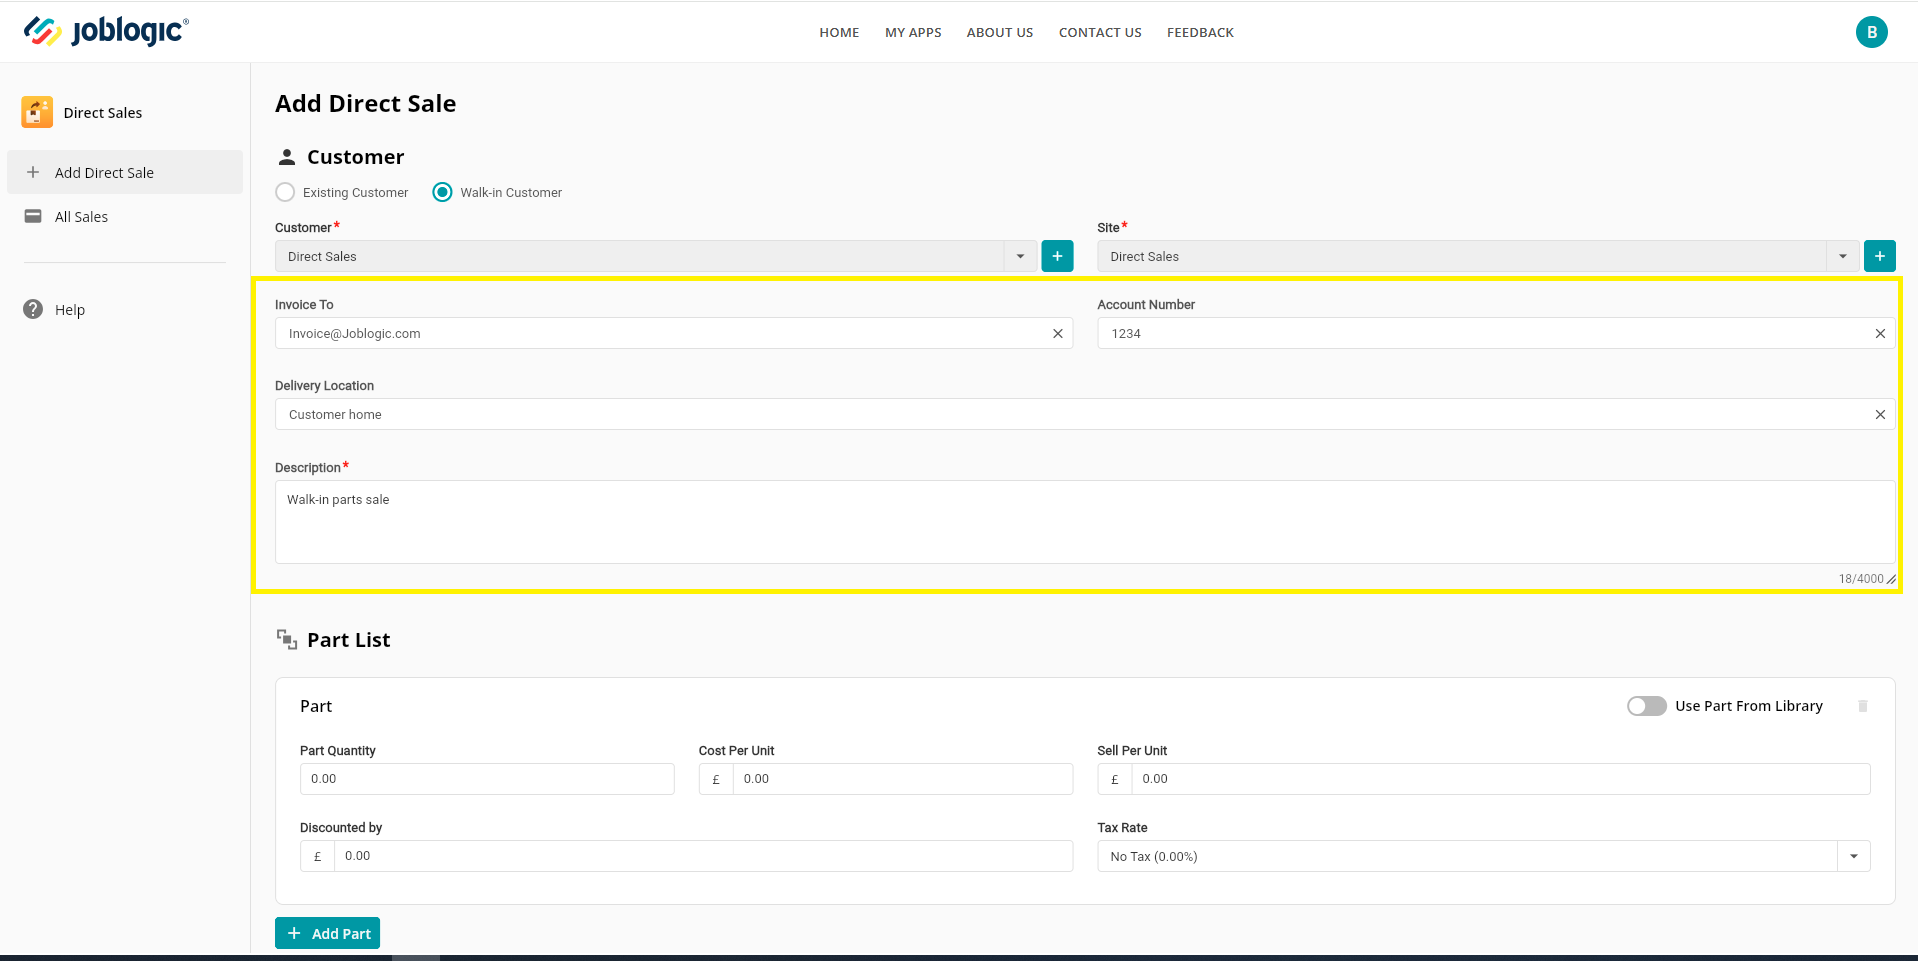
There are then further details which can be filled in, if required but they are only optional extras such as ’Invoice to’, ‘Account Number’ and ‘Delivery Location’ fields.
There is a ‘Description’ field which must be filled in. This is used to generally describe the transaction or item(s) being sold.
There is then a ‘Parts List’ section used to record the part/items being sold.
You can free type the item’s details such as it’s quantity and cost and sell prices.
Alternatively, if the item is already recorded in your Joblogic system’s part’s library, the ‘Use from Parts Library' toggle button can be used.
This will populate a ‘Part’ and a ‘Library’ dropdown whcih can be used to select an existing part with it’s prerecorded details from your back-office system’s parts library(s).
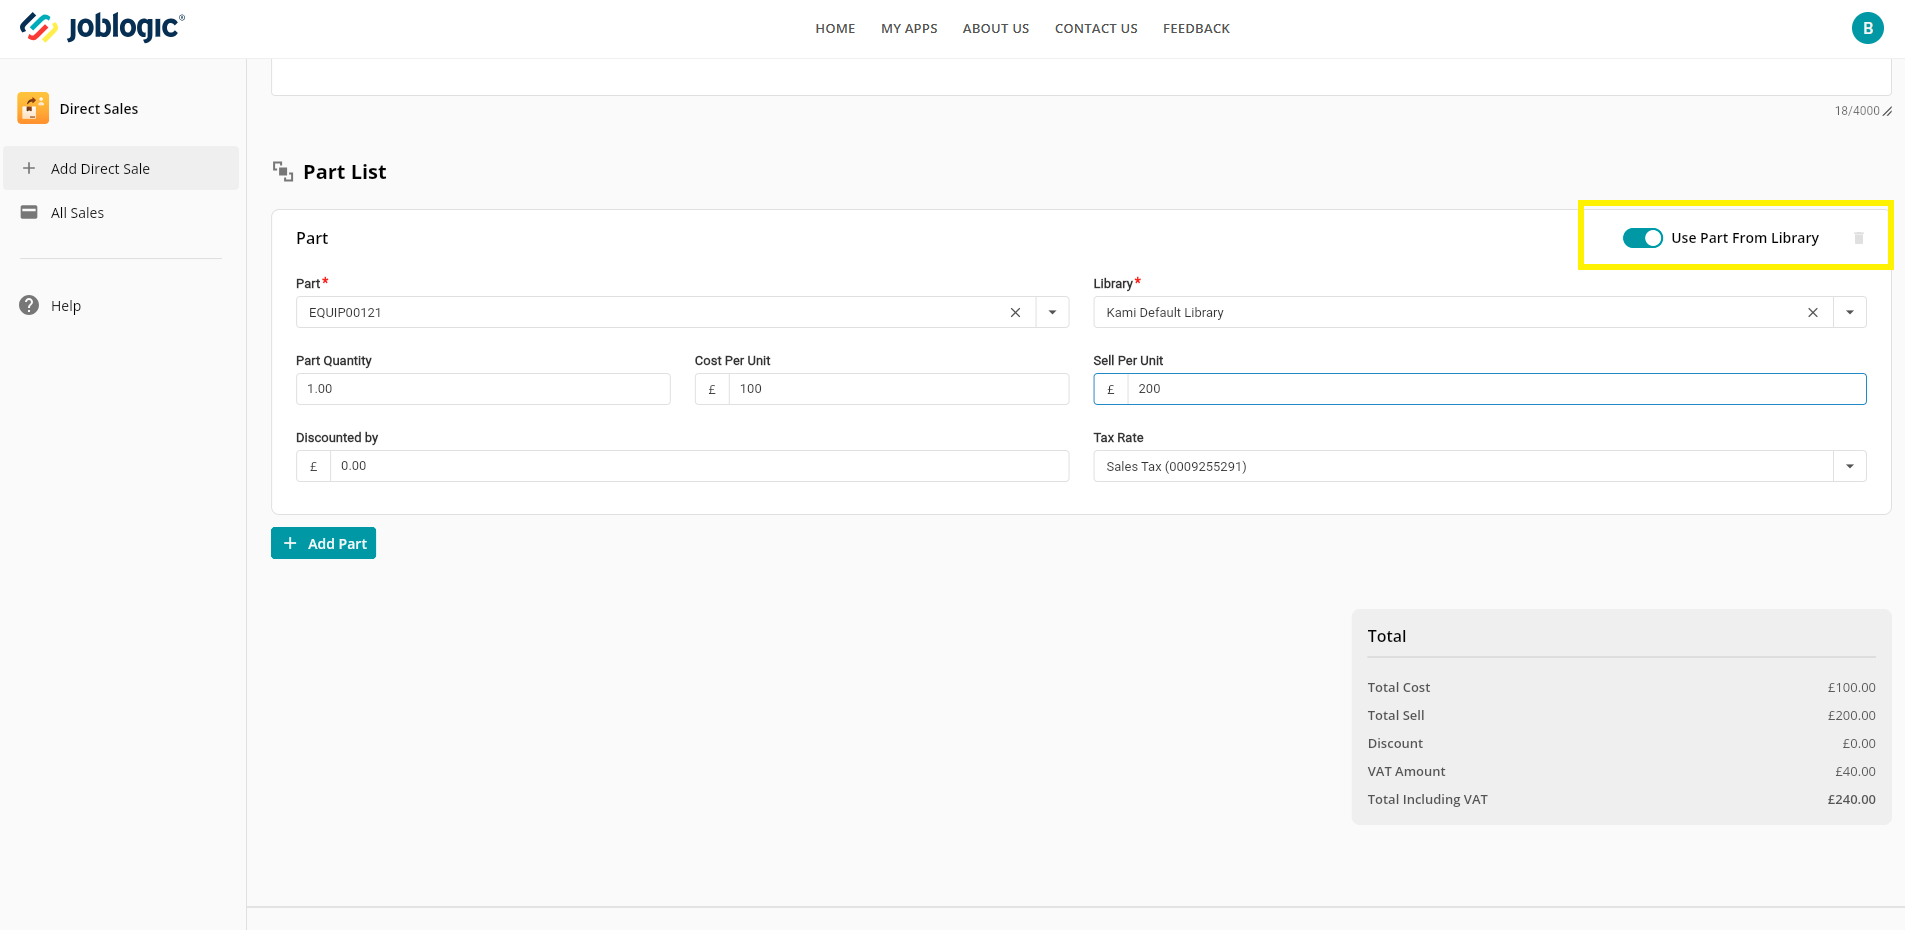
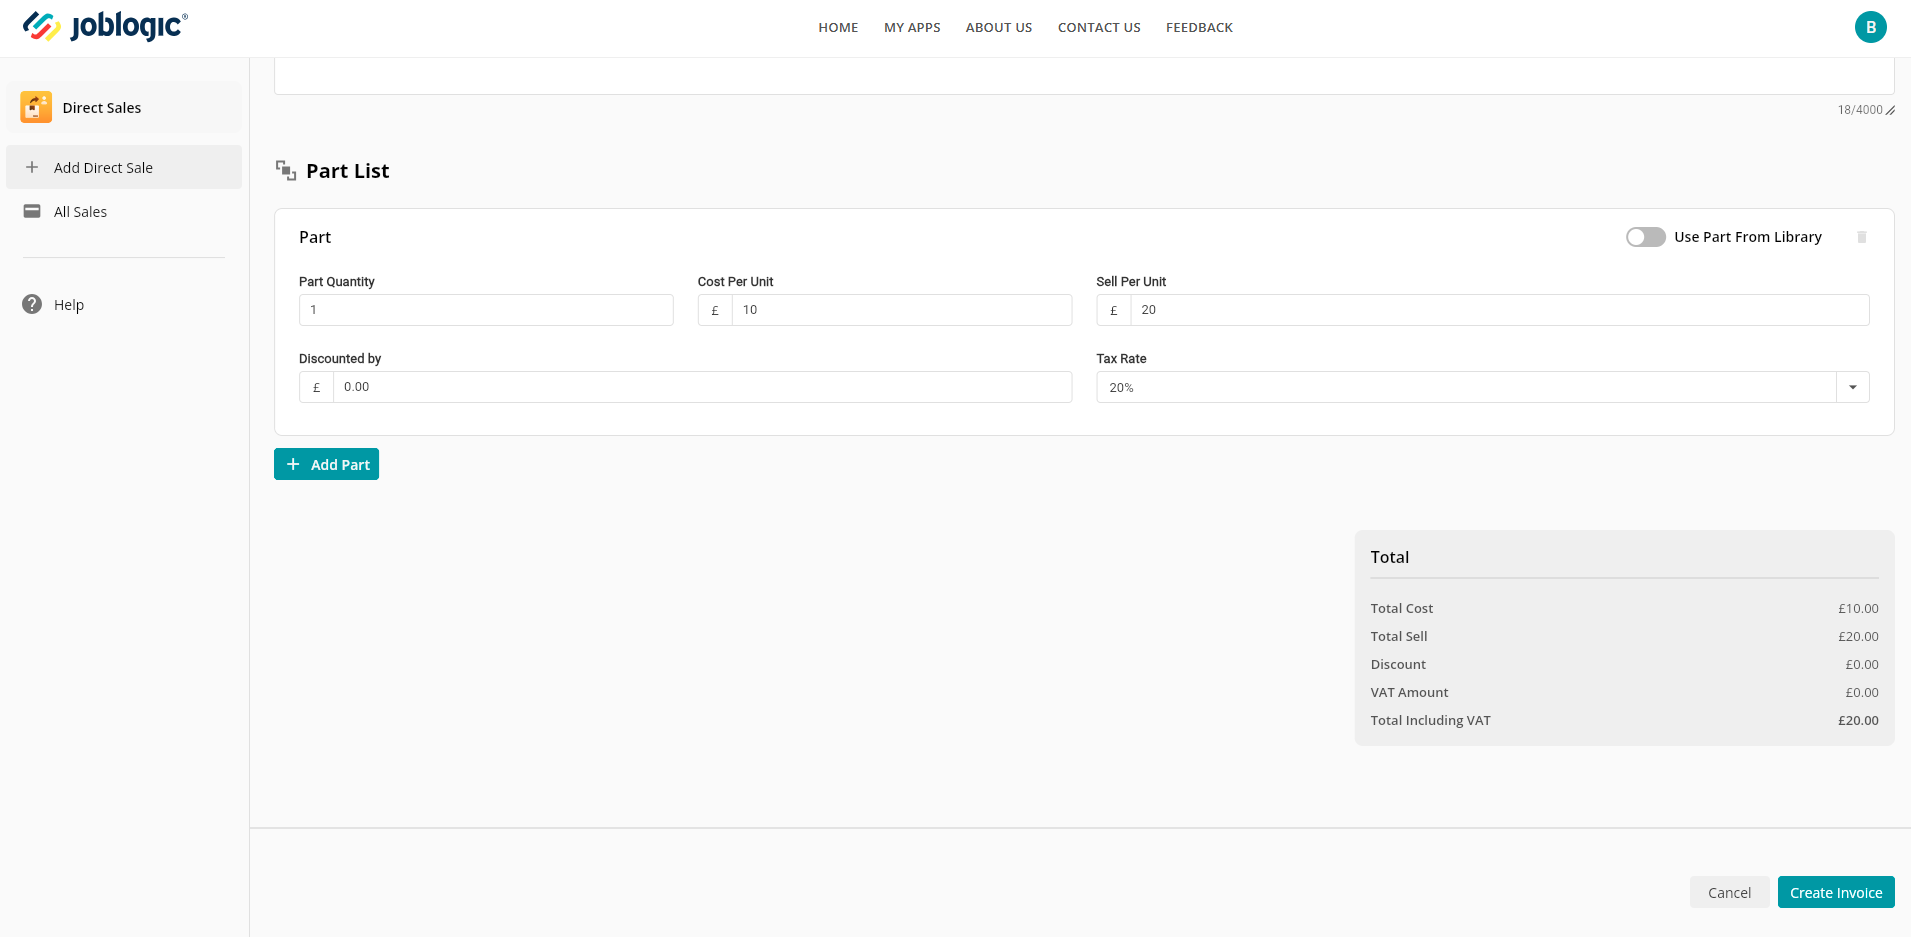
Further parts can be added via the ‘+ Add Part’ option and the ‘Total’ area provides accumulated amount values for the direct sale’s invoice based on the parts added.
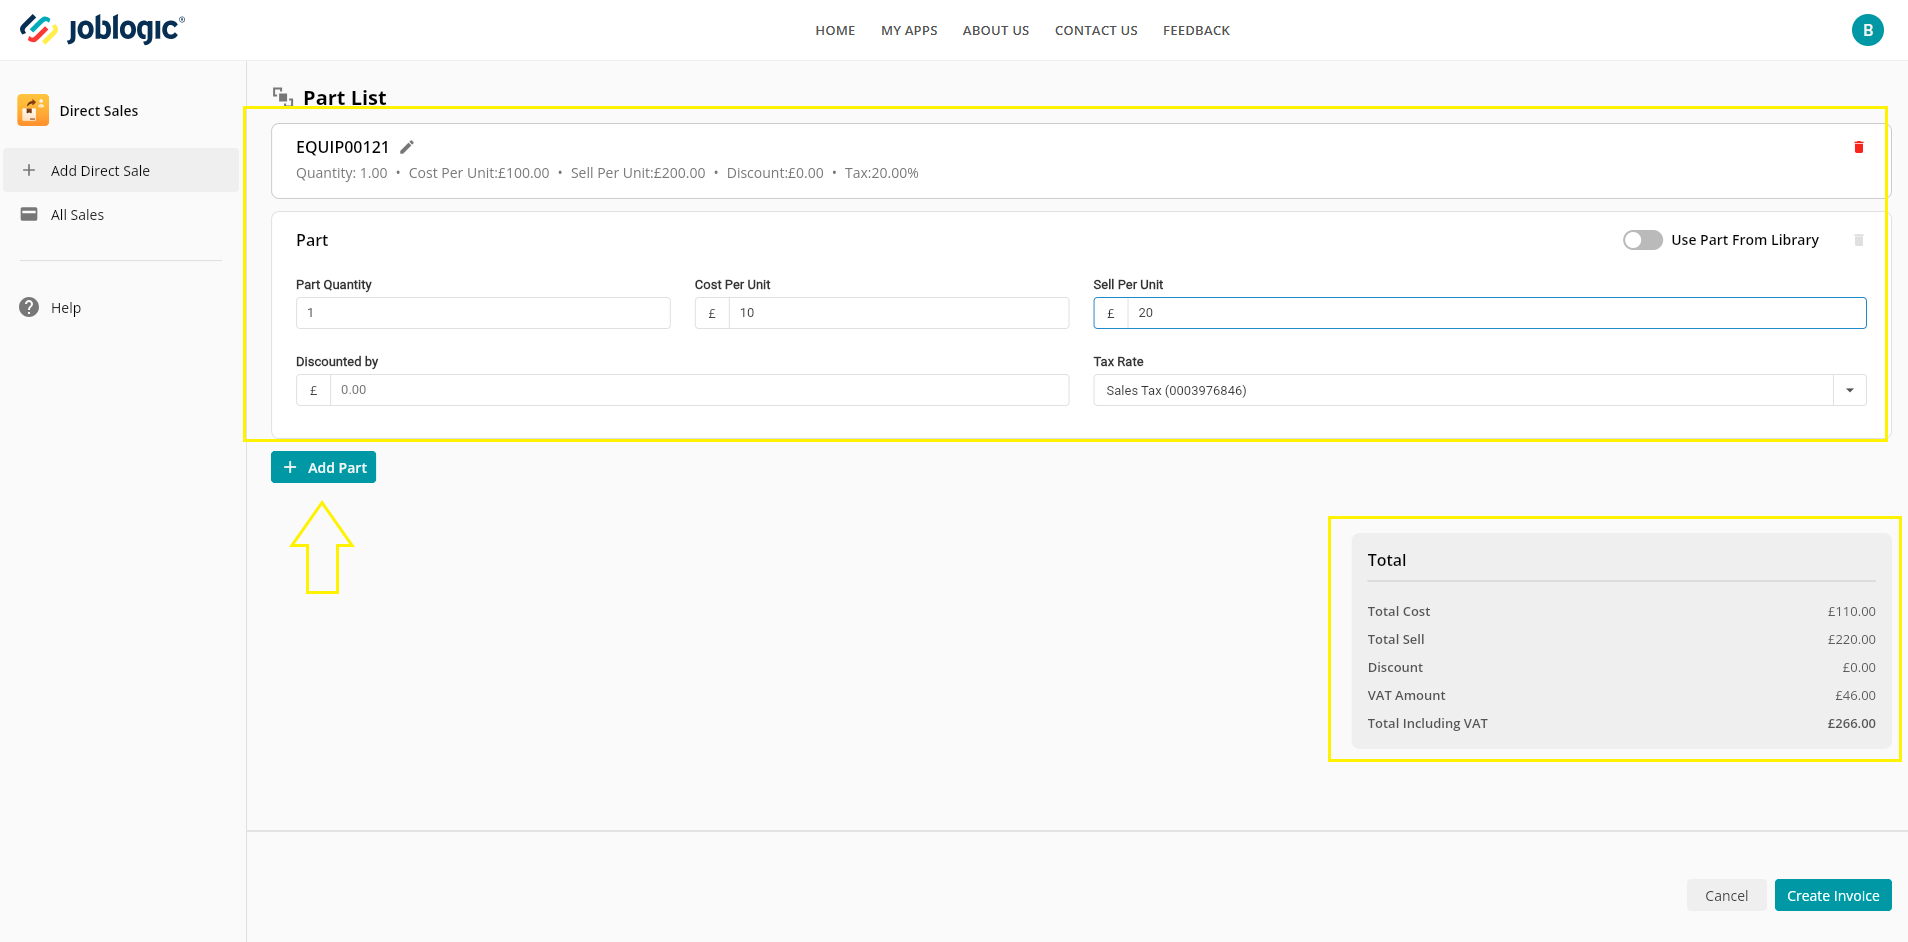
Once you are happy with the items recorded, select the ‘Create Invoice’ option to generate your direct sale’s invoice.
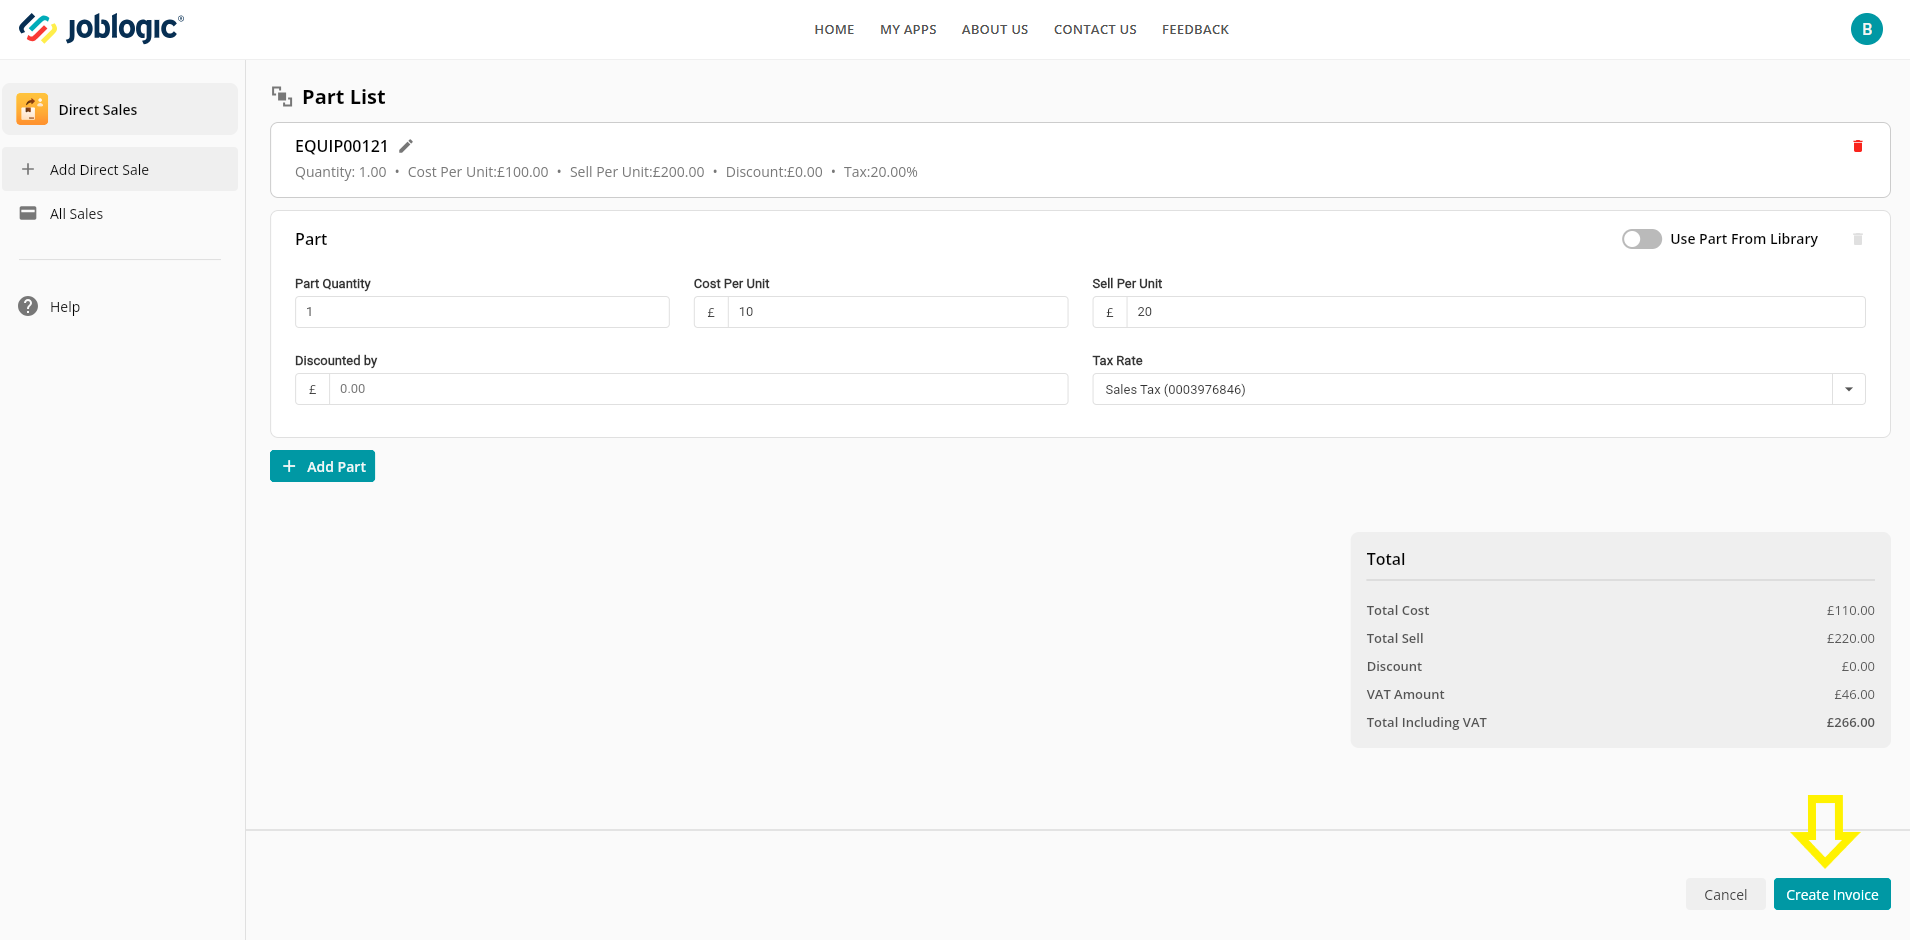
The invoice will generate within the ‘All Sales’ area and be assigned a unique system invoice number.
It can be printed, downloaded or emailed by selecting the ‘3 dots’ icon against each invoice.

It is important to note that any direct sale invoices raised will not transfer to the ‘All Invoices’ area of your Joblogic back-office system. They will only be stored within this ‘All Invoices’ repository of the Sales Orders app.
Further Support
For further information or assistance with the above, contact our Support Team on 0800 326 5561 or email support@joblogic.com. Alternatively, our Customer Success Management team can be reached by emailing customersuccess@joblogic.com
Publishing Details
This document was written and produced by Joblogic’s Technical Writing team and was last updated on the date stated above. Be aware that the information provided may be subject to change following further updates on the matter becoming available or new releases within the system. Additionally, details within the guide may vary depending on your Joblogic account’s user permissions and settings or the electronic device being used.


