Introduction
There could be many instances where we might have to make adjustments in our stock. It could be an equipment or a part residing in your inventory. In the system, you can achieve this through “Stock Adjustment”.
This guide will walk you through accessing the Stock Adjustment module and how to add new adjustments.
Accessing Stock Adjustment
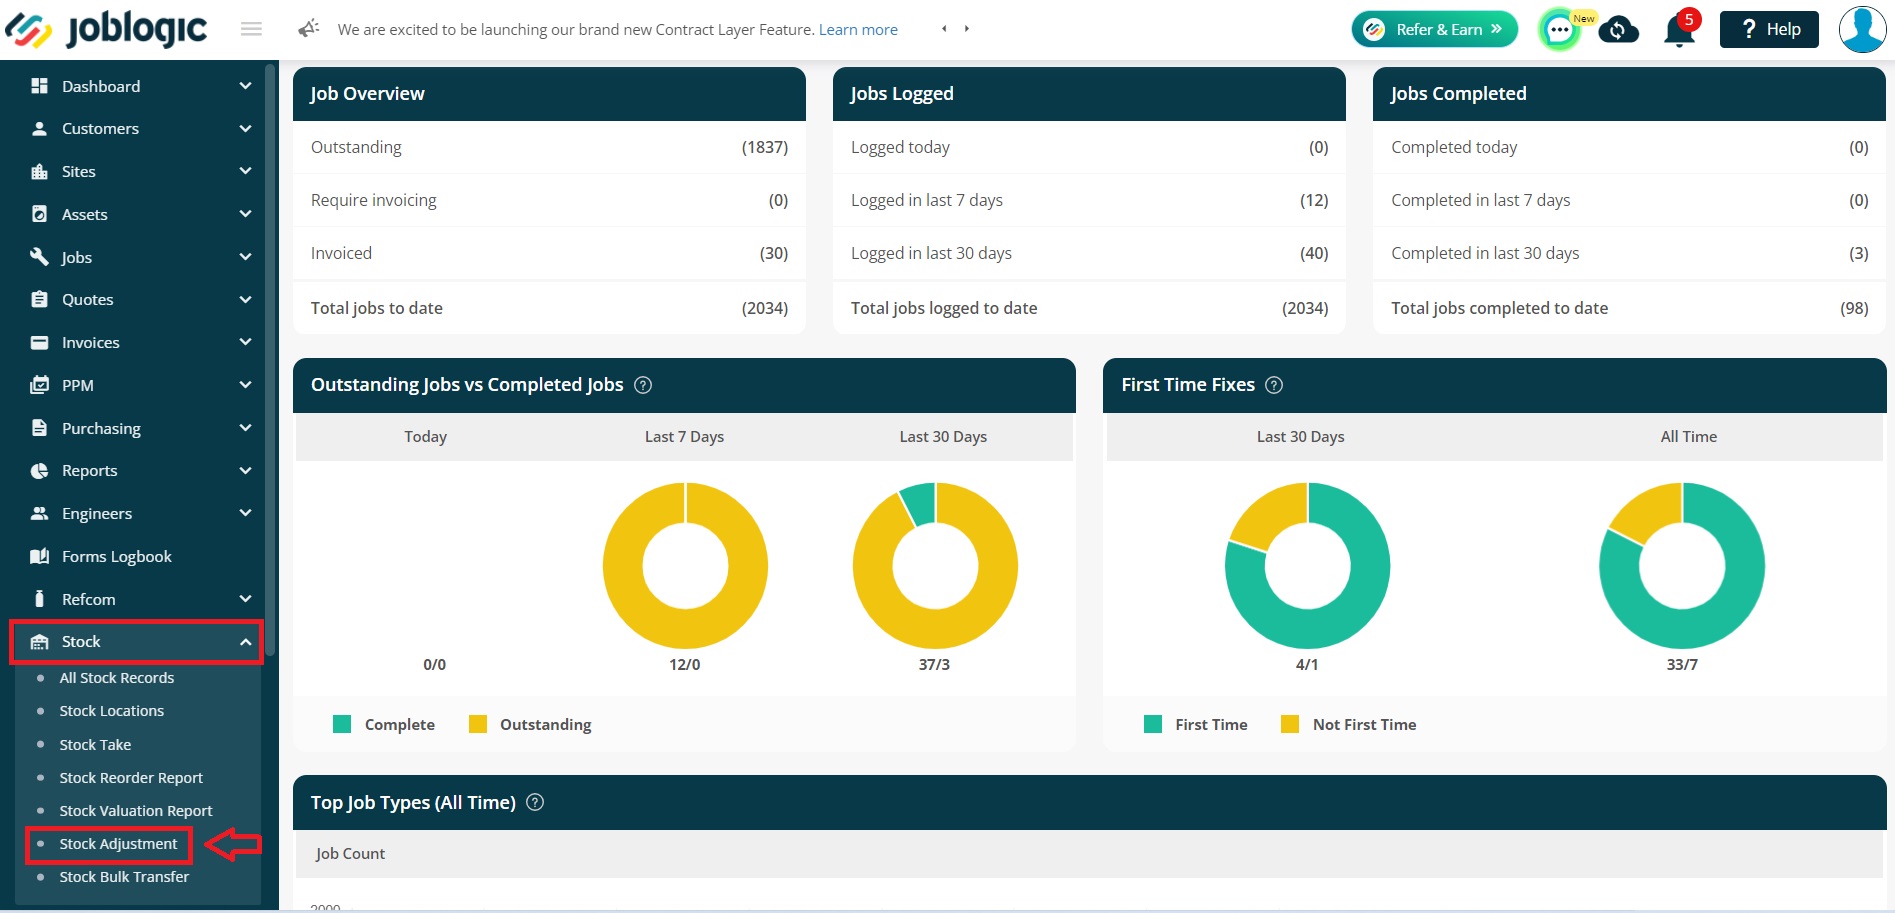
From the menu on the left, click Stock > Stock Adjustment
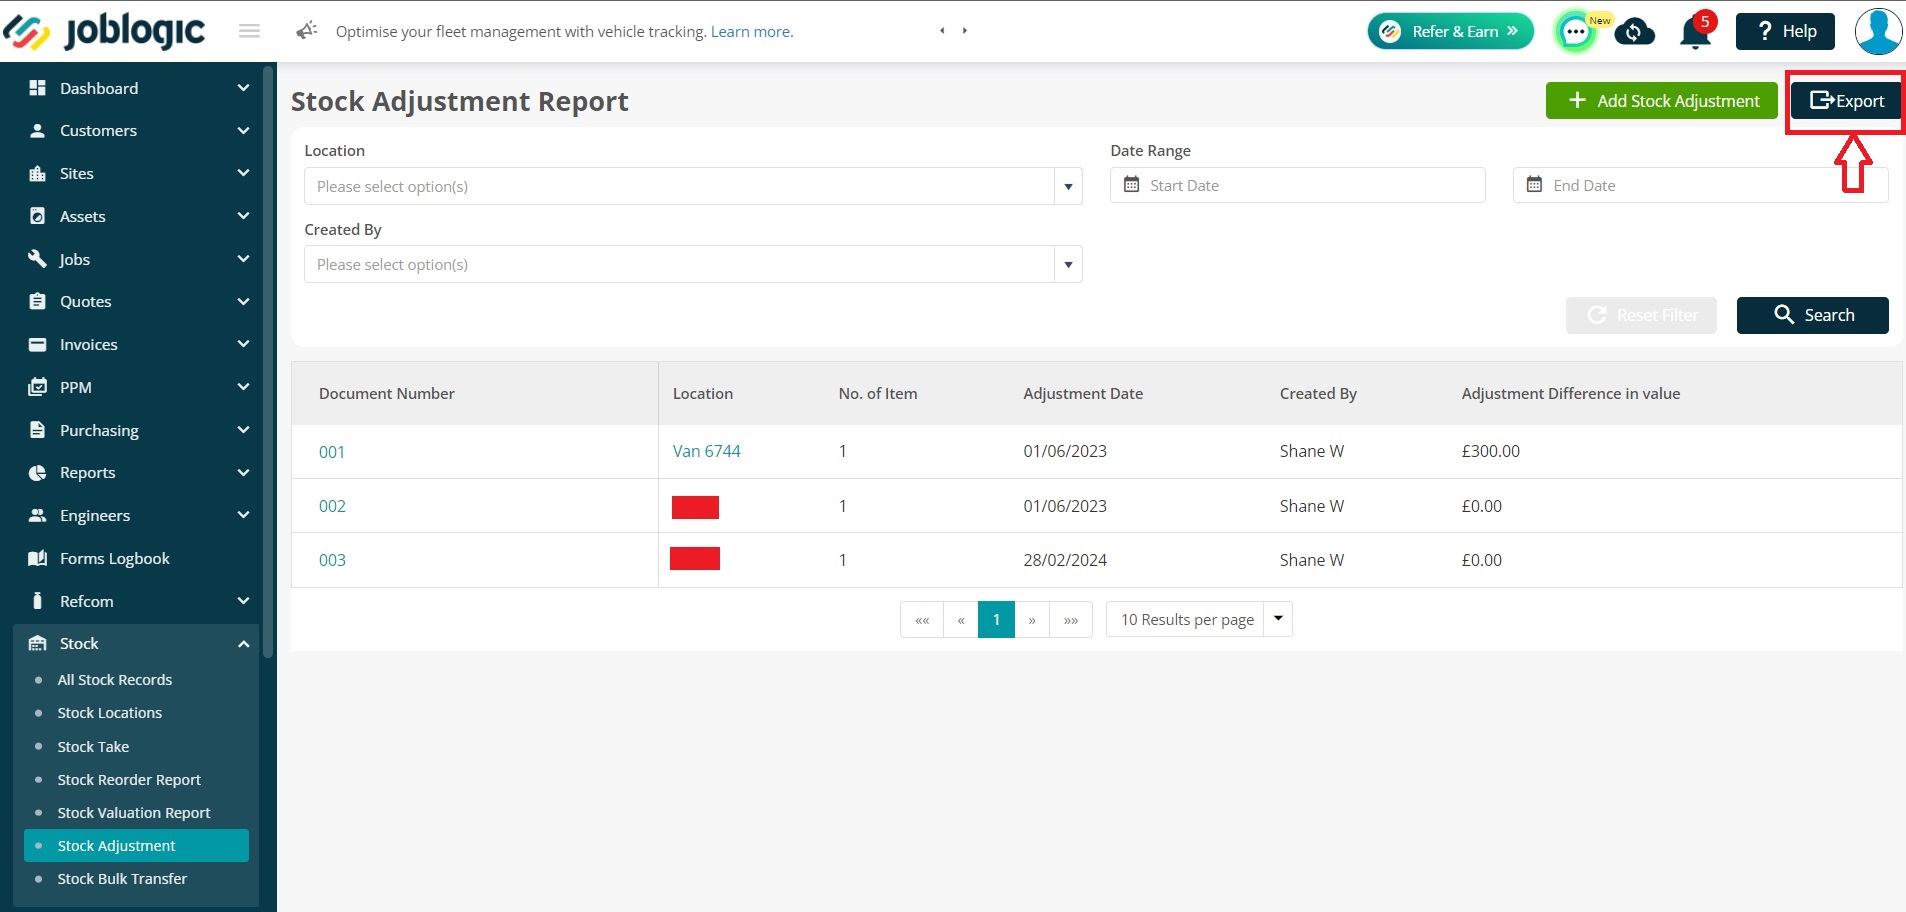
Here, it will show you all the adjustments that have currently been made.
You also have the option to export the data by clicking “Export”.
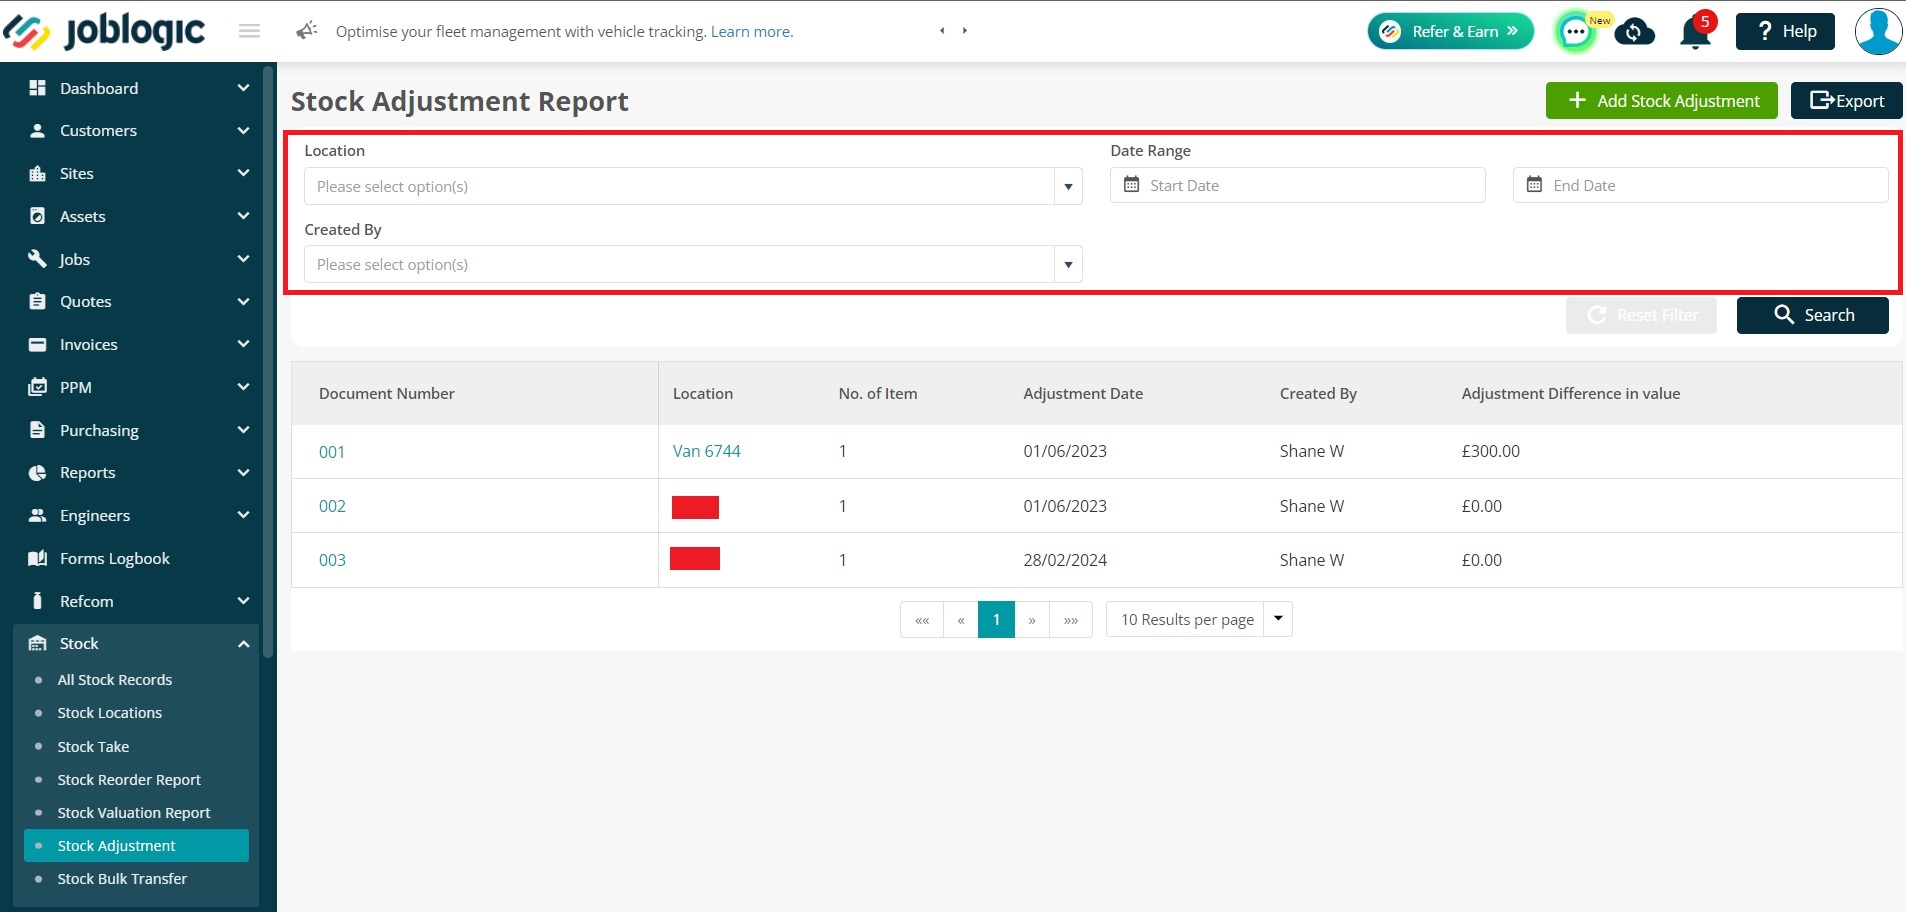
You can use the filter section at the top to view certain adjustments only, i.e. filter down by Location or Date Range.
Adding A New Stock Adjustment
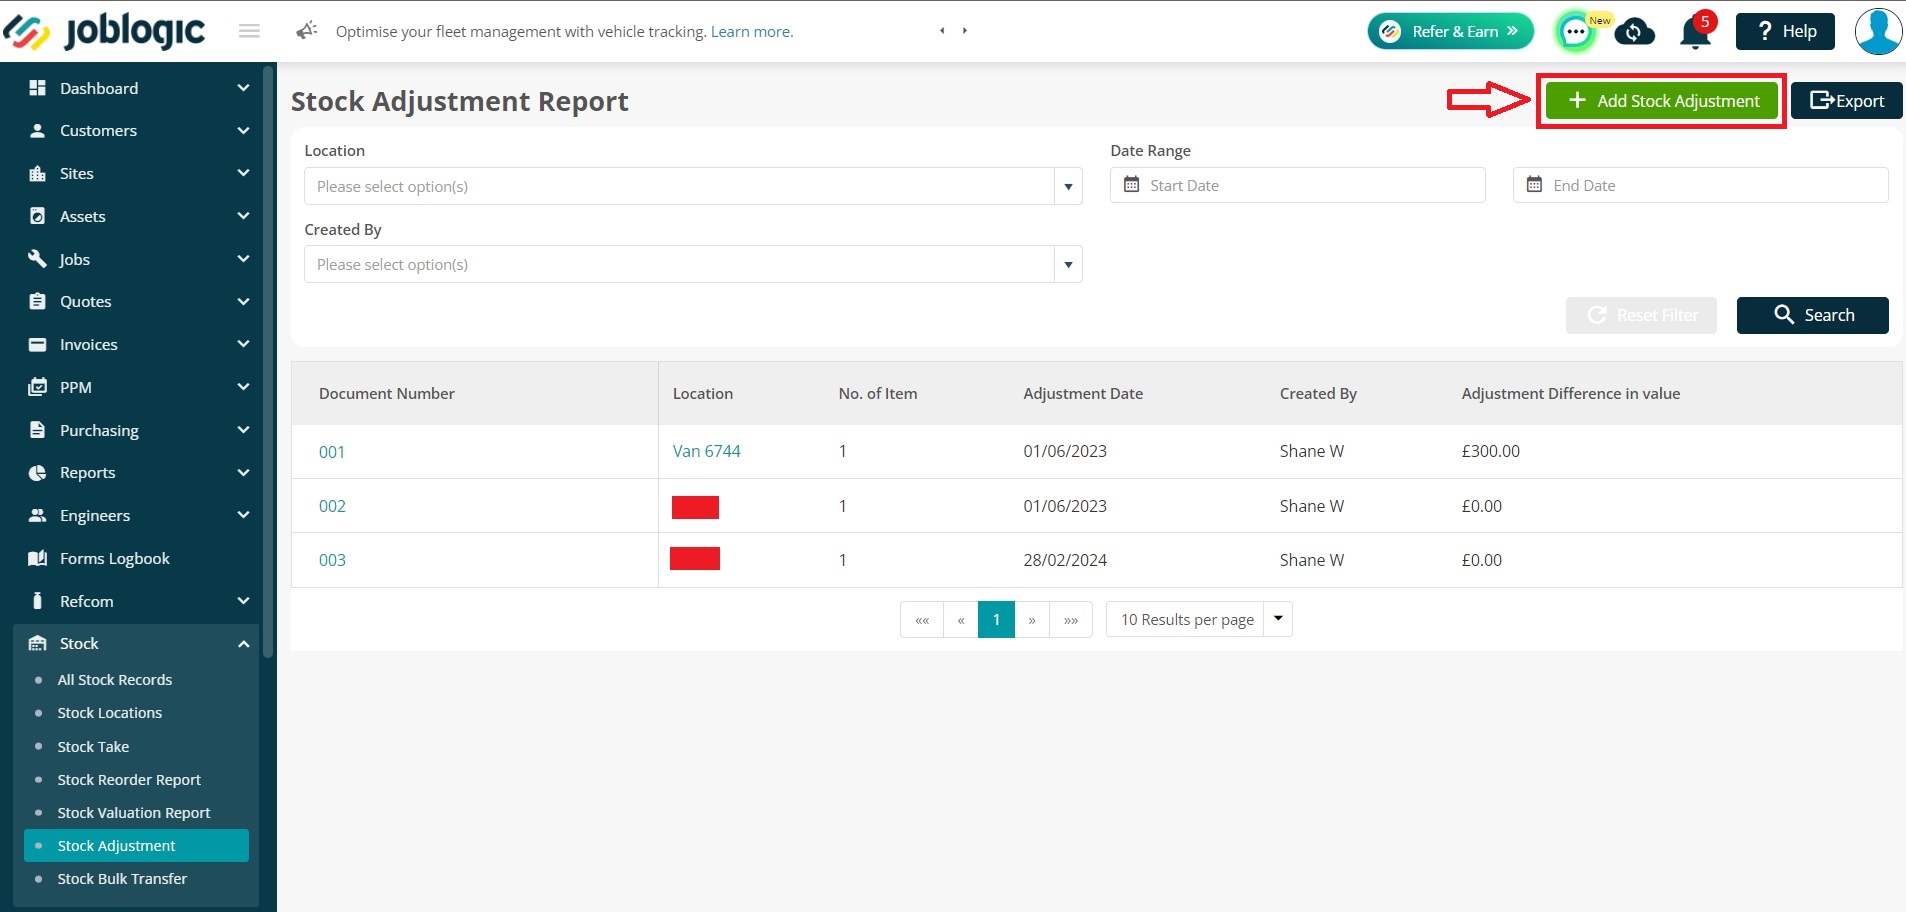
To make a stock adjustment, first you need to click on the “+ Add Stock Adjustment” button in the top right.
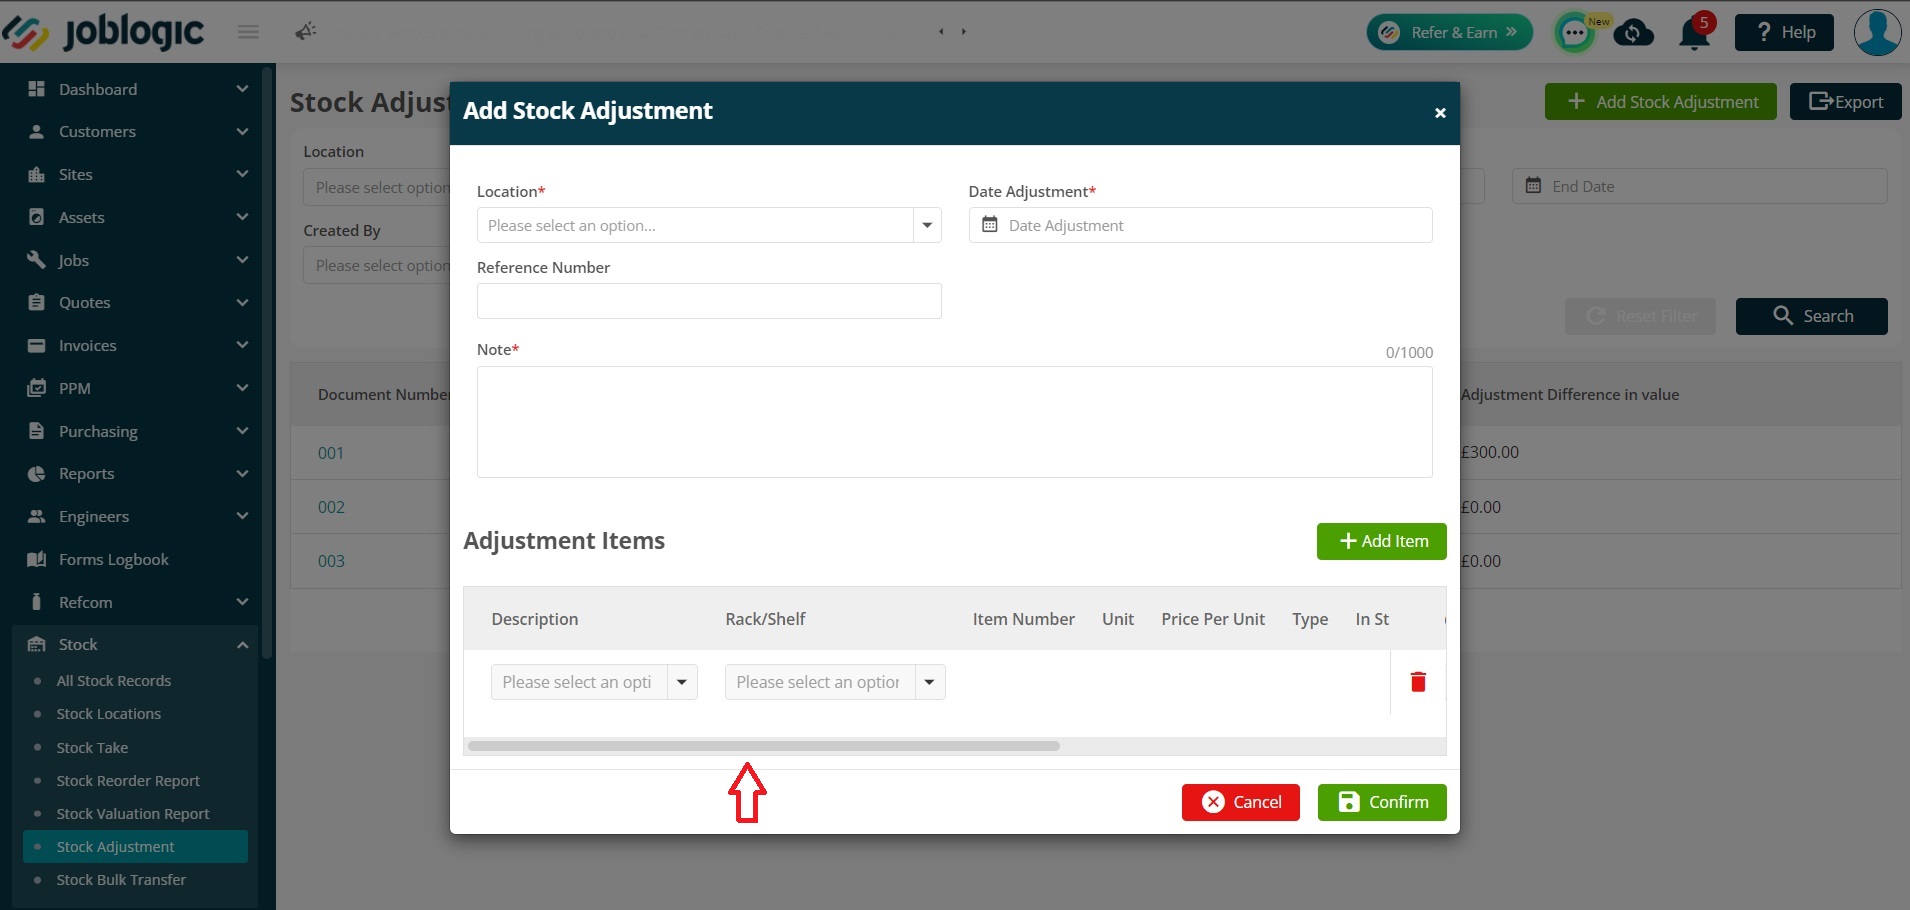
A new window will pop up where you can start adding the details of your Adjustment.
There is a bar at the bottom under the “Adjustment Items” box, to scroll towards the right to view more details.
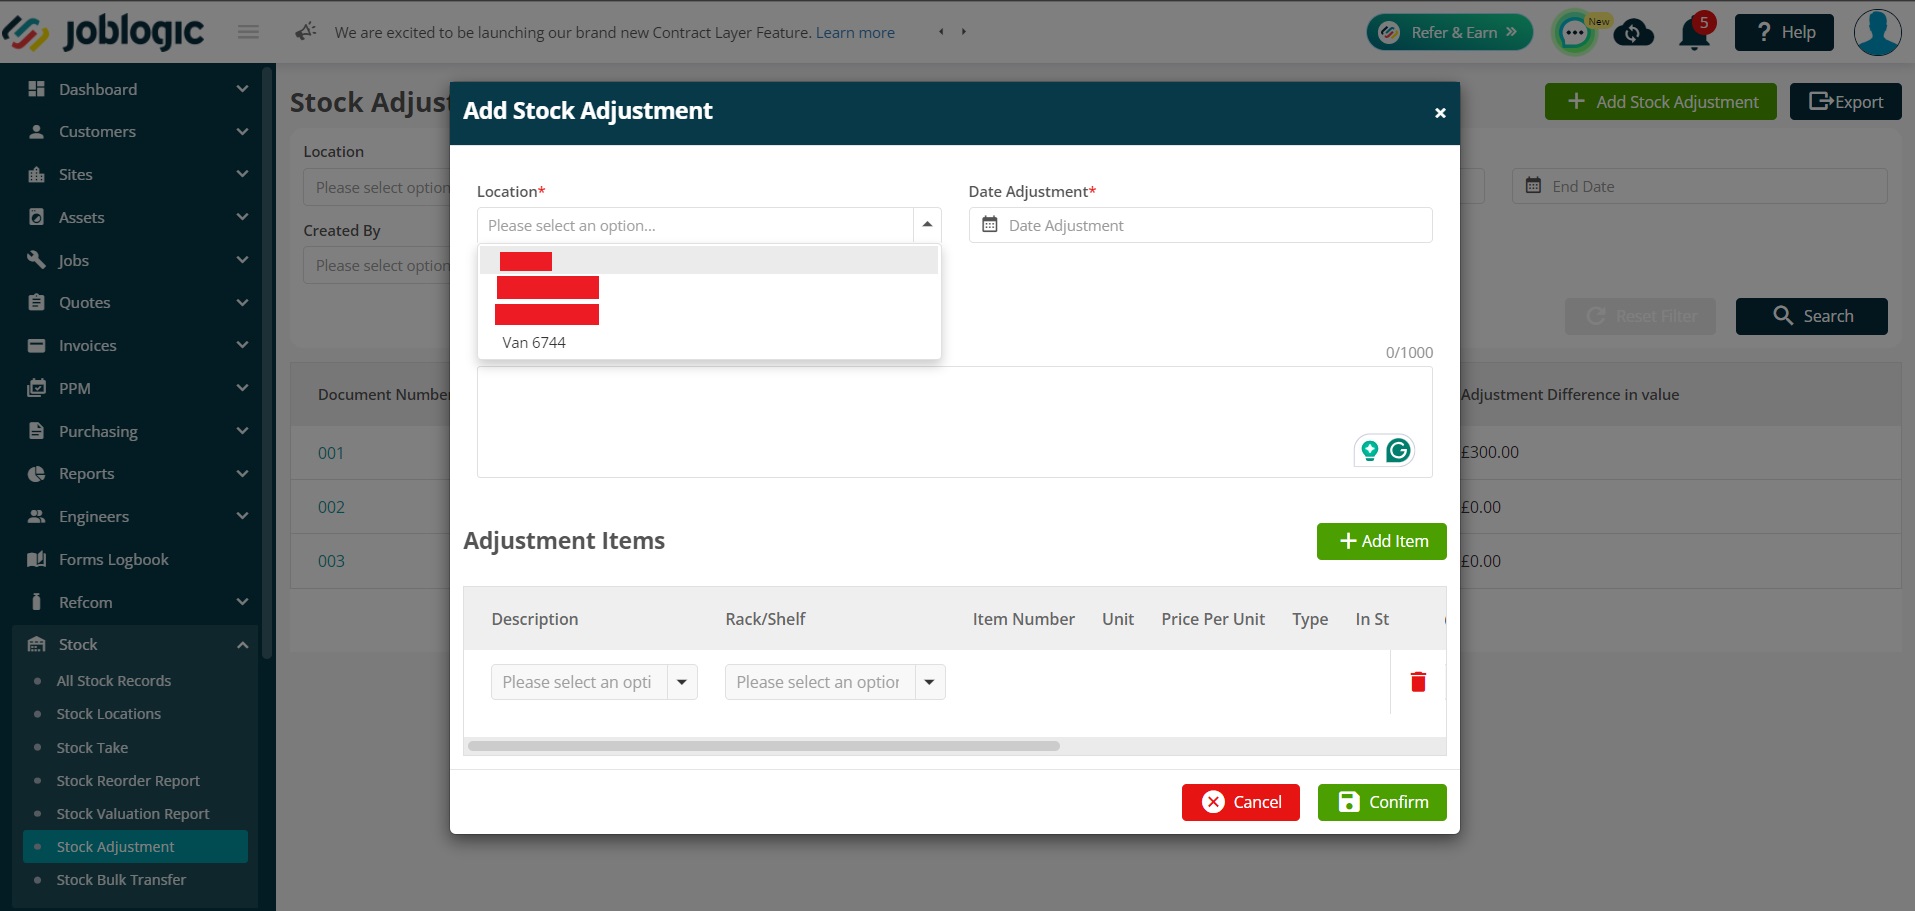
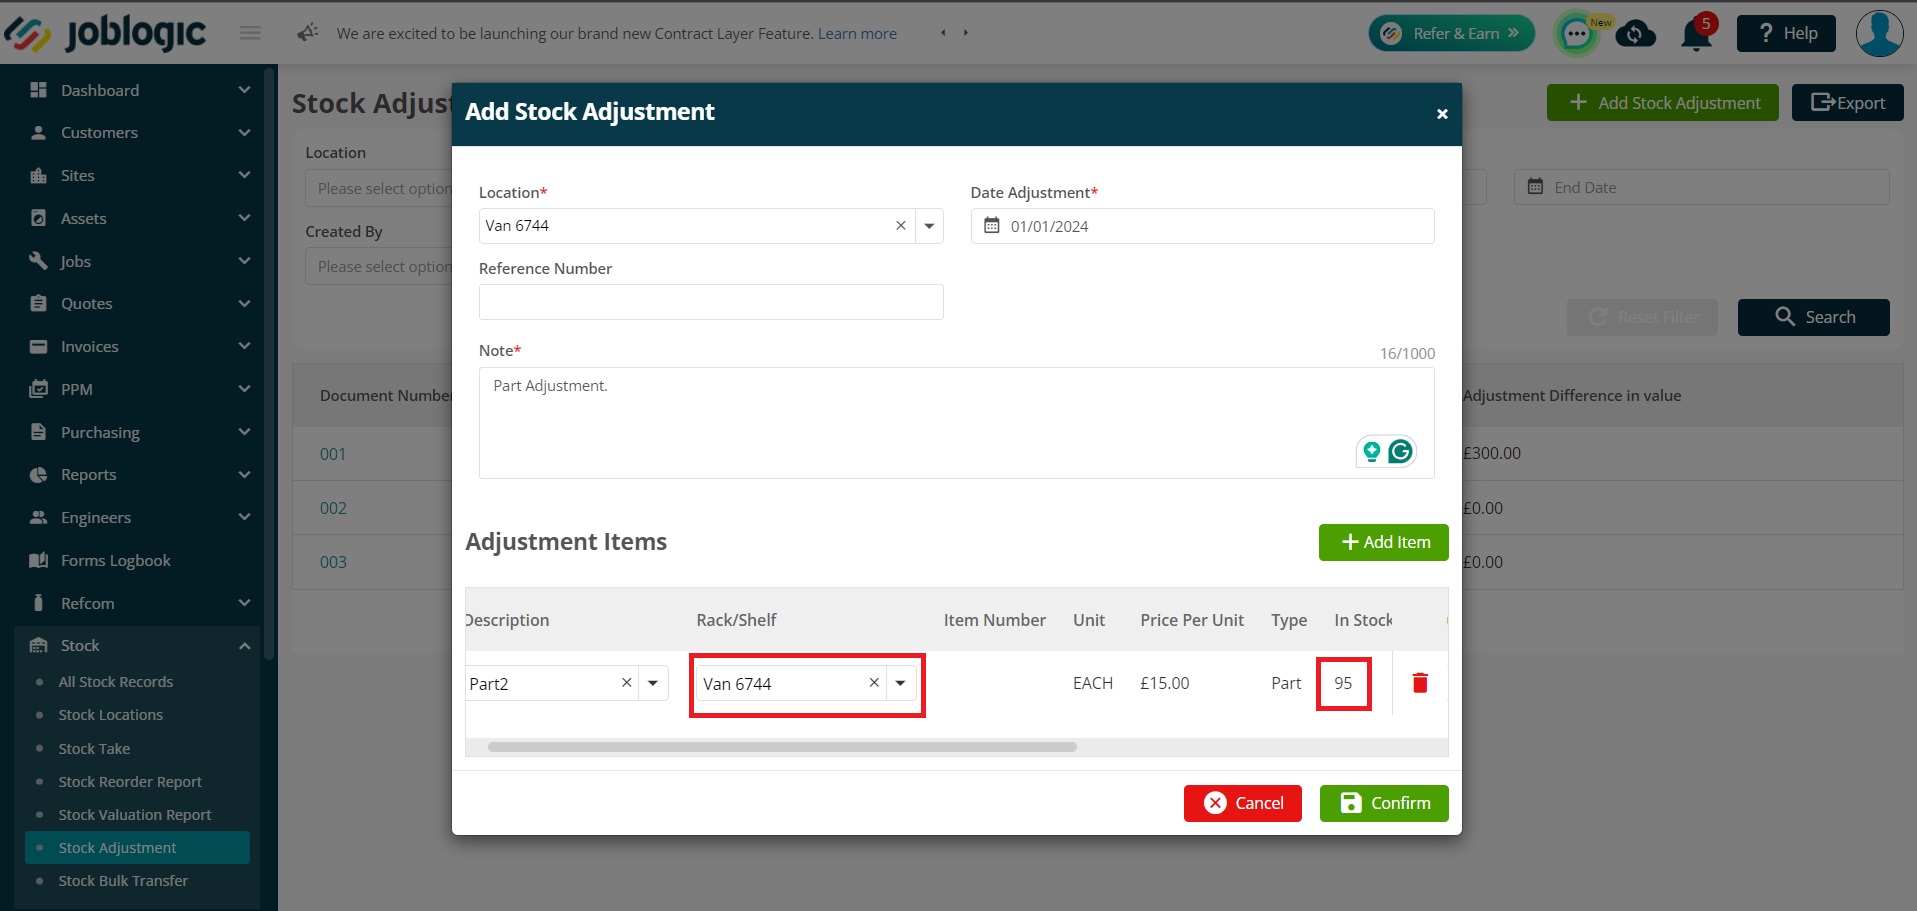
Firstly, select the “Location” from the dropdown, and then select the “Date Adjustment” when the adjustment is being made.
You can also add “Note” during the adjustment, so you’ll know why the adjustment was made.

These are all mandatory fields and will need to be filled in.
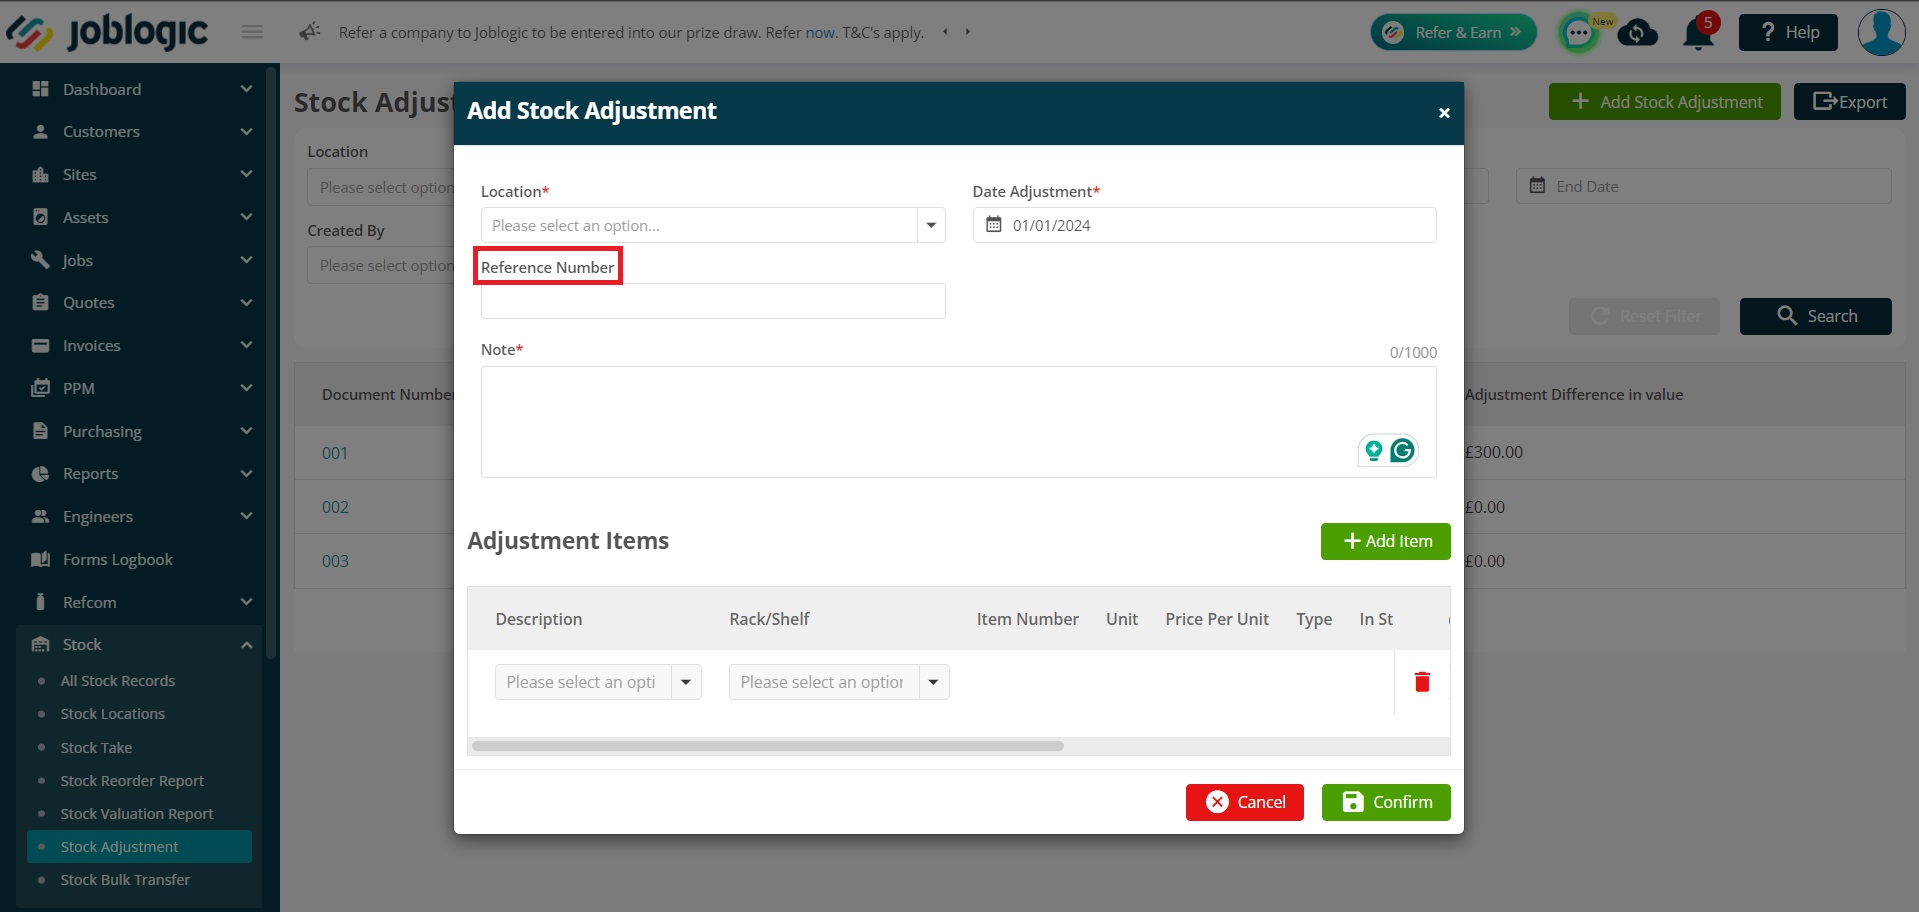
Next, you can add a “Reference Number” if required. This is not mandatory and can be left blank if needed.
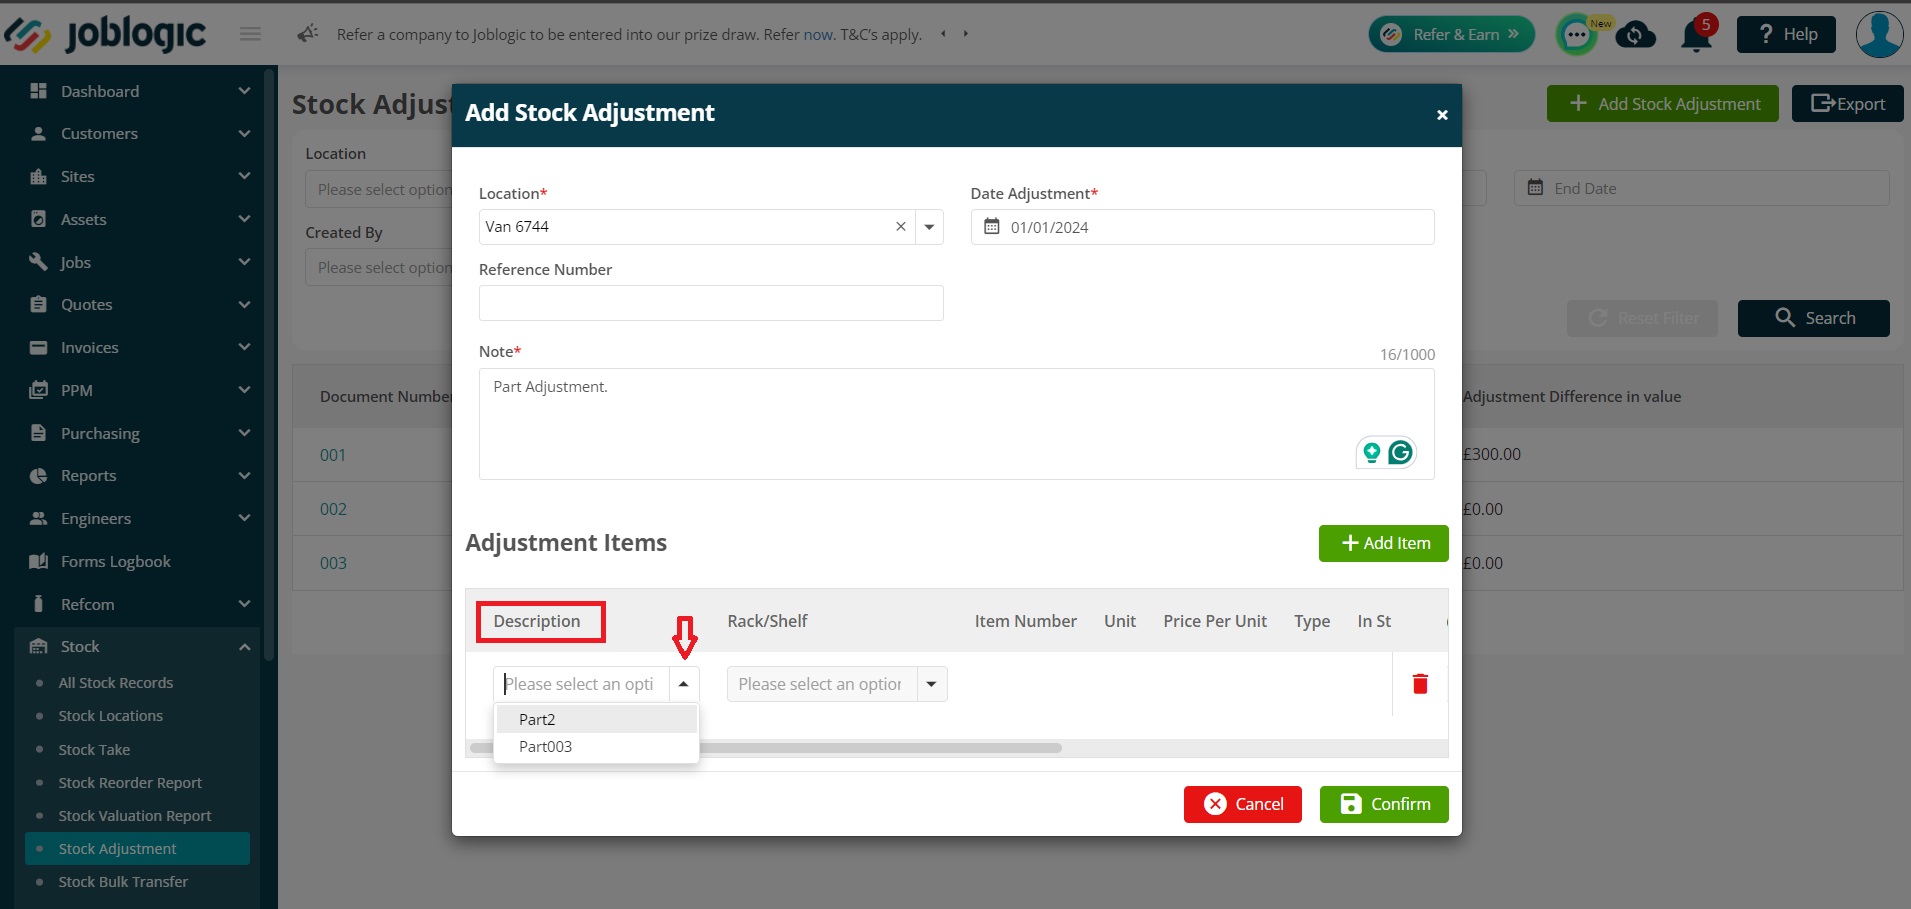
Now it’s time to add details of the stock items that are being adjusted.
Select the stock from the dropdown in “Description”. Once you select the stock item, it will auto populate the details like “Unit”, “Price Per Unit”, and “Type”.
And once you select the “Rack/Shelf” from the dropdown menu, it picks up the “In Stock” quantity automatically.
If you scroll towards the right-side under “Adjustment Items” box, you’ll see a field called “Adjusted Quantity” where you can add the quantity. It also has arrow buttons where you can click to either increase or decrease the quantity.
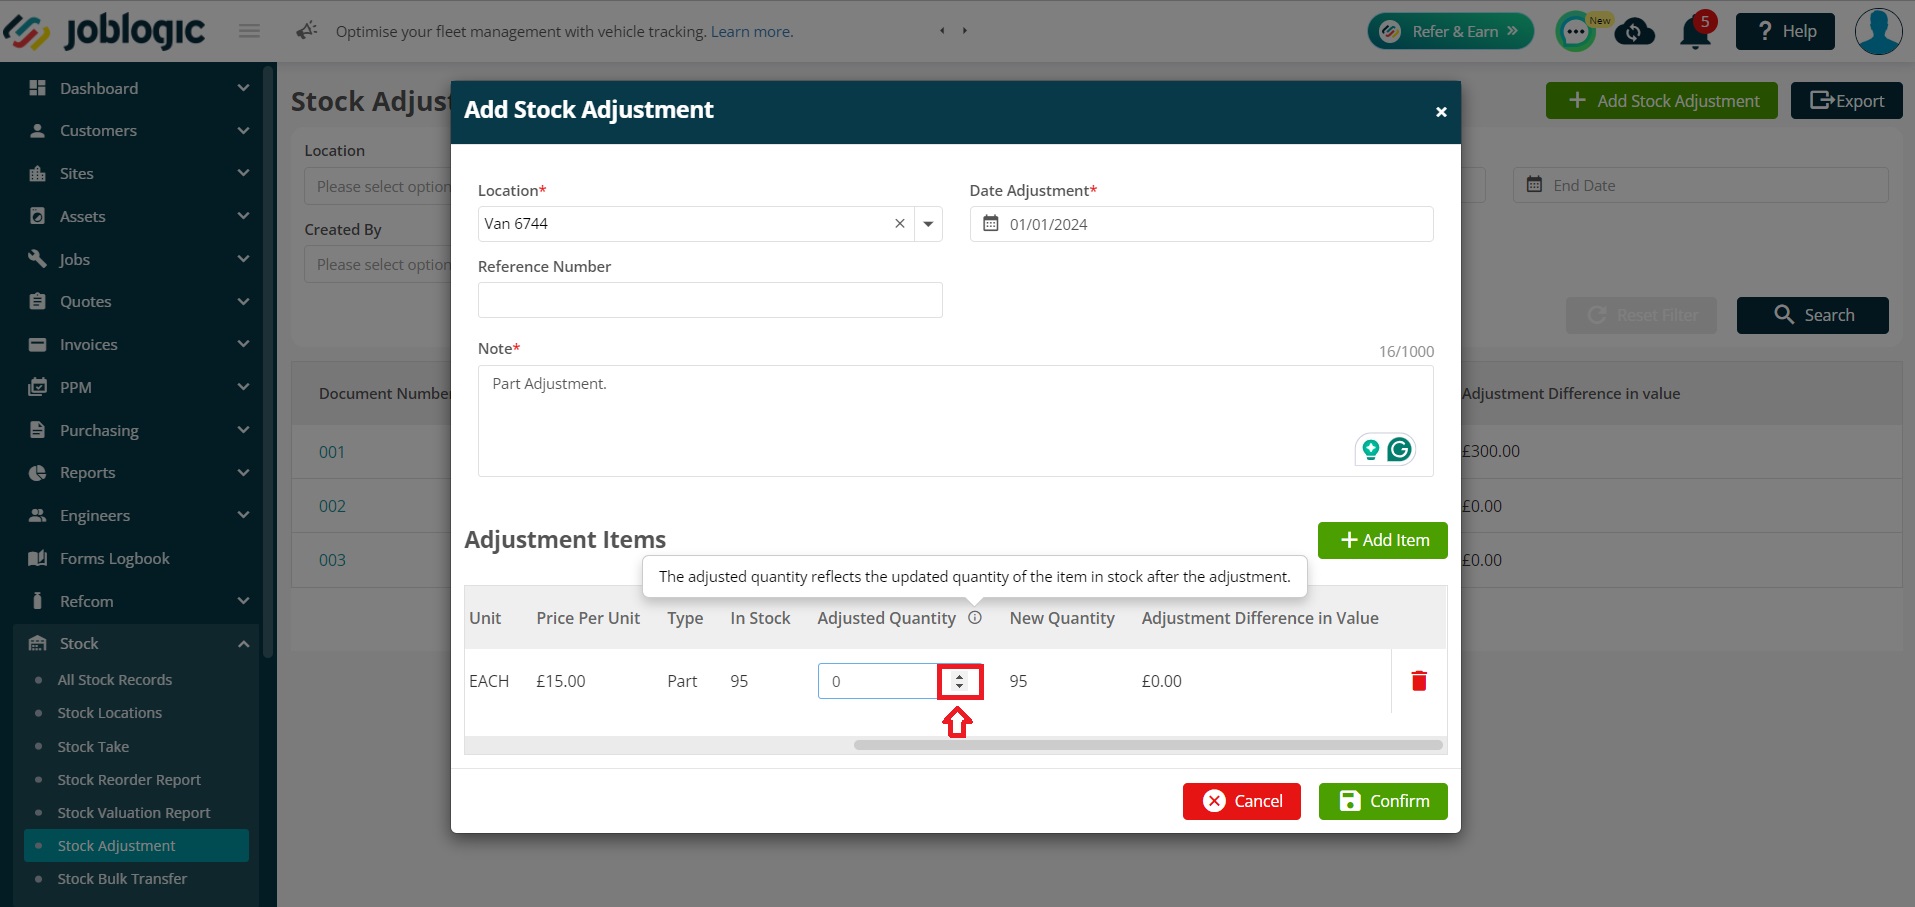
It can be in negative as well which will mean you are reducing the stock quantity. Once you add the quantity, it will automatically update the “New Quantity”, and “Adjustment Difference In Value” fields.

If you’d like to add more than one adjustment, click Add Item to create a new line. Follow the steps above again to update your new quantity.

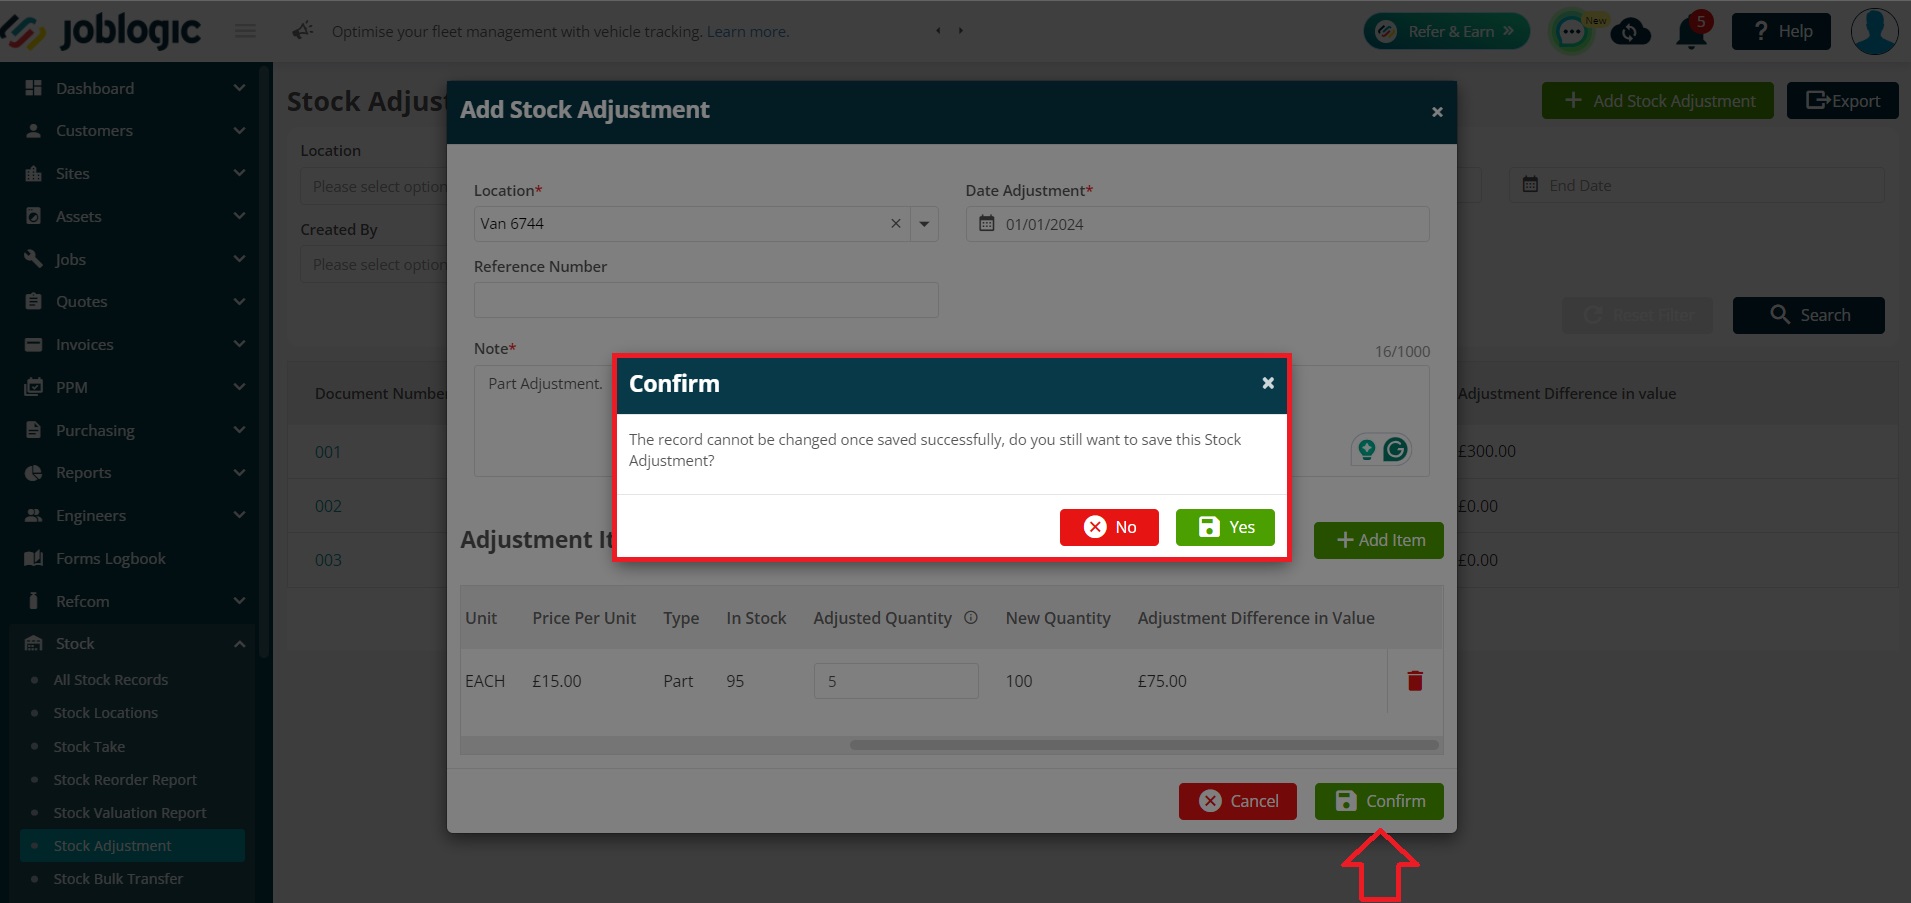
When you are happy with the details, click Confirm.
You’ll receive a prompt before saving it to confirm the changes. Click Confirm again if you are happy.
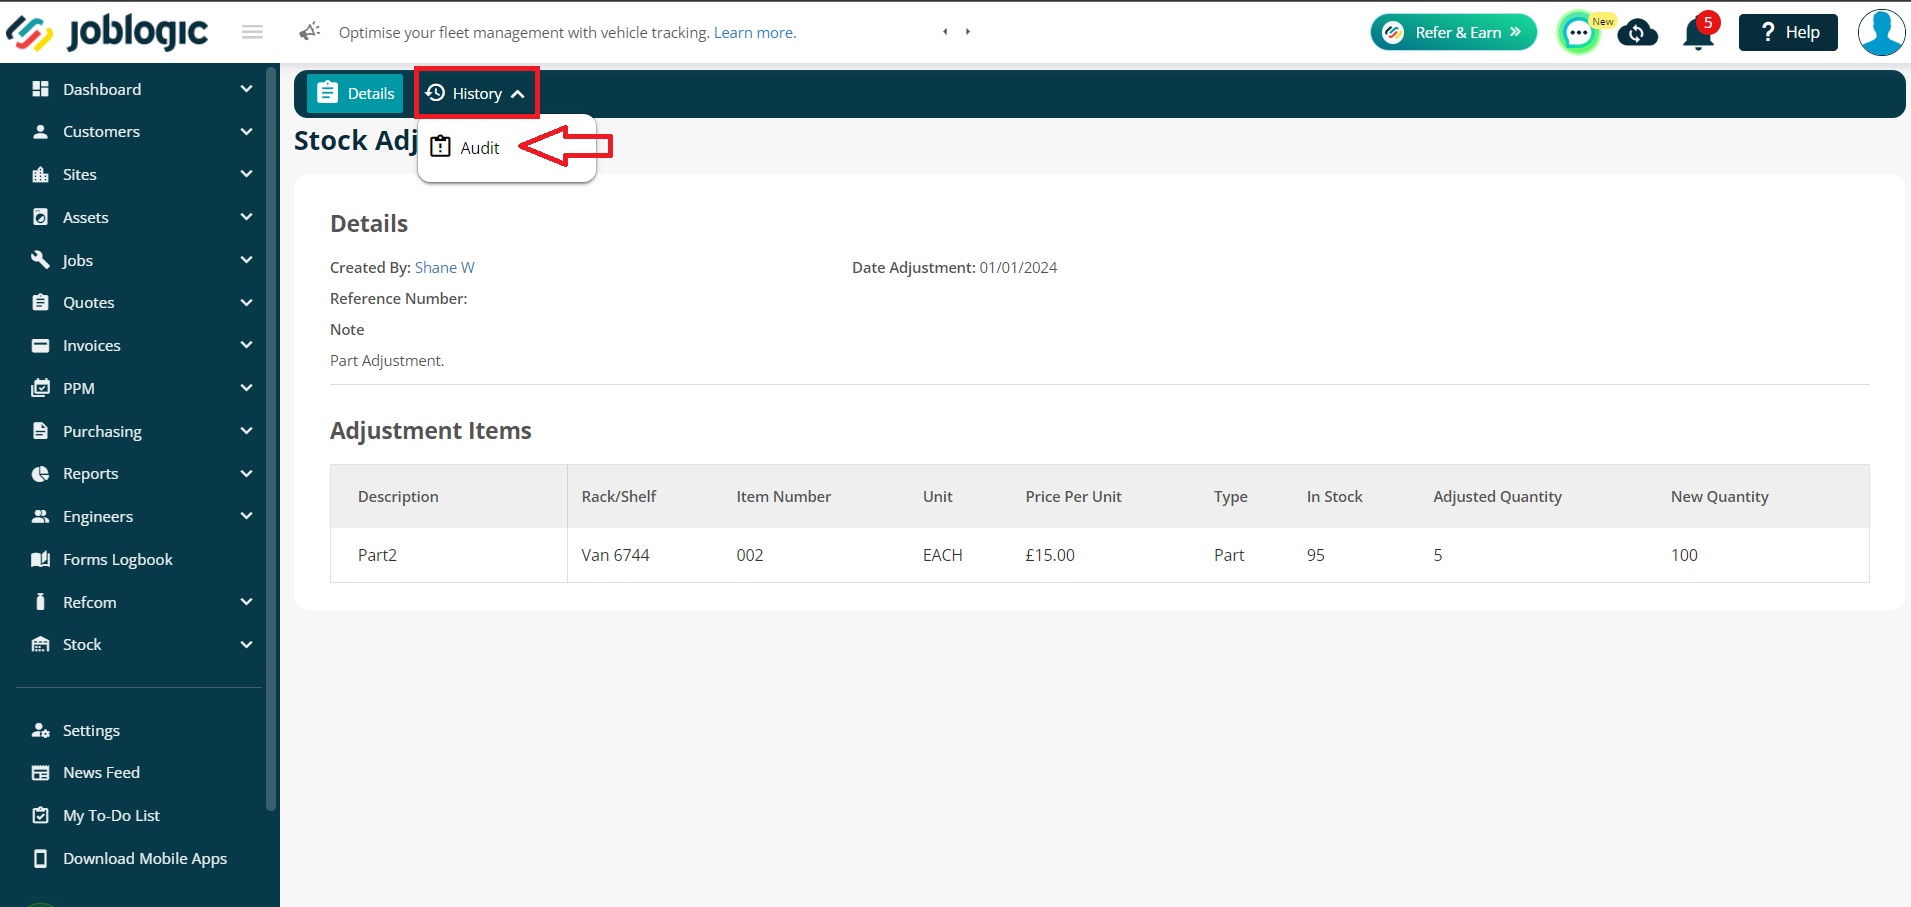
You’ll be redirected back to the main Stock Adjustment page where you can view the details of the update.
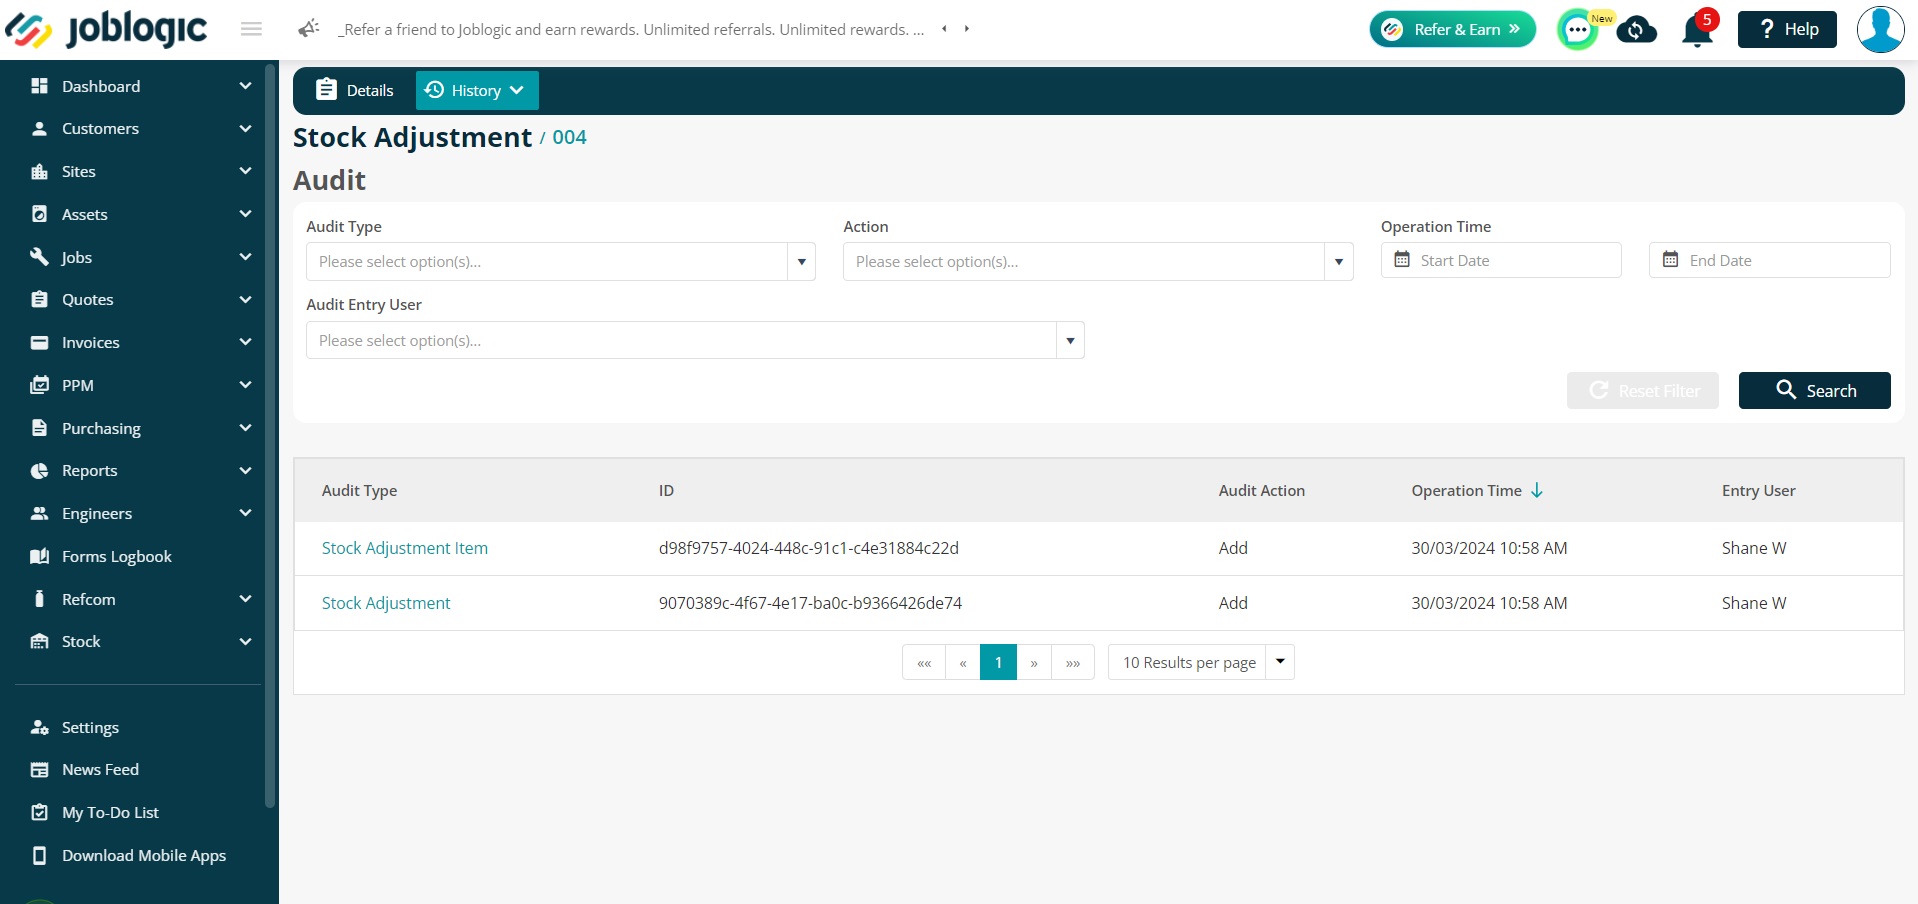
There is also an Audit section under the History tab to see who did each adjustment and when, etc.
You can click on the blue text in the column “Audit Type” to see further details of that particular audit. You can also filter down the audit by applying filters on fields like “Audit Type”, “Action”, “Operation Time”, and “Audit Entry User”.
User Permissions
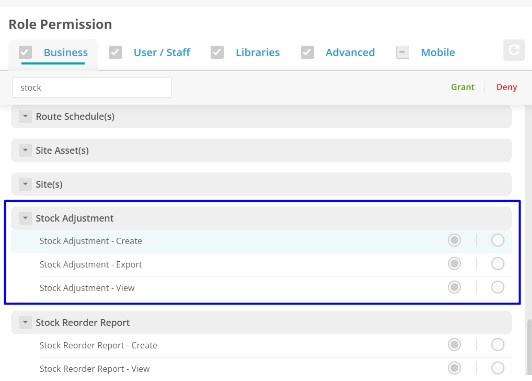
Like most of our other sections, we also have a few permissions to control stock adjustments. For this, go to Settings > Staff, select the user.
Search for Stock Adjustment under the Business tab. You can amend permissions for Create, Export and View Stock Adjustments.
Further Support
For further information or assistance with the above, contact our Support Team on 0800 326 5561 or email support@joblogic.com. Alternatively, our Customer Success Management team can be reached by emailing customersuccess@joblogic.com.
Publishing Details
This document was written and produced by Joblogic’s Technical Writing team and was last updated on the date specified above. Be aware that the information provided may be subject to change following further updates on the matter becoming available or new releases within the system. Additionally, details within the guide may vary depending on your Joblogic account’s user permissions and settings or the electronic device being used.