Introduction
Joblogic provides the ability to create Subcontractor Purchase Orders (P.O’s) for a PPM (Planned Preventative maintenance) Contract within the back-office. This user guide will detail how to raise and use a Subcontractor Contract P.O within the Joblogic back-office system.
The Purpose of Subcontractor Contract Purchase Orders
Previously within Joblogic there was not a streamline/dedicated way to raise a single purchase order covering multiple PPM subcontractor visits. Users instead would have to raise multiple P.O’s for each visit or use an alternative method, housing multiple P.O lines for each visit against a single generically constructed job P.O. Subcontractor Contract Purchase Orders was therefore introduced to fill the gap in this function, giving it it’s own dedicated module within the system. The function allows for a general overarching PPM contract P.O to be submitted to the subcontractor, better aiding our clients in keeping track of Subcontractor PPM contract progress and completion.
Raising a Subcontractor Contract P.O
In order to raise a Subcontractor Contract P.O, the PPM Contract that it is associated to must already be set up in your Joblogic account. See here for more information on how to raise PPM contracts.
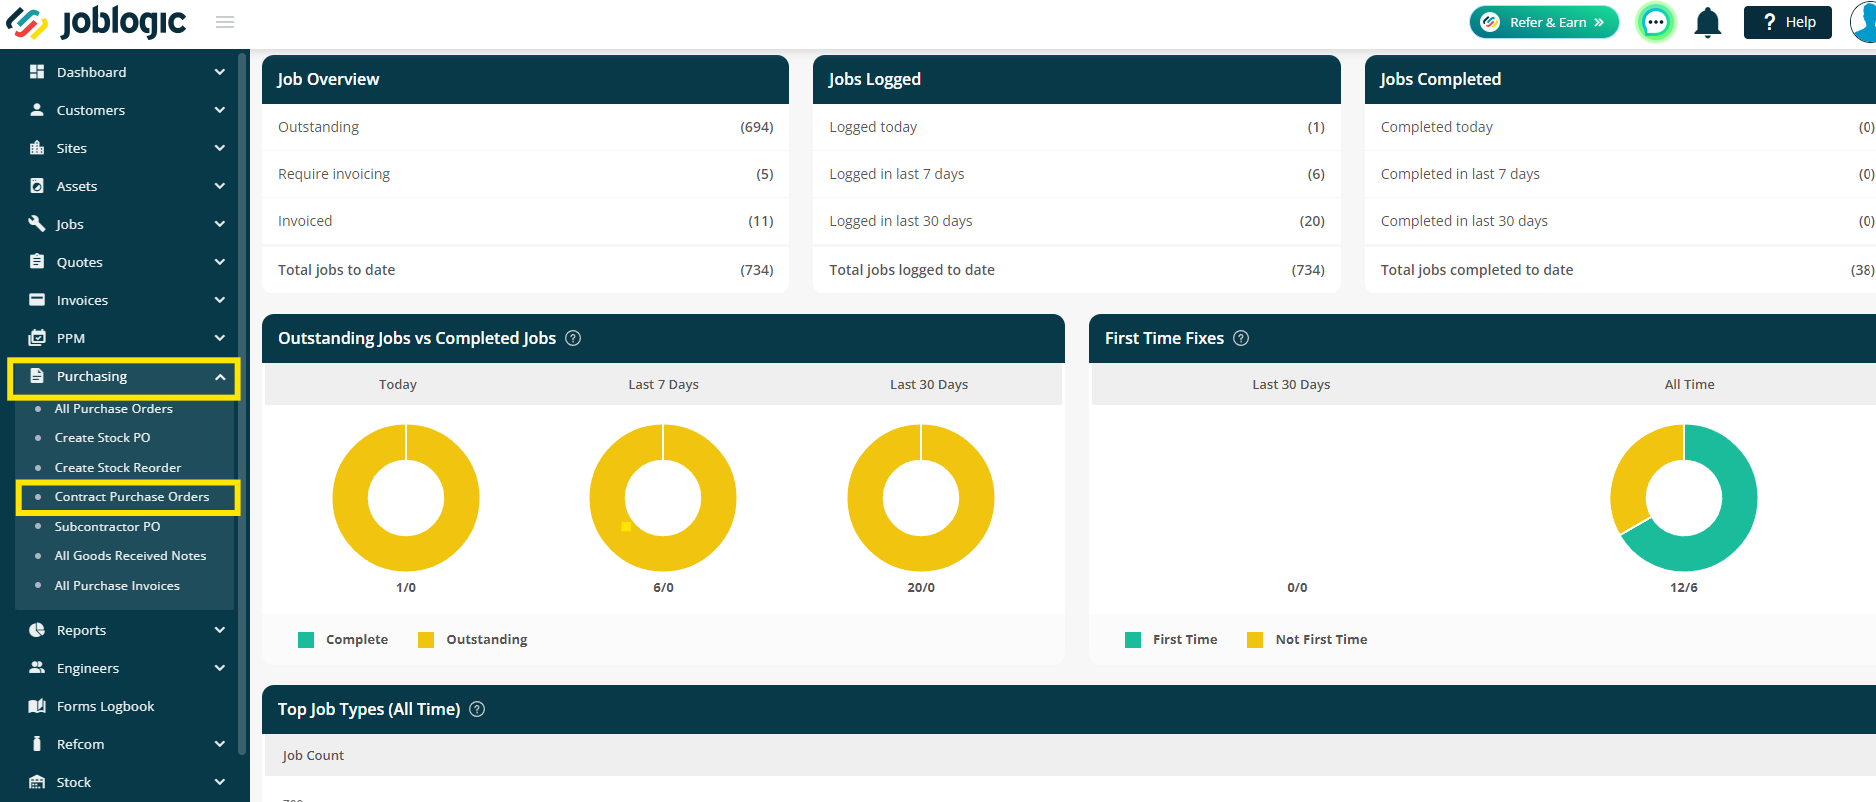
Once the associated PPM contract has been raised, navigate to the Purchasing area down the left-hand side of the screen and select ‘Contract Purchase Orders’
Alternatively, the P.O can be raised while on the PPM contract screen under the ‘Contract Purchase Order’ area.

Select the green ‘Create Contract P.O’ button.

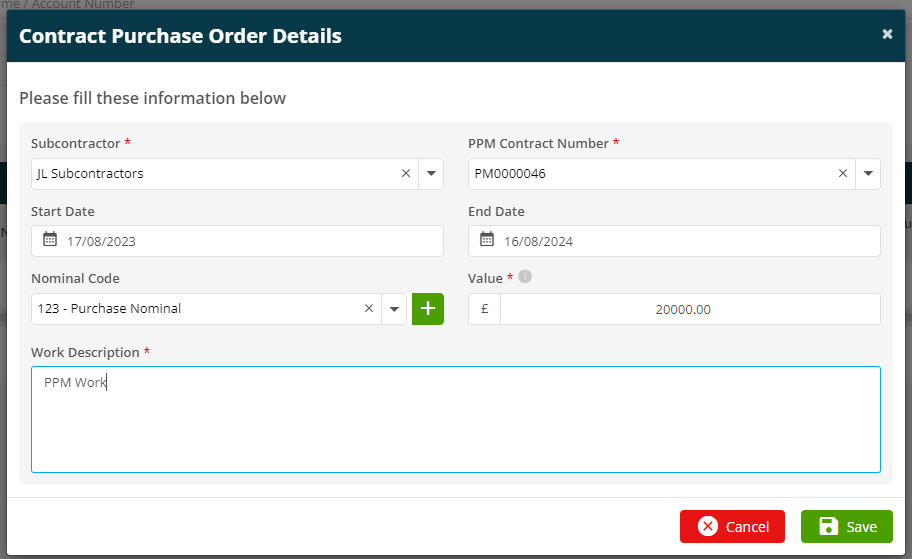
Fill in the P.O’s details, selecting the PPM contract that the P.O is associated to and select ‘Save’. The ‘Start Date’ and ‘End Date’ fields will automatically populate based on the start and end dates of the PPM contract selected.
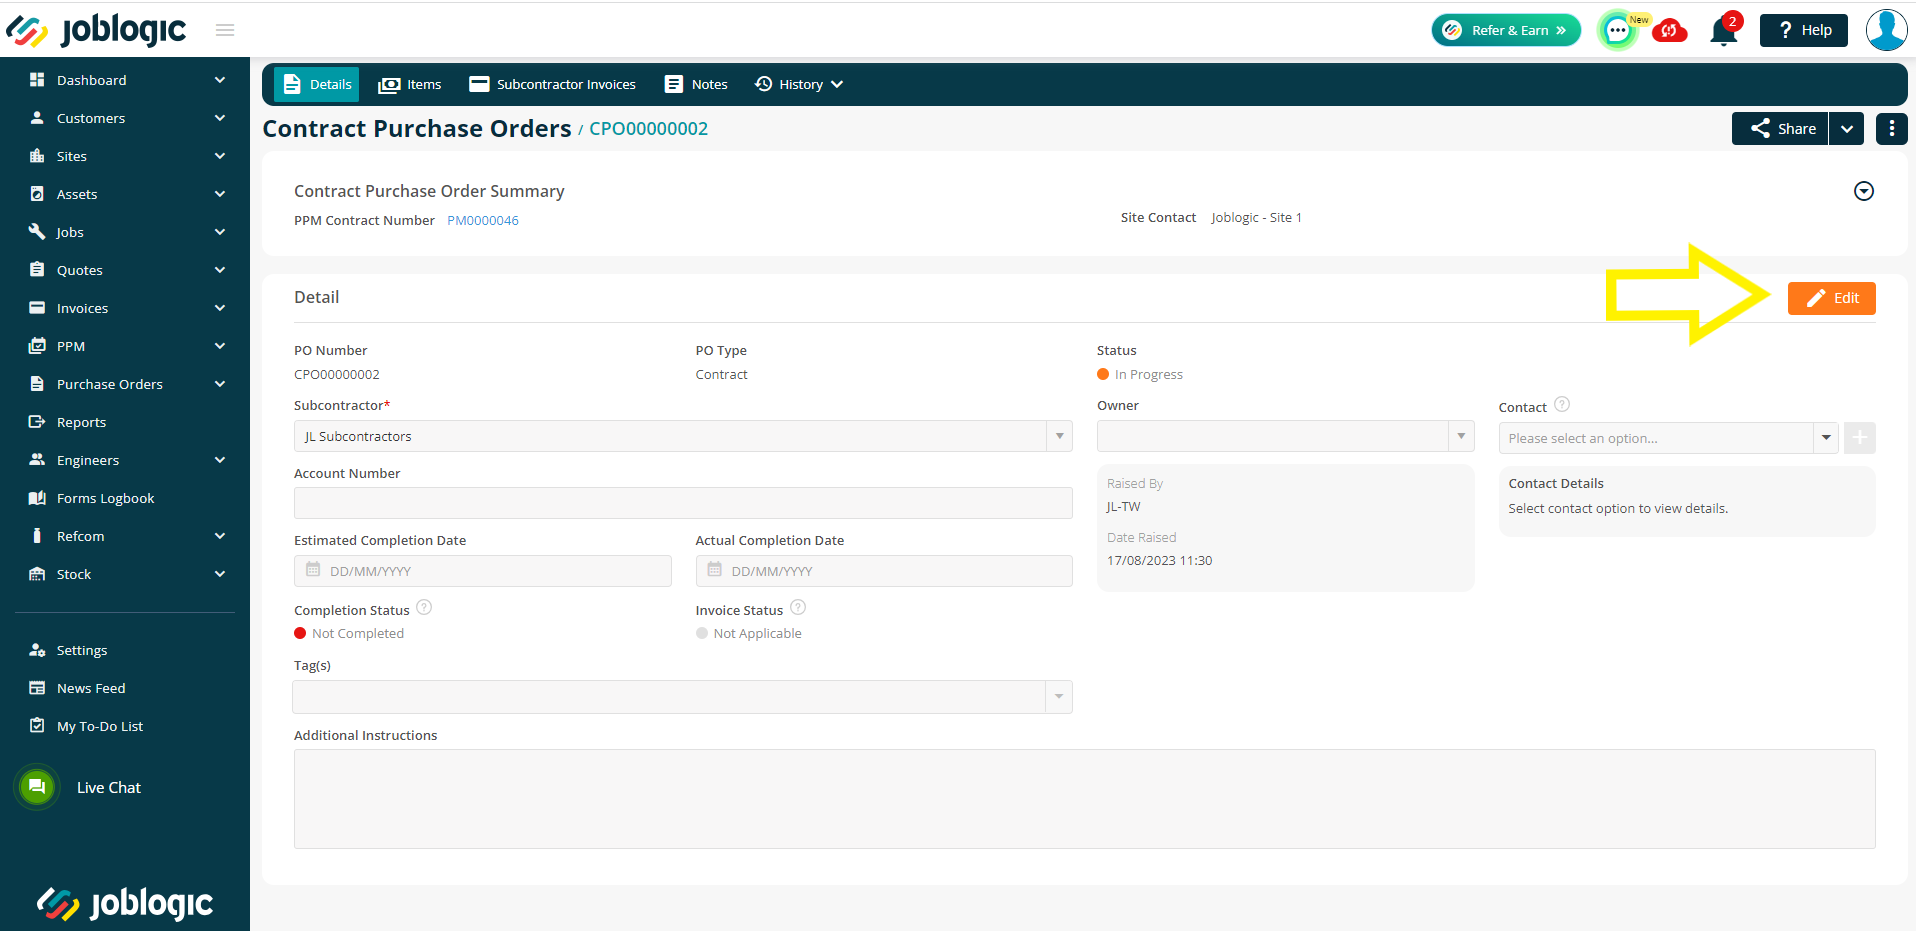
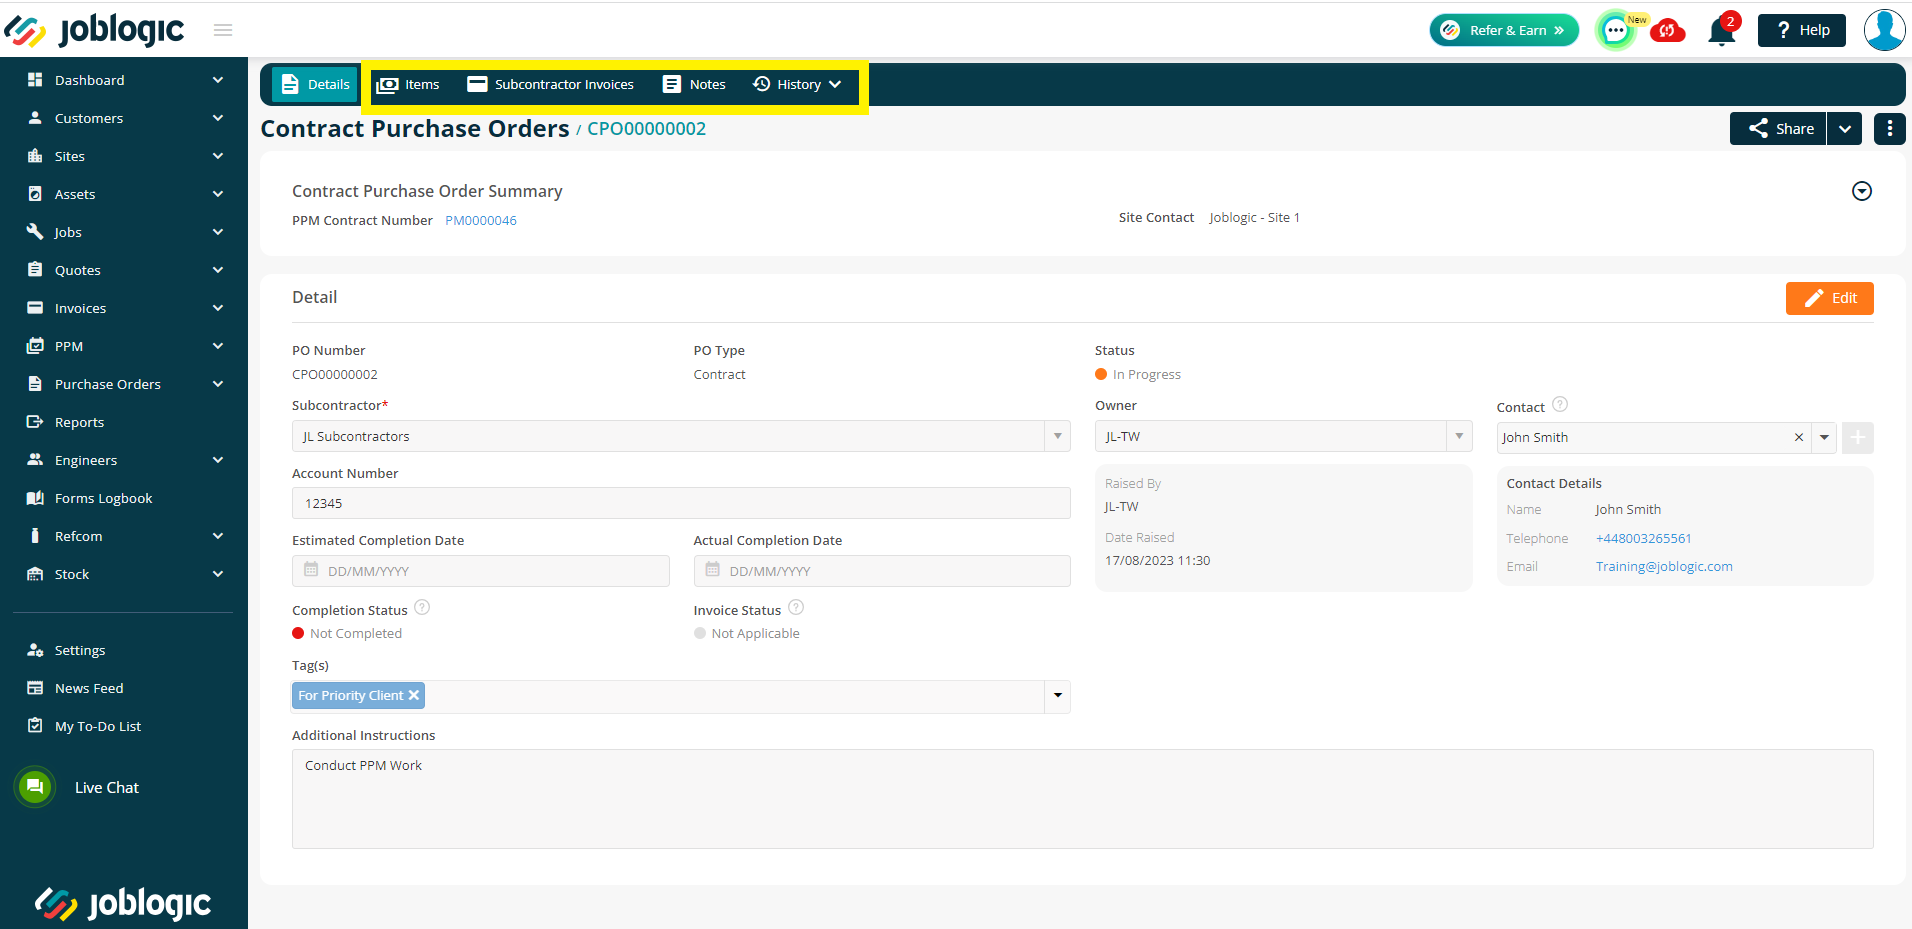
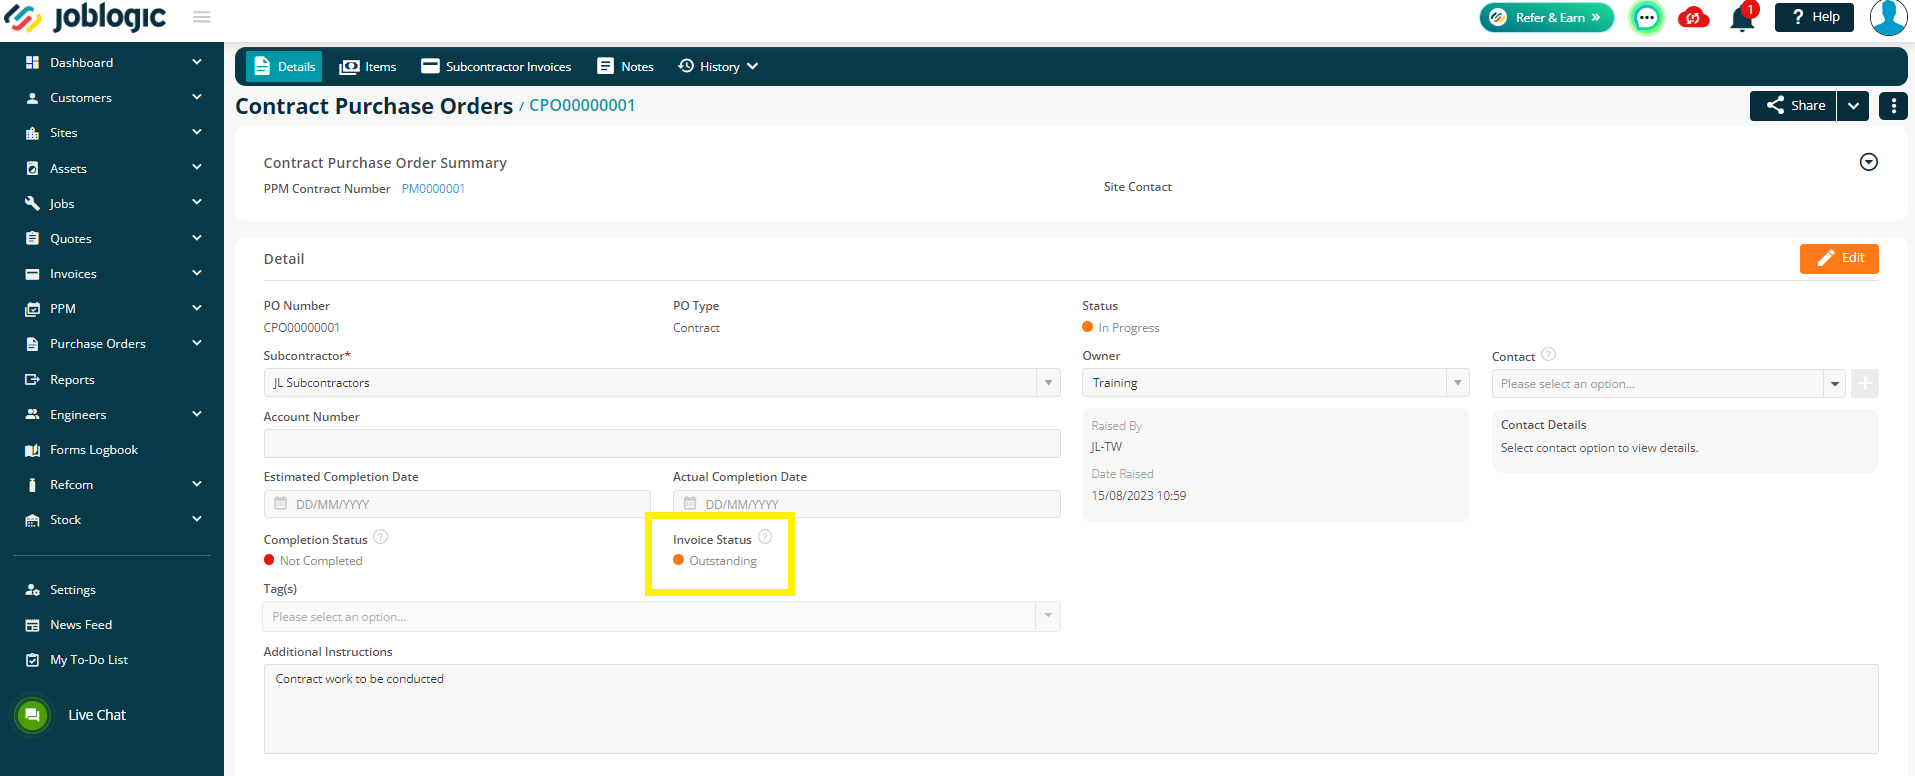
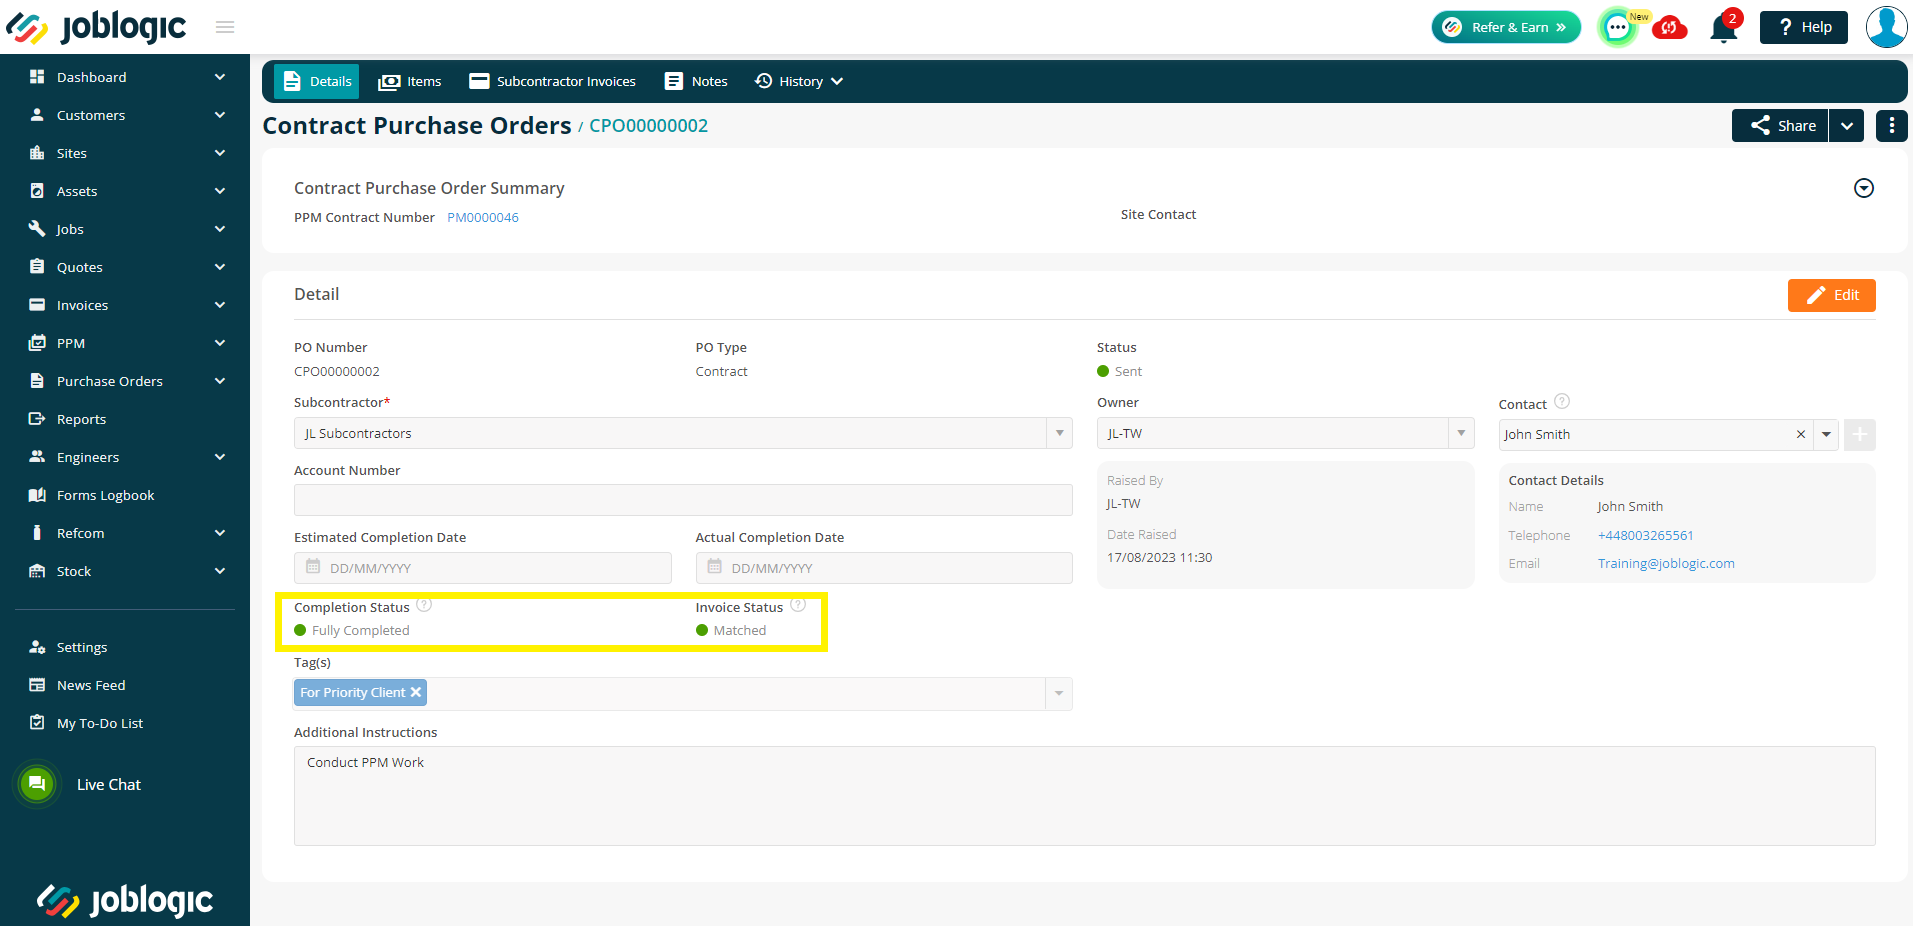
The subcontractor contract P.O will then generate and further details for the P.O can be filled in.

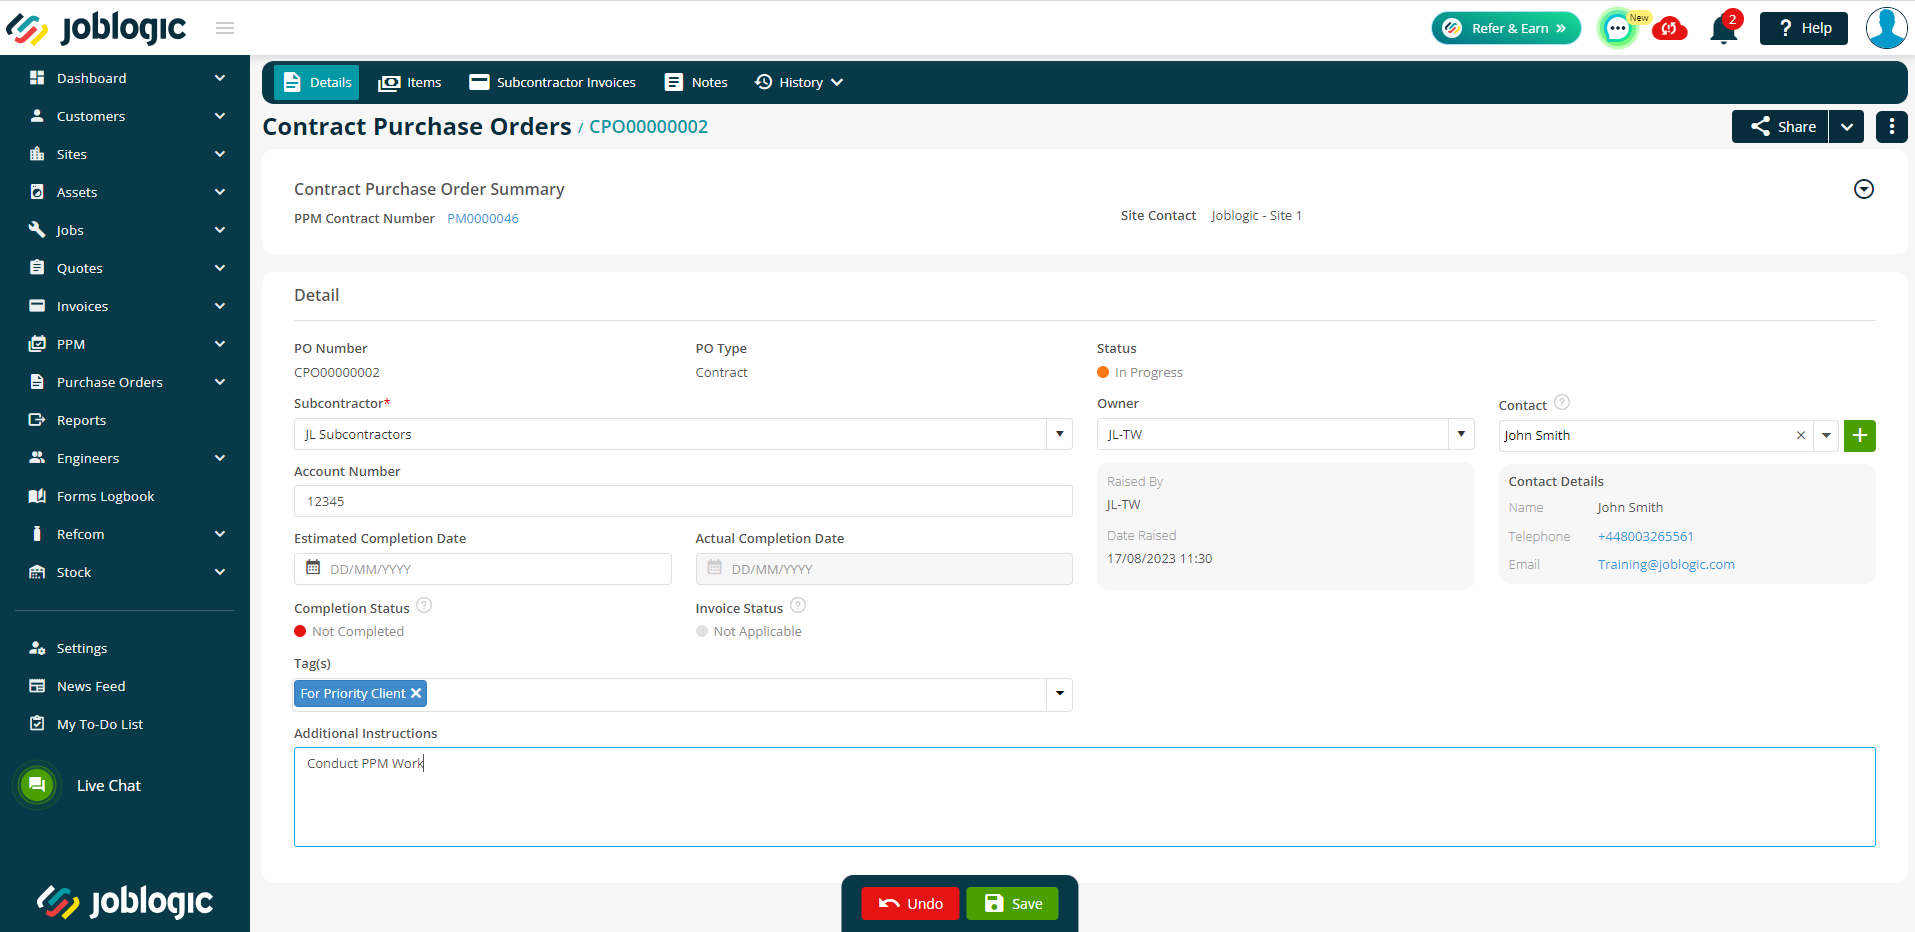
To update further details, select the orange ‘Edit’ option, fill in the details as applicable and select save.
Further details such as items, subcontractor invoices, notes and a history area (outbound emails) are also available for the P.O. These can be accessed by selecting their applicable tab across the top of the page.
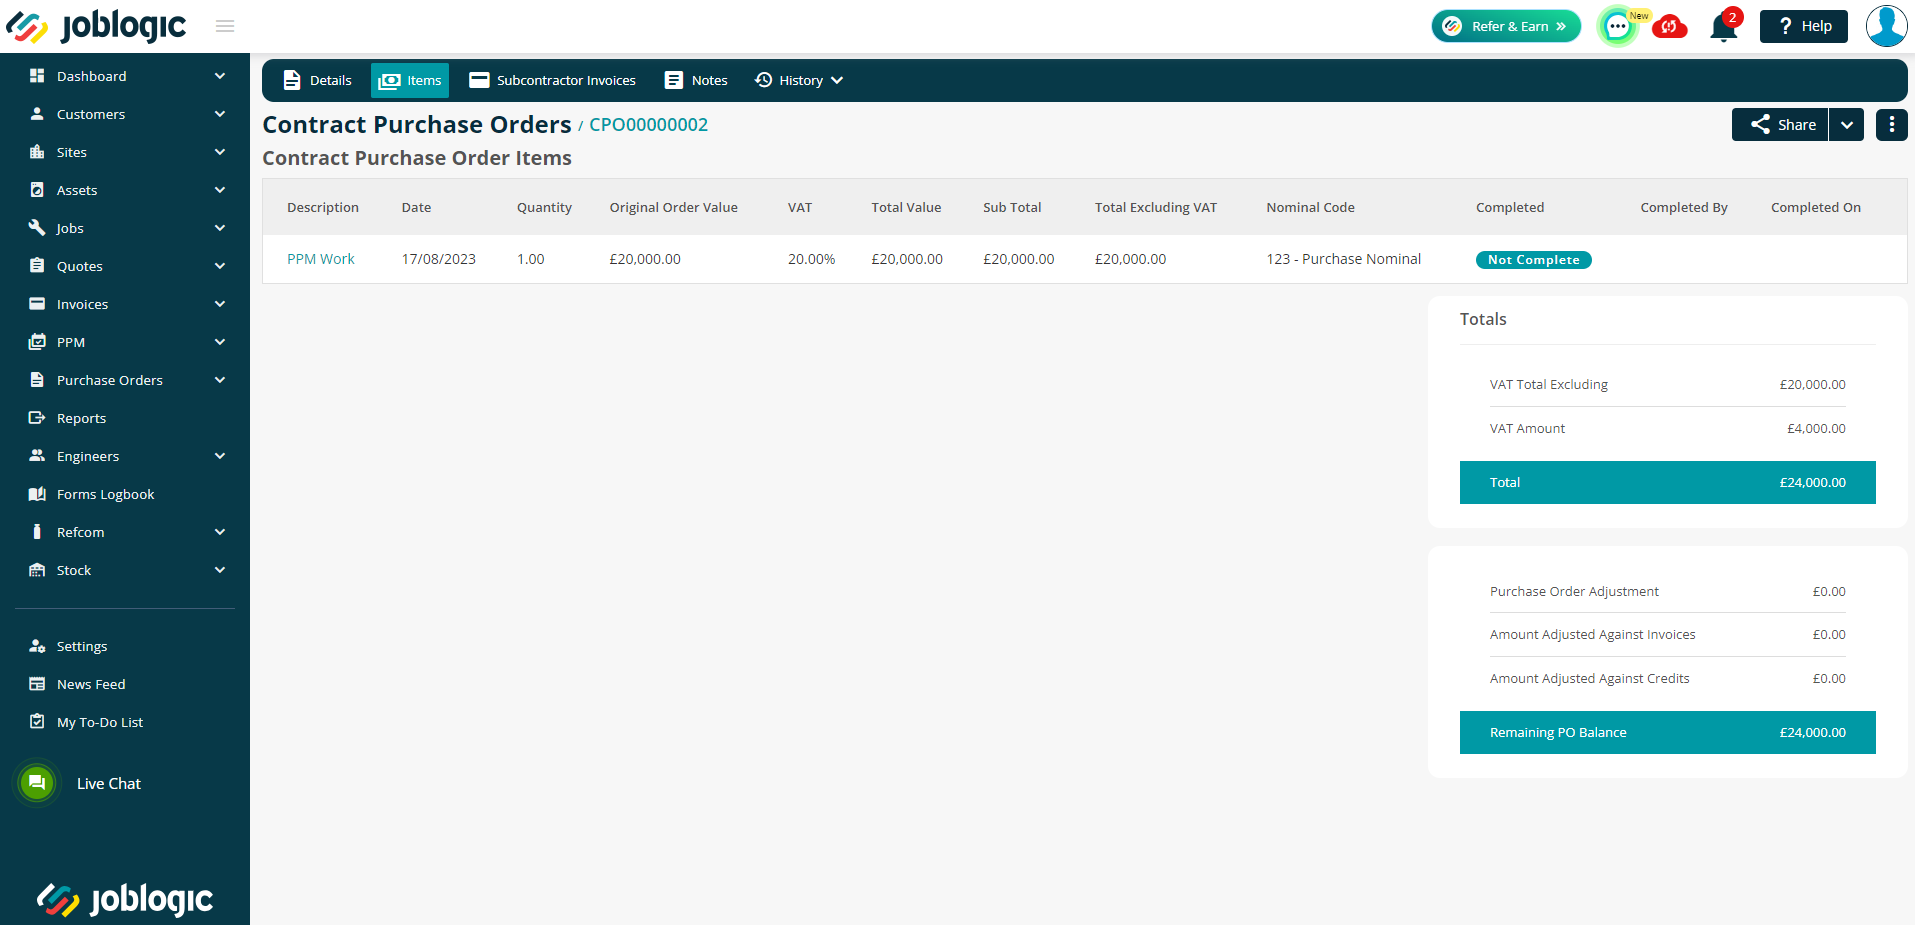
It is important to note that as the P.O is intended to be a general, overarching P.O that the items cannot be adjusted or added to. This is because the more specific details such as individual job work instructions can be addressed in other more relevant areas of the system. For example, against the PPM contract’s jobs. See here for more information on PPM subcontractor jobs and sending work details.
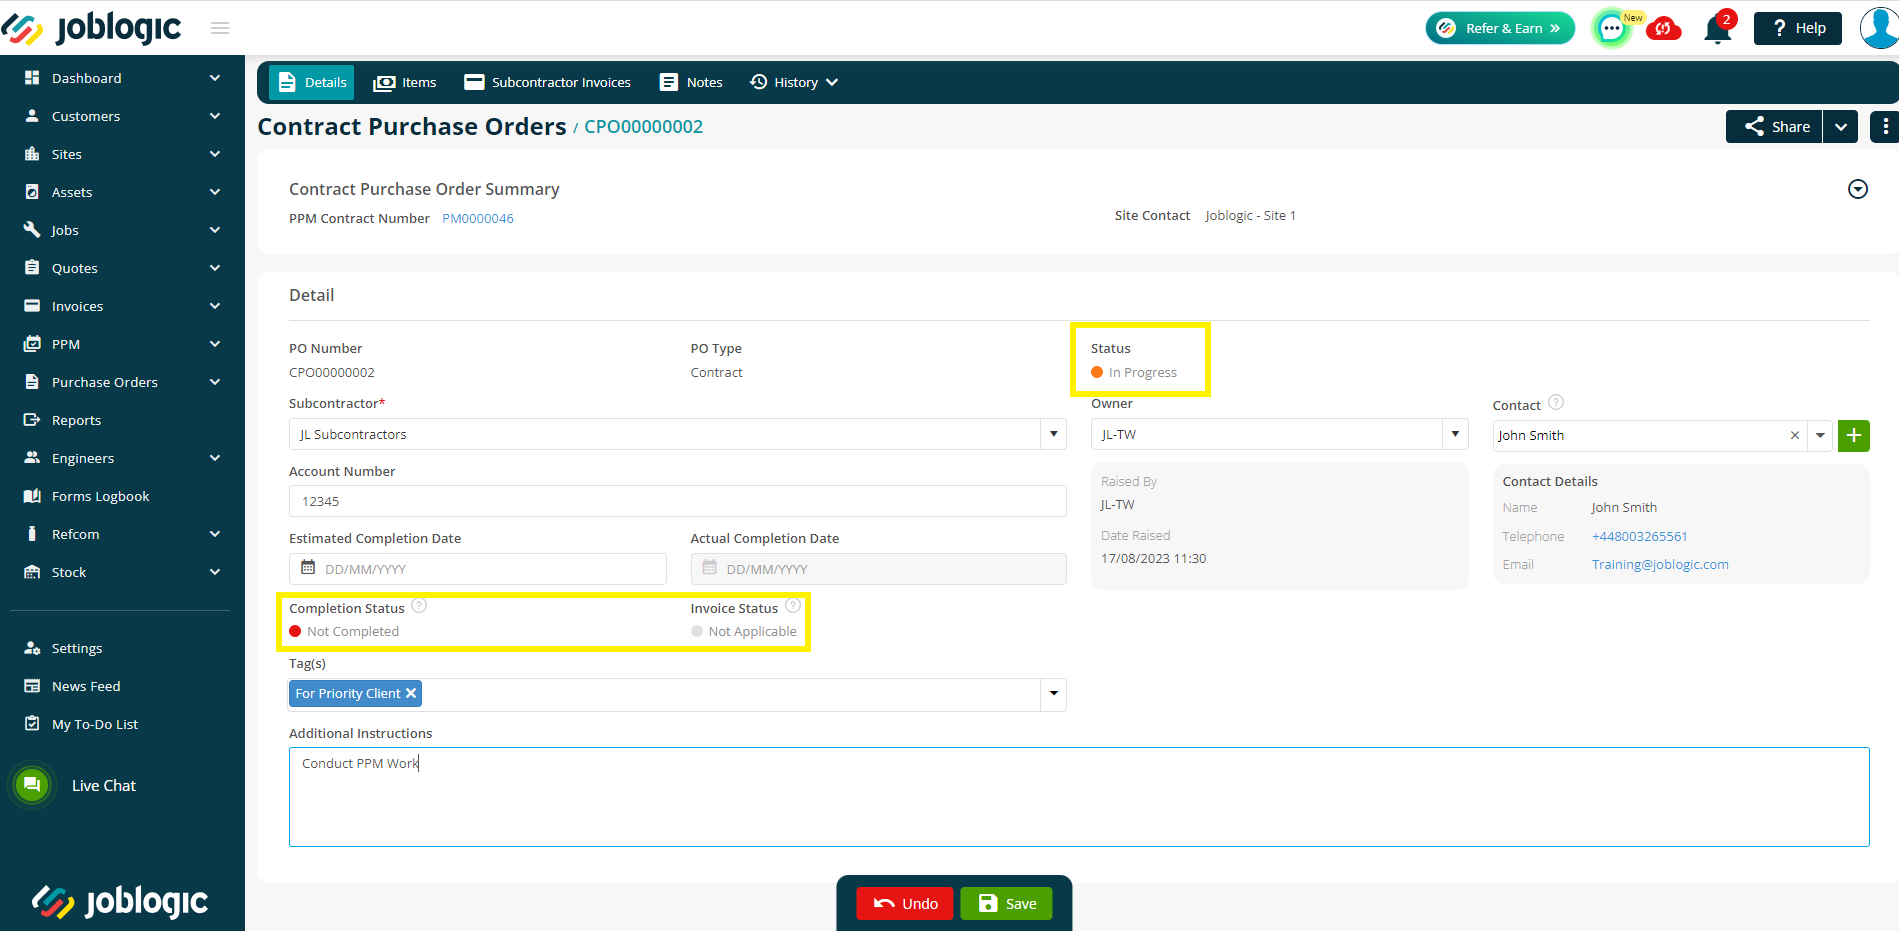
Furthermore, the ‘Status’ and the completion and invoice statuses of the P.O cannot be manually amended and instead update automatically as subcontractor invoices are raised against the P.O. and/or once the P.O is shared.
Sharing the P.O
In order to share the P.O with your subcontractor, select the ‘Share’ option towards the top right corner of the screen.
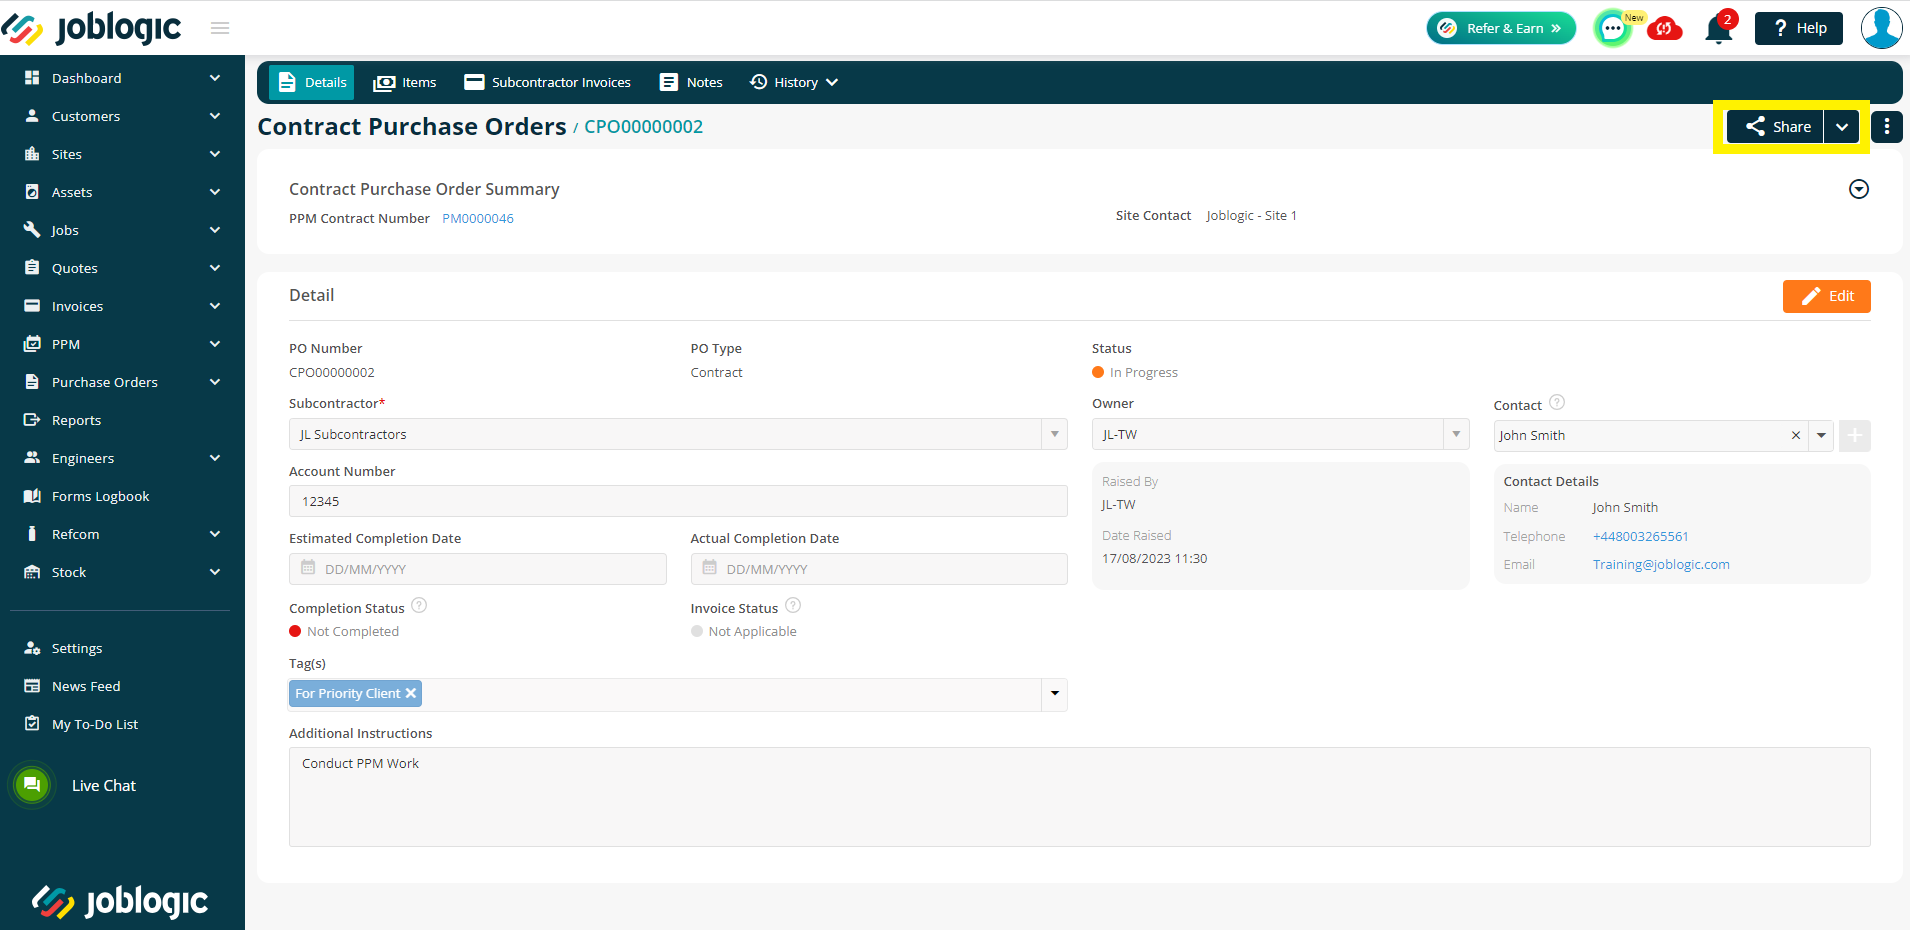
The P.O can then be printed, downloaded or emailed directly to your subcontractor from the system.

If emailing directly from the system, a contract P.O email template will be constructed based on the details set up for the subcontractor within the system and your system’s subcontractor document and email template settings.
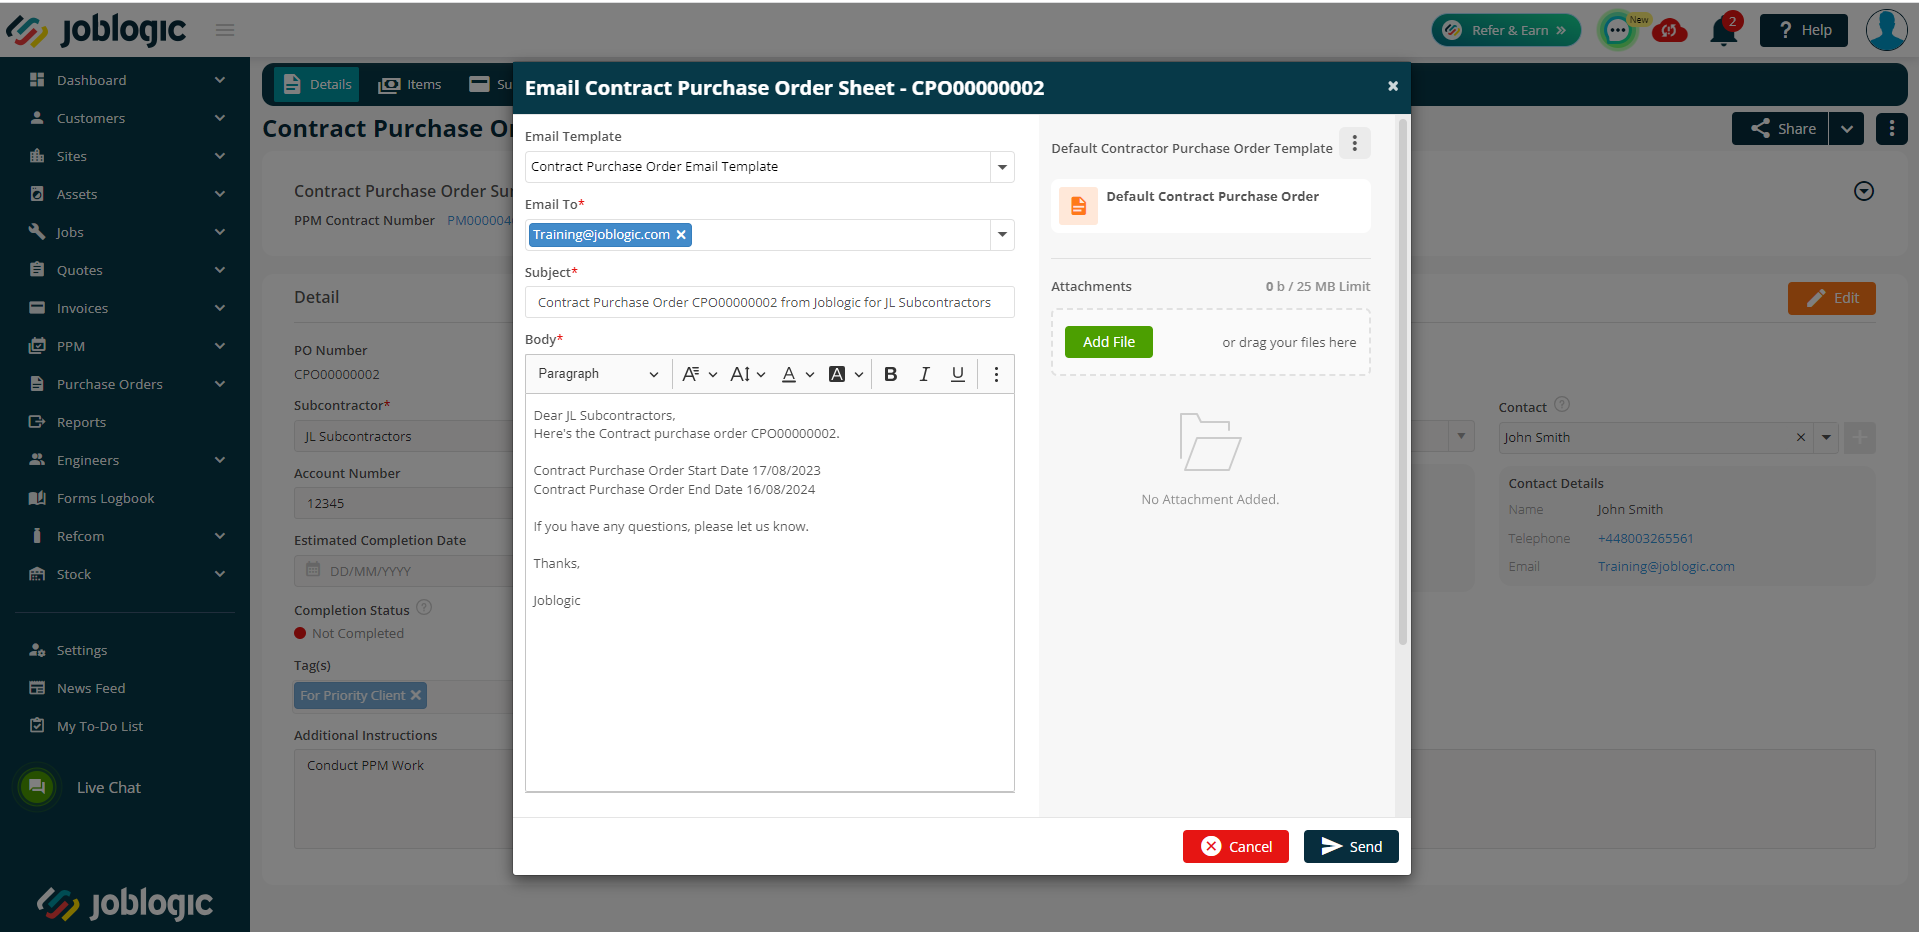
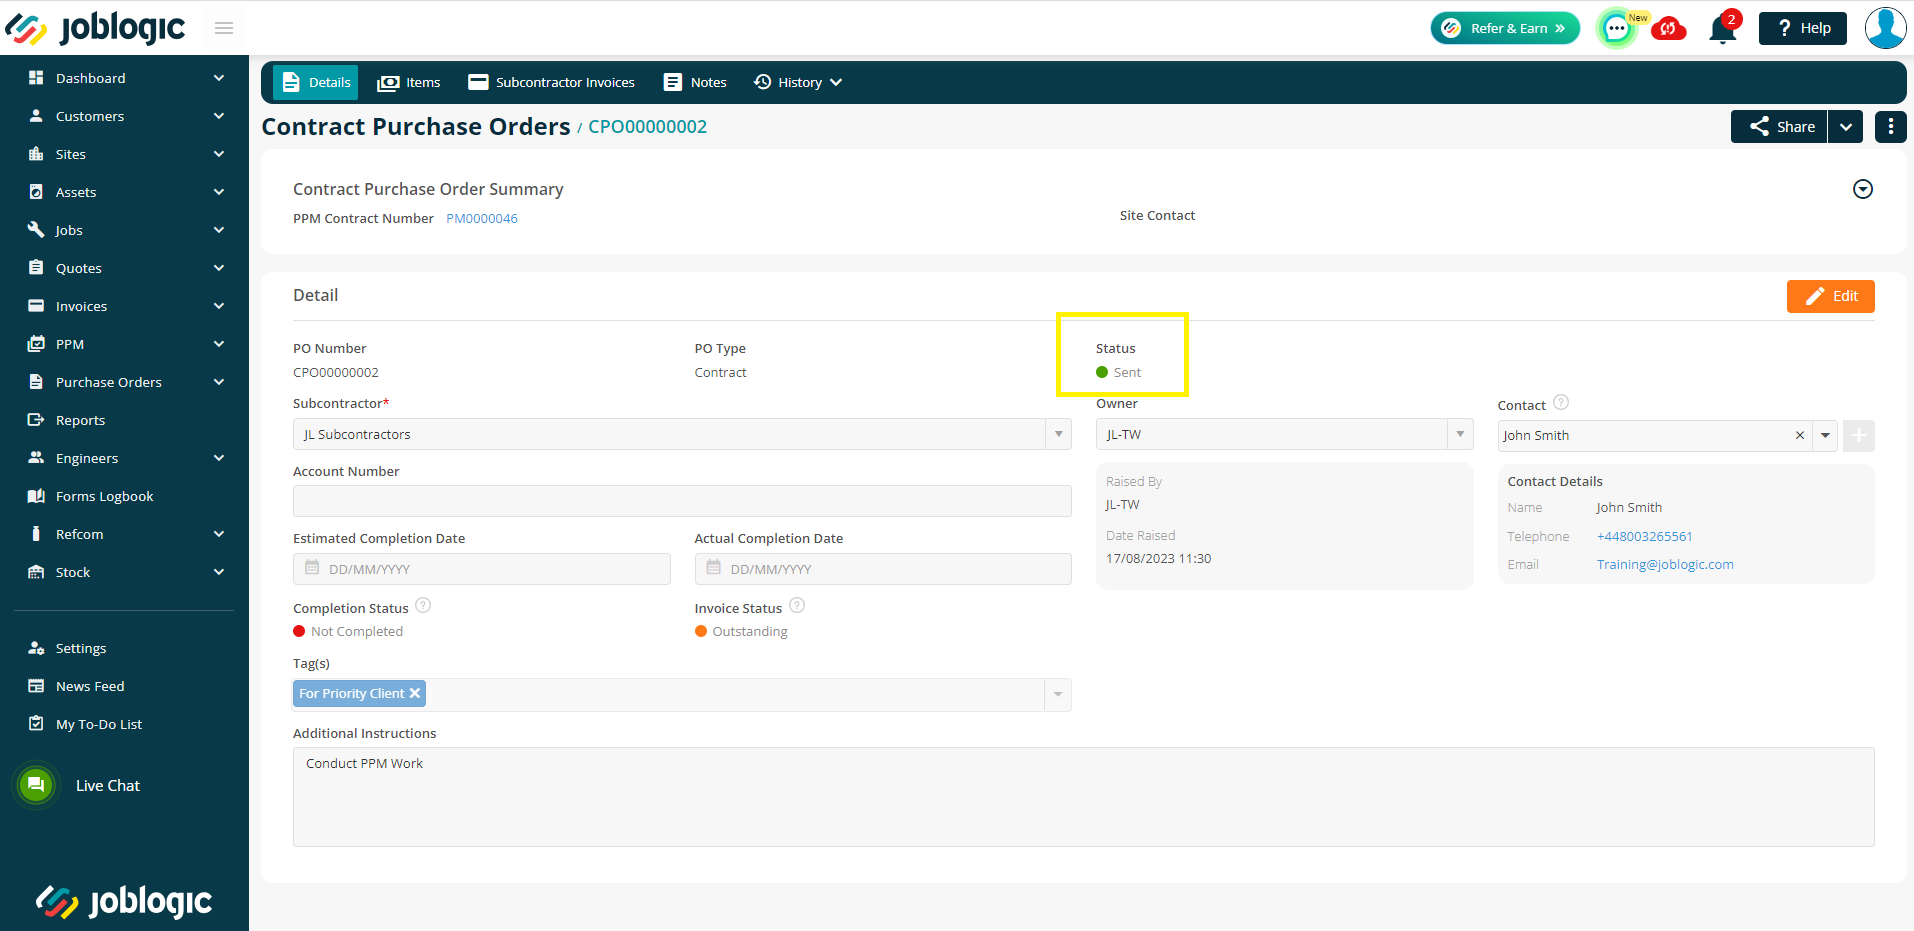
If the email is sent, the P.O’s ‘Status’ will update to ‘Sent’.
If your subcontractor is also a Joblogic user and you have them set up on the subcontractor portal, the P.O can be shared more directly through your Joblogic systems. See here for more information on our Subcontractor portal link.
Associating the P.O when Batch Deploying Subcontractor PPM Visits
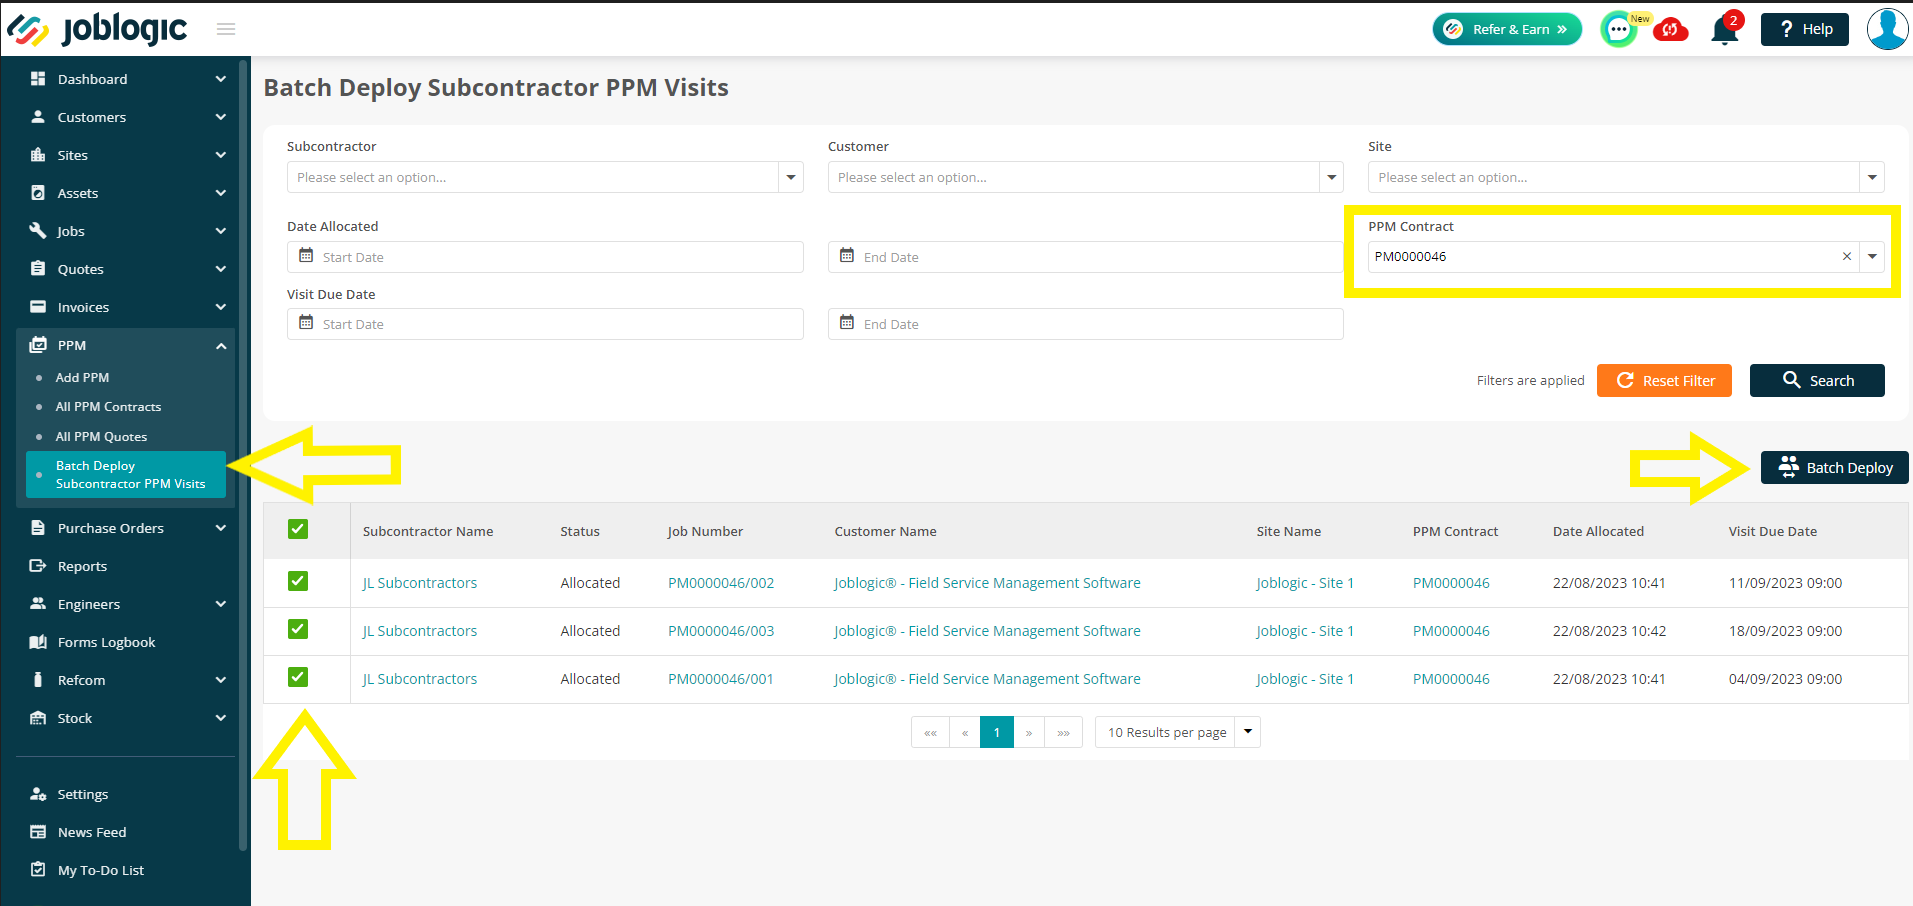
The P.O can be associated to the PPM visits if batch deployed to the subcontractor.
In order to do this, select PPM > Batch Deploy PPM Subcontractor Visits.
Select the PPM contract of the visits which are to be batch deployed, select the visits to be batch deployed and select the ‘Batch Deploy’ option.
Select the associated P.O and tick the ‘Associate Contract P.O’ tick box.
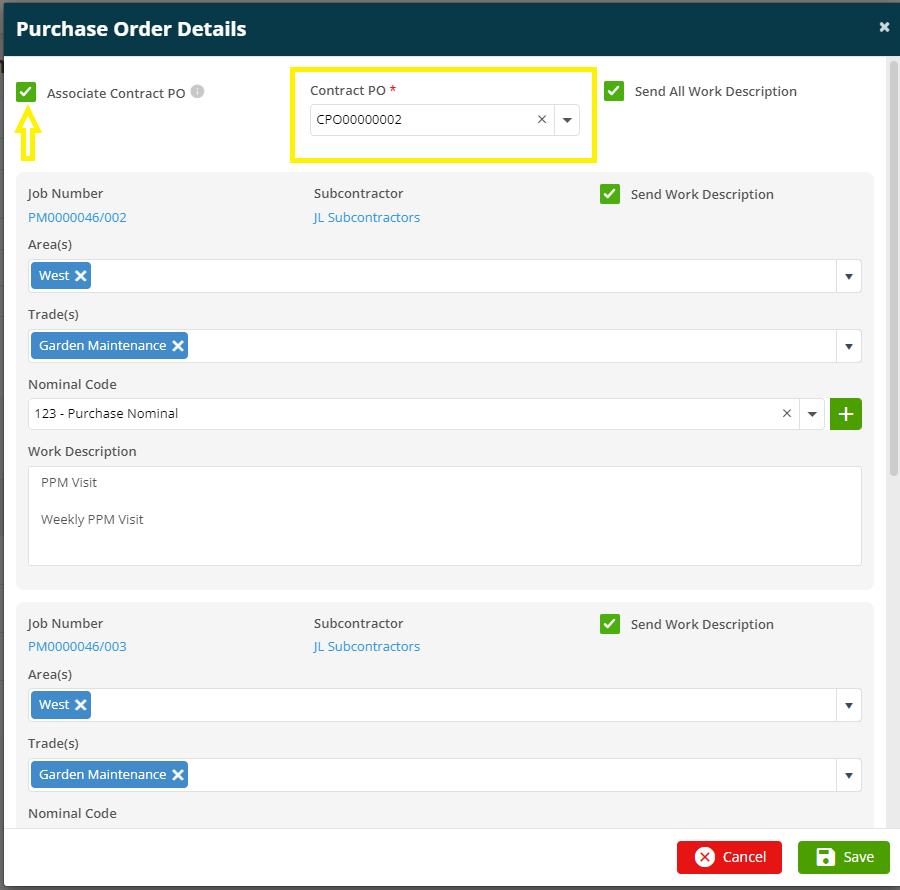
Upon saving, the subcontractor will be sent a copy of the contract P.O in addition to the other PPM job visit details that have been batch deployed.
See here for more information on Batch Deploying Subcontractor PPM Visits.
Adding Subcontractor Invoices
In order to raise subcontractor invoices against the P.O, navigate to the ‘Subcontractor Invoices’ tab of the applicable purchase order.

Select the green ‘Add Contract Invoice’ button.
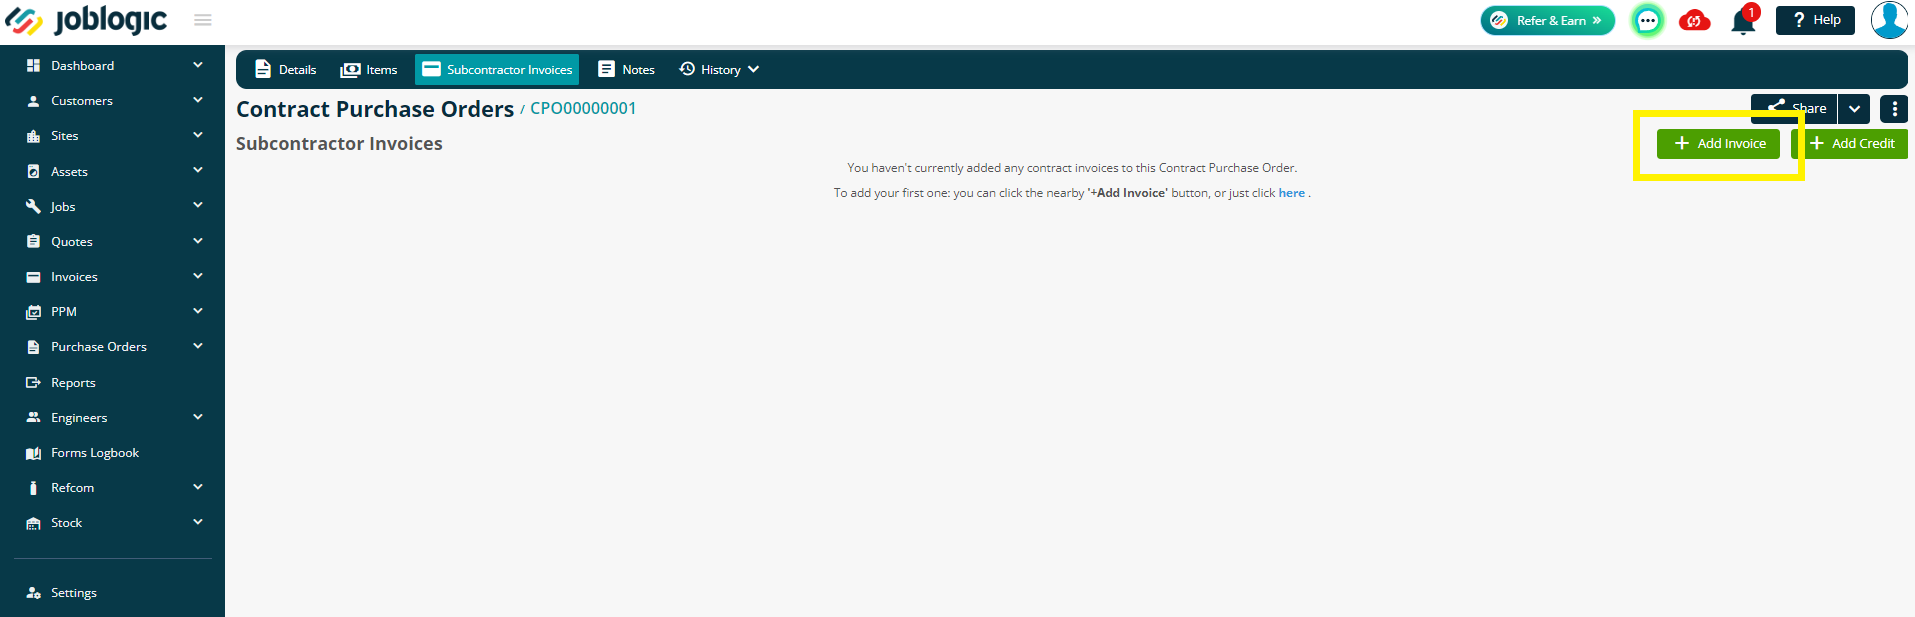
This will direct you to a ‘Subcontractor Invoices’ page.
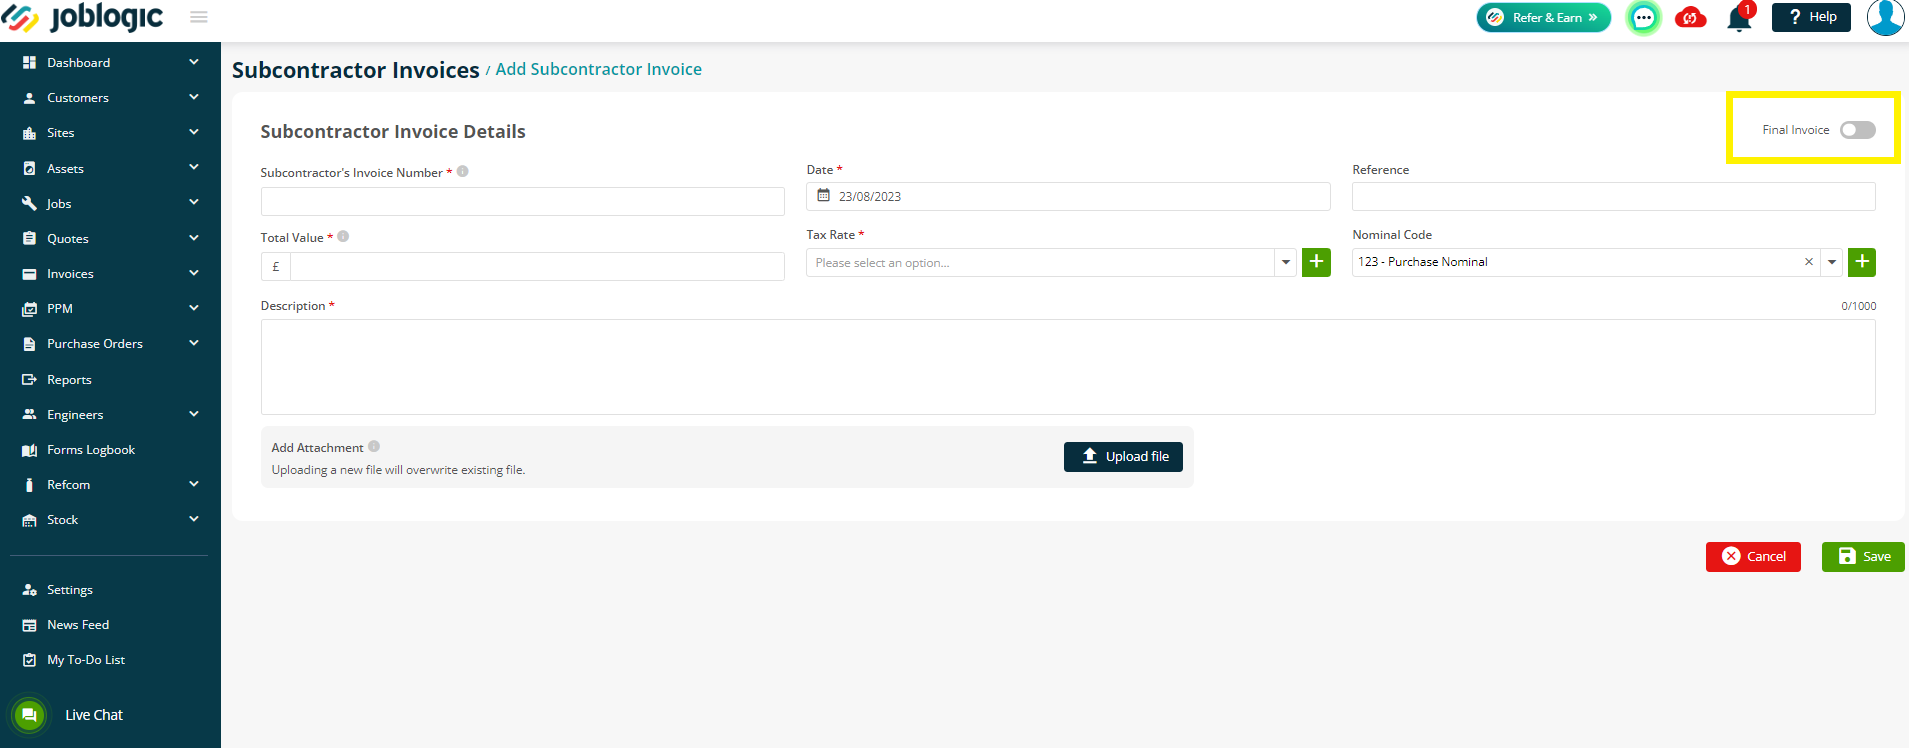
There are two options here with regards to recording the invoice.
-
To record a partial invoice
-
To record a final/full invoice
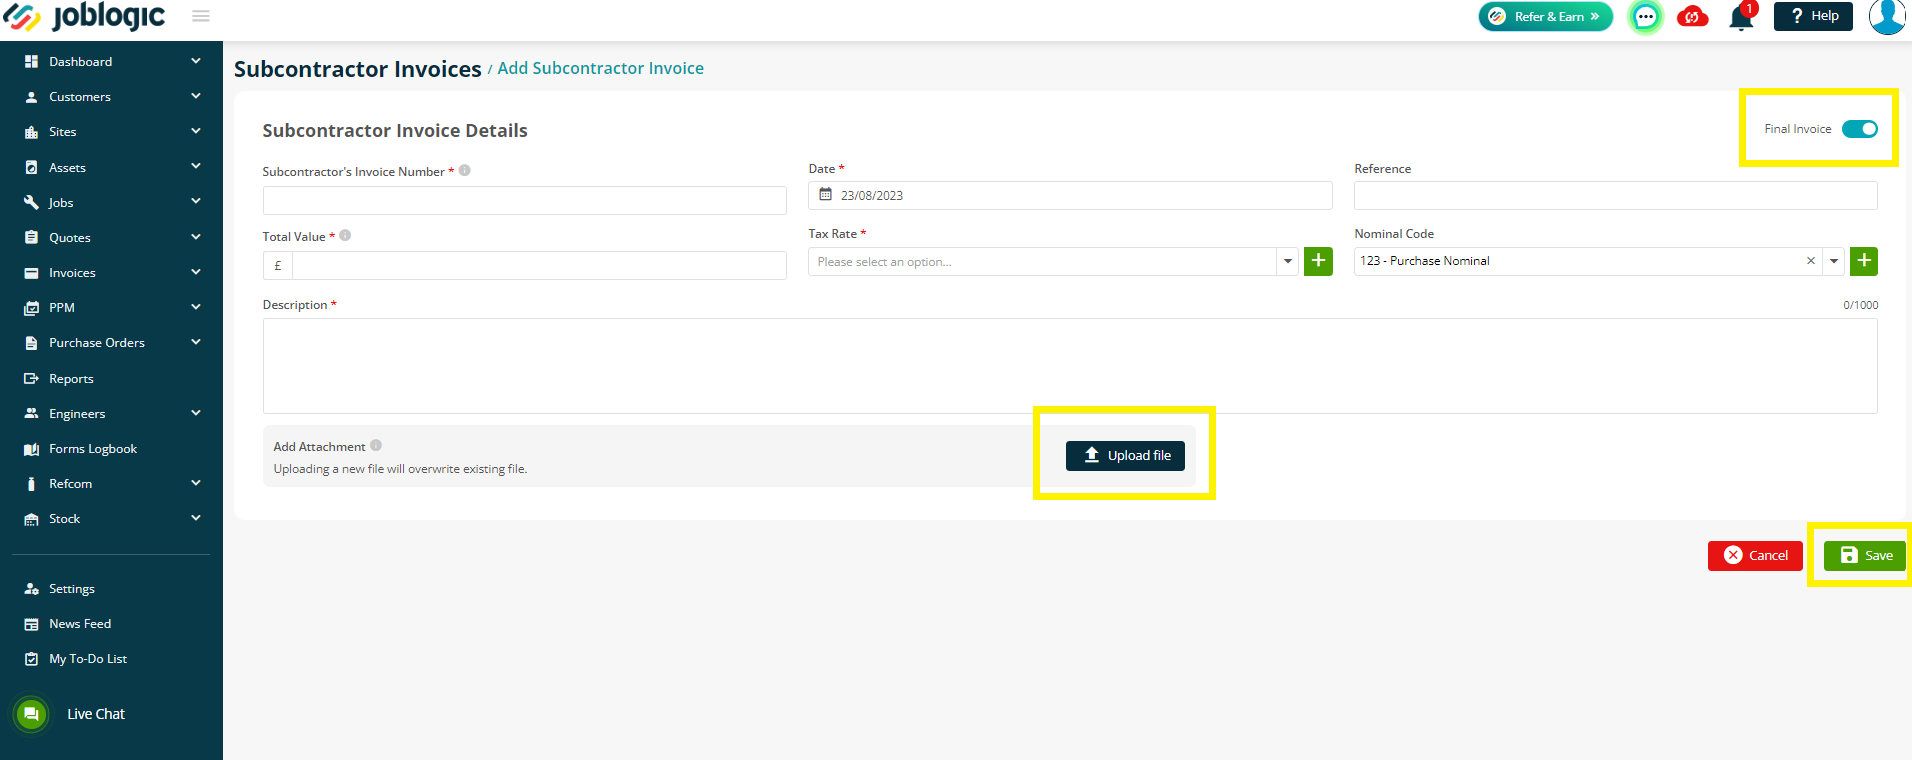
This is governed via the ‘Final Invoice’ toggle button. Select it for a final/full invoice and leave it unselected for a partial invoice.
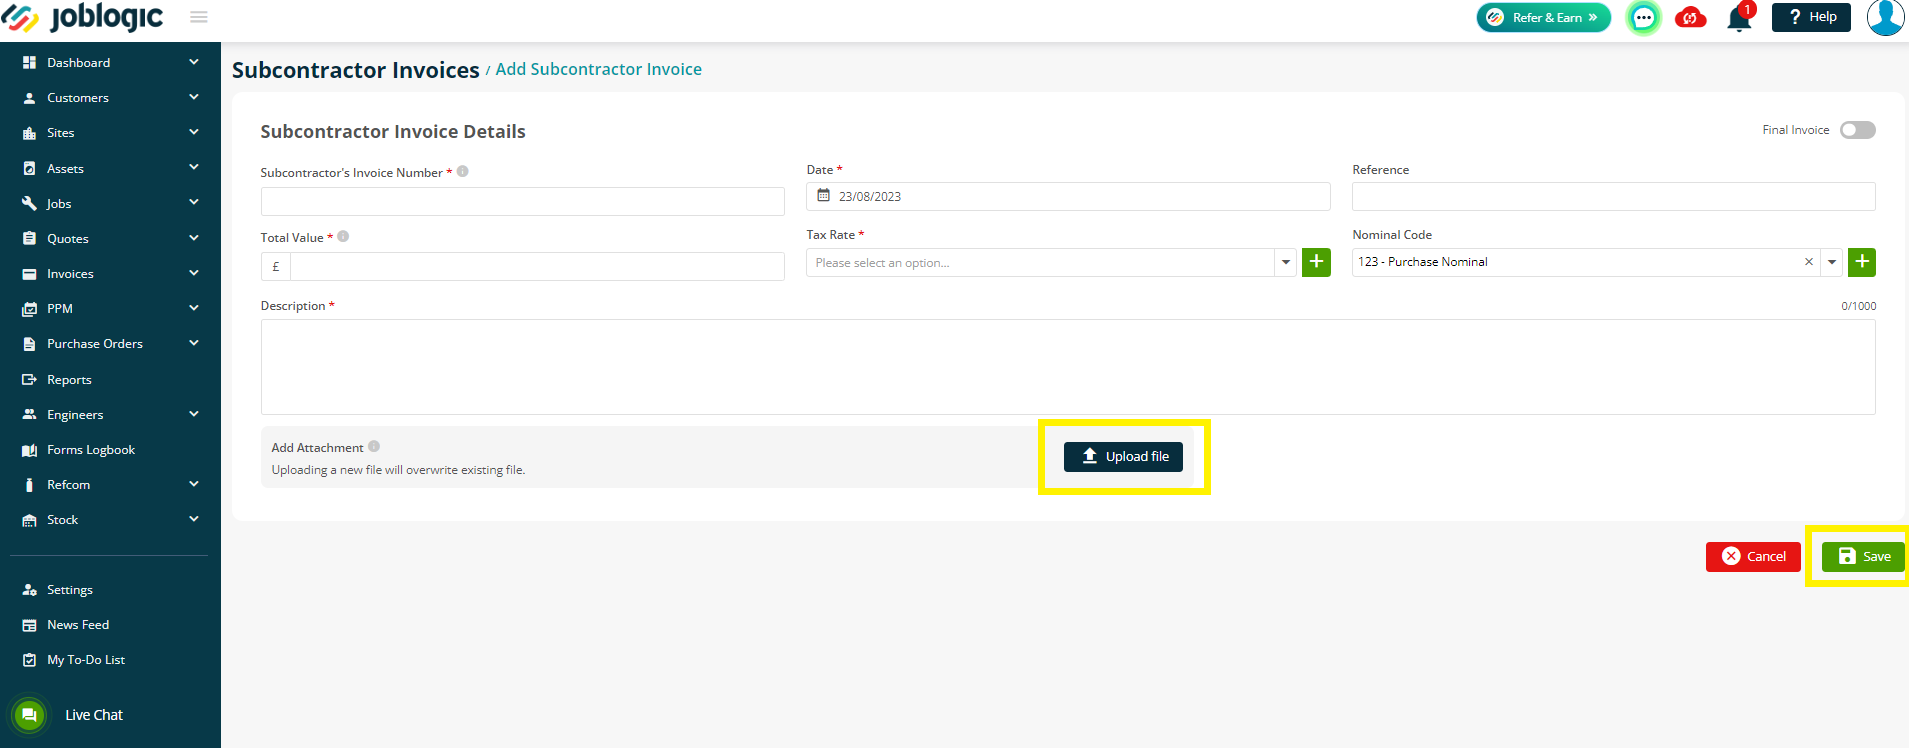
To record a partial invoice, fill in the invoice details, upload a copy of your subcontractor's invoice, if required and select ‘Save’.
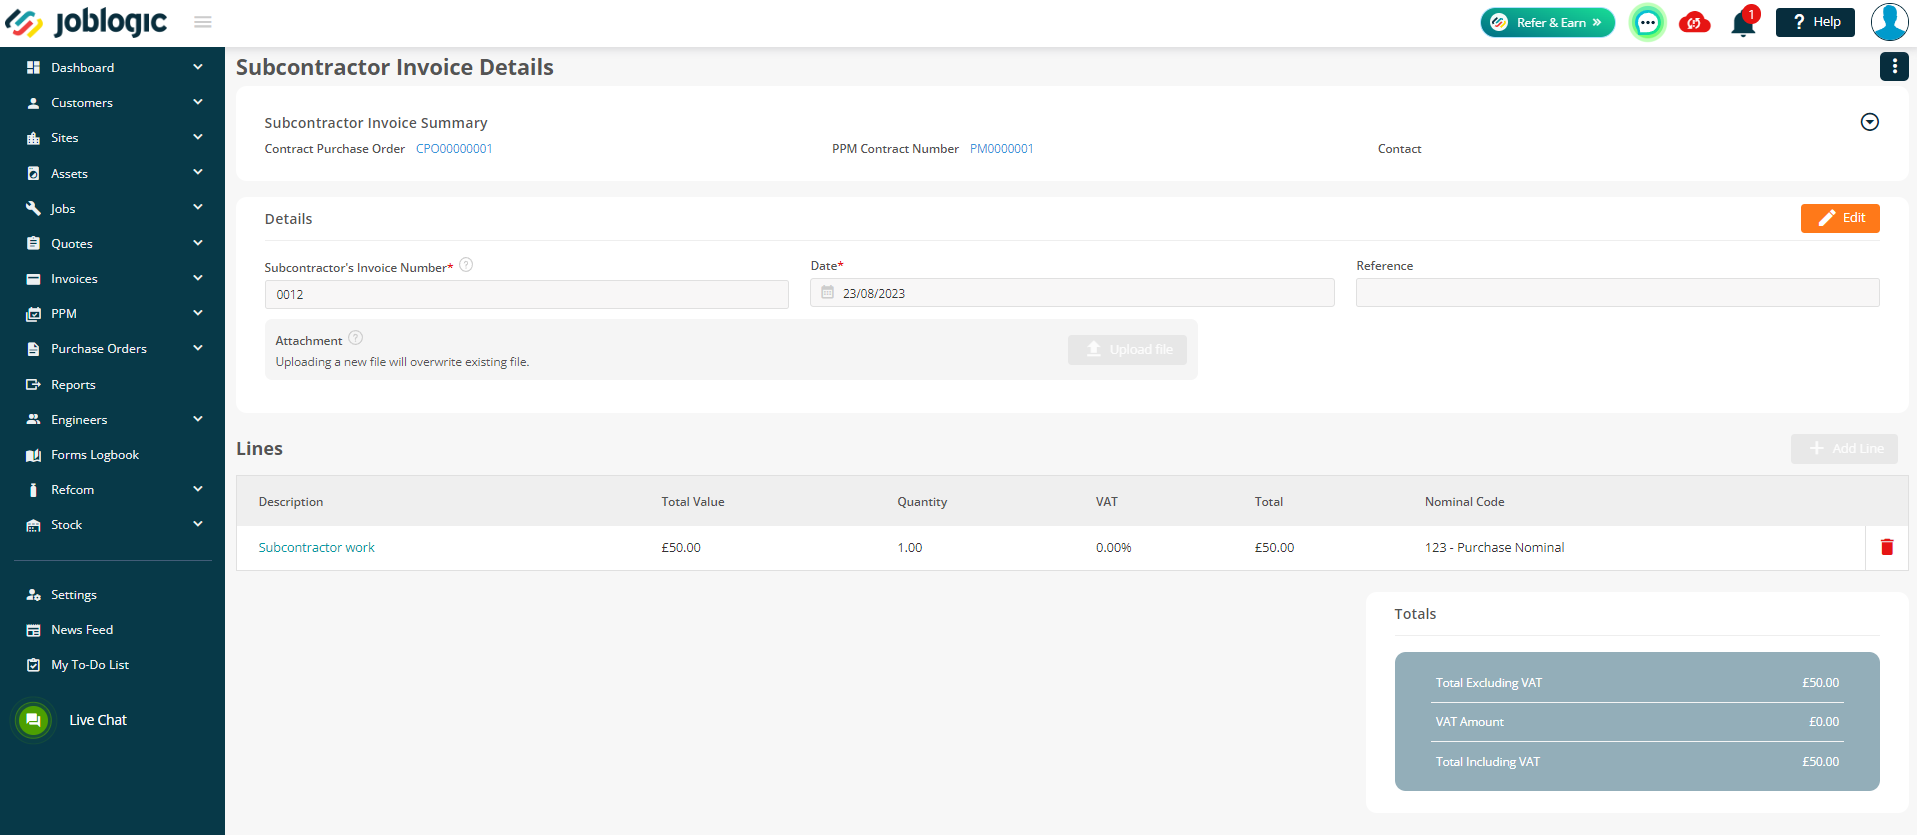
The subcontractor invoice will log against the P.O and the P.O’s ‘Invoice Status’ will update.
To record a full/final invoice, select the ‘Final Invoice’ toggle button, fill in the invoice details, upload a copy of your subcontractor's invoice, if required and select ‘Save’.
You will be asked as to how the items are to be updated if there is a mismatch in values between the P.O and invoice.
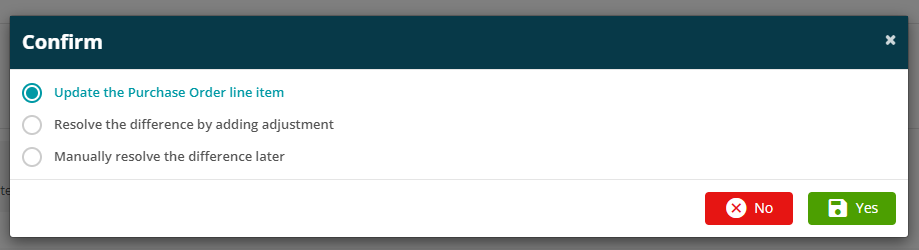
Once confirmed, the subcontractor invoice will log against the P.O and the P.O’s ‘Invoice & Completion Statuses’ will update.
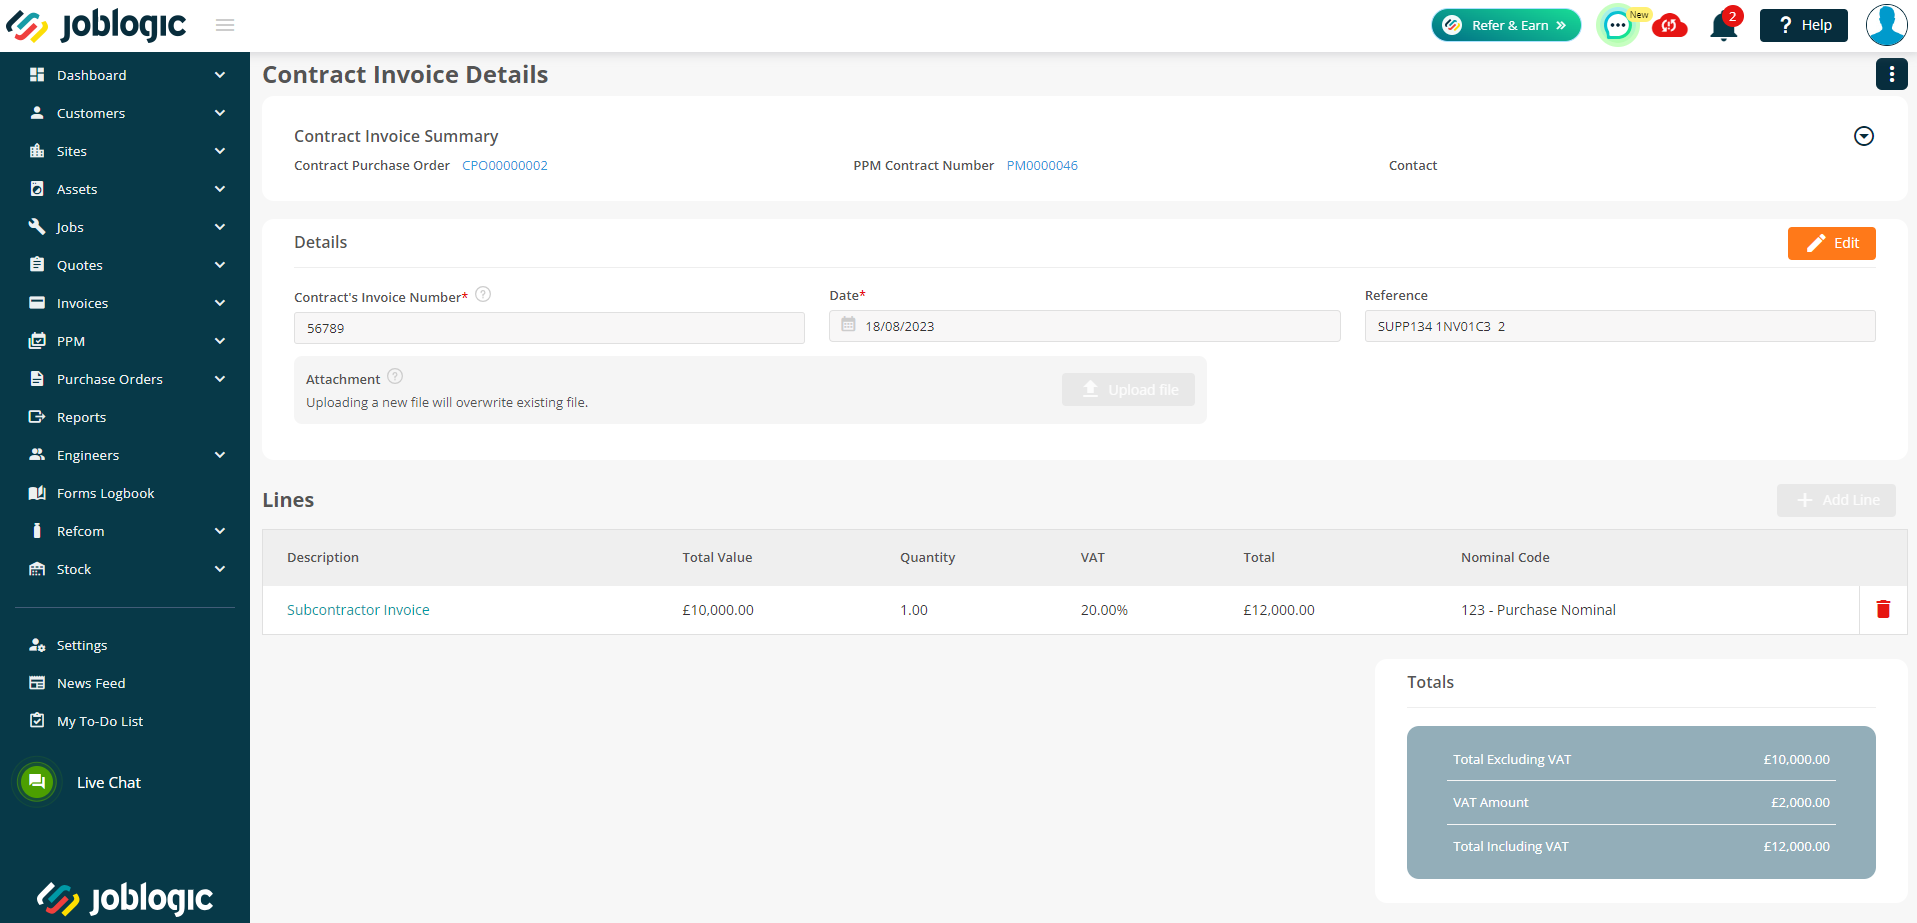
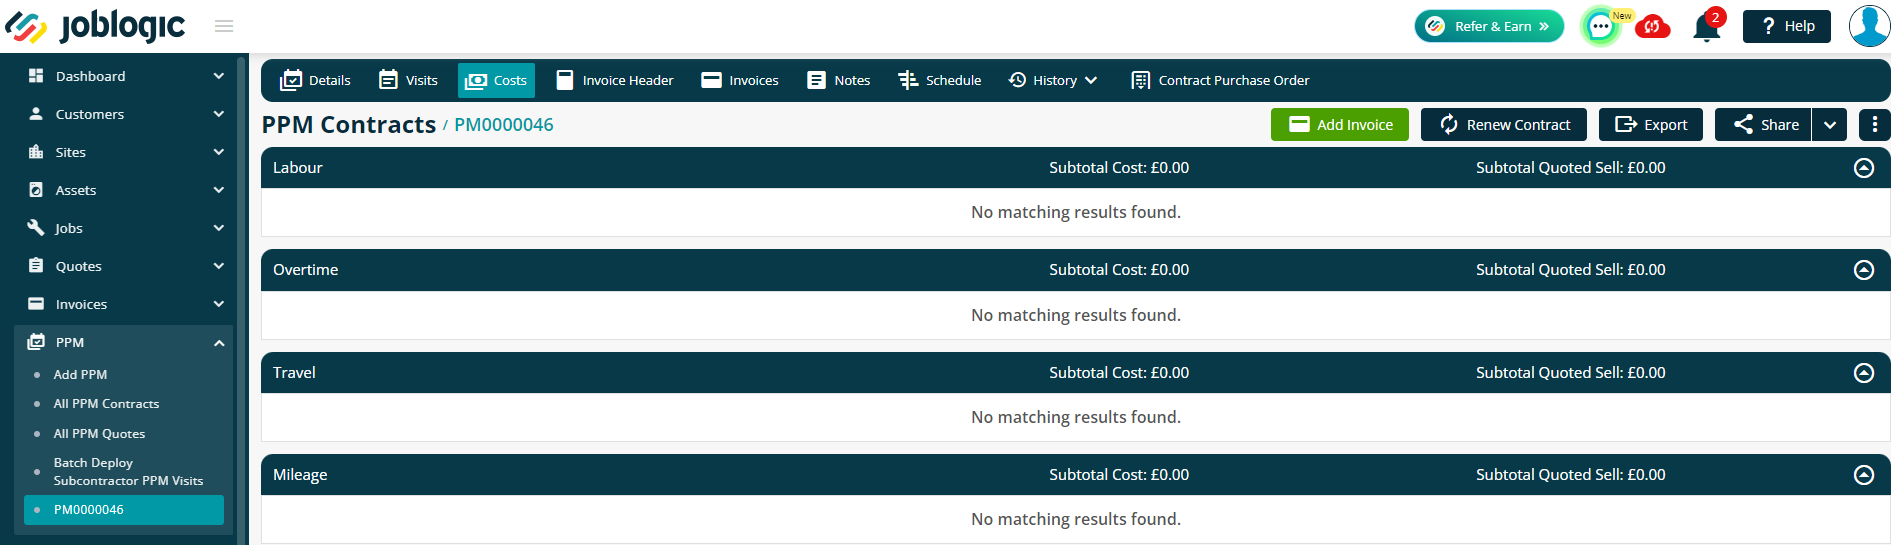
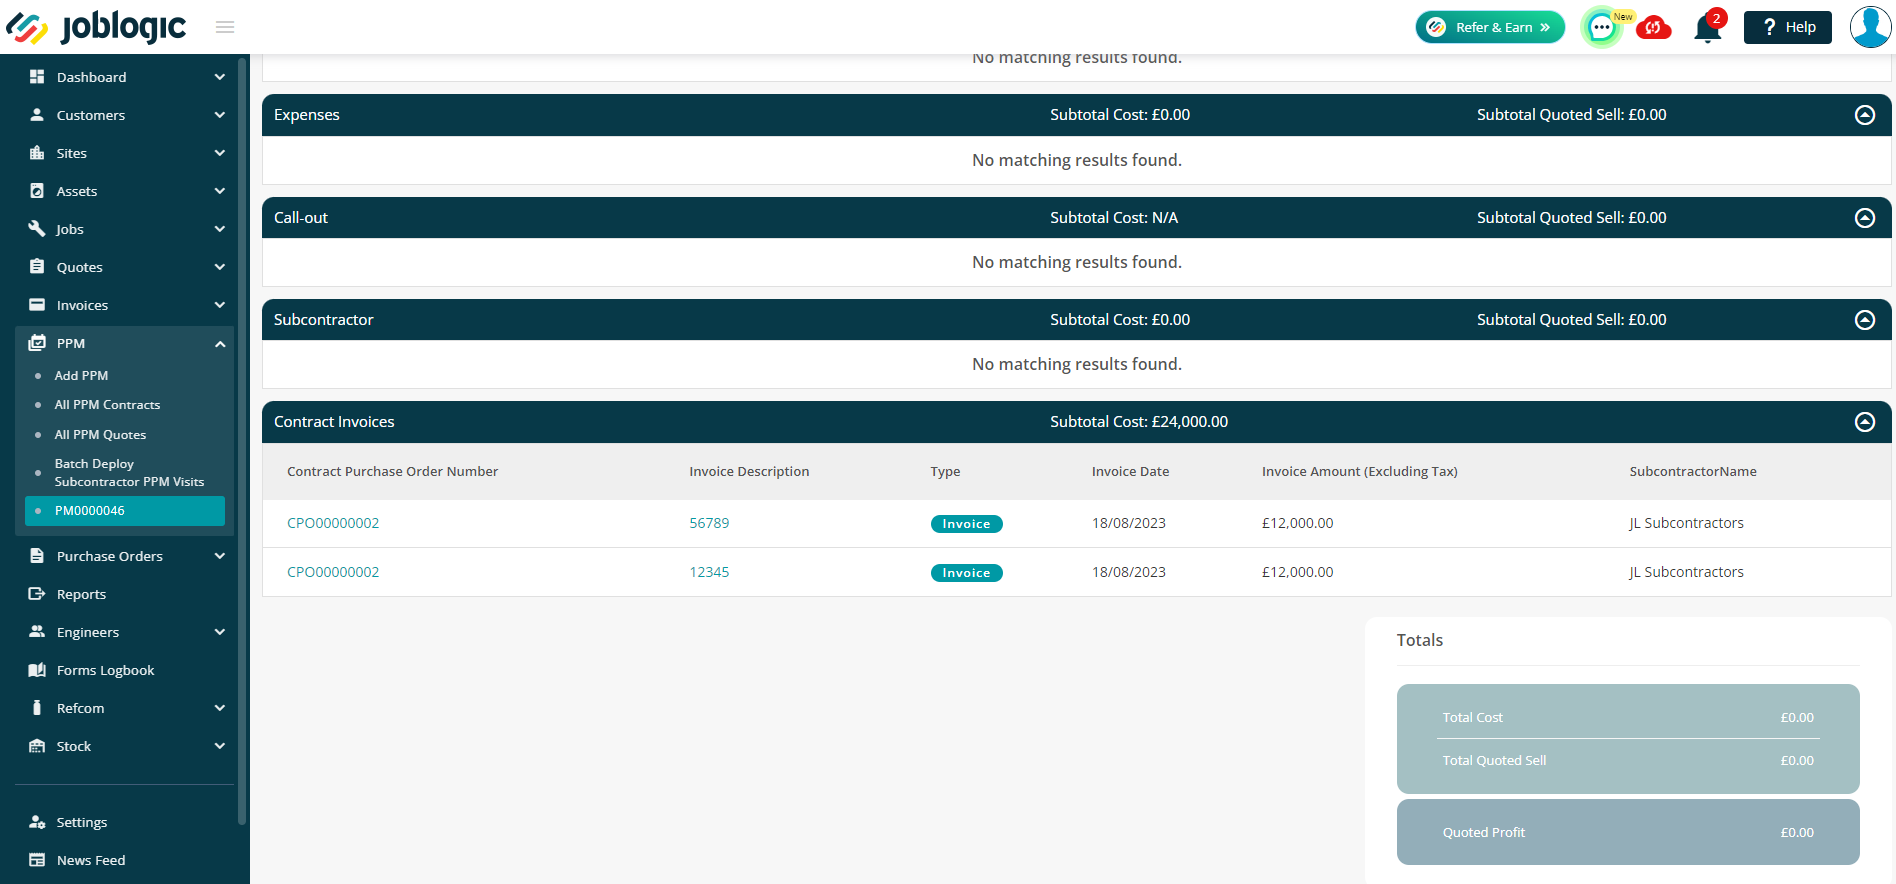
The invoices will also be added to the costs area of the associated PPM Contract (under the PPM Contract’s Details page > Costs).
Further Support
For further information or assistance with the above, contact our Support Team on 0800 326 5561 or email support@joblogic.com. Alternatively, our Customer Success Management team can be reached by emailing customersuccess@joblogic.com
Publishing Details
This document was written and produced by Joblogic’s Technical Writing team and was last updated on the date specified above. Be aware that the information provided may be subject to change following further updates on the matter becoming available or new releases within the system. Additionally, details within the guide may vary depending on your Joblogic account’s user permissions and settings or the electronic device being used.