Introduction
Joblogic provides the ability to create Supplier Purchase Orders for a job from within the back-office.
The function allows for Supplier PO’s to be raised against a job, and for the materials on that PO to appear within the Job Costing screen once they have been marked as delivered.
This user guide will detail how to raise and use a Supplier PO within Joblogic.
Raising a Supplier PO
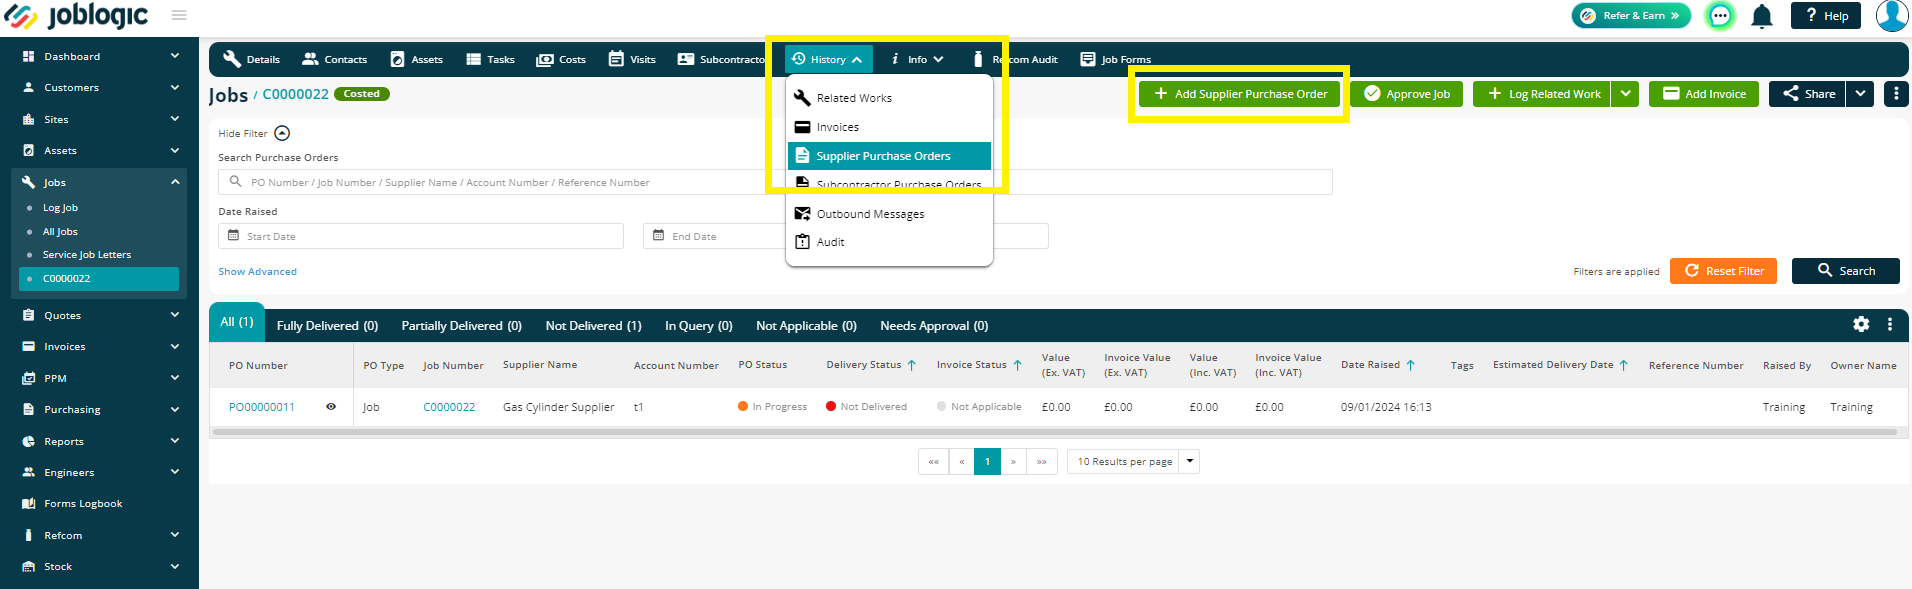
Navigate to the Job the PO needs to be raised against, then click History > Supplier Purchase Orders.
Select the green Add Supplier Purchase Order button.
The Job and Address details will be filled in automatically based on the Job details.
If you wish to utilise the 'Add Purchase Order from Template' option, please click here to read more.
Select the Supplier you are ordering the materials from. The Contact details will be auto populated if you have a contact against the supplier. Alternatively, you can manually add a Contact if required.
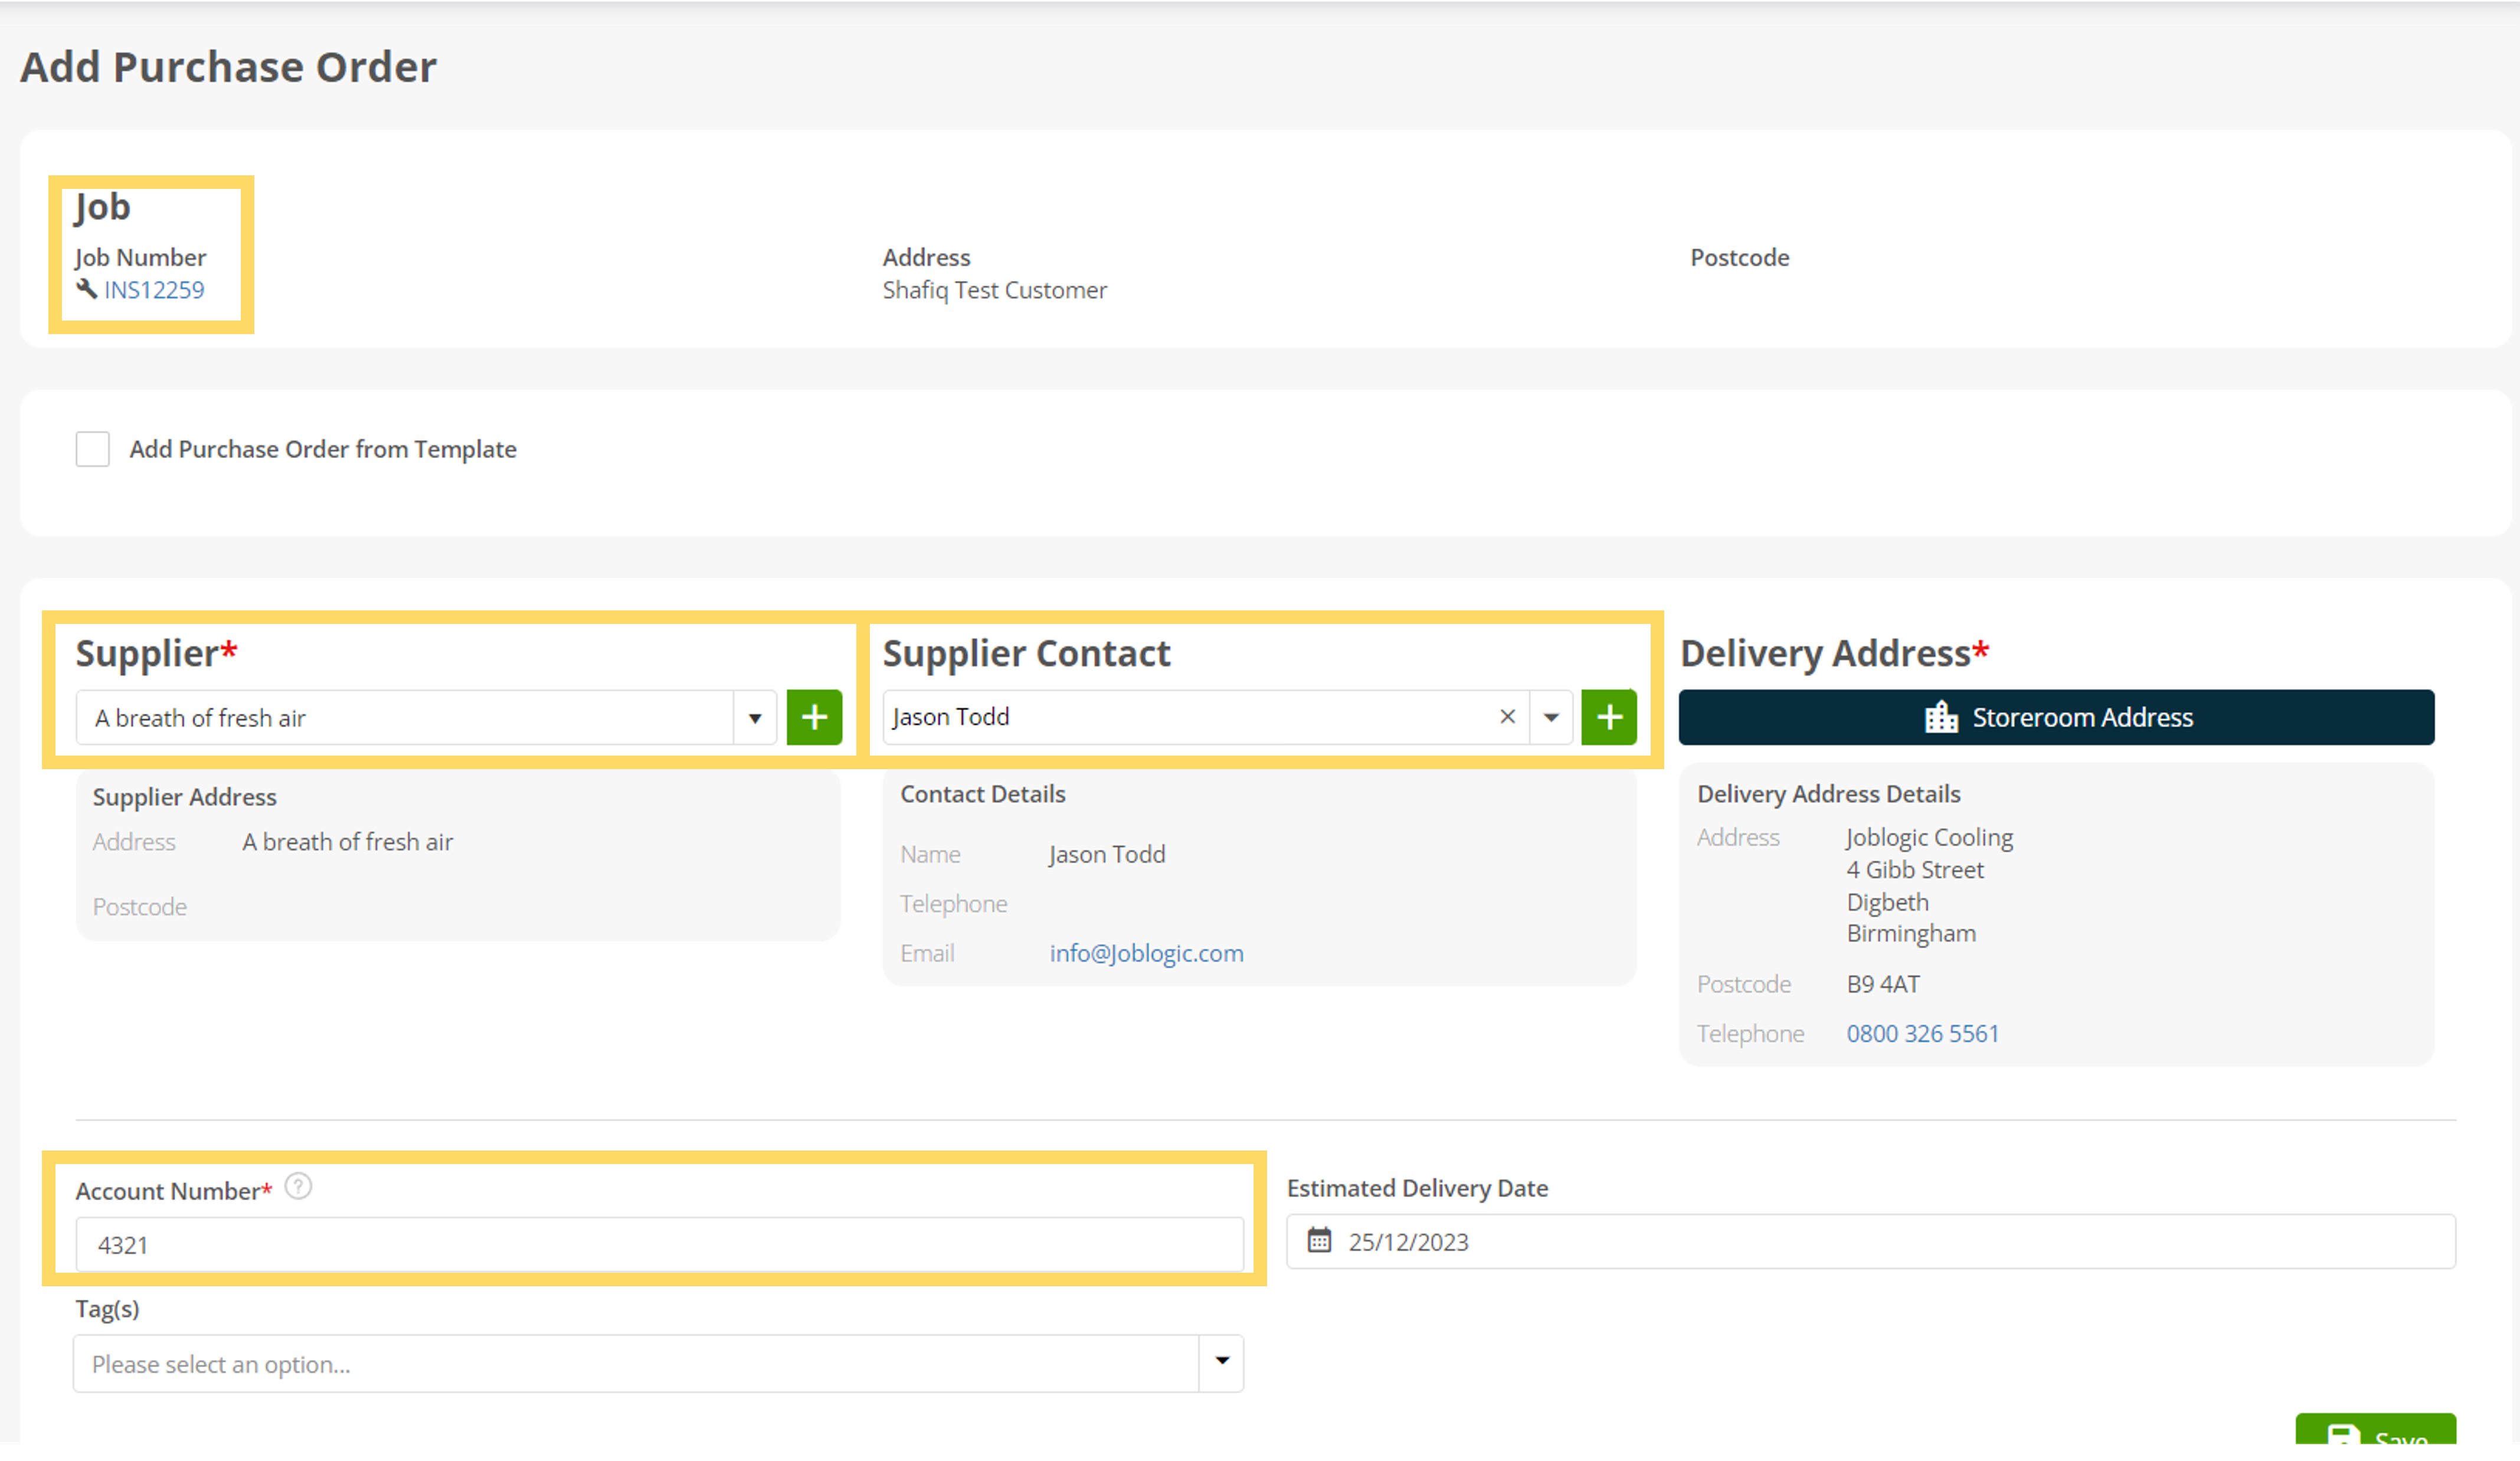
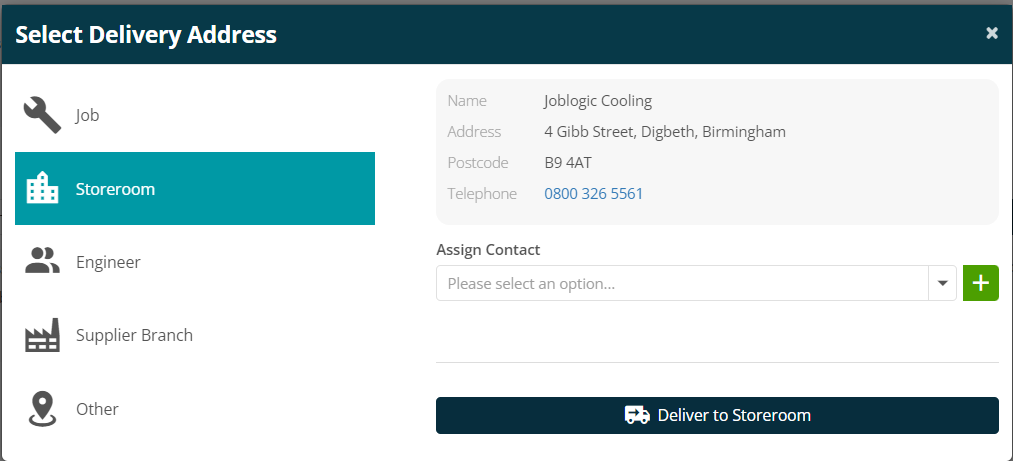
Select the Delivery Address for the items. These can be delivered to the Job, your Storeroom, to an Engineers address, a Supplier branch or you can manually enter an address if preferred by clicking the Other option.
The Account Number will also be auto populated based on the supplier details entered.
The Estimated Delivery Date can be filled out if required.
Your Purchase Orders can also be tagged to easily identify them later. Click Save once all details have been entered.
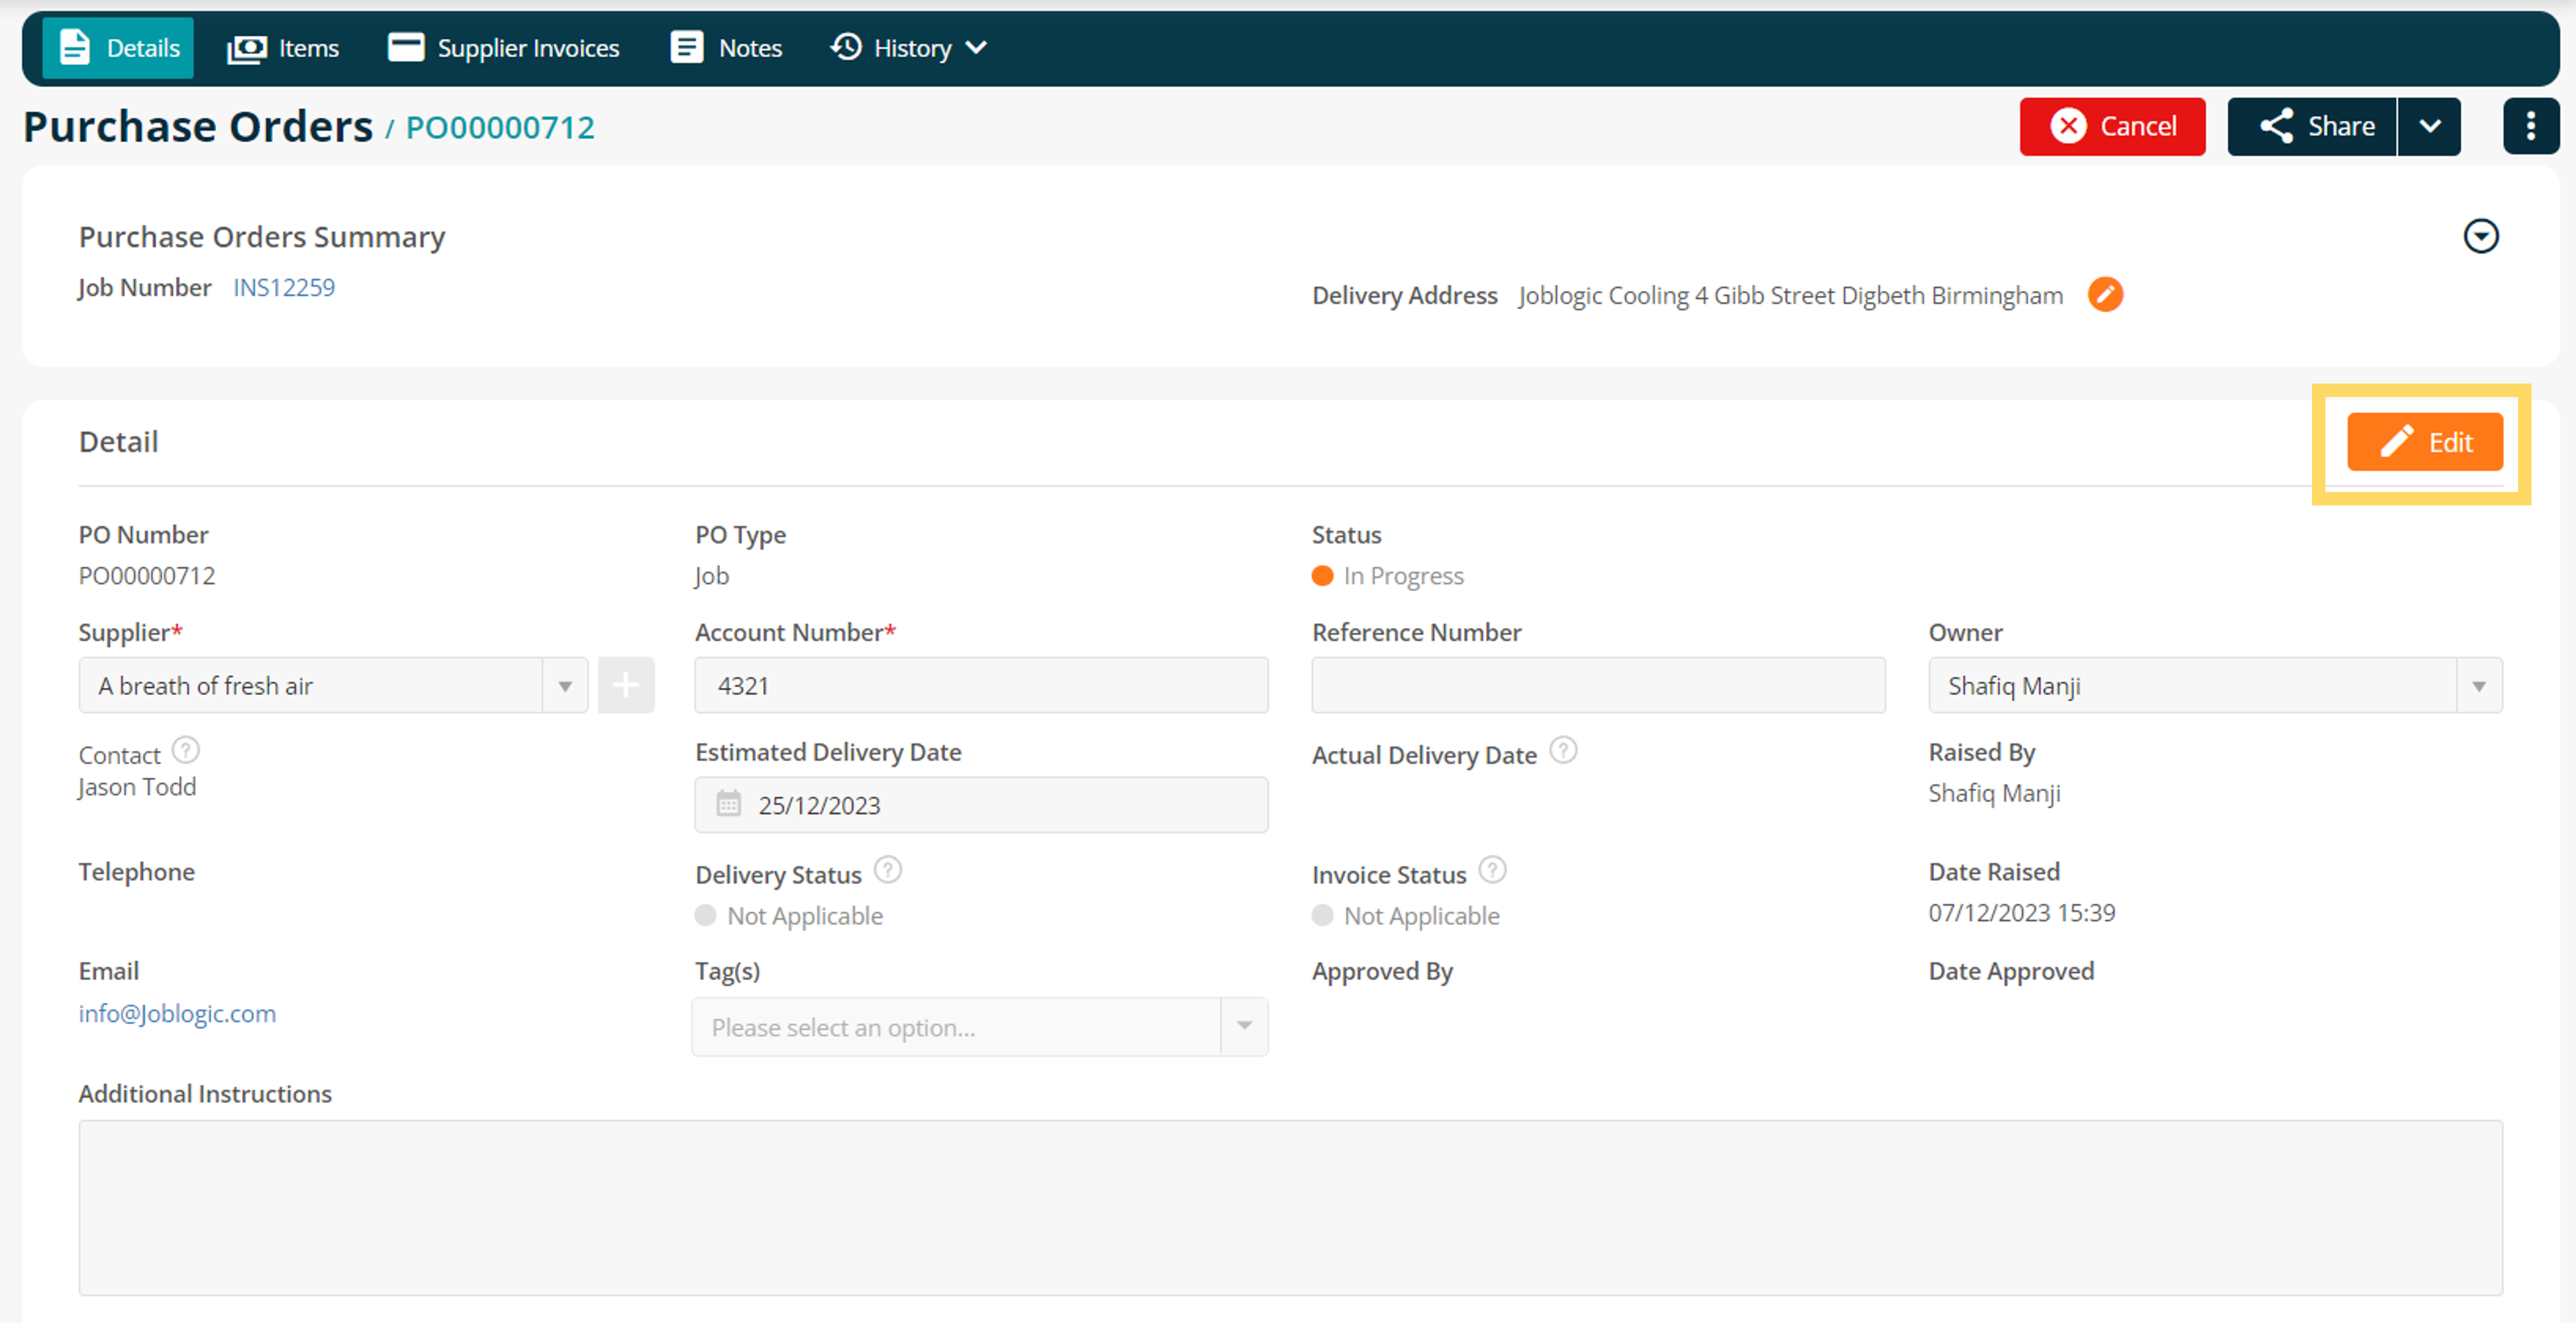
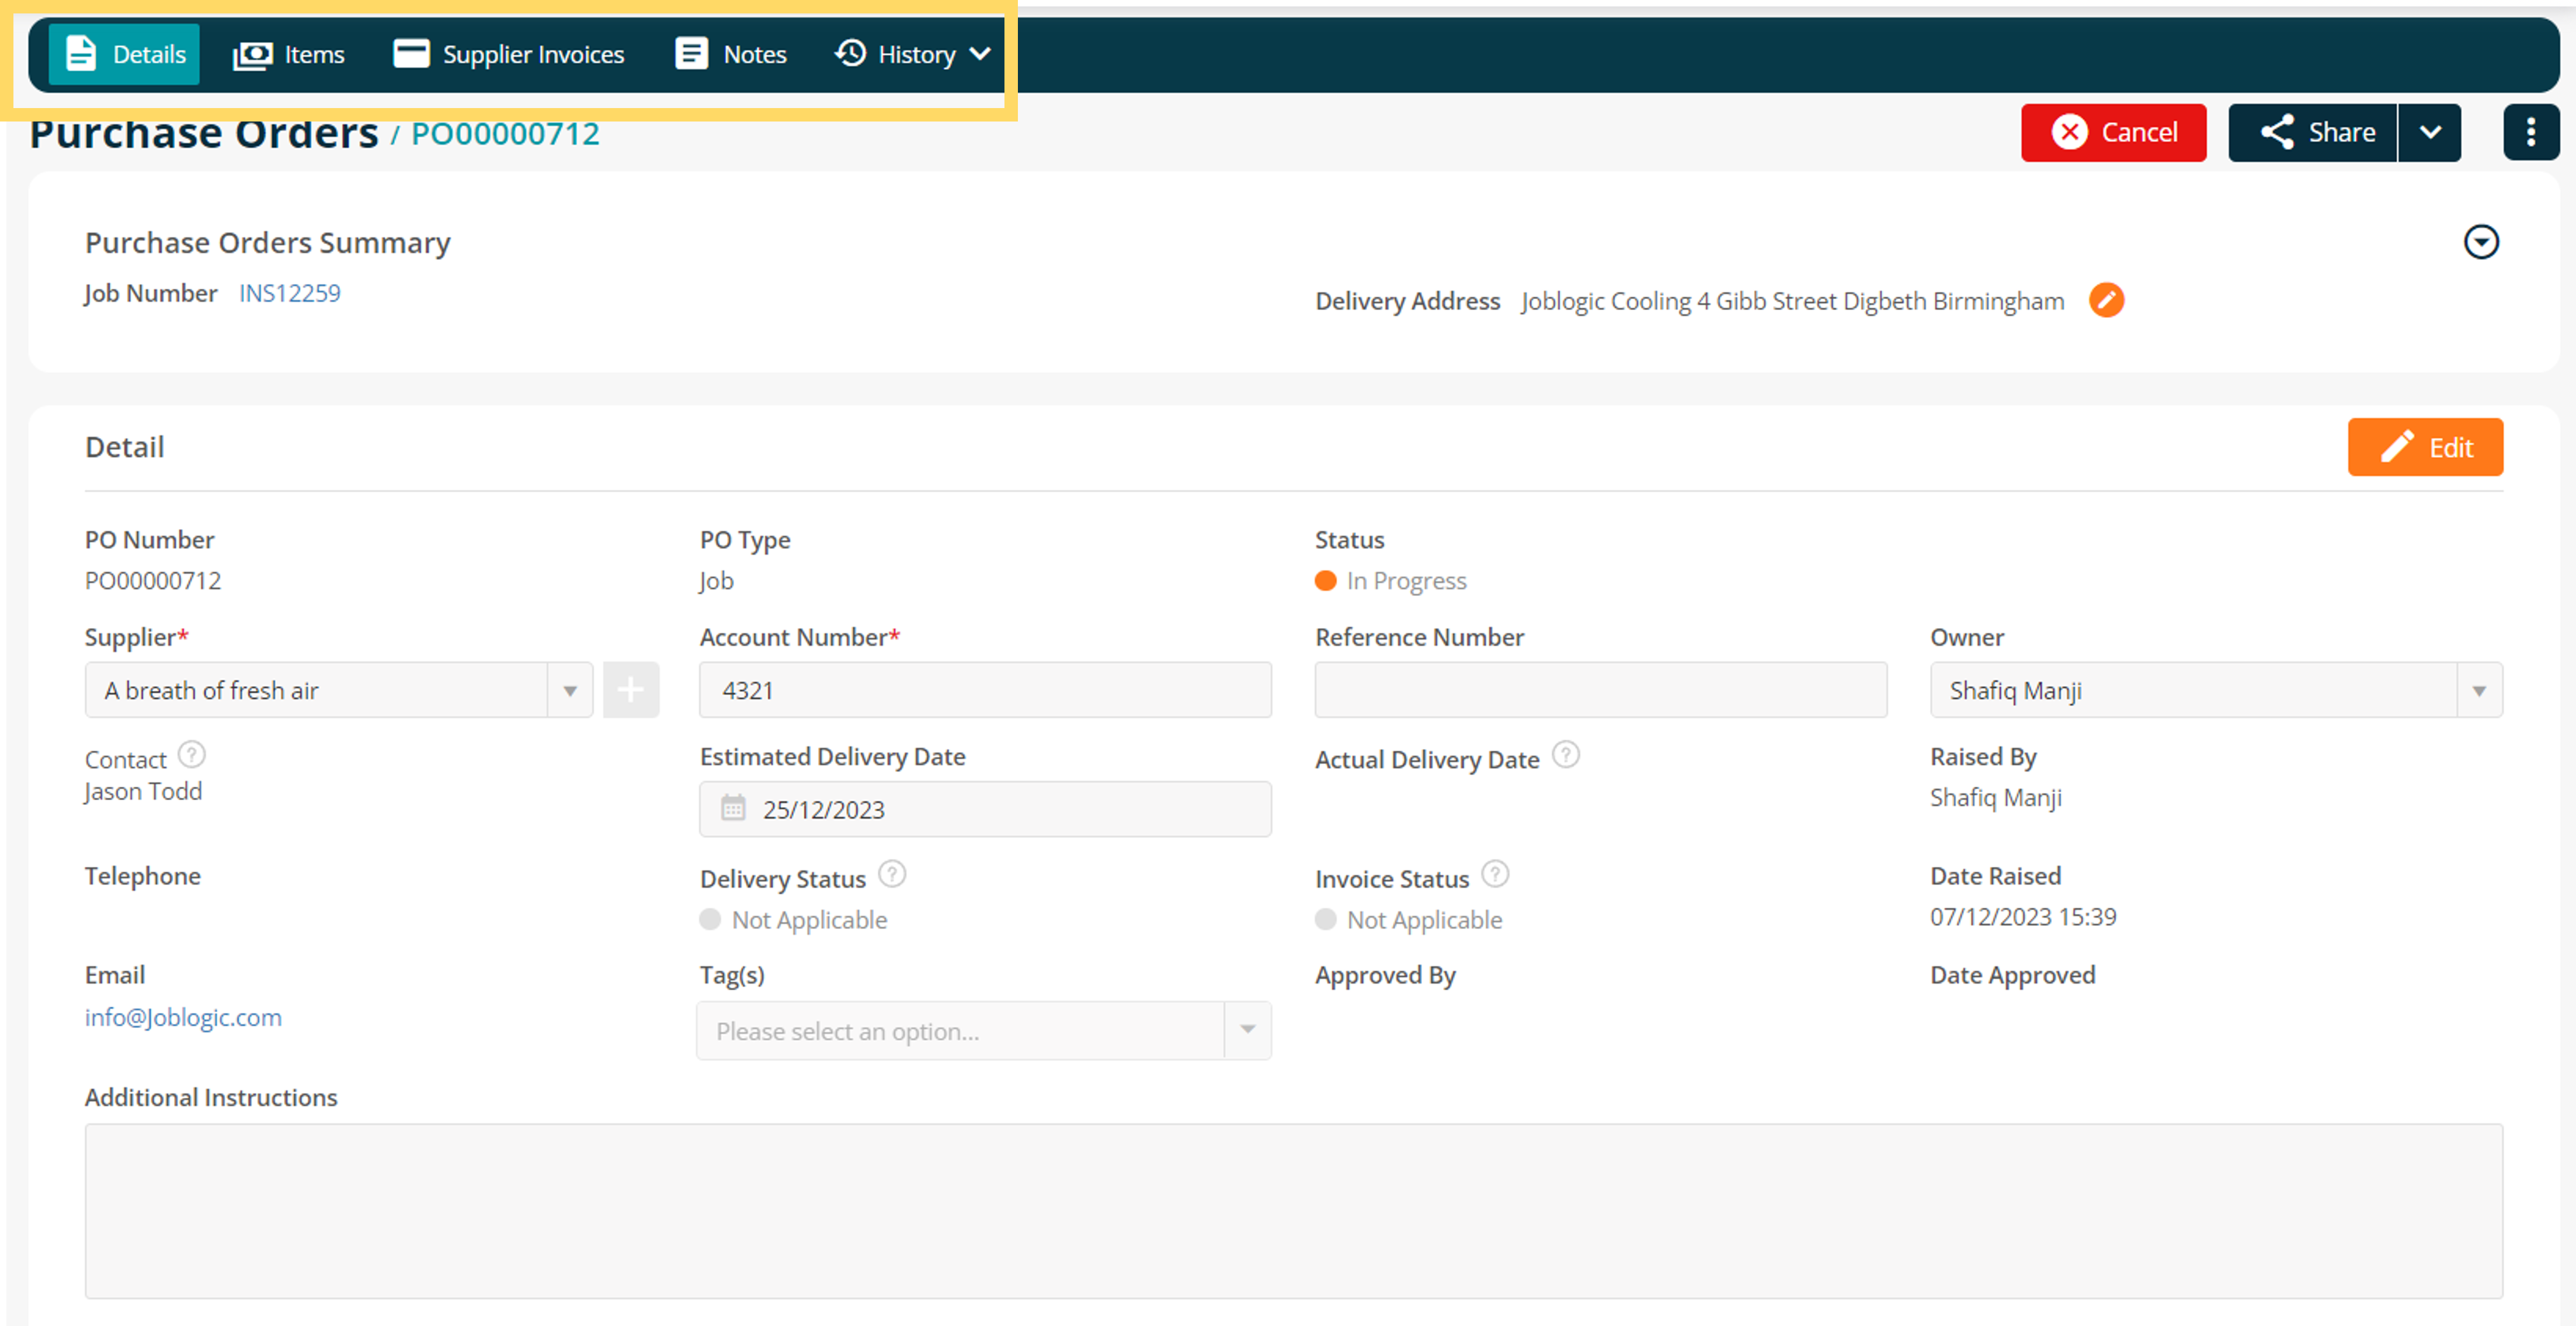
To update further details, select the orange ‘Edit’ icon, fill in the details as applicable and select Save.
Adding Items to a Supplier P.O
Further details such as Items, Supplier Invoices, Notes and History are also available for the PO. These can be accessed by selecting the applicable tab across the top of the page.
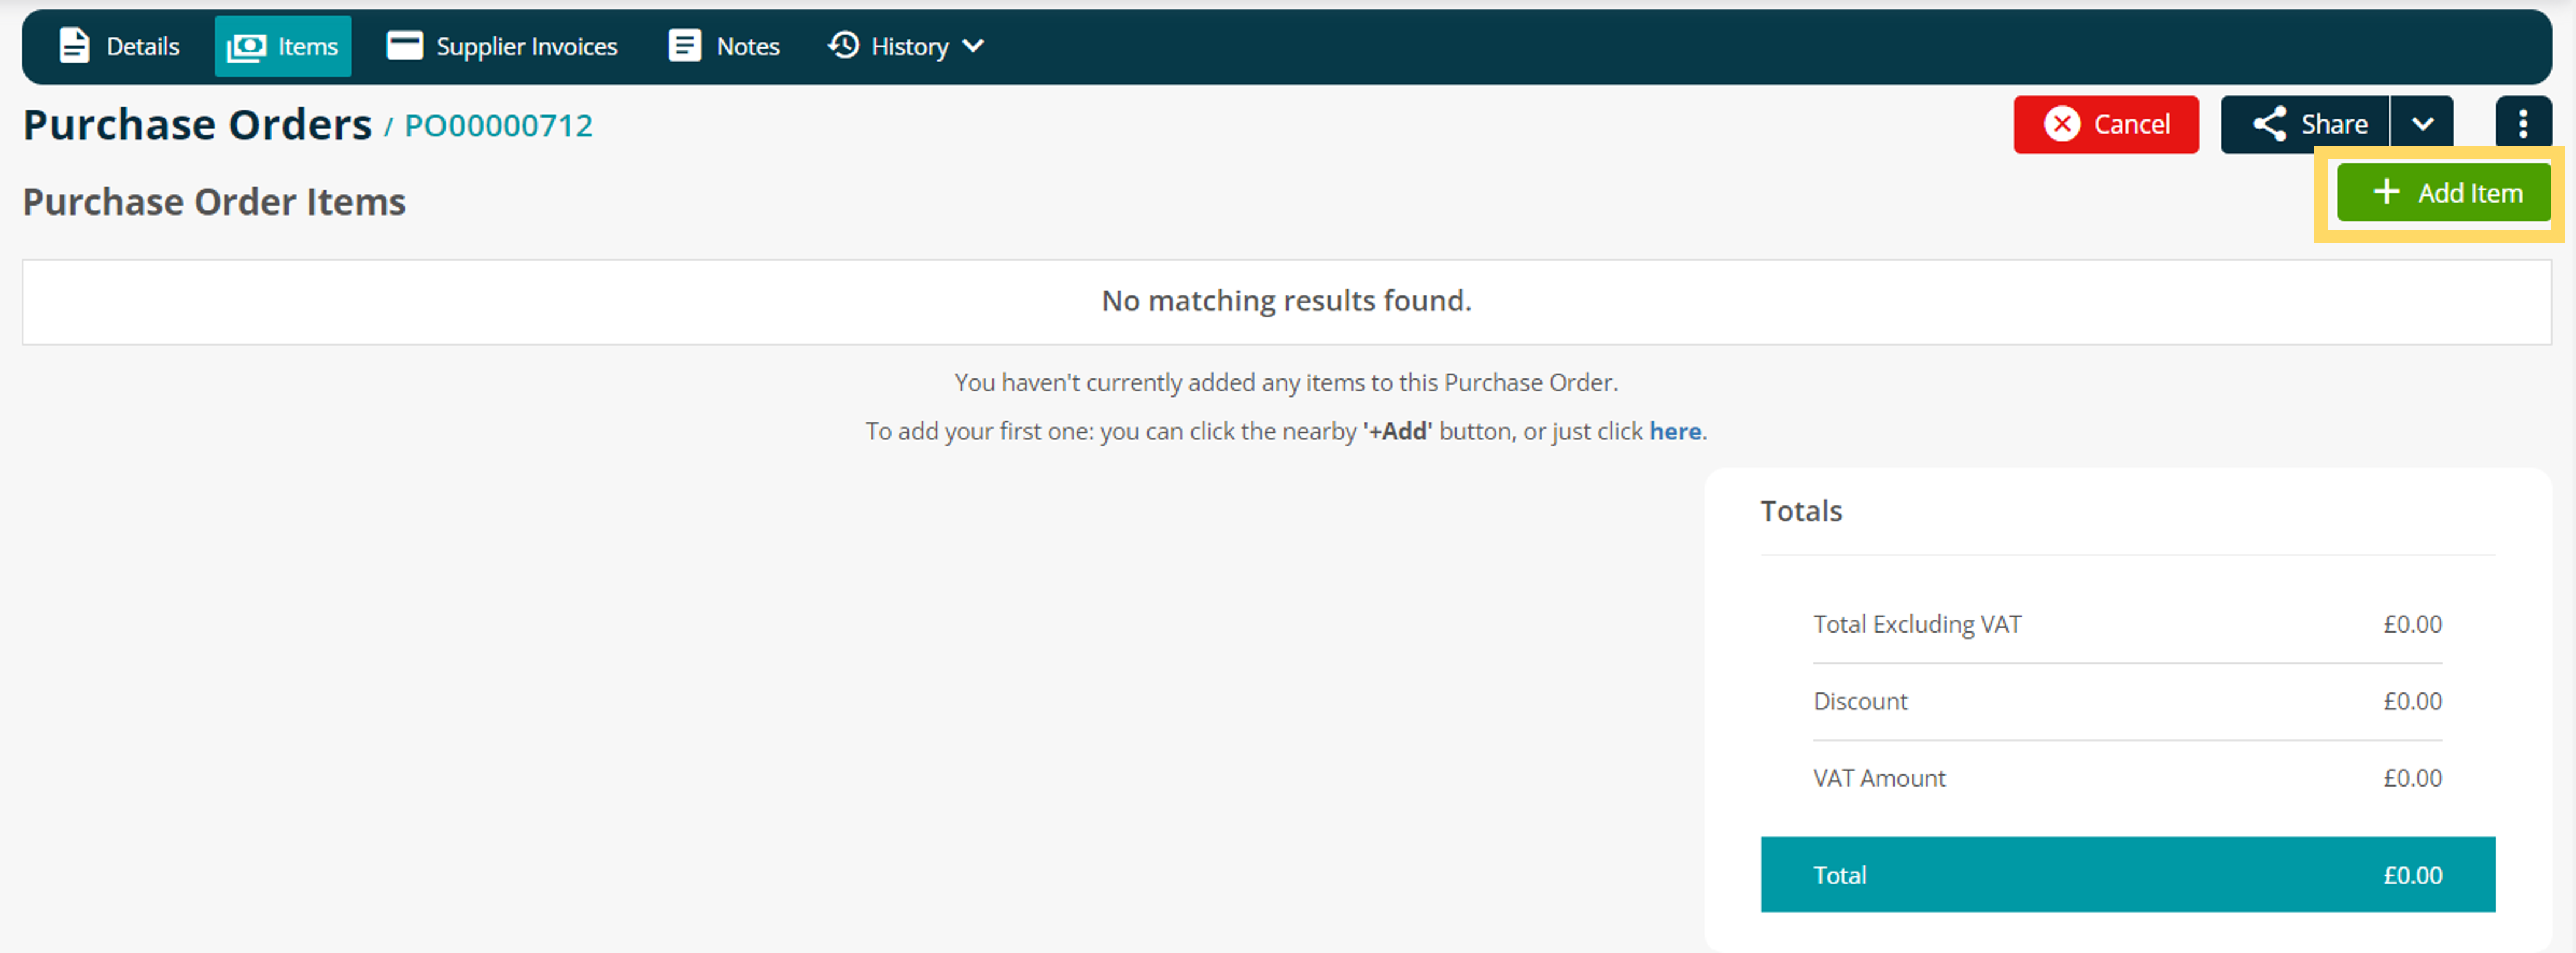
Line items can be added via Items > Add Item.
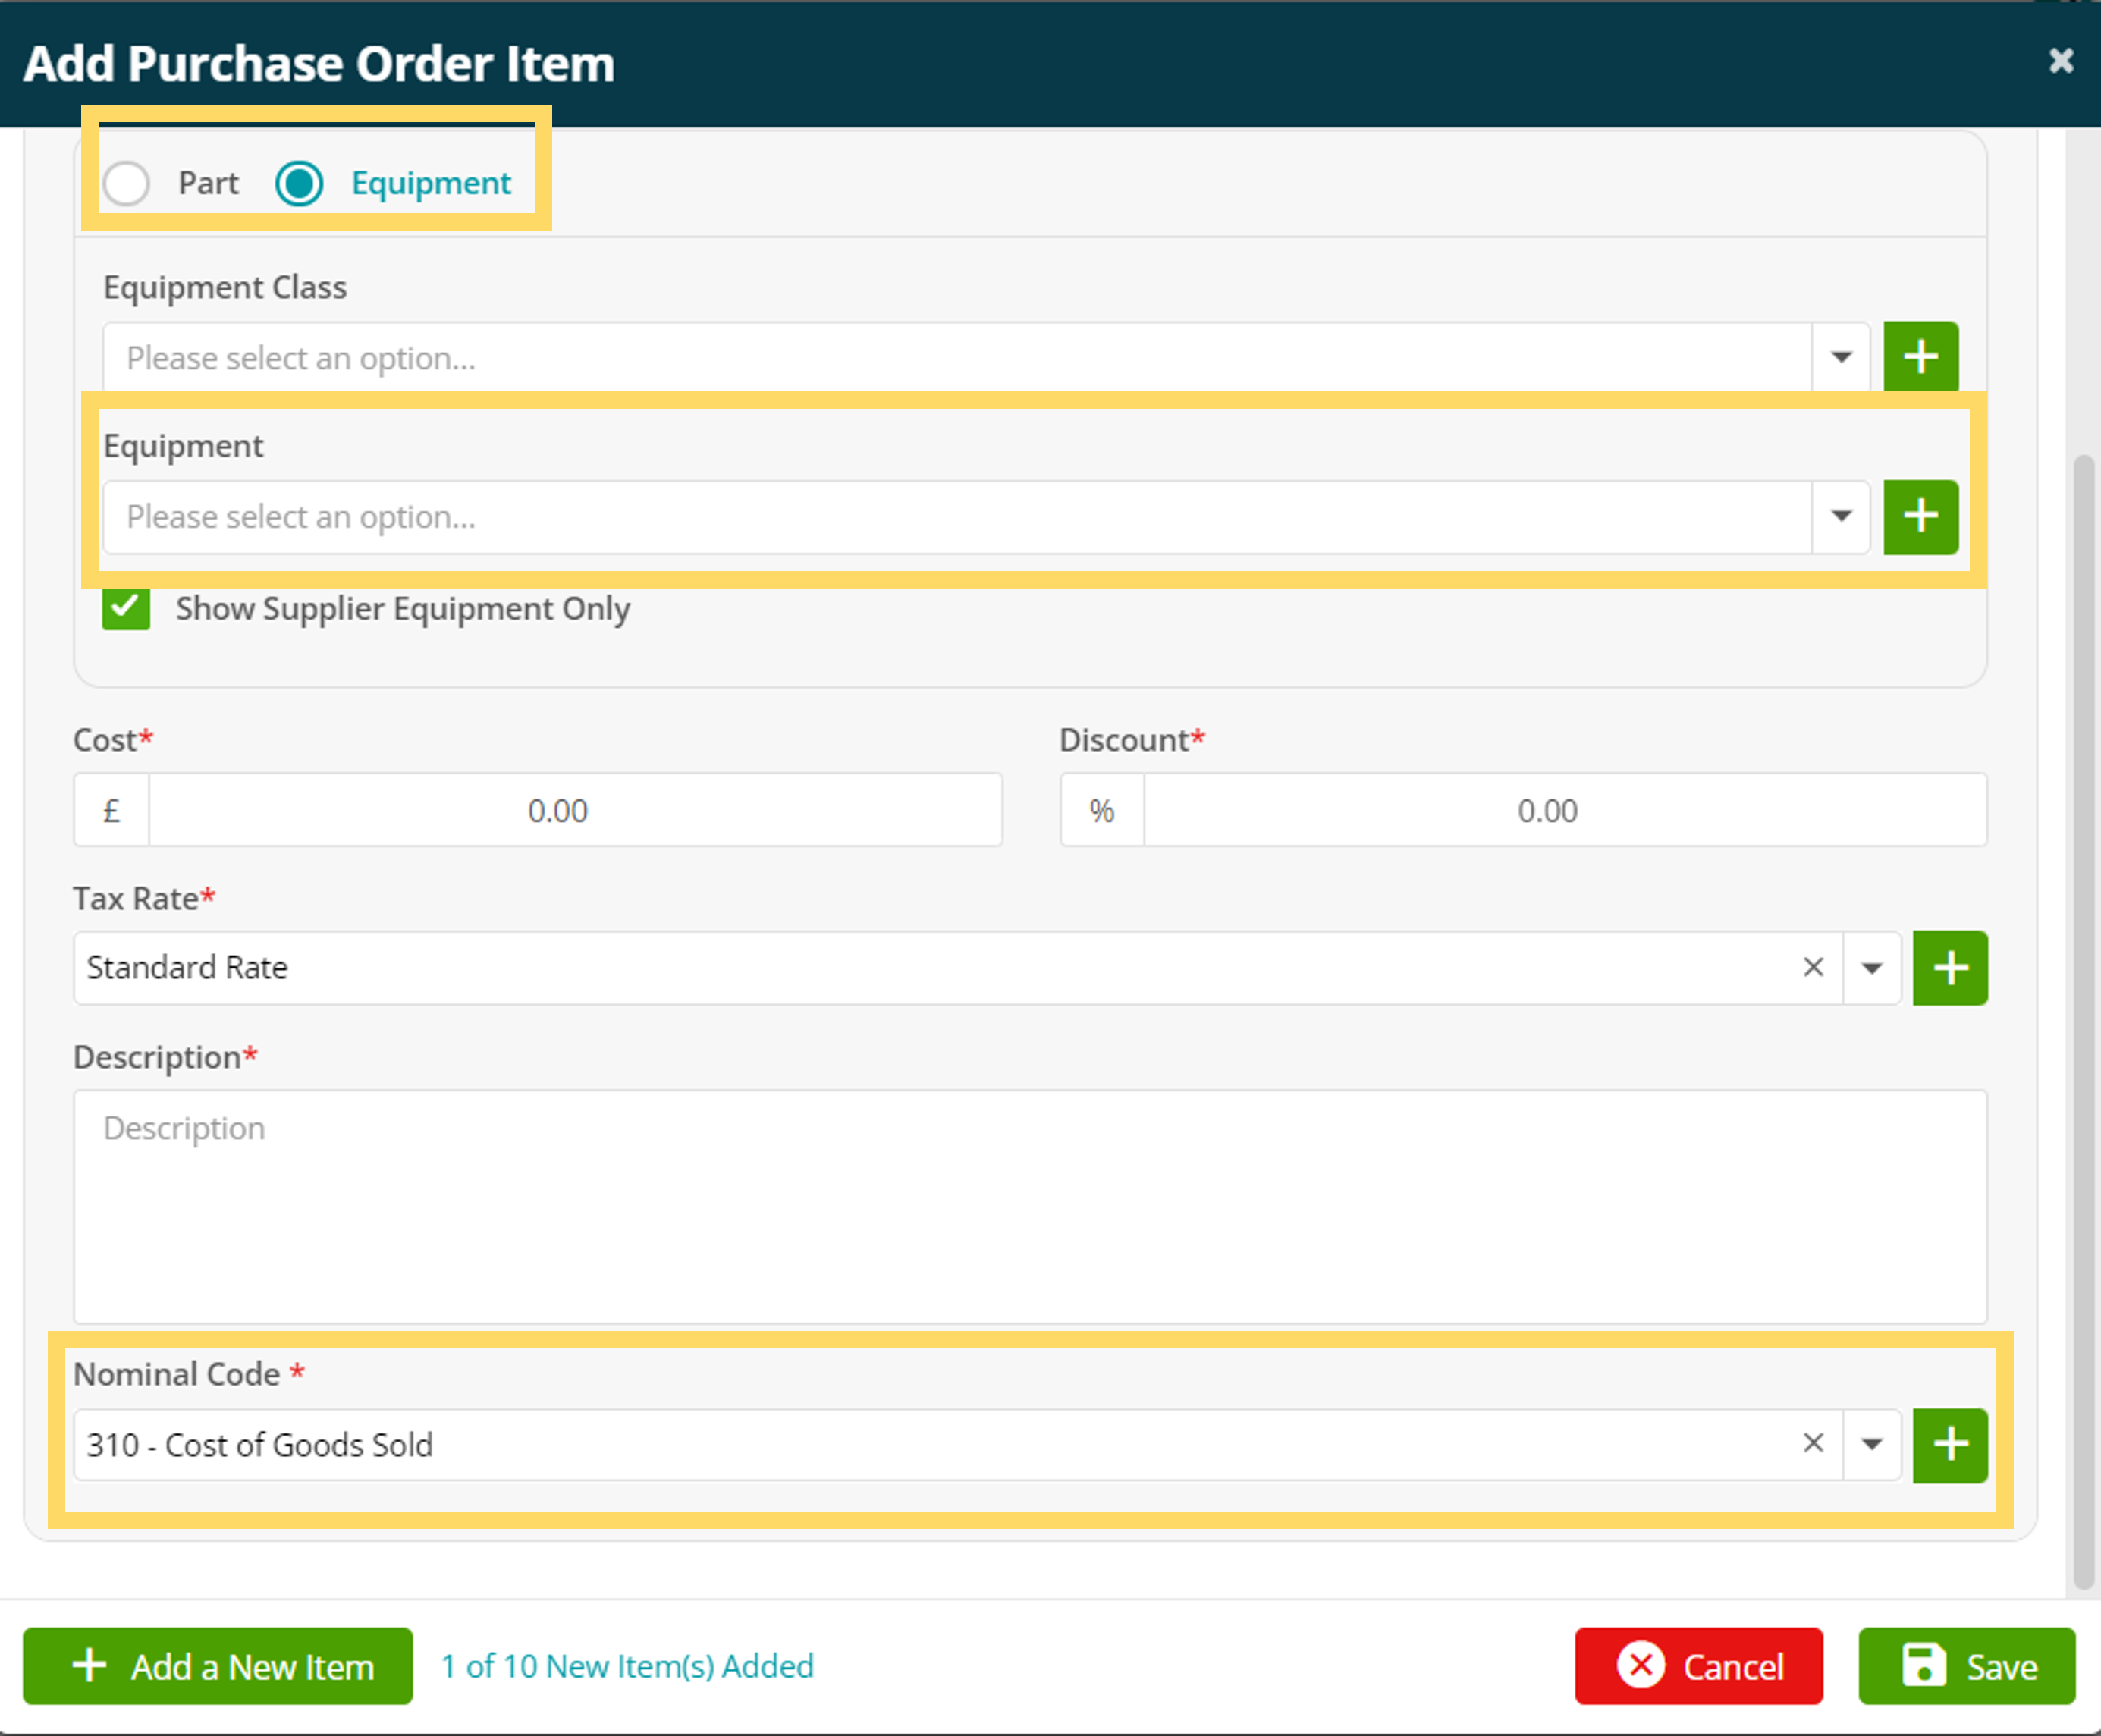
From within the Add Purchase Order Item pop up screen, you can select the Part or piece of Equipment to be added to the PO.
A part Library or Equipment Class can be selected to help you easily find the item to be added.
The Cost, Description, Tax Rate and Nominal Code for the part/equipment will auto populate based on the details in your Parts/Equipment Library and the default Settings in System Setup.
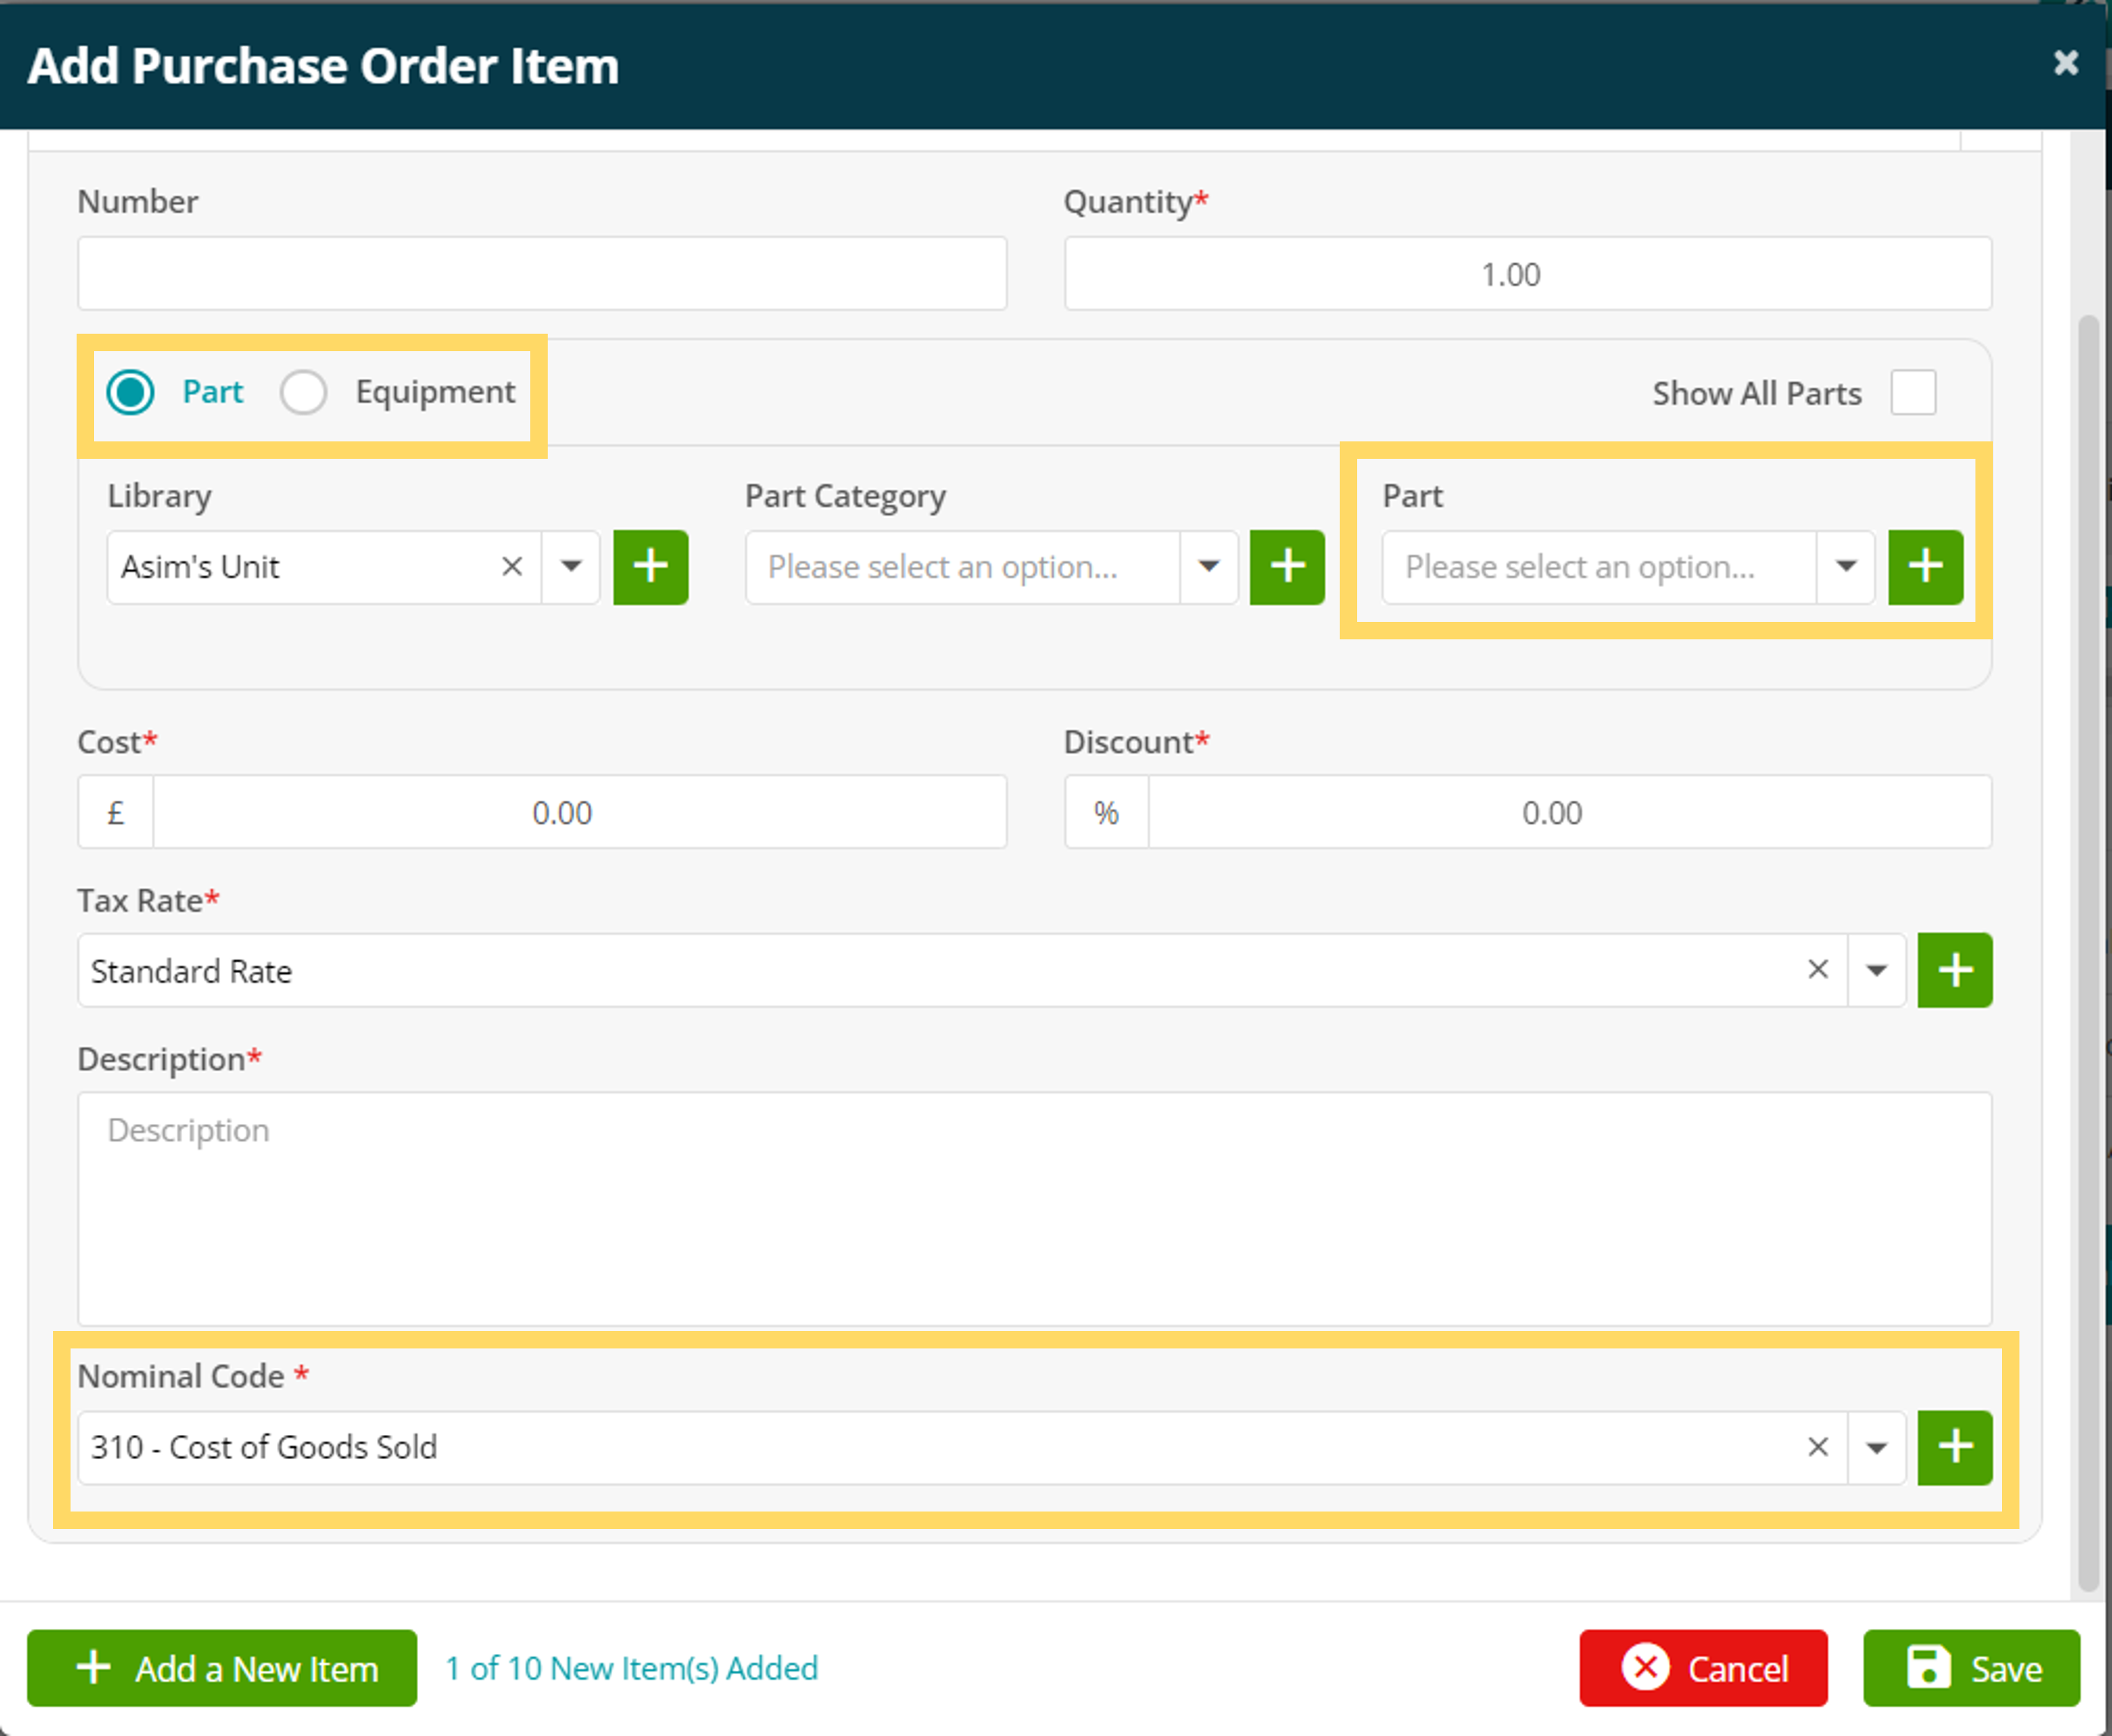
See here for a guide to setting up default tax and nominal codes.
Alternatively, you can add a new part/equipment by clicking the green plus icon next to the field.
The Status, Delivery Status and Invoice Status of the PO will update automatically as the items are sent, delivered or when invoices are raised.
These statuses can also be filtered on in the main All Purchase Order screen.

Sharing the PO
To share the PO with your supplier, select the Share dropdown option at the top of the screen.
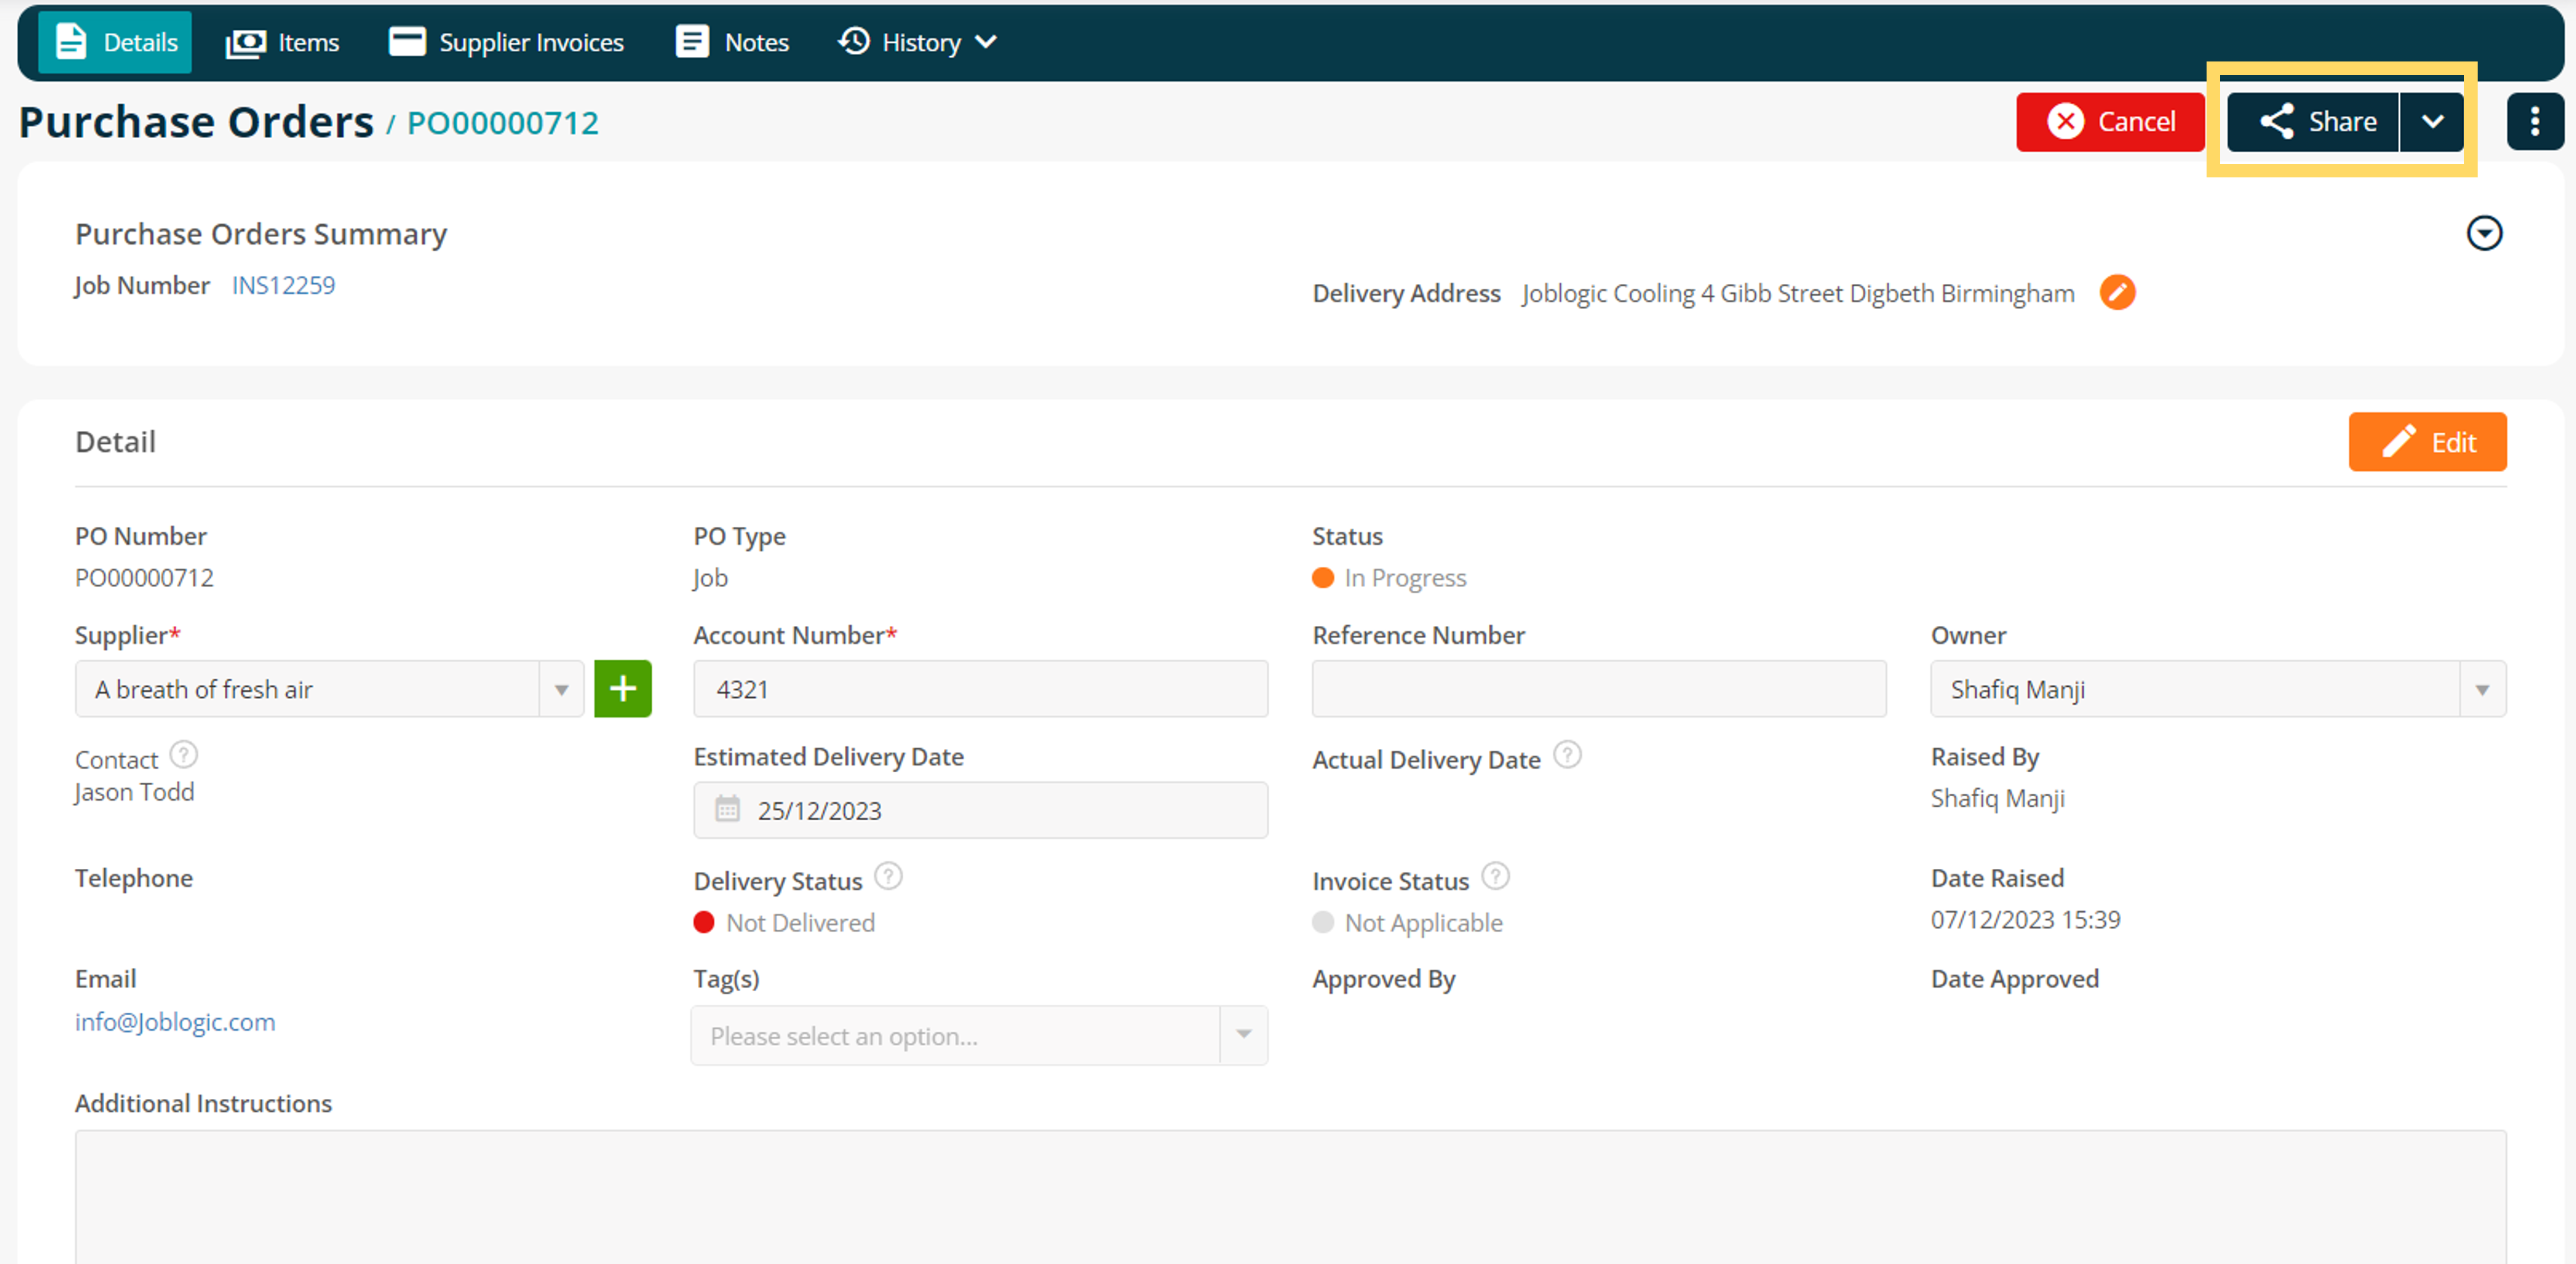
The PO can then be printed, downloaded or emailed directly to your supplier from the system.
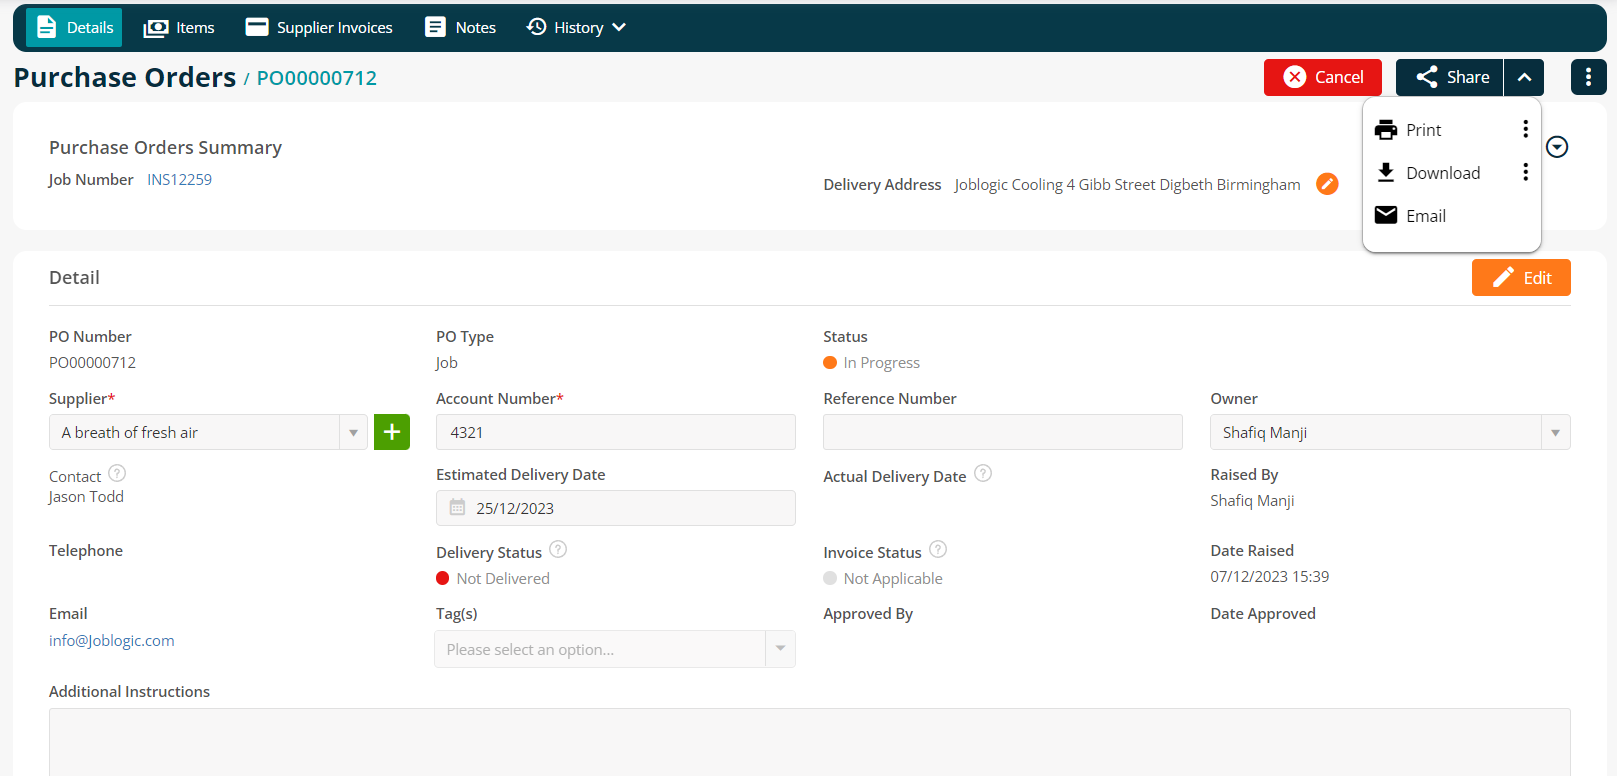
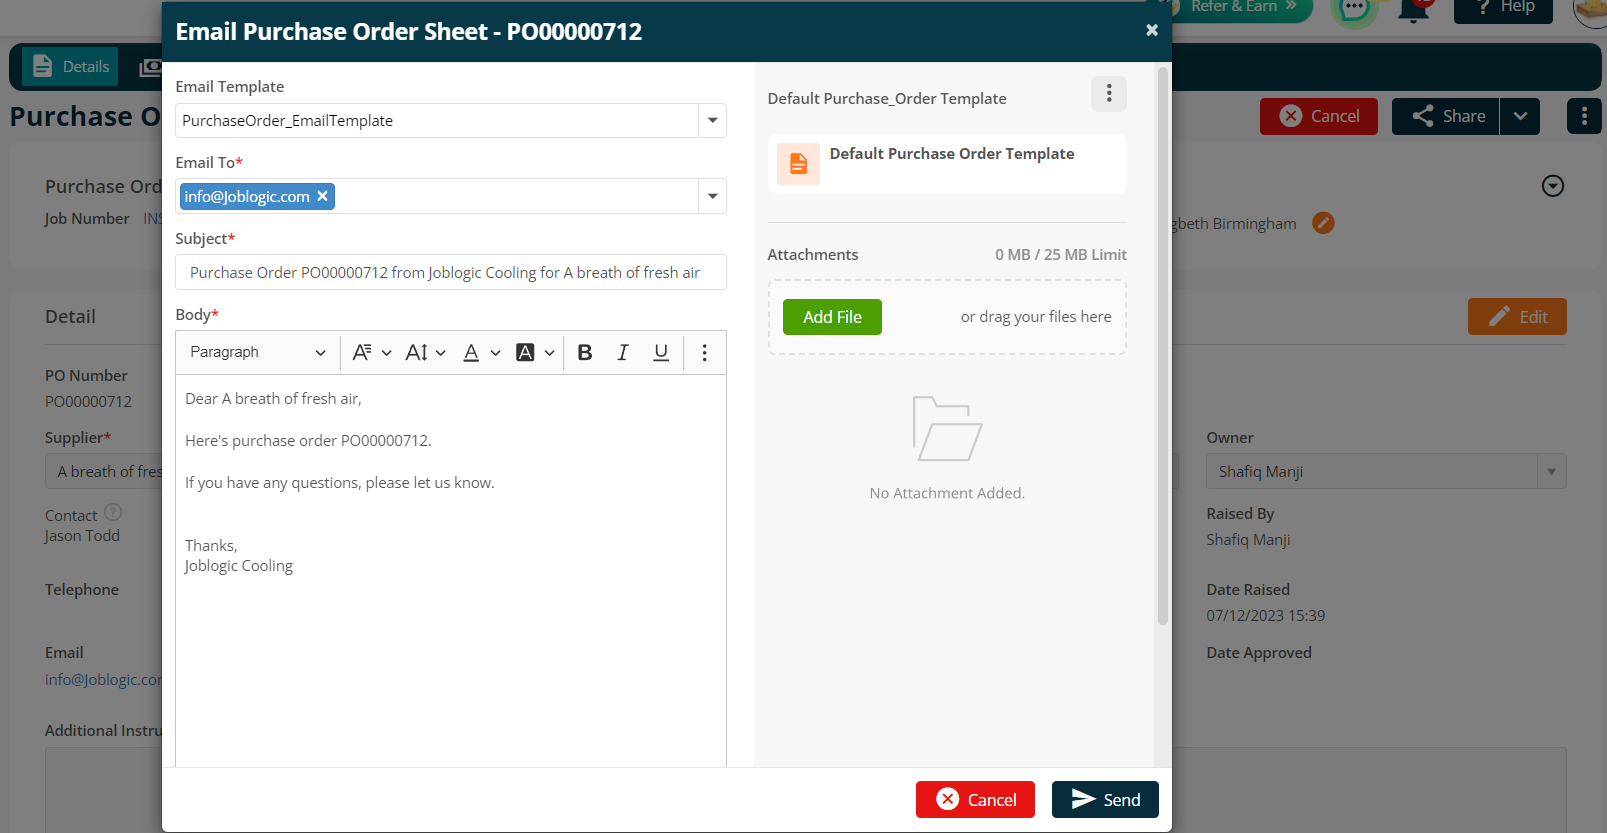
To email the Purchase Order, click Share > Email.
The email template and document template will populate automatically based on your default Settings; however you can choose different templates by clicking the dropdown for the email, and the three dots for the document template, if needed.
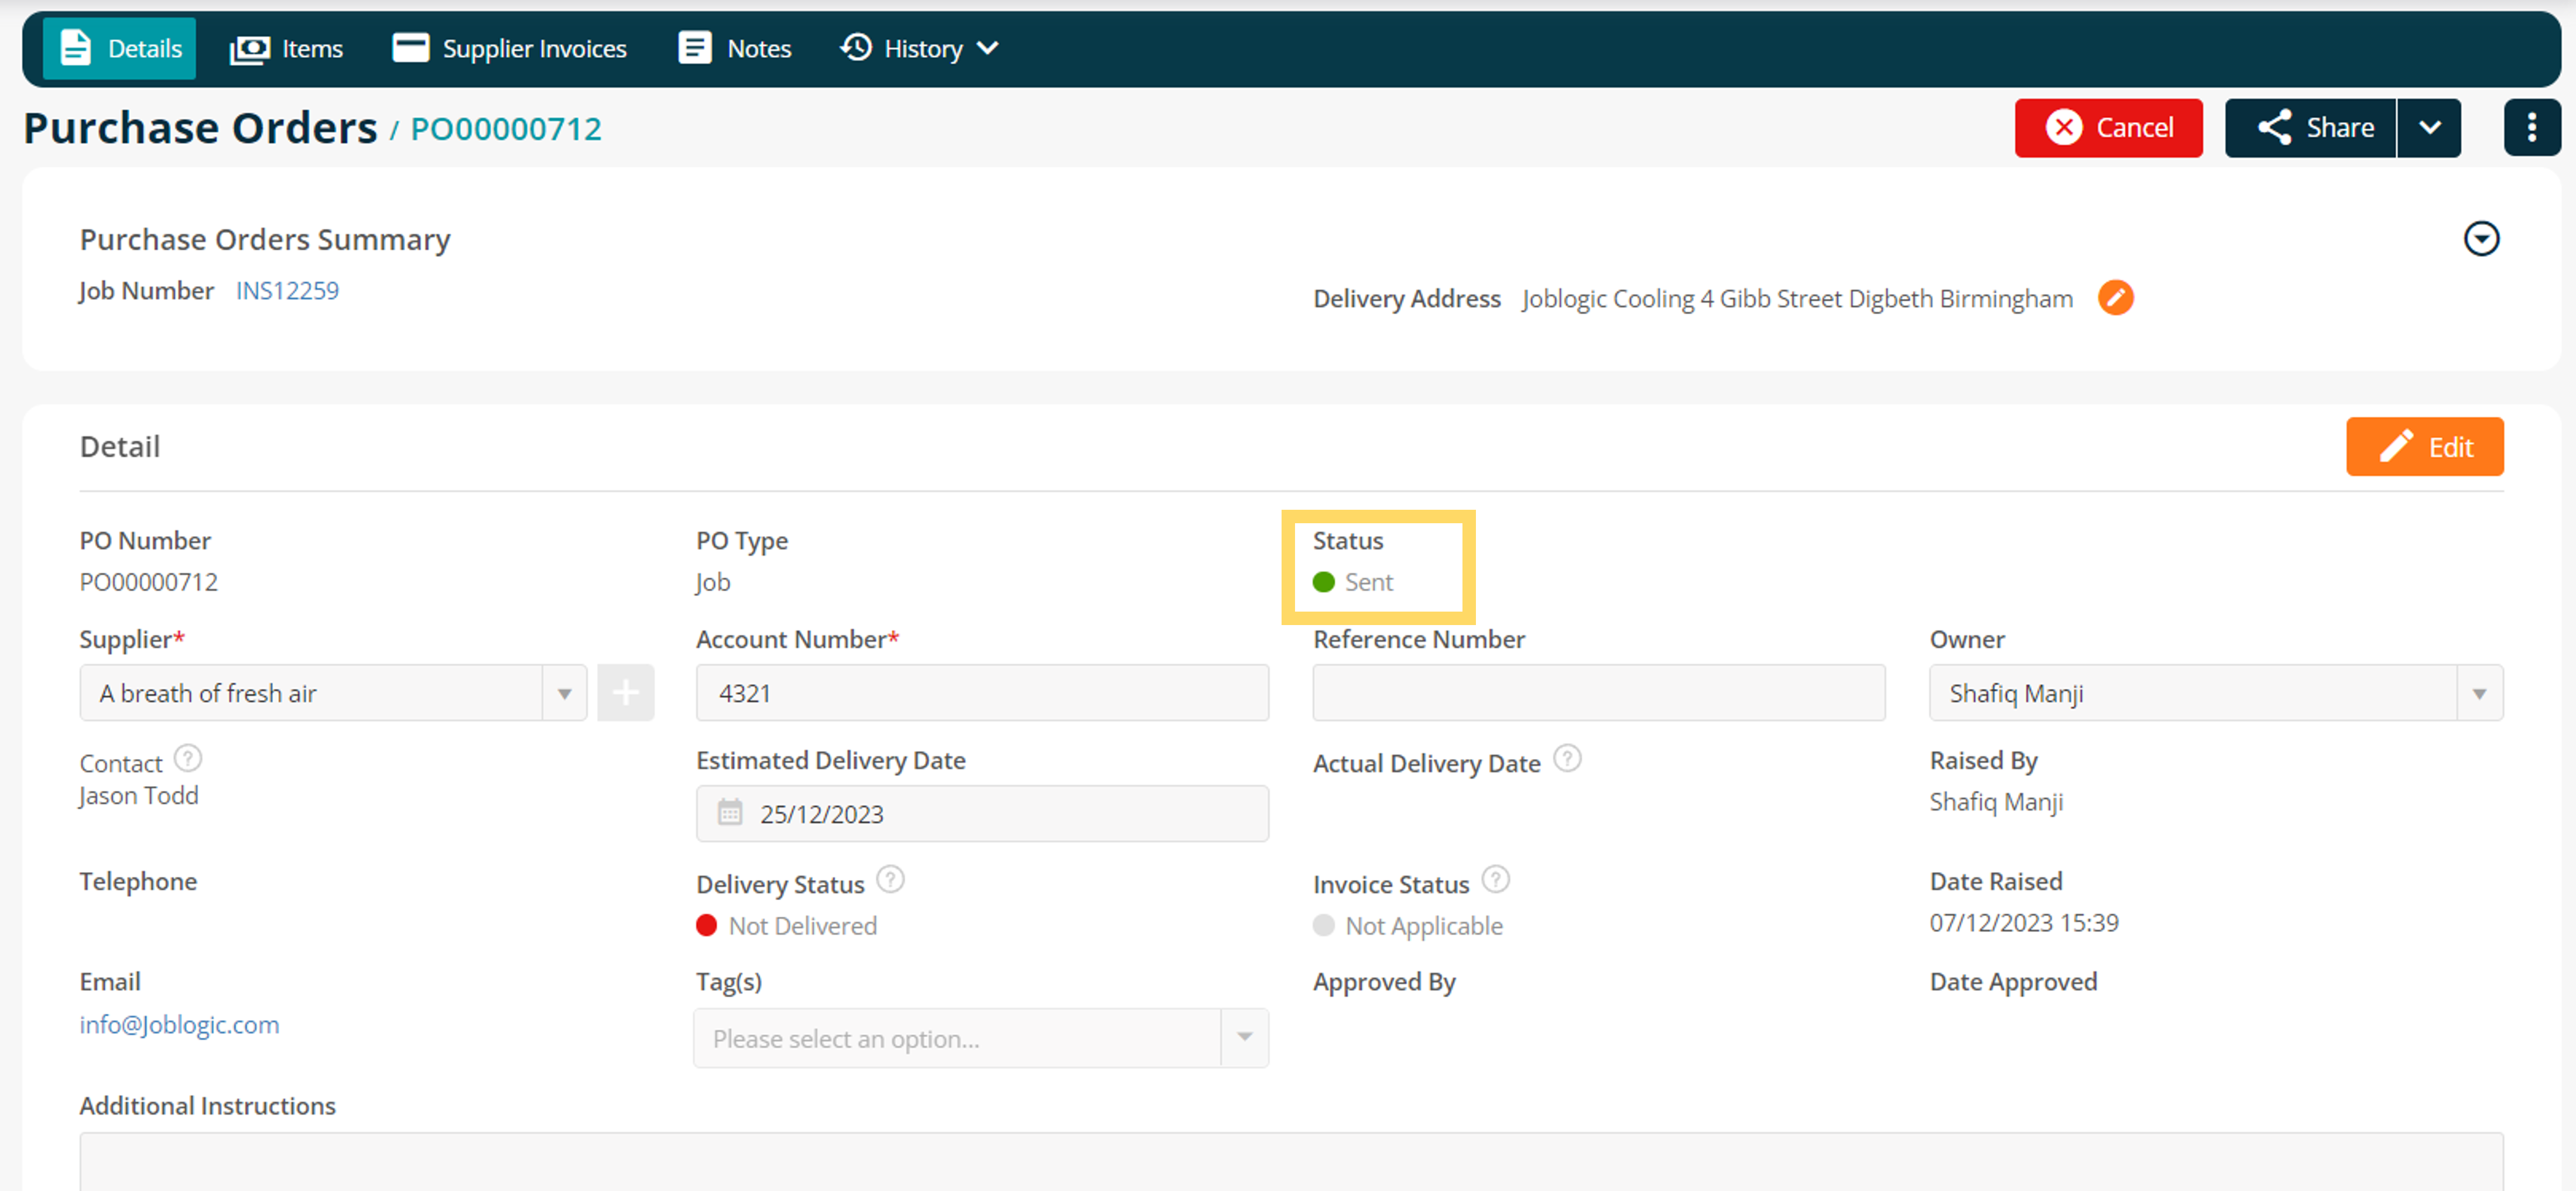
The PO Status can be changed to Sent if any of these Share options are clicked.
Marking Items As Delivered
Once the items have been delivered to your chosen address, the Delivery Status of the PO can be updated to Delivered.
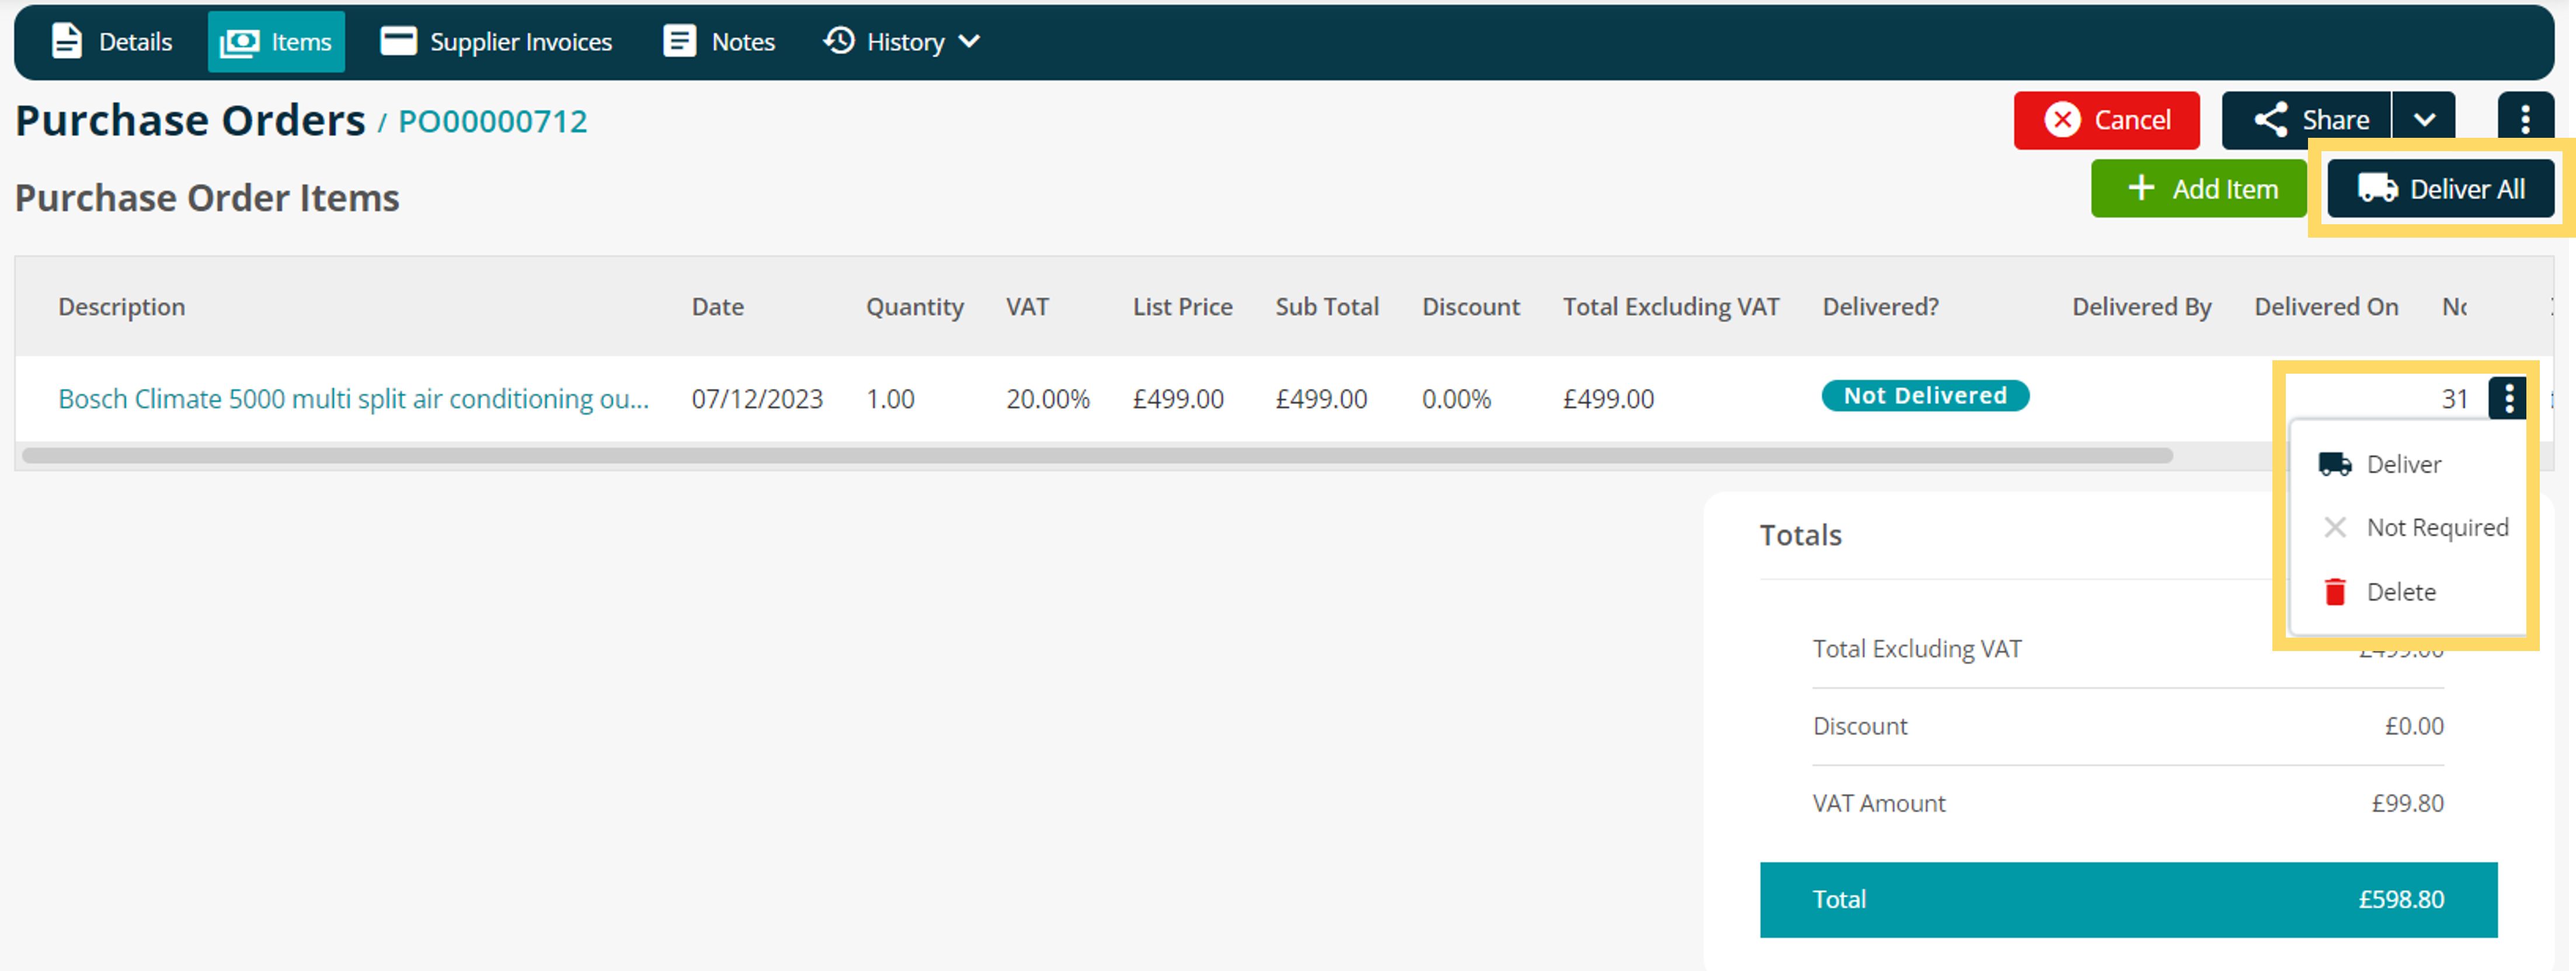
Within the Items tab, individual line items can be marked as delivered by clicking the three dots > Deliver.
Alternatively, you can choose Deliver All to mark all items as delivered at the same time.
The next pop-up screen provides options to change the Delivery Date, (& Quantity Delivered if doing individual lines) and to set the Job Status as ‘Parts to Fit’.
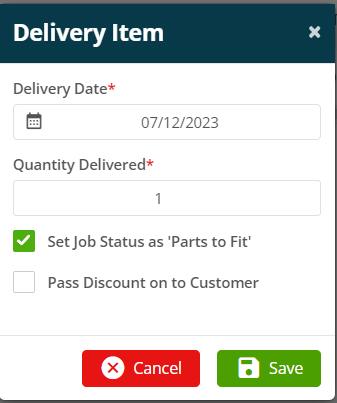
To read more on this, click here.
Adding Supplier Invoices
To raise invoices against the PO, navigate to the Supplier Invoices tab, and then choose the Add Invoice button.
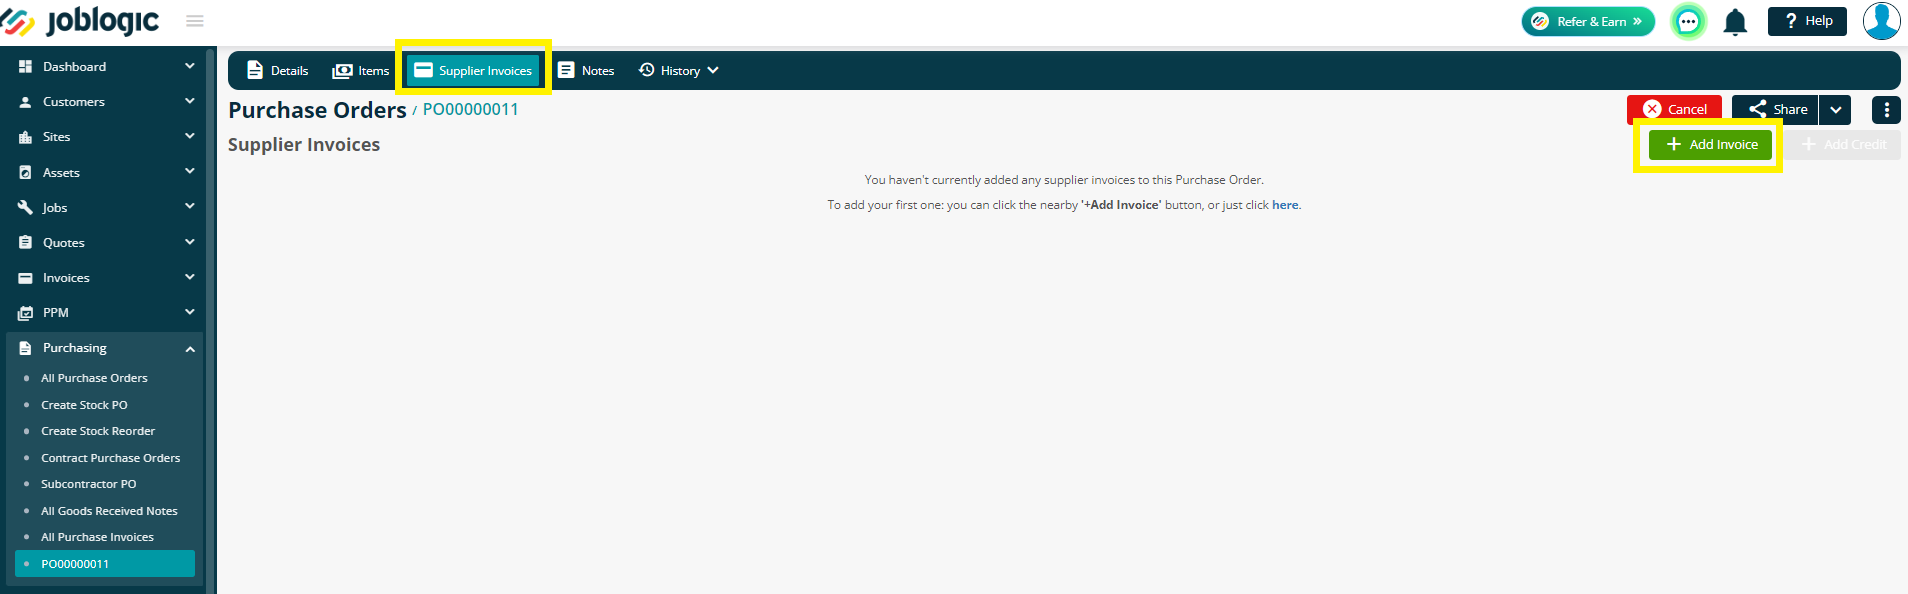
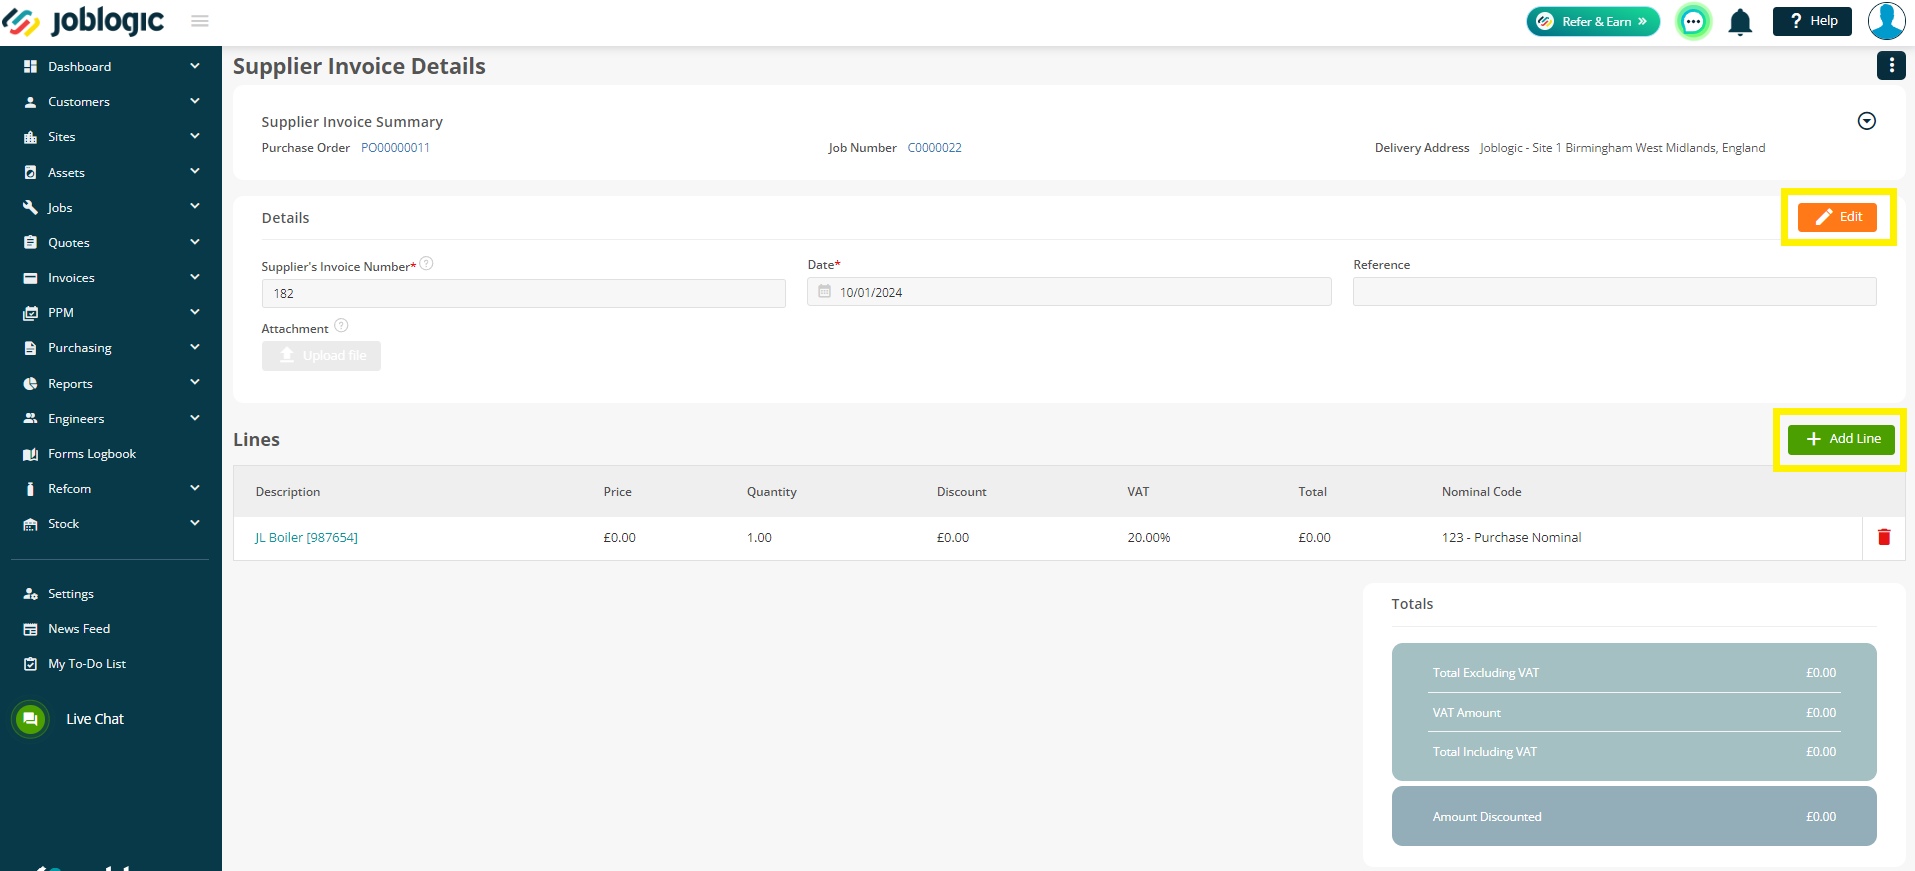
This will direct you to a new page – Add Supplier Invoice.
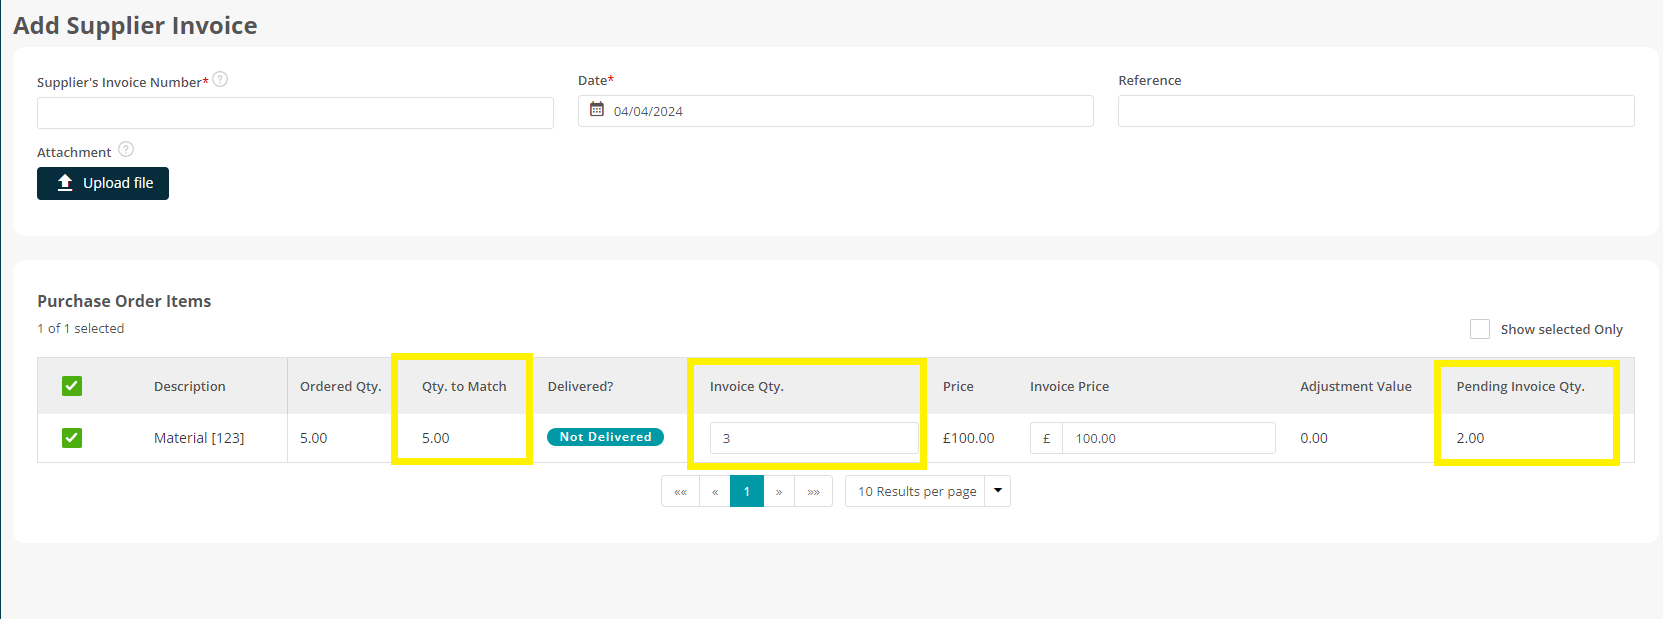
Here, you can add your Supplier’s Invoice Number, Date and Reference.
You can also upload an Attachment of the invoice that was sent to you, for later reference.
The Reference and Attachment are not mandatory and can be left blank, if required.

You may also edit the Invoice Qty if you wish to only partially invoice at this stage.
The Pending Invoice Qty field will update automatically based on what is left to be invoiced.
Further invoices can be added later as needed.
Click Save and you’ll be transferred to the Invoice details page. You can still Edit some of the details or Add Lines if needed.
Click here to read a more indepth guide to adding supplier invoices.
Further Support
For further information or assistance with the above, contact our Support Team on 0800 326 5561 or email support@joblogic.com. Alternatively, our Customer Success Management team can be reached by emailing customersuccess@joblogic.com
## Publishing Details
This document was written and produced by Joblogic’s Technical Writing team and was last updated on the date specified above. Be aware that the information provided may be subject to change following further updates on the matter becoming available. Additionally, details within the guide may vary depending on your Joblogic account’s user permissions.