Introduction
Joblogic contains a settings library area whereby details and information used on a regular basis can be set up to select from an applicable drop down menu and use when required. This user guide details how the settings library can be set up and populated.
Accessing the Settings Library
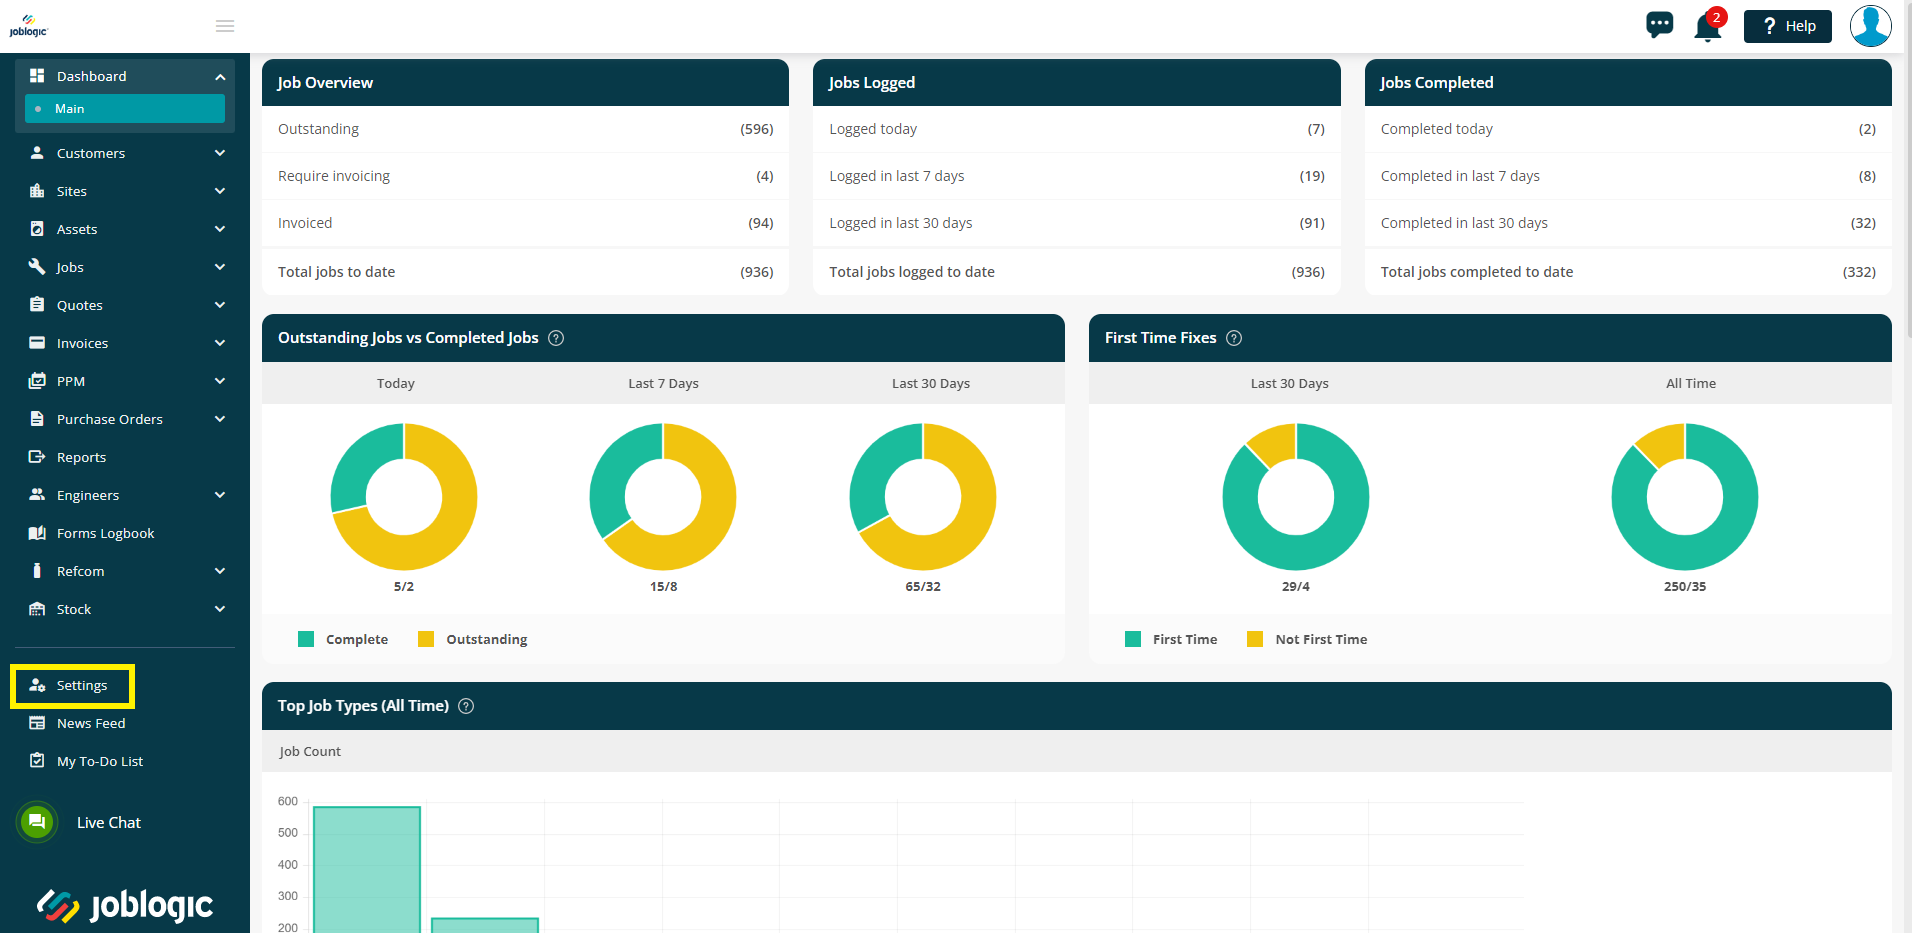
In order to access the settings library, navigate to the left side main menu and select the settings option.
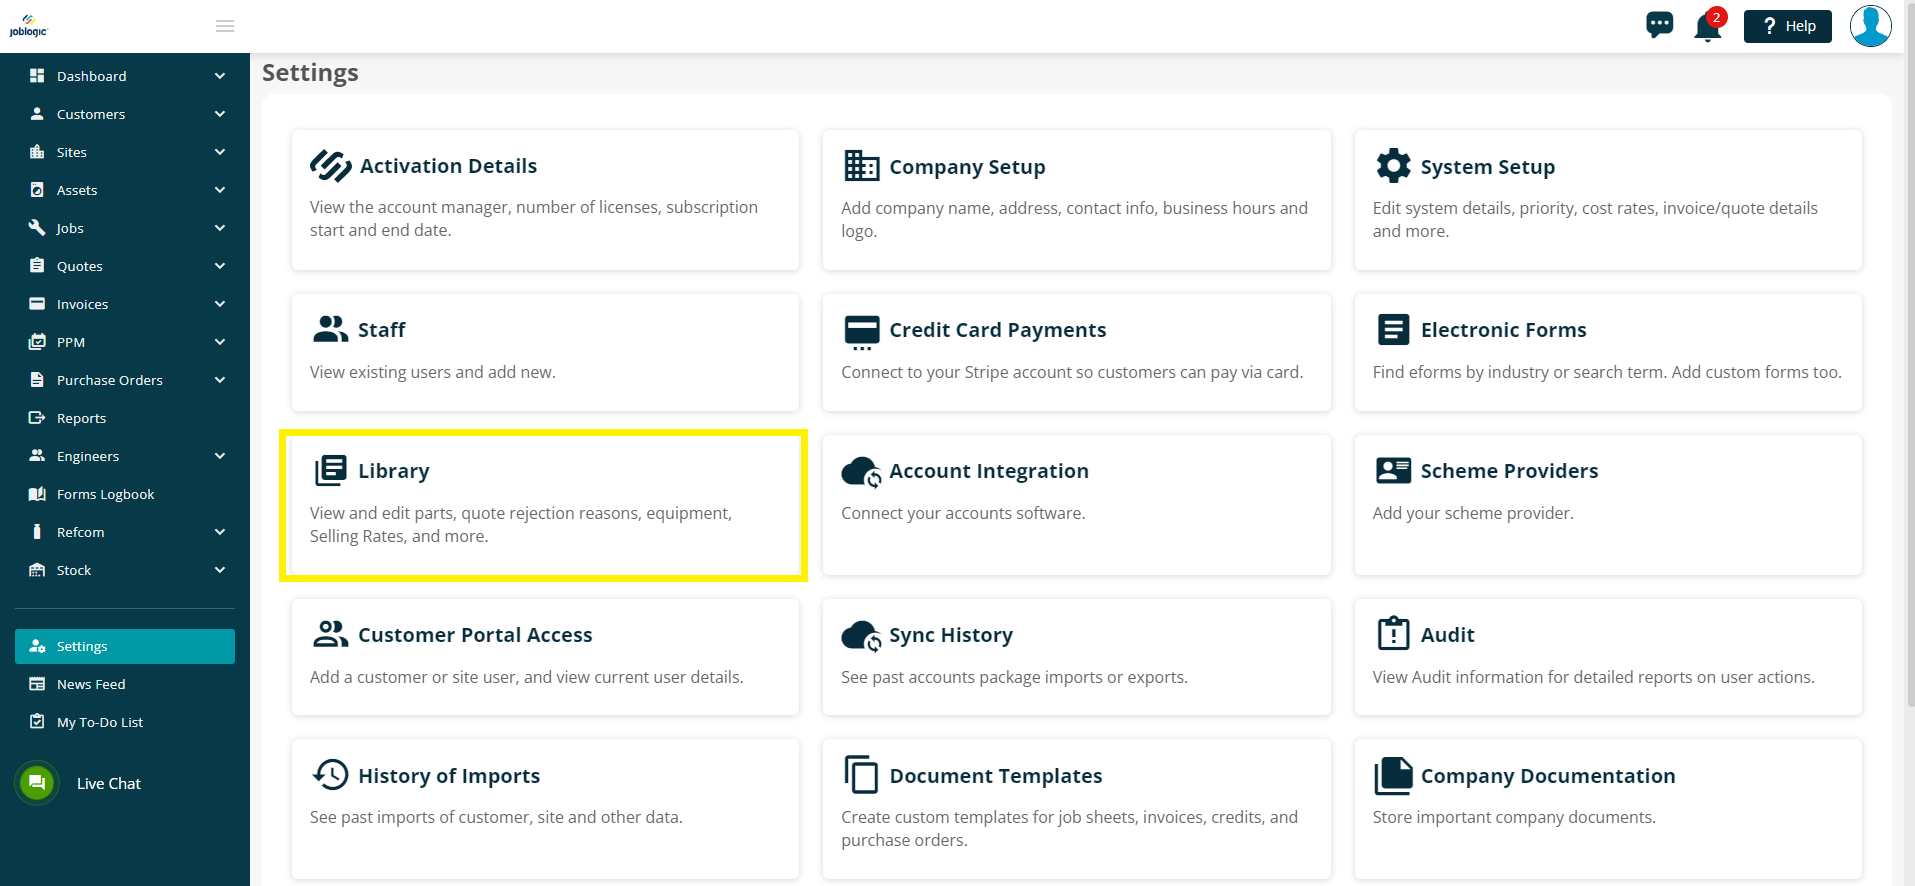
Select the ‘Library’ option from the available settings areas.
You will then be presented with a list of differing libraries which can be set up as applicable.
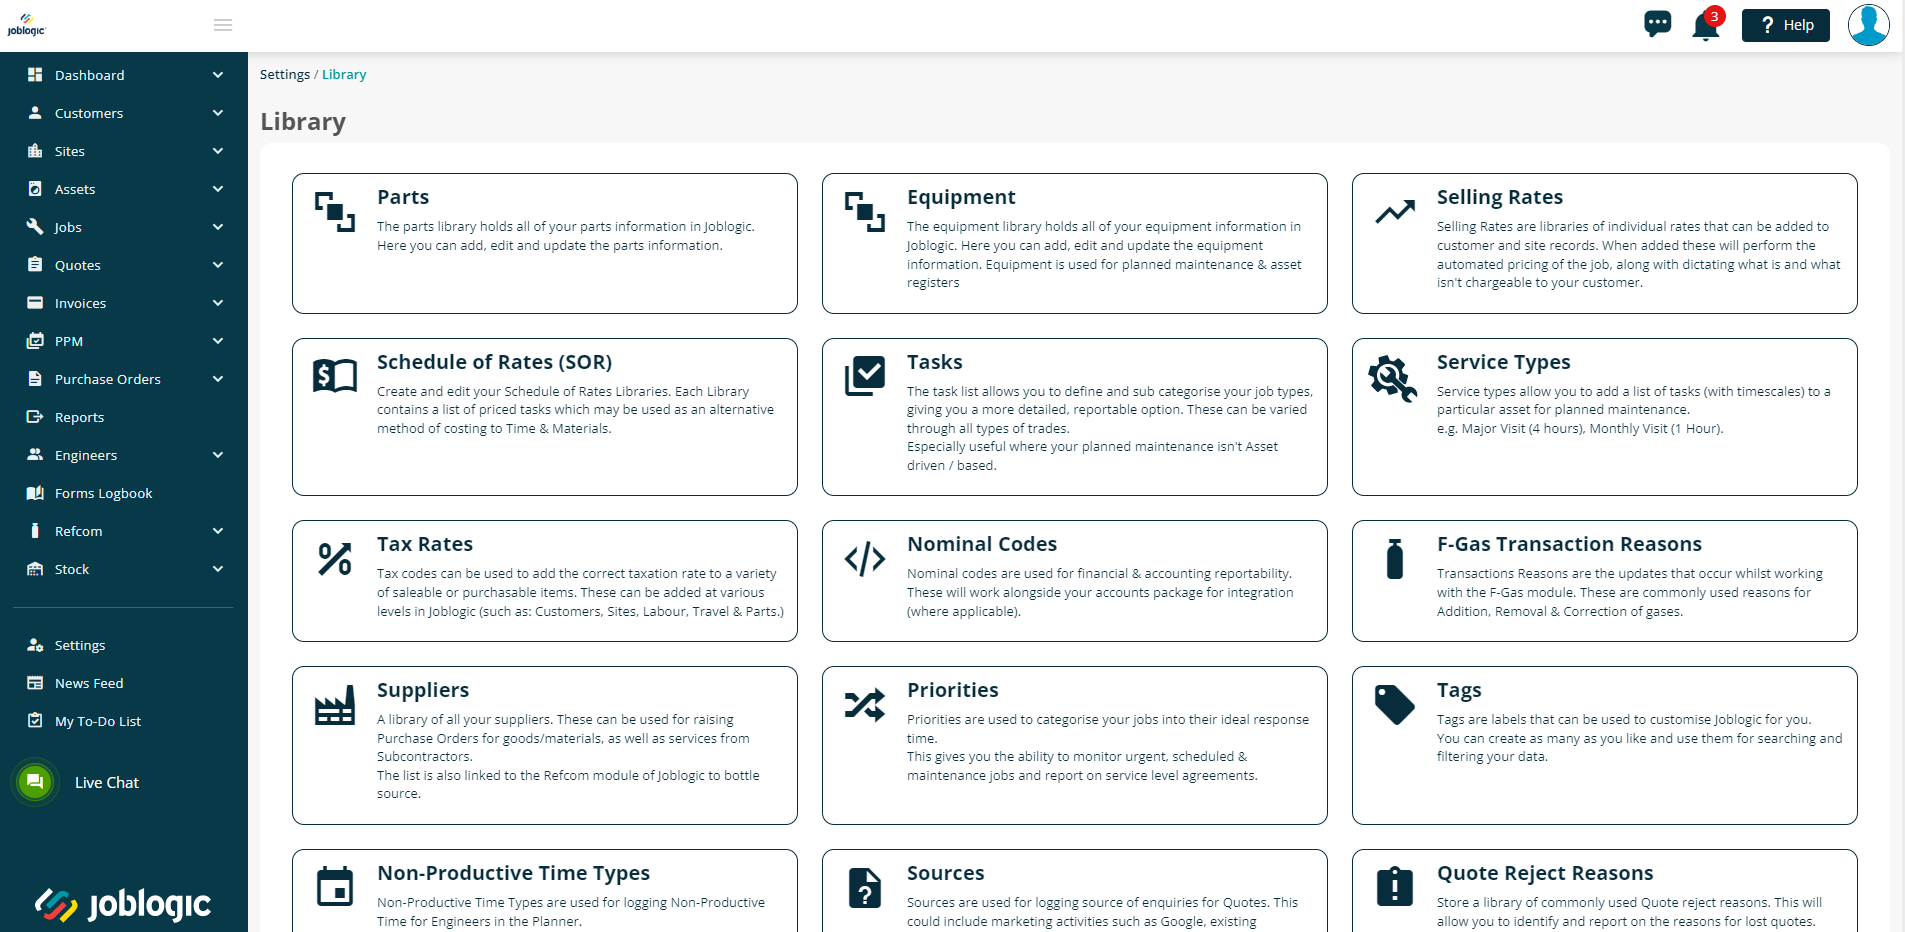
Each library area correlates to an applicable drop down list(s) within the system.
Populating and customising your libraries
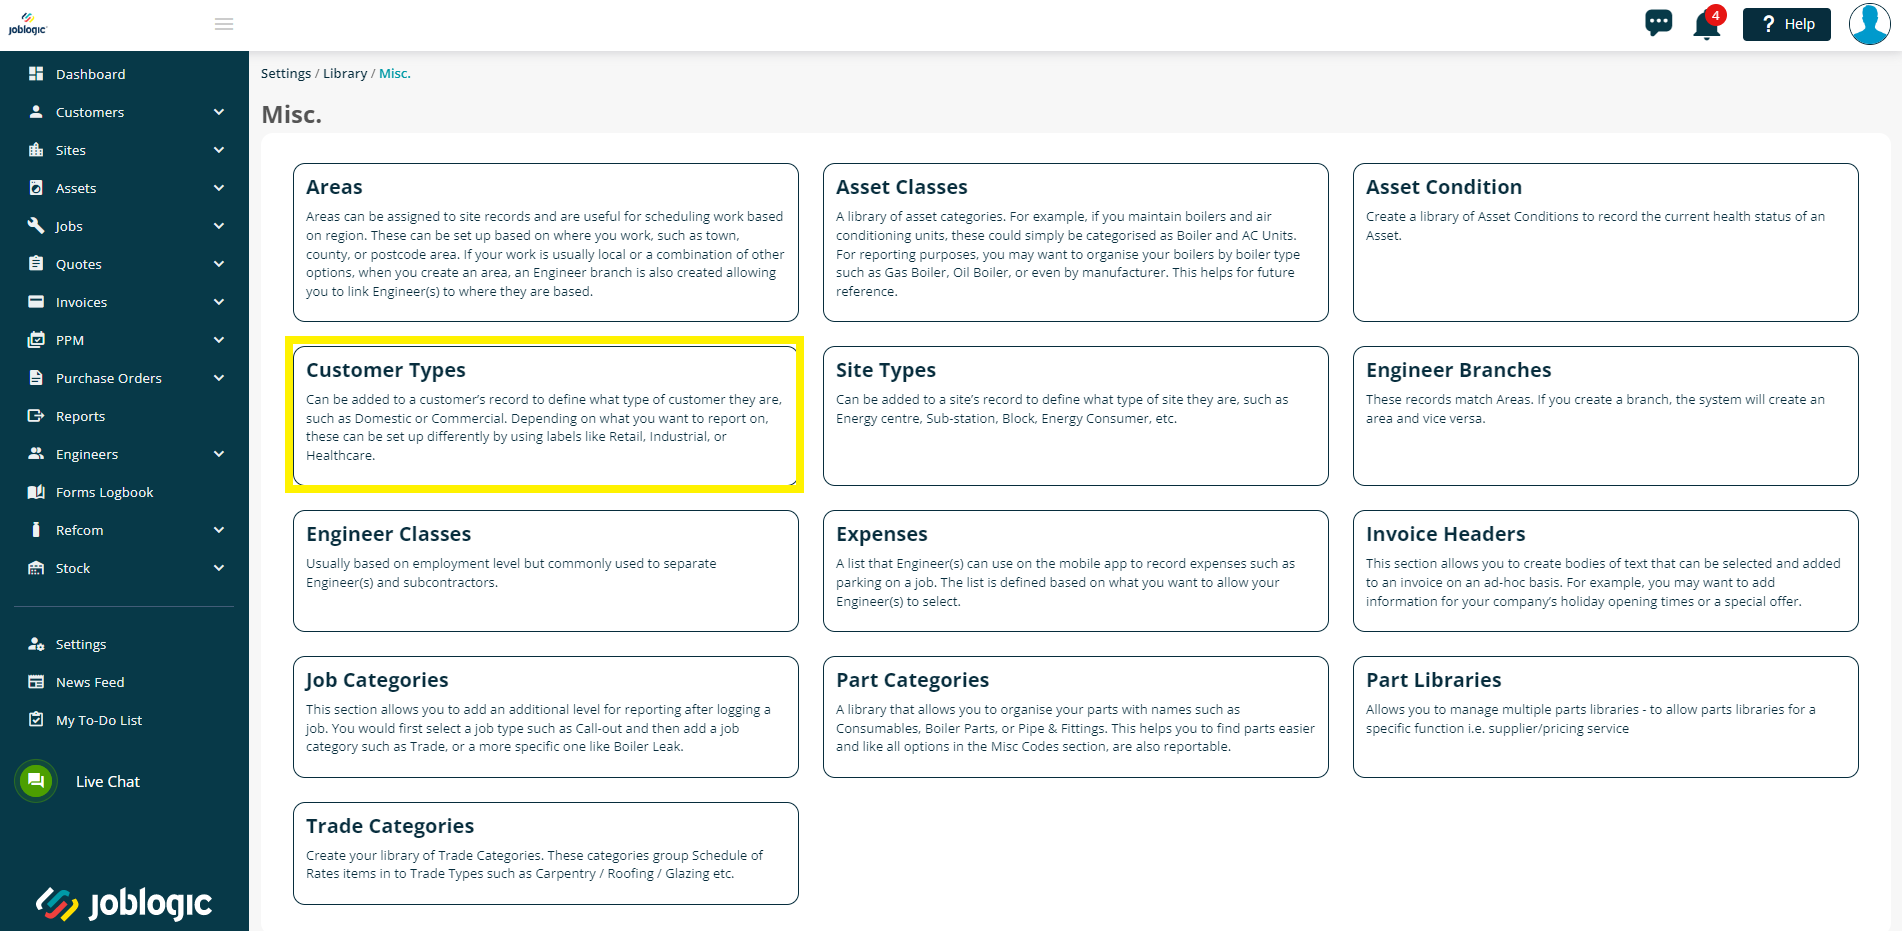
We will use the ‘Customer Types’ library as an example for this guide. Joblogic allows you to create different categories for your customers known as customer types. These can be assigned to your different customers recorded in the system. They can be used to label a customer for searching and reporting by allowing you to locate, filter or report on details concerning specific types of customers. For example, you may wish to categorise your customers based on the differing sectors that they fall into such as government, commercial and domestic customers.
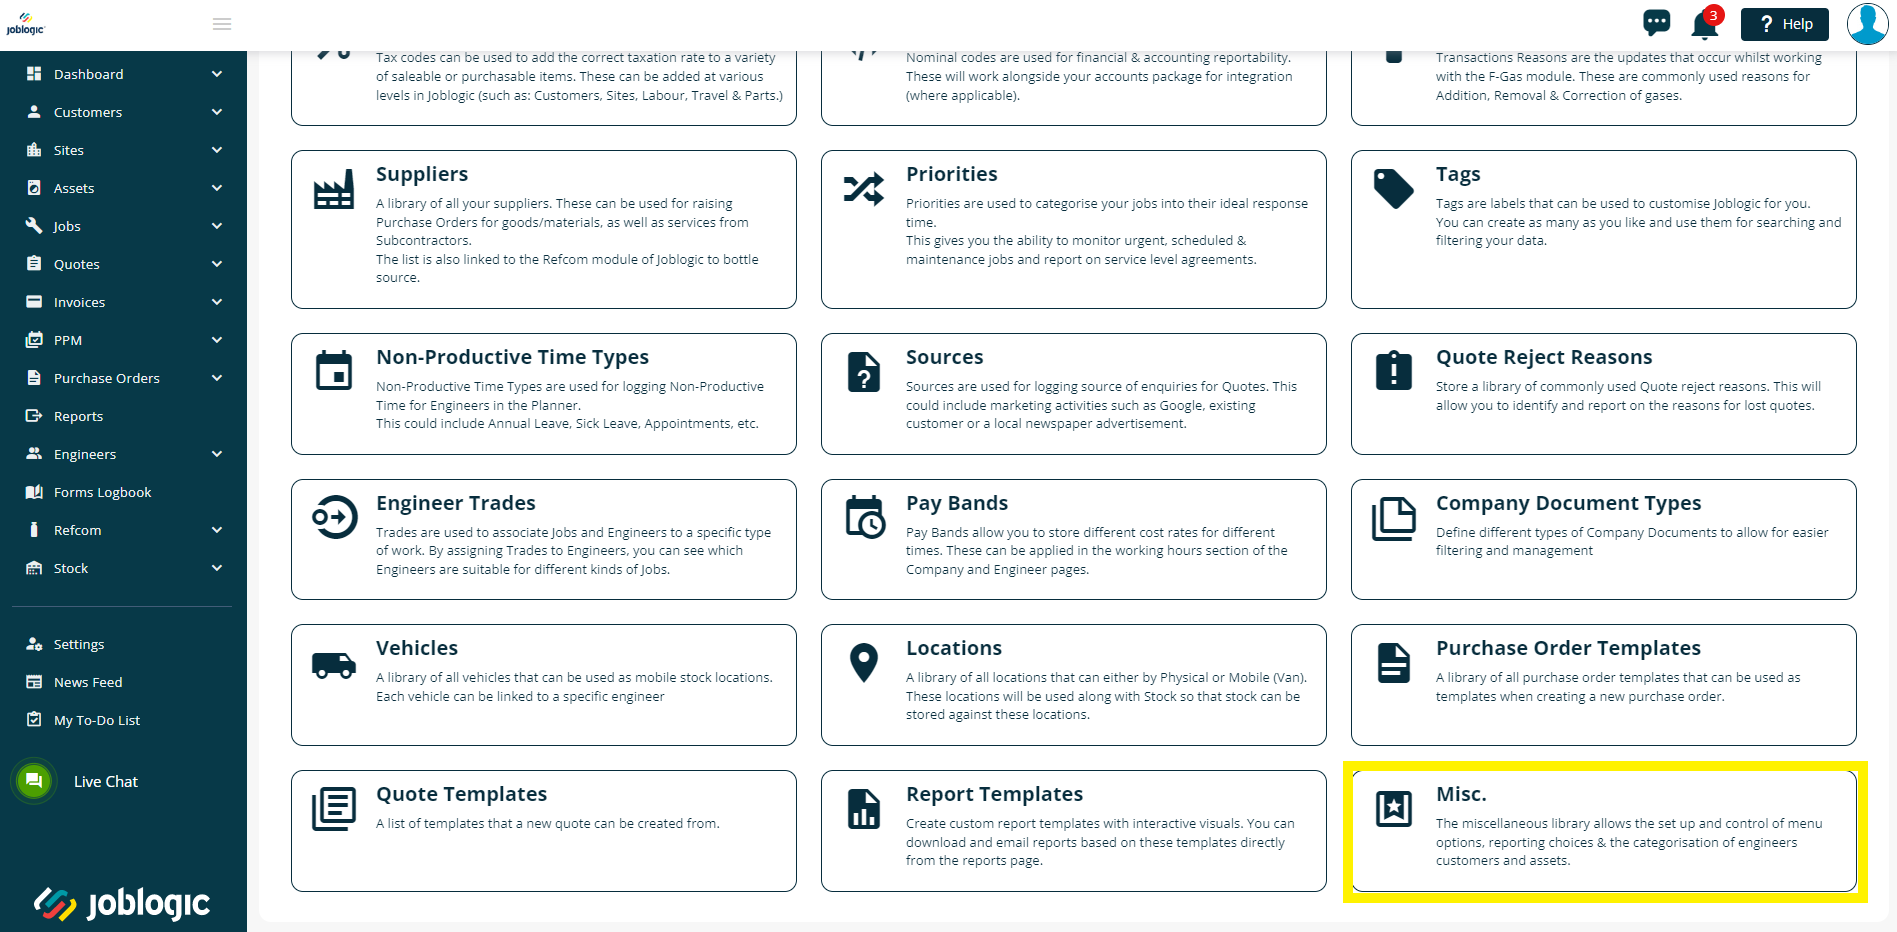
In order to populate a library, select as appropriate (the customer types library is located under the ‘Misc’ area).
We have set some example items in each library for you but these can be deleted if they do not apply to you (see Amending and Deleting Library Items later in this guide).
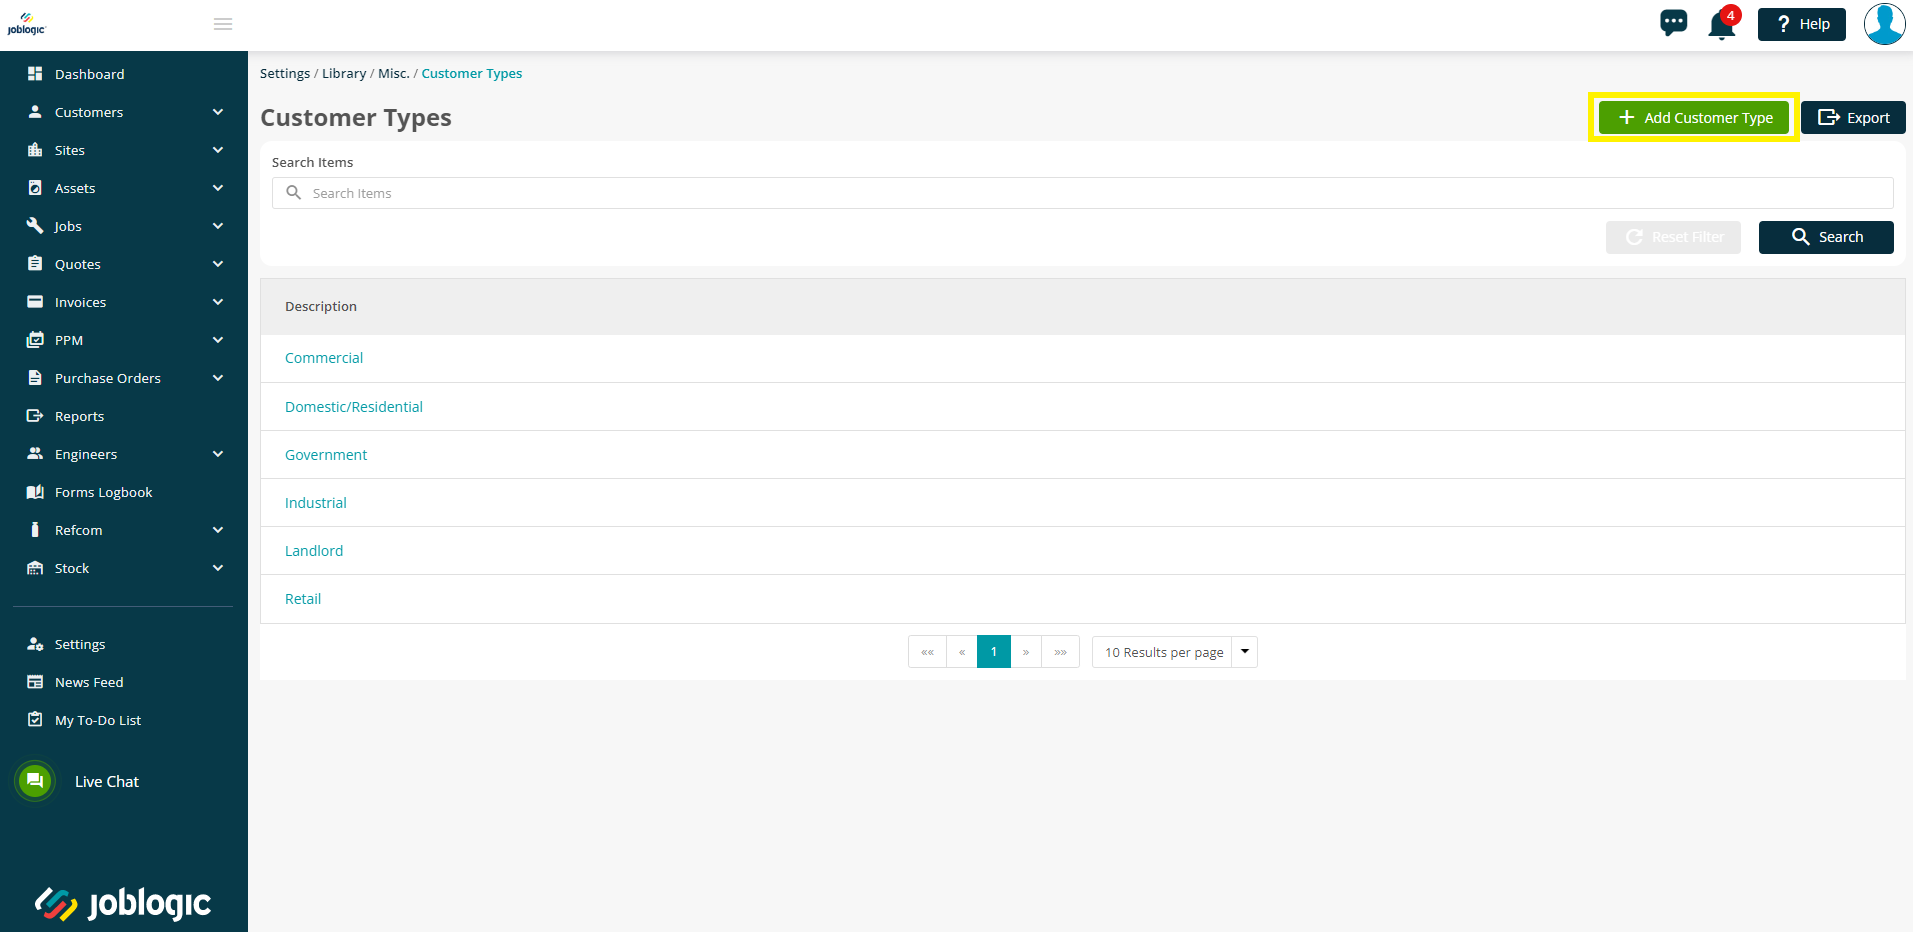
In order to add a new library item, select the green ‘Add Library Item’ button towards the top right corner of the screen (Add Customer Type in this example).
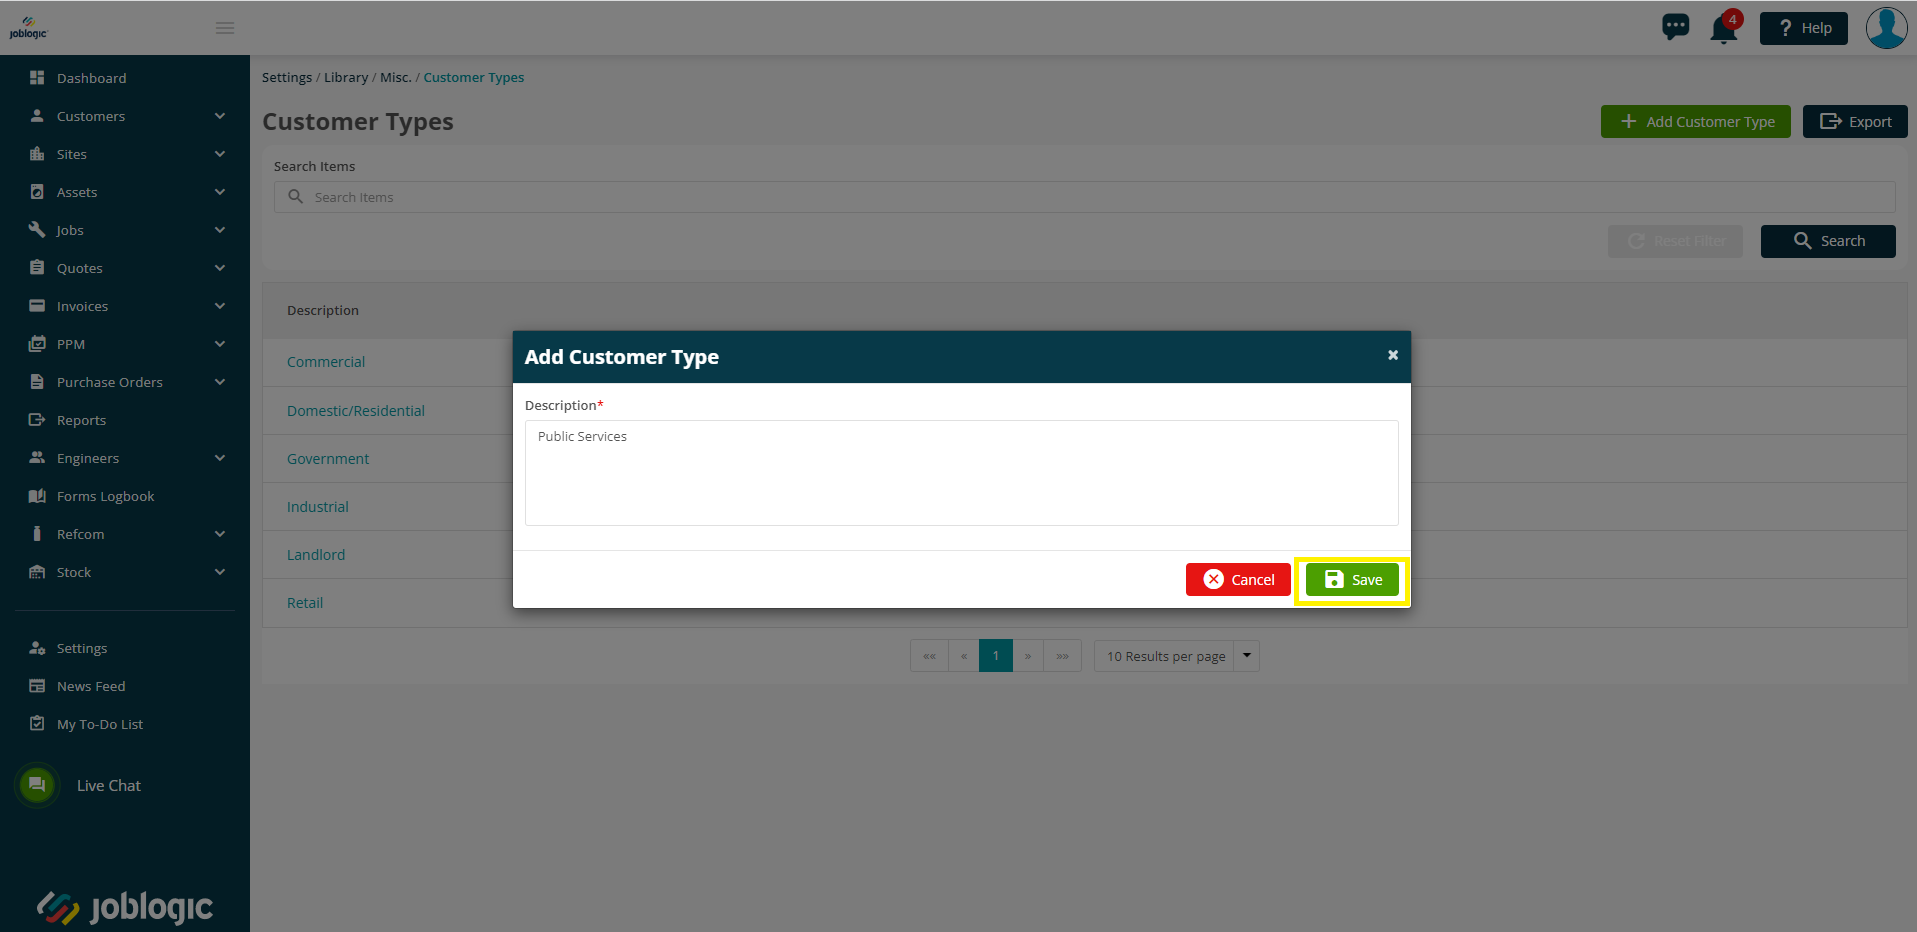
Enter a description of the item within the ‘Add Library Item’ area (Add Customer Type in this example) and select ‘Save’.
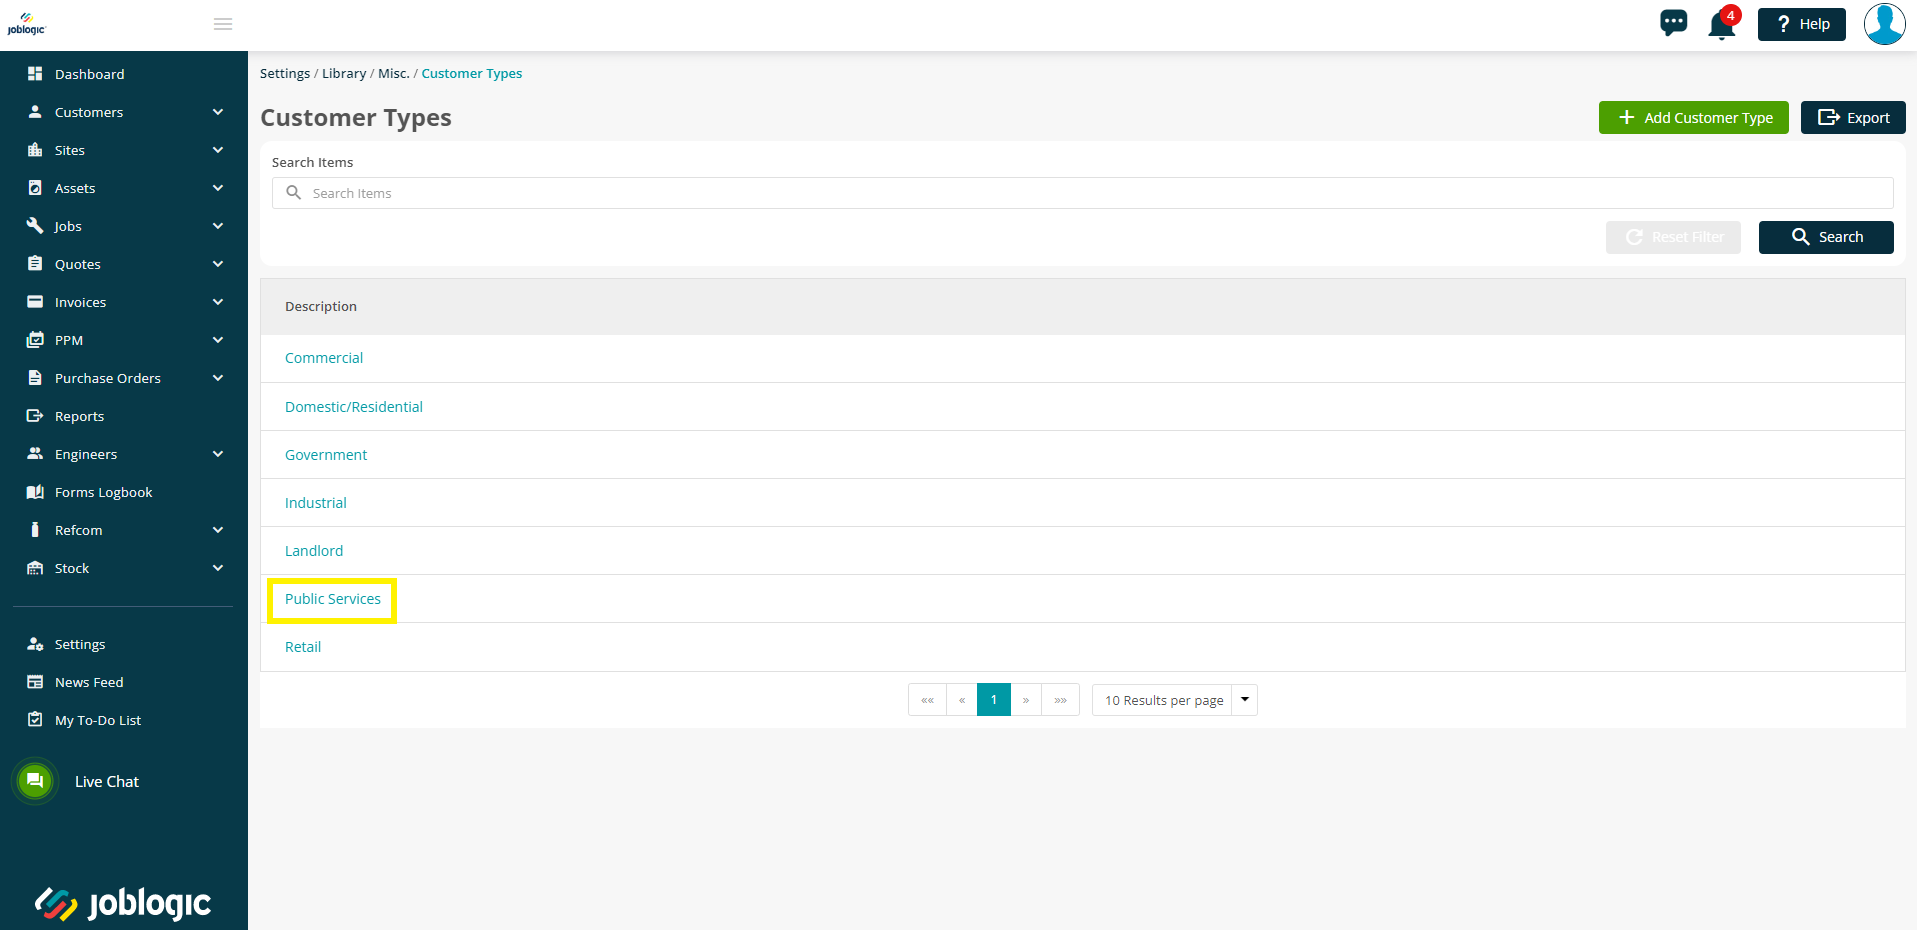
The newly created library item will then show within the applicable library area.
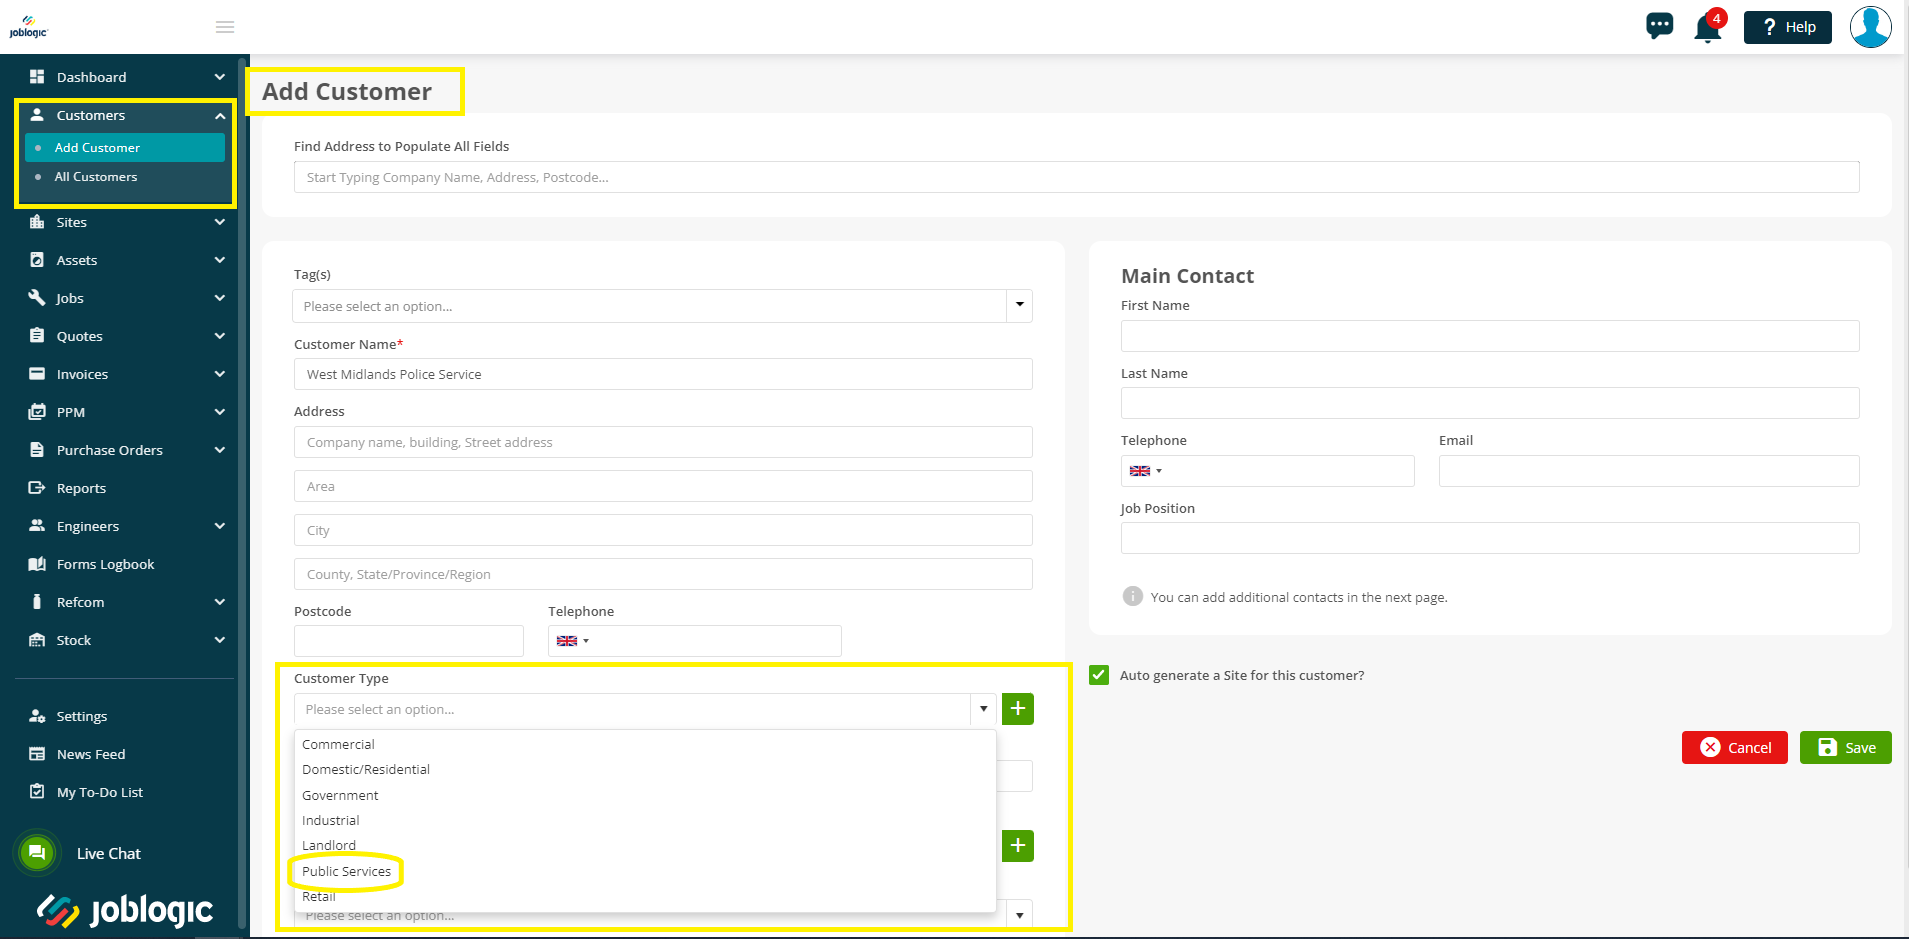
The newly set up library item list will then show as a list of dropdown options against its applicable area within the rest of the system. For example, the customer types library dropdown list will show against the customer type field dropdown on the add customer page (customers > add customer. See adding customers user guide for further details) allowing users to choose and assign a customer type set up in your library to that customer.
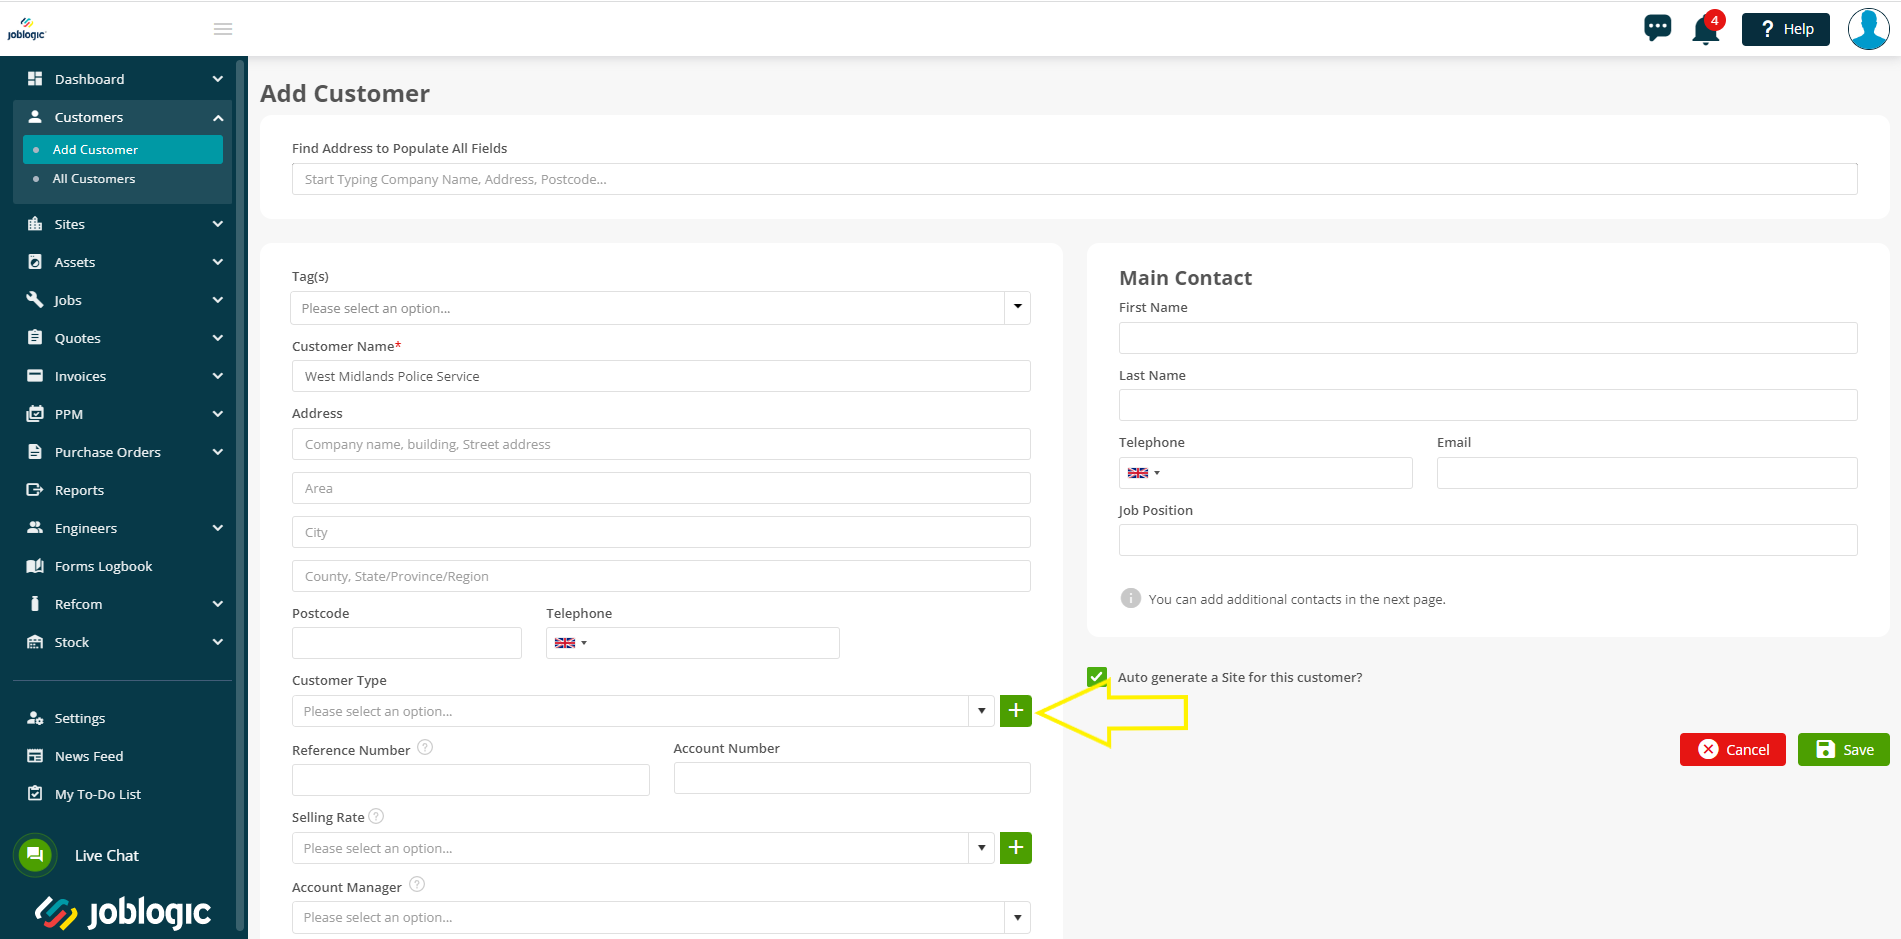
Every field within the system correlating to a library area will display a small green addition sign next to it. This is a ‘quick setup’ function which allows you to add a new item to your library list for that applicable field without having to navigate to the settings area. To use this quick set up, select the green addition button.
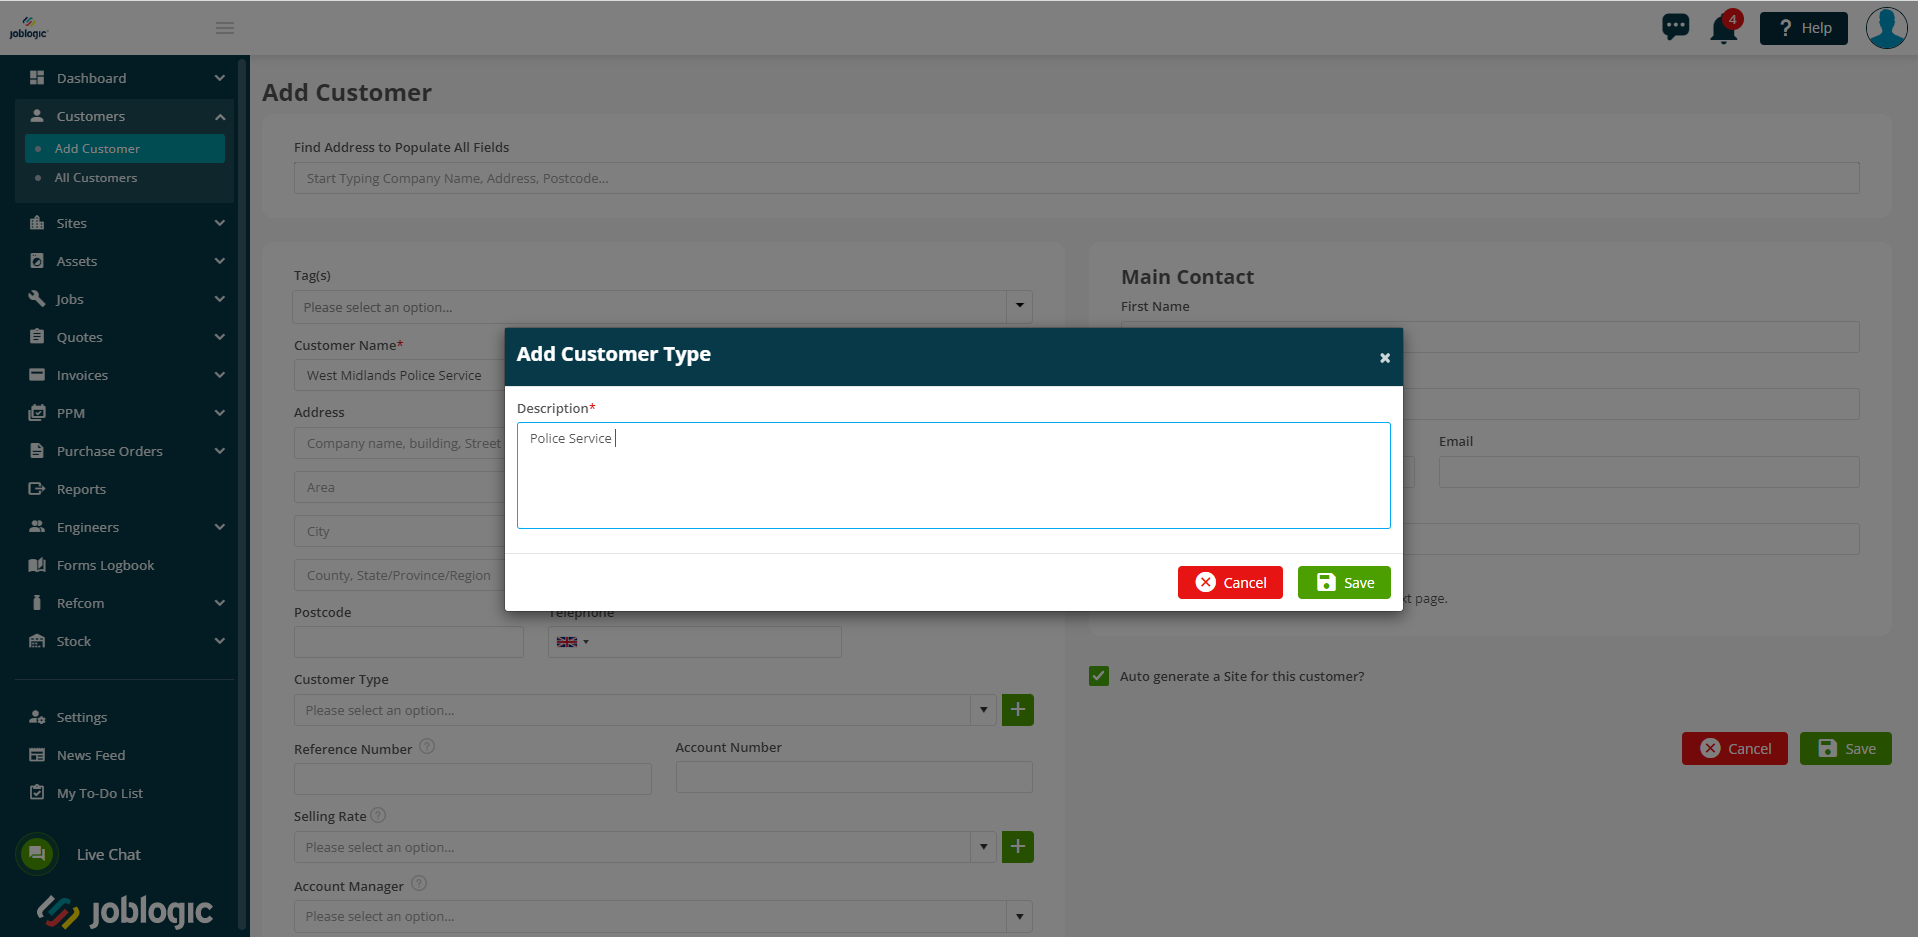
Enter a description of the item within the ‘Add Library Item’ area (Add Customer Type in this example) and select ‘Save’.
Amending and Deleting Library Items
In order to amend or delete a library item, navigate to the applicable library area via settings > library > select as appropriate (misc > customer types in this example) and select the item that you wish to amend or delete.

In order to amend, edit the text within the description box on the edit library item page (Edit Customer Type in this example) and select ‘Save’ for changes to take effect.
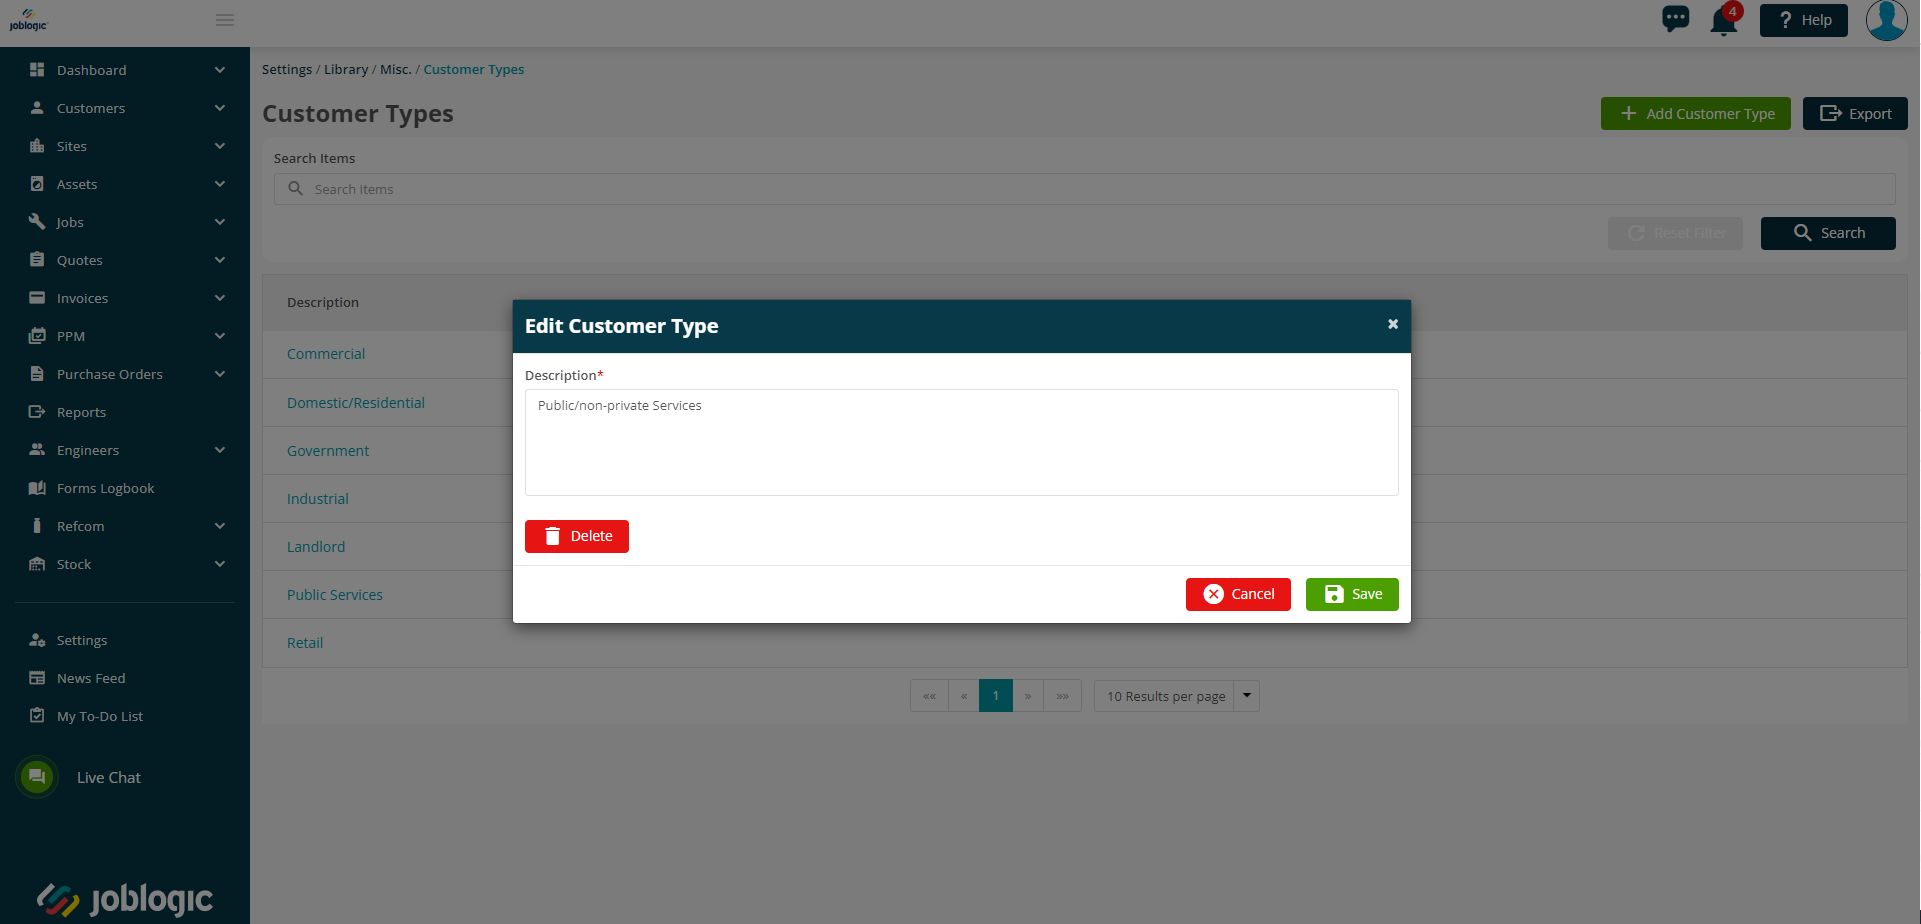
In order to delete, select the ‘Delete’ option and select yes to the confirmation pop up.

The deleted item will then be removed from your library area and it’s corresponding dropdown list.
Further Support
For further information or assistance with the above, contact our Support Team on 0800 326 5561 or email support@joblogic.com. Alternatively, our Customer Success Management team can be reached by emailing customersuccess@joblogic.com
Publishing Details
This document was written and produced by Joblogic’s Technical Writing team and was last updated on the date specified above. Be aware that the information provided may be subject to change following further updates on the matter becoming available or new releases within the system. Additionally, details within the guide may vary depending on your Joblogic account’s user permissions and settings or the electronic device being used.