Introduction
This guide will explain the different sections of the ‘Visits’ area within the Joblogic back-office system.
The Visits Area
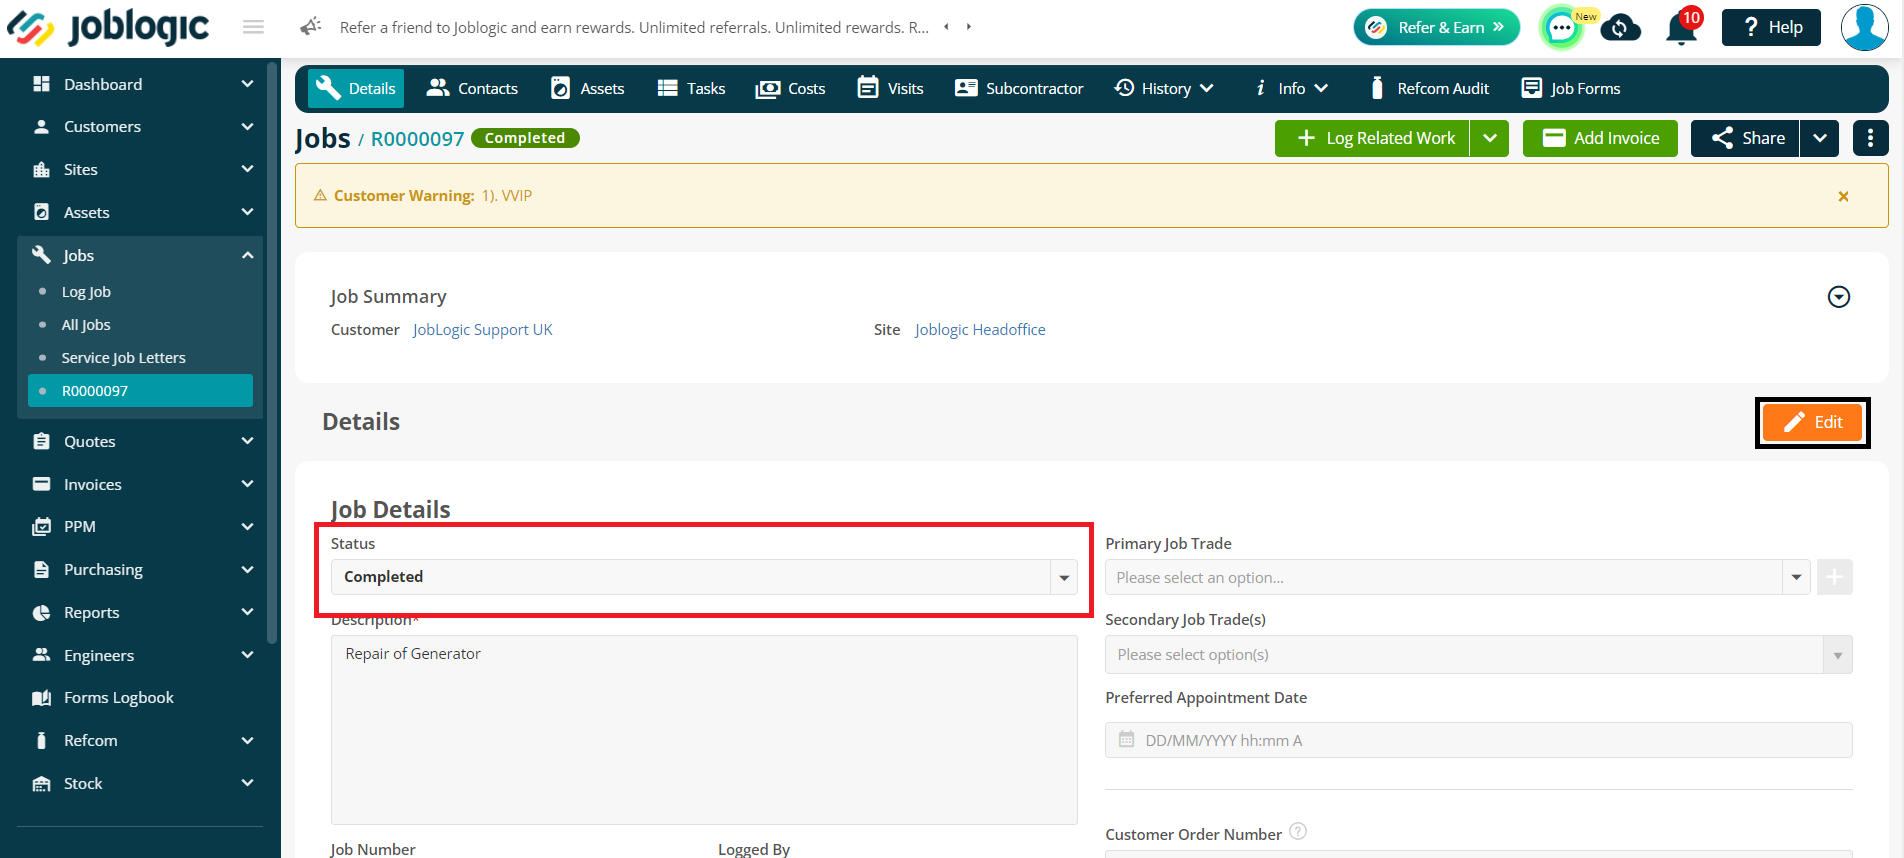
Once the visit(s) is completed by the engineer from mobile application (app), if that visit was the only visit on the job, the system will change the status of the Job to “Completed” automatically. However, this can be amended, if required by editing the Job and choosing the desired status.
To access the individual visits against a Job, navigate to the “Visits” tab. This tab will provide details of allocated visits along with their status. The green tick mark shows that this visit has been completed by the engineer.
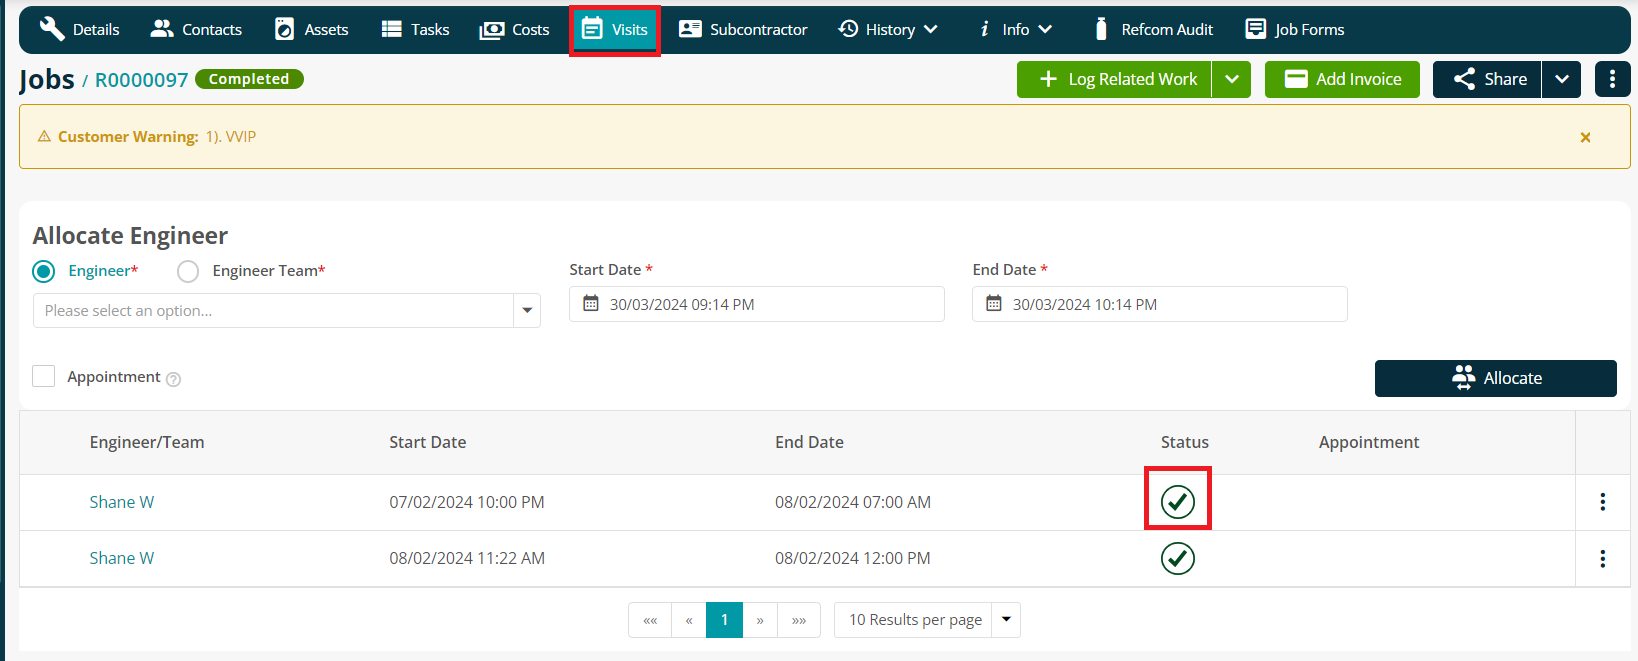
To see the visit’s details, click on the Engineer's Name.
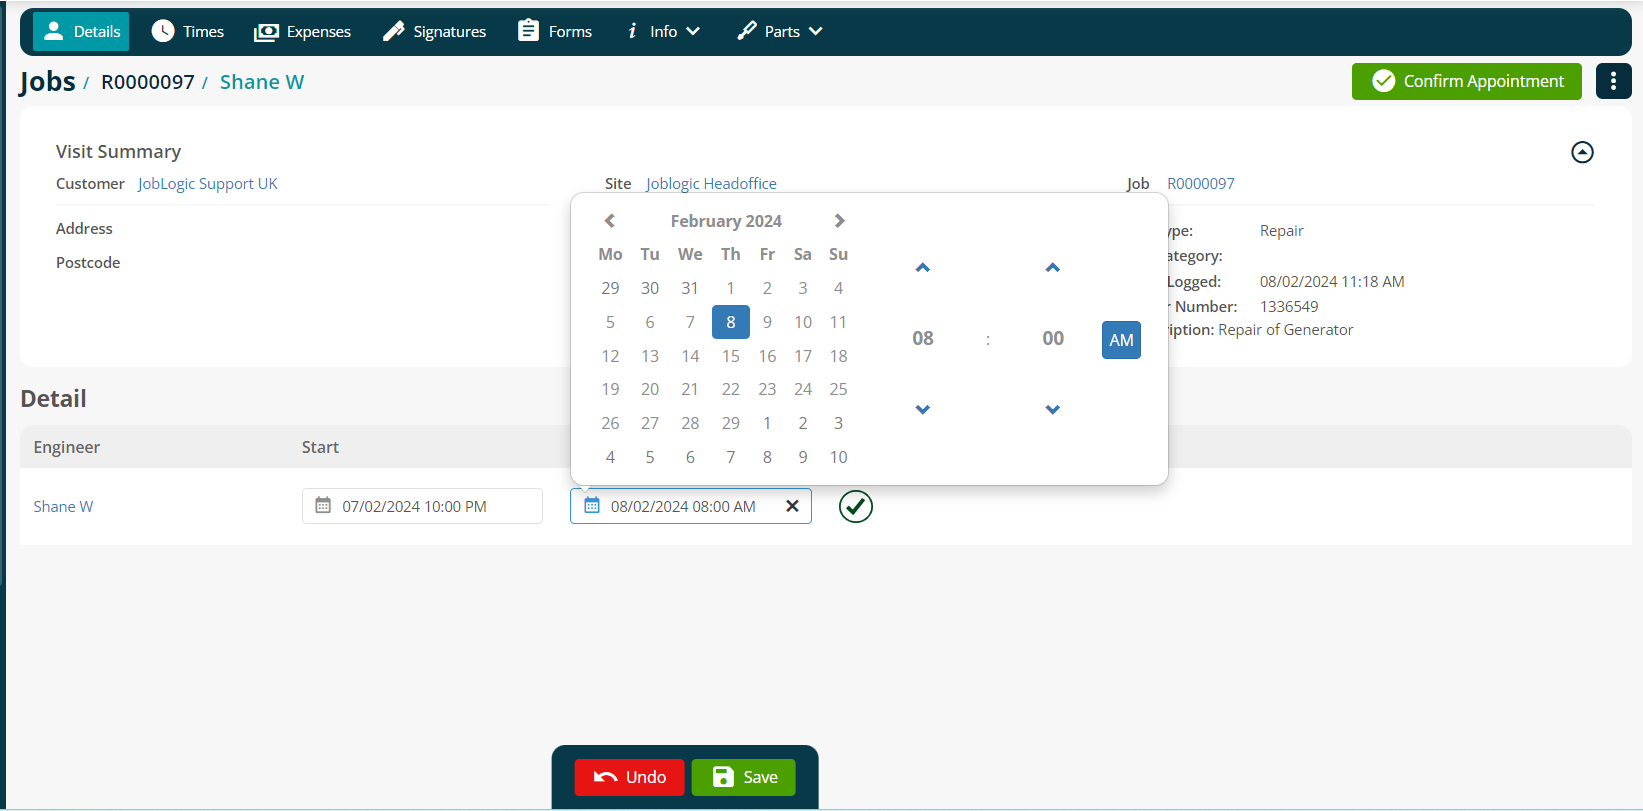
The visit details page shows a summary of the Visit i.e. Customer, Site, Job No, Job Type, Address etc.

Start and End date shows the engineer's actual start & end time once the visit has been marked as completed. This can be amended if by clicking on “Edit” button, if needed.
The “Times” tab shows the original times added by the engineer, which can be edited by pressing the orange pencil icon or deleted by pressing the bin icon.
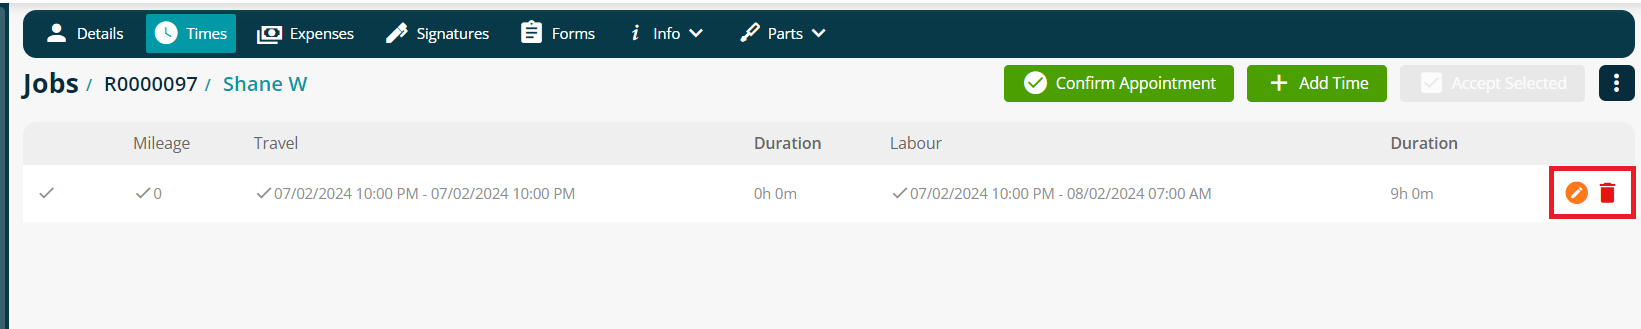
Back-office users can also add additional times, if required by pressing the “Add Time” button.
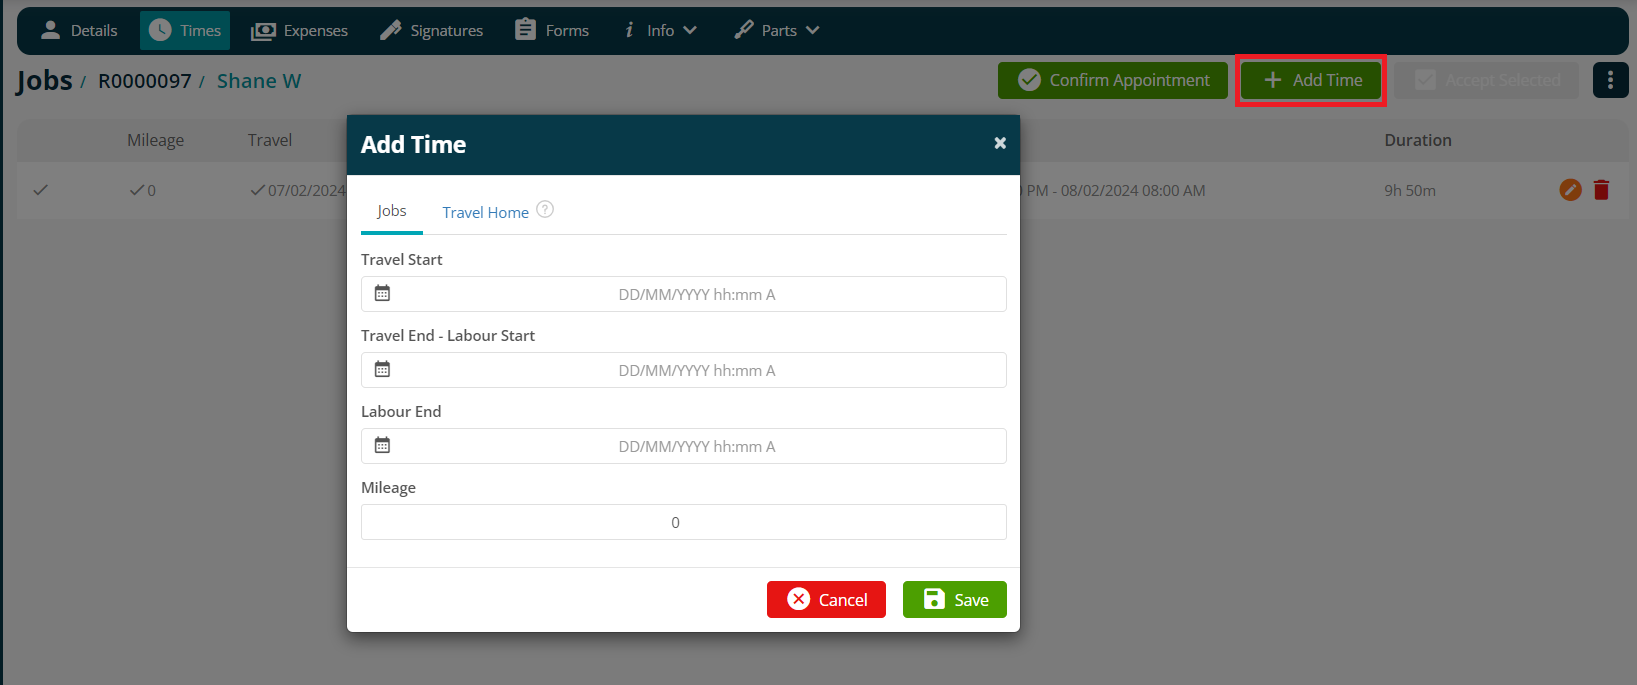
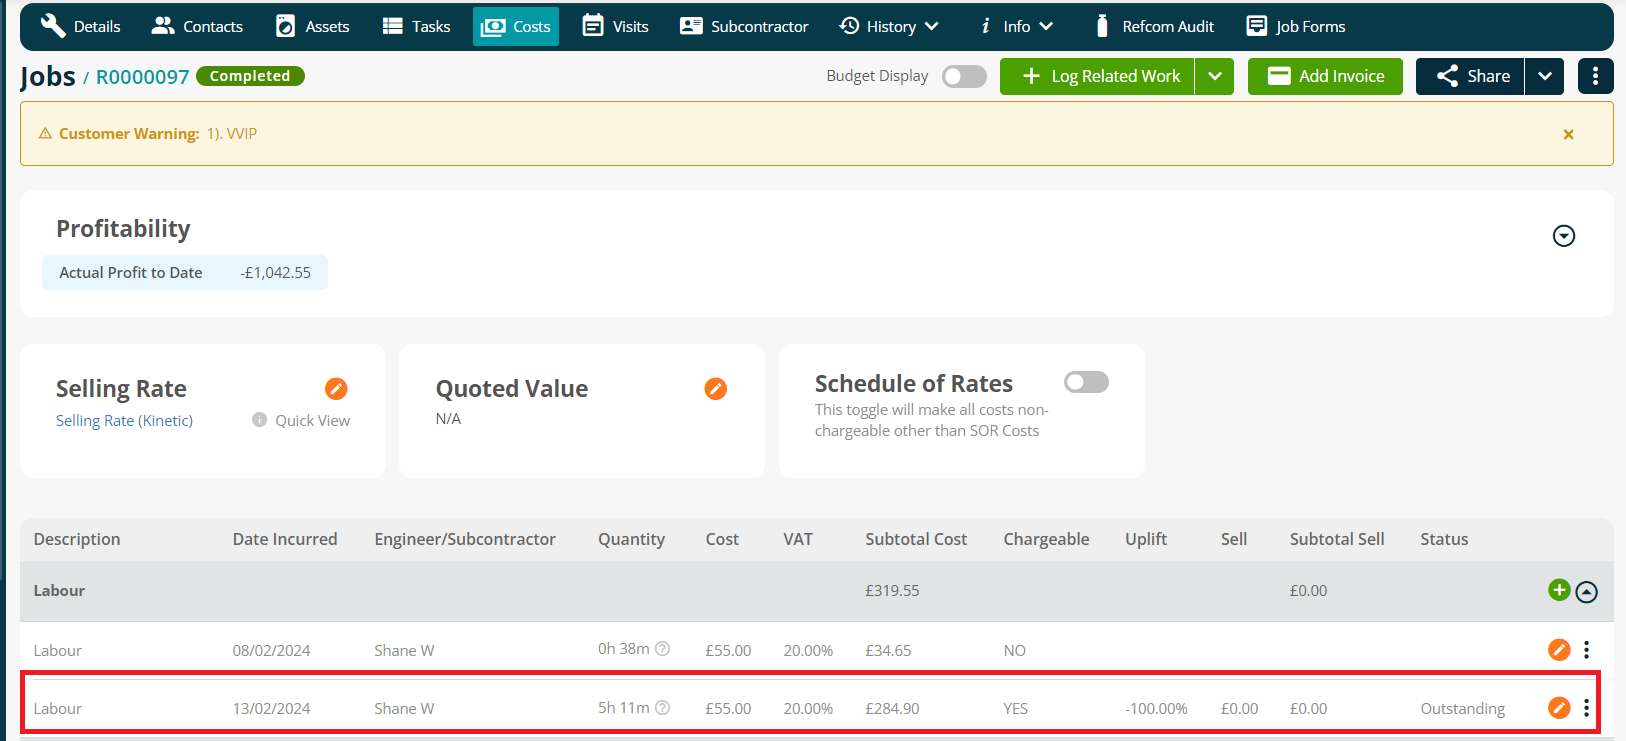
Click the applicable highlighted checkbox(s) and “Accept Selected” if you wish to add the time(s) to the Job’s Costs.

If you wish to delete a visit, click the three vertical dots icon and > “Delete Visit”.

To add visit expenses, navigate to the “Expenses” tab. You can add expenses by pressing the “Add Expense” button.
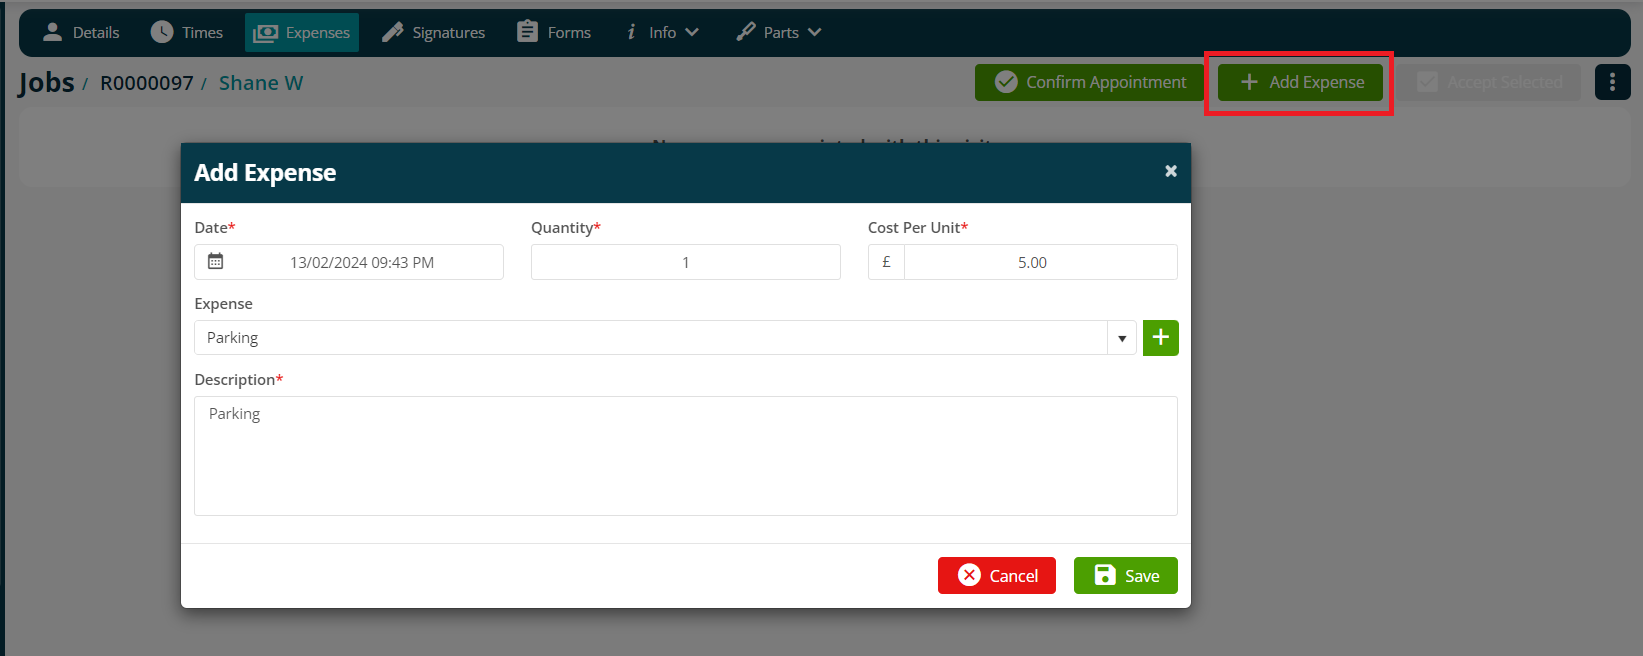
Click the applicable highlighted checkbox(s) and “Accept Selected” if you wish to add the expense(s) to the Job’s Costs.

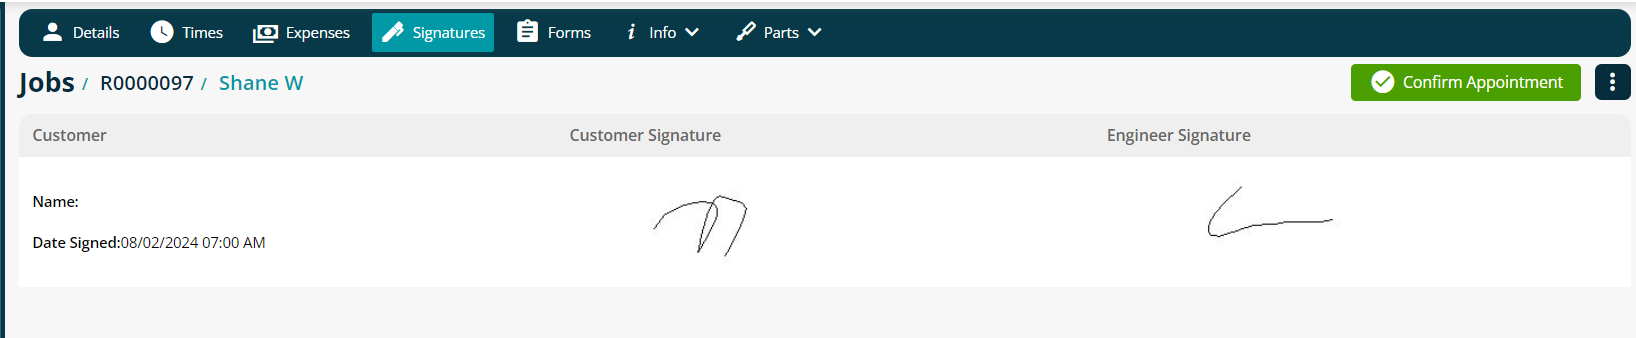
The “Signature” tab shows any signatures added by the engineer and/or the customer from the mobile app.
The “Forms” tab will display all forms completed against the visit.

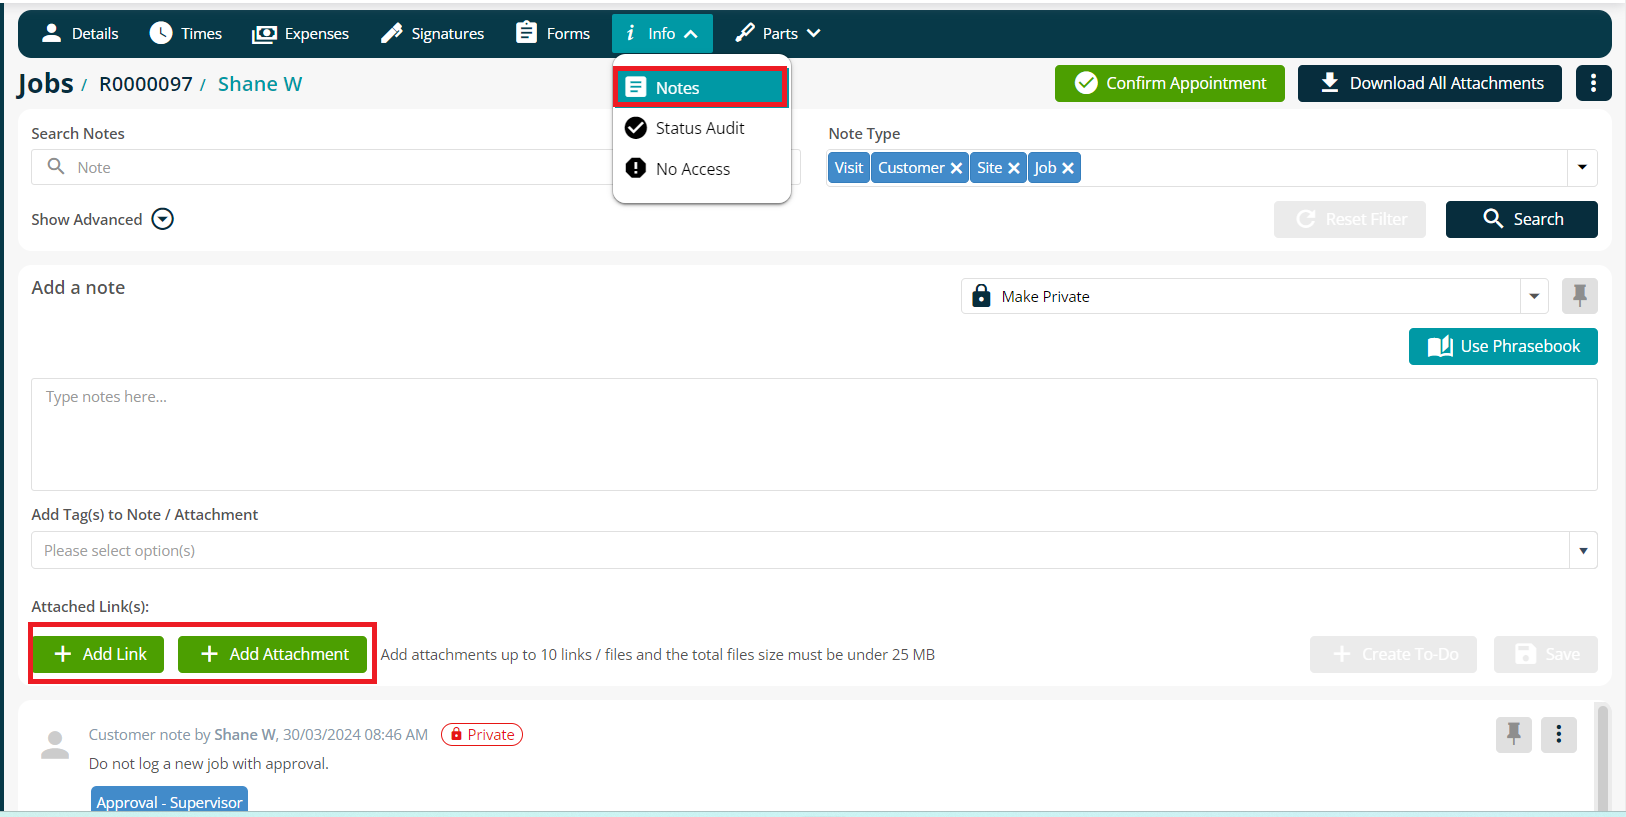
To access “Notes” against the visit, click on Info > Notes”. This will show all the existing notes and attachments, but you can also add new notes/attachments, if required.
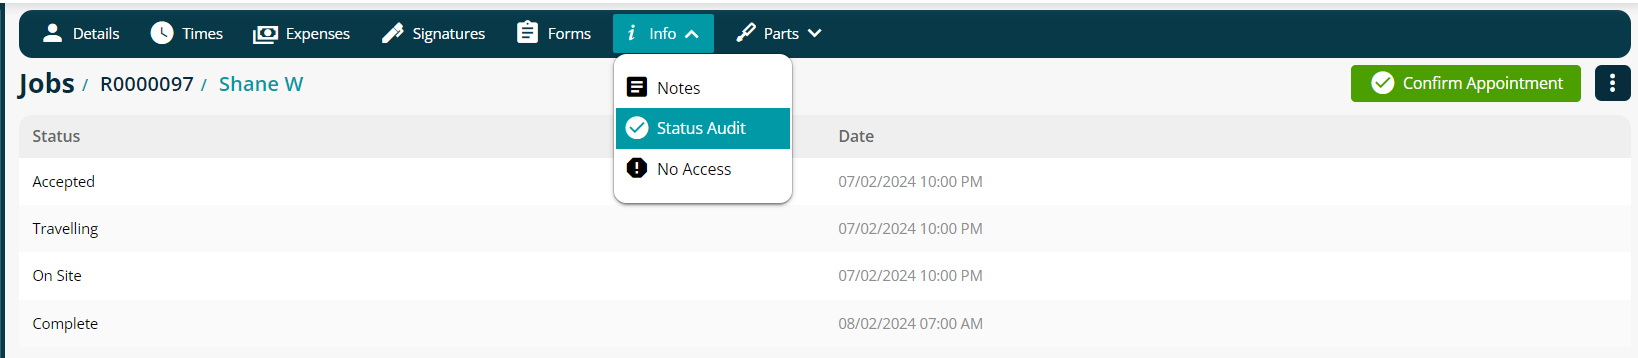
The status audit shows an audit of the visit's actions on the mobile app alongside timestamps.
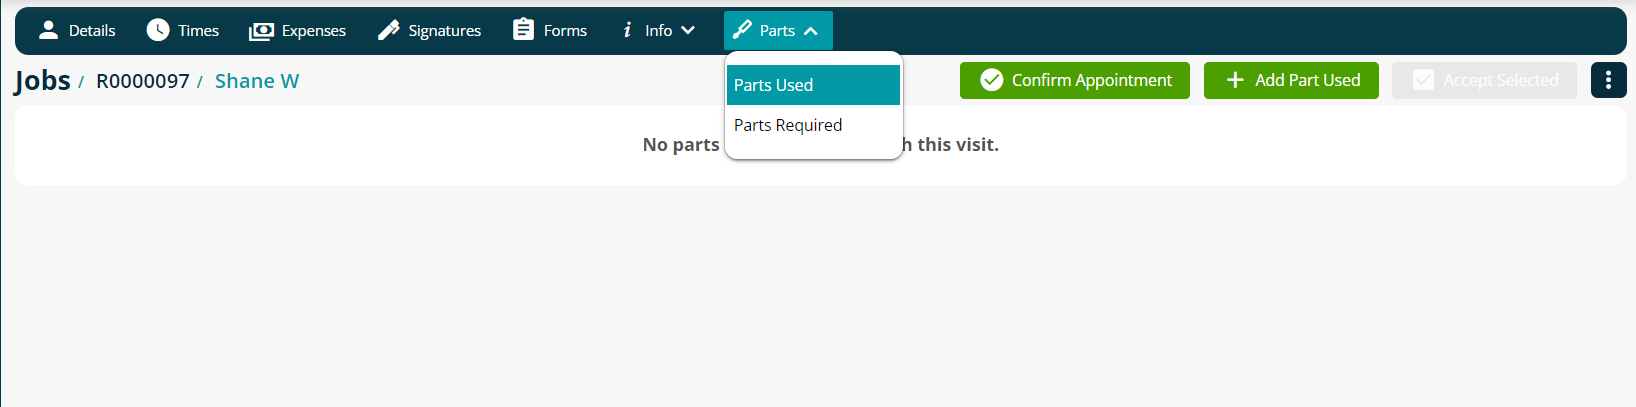
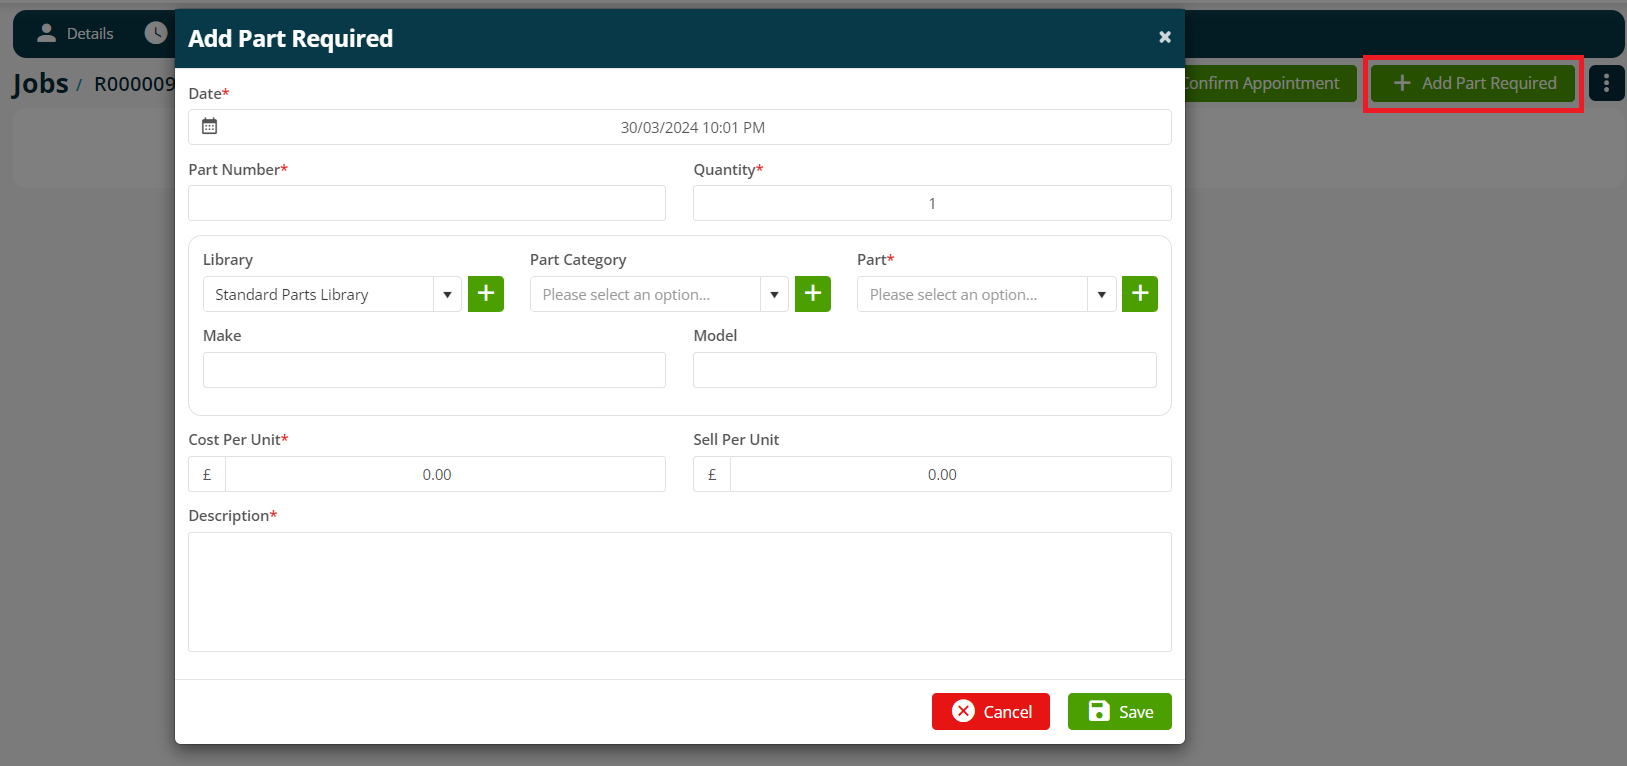
The “Parts” section shows any parts that the applicable engineer(s) has marked as “Used” or “Required”. You can also add Parts Used or Required via the applicable Add Parts Used or Add Parts Required buttons.
Once a ‘Part Used’ is added, the system will prompt the user to accept the cost of the part used. To update this in Job Costs area, press the “Accept Selected” button.

Further Support
For further information or assistance with the above, contact our Support Team on 0800 326 5561 or email support@joblogic.com. Alternatively, our Customer Success Management team can be reached by emailing customersuccess@joblogic.com
Publishing Details
This document was written and produced by Joblogic’s Technical Writing team and was last updated on the date specified above. Be aware that the information provided may be subject to change following further updates on the matter becoming available or new releases within the system. Additionally, details within the guide may vary depending on your Joblogic account’s user permissions and settings or the electronic device being used.