Introduction
The QuickBooks Integration app connects Joblogic with QuickBooks, allowing you to sync financial data and related records between the two systems.
This user guide explains how to connect your QuickBooks account, choose which data to sync, and review the status of your synchronisations.
How to access the QuickBooks Integration app
To access the app, click Marketplace on the main menu and select QuickBooks Integration.
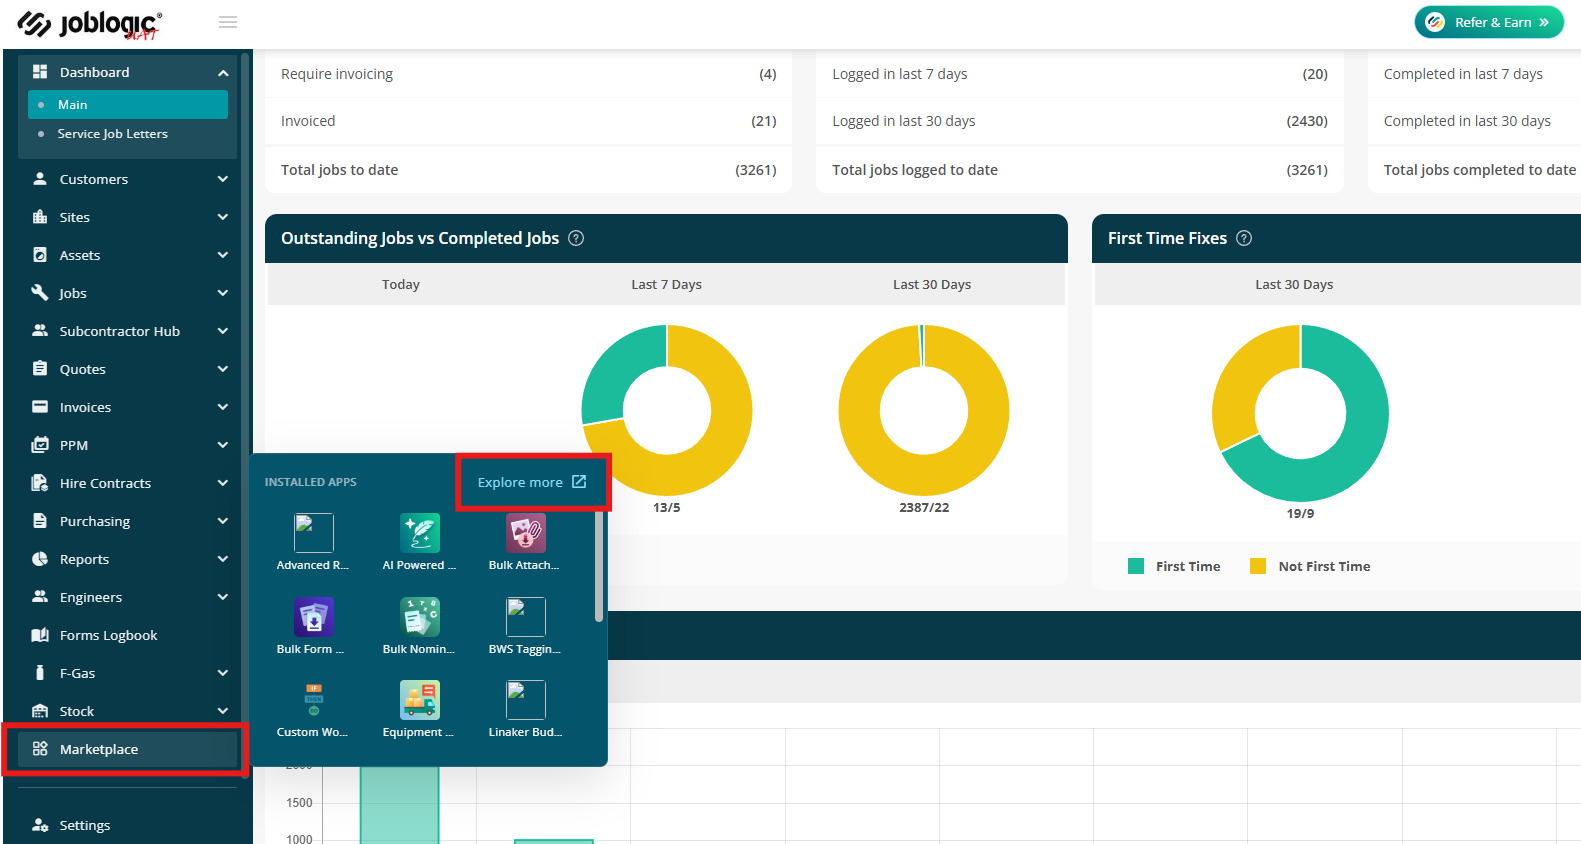
Alternatively, click Explore More to find the app under My Apps.
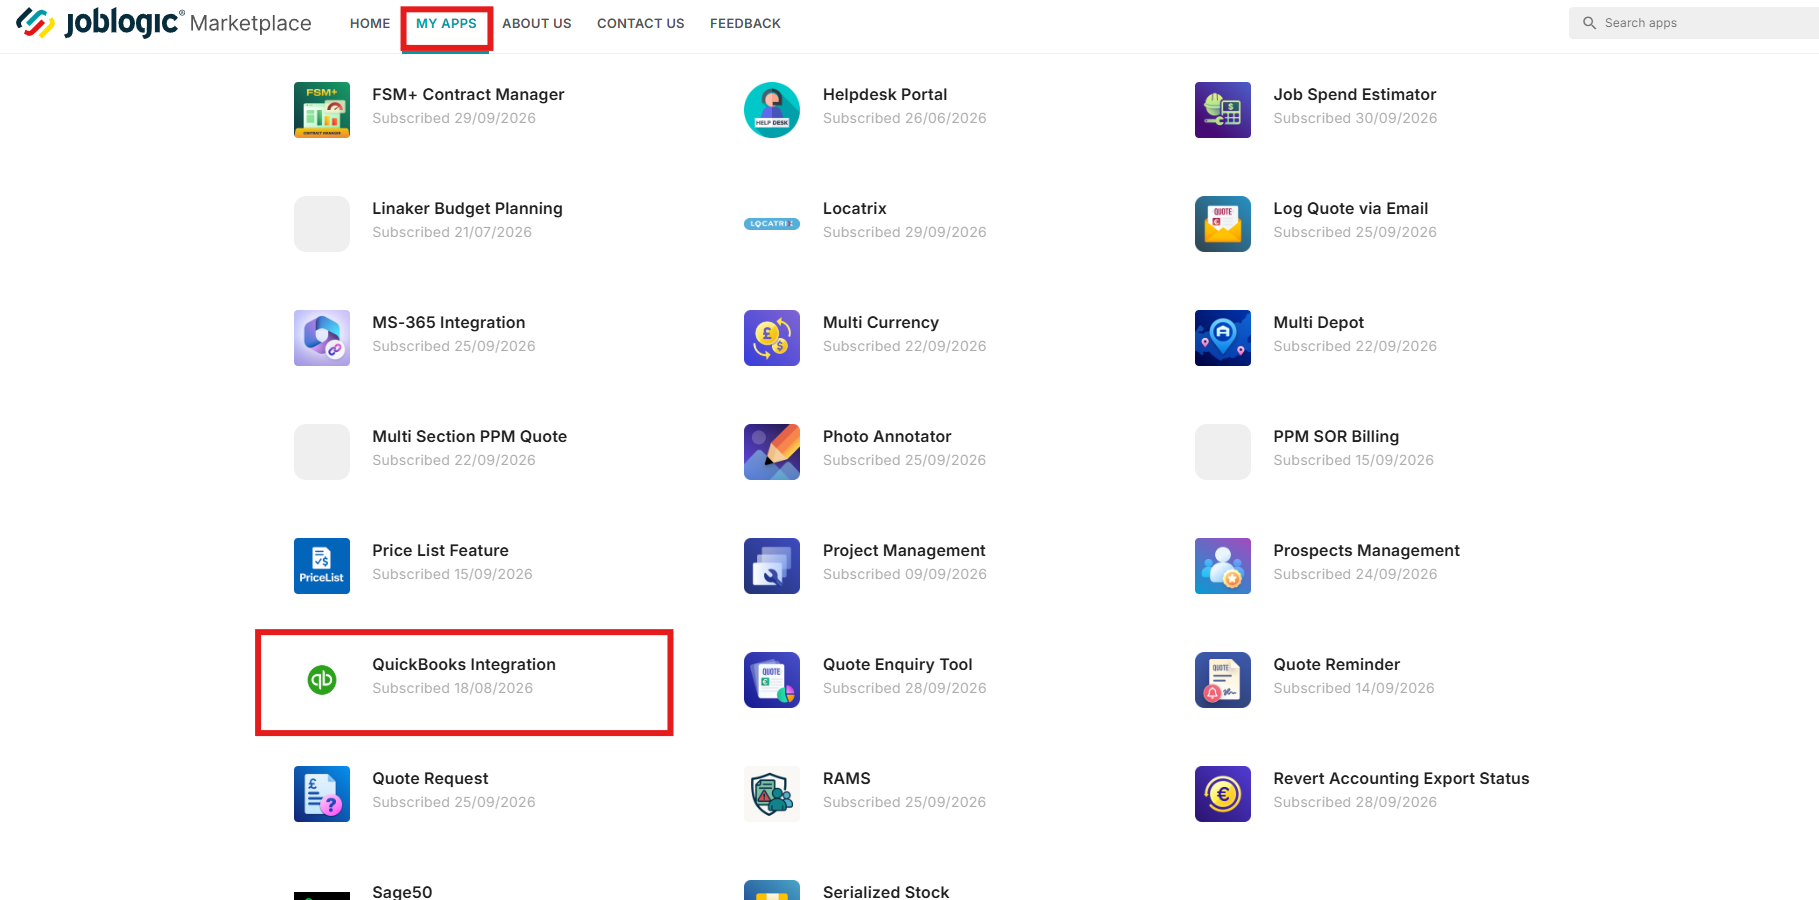
Connecting to Quickbooks
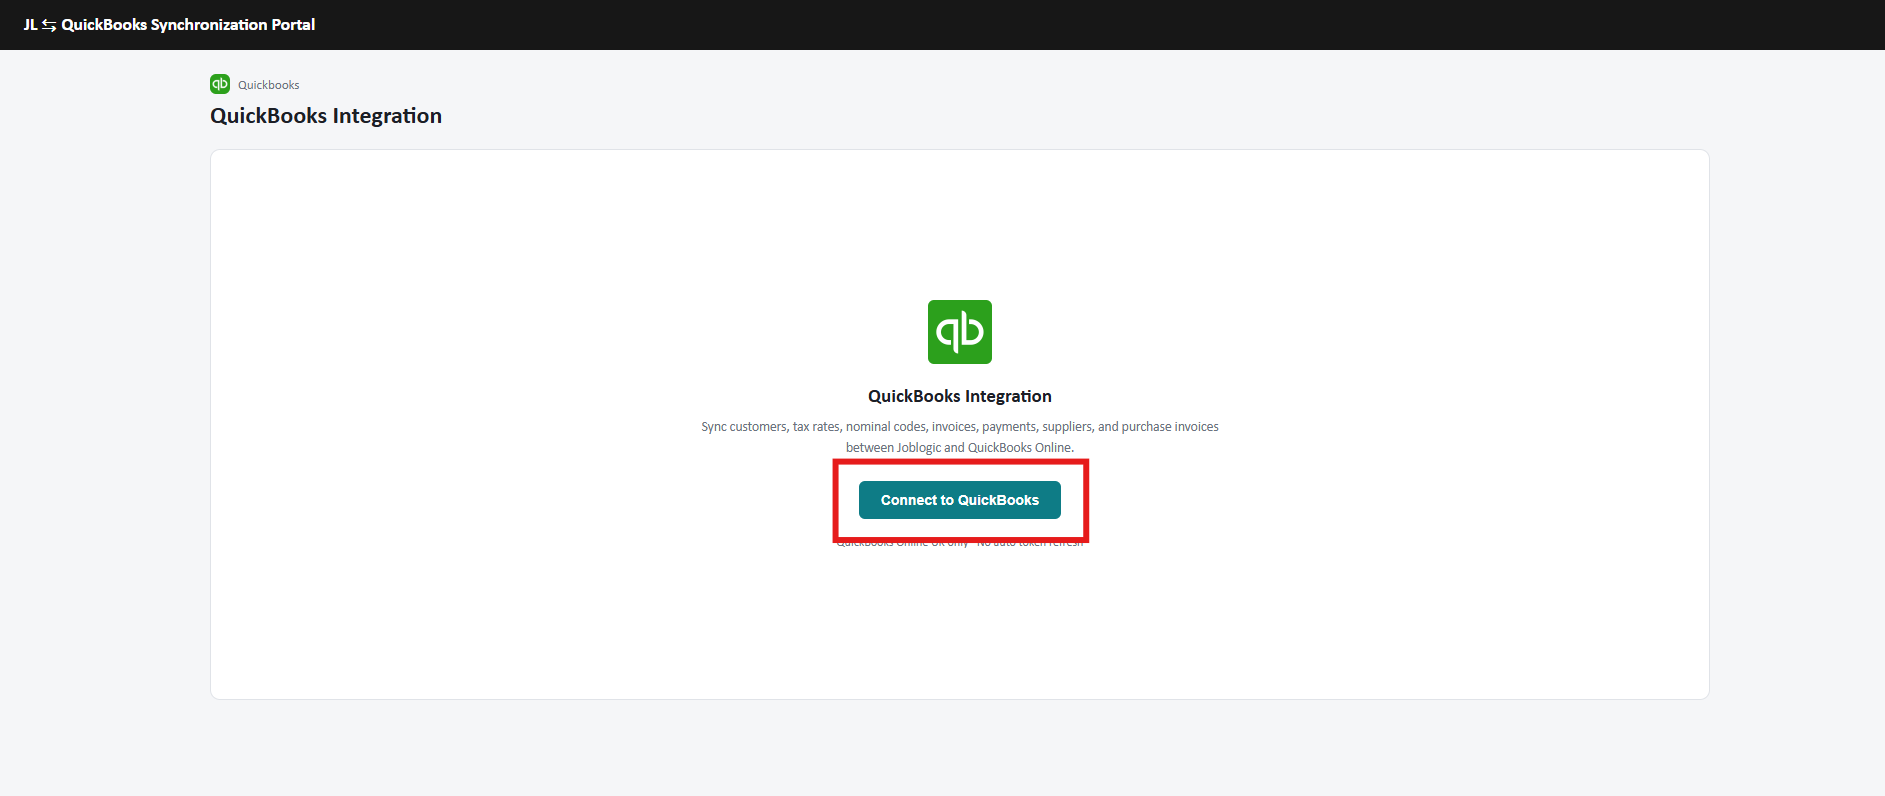
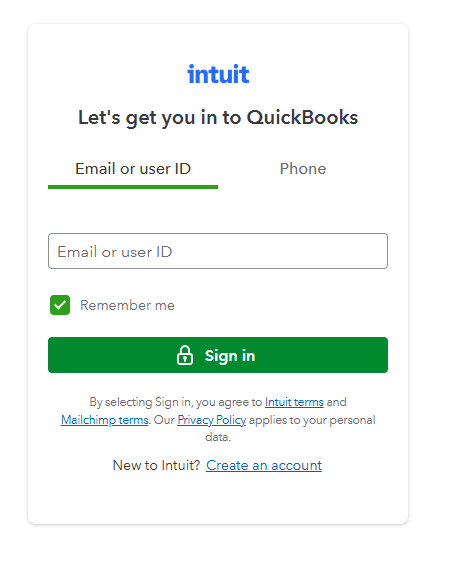
When you first open the app, you'll have the option to connect your QuickBooks account.
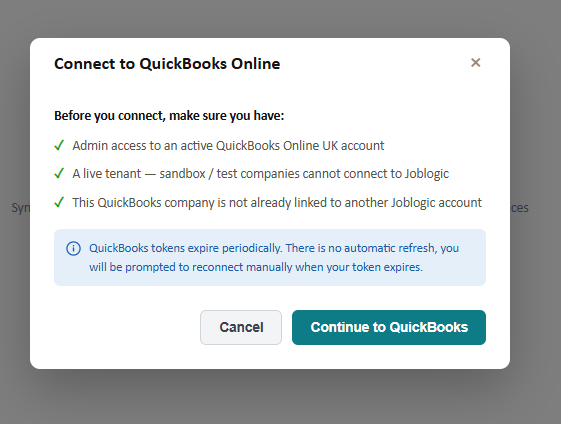
Click Continue to open the QuickBooks login page.
Enter your QuickBooks login details and follow the on-screen instructions to complete the connection.
Disconnecting QuickBooks
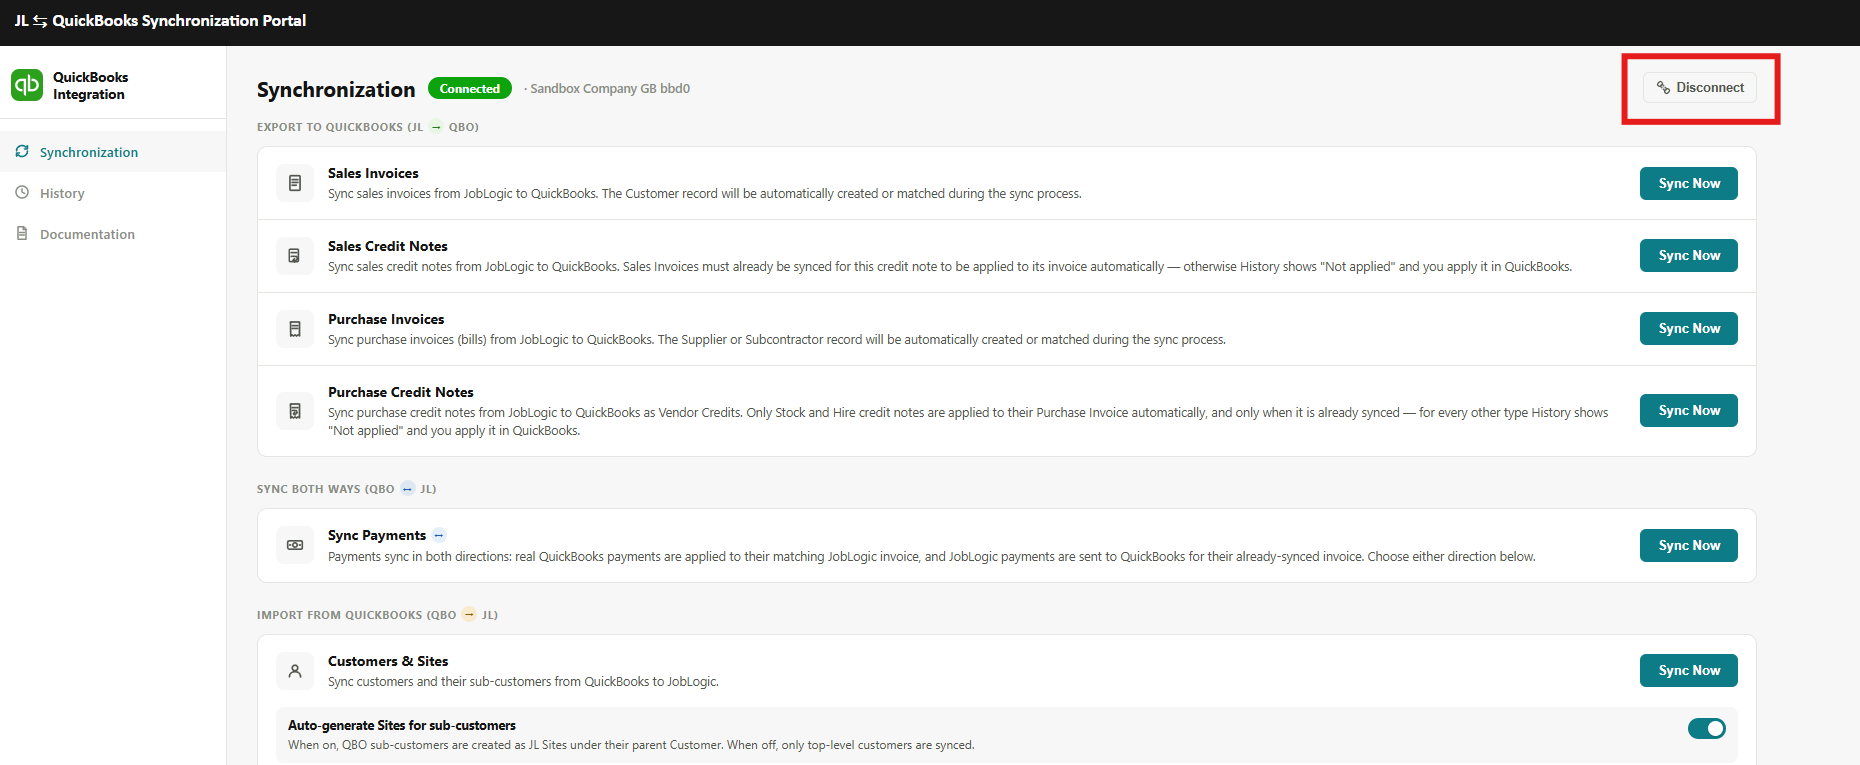
To connect a different QuickBooks company or account, you must first disconnect the existing connection.
Once disconnected, you can reconnect by logging in with the new QuickBooks account details.
Quickbooks Documentation
Before you begin, you can refer to the Documentation tab within the app for detailed guidance on using the QuickBooks integration, including its features and workflows.
.png)
Syncing options
The integration supports syncing different types of data between Joblogic and QuickBooks.
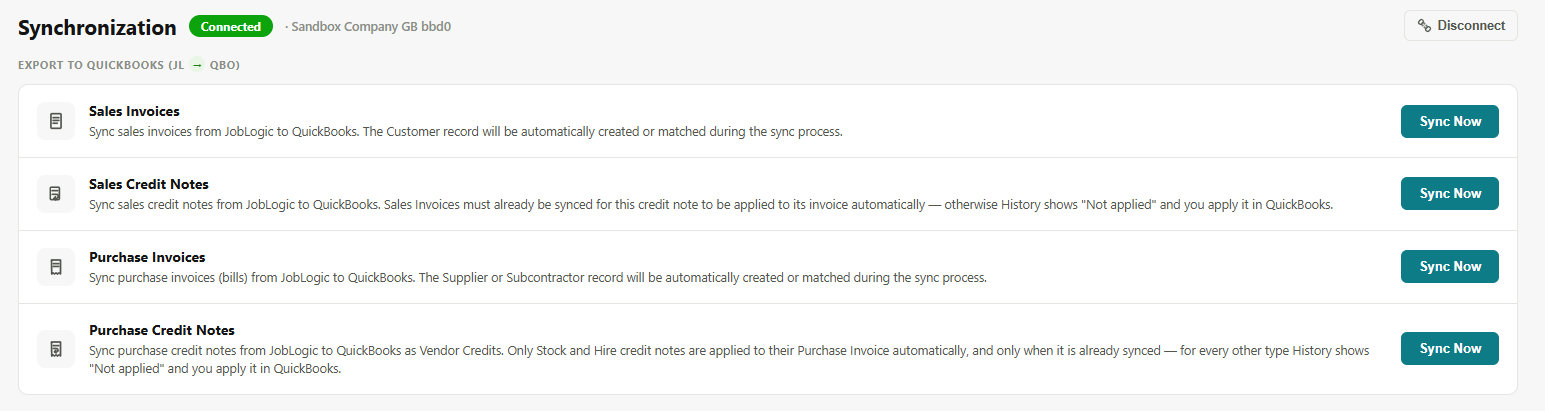
From Joblogic to QuickBooks
The following data can be synced from Joblogic to QuickBooks:
- Sales Invoices
- Sales Credit Notes
- Purchase Invoices
- Purchase Credit Notes
From QuickBooks to Joblogic
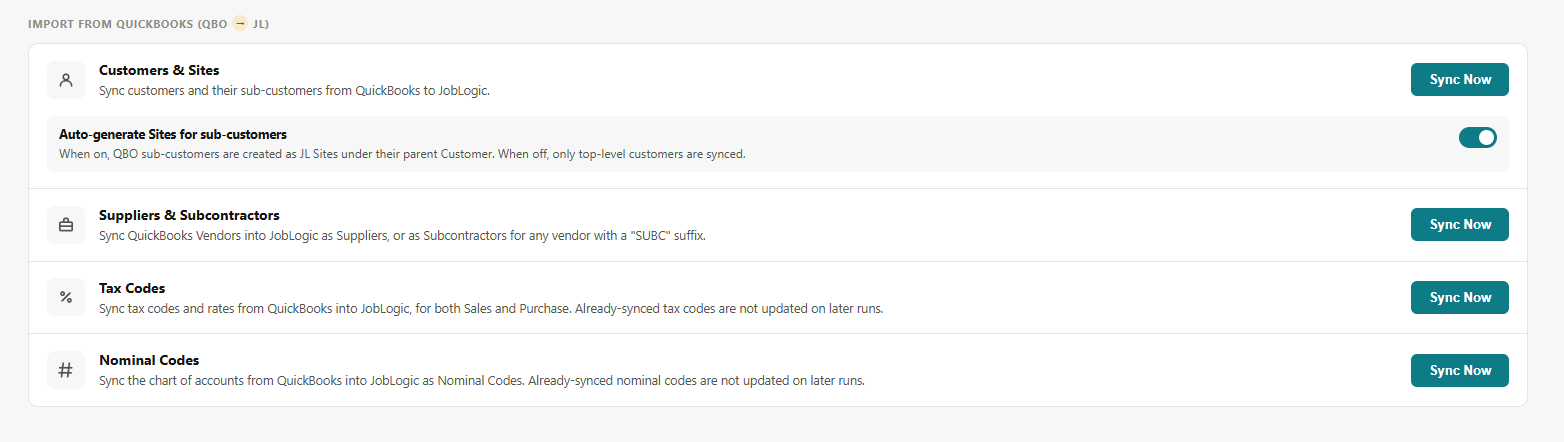
The following data can be synced from QuickBooks to Joblogic:
- Customers & Sites
- Suppliers & Subcontractors
- Tax Codes
- Nominal Codes
Syncing in both directions
Payments can be synced in both directions, allowing you to import payments from QuickBooks into Joblogic or export payments from Joblogic to QuickBooks.

Syncing your data
To sync a particular type of data, click Sync Now next to the relevant item.
.png)
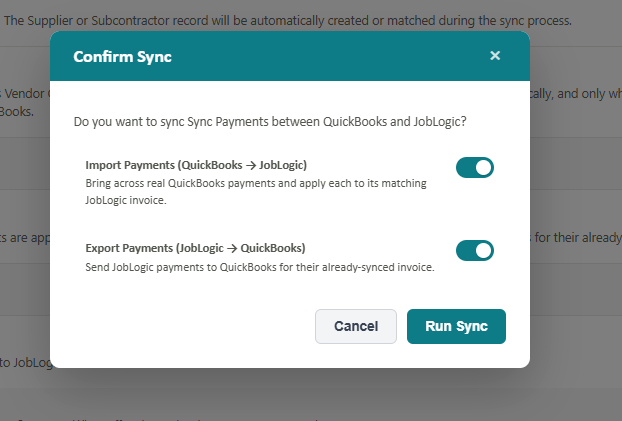
You'll be prompted to confirm the sync before it starts.
.png)
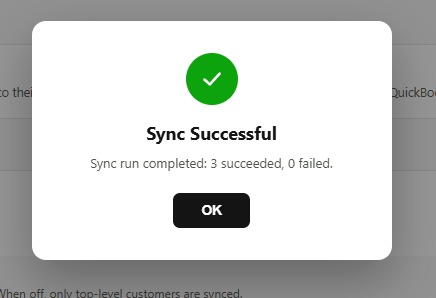
Once the sync is complete, a status update will show how many records were successful and how many failed.
Note: As payments can be synced in both directions, you can choose whether to import or export payments. These options can be switched on or off independently.
Reviewing sync failures
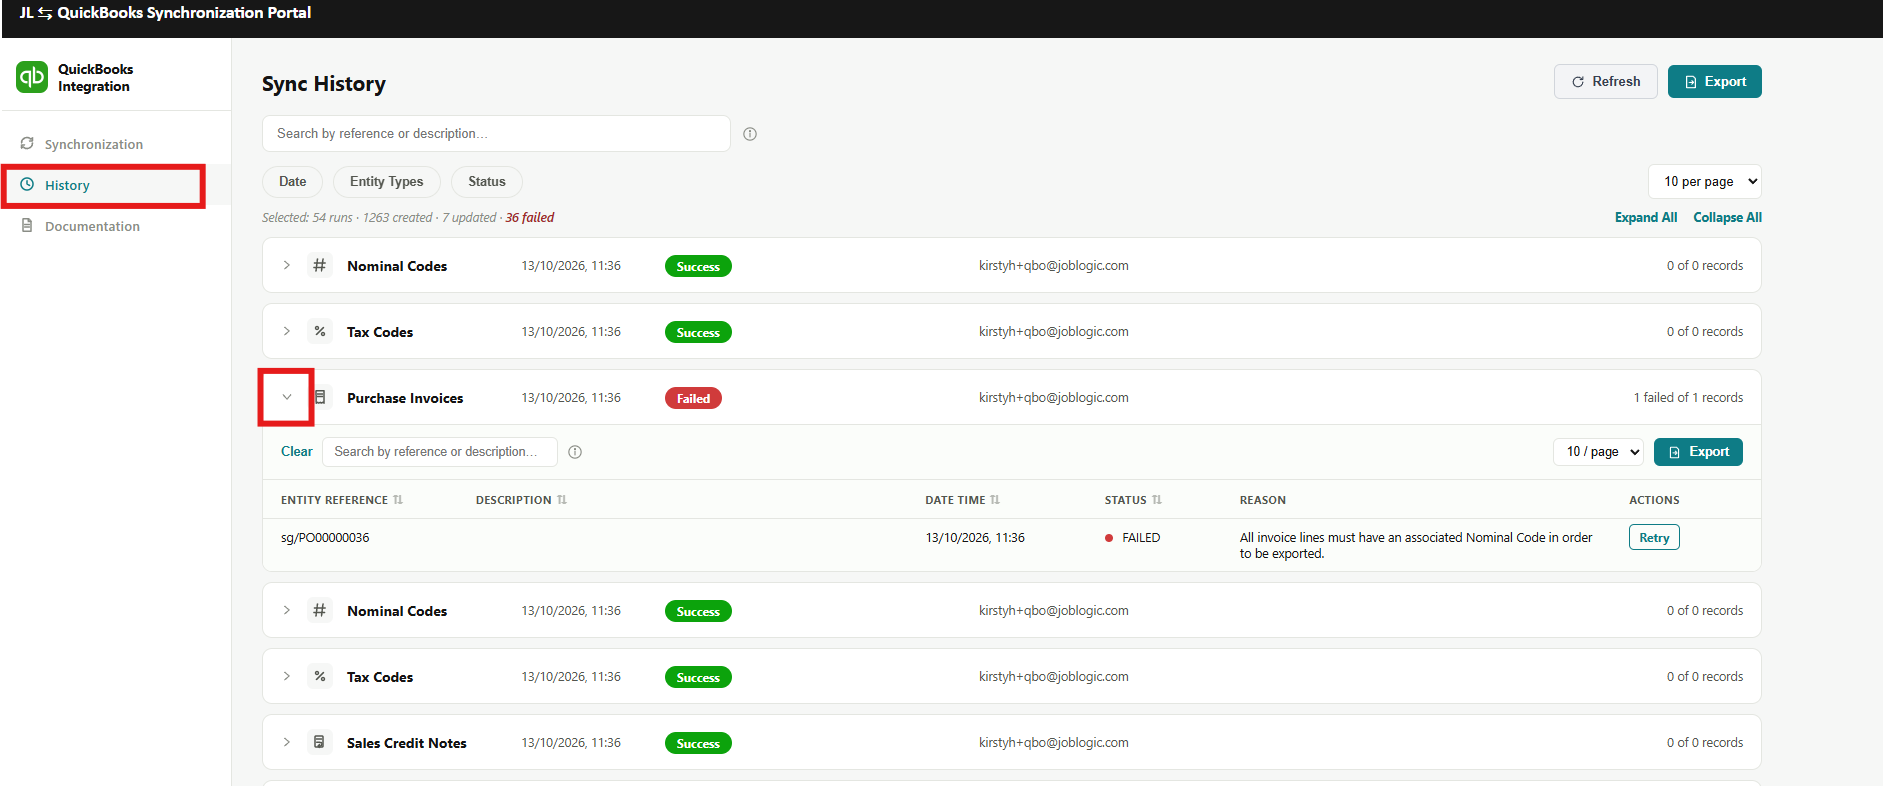
If any records fail to sync, you can review the details in the History tab.
Click the arrow next to the relevant item to view the reason for the failure.
Further Support
For further information or assistance with the above, contact our Support Team on 0800 326 5561 or email support@joblogic.com. Alternatively, our Customer Success Management team can be reached by emailing customersuccess@joblogic.com.
Publishing Details
This document was written and produced by Joblogic’s Technical Writing team and was last updated on the date specified above. Be aware that the information provided may be subject to change following further updates on the matter becoming available or new releases within the system. Additionally, details within the guide may vary depending on your Joblogic account’s user permissions and settings or the electronic device being used.